
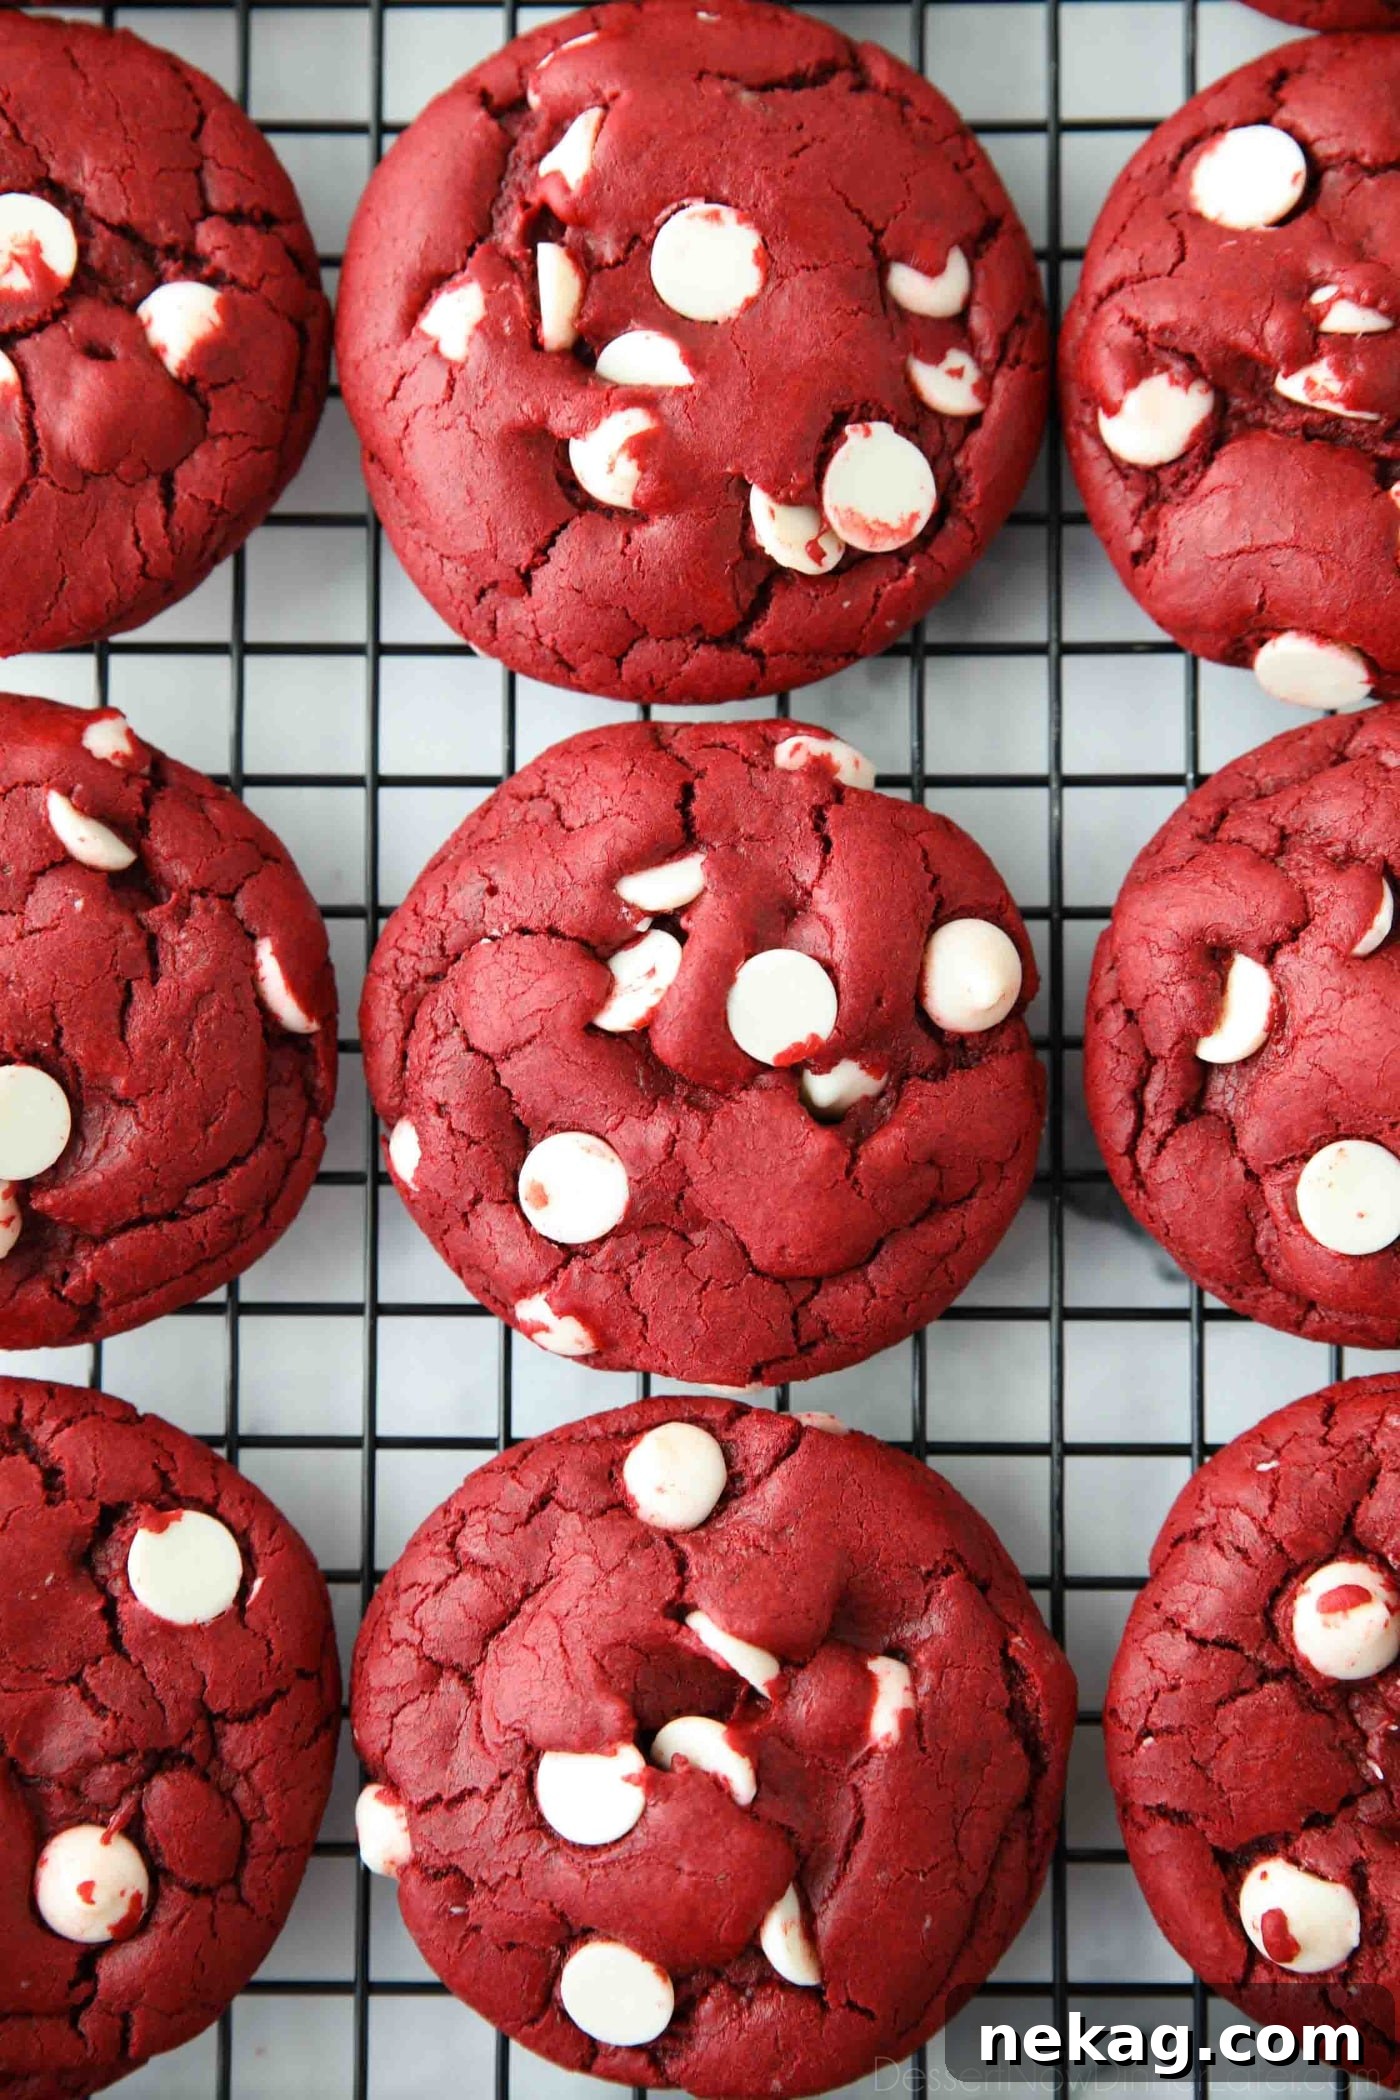
Red Velvet Cake Mix Cookies are quick and simple to prepare with just four ingredients. They bake up soft and fudgy with pockets of creamy white chocolate. These cookies are festive for holidays like Christmas and Valentine’s Day, but delicious any time of year.
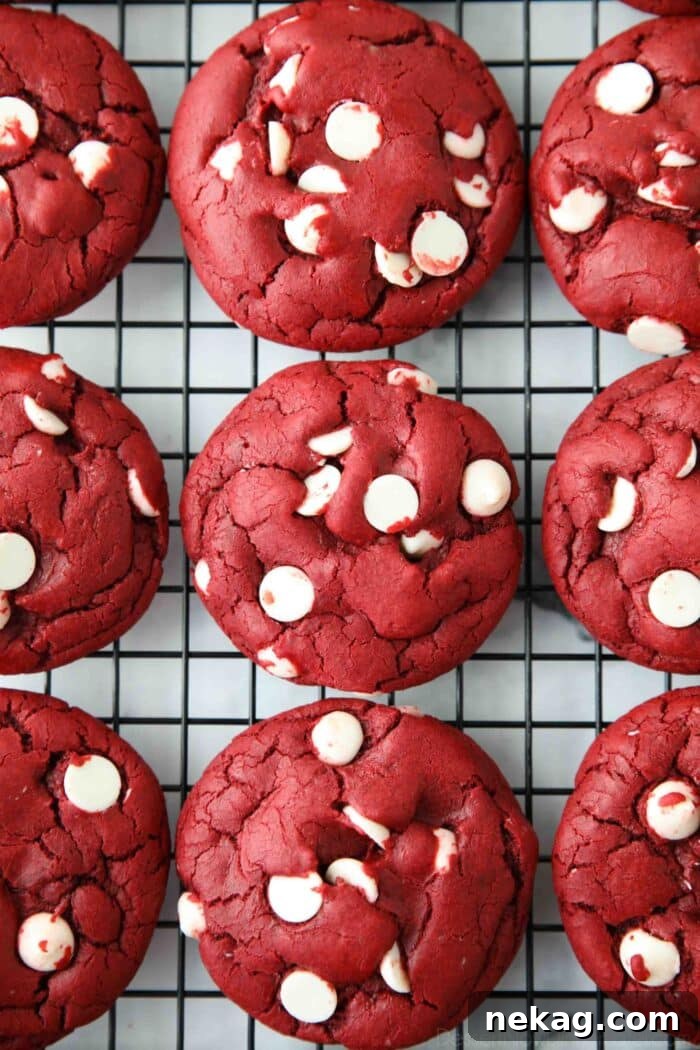
Why You Should Make This Recipe
- Quick and easy: A box of cake mix keeps the ingredient list short and speeds up prep and cleanup.
- No special equipment: You only need a bowl and a sturdy spoon or spatula—no mixer required.
- Festive look: The bright red cookies studded with white chocolate are perfect for holiday plates and gift jars.
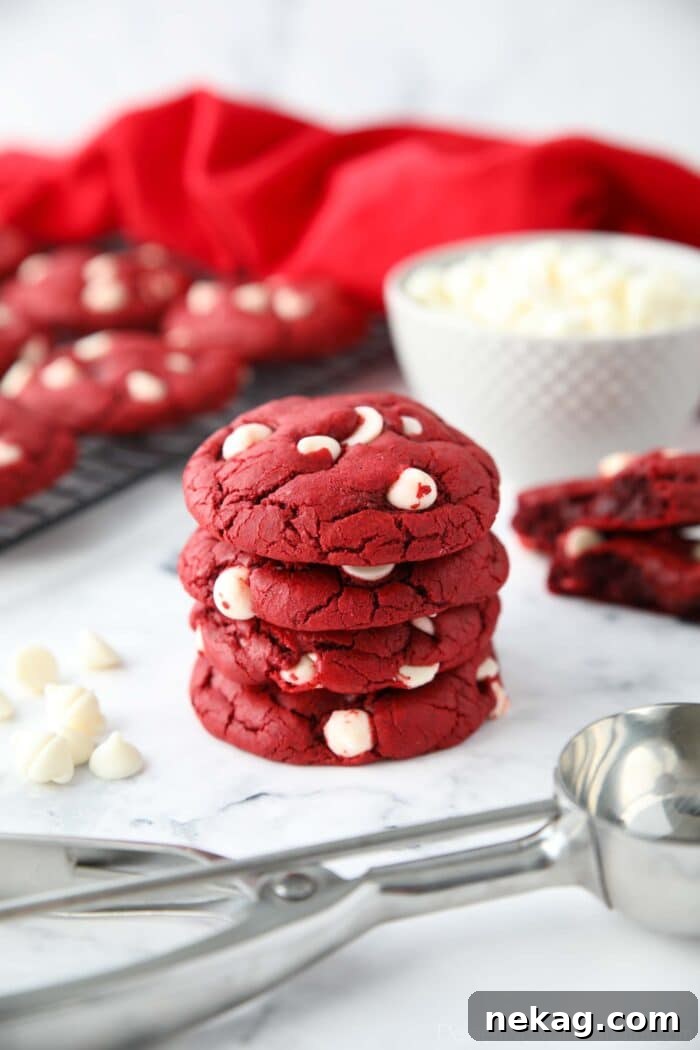
Red Velvet Cake Mix Cookies
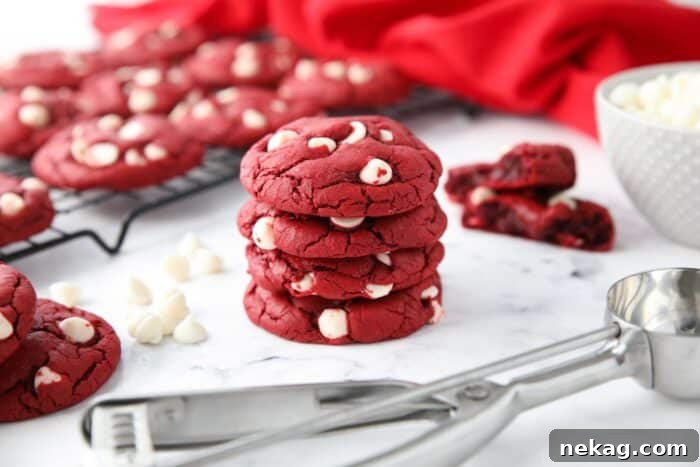
These semi-homemade cookies deliver thick, bakery-style results without the fuss. The centers stay moist and almost brownie-like, while the white chocolate chips add a creamy, sweet contrast. They’re an easy crowd-pleaser and look impressive on a cookie platter.

Ingredients You’ll Need
*Full ingredient amounts and step-by-step instructions are available in the recipe card below.
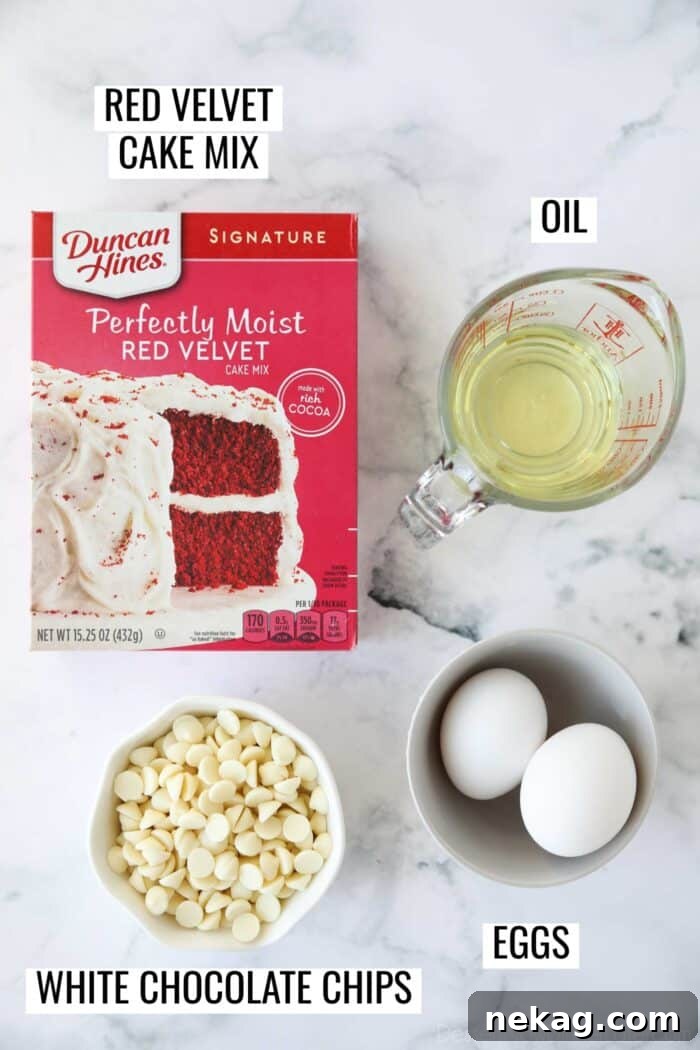
- 15.25 oz Red velvet cake mix (standard full-size box)
- 2 large eggs
- 6 Tbsp neutral oil (canola or vegetable)
- 1 cup white chocolate chips (about 170 g)
How to Make Red Velvet Cookies
*Full ingredient amounts and step-by-step instructions are in the recipe card below.
Start by preheating the oven to 350°F (175°C) and lining two baking sheets with parchment paper or silicone baking mats.
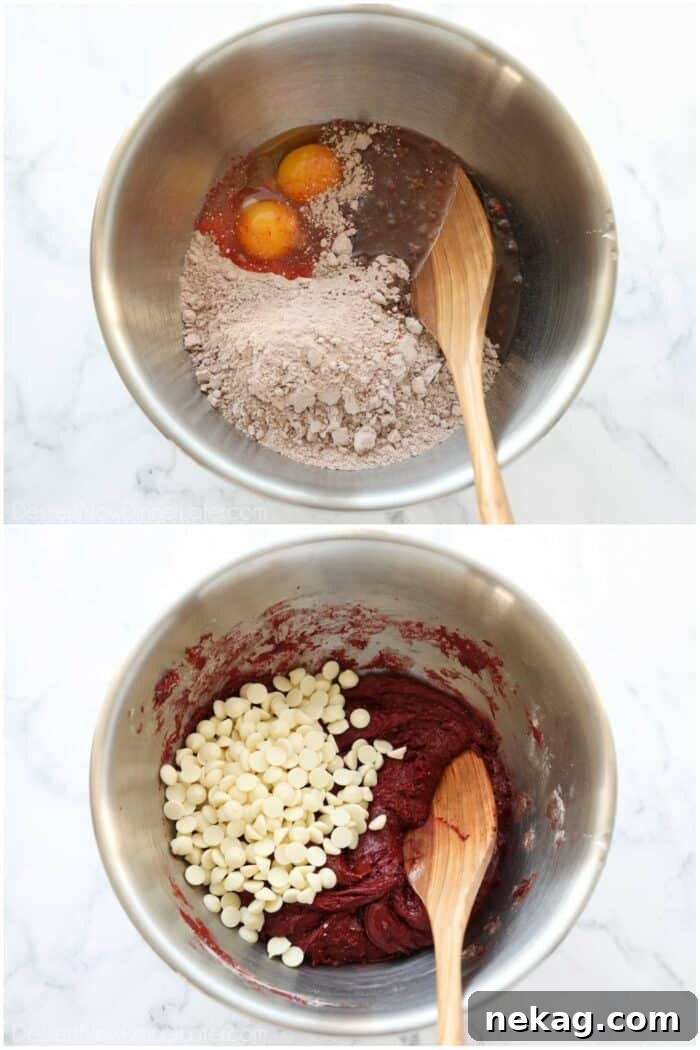
- In a large bowl, stir together the cake mix, eggs, and oil with a wooden spoon or sturdy spatula until a thick dough forms.
- Fold in the white chocolate chips, using your hands if necessary to distribute them evenly through the sticky dough.
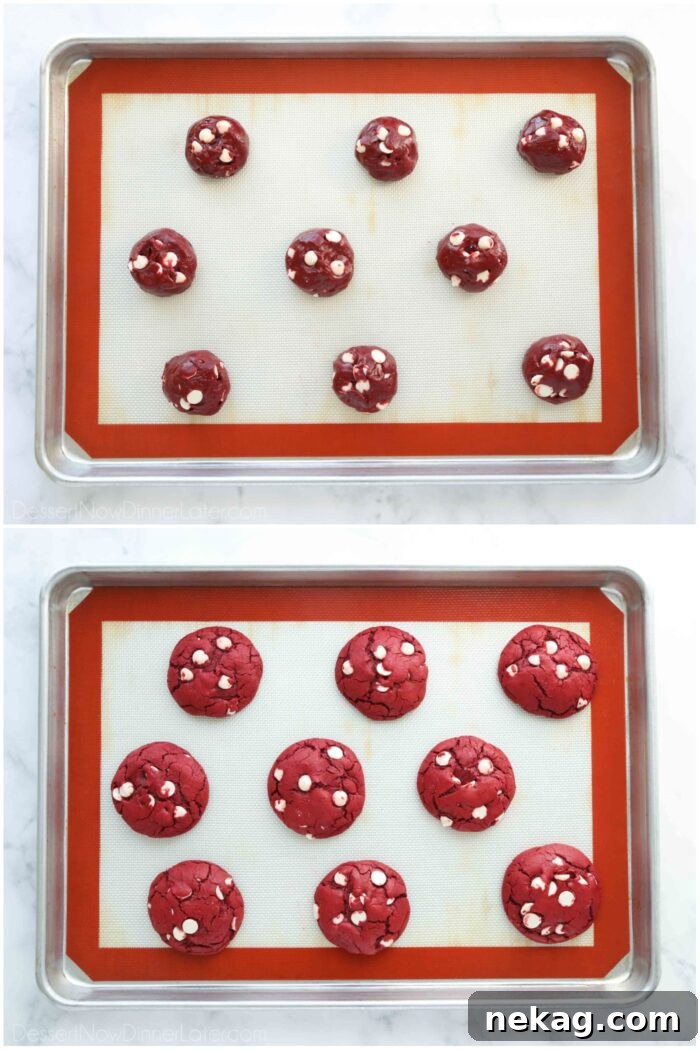
- Use a #30 cookie scoop (about 2 tablespoons) to portion dough into balls. Roll each ball with your hands to smooth the top and place them about 3 inches apart on the prepared sheets (about 8–9 per tray).
- Bake at 350°F for 9–10 minutes, until the cookies are puffed, matte on top, have spread slightly, and begin to show small cracks.
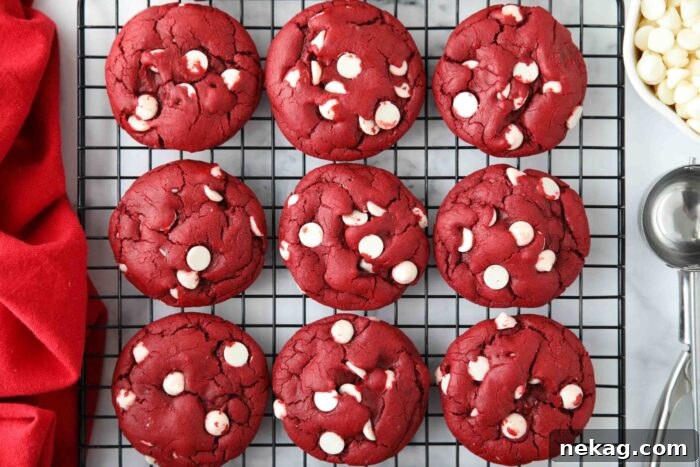
- Let the cookies cool on the pan for 5 minutes, then transfer to a wire rack to cool completely.
Storing and Freezing
- To store: Keep cookies in an airtight container at room temperature for up to 5 days.
- Freeze dough balls: Scoop dough onto a lined baking sheet and freeze 1–2 hours until firm. Transfer to a freezer-safe bag and freeze up to 3 months. Add 1–2 minutes to the baking time if baking from frozen.
- Freeze baked cookies: Layer completely cooled cookies in a freezer-safe container with parchment between layers. Thaw at room temperature or microwave a single cookie for about 10 seconds to warm it up.
Recipe Notes
- Cake mix size: This recipe uses a 15.25 oz (432 g) box. If your box is smaller, adjust by weight—adding flour as needed to match the total weight.
- Dough texture: Cake-mix cookie dough is thick and slightly sticky. A wooden spoon or spatula works best—don’t force an electric mixer.
- Shape the dough: Rolling the dough balls with warm hands smooths the surface and produces a nicer appearance after baking.
- Oil vs. butter: Oil keeps these cookies tender and moist. Using butter can change the texture and may yield a drier result.
- Fun fact: These cookies often leave a bit of red color on your lips—part of the charm!
More Red Velvet Desserts
- Red Velvet Brownies
- Red Velvet Truffles
- Mini Red Velvet Cheesecakes
- Red Velvet Cupcakes
- Red Velvet Cake Roll
- Red Velvet Cheesecake Brownies
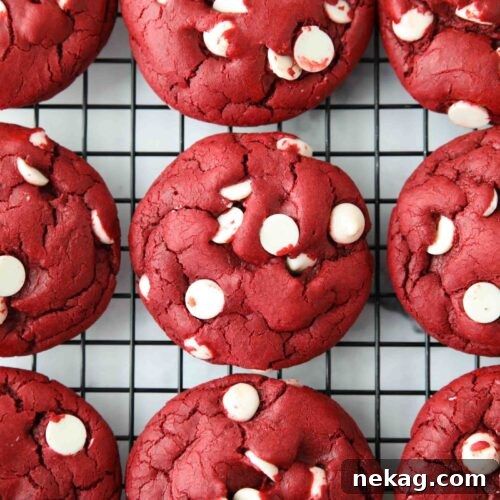
Red Velvet Cake Mix Cookies
Ingredients
- 15.25 oz (432 g) box Red Velvet Cake Mix
- 2 large eggs
- 6 Tbsp oil (canola or vegetable)
- 1 cup (170 g) white chocolate chips
Equipment
- Large mixing bowl
- Wooden spoon or sturdy spatula
- #30 cookie scoop (about 2 Tbsp)
- Silicone baking mats or parchment-lined baking sheets
Instructions
-
Preheat the oven to 350°F and line two baking sheets with silicone mats or parchment paper.
-
In a large bowl, combine the cake mix, eggs, and oil. Stir until a very thick dough forms.
-
Fold in the white chocolate chips, ensuring they are evenly distributed.
-
Portion dough with a #30 scoop (about 2 Tbsp), roll the dough balls with your hands, and place them about 3 inches apart on the baking sheet.
-
Bake 9–10 minutes, until cookies are puffy, matte, and beginning to crack. Cool on the pan 5 minutes, then transfer to a wire rack to cool completely.
Notes
- To Store: Store cookies in an airtight container at room temperature up to 5 days.
- Freeze Cookie Dough: Freeze scooped dough on a lined tray until firm, then transfer to a freezer bag for up to 3 months. Add about 1–2 minutes to baking time if baking from frozen.
- Freeze Baked Cookies: Layer cooled cookies with parchment between layers in a freezer-safe container. Thaw at room temperature or microwave briefly to warm.
- Cake Mix Sizes: Use a 15.25 oz (432 g) box for best results. If your box is smaller, adjust by weight and add flour as needed.
- Shape the dough: Rolling the balls with warm hands smooths the surface and improves the finished look.
Nutrition
Disclaimer: Nutritional values are estimates provided for reference only.
Sharing this recipe with a link is encouraged and appreciated. Content and photographs are copyright protected.
*Originally published on 12/15/2012. Post updated September 2024.