
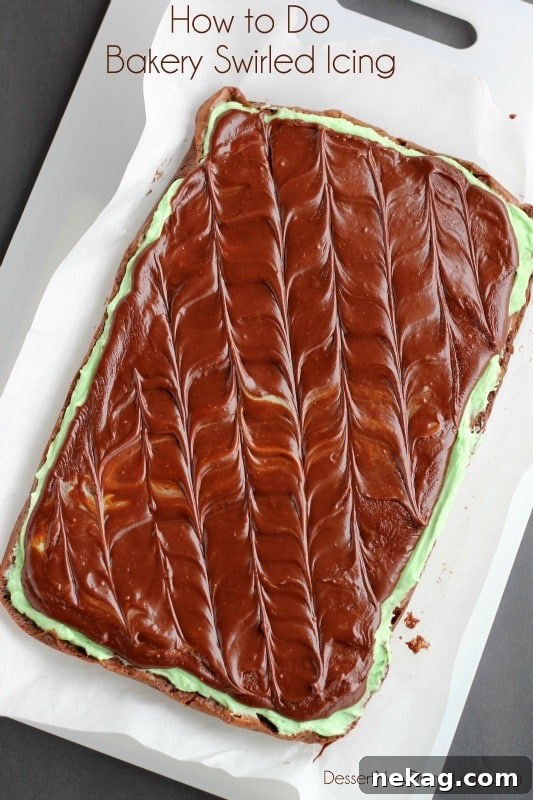
All you need is an offset spatula to create this bakery swirled frosting. An easy way to decorate sheet cakes, dessert bars, and brownies.
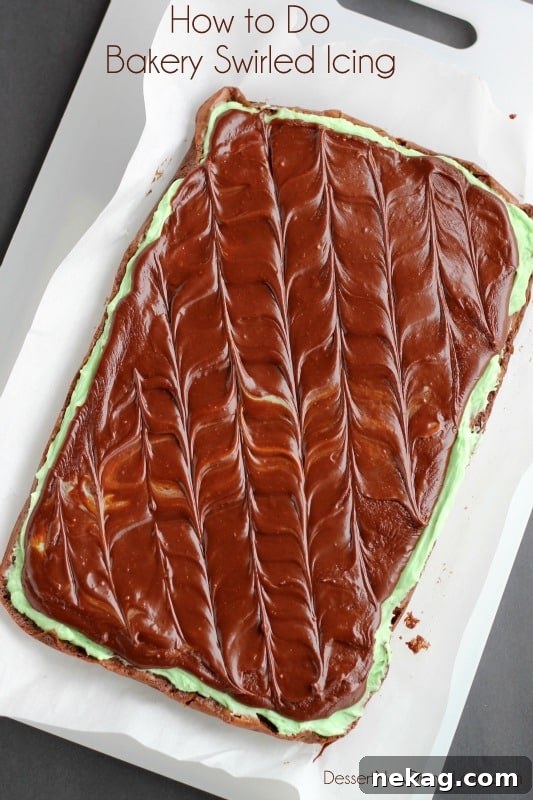
I’ve wanted to share this simple, elegant frosting technique for a long time. I trained in culinary school and spent internship time working in bakeries, where we used this swirled pattern on sheet cakes and brownies all the time. It looks fancy but is very easy to do—perfect for home bakers who want a professional finish. Below is a clear, step-by-step guide so you can recreate the look.
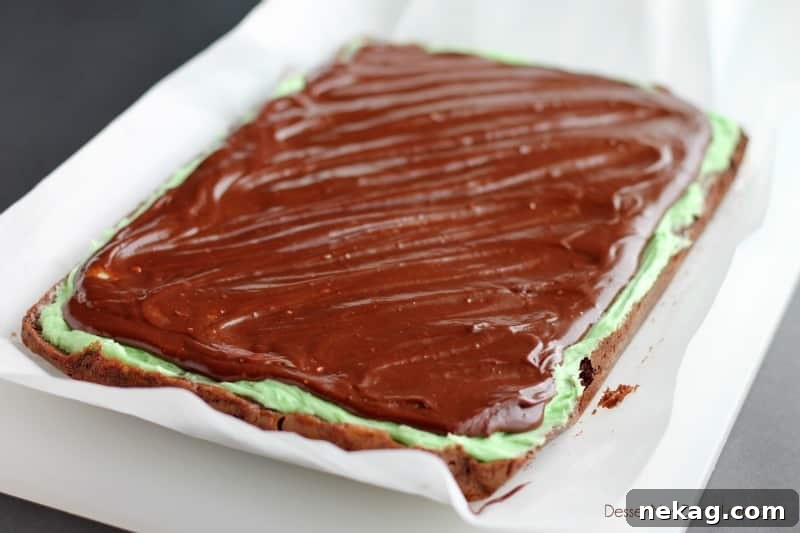
STEP 1: Spread your frosting across the sheet cake or brownies, then use an offset spatula to make a continuous zig-zag from one corner to the opposite corner. Drag the spatula the full width of the pan and don’t lift it until you reach the far corner. This creates the base pattern that the swirls will enhance.
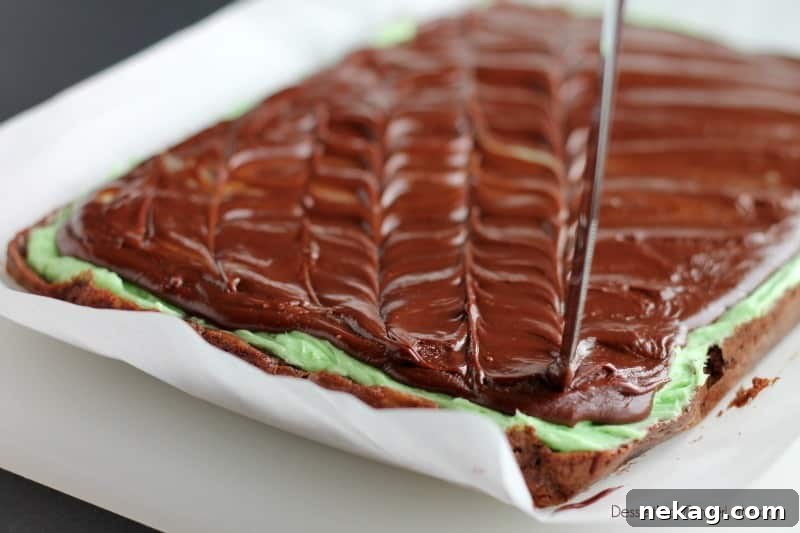
STEP 2: Use the tip of the spatula or a butter knife to drag through the zig-zag pattern, working back and forth across the pan. Alternate the direction with each pass—one line top to bottom, the next bottom to top. Space the lines as close together or as far apart as you like; I typically place them about an inch apart. Continue this alternating motion until you’ve moved across the entire surface; the result is a rippled, marbled effect that looks bakery-made.
If the icing is still wet, warm, or runny after decorating, allow it to set before slicing to preserve the pattern and prevent smudging. Once set, the swirls remain defined and make an attractive finish for serving.
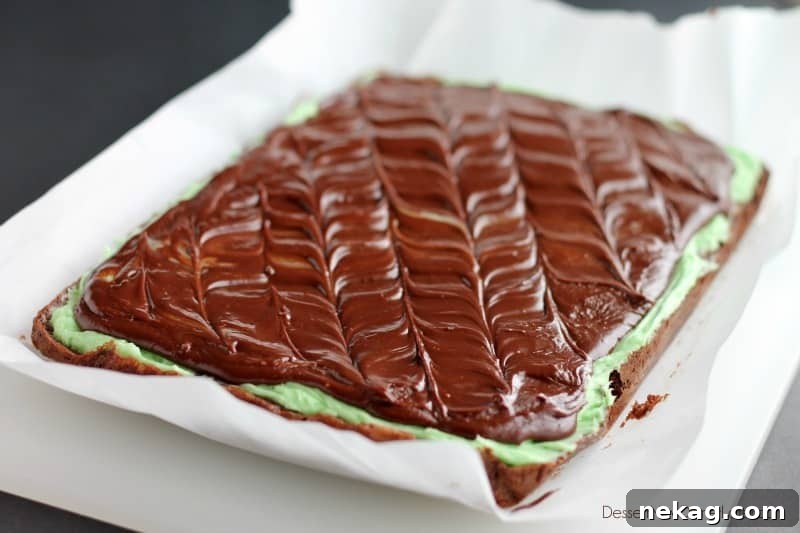
This swirled design works well with any smooth frosting, icing, spread, or even creamy dips when you want an elevated presentation. It’s especially effective on sheet cakes and dessert bars because the pattern shows across a large surface.
- Mint Brownies
- Peanut Butter Fingers
- Coconut Cream Fruit Dip
- Eclair Icebox Cake
- Scotcharoos