
The Best Fudgy Brownie Recipe You’ll Ever Make
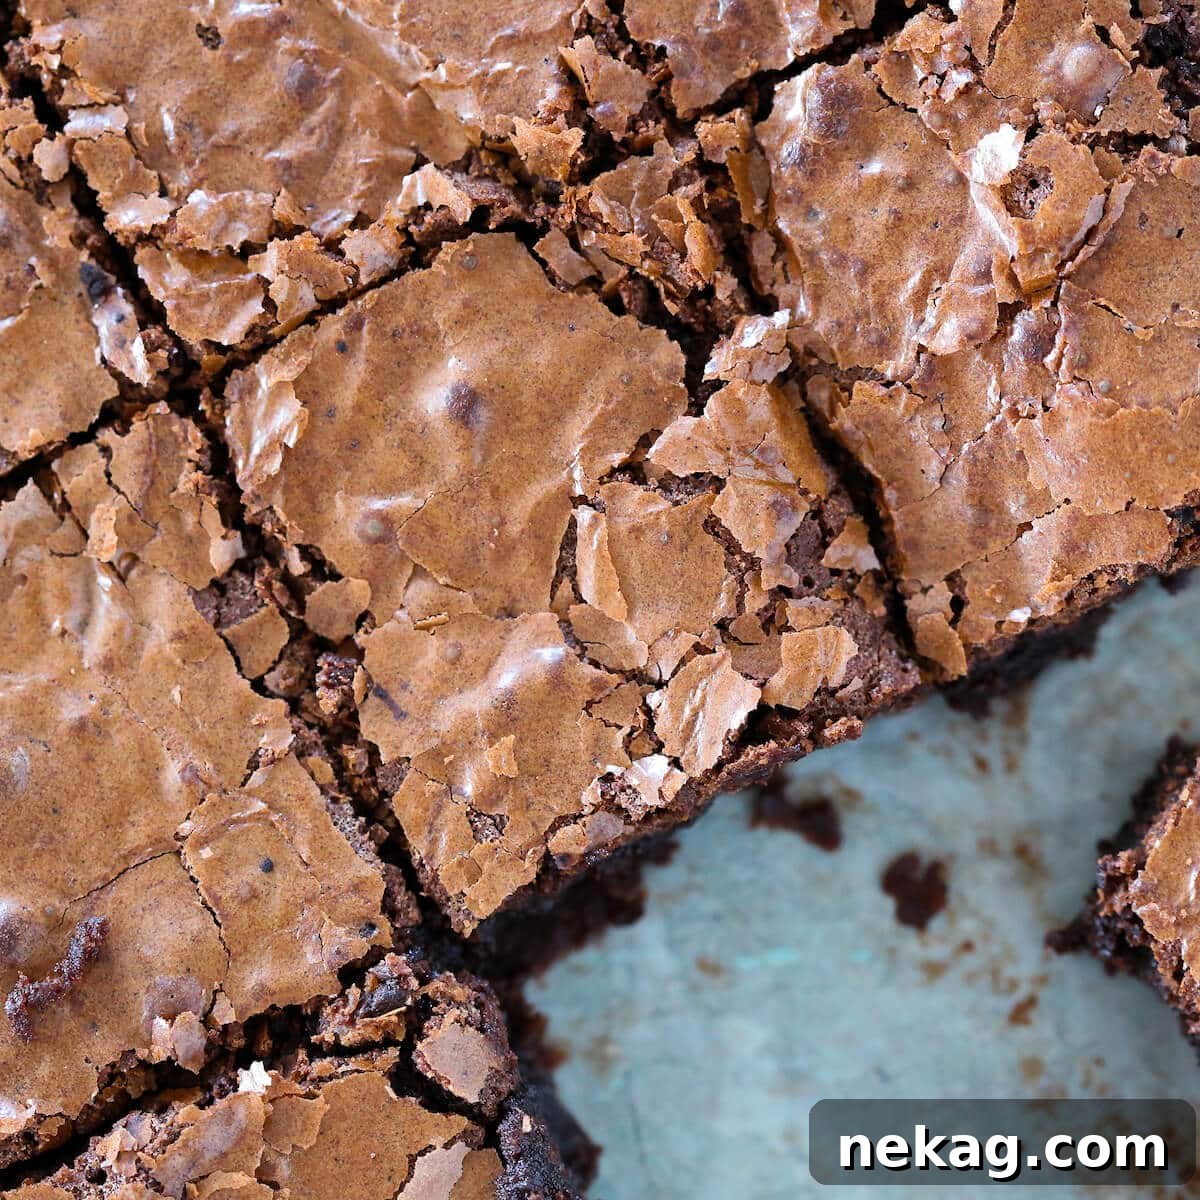
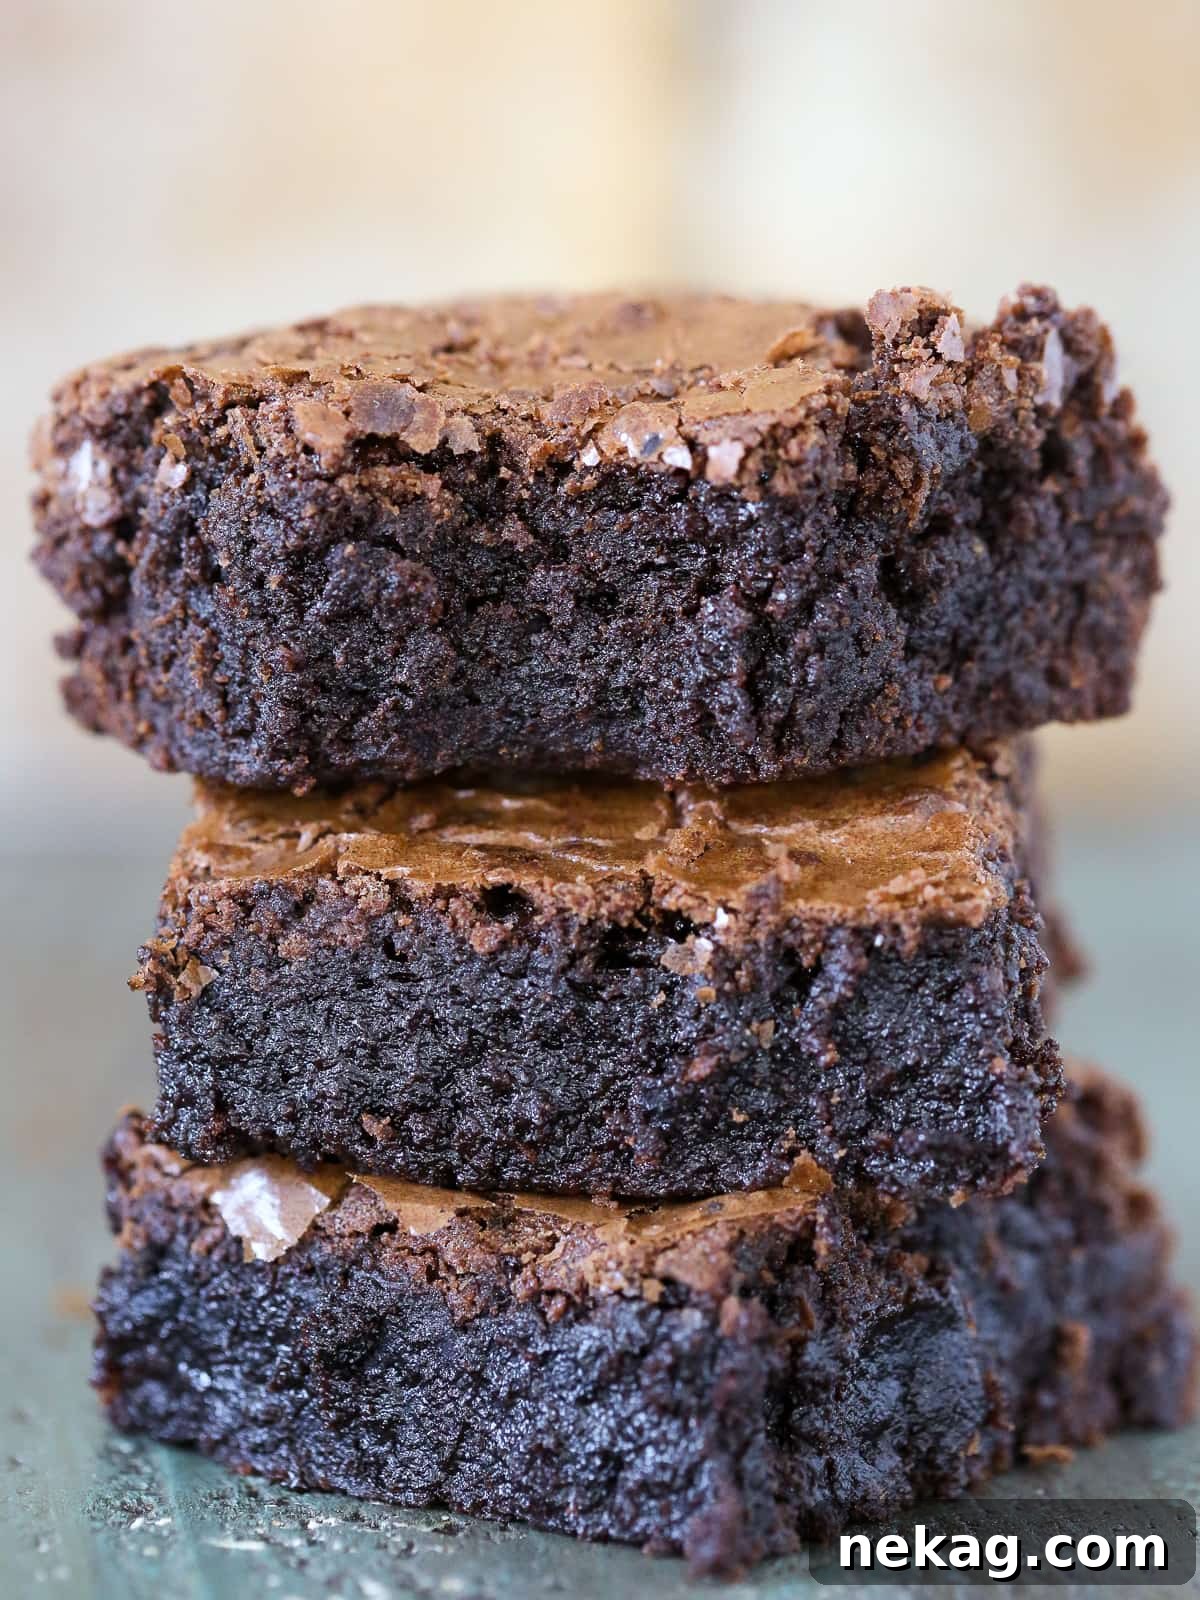
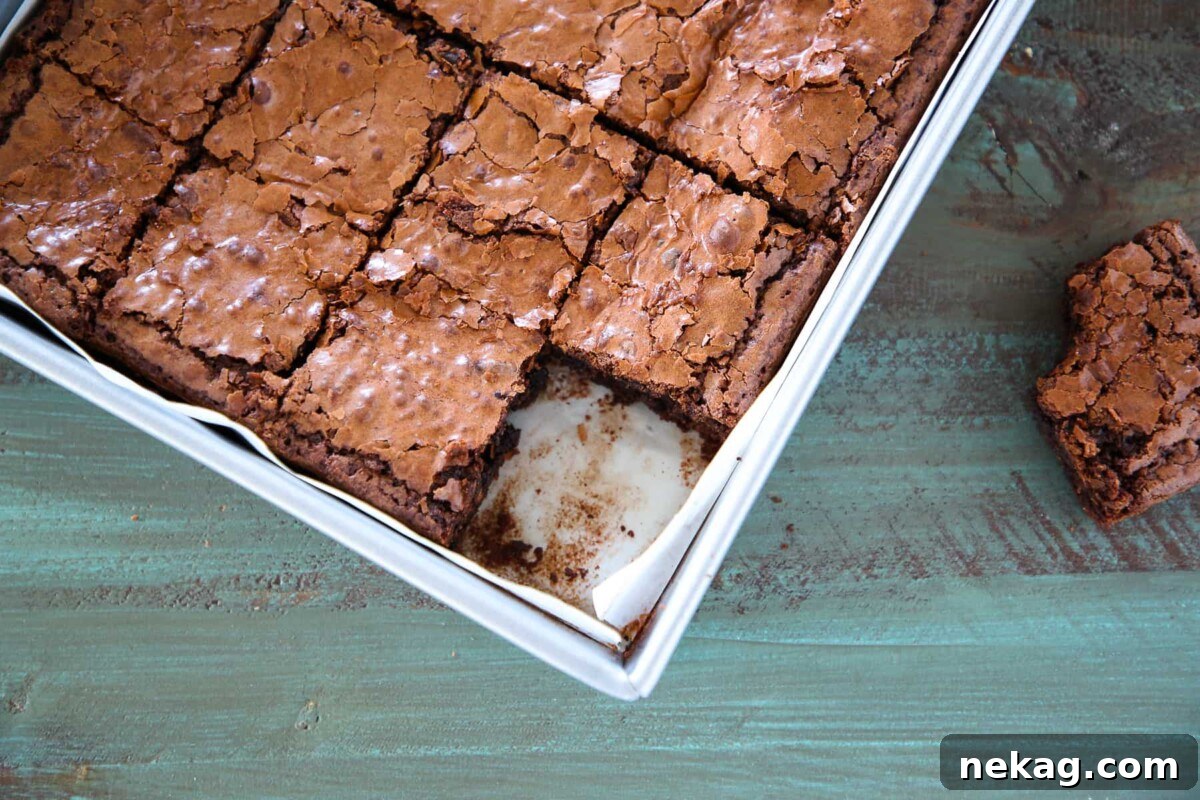
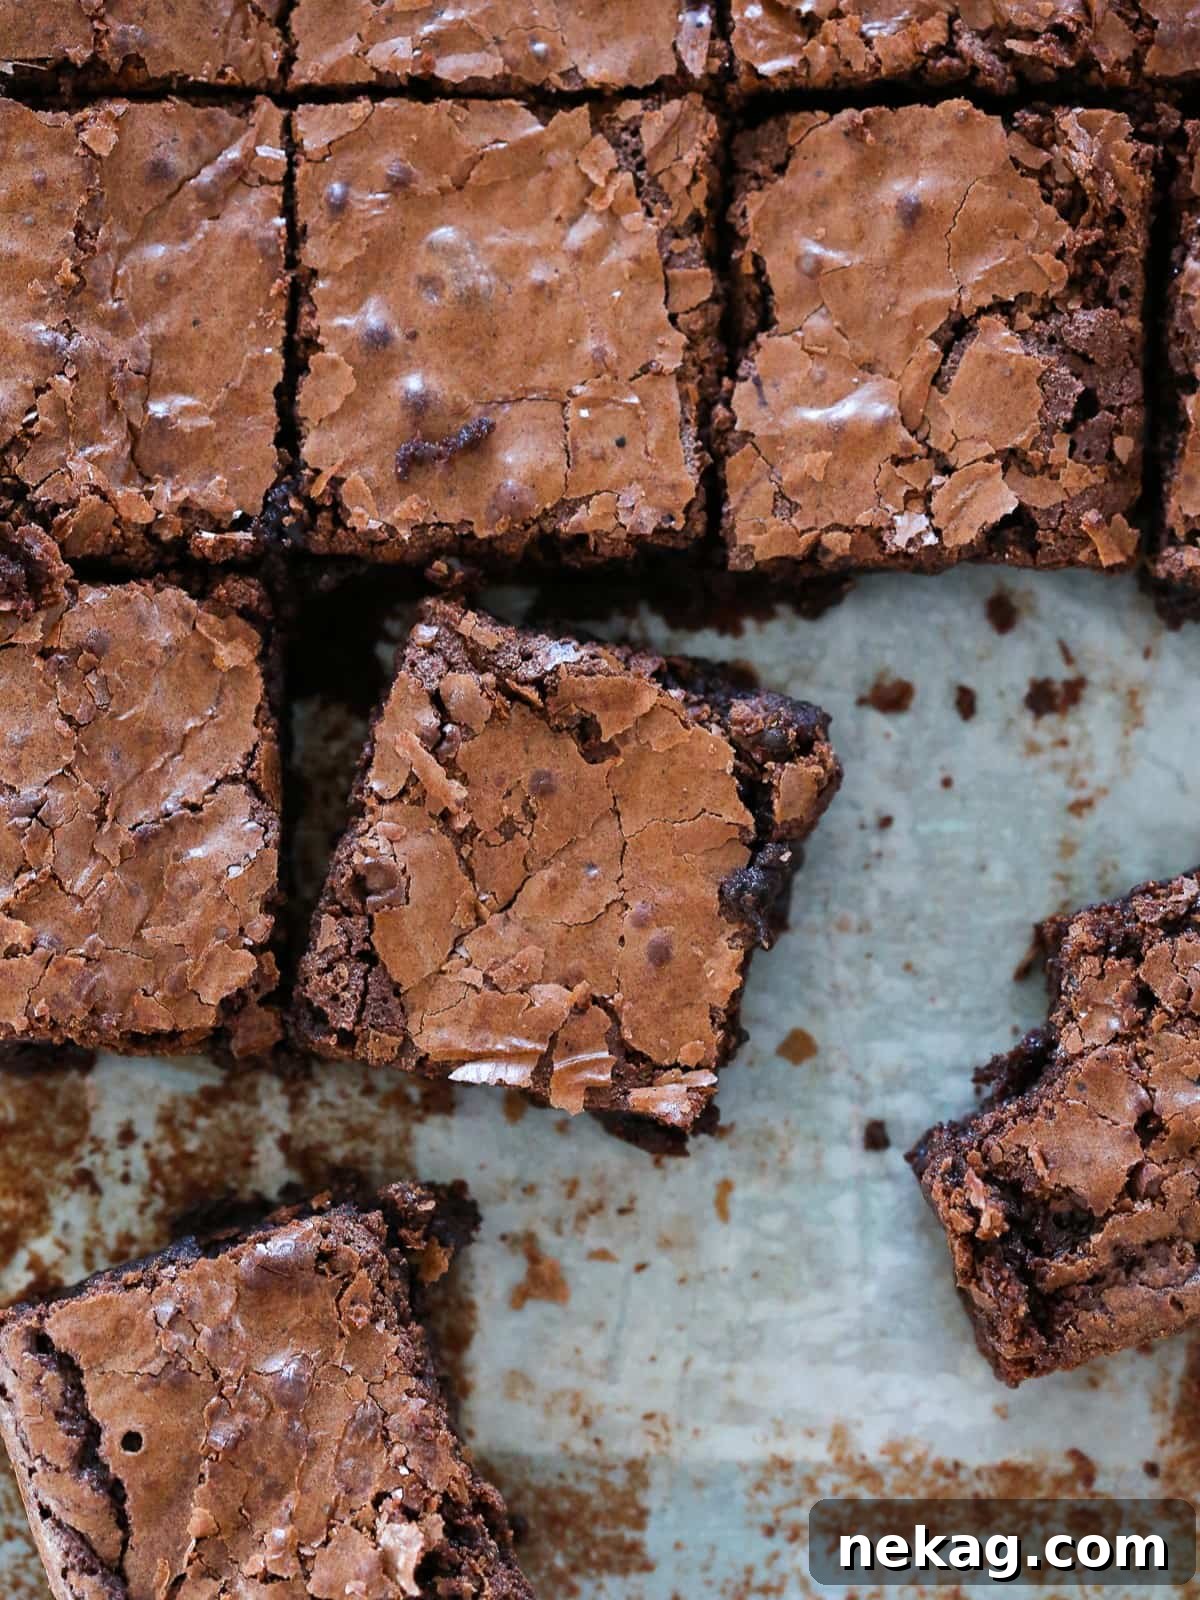
Prepare to discover the ultimate chocolate indulgence with this truly exceptional fudgy brownie recipe! These aren’t just any brownies; they are a perfected version of the nostalgic, beloved box-mix brownies we all grew up with, delivering that quintessential cakey-yet-gooey texture that makes every bite pure bliss. With a rich, deep chocolate flavor and that signature crackly top, these homemade fudgy brownies are destined to become your new go-to dessert for any occasion.
A Quick Look At The Recipe
This is a brief summary of the recipe. Jump to the recipe to get the full details.
Jump to Recipe
Prep Time
20 minutes
Cook Time
40 minutes
Total Time
1 hour
Servings
18 brownies
Difficulty
Easy
Calories *
390 kcal per serving
Technique
Mix dry ingredients, melt chocolate and butter, combine, and bake.
Flavor Profile
Deep chocolate flavor with a rich, fudgy texture and glossy top.
* Based on nutrition panel
Summarize & Save this content on
google ai
perplexity
grok
Why This is the Best Fudgy Brownie Recipe
What makes these brownies stand head and shoulders above the rest? It’s a combination of carefully selected ingredients and precise techniques that ensure a consistently perfect batch every single time. Forget dry, cakey brownies or overly sweet confections; these deliver on all fronts for a truly irresistible experience.
- Unrivaled Chocolate Flavor! We believe in a multi-layered approach to chocolate. This recipe combines the richness of melted dark chocolate with the deep, mellow notes of Dutch-processed cocoa powder. This dynamic duo ensures an intense, well-rounded chocolate profile that is complex and incredibly satisfying, far superior to recipes relying solely on cocoa or chocolate chips. You’ll taste the difference in every single bite.
- Nostalgic Texture with a Perfect Crackly Top. Achieving that beloved chewy yet fudgy interior, crowned with a thin, glossy, crackly crust, is the hallmark of a truly great brownie. We’ve meticulously tested this recipe to guarantee that exact texture, reminiscent of your fondest childhood memories. The secret lies in melting the butter and chocolate together, and crucially, whisking the eggs with the sugar until light and airy. This creates an emulsion that traps air and sugar, resulting in that delightful chewiness and iconic crackle.
- Effortlessly Easy to Make! Don’t let the gourmet results fool you – these incredible brownies are surprisingly simple to prepare. Once the butter and chocolate are melted, the entire batter comes together in a single bowl with just a whisk and a little stirring. You can have these delectable treats ready for the oven in under 15 minutes, making them perfect for last-minute cravings or entertaining. Minimal cleanup, maximum flavor!
- The Essential Mixing Order. This isn’t just a random sequence; the order in which you combine your ingredients is key to the brownies’ legendary texture. Whisking the eggs thoroughly with the granulated sugar before incorporating the melted butter and chocolate creates a stable emulsion. This ensures the sugar fully dissolves and aerates the eggs, contributing significantly to both the chewy interior and that coveted shiny, crackled surface. It’s a small step that yields monumental results.
Table of Contents
- Why This is the Best Fudgy Brownie Recipe
- Ingredients & Substitutions
- Variations for The Best Brownies
- How to Make This Fudgy Brownie Recipe
- Chef Lindsey’s Recipe Tip
- Recipe FAQs
- Recommended Brownie Recipes
- Fudgy Brownie Recipe
- Before You Go
These homemade fudgy brownies are truly a game-changer, far superior to any box mix you might find. Whether you’re an avid fan of the crispy, chewy edge pieces or prefer the soft, gloriously gooey middle, these brownies are guaranteed to satisfy every craving. The edges achieve that perfect slight crispness, while the centers remain wonderfully soft and intensely fudgy. Feel free to incorporate your favorite mix-ins, or let the pure, unadulterated chocolate flavor shine through, just as in our popular one-bowl brownies and fudgy brownie cookies.
As a passionate advocate for rich, chocolatey desserts, I wouldn’t dream of letting cocoa powder carry the entire flavor burden! Much like my acclaimed banana brownies and browned butter brownies, this recipe welcomes generous amounts of melted dark chocolate and luscious butter to the party. Yet, despite its depth of flavor, the preparation remains remarkably straightforward; everything comes together beautifully with a simple whisk and a bit of enthusiastic stirring. Get ready to impress yourself and everyone lucky enough to taste these ultimate chocolate brownies.
Essential Ingredients & Smart Substitutions
Crafting the perfect fudgy brownie begins with understanding the role each ingredient plays. Here’s a closer look at what you’ll need and how you can adapt the recipe:
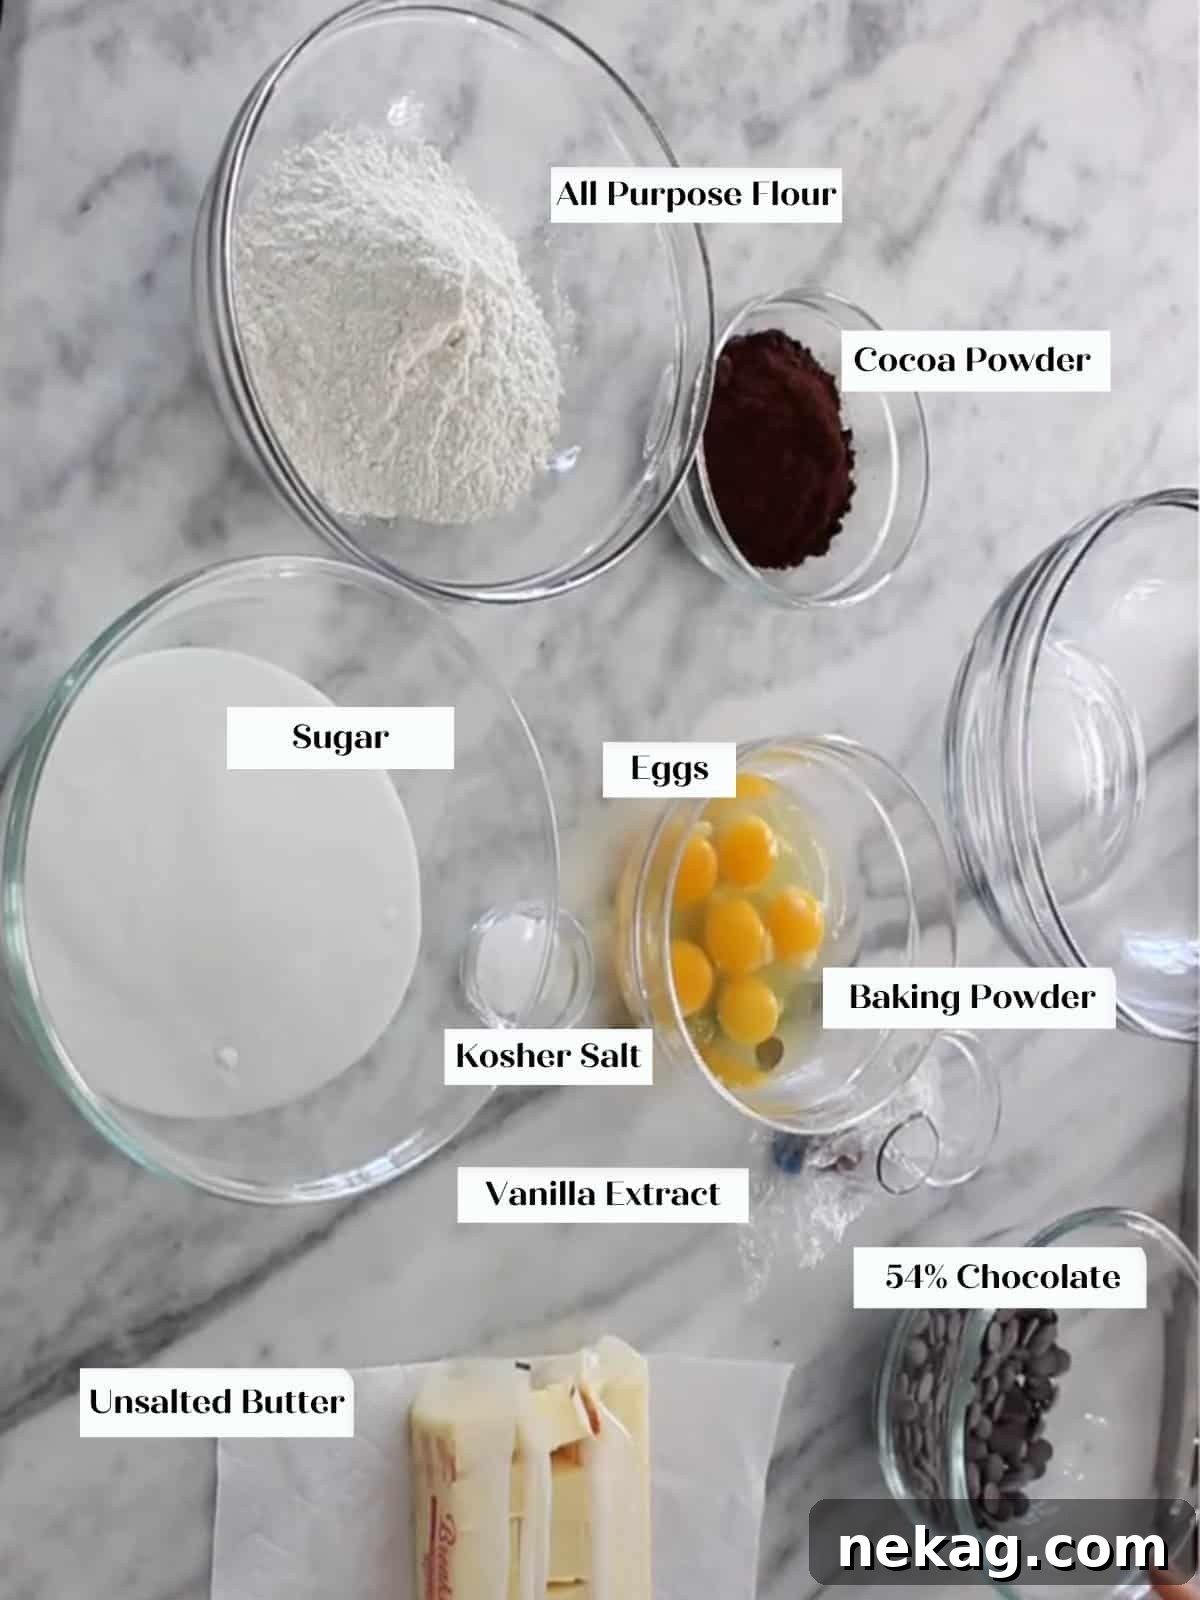
- All-purpose Flour: This provides the primary structure for our brownies. Using all-purpose flour ensures a balanced texture – not too dense, not too airy. Avoid using self-rising flour, as it contains leavening agents that will alter the rise and texture.
- Cocoa Powder: For this recipe, I highly recommend Dutch-processed cocoa powder. It’s treated with an alkaline solution, giving it a darker color and a rich, less bitter, more mellow chocolate flavor compared to natural cocoa. However, if you only have natural cocoa powder (like Hershey’s), you can certainly use it. The flavor will be slightly different, but still delicious, and since baking powder is our main leavener, you won’t need the acidity from natural cocoa to activate it.
- Kosher Salt: A pinch of salt is crucial for enhancing the chocolate flavor and balancing the sweetness. Don’t skip it; it truly makes the chocolate sing!
- Baking Powder: Our chosen leavener provides a subtle lift, giving the brownies that perfect slightly cakey, yet still fudgy, texture without being overly dense.
- Unsalted Butter: Melting the butter is a key technique here. It contributes to the desired glossy, crackly top and adds a significant amount of fat, which is essential for that signature chewy and intensely fudgy brownie consistency. Using unsalted butter allows you to control the overall salt content in the recipe.
- Dark Chocolate: For the ultimate flavor, I suggest using chopped dark chocolate with a cocoa solid percentage between 54% and 65%. This range strikes a beautiful balance, offering deep chocolate notes without being overly bitter, complementing the sweetness of the sugar. Chopping a high-quality chocolate bar is always preferable to using semi-sweet chocolate chips, as bar chocolate melts more smoothly and incorporates more evenly into the batter, ensuring a uniform fudgy texture.
- Large Eggs: Eggs are multifunctional in this recipe. They provide essential moisture, contribute to the leavening alongside baking powder, and add richness through their yolks. Furthermore, the eggs are vital for emulsifying the batter, which is critical for that flawless, consistent texture and the coveted crackly top.
- Vanilla Extract: A touch of pure vanilla extract rounds out the chocolate flavor, adding warmth and complexity. For an interesting twist, consider swapping it for coffee extract (see variations below).
- Granulated Sugar: Granulated sugar not only sweetens the brownies but also plays a crucial role in creating the crackly top. When whisked with the eggs, the sugar crystals help create a stable emulsion that results in that shiny, flaky surface during baking.
See the recipe card below for full information on specific ingredient quantities and detailed measurements.
Unleash Your Creativity: Brownie Variations
While these fudgy brownies are spectacular on their own, they also serve as the perfect canvas for your culinary imagination. Feel free to experiment with these delicious variations to make them uniquely yours:
- Mix-Ins Galore! These brownies are an ideal vessel for almost any sweet addition. Imagine them studded with chopped Reese’s peanut butter cups, colorful M&M’s, chunks of Snickers bars, or crushed OREO cookies. Beyond candies, consider adding a cup of milk chocolate chips, white chocolate chips, or butterscotch chips for different flavor dimensions. You could even lean fully into a butterscotch theme and make a batch of delightful butterscotch brownies (blondies)!
- Frosting Fantasies. Elevate your brownies with a luscious layer of frosting. The possibilities are endless! For a bright contrast, try a zesty lemon buttercream frosting. If you prefer a tangy sweetness, our cream cheese buttercream is divine. For a light and airy topping, a fluffy marshmallow frosting is fantastic. Or, if you’re a true chocoholic, double down on the chocolate with a silky chocolate fudge glaze. During the holidays, infuse a festive spirit by topping them with our refreshing peppermint frosting, just like my popular peppermint triple chocolate brownies.
- Go Nuts! For a delightful textural contrast and nutty flavor, fold in about ¾ to 1 cup of your favorite chopped nuts. Walnuts, pecans, peanuts, or hazelnuts all work wonderfully. You can even choose to add nuts to only half the batter if you prefer, or simply sprinkle them untoasted on top before baking for a visual crunch.
- A Hint of Coffee. Coffee is a secret weapon for intensifying chocolate flavor without making the dessert taste like coffee itself. You can achieve this in a couple of ways: swap out the vanilla extract for an equal amount of coffee extract, or dissolve a tablespoon of instant espresso powder or instant coffee granules into the melted butter and chocolate mixture before adding it to the eggs. This subtle addition will make the chocolate taste even richer and deeper.
Step-by-Step Guide: Crafting Your Fudgy Brownies
Follow these detailed instructions to create perfectly chewy, fudgy brownies every time! More precise measurements and details can be found in the comprehensive recipe card below.
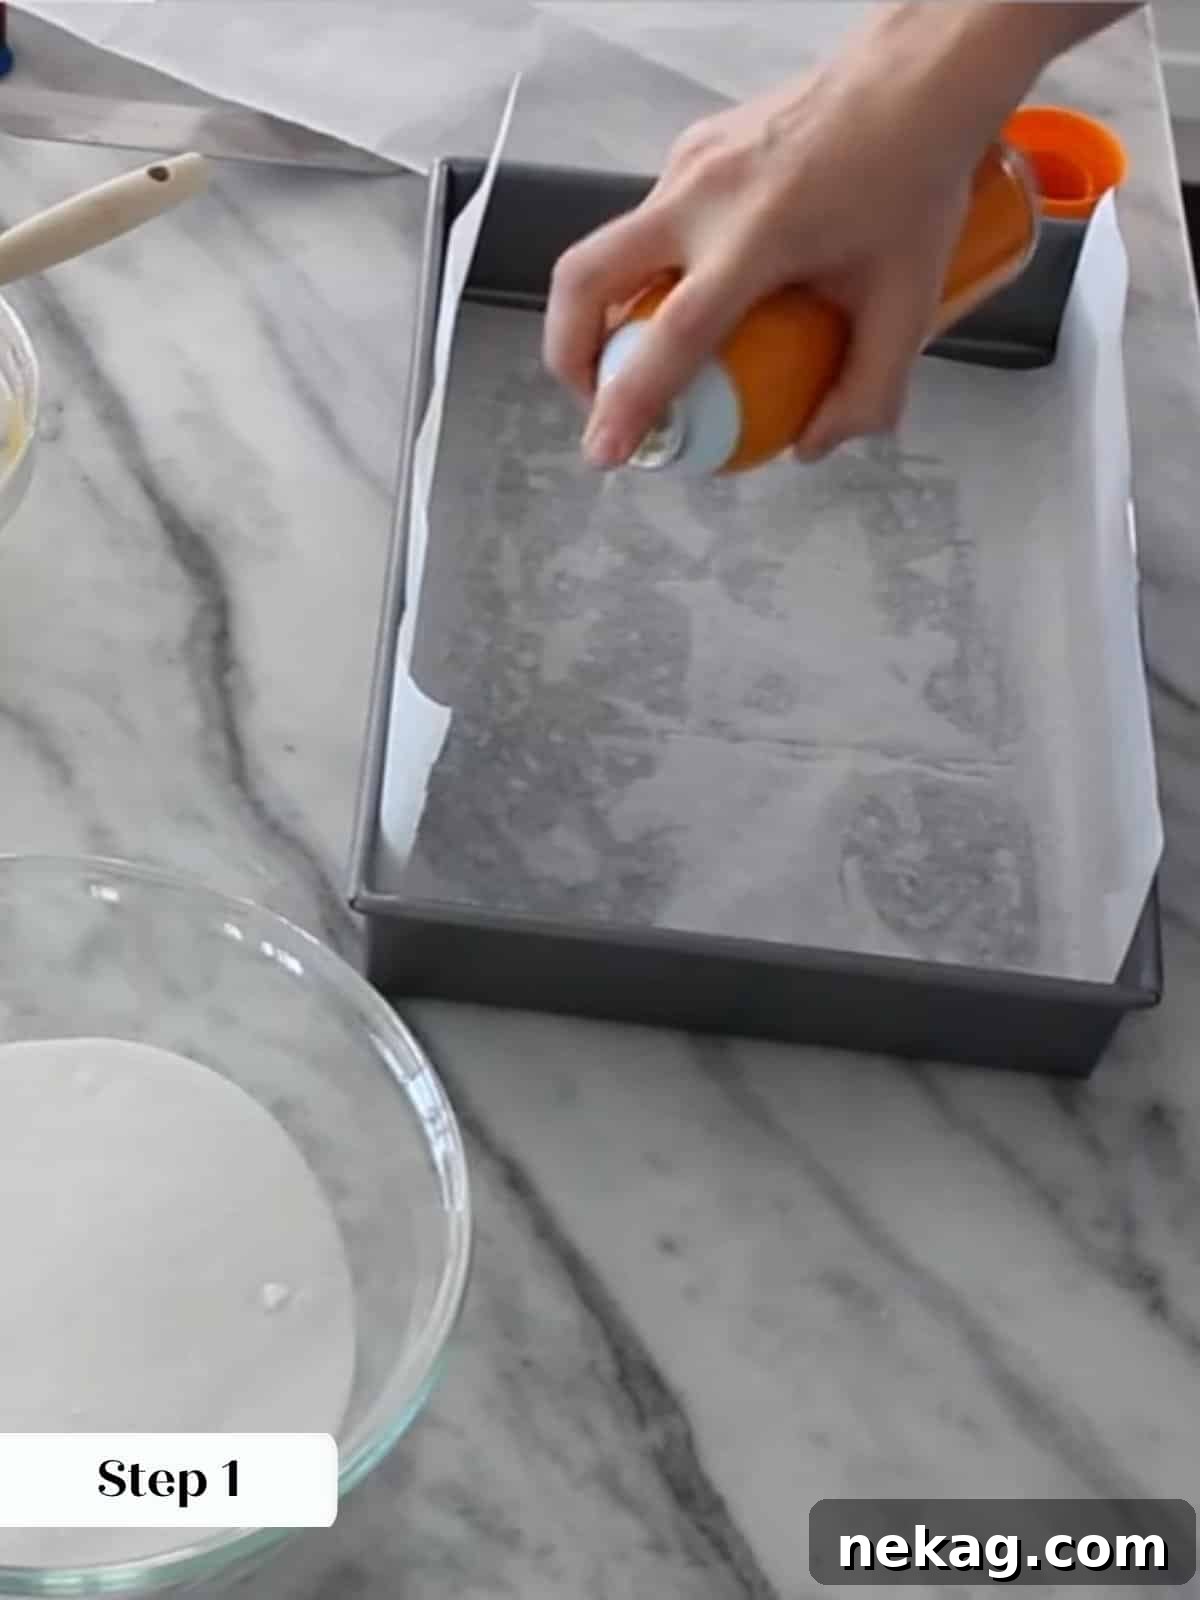
Step 1: Prep the Pan. Begin by preheating your oven to 325°F (160°C). Prepare a 9×11-inch baking pan by lining it with two strips of parchment paper, criss-crossing them to create “handles” that will make it incredibly easy to lift the baked brownies out of the pan later (photo 1).
Pro Tip for Easy Removal: I always leave my parchment paper strips generously overhanging the sides of the pan. This creates convenient handles for effortlessly lifting the entire slab of cooled brownies. While you can spray the pan with cooking spray, parchment paper guarantees a much cleaner and smoother release, especially important for presentation.
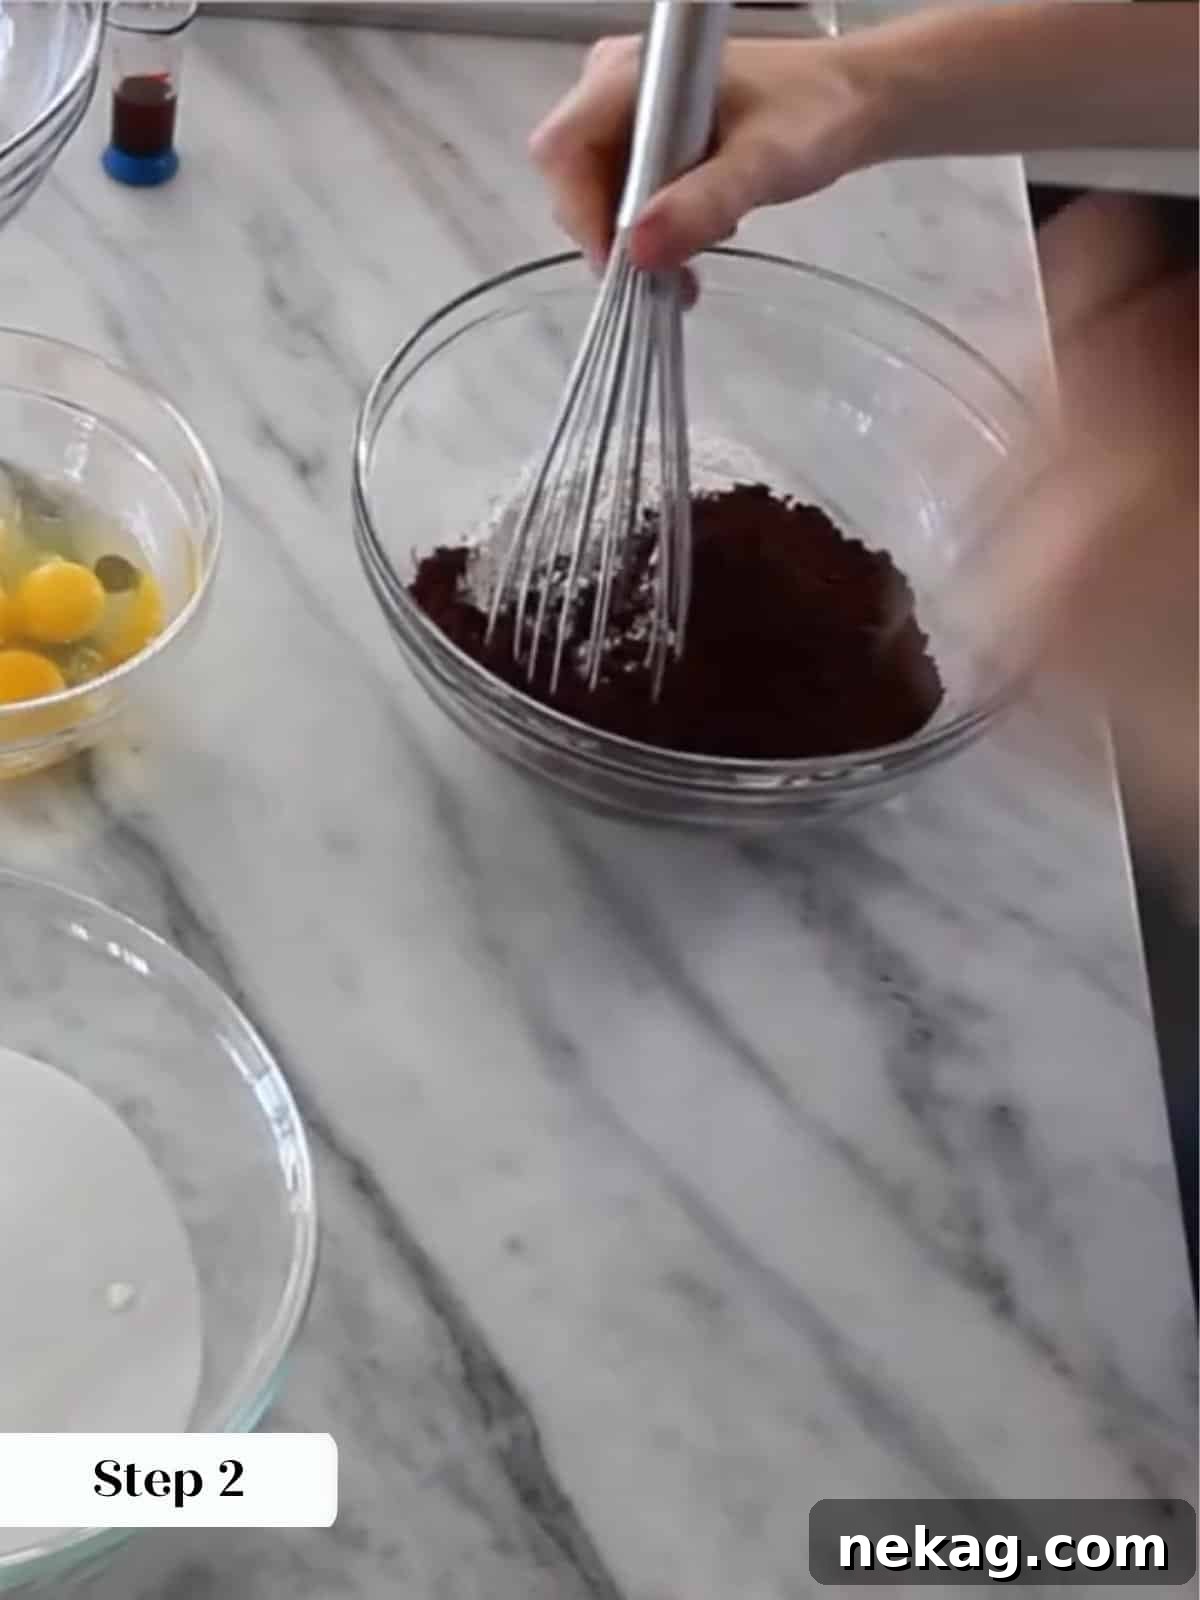
Step 2: Combine Dry Ingredients. In a large mixing bowl, whisk together the all-purpose flour, cocoa powder, kosher salt, and baking powder until thoroughly combined and lump-free. Set this mixture aside (photo 2).
Sifting for Smoothness: If your cocoa powder tends to be lumpy, I highly recommend sifting it before adding it to the flour mixture. This extra step prevents unmixed pockets of dry cocoa powder in your final brownie batter, ensuring a uniform chocolatey goodness.
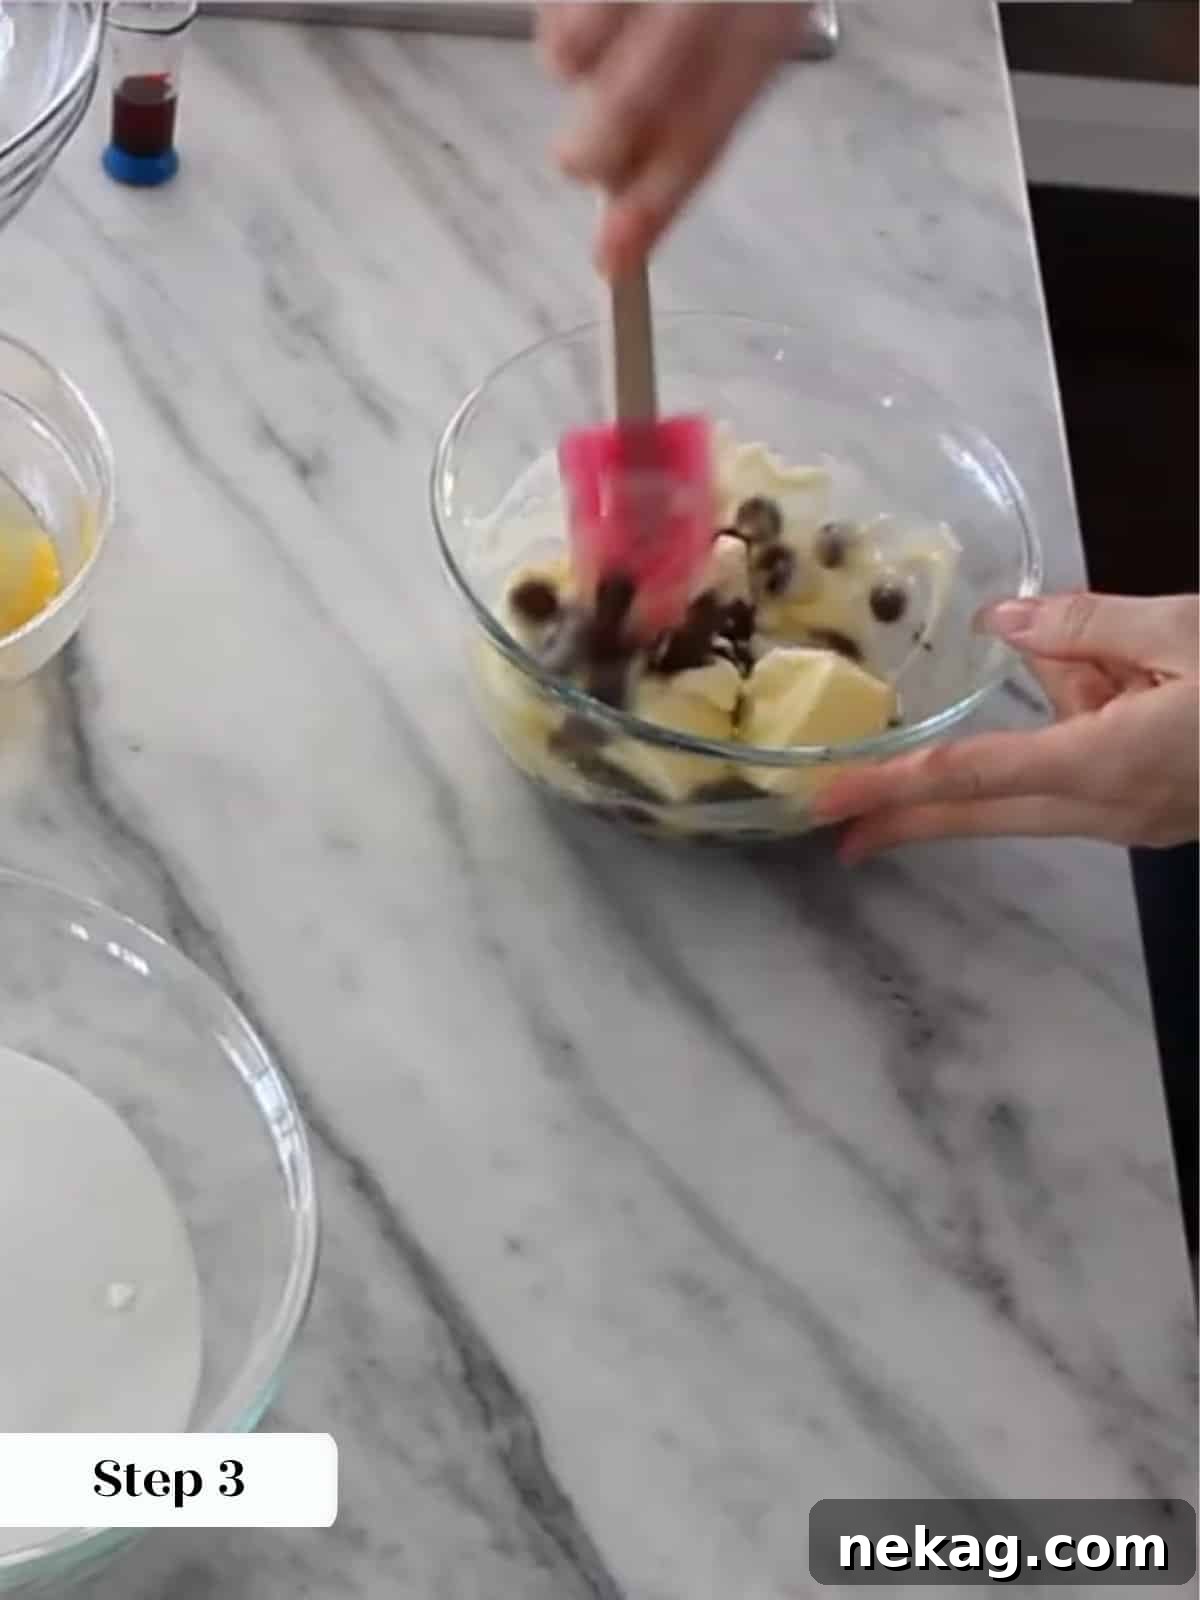
Step 3: Melt Chocolate and Butter. In a microwave-safe bowl, or over a double boiler (a bowl set over a pot of simmering water), melt the unsalted butter and dark chocolate together. Stir occasionally until the mixture is completely smooth and glossy. Be careful not to overheat the chocolate (photo 3).
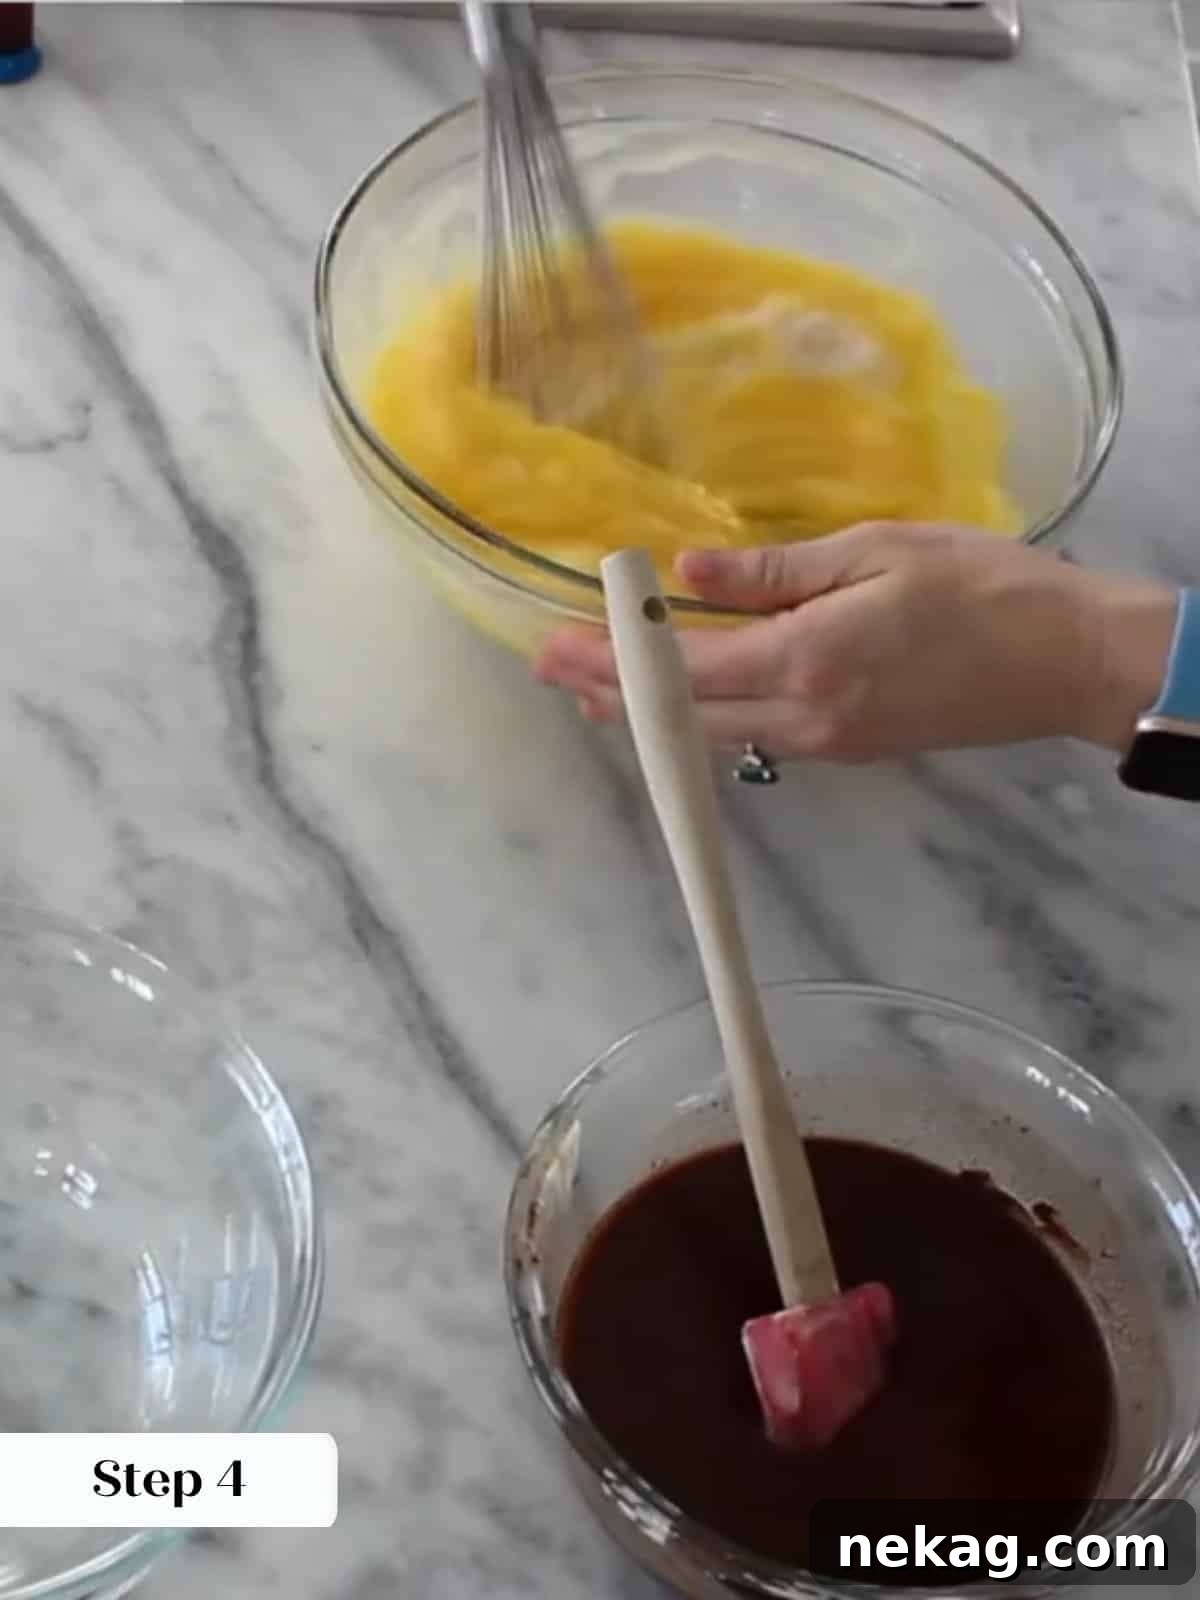
Step 4: Whisk Eggs and Sugar. In another large bowl, crack your eggs. Add the granulated sugar and vanilla extract. Whisk vigorously and continuously until the mixture is well combined, light in color, and slightly thickened, with absolutely no streaks of egg remaining. This process, often referred to as reaching the “ribbon stage,” is crucial for the crackly top and chewy texture (photo 4).
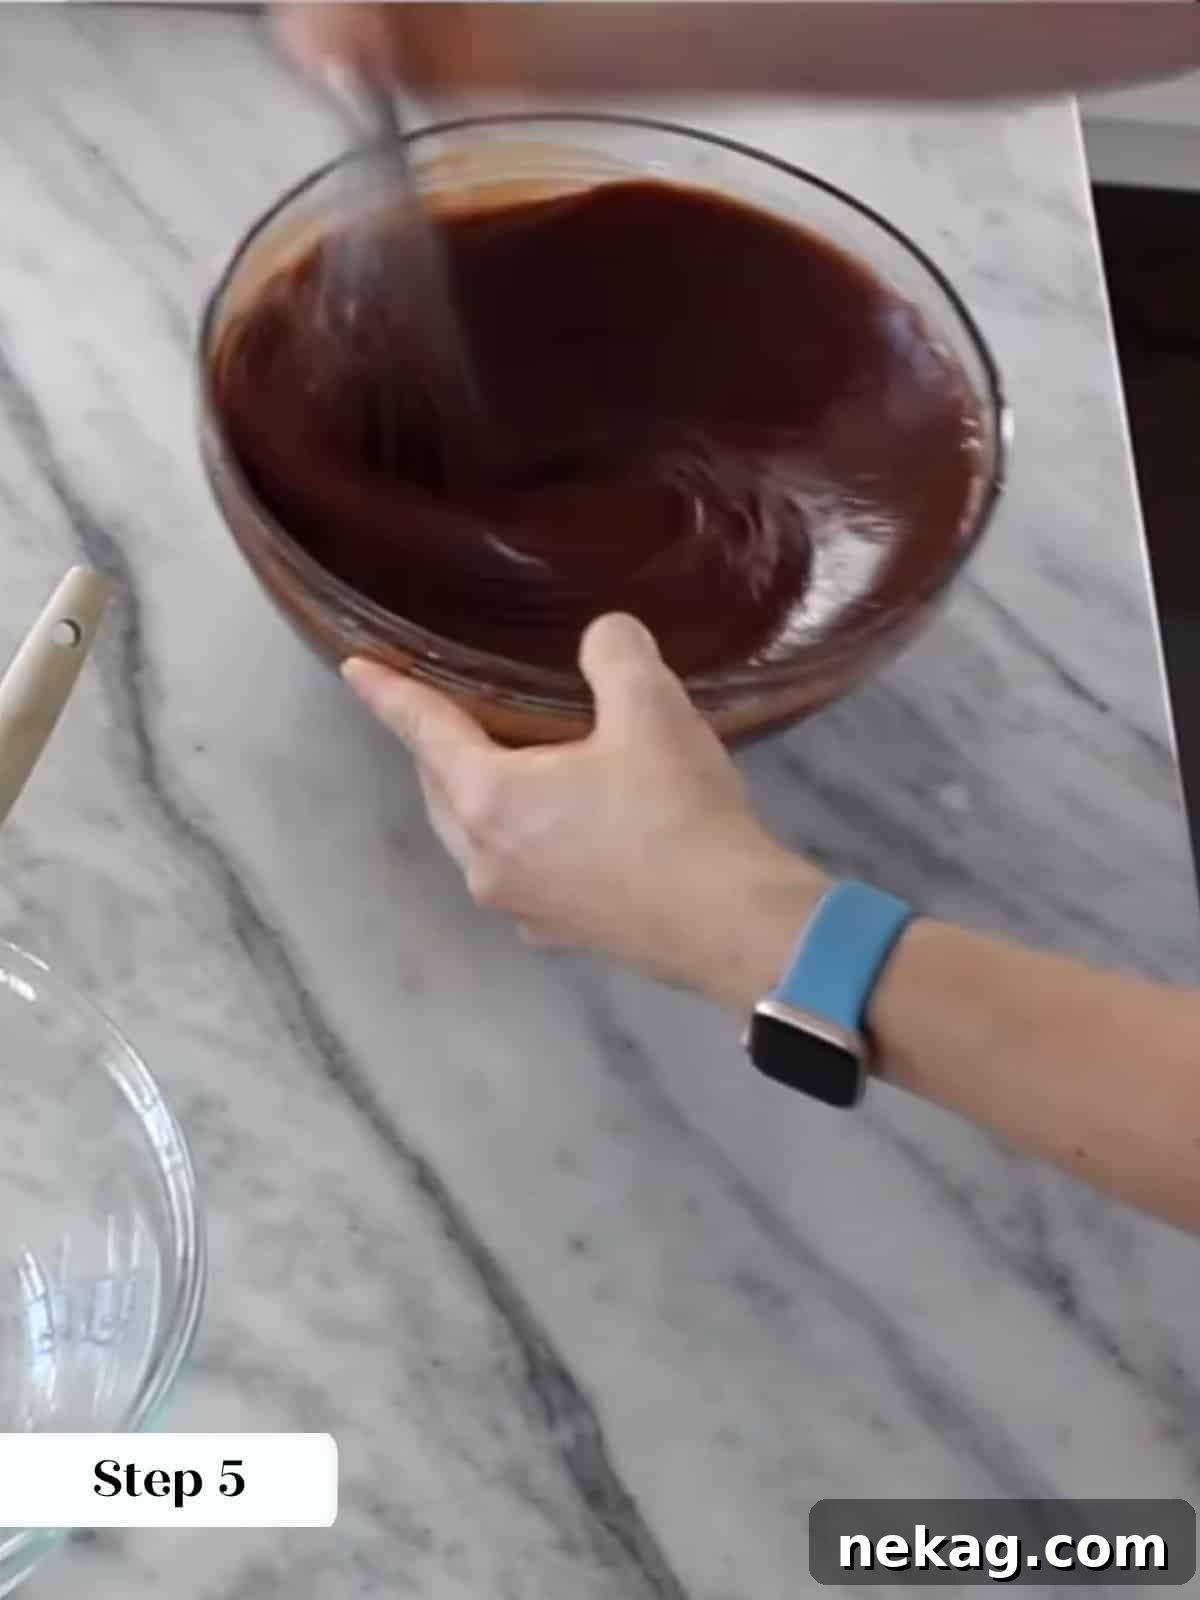
Step 5: Add the Melted Butter and Chocolate. Carefully pour the slightly cooled melted butter and chocolate mixture into the egg and sugar mixture. Whisk gently until everything is beautifully incorporated and the batter is a uniform chocolate color (photo 5).
Temperature Check: It’s crucial that your chocolate-butter mixture isn’t too hot when you add it to the eggs. If it feels too warm to the touch, allow it to cool slightly at room temperature, or even over an ice bath while stirring frequently, to avoid scrambling the eggs.
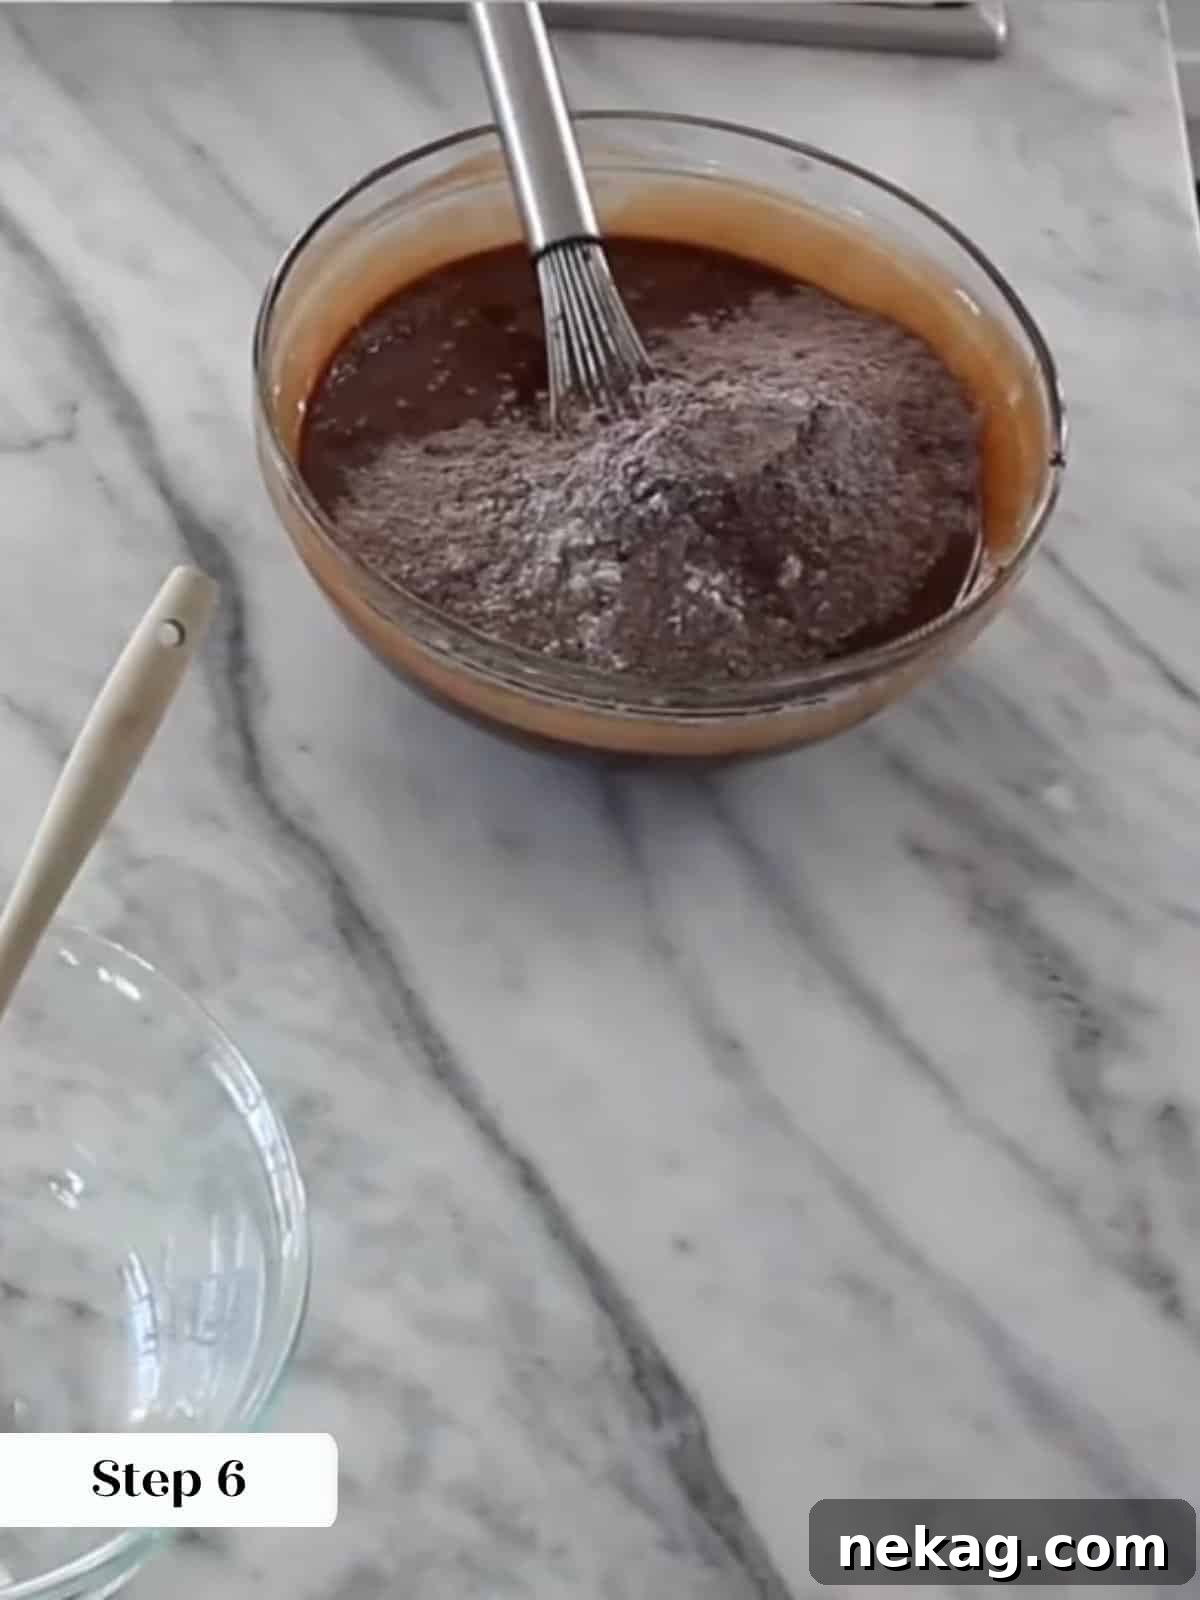
Step 6: Incorporate the Dry Ingredients. Add the reserved dry ingredients (flour, cocoa, salt, baking powder) to the wet mixture. Use a whisk or a rubber spatula to gently fold them in. Mix just until no streaks of dry flour remain. Be very careful not to overmix, as this can lead to tough brownies (photo 6).
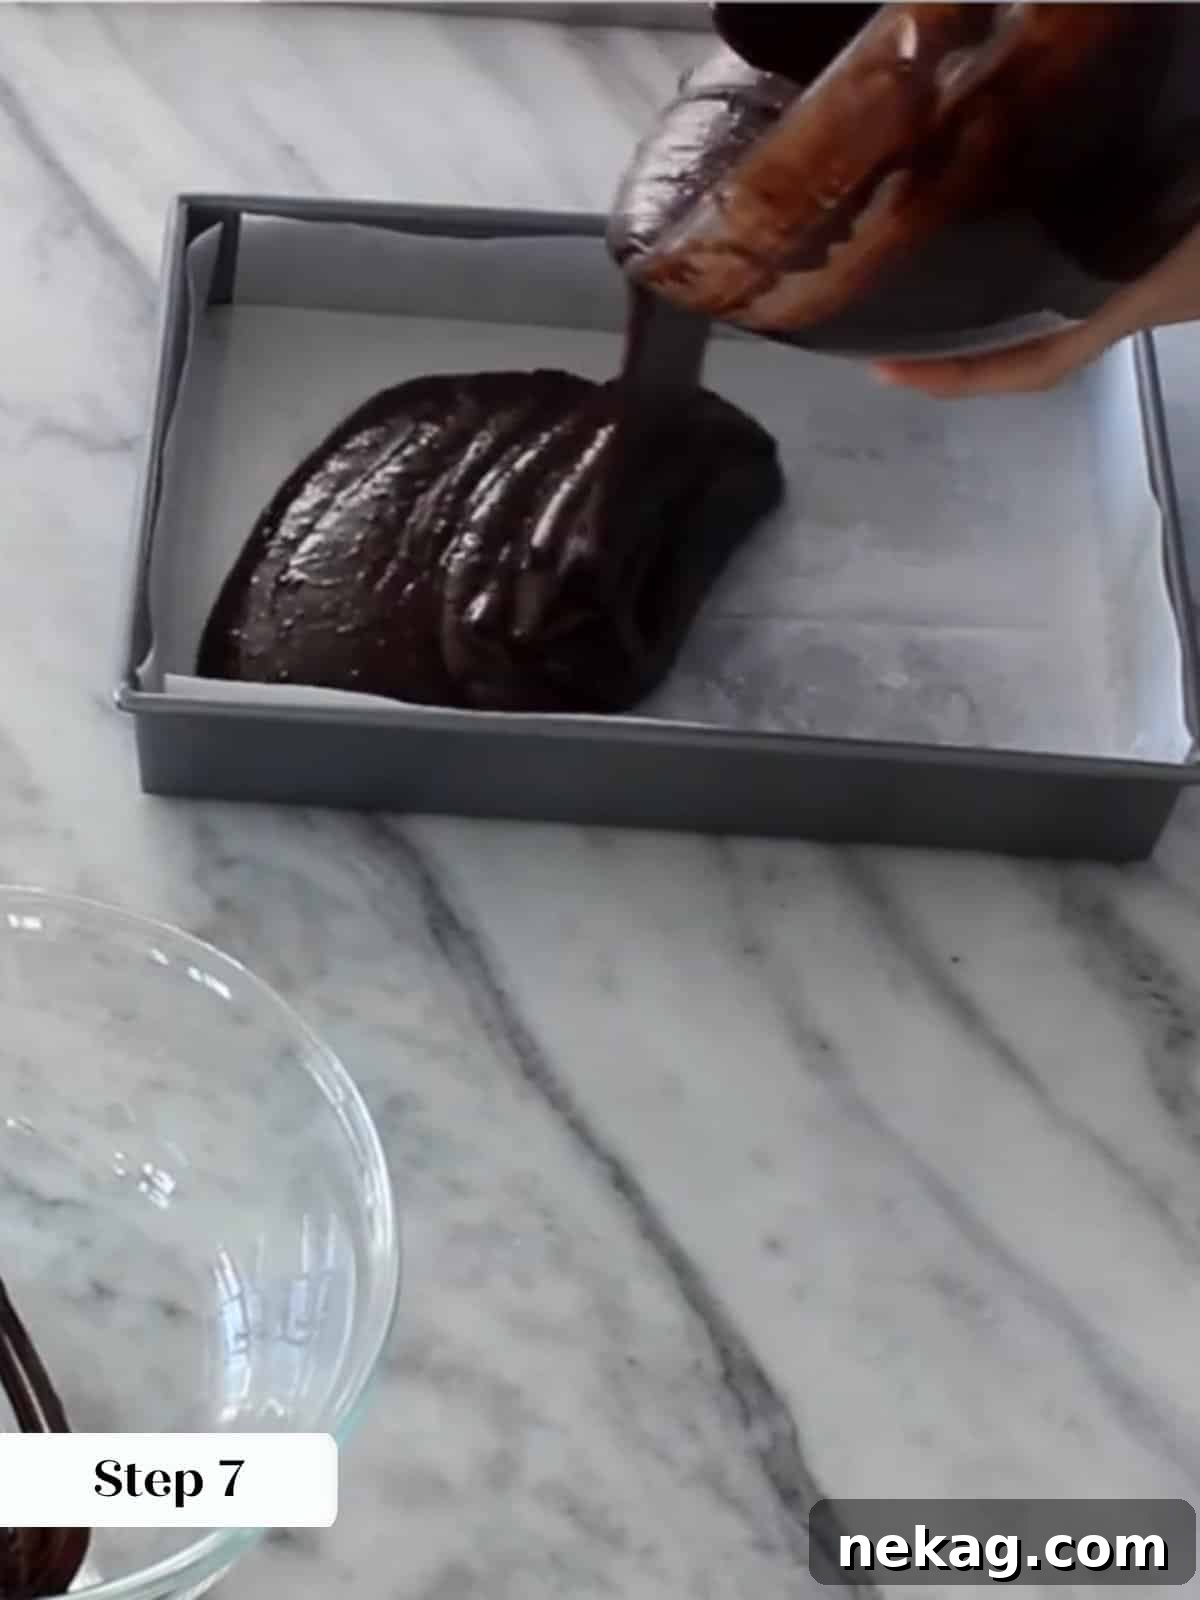
Step 7: Bake to Perfection. Pour the thick, luscious brownie batter evenly into your prepared pan. Place it into the preheated oven and bake for 38-40 minutes. The brownies are ready when the middle has puffed up slightly, and a cake tester inserted into the center comes out clean with just a few moist crumbs clinging to it, indicating that perfect fudgy consistency (photo 7).
Step 8: Cool Completely. This step is non-negotiable for the best texture and clean cuts! Allow the brownies to cool completely in the pan on a wire rack before attempting to cut them or remove them. Cooling allows the brownies to set fully, intensifying their fudginess and making them much easier to handle (photo 8).
Chef Lindsey’s Recipe Tip: The Importance of Your Baking Pan
When it comes to achieving that coveted crackly top and chewy texture, the choice of your baking pan truly makes a difference. A metal pan or baking dish, particularly one made from aluminum, will yield the absolute best results. Metal conducts heat more efficiently and evenly, promoting quicker baking and helping to create that delightful flaky crust on top. While a ceramic or glass baking pan will still produce a beautiful and wonderfully gooey brownie, the superior heat distribution of metal will give you that characteristic top crust that makes these fudgy brownies truly shine.
Frequently Asked Questions (FAQs)
Once baked and cooled, store these delectable brownies in an air-tight container at room temperature for up to 3 days. For extended freshness, they can be refrigerated for up to a week. For longer storage, freeze them for up to 2 months. Zip-top plastic bags also work wonderfully for both refrigeration and freezing, ensuring they stay moist and delicious.
Yes, you absolutely can! While Dutch-processed cocoa powder provides a richer, darker color and a slightly milder chocolate flavor, natural unsweetened cocoa powder will also work beautifully in this recipe. Since these brownies rely on baking powder for leavening, you don’t need the acidity from natural cocoa to react with baking soda (which isn’t used here). The flavor profile will be a bit sharper and more intensely chocolatey, but equally delicious.
The glossy, crackly top is a hallmark of excellent fudgy brownies, and it’s achieved through a few key steps. First, melting the butter with the chocolate helps create a stable, fat-rich batter. Second, and most importantly, vigorously whisking the eggs with the sugar until light and airy creates an emulsion that traps sugar crystals and air, which then forms that delicate, shiny crust as it bakes. Finally, avoiding overmixing the batter after adding the dry ingredients is crucial, as too much gluten development can toughen the texture and inhibit the crackle.
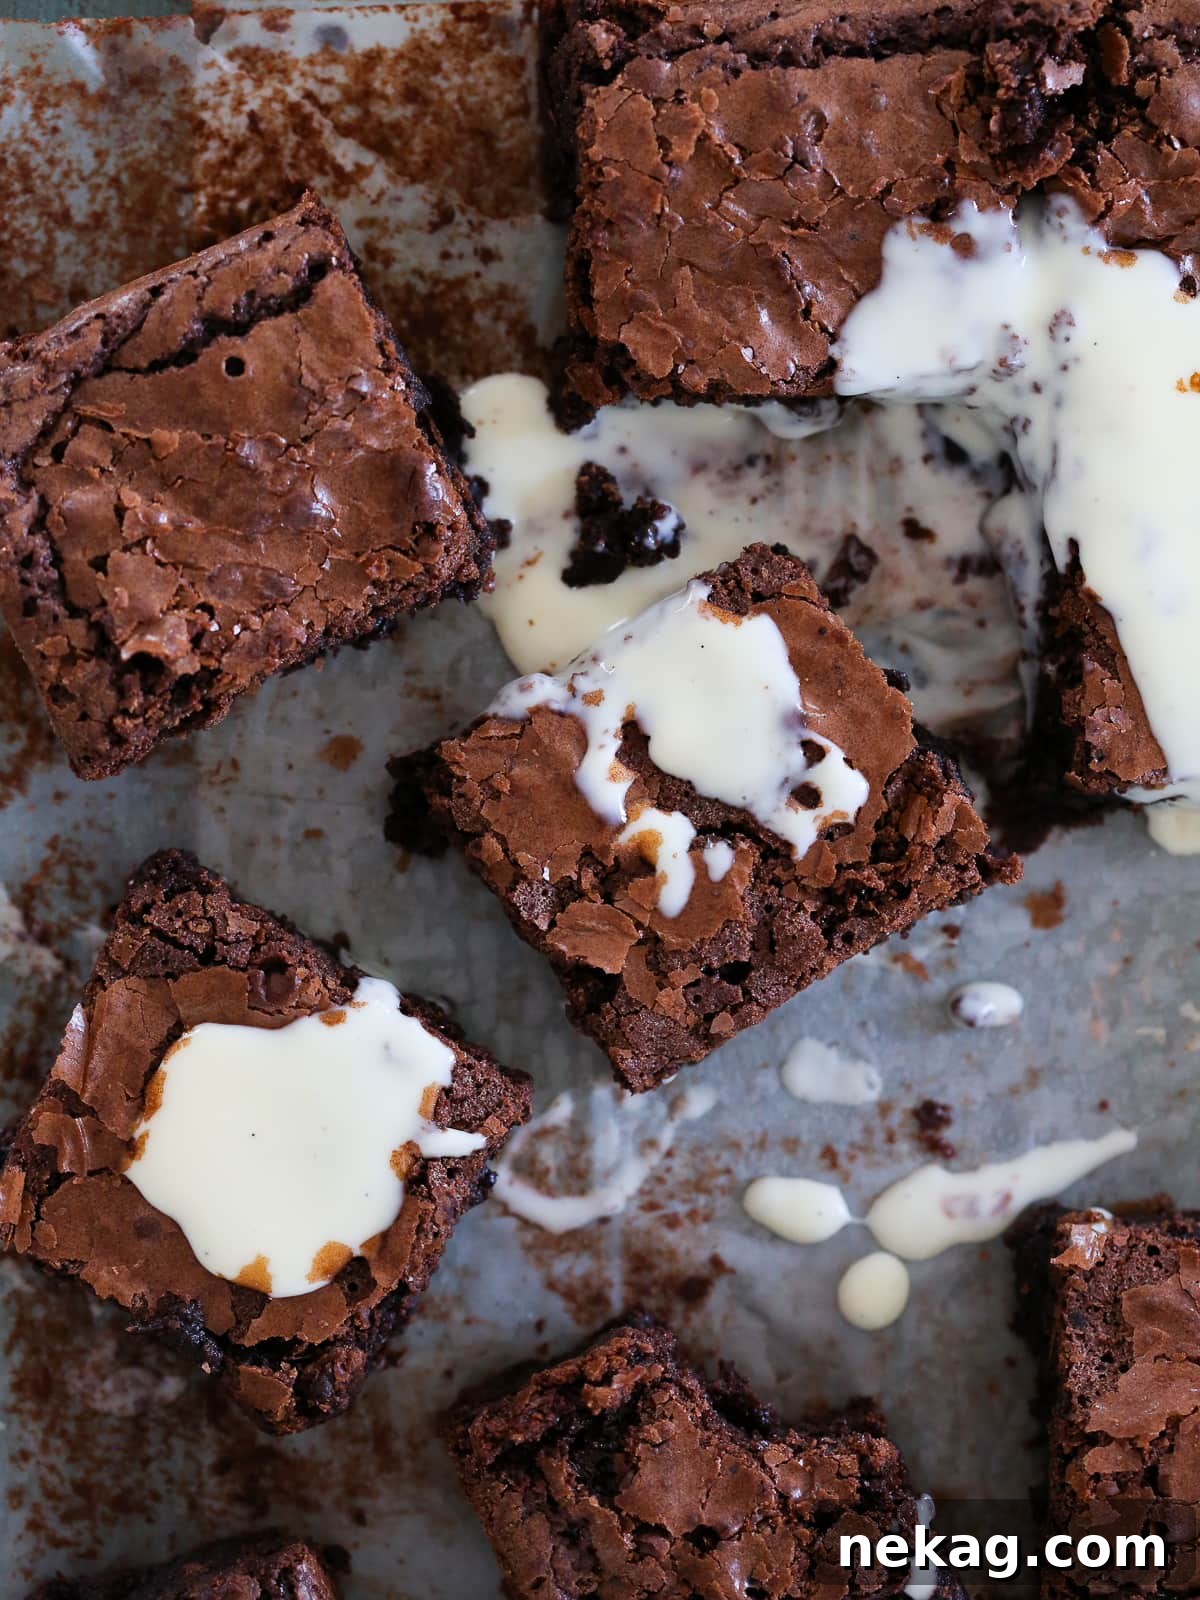
A warm brownie straight from the oven is a classic delight, but you can elevate the experience even further! They are incredibly delicious with a scoop of creamy vanilla bean ice cream, a drizzle of elegant crème anglaise, or even a dollop of whipped cream. For a fun twist, chop the brownies into bite-sized pieces and use them as a topping for an indulgent ice cream sundae with your favorite sauces and sprinkles!
More Irresistible Brownie Recipes
Brownies & Bars Recipes
One Bowl Brownies
Christmas Cookie Recipes
Brownie Cookies
Brownies & Bars Recipes
Brown Butter Brownies
Brownies & Bars Recipes
Caramel Brownie Recipe
If you tried this recipe and loved it, please leave a 🌟 star rating and let me know how it goes in the comments below. I love hearing from you; your comments make my day!
Fudgy Brownie Recipe
Comment
Print Recipe
Ingredients US Customary 1x
- 1 ½ cups all-purpose flour
- ⅔ cups cocoa powder
- 2 teaspoons kosher salt
- ¾ teaspoon baking powder
- 1 ½ cups unsalted butter
- 1 cup 54% chocolate or anything bittersweet
- 6 eggs
- 2 teaspoons vanilla extract or 1 teaspoon of coffee extract
- 2 ⅔ cups sugar
Instructions
-
Preheat oven to 325°F. Prepare a 9×11 inch pan with criss-crossed parchment paper to create a handle.
-
In a large bain or bowl, whisk together flour, cocoa, salt, baking powder; set aside.
-
Melt together the butter and chocolate in the microwave or in a bowl over boiling water.
-
In a large bowl, whisk the eggs and add the sugar and vanilla extract. Whisk until well combined, with no streaks of egg remaining.
-
Add the melted butter and chocolate to the egg mixture and whisk until well incorporated. If your chocolate mixture is too hot, cool it in the fridge or over an ice bath, stirring frequently.
-
Add the dry ingredients. You can whisk them in or use a rubber spatula to fold them in.
-
Pour the brownie batter into the prepared pan and bake in the preheated oven for 38-40 minutes or until the middle of the brownie has puffed and a cake tester comes out clean with no clinging crumbs.
-
Cool completely before icing or removing from the pan.
Video
Notes
Presentation – For the cleanest cut, allow the brownies to cool completely or refrigerate them before cutting.
Flavor Tips – Since chocolate is the star of these brownies, use the highest-quality chocolate you can find. I wholeheartedly support you, whatever you decide, but an extra drizzle of salted caramel sauce at the end is just divine.
Technique – I find it helpful to mix the dry ingredients separately in their own bowl so that the gluten isn’t overdeveloped. I want that perfect level of chewiness in your brownie!
Storage – Store baked brownies in an airtight container at room temperature, refrigerated, or frozen. Zip-top plastic bags also work nicely. These brownies will keep for 3 days at room temperature, a week in the refrigerator, or 2 months in the freezer.
Nutrition
Before You Go
We hope you’ve thoroughly enjoyed this ultimate fudgy brownie recipe and that it brings a wave of sweet nostalgia and pure chocolate joy to your kitchen. There’s truly nothing quite like a perfectly baked homemade brownie! If you’re eager to explore more delightful baked goods, be sure to check out our other fantastic brownie and bar recipes. You might love our rich Reese’s peanut butter blondies or the bright and zesty lemon blondies. Happy baking!