
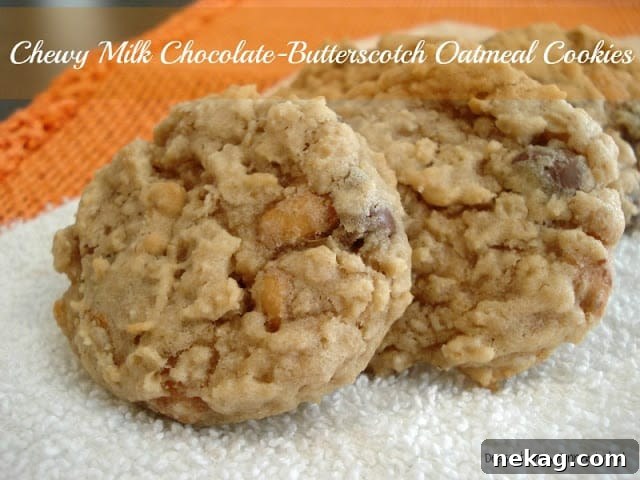
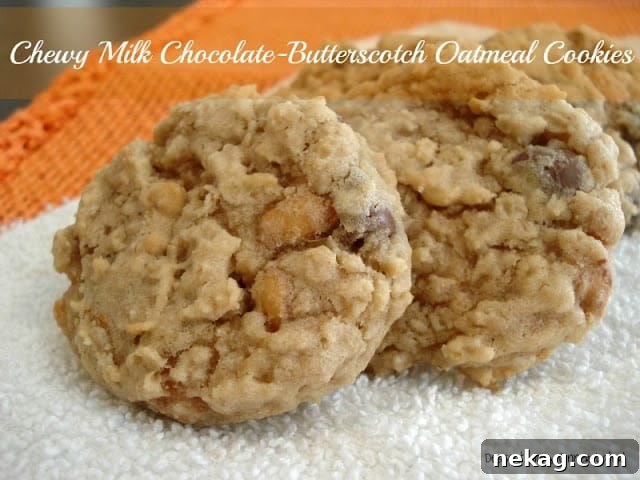
Are you a fan of butterscotch chips? They often get a reputation as an “older” flavor, but I think they bring a warm, caramel-like sweetness that’s timeless. If you love chewy oatmeal cookies and a touch of nostalgia, these Chewy Milk Chocolate-Butterscotch Oatmeal Cookies are for you. Even if you’re on the fence about butterscotch, the recipe balances half milk chocolate and half butterscotch chips so the flavor is rounded and satisfying.
This recipe comes from my mother — literally typed on a recipe card with a typewriter — so you know it has stood the test of time. I’ve made a small adjustment for elevation, but otherwise it stays true to her original, producing tender, chewy cookies studded with both milk chocolate and butterscotch chips. They’re perfect when you want a quick batch of cookies that feel both familiar and a little special.
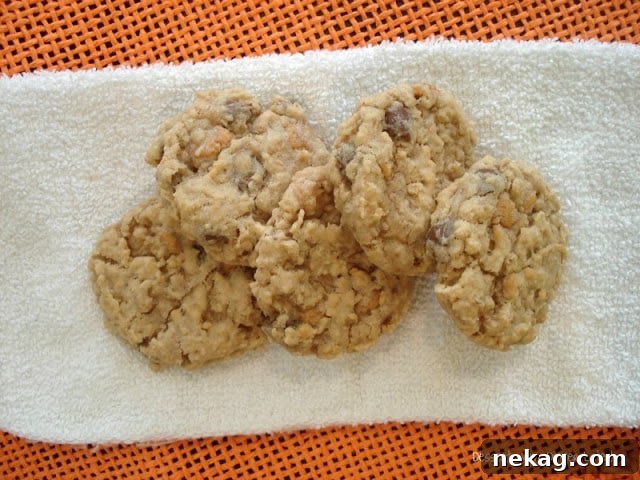
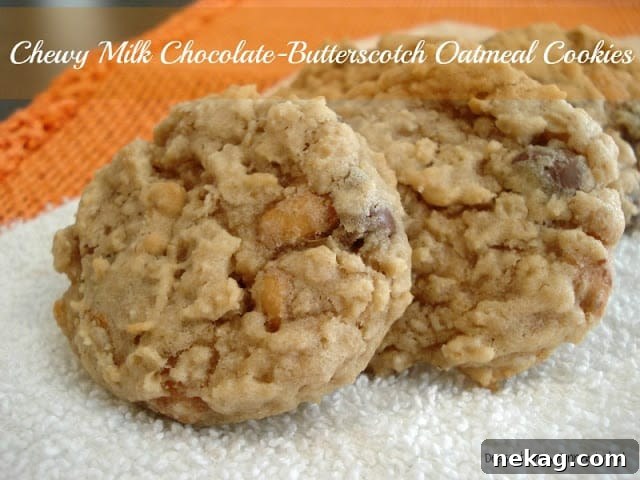
Chewy Milk Chocolate-Butterscotch Oatmeal Cookies
Pin
Rate
Save
Ingredients
- ½ cup (113 g) butter, (1 stick)
- ½ cup (100 g) light brown sugar, + 2 Tbsp, gently packed
- ¼ cup (50 g) granulated sugar
- 1 large egg
- 1 Tbsp milk
- 1 tsp vanilla extract
- 1 ¼ cups (150 g) all-purpose flour, (stir, spoon & level)
- 1 ¼ cups (100 g) oats
- ½ tsp baking soda
- ¼ tsp salt
- ½ cup (85 g) butterscotch chips
- ½ cup (85 g) milk chocolate chips
Instructions
-
Preheat oven to 375°F (190°C). In a stand mixer or with a hand mixer, beat the butter with the light brown and granulated sugars until creamy. Add the egg, milk, and vanilla; mix until combined, scraping the bowl as needed.
-
In a separate bowl, whisk together the flour, oats, baking soda, and salt. Gradually add the dry ingredients to the wet mixture and mix until just combined. Fold in the butterscotch and milk chocolate chips.
-
Drop tablespoonfuls of dough onto a greased or lined baking sheet, spacing them a couple inches apart. Gently press the tops with your hand to flatten slightly. Bake at 375°F (190°C) for 7 minutes, until the edges are set but centers remain soft. Cool briefly on the baking sheet before transferring to a wire rack to finish cooling.
Notes
Sharing this recipe with a link is both encouraged and appreciated. Copying/pasting and/or screenshots of full recipes to any social media is strictly prohibited. Content and photographs are copyright protected.
Did you make this?
Don’t forget to leave a rating below and make sure to follow on Pinterest and Instagram for more!