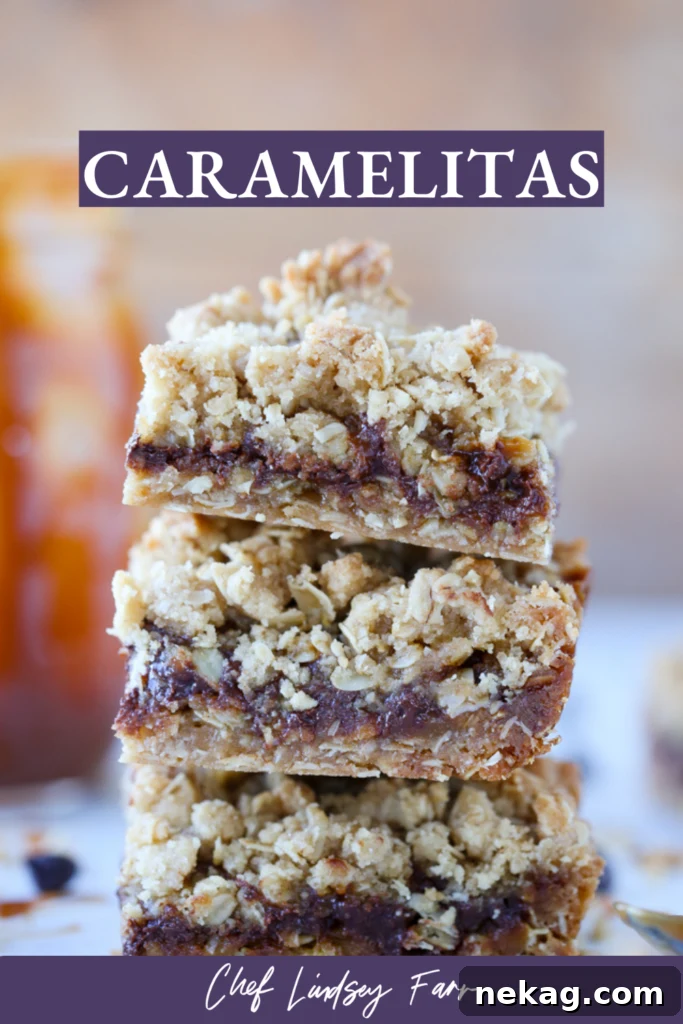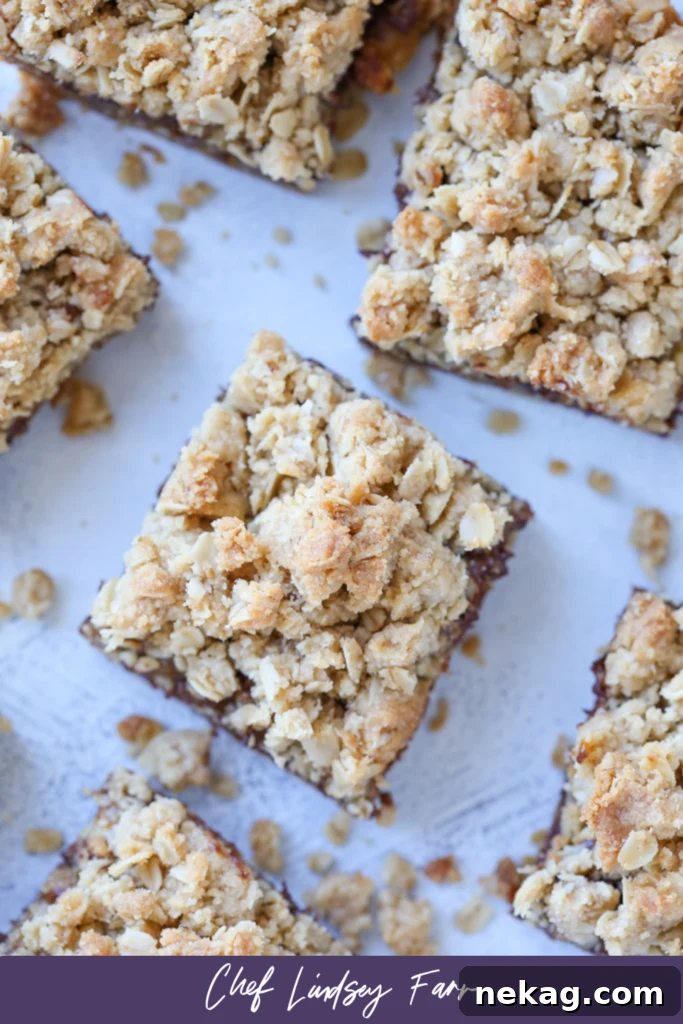
Irresistible Carmelitas: The Ultimate Chewy Caramel, Oat, and Chocolate Bar Cookie Recipe
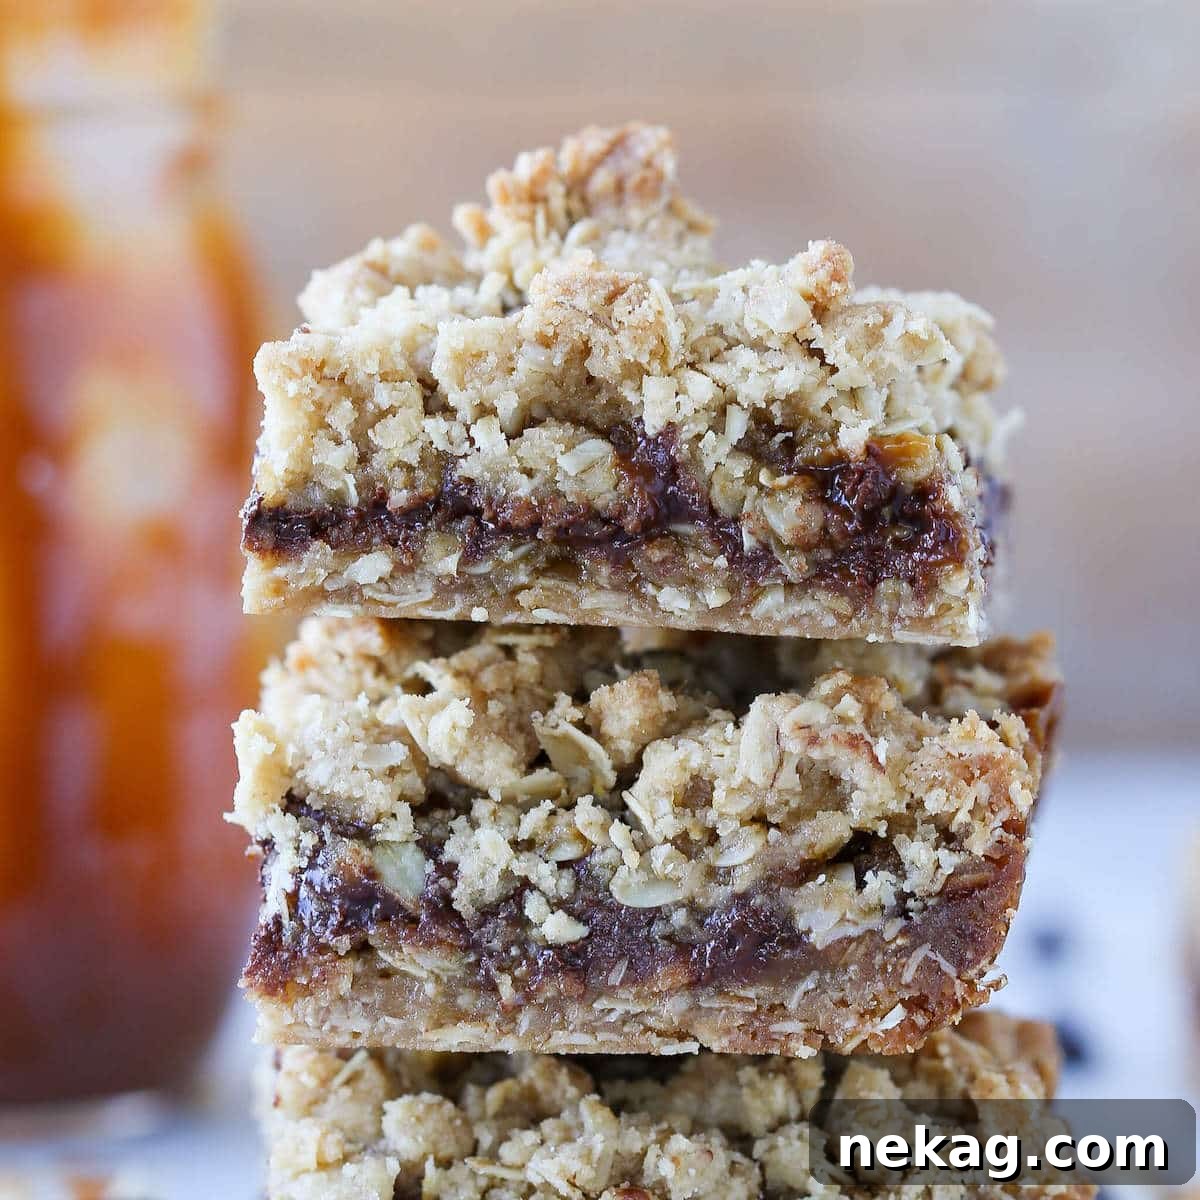
Carmelitas are a truly legendary treat – an easy, chewy bar cookie that offers an explosion of rich, salty-sweet caramel and decadent chocolate, all nestled within a comforting oat crust. For anyone who considers themselves a serious caramel connoisseur, these bars are an absolute must-try. They perfectly marry the rustic charm of an oat cookie with the luxurious indulgence of salted caramel and melty chocolate chips, creating a dessert experience that is utterly unforgettable and dangerously addictive.
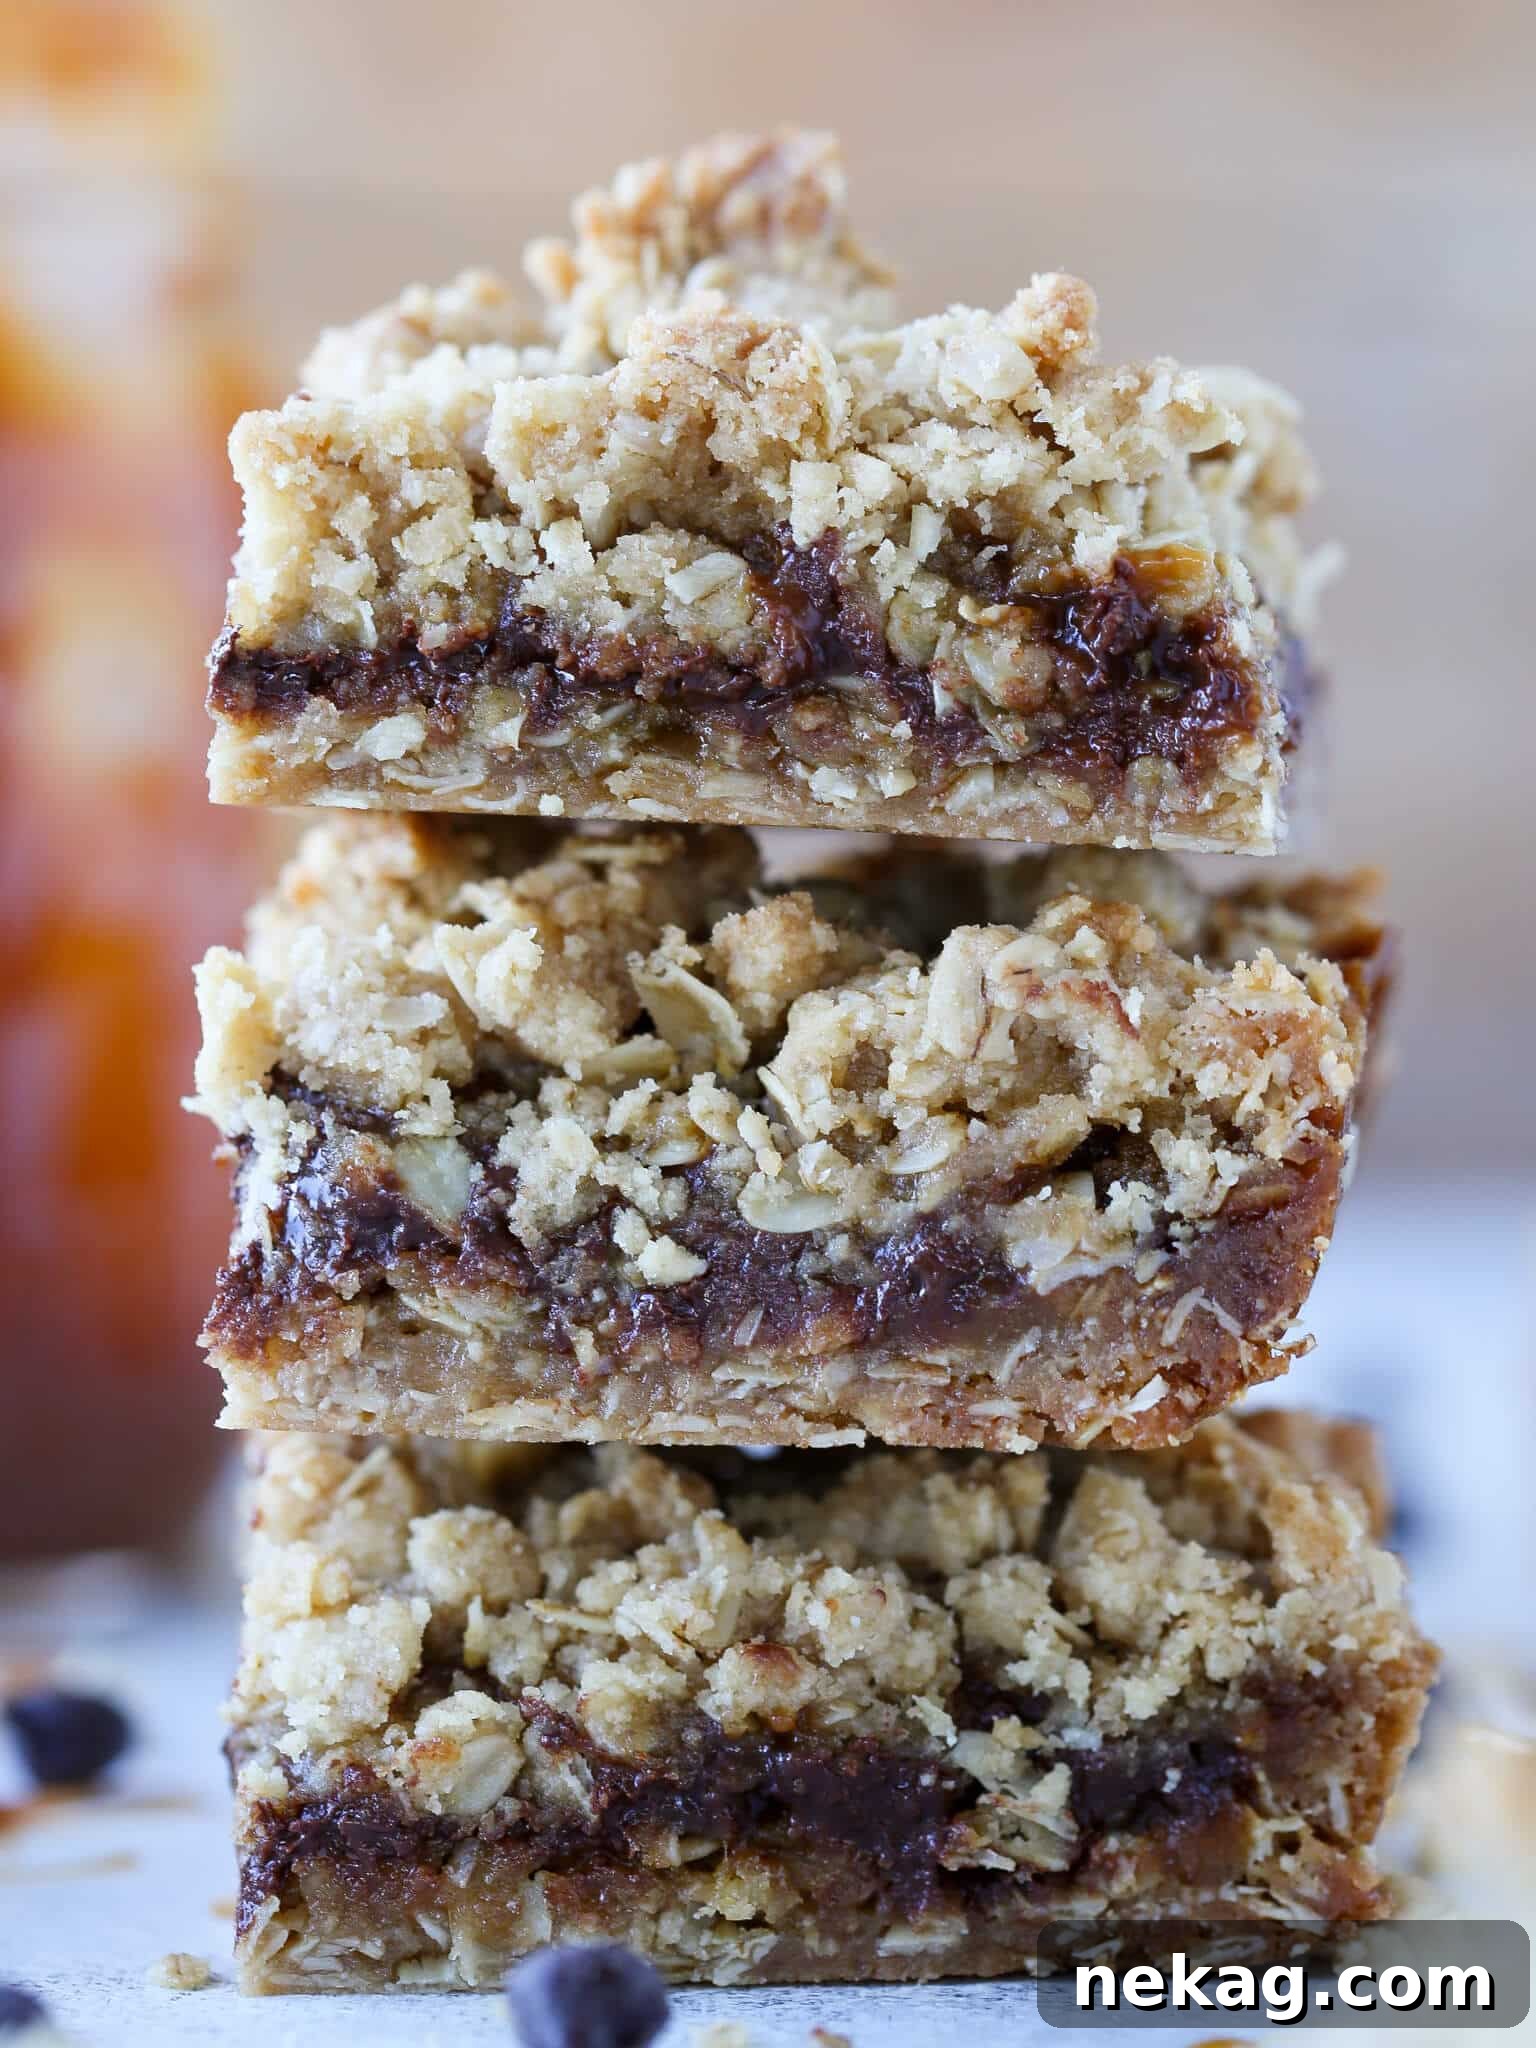
There’s a subtle magic to Carmelitas that makes them incredibly hard to resist. We believe it’s the humble oats that secretly bind all the glorious flavors together, creating a harmonious blend that keeps you reaching for “just one more.” The robust flavor of a perfectly executed salted caramel sauce, the wholesome, slightly savory chew of the oats, and the sweet, comforting presence of chocolate and brown sugar in the dough – every element works in perfect concert. This isn’t just a dessert; it’s an experience, a moment of pure, unadulterated bliss that begs to be savored.
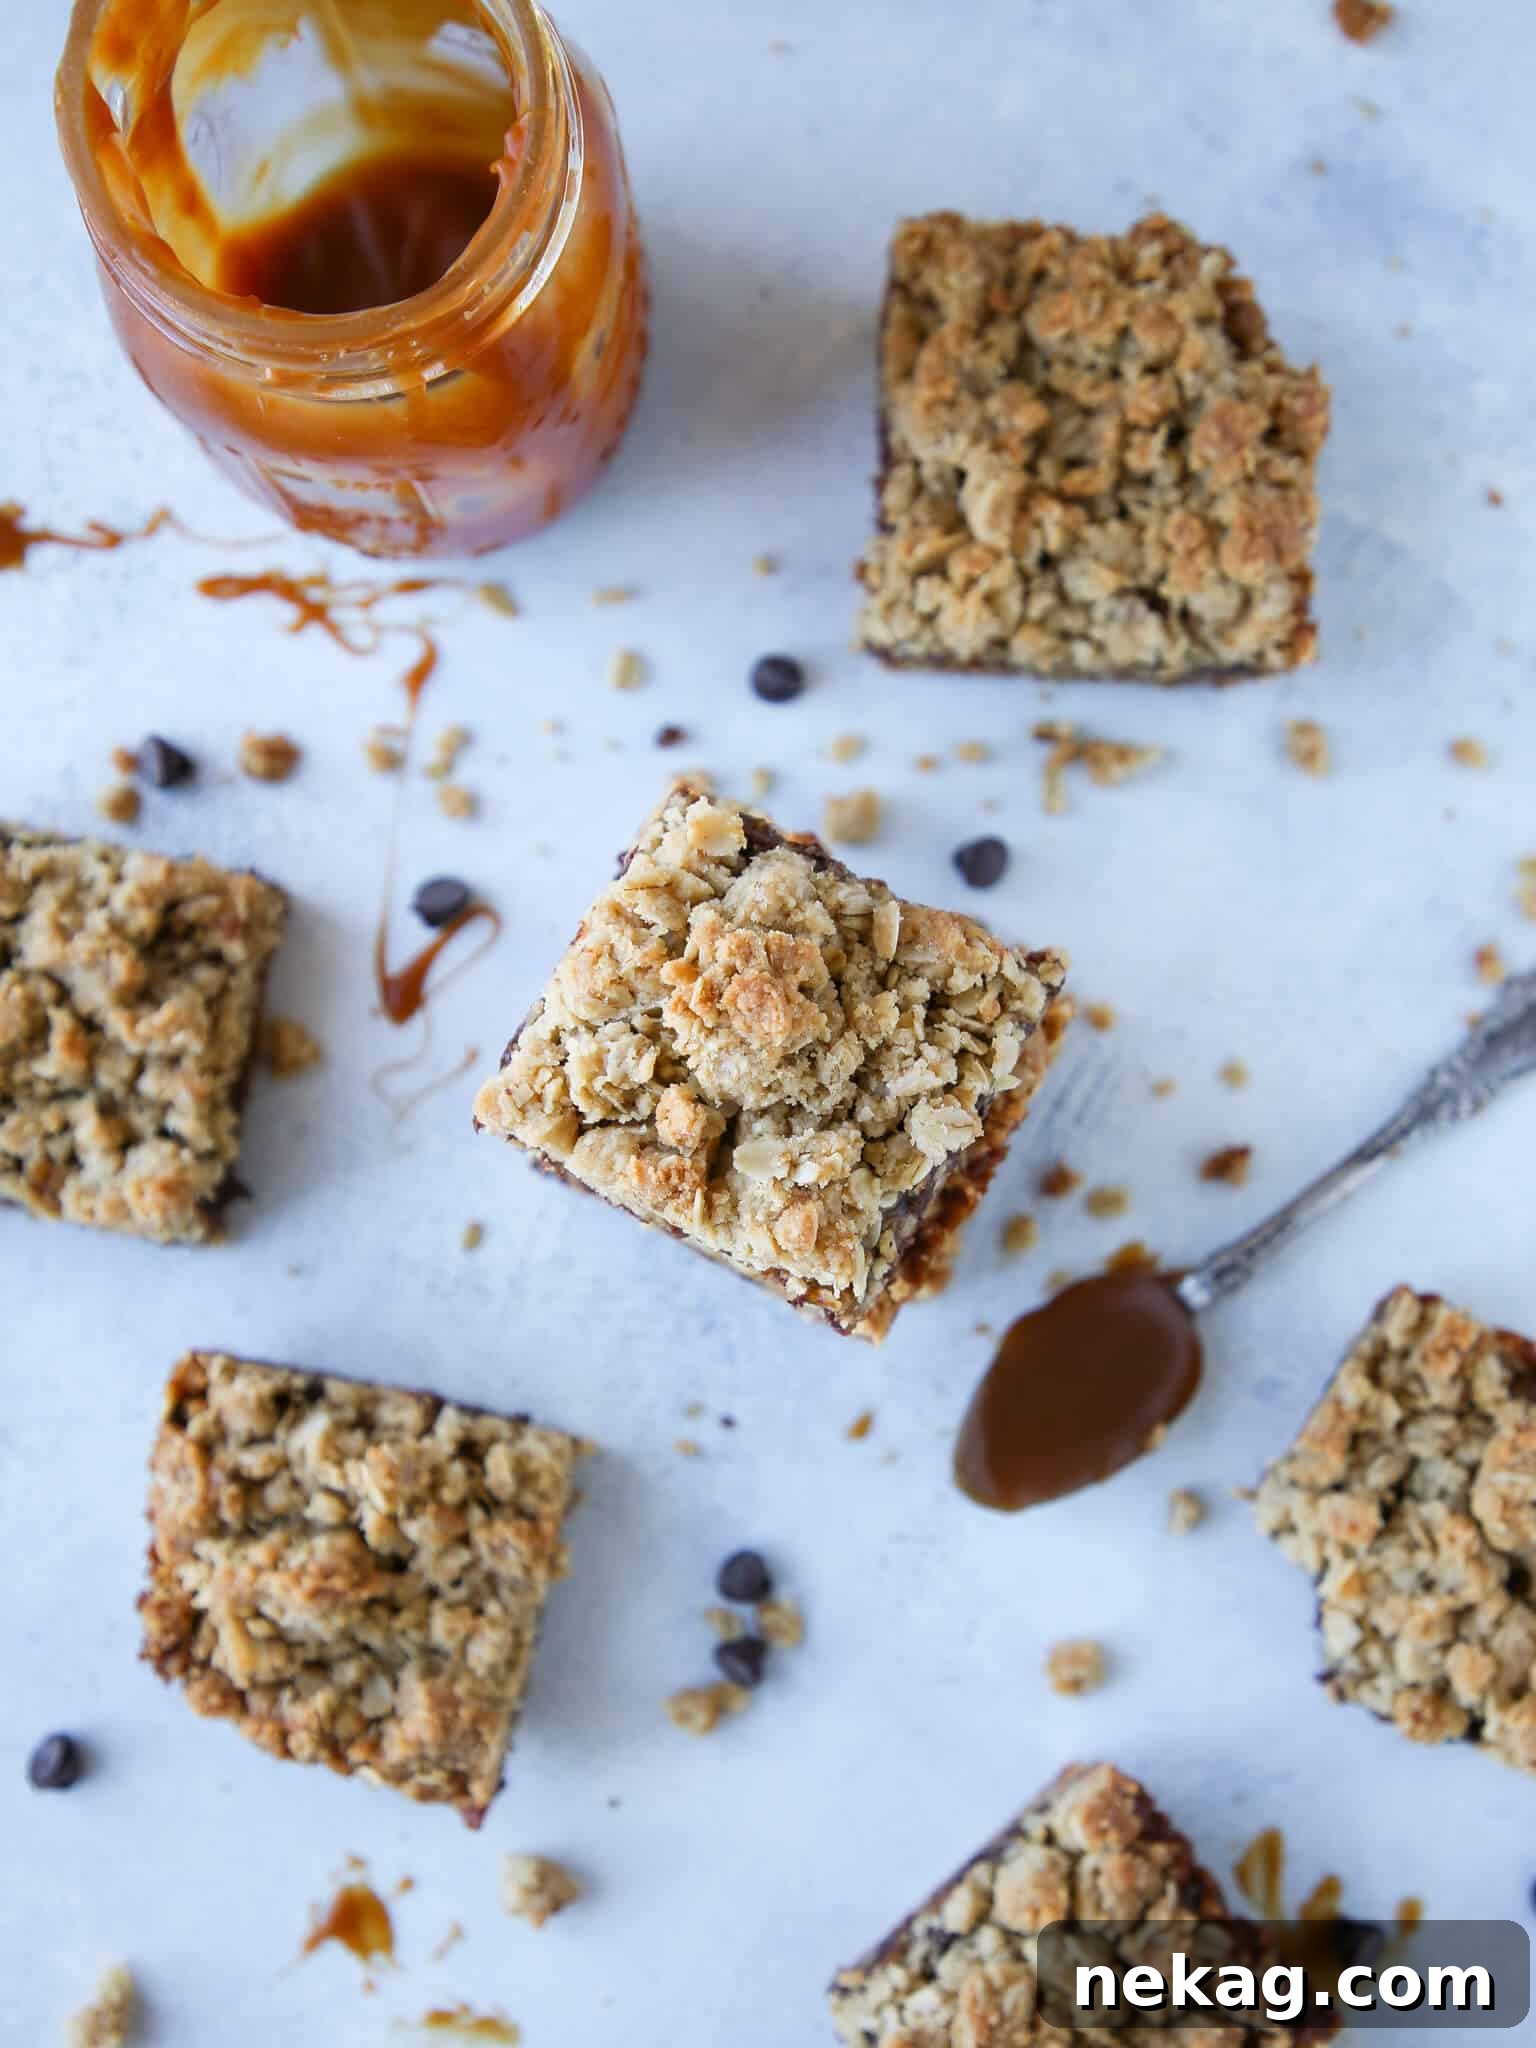
Why Carmelitas Are Your Next Favorite Dessert Bar
These chewy chocolate caramel oat bars are more than just a recipe; they’re a crowd-pleasing phenomenon. Their enduring popularity even earned them a coveted spot in our shop’s Classic Bar Cookie Tin, proving their timeless appeal and universal deliciousness. What truly sets Carmelitas apart is their layered complexity despite their straightforward preparation. The foundational oat crust provides a sturdy yet tender base, a bed for the flowing, gooey salted caramel, and the pockets of melting chocolate. It’s a symphony of textures – crisp edges, chewy center, and a soft, yielding caramel core – that guarantees satisfaction with every bite.
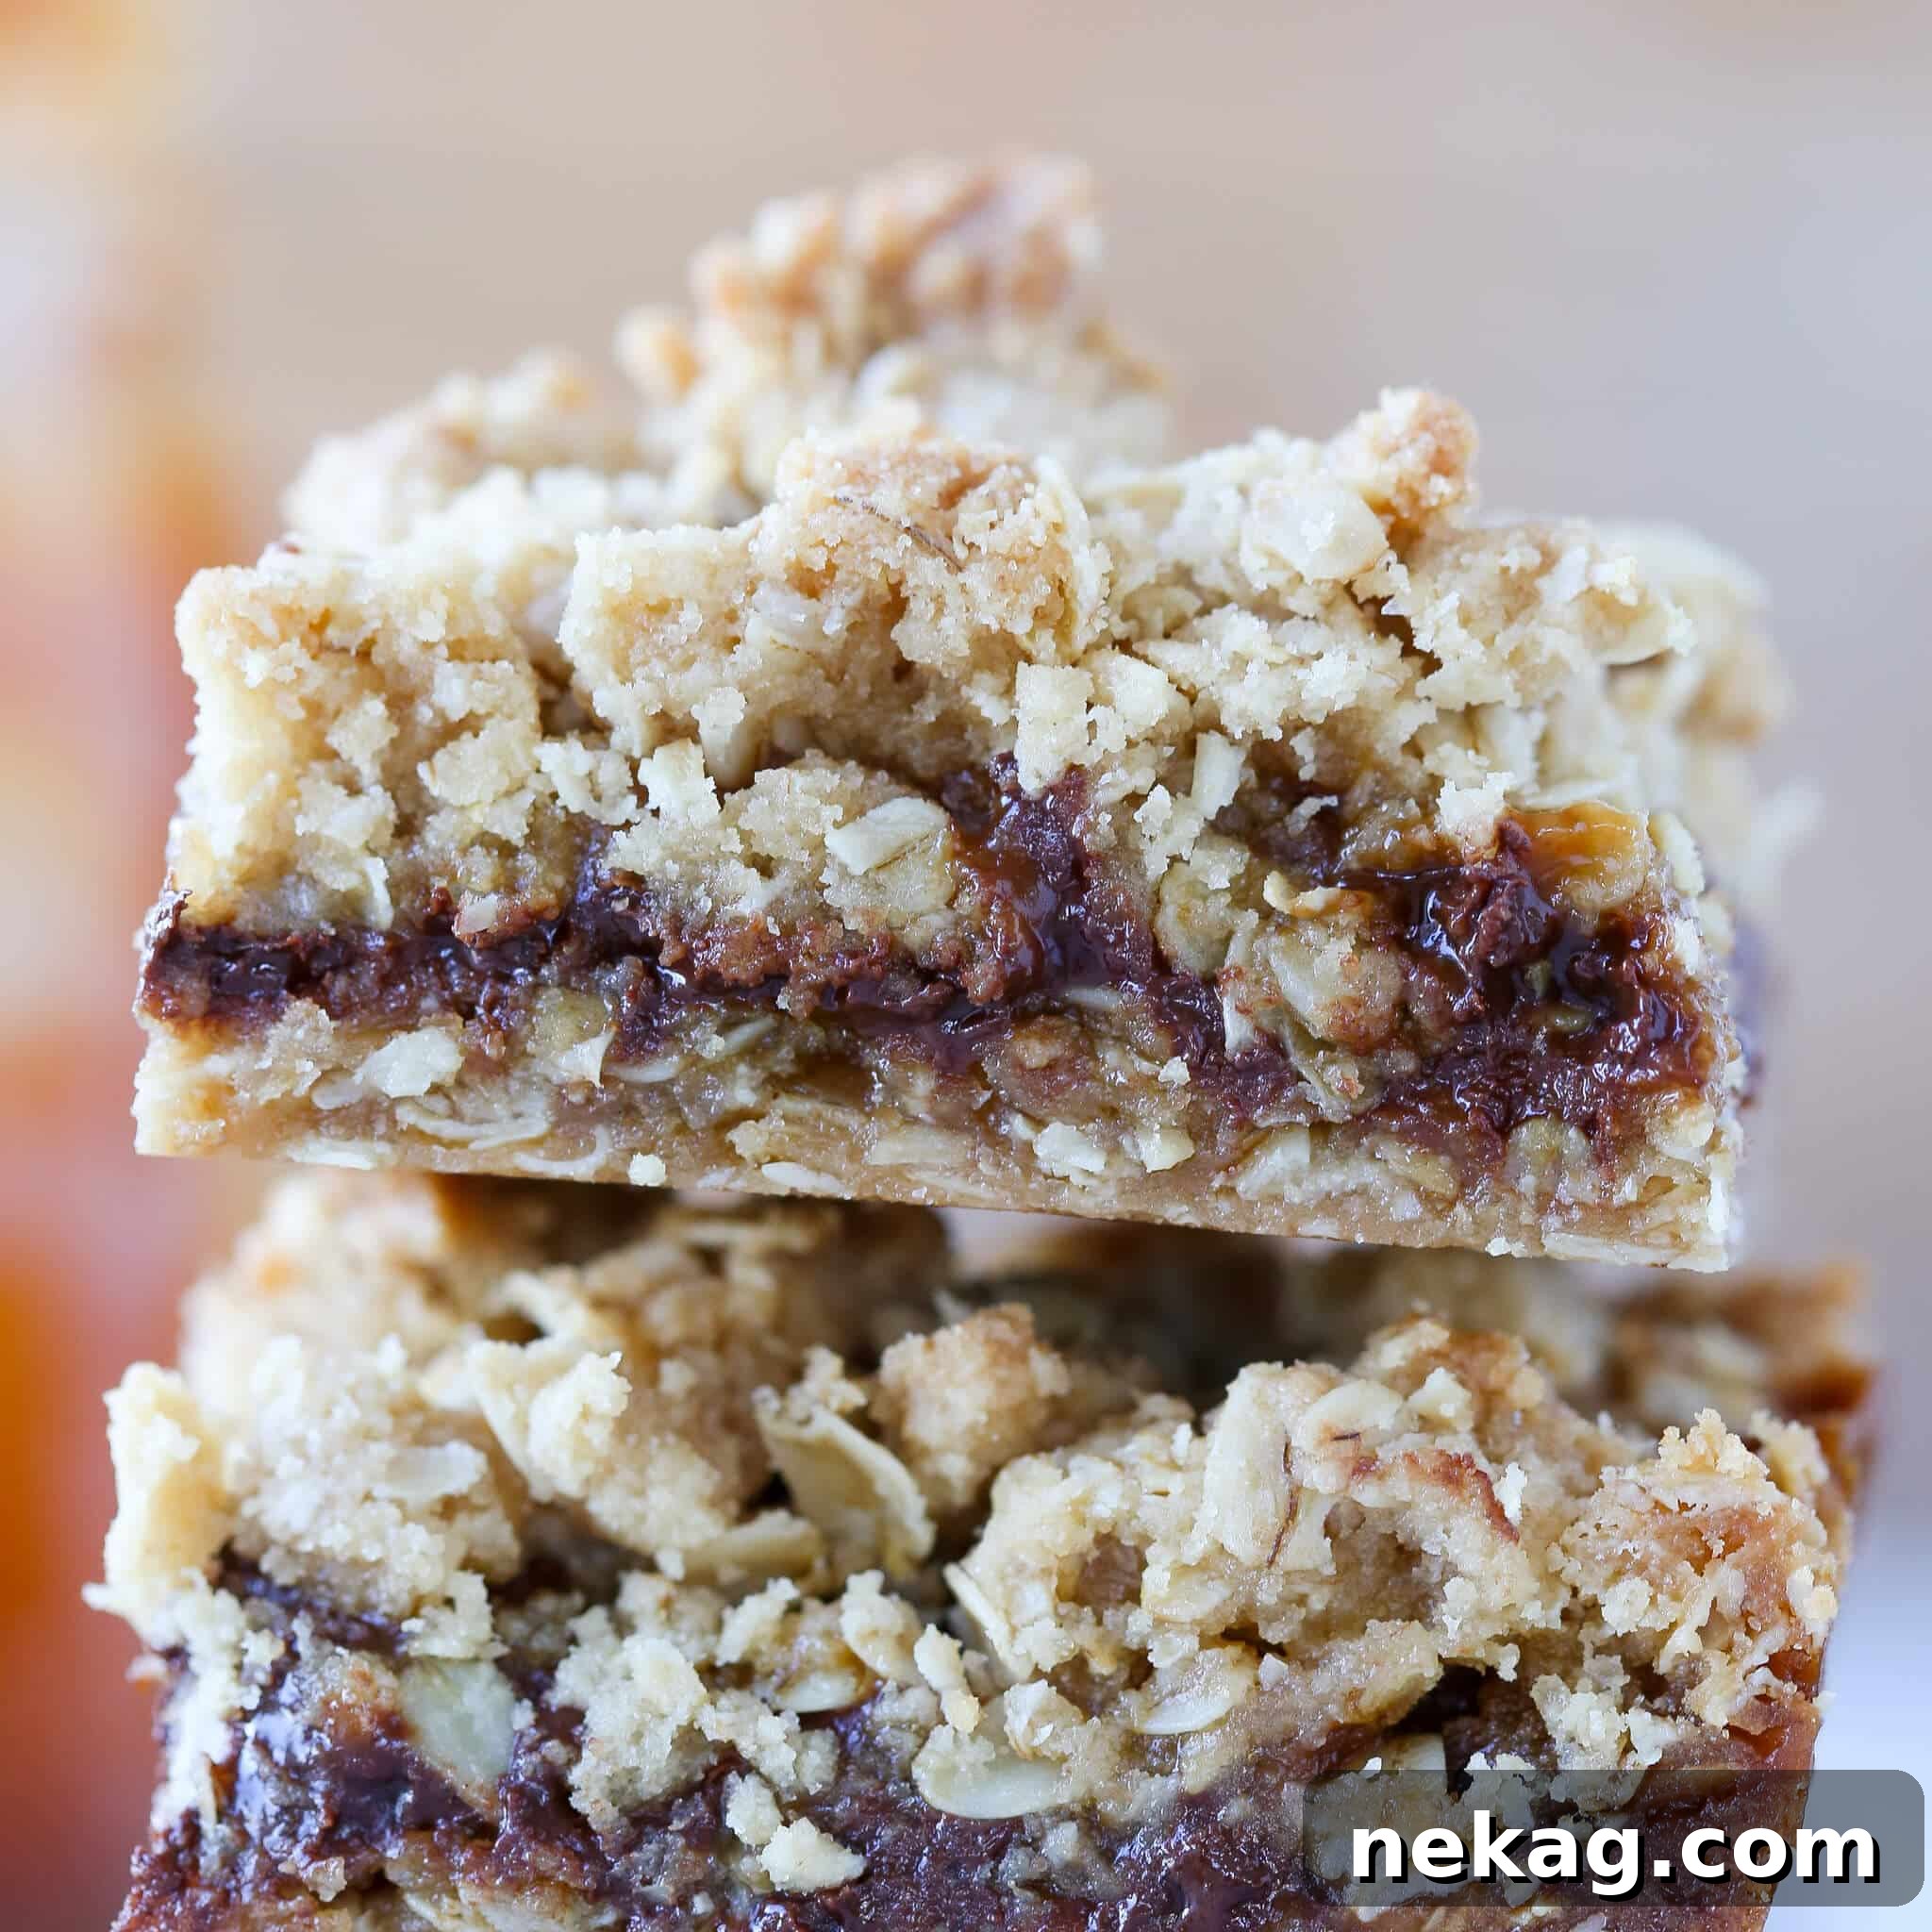
Explore the World of Caramel Delights
If your heart beats for caramel (and let’s be honest, whose doesn’t?), then you’re in for a treat. Beyond these glorious Carmelitas, there’s a whole universe of caramel-infused desserts waiting to be explored. Allow us to humbly suggest our Cashew Caramel Pretzel Blondies, a bold creation that walks the delicious line of “just enough.” I almost added M&M’s to those blondies, but I decided to pull back from going completely over the top! Or, for those craving a touch of classic sophistication, our Caramel Apple Tart with Cinnamon Streusel Topping is nothing short of epic. You can also never go wrong with our comforting caramel butter bars or the utterly charming caramel cupcakes. Each offers a unique take on the beloved caramel flavor, promising to satisfy any sweet craving.
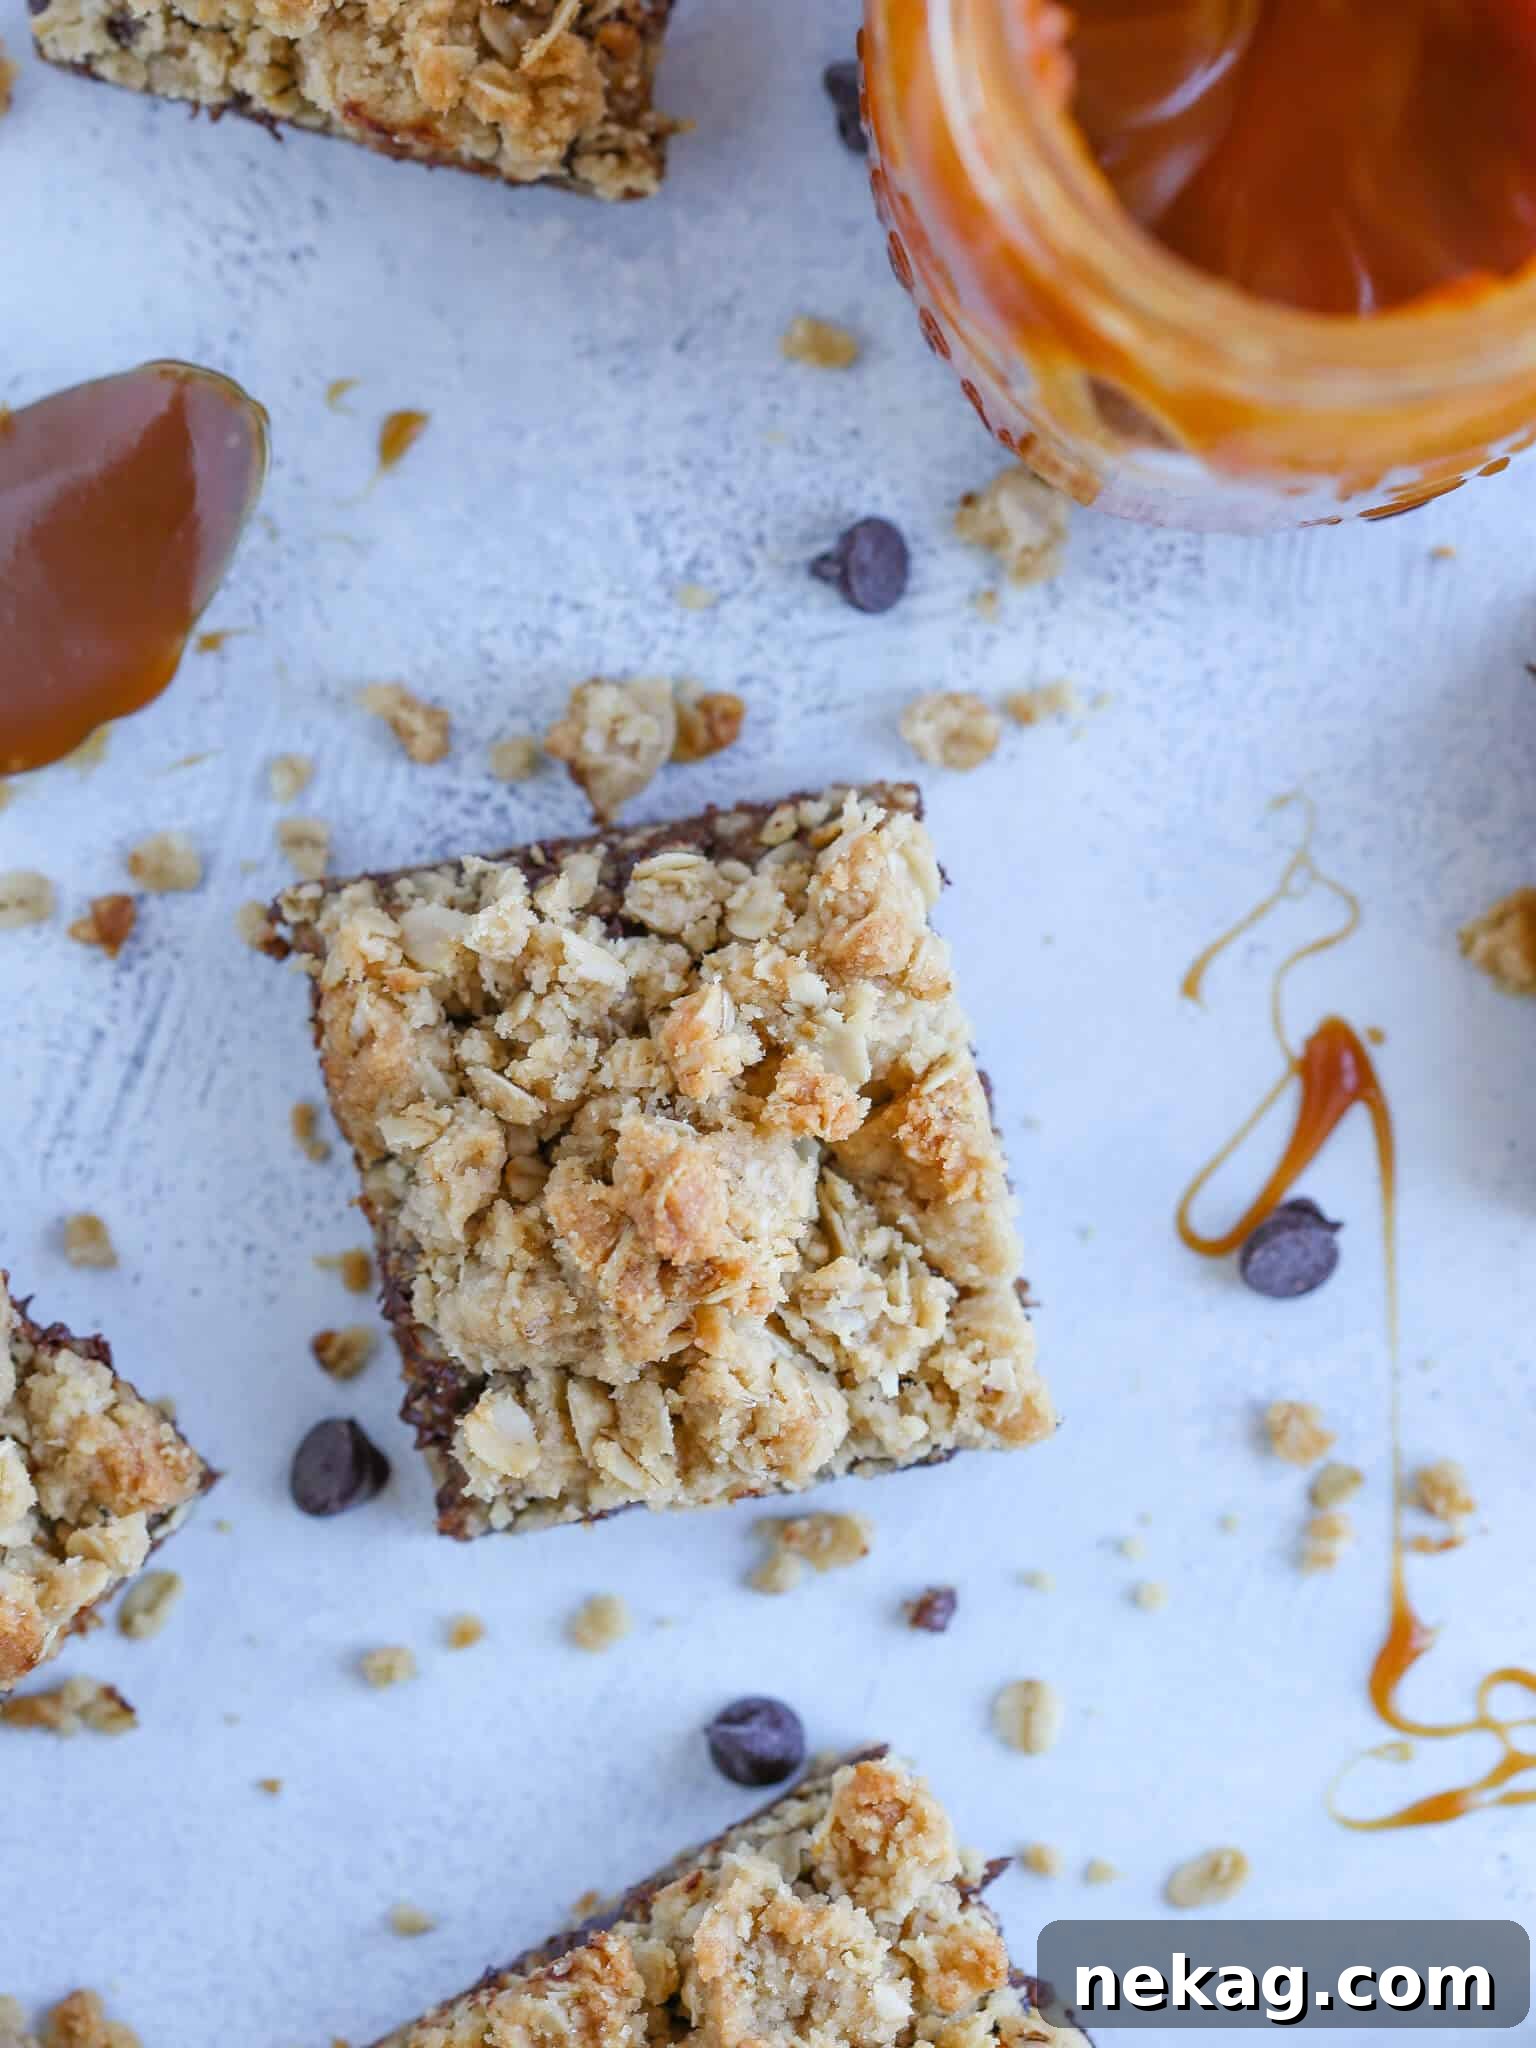
Carmelitas: The Easy Bar Cookie Recipe
These chewy Carmelitas are your go-to recipe for an easy, yet incredibly impressive, bar cookie. Featuring a hearty oat crust, a rich layer of salted caramel sauce, and plenty of chocolate chips, they deliver a truly decadent salted caramel chocolate flavor explosion!
Prep Time: 20 mins
Cook Time: 30 mins
Total Time: 50 mins
Servings: 16 people
Comment
Print Recipe
Ingredients for Your Perfect Carmelitas
Crafting the perfect Carmelita starts with quality ingredients. Here’s what you’ll need and a few notes on why each component is essential:
- 187 g Butter (cubed or melted): The foundation of our rich crust. Using good quality butter makes a noticeable difference in flavor and texture.
- 254 g Light brown sugar: Provides moisture, a deep molasses flavor, and contributes to the chewy texture of the oat crust.
- 8 g Vanilla extract: A crucial flavor enhancer that complements both the oats and the caramel beautifully. Use pure vanilla for best results.
- 225 g All-purpose Flour: The structural component for our cookie crust.
- 150 g Rolled Oats: The star of the crust, offering a delightful chewiness and hearty flavor. Old-fashioned rolled oats are preferred over quick oats for better texture.
- 9 g Baking soda: Helps the crust achieve a tender crumb and slight rise.
- 3 g Salt: Essential for balancing the sweetness of the caramel and chocolate, and enhancing all other flavors.
- ½ c Caramel (132 g) (Homemade Recipe Here): The luscious heart of the Carmelita. Homemade salted caramel is always superior, but a good quality store-bought caramel can work in a pinch. Just make sure it’s salted or add a sprinkle of flaky sea salt.
- 150 g Chocolate chips (chopped or mini chips): Melty pockets of joy. Semi-sweet or milk chocolate chips work wonderfully. Mini chips distribute more evenly, but chopped chocolate can provide larger, more satisfying pools of chocolate.
This recipe makes: an 8 x 8 inch rectangle pan of delicious bars.
Step-by-Step Instructions
- Prepare your oven and pan: Preheat your oven to 350°F (175°C). Lightly spray an 8×8 inch baking pan with non-stick spray, then line it with parchment paper, allowing an overhang on two sides. This will make removing the cooled bars incredibly easy.
- Make the oat crust dough: In the bowl of a stand mixer fitted with the paddle attachment, combine the butter, light brown sugar, vanilla extract, all-purpose flour, rolled oats, baking soda, and salt. Mix on low speed until all ingredients are just combined and a crumbly dough forms. Alternatively, if your butter is melted, you can mix the dough by hand with a sturdy spoon or spatula.
- First bake the crust: Take exactly half of the dough mixture and press it firmly and evenly into the bottom of your prepared pan. Bake this base in the preheated oven for 8-10 minutes, or until it turns a light golden brown. Baking time can vary slightly; a ceramic dish might take closer to 10 minutes, while a metal dish could be done in less than 8 minutes. Keep a close eye on it to prevent over-baking.
- Layer and second bake: While the crust is still warm from the oven, gently spread the salted caramel sauce evenly over the baked base. Immediately sprinkle the chocolate chips over the caramel layer. Finally, crumble the remaining half of the unbaked oat dough evenly over the top of the chocolate and caramel. Return the pan to the oven and bake for approximately 4 more minutes, or until the chocolate is melty and the top crumbles are lightly golden.
- Cool completely: This step is crucial for perfect Carmelitas! Allow the bars to cool completely in the pan on a wire rack before attempting to cut them. This allows the caramel to set properly, ensuring clean cuts and preventing a gooey mess. Patience is key here!
Watch the Recipe Video
Chef’s Notes & Tips
This recipe is designed for an 8×8 inch pan, yielding bars with a perfect thickness. If you opt to use a 9×11 inch pan, the base will be slightly thinner. In that case, I highly recommend increasing both the chocolate chips and the salted caramel sauce by about half to ensure every bite is generously flavored and gooey. Also, for truly professional-looking bars, use a sharp knife and clean it between each cut after the bars have fully cooled.
Nutrition Information (per serving)
Calories: 284 kcal | Carbohydrates: 41g | Protein: 3g | Fat: 12g | Saturated Fat: 7g | Polyunsaturated Fat: 1g | Monounsaturated Fat: 3g | Trans Fat: 1g | Cholesterol: 27mg | Sodium: 327mg | Potassium: 89mg | Fiber: 1g | Sugar: 23g | Vitamin A: 295IU | Vitamin C: 1mg | Calcium: 33mg | Iron: 1mg
Course: Dessert
Cuisine: American
Calories: 284
Loved this recipe? Leave a comment below and share your thoughts!
Mastering Your Carmelitas: Pro Tips for Perfection
While the Carmelitas recipe is relatively straightforward, a few expert tips can elevate your bars from good to absolutely phenomenal:
- Don’t Overbake the Crust: The initial bake of the oat crust is crucial. You want it just lightly golden, as it will bake again with the toppings. An overbaked crust can become tough or too crumbly.
- Cool Completely: This cannot be stressed enough. Caramel needs time to set. Cutting warm Carmelitas will result in a messy, sticky situation. Patience will be rewarded with perfectly neat, chewy bars.
- Salted Caramel is Key: The “salted” aspect of salted caramel is what truly makes these bars sing. The salt cuts through the sweetness, creating a complex, crave-worthy flavor profile. If using store-bought caramel, ensure it’s salted or add a generous pinch of flaky sea salt to your caramel layer.
- Experiment with Chocolate: While semi-sweet is traditional, feel free to experiment. Milk chocolate will make them sweeter and creamier, while dark chocolate can add a pleasant bitterness that balances the caramel. Mini chocolate chips are great for even distribution, but chopped chocolate bars can provide more intense bursts of flavor.
- Pan Size Matters: Stick to the recommended 8×8 inch pan for the ideal thickness. If using a larger pan, remember to adjust ingredient quantities, especially the caramel and chocolate, to maintain generous layers.
- Parchment Paper is Your Friend: Always use parchment paper with an overhang. It makes lifting the entire slab of cooled bars out of the pan effortless, allowing for easy cutting and serving.
Variations and Creative Twists
Carmelitas are fantastic as they are, but their simple structure also makes them ripe for customization:
- Nutty Additions: Fold in chopped pecans, walnuts, or even almonds into the oat crust for added crunch and flavor. Toasted nuts will offer an even deeper aroma.
- Spice It Up: A pinch of cinnamon, nutmeg, or even a hint of cardamom in the oat crust can add a warm, inviting spice note that pairs wonderfully with caramel.
- Different Chocolates: Beyond milk and dark, consider white chocolate chips for a creamier, sweeter bar, or even butterscotch chips for a different twist on the classic. For a fun, colorful version, try M&M’s!
- Toffee Bits: Sprinkle some toffee bits along with or in place of some chocolate chips for an extra layer of buttery crunch and caramel flavor.
- Pretzel Crust: For an ultimate sweet and salty combination, crush pretzels and mix them into the oat crust or sprinkle them on top before the final bake.
- Sea Salt Flakes: A final sprinkle of flaky sea salt over the warm, freshly baked bars enhances the salted caramel experience even further.
Serving and Storage Suggestions
Carmelitas are versatile in how they can be enjoyed and stored:
- Serving: While delicious at room temperature, Carmelitas are also exceptional when served slightly warm, allowing the chocolate to be extra gooey and the caramel to be wonderfully soft. A scoop of vanilla ice cream on the side elevates them to a truly gourmet dessert. They pair perfectly with a cup of coffee or a cold glass of milk.
- Storage: Store cooled Carmelitas in an airtight container at room temperature for up to 3-4 days. For longer storage, you can refrigerate them for up to a week.
- Freezing: These bars freeze beautifully! Once completely cooled, cut them into individual squares, wrap them tightly in plastic wrap, and then place them in a freezer-safe bag or container. They can be frozen for up to 2-3 months. Thaw at room temperature or gently warm in the microwave for a quick treat.
Frequently Asked Questions About Carmelitas
Here are answers to some common questions about making and enjoying these delightful bars:
Q: What exactly are Carmelitas?
A: Carmelitas are a type of bar cookie featuring a bottom layer of oat-based cookie dough, topped with a gooey layer of caramel and chocolate chips, and then finished with a crumbled topping of the same oat dough. They are known for their chewy texture and rich, sweet-and-salty flavor profile.
Q: Can I use store-bought caramel sauce?
A: Yes, absolutely! While homemade salted caramel sauce (like our linked recipe) offers the best flavor and texture, a good quality store-bought caramel can be used for convenience. Just ensure it’s a thick, pourable caramel sauce and consider adding a pinch of sea salt if it’s not already salted.
Q: My Carmelitas are too crumbly / too soft. What went wrong?
A: If they’re too crumbly, you might have overbaked the crust, or the dough might have been too dry. If they’re too soft or gooey, it’s likely they weren’t cooled completely before cutting, or the caramel layer might have been too thick or too thin in consistency. Ensure you measure ingredients accurately and allow ample cooling time.
Q: Can I prepare the dough ahead of time?
A: Yes, you can prepare the oat dough ahead of time. Store it wrapped tightly in plastic wrap in the refrigerator for up to 2-3 days. Bring it to room temperature slightly before pressing into the pan.
Q: What’s the best way to cut Carmelitas cleanly?
A: The secret to clean cuts is patience and a sharp knife. Ensure the bars are completely cooled. For extra neatness, you can chill them in the refrigerator for 30 minutes before cutting. Use a large, sharp knife, pressing straight down, and wipe the blade clean with a damp cloth between each cut to prevent stickiness.
Conclusion: Your New Favorite Caramel Bar Awaits
From their simple ingredients to their irresistible layers, Carmelitas are truly a masterpiece of the dessert bar world. They are the perfect embodiment of comfort food, blending the familiar chew of an oat cookie with the luxurious indulgence of salted caramel and chocolate. Whether you’re baking for a special occasion, a potluck, or just a cozy night in, these bars are guaranteed to be a hit. So, roll up your sleeves, gather your ingredients, and prepare to fall in love with the ultimate chewy caramel and chocolate oat bars. Happy baking!