
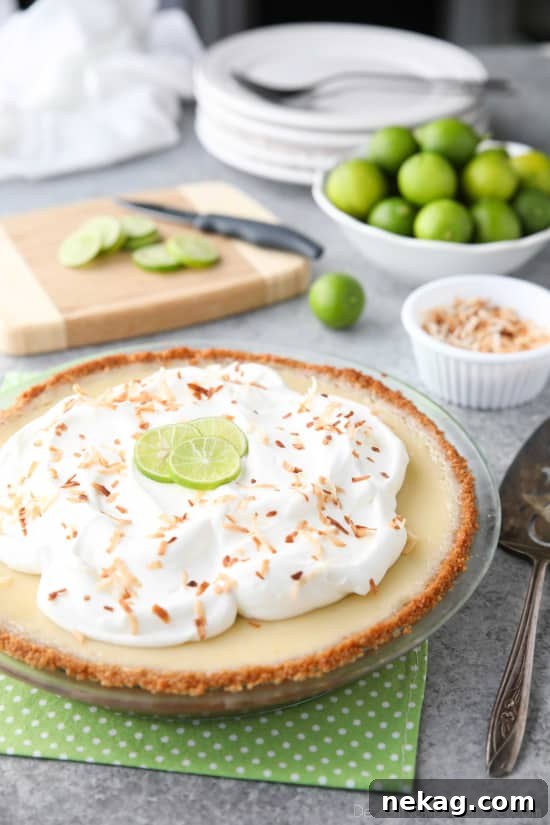
Coconut Key Lime Pie features coconut in the crust, cream of coconut in the key lime filling, and toasted coconut on top — a tropical dessert that’s creamy, sweet, and pleasantly tart.
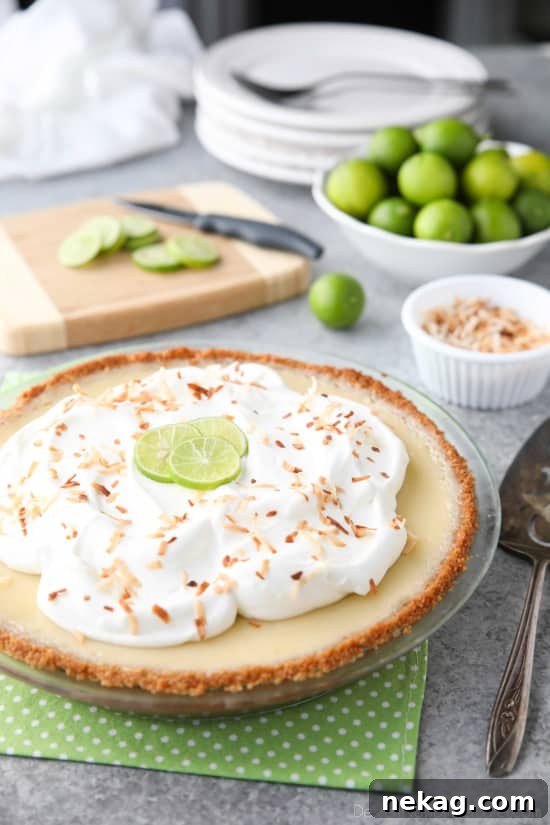
This variation of classic key lime pie layers coconut flavor throughout: coconut flakes in the graham cracker crust, sweet cream of coconut blended into the filling, and toasted coconut sprinkled over whipped cream. For an extra coconut note, add a little coconut extract to the whipped cream.
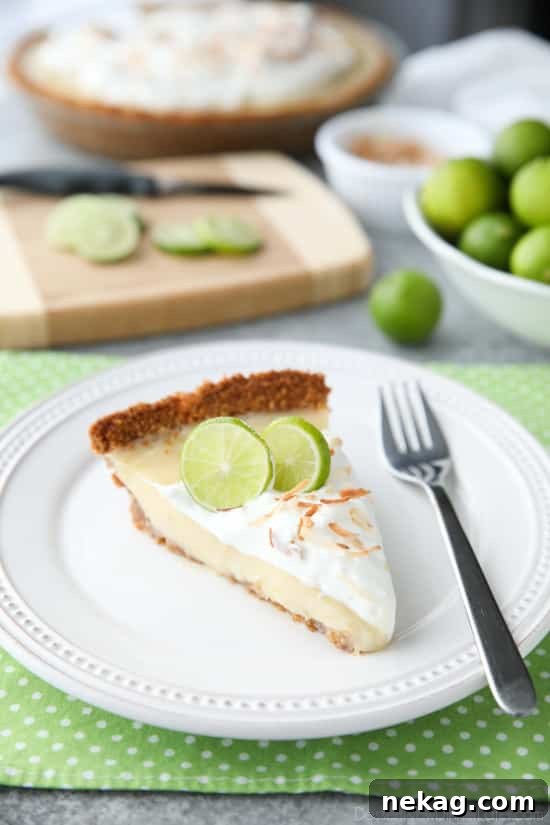
Coconut Key Lime Pie
One key ingredient in this recipe is Cream of Coconut — not to be confused with canned coconut cream or coconut milk. Cream of Coconut is a sweetened, thick coconut product often used in tropical cocktails and desserts. It adds richness and a distinctly coconut-forward sweetness that complements the tart lime.
In this pie, the crust gains texture and flavor from sweetened coconut flakes mixed into crushed graham crackers. The filling combines sweetened condensed milk with cream of coconut, egg yolks, lime zest, and key lime juice for a silky, tangy custard. After baking and chilling, the pie is topped with sweetened whipped cream and toasted coconut for crunch and aroma.
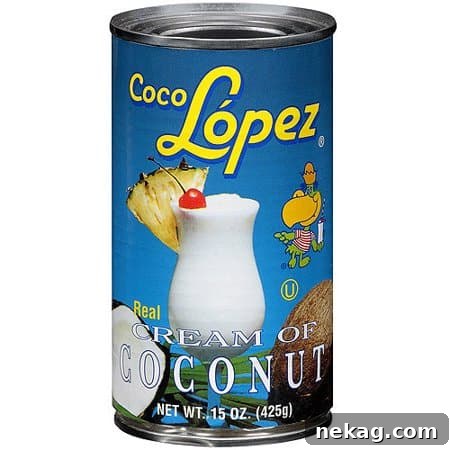
The cream of coconut used here is similar in texture to sweetened condensed milk, which is why the two work so well together in the filling. If your can of cream of coconut has separated, simply whisk it until smooth before measuring.
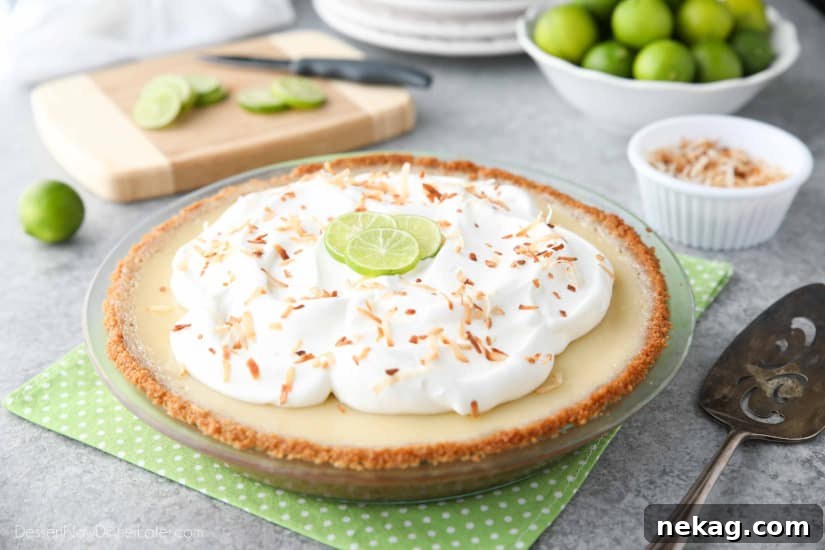
This recipe intentionally layers coconut flavor so it doesn’t get lost against bright lime. The crust includes shredded coconut for texture, the filling contains cream of coconut, and the finished pie is crowned with whipped cream and toasted coconut. A half teaspoon of coconut extract in the whipped cream is optional but enhances the coconut character.
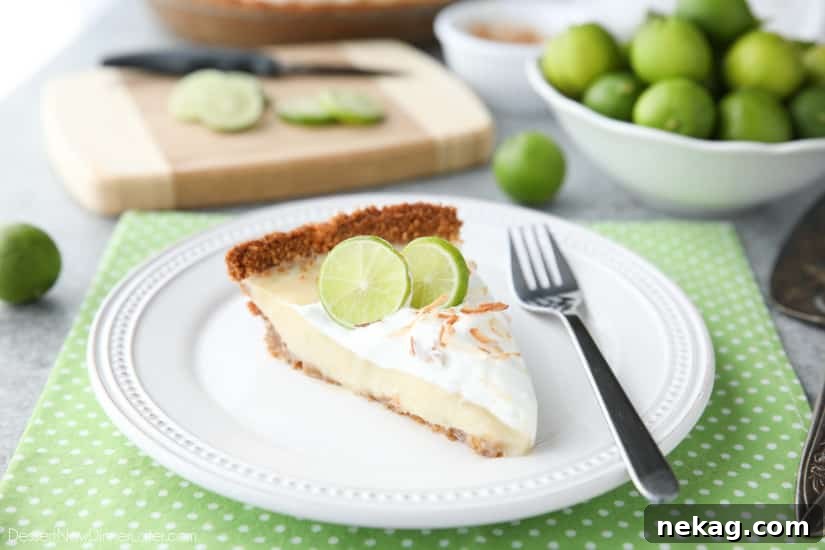
The toasted coconut adds a toasty, crunchy contrast to the smooth filling and the light whipped topping. Toast the coconut just before serving or store it separately so it stays crisp.
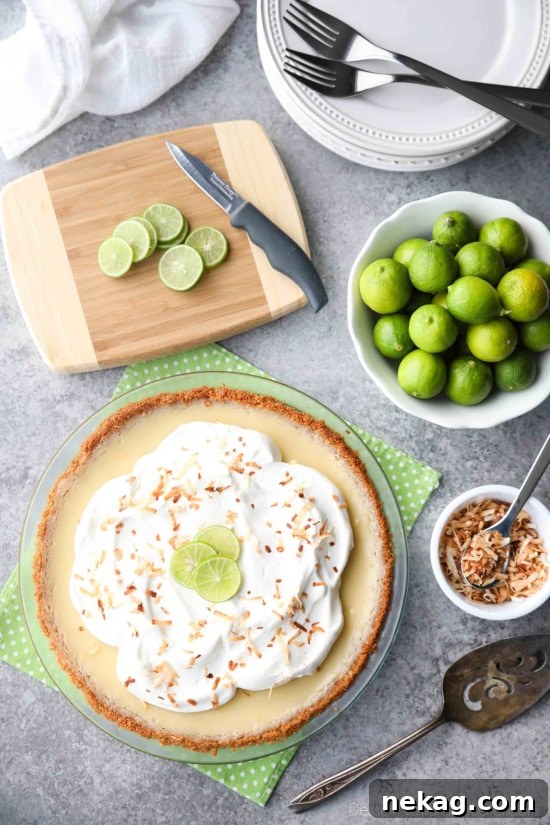
This Coconut Key Lime Pie is a fresh, tropical take on a classic — rich and tangy with layers of coconut flavor. Below is the full recipe and instructions.
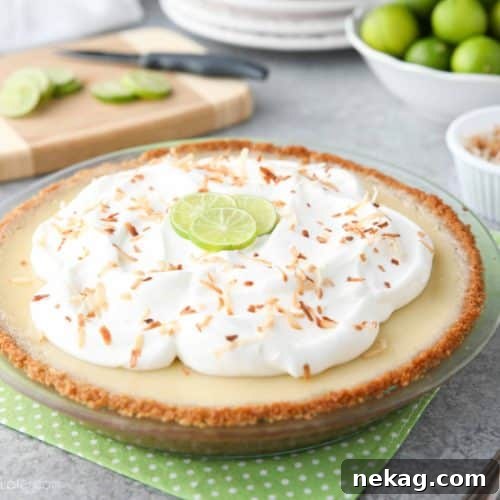
Coconut Key Lime Pie
Pin
Rate
Save
Ingredients
Crust:
- 1 sleeve (140 g) graham crackers, (9 full sheets)
- ¼ cup (30 g) sweetened coconut flakes
- 1 Tbsp granulated sugar
- 6 Tbsp (85 g) butter, melted (salted or unsalted)
Filling:
- 14 oz (496 g) can sweetened condensed milk, (full fat)
- ¾ cup (177 ml) Cream of Coconut, full fat (not coconut cream or coconut milk)
- 2 large egg yolks
- ¼ tsp salt
- 1 Tbsp lime zest, (1–2 regular limes)
- ½ cup (118 ml) key lime juice
Topping:
- 1 cup (237 ml) heavy cream, cold
- ¼ cup (30 g) powdered sugar
- ½ tsp coconut extract, optional
- 2-4 Tbsp toasted coconut, (directions below)
Instructions
-
Preheat oven to 350°F (175°C).
-
Make the crust: pulse graham crackers, coconut flakes, and granulated sugar in a food processor to fine crumbs. Add melted butter and pulse until the mixture clumps and is evenly coated. Press into the bottom and up the sides of a 9-inch pie dish.
-
Bake the crust 7–8 minutes, until it just begins to brown. Remove and cool to room temperature.
-
Make the filling: whisk sweetened condensed milk, cream of coconut, egg yolks, and salt in a large bowl until smooth. Stir in lime zest and key lime juice until well combined. Pour the filling into the cooled crust and bake at 350°F for 15–18 minutes, until the edges bubble and the center is slightly set but still a little jiggly.
-
Cool the pie to room temperature, then refrigerate at least 3 hours to chill and fully set. Overnight chilling is best.
-
Toast the coconut: in a dry skillet over medium heat, stir sweetened coconut flakes constantly until they turn golden brown. Watch carefully — once they begin to brown they can toast quickly. Cool and store airtight if made ahead.
-
To serve: whip cold heavy cream with powdered sugar and optional coconut extract until stiff peaks form. Spoon or pipe the whipped cream over the chilled pie and sprinkle with toasted coconut just before serving so it stays crisp.
Notes
Tip: Add the toasted coconut to the pie only when ready to serve to keep it crisp.
Sharing this recipe with a link is appreciated. Content and photographs are copyright protected.
Did you make this?
Leave a rating below and follow the recipe source’s social channels for more ideas.