
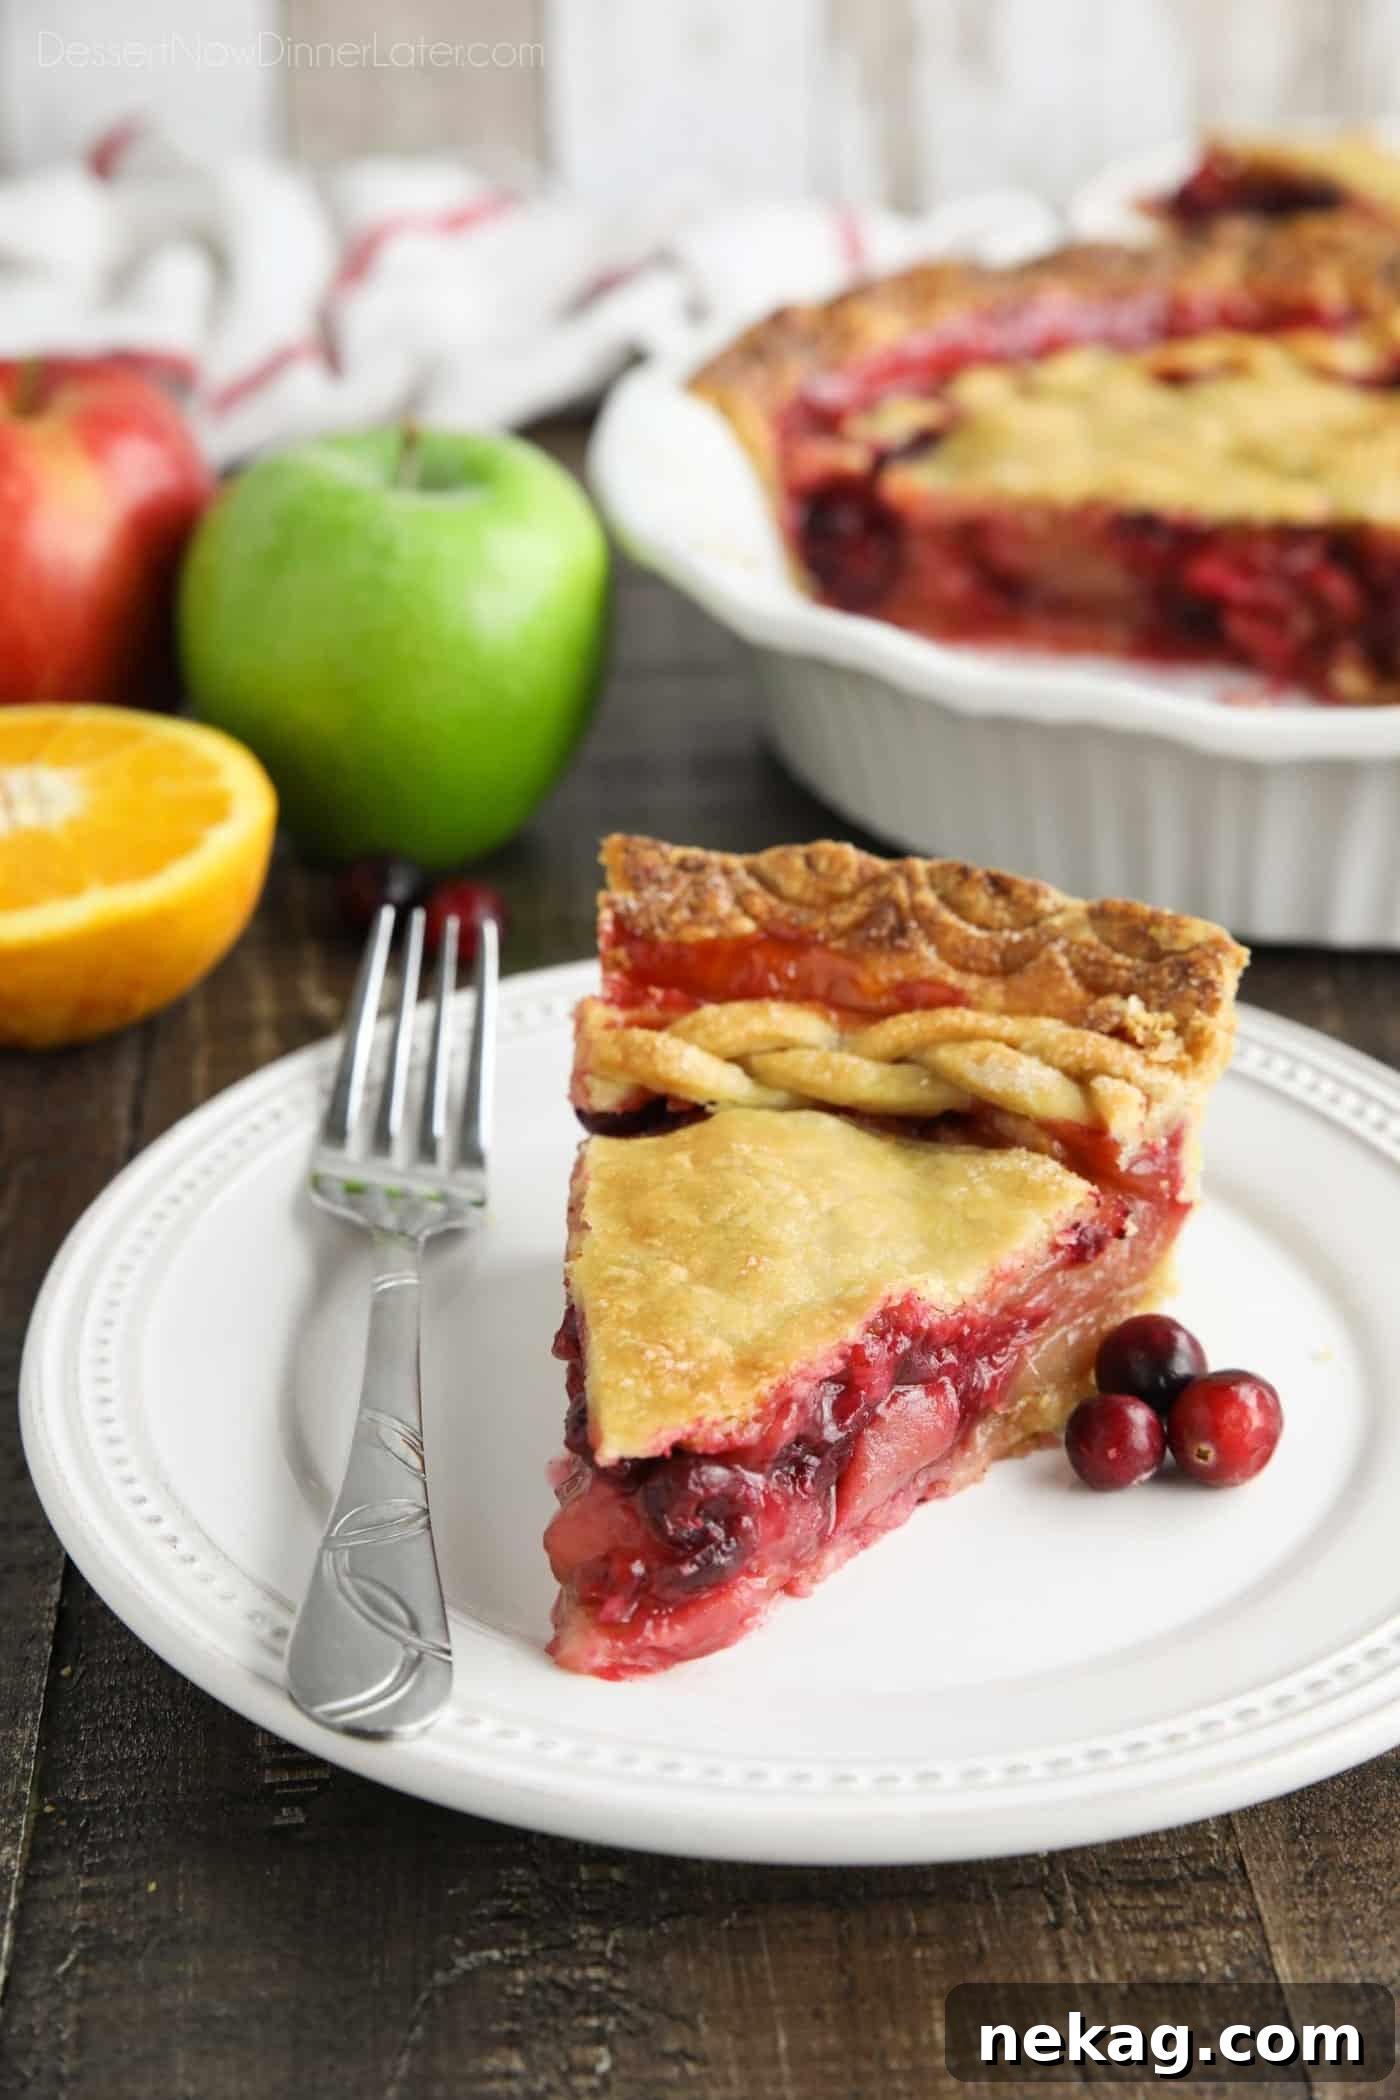
Cranberry Apple Pie elevates the classic apple pie with a bright, spiced filling. Fresh apples mingle with tart cranberries, orange juice and zest, and warming spices to create a Thanksgiving pie that tastes reminiscent of wassail and is sure to become a new favorite.
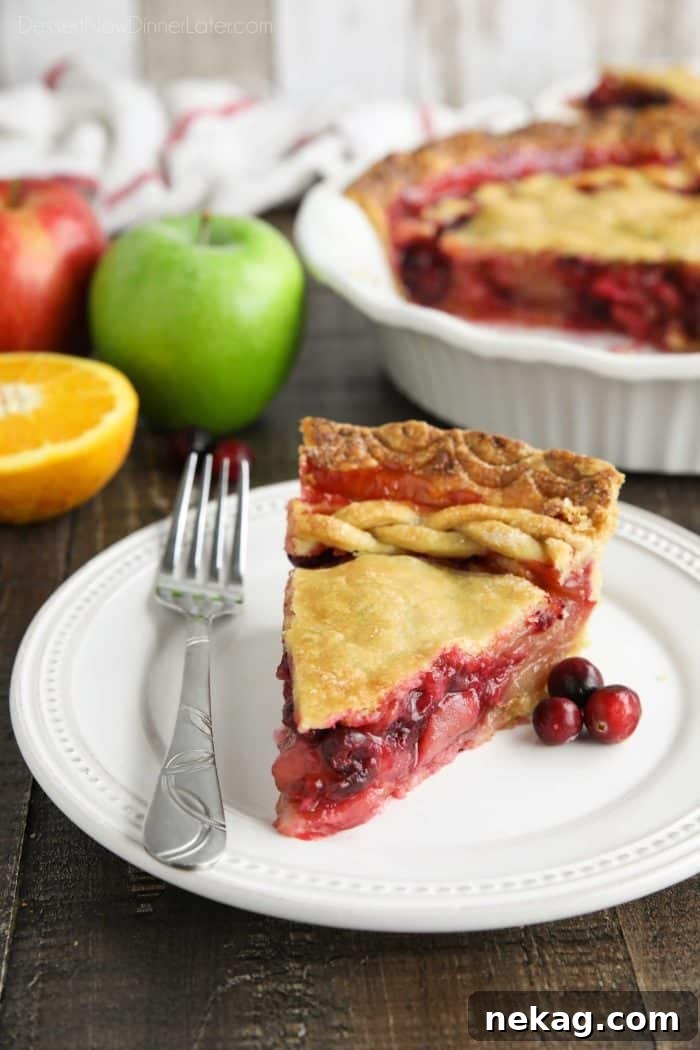
This Thanksgiving pie recipe combines a classic apple pie filling with fresh cranberries for a balance of sweet and tart. Citrus and warm spices brightens the filling, giving it the cozy, mulled-cider character of wassail.
My family loved this twist so much they asked for it instead of a regular homemade apple pie. The combination of apples and cranberries creates a memorable dessert for the holiday table.
What’s the best apple to make a pie with?
Choose apples that hold their shape when baked. For this apple cranberry pie, consider:
- Honeycrisp
- Granny Smith
- Braeburn
- Pink Lady (Cripps Pink)
- Jonathan or Jonagold
I used Honeycrisp here — their natural sweetness contrasts nicely with the tart cranberries.
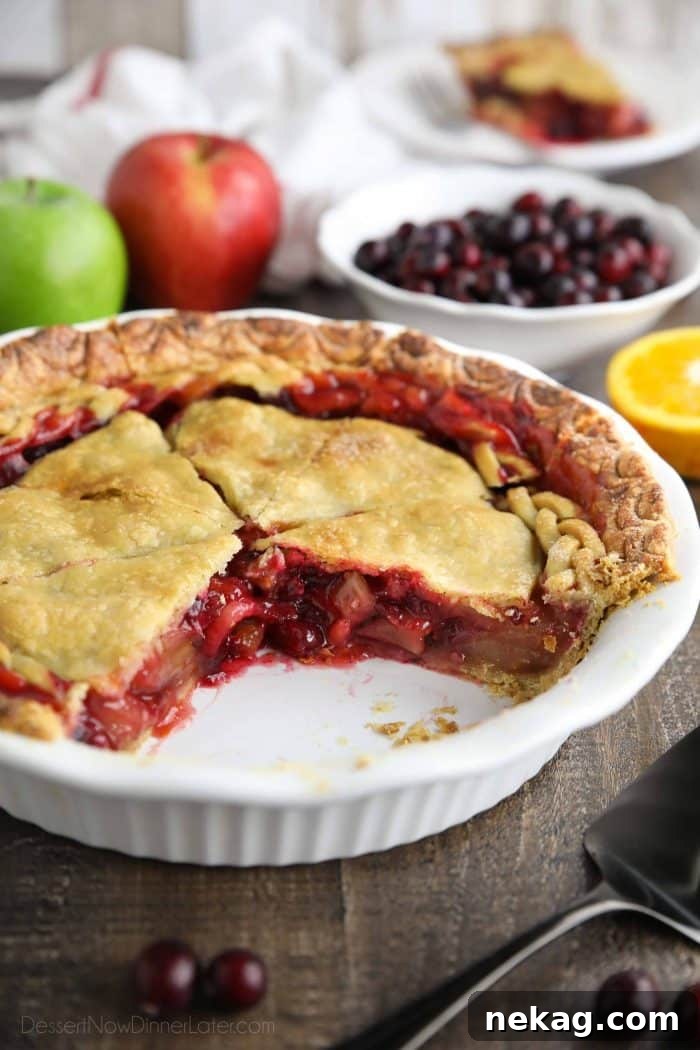
Do you cook apples before putting them in a pie?
You can bake apples directly in the pie, but pre-cooking some elements improves texture and flavor. I prefer to macerate the fruit and then simmer the released juices into a syrup. That step concentrates flavor, reduces excess liquid, and helps the crust bake through.
An alternative method is to leave the apples raw and pour a caramelized syrup over them, which gives a glossy glaze and keeps the fruit slightly firm.
Professional Apple Pie Tip
Culinary technique: macerate the apples with sugar, lemon or orange juice, and spices to draw out juices. Strain the fruit and cook the liquid with butter until it becomes a syrupy caramel, then pour it back over the fruit. This yields nicely glazed apples that stay slightly al dente and prevents a watery filling.
This cranberry apple pie uses that caramelized-syrup method to concentrate flavor and help the filling set.
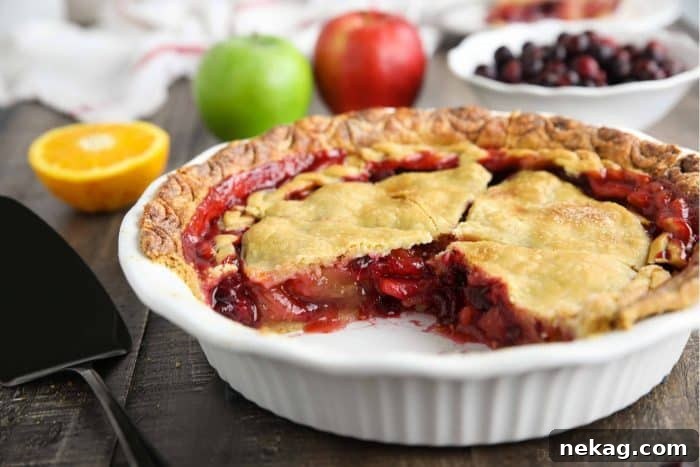
How to Make the Cranberry Apple Pie Filling
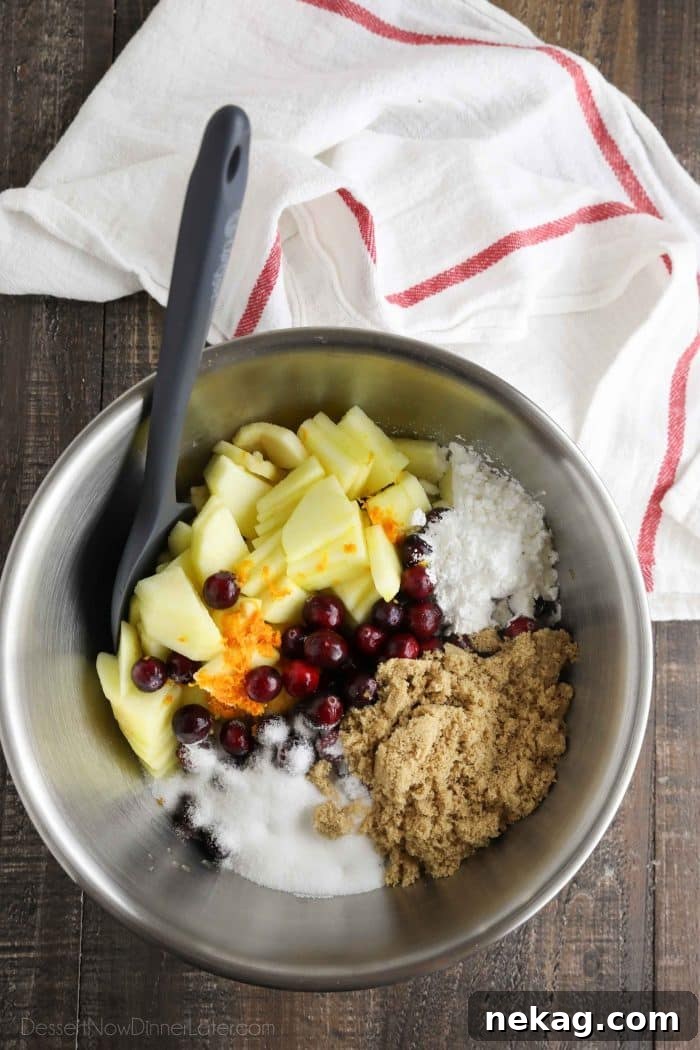
Combine fresh or frozen cranberries with thinly sliced apples, orange juice and zest, light brown and granulated sugar, cornstarch, cinnamon, nutmeg, and a pinch of salt. Let the mixture macerate for about 30 minutes to release the fruit juices.
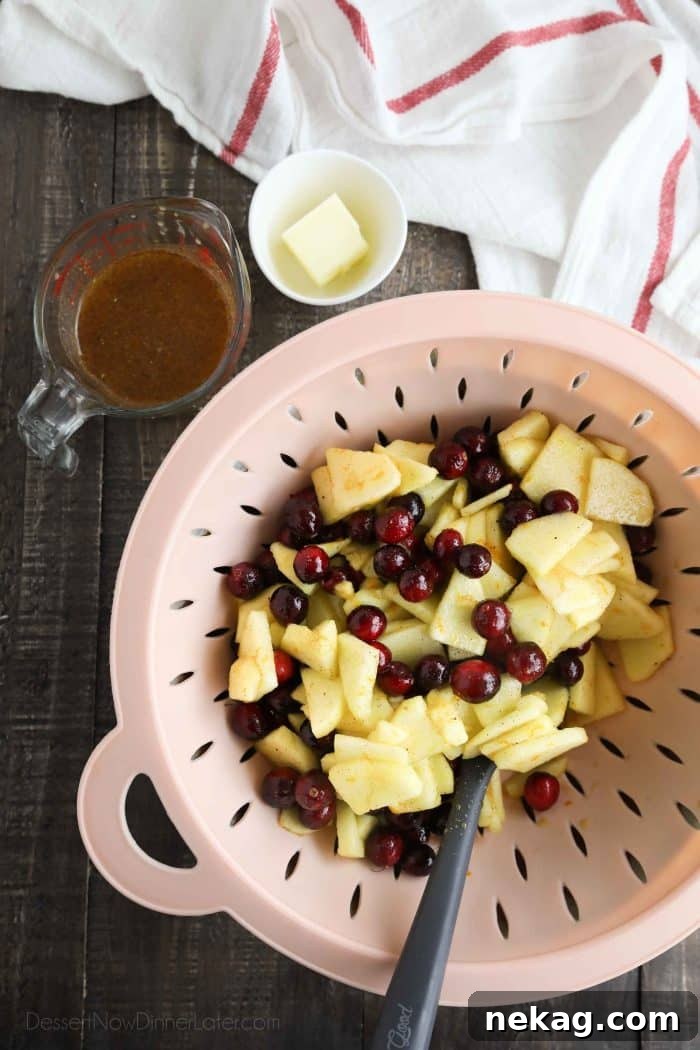
After macerating, strain the fruit and reserve roughly 1/2 cup of the liquid. Simmer that liquid with 2 tablespoons of butter, stirring constantly, until it thickens to a syrupy consistency. Let the syrup cool slightly before using.
To Assemble the Pie
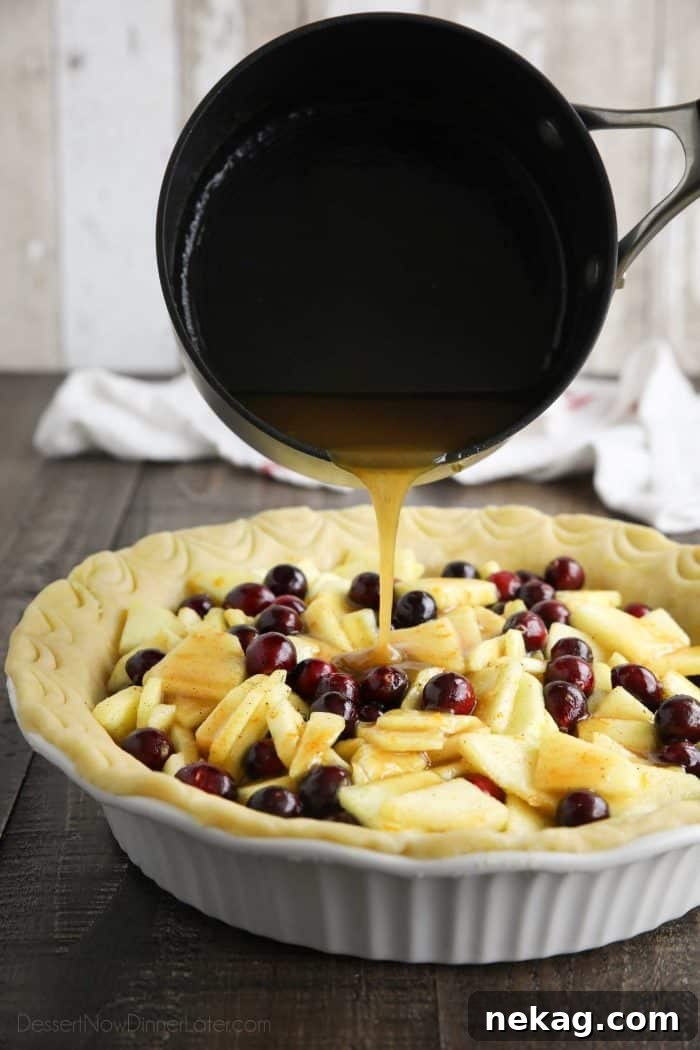
Prepare or unroll two pie crusts. Roll one crust and fit it into a 9-inch pie dish, trimming any excess. Fill with the apple-cranberry mixture and drizzle the caramelized syrup evenly over the fruit.
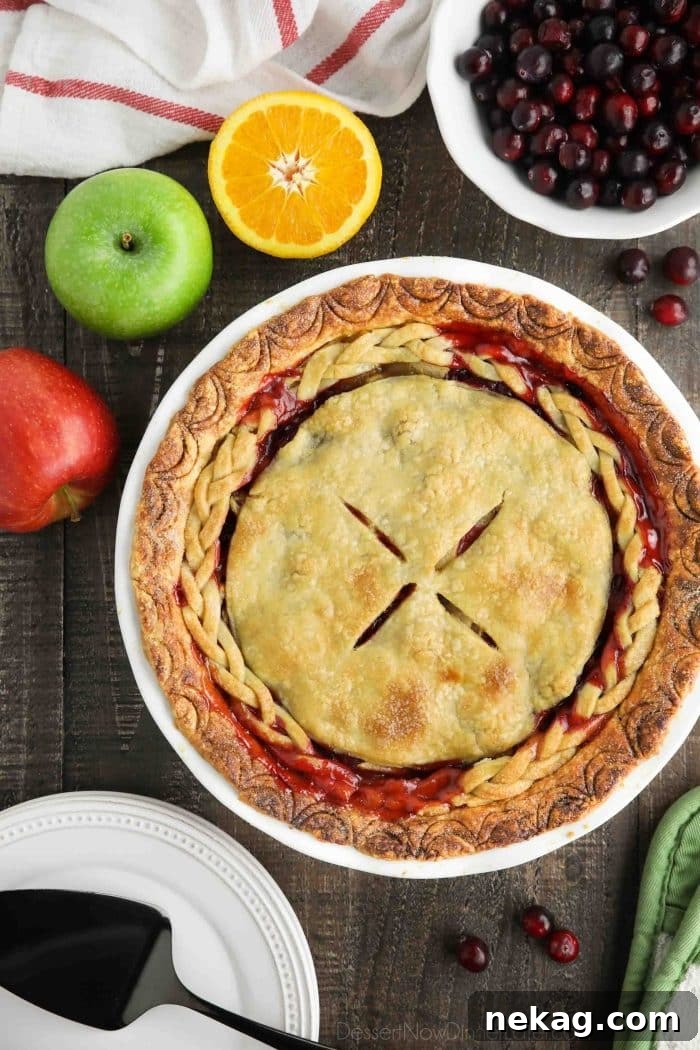
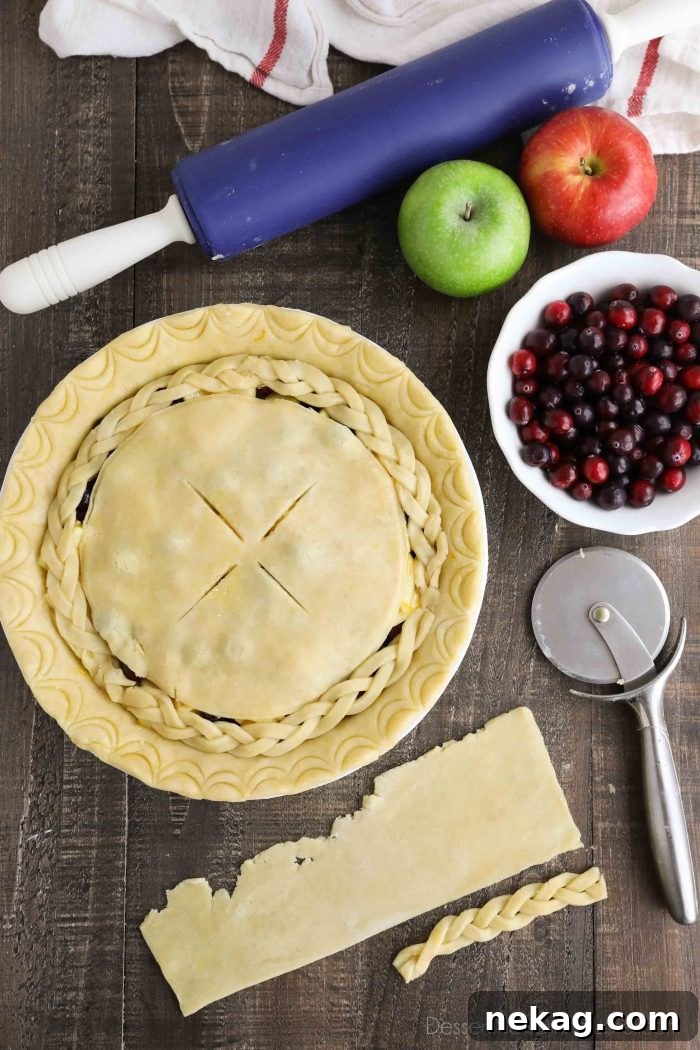
Top with the second crust, trim and crimp the edges, and cut slits for ventilation. For a decorative touch, you can scallop the edge, cut a circle from the center and braid strips of dough to fill the gap, pinching braids together for a neat finish.
- Create scalloped indents around the crust edge with a spoon for a pretty rim.
- Cut a center circle for a focal point, then add ventilation slits.
- Braid three strips to fill the space between the circle and outer crust for an attractive lattice-like decoration.
To Bake the Pie
Pro tip: Brush the top crust with a whisked egg (egg wash) and sprinkle with granulated sugar for color and extra flavor.
Bake at 350°F (175°C) for 60–75 minutes, until the crust is golden and the filling bubbles in the center. During the last 20–30 minutes of baking, cover the edges with foil or use a crust protector to prevent over-browning. If your pie is very full, place a baking sheet on the rack below to catch any bubbling filling.
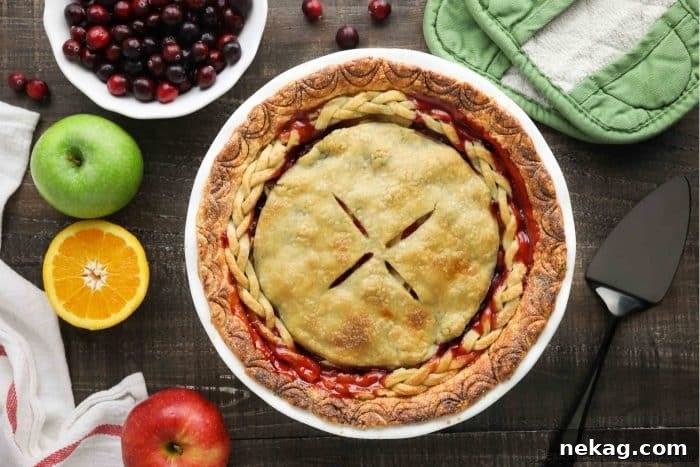
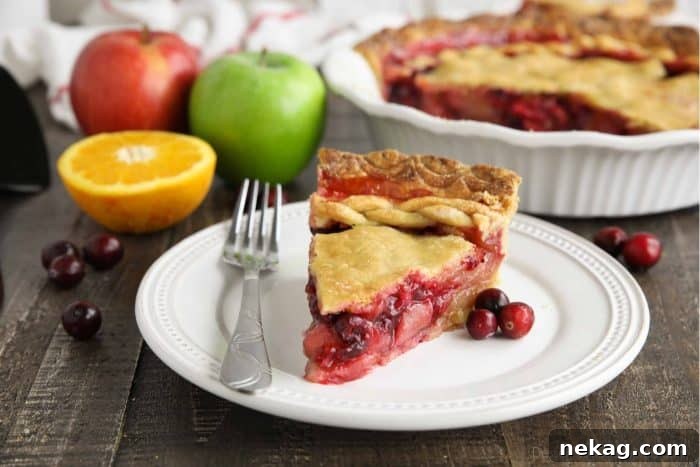
Let the pie cool completely before slicing so the filling sets. This pie stores well covered at room temperature for up to five days.
More Thanksgiving Pie Recipes
- Blueberry Pie with frozen blueberries
- Cherry Crumble Pie
- Dutch Apple Pie
- Coconut Cream Pie
- Frozen Berry Pie
- Caramel Banana Pie
- Chocolate Chip Pudding Pie
- Lemon Key Lime Pie
- Blueberry Cream Cheese Pie
Follow the recipe author on social platforms for more recipes and inspiration.
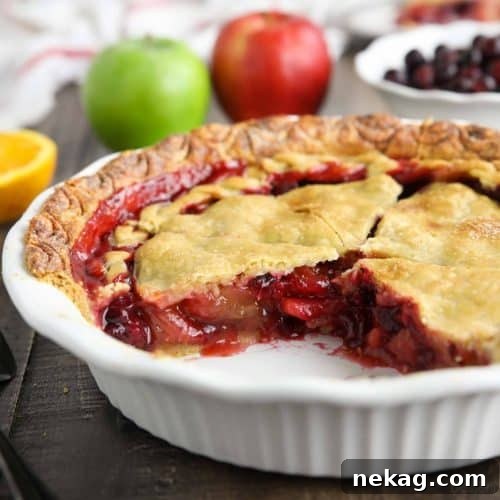
Cranberry Apple Pie
Ingredients
- 2 pie crusts (for top and bottom)
- 4 cups (372 g) apples, peeled, cored, and thinly sliced
- 2 cups (220 g) cranberries, fresh or frozen
- zest of 1 orange (about 1 tsp)
- 2 Tbsp fresh orange juice (about 1/2 an orange)
- ½ cup (100 g) light brown sugar, packed
- ½ cup (100 g) granulated sugar
- 3 Tbsp cornstarch
- ½ tsp ground cinnamon
- ¼ tsp nutmeg
- ⅛ tsp salt
- 2 Tbsp (29 g) butter
For the Crust:
- 1 large egg, whisked (egg wash)
- 1 tsp granulated sugar, for sprinkling
Equipment
- Rolling pin
- 9-inch pie dish
- Fine mesh strainer
Instructions
- Prepare pie crust if making from scratch and keep it cold in the refrigerator.
- In a large bowl, combine sliced apples, cranberries, orange zest, orange juice, brown sugar, granulated sugar, cornstarch, cinnamon, nutmeg, and salt. Stir well and let macerate at room temperature for 30 minutes.
- Strain the fruit and reserve about 1/2 cup of the liquid. In a saucepan, combine the liquid with 2 Tbsp butter and stir constantly over medium heat until it thickens to a syrup. Set aside to cool slightly.
- Preheat oven to 350°F (175°C).
- Roll one crust into a circle about 1/4-inch thick and fit it into a 9-inch pie dish, trimming the excess. Add the apple-cranberry filling and pour the prepared syrup over the fruit.
- Roll the second crust and top the pie, trimming excess dough. Seal and crimp the edges, and cut slits for ventilation.
- Brush the top crust with the whisked egg and sprinkle with granulated sugar.
- Bake for 60–75 minutes, until the crust is golden and the filling bubbles. Cover the edges with foil or a crust protector the last 20–30 minutes if the crust browns too quickly. Place a baking sheet on the rack below if the pie is likely to bubble over.
Notes
- Allow the pie to cool completely before slicing so the filling sets properly.
- Store the pie covered at room temperature for up to 5 days.
Nutrition
Disclaimer: Nutritional values are estimates provided for guidance.
Sharing this recipe with a link is encouraged. Content and photographs are copyright protected.
Did you make this?
Leave a rating below and follow the author on social platforms for more recipes and updates.