
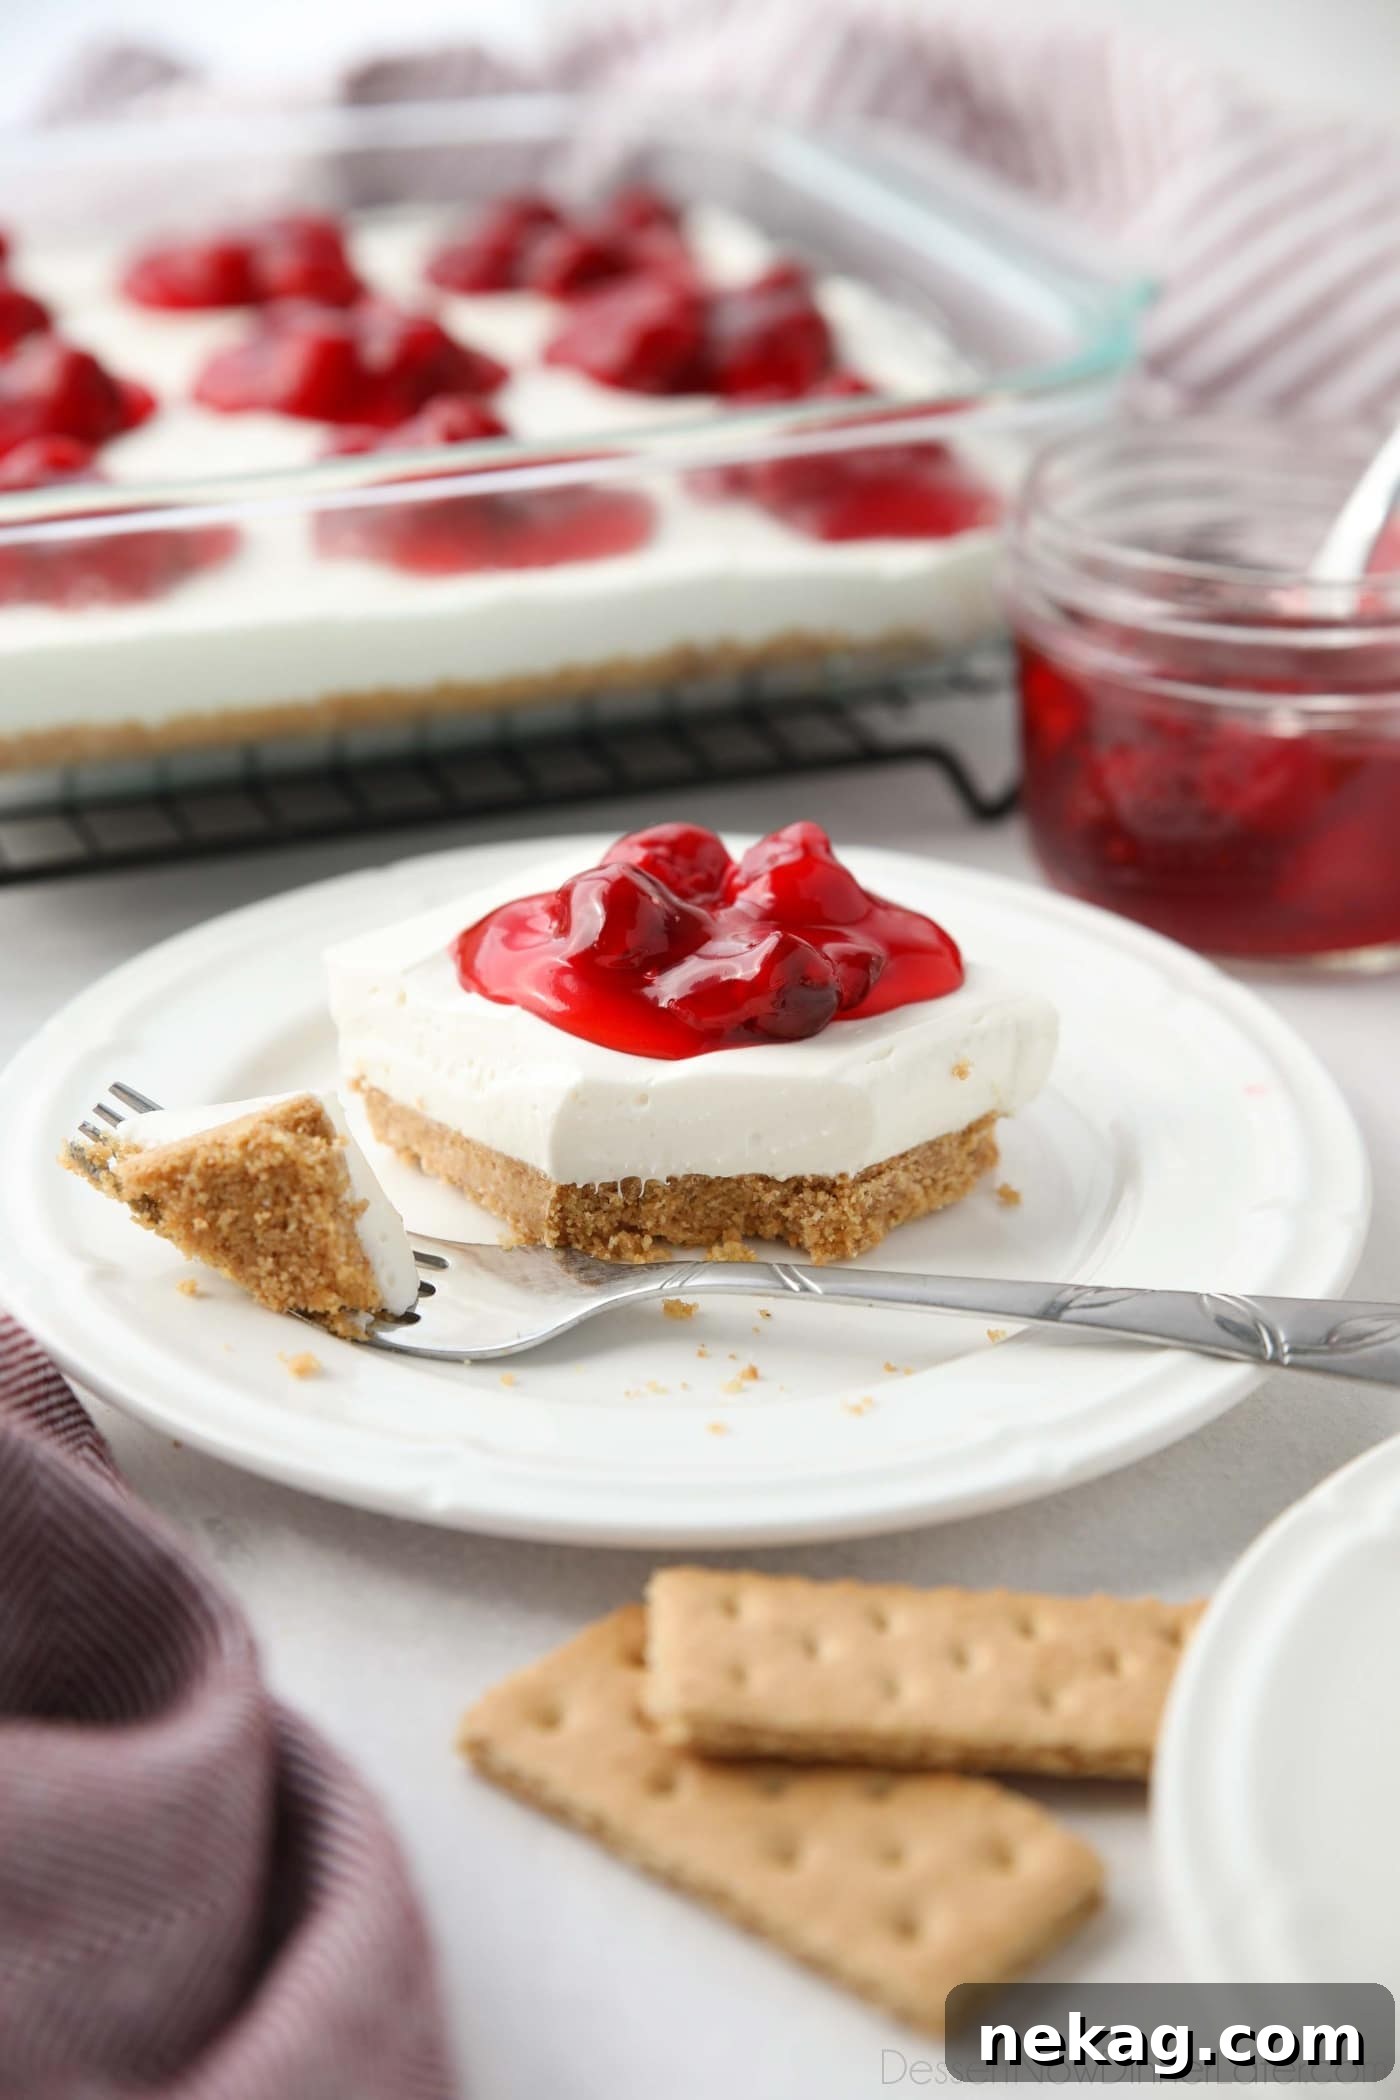
This Cherry Delight recipe is a dream for anyone who loves easy, impressive desserts. Featuring a buttery graham cracker crust, a luscious no-bake cheesecake filling, and a vibrant cherry pie topping, it’s a show-stopping treat that requires minimal effort. Perfect for holidays, family gatherings, summer picnics, or any celebration, this dessert is guaranteed to be a crowd-pleaser that guests will rave about. Its elegant layers and melt-in-your-mouth texture make it an unforgettable finale to any meal.
The Ultimate No-Bake Cherry Delight: An Easy Crowd-Pleaser
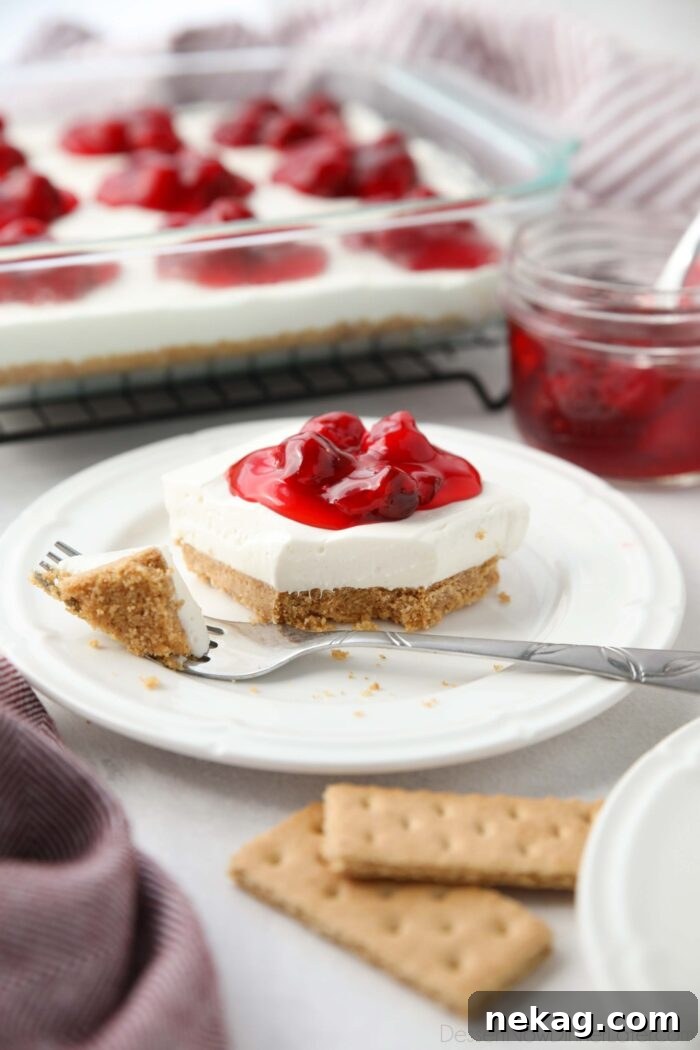
Imagine a classic no-bake cherry cheesecake, transformed into a convenient, generously sized dessert baked in a 9×13-inch pan. That’s exactly what this Cherry Delight offers! Designed to feed a crowd, it’s the ideal sweet treat for potlucks, family reunions, or any event where you need a dessert that delivers on both flavor and ease.
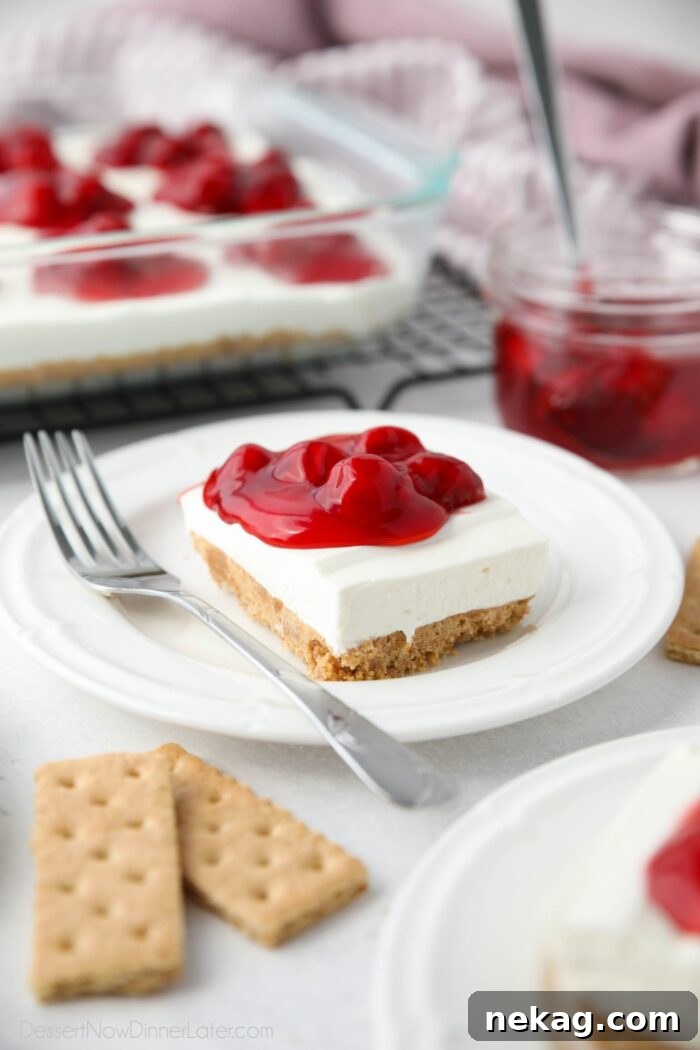
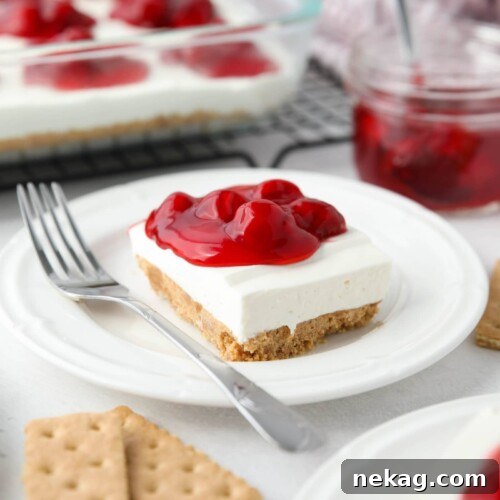
What sets this Cherry Delight apart is its incredible simplicity, achieved through three distinct, yet harmonious, layers:
- The Golden Graham Cracker Crust: A perfectly buttery and subtly sweet foundation that provides a delightful crunch.
- The Velvety No-Bake Cheesecake Filling: A light, airy, and creamy center that melts in your mouth with a hint of tang.
- The Luscious Cherry Pie Topping: A bright, fruity layer that adds a burst of sweet-tart flavor and a stunning visual appeal.
The result is a harmonious blend of textures and tastes: a firm, buttery crust meeting a smooth, creamy filling, crowned with a sweet and slightly tart fruit topping. It’s a dessert that feels indulgent yet is surprisingly simple to prepare, making it a staple in any dessert repertoire.
While I often recommend baking the crust for a deeper flavor and a more solidified base, this Cherry Delight can be made entirely no-bake. For a no-bake crust, simply freeze it for 10 minutes before adding the cream cheese filling. This quick step ensures your crust is perfectly firm without ever turning on the oven, making it ideal for hot summer days or when you prefer a completely oven-free experience.
A Make-Ahead Masterpiece: Convenience Meets Deliciousness
One of the most appealing aspects of this Cherry Delight is its make-ahead convenience. Since the creamy cheesecake filling requires ample time to set properly, it’s the perfect dessert to prepare the day before your event. A minimum of 2 hours in the refrigerator is essential, but for optimal texture and firmness, refrigerating it overnight is highly recommended. This allows the flavors to meld beautifully and the layers to become perfectly distinct and stable, ensuring a smooth, impressive slice every time.
But what if you’re a last-minute planner? Don’t despair! There’s a clever cheat for those times when you need your dessert to set up faster. Simply place the assembled delight in the freezer for about 1 hour before you plan to add the cherry topping. This accelerates the setting process, allowing you to serve it sooner without compromising the creamy texture. (This is exactly what I did to get those perfect pictures you see here!).
Now, let’s dive into the incredibly easy steps to create this delightful dessert yourself. You’ll be amazed at how quickly you can assemble such a visually stunning and deliciously satisfying treat!
Crafting the Perfect Graham Cracker Crust
Every great dessert starts with a solid foundation, and for our Cherry Delight, that means a flawless graham cracker crust. This crust is simple, buttery, and provides the perfect textural contrast to the creamy layers above.
NOTE: You’ll find all exact measurements and detailed instructions in the complete, printable recipe card at the bottom of this article.
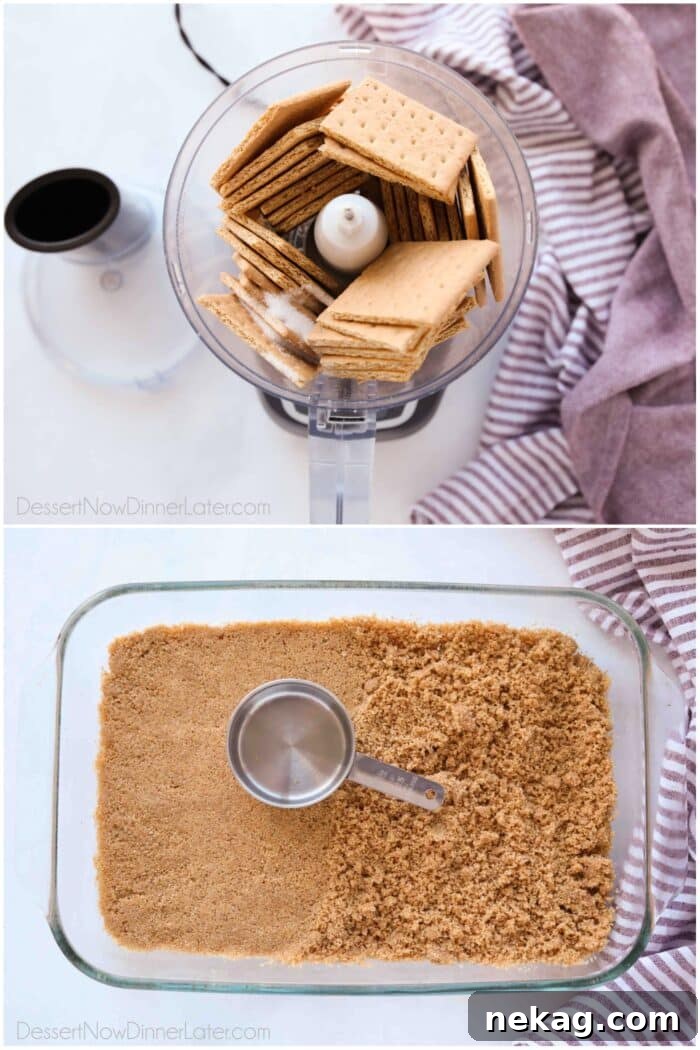
- Begin by finely crushing your graham crackers. A food processor makes this task incredibly quick and easy, ensuring uniform crumbs. Combine these crumbs with granulated sugar in the food processor and pulse until well mixed.
- Next, pour in the melted butter. Continue to pulse or mix until the graham cracker crumbs are thoroughly and evenly moistened. The mixture should resemble wet sand and hold together when pressed.
- Transfer the moistened crumbs into a lightly greased 9×13-inch baking pan. Using the bottom of a glass or your hands, firmly press the mixture into an even layer across the bottom of the pan. This step is crucial for a stable crust that won’t crumble when sliced.
- For a more flavorful and sturdy crust, bake it at 350 degrees Fahrenheit for 8-10 minutes. This brief bake time enhances the nutty flavor of the graham crackers and helps to set the crust beautifully. Remove from the oven and allow it to cool completely before proceeding. If you prefer a completely no-bake dessert, simply skip the baking step and freeze the pressed crust for 10 minutes instead to firm it up.
Creating the Velvety No-Bake Cheesecake Filling
While your crust is cooling, it’s the perfect time to prepare the star of the show: the incredibly smooth and creamy no-bake cheesecake filling. This layer is light, airy, and utterly irresistible, providing the perfect counterpoint to the buttery crust and sweet cherry topping.
For more detailed insights into no-bake cheesecake fillings, check out my full no-bake cheesecake guide.
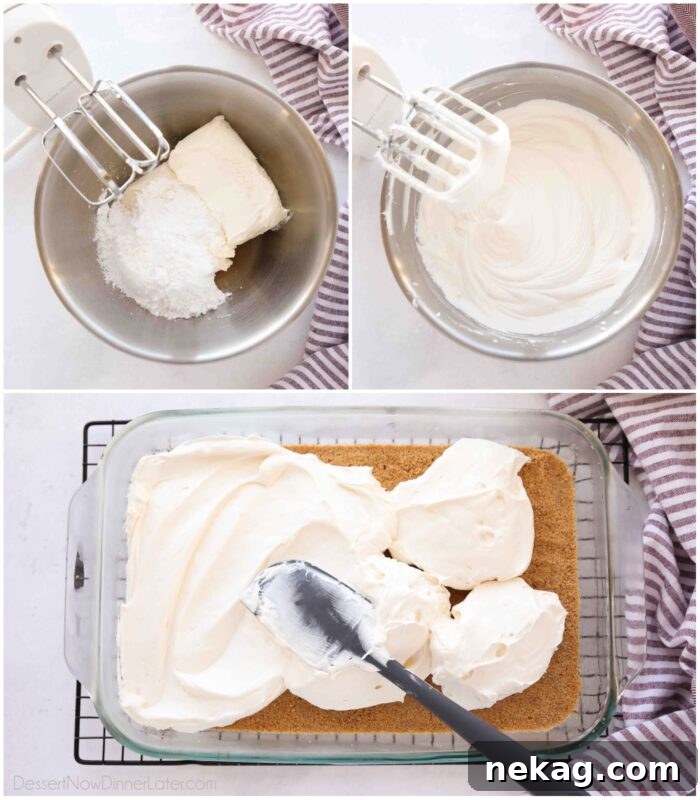
- In a large mixing bowl, combine the softened cream cheese, powdered sugar, vanilla extract, and a touch of lemon juice (the lemon juice is optional but adds a lovely brightness that cuts through the sweetness).
- Using an electric hand mixer, beat these ingredients together until the mixture is completely smooth and thoroughly combined. Be sure to scrape down the sides of the bowl periodically to ensure everything is incorporated. The key to a lump-free filling is starting with room-temperature cream cheese.
- Gently fold in the whipped topping (such as Cool Whip) until just combined. Be careful not to overmix, as this can deflate the whipped topping and result in a less airy filling.
- Once combined, carefully dollop the creamy cheesecake filling over your completely cooled graham cracker crust. Then, using a spatula, spread the filling evenly across the entire surface of the crust. Ensure it’s spread right to the edges for a beautiful, uniform look.
The Grand Finale: Chilling, Topping, and Serving Your Delight
Once your Cherry Delight has its creamy middle layer, the next steps are crucial for achieving that perfect, ready-to-serve dessert. The chilling process is fundamental, and how you apply the cherry topping can impact presentation.
Here’s my preferred method for an elegant presentation:
- Initial Chill: Once the cheesecake filling is spread, place the dessert in the refrigerator for a minimum of 2 hours, or ideally, overnight. This allows the filling to firm up properly, creating distinct layers.
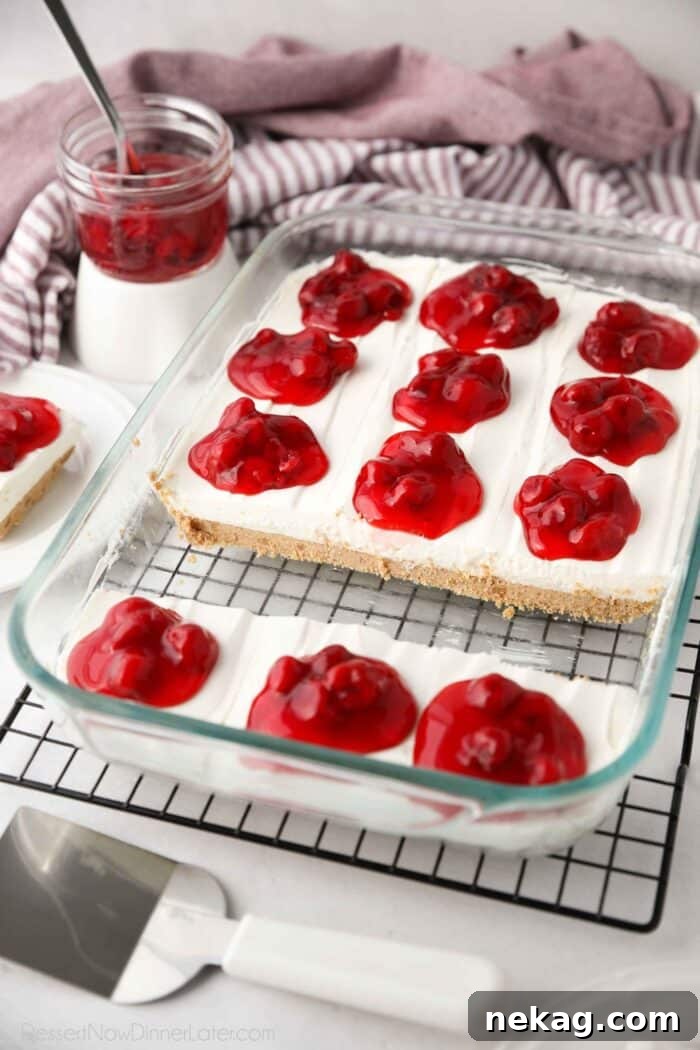
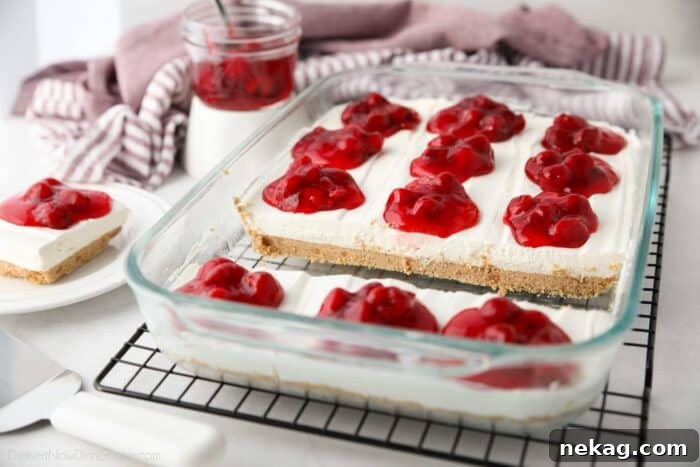
- Precise Cutting: After the dessert is well-chilled and firm, carefully cut it into individual slices directly in the pan. This method allows you to see your cuts clearly and prevents the cherry topping from running down the sides of your perfectly sculpted slices.
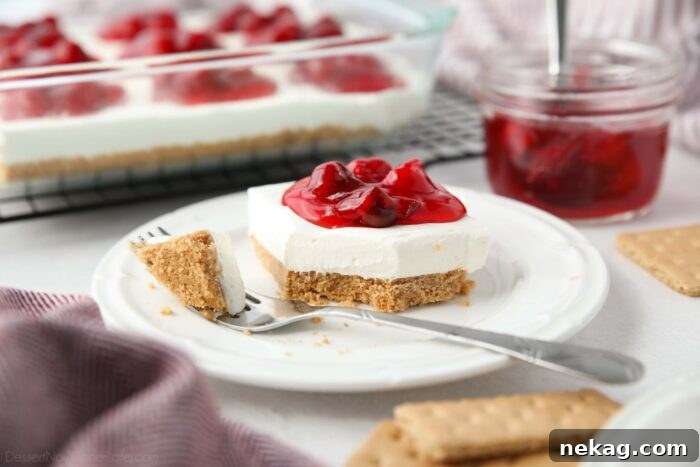
- Artful Topping: Once sliced, individually dollop the luscious cherry pie filling onto the top of each piece. This ensures every slice gets a beautiful, clean layer of fruit, making for a truly stunning presentation.
Of course, you can certainly opt for a more traditional approach: simply spread the entire can of cherry pie filling over the cheesecake layer before chilling the whole dessert. Then, chill and cut. The choice is yours, based on your preference for ease versus presentation.
Remember: Chill the Cherry Delight for at least 2 hours, or preferably overnight, for the best results. This patience will be rewarded with a perfectly set dessert that holds its shape beautifully.
Tip for Achieving Nice, Clean Slices: For professional-looking cuts, run a sharp knife under hot water, then carefully wipe it dry with a cloth. Use this warm knife to slice through the chilled dessert. Re-heat and dry the knife between each slice to prevent sticking and ensure every piece is perfectly clean.
Customizing Your Cherry Delight: Alternative Ingredients and Variations
This Cherry Delight recipe is wonderfully versatile, allowing for easy substitutions and creative twists to suit your preferences or what you have on hand. Don’t be afraid to experiment!
Whipped Topping Alternatives
No Cool Whip? No Problem! While frozen whipped topping (like Cool Whip) offers unparalleled convenience and stability for this no-bake recipe, if you prefer to avoid it or want a homemade option, you can easily make your own stabilized whipped cream. This will provide a similar light and airy texture that holds up well in the cheesecake filling.
Cherry Pie Filling Options
Canned vs. Homemade: Canned cherry pie filling is a fantastic shortcut for its simplicity and ready-to-use nature. However, for a truly gourmet experience, a homemade cherry pie filling will always elevate the flavor profile. If you have time and fresh or frozen cherries on hand, I highly recommend trying my homemade cherry pie filling recipe. It brings a fresh, vibrant taste that is hard to beat.
Explore Other Fruit Fillings: The “delight” concept is incredibly versatile. Feel free to substitute the cherry pie filling with any other fruit pie filling of your choice! Blueberry, strawberry, peach, lemon, or even apple pie filling would create equally delicious and refreshing variations. This makes the recipe perfect for adapting to seasonal fruits or simply satisfying different cravings.
Crust Creativity
While the classic graham cracker crust is a beloved choice, you can also experiment with different cookie crumbs. Try crushed Oreos for a chocolatey twist, Nilla wafers for a vanilla base, or even add finely chopped pecans or walnuts to your graham cracker crust for an extra layer of texture and nutty flavor.
More Irresistible “Delight” Desserts to Explore
If you’ve fallen in love with the ease and deliciousness of this Cherry Delight, you’re in for a treat! The “delight” or “lush” dessert family offers a myriad of flavors, often featuring a similar layered structure of a crunchy crust, creamy filling, and fruity or chocolatey topping. Many variations include a delightful addition of pecans in the crust for an extra layer of crunch and flavor.
Don’t stop at cherry! Expand your dessert repertoire with these other fantastic “delight” recipes:
- Strawberry Delight: A refreshing burst of berry flavor, perfect for spring and summer.
- Blueberry Lush: A delightful twist with the sweet tang of blueberries.
- Chocolate Delight Recipe: For the ultimate chocolate lover, a rich and decadent experience.
- Lemon Curd Dessert: A bright and zesty option that’s surprisingly light and tangy.
Cherry Delight Recipe
No bake cherry cheesecake for a crowd!
Created by Amber Brady
Prep: 25 mins | Cook: 10 mins | Chill Time: 2 hrs | Total: 2 hrs 35 mins
Pin Recipe
Rate This Recipe
Yields: 15 servings
Ingredients
For the Crust:
- 2 sleeves graham crackers (18 full sheets), around 2 1/4 cups crumbs
- 2 Tbsp granulated sugar
- 10 Tbsp (141 g) butter, melted
For the Filling:
- 16 oz (452 g) block cream cheese, room temperature/softened
- 1 cup (120 g) powdered sugar
- 1 tsp vanilla extract
- 1 Tbsp lemon juice, optional
- 8 oz (226 g) tub frozen whipped topping, thawed (*Cool Whip)
For the Topping:
- 21 oz (595 g) can cherry pie filling
Equipment
- Food Processor
- Electric Hand Mixer
- 6-Quart Steel Mixing Bowl
- Silicone Spatula Set
- 13×9-inch pan
Instructions
- Preheat oven to 350 degrees Fahrenheit (if baking the crust). Lightly grease a 9×13-inch pan with cooking spray.
- Crust: Pulse the graham crackers and granulated sugar together in a food processor. Add the melted butter and mix until the crumbs are evenly coated.
- Empty the moistened crumbs into the prepared pan and press firmly into the bottom.
- Bake at 350˚F for 8-10 minutes. Remove from oven and allow crust to cool completely. (Option: Freeze the crust for 10 minutes for a no-bake crust.)
- Filling: Place the cream cheese, powdered sugar, vanilla, and lemon juice in a large bowl. Beat together with an electric hand mixer until smooth and combined. Scrape bowl.
- Add the whipped topping and beat together to combine.
- Dollop the cream cheese filling over the cooled crust, then spread evenly with a spatula.
- Chill the dessert for a minimum of 2 hours. Cut the dessert with a knife and dollop some of the cherry pie filling on each piece. Cover and refrigerate any leftovers.
Notes
- No Cool Whip: Don’t like using Cool Whip (aka frozen whipped topping)? Simply make your own stabilized whipped cream instead.
- Cherry Pie Filling: Canned pie fillings are great in a pinch, or for simplicity, but homemade will always taste better. You can try my homemade cherry pie filling made with frozen cherries.
- Any pie filling can be substituted for the flavor of your choosing. This cherry delight is super versatile!
- In a hurry? Place the dessert in the freezer for 1 hour before topping it, to help it set up quicker.
- Storage: This dessert will last up to 1 week in the refrigerator. To freeze, cover the pan with plastic wrap and foil and freeze up to 3 months. Thaw in refrigerator overnight before serving.
Nutrition Information
Serving: 1 slice | Calories: 288kcal | Carbohydrates: 39g | Protein: 7g | Fat: 12g | Saturated Fat: 7g | Polyunsaturated Fat: 0.4g | Monounsaturated Fat: 3g | Trans Fat: 0.3g | Cholesterol: 24mg | Sodium: 401mg | Potassium: 175mg | Fiber: 1g | Sugar: 19g | Vitamin A: 342IU | Vitamin C: 2mg | Calcium: 137mg | Iron: 1mg
Disclaimer: Nutritional values were calculated using a third-party tool and are provided as an estimation only.
Sharing this recipe with a link is both encouraged and appreciated. Copying/pasting and/or screenshots of full recipes to any social media is strictly prohibited. Content and photographs are copyright protected.
Did you make this?
Don’t forget to leave a rating below and make sure to follow on Pinterest and Instagram for more!