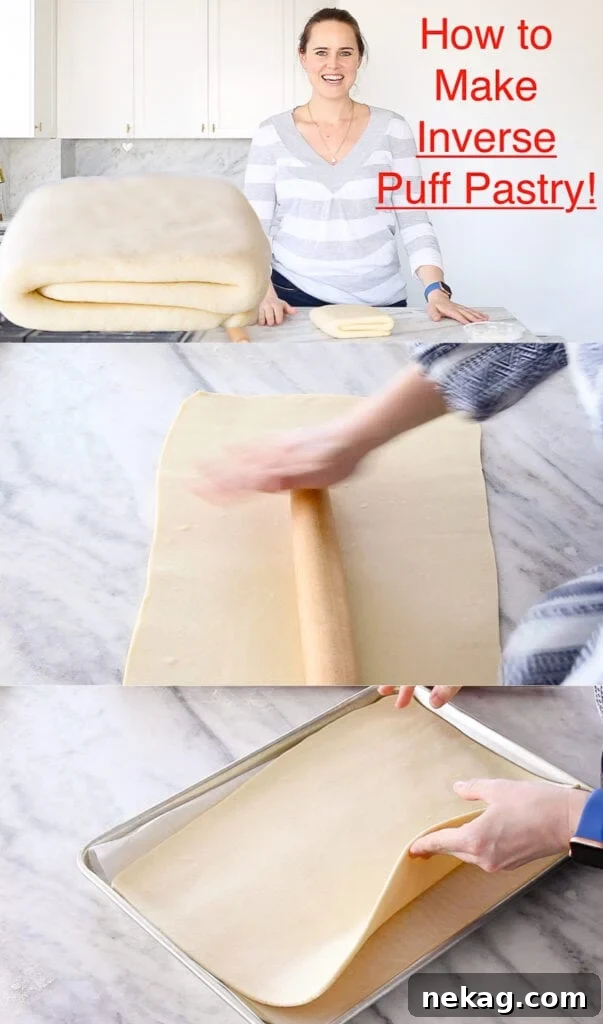
Unlock the secrets to crafting the most exquisite, flaky, and buttery pastry right in your own kitchen with this ultimate guide to inverse puff pastry. Forget mediocre store-bought options; our easy-to-follow tutorial, complete with detailed insights, will empower you to create a culinary masterpiece that boasts unparalleled layers and richness. Prepare for a baking experience that will elevate your skills and delight your palate, yielding results that are simply divine.
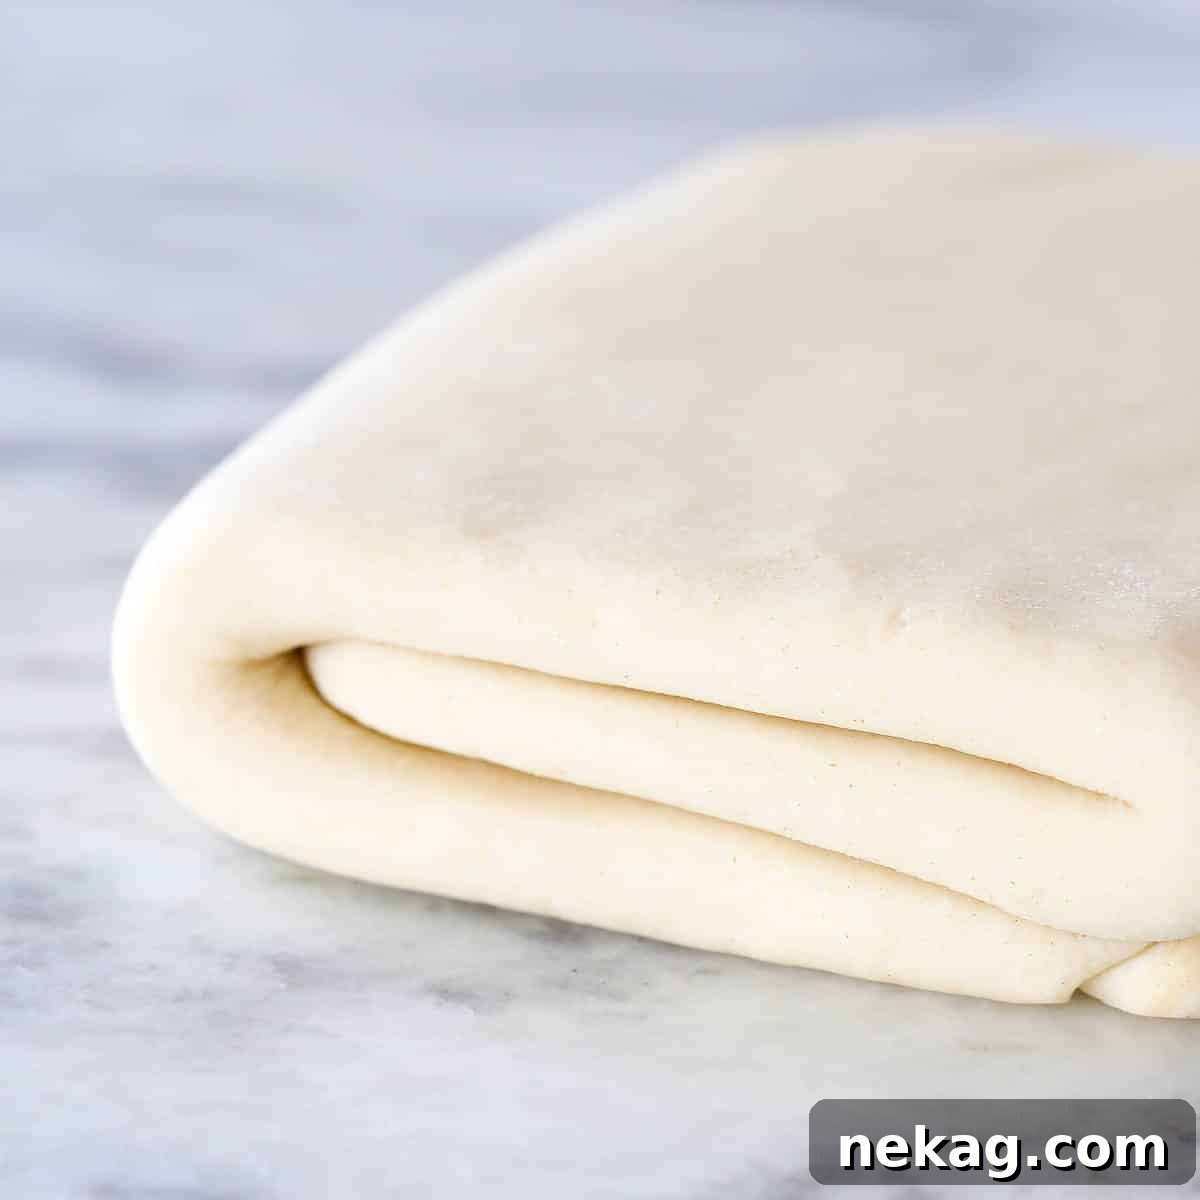
Achieving those coveted flaky layers, rich with the irresistible aroma of butter, is a profoundly satisfying endeavor for any baker. It’s a journey that requires a bit of dedication and patience, but the rewards are truly boundless. Imagine puff pastry so perfect, so ethereal, that it becomes your personal triumph, a testament to skill and artistry. Indeed, making inverse puff pastry from scratch is not just about baking; it’s about embracing a meditative process that culminates in sheer culinary joy. Think of the meticulous folding and chilling as your ultimate social distancing technique, a delicious escape into the world of viennoiserie!
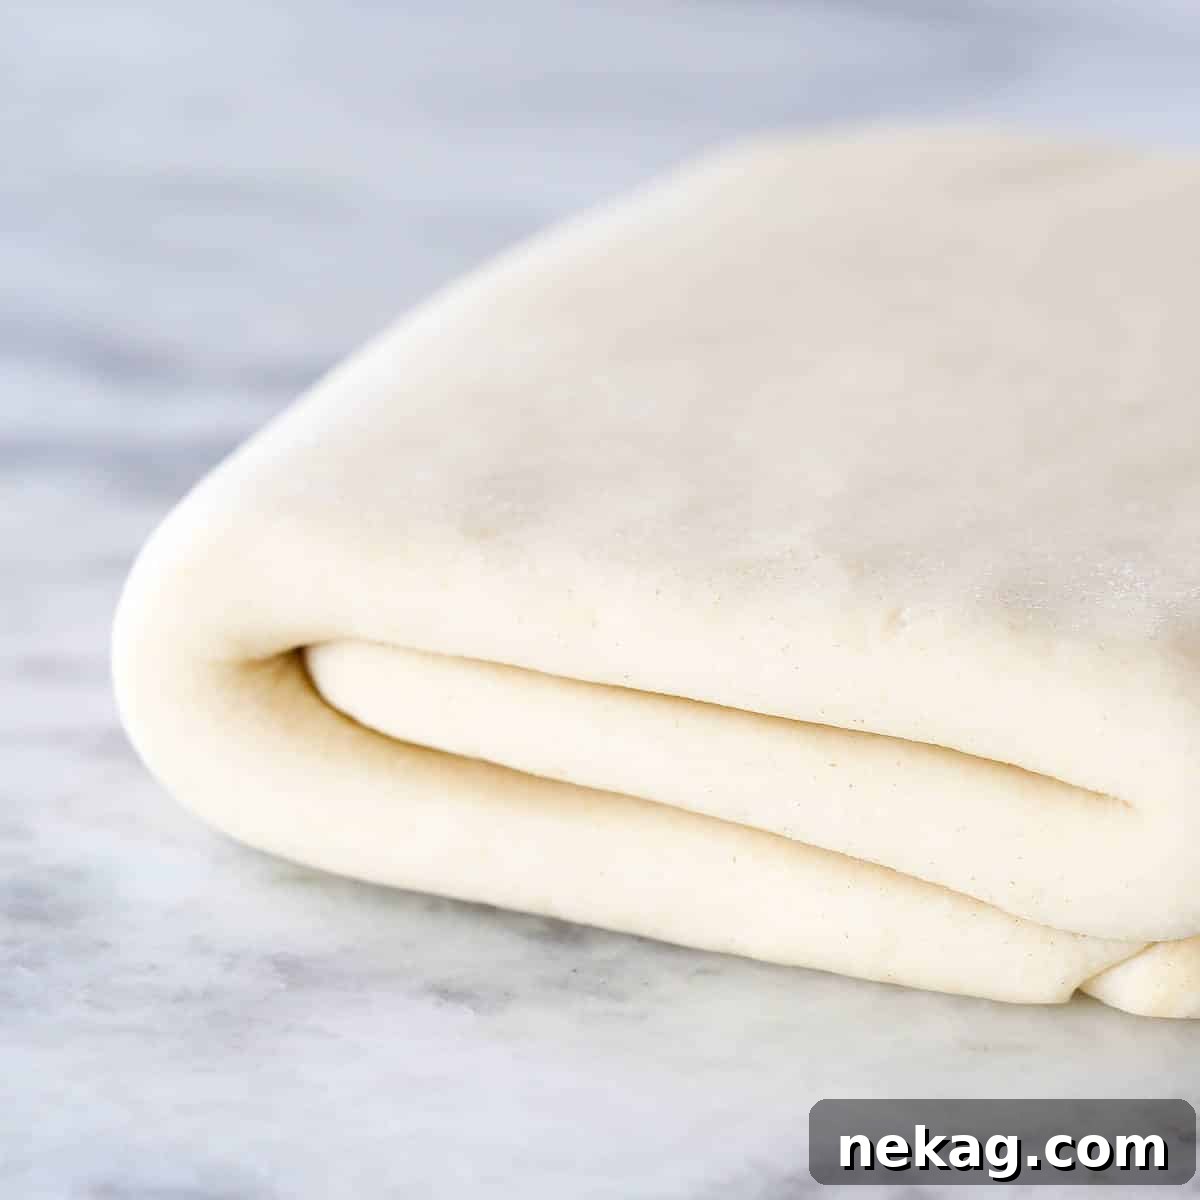
Once your beautifully laminated dough emerges from the oven, its golden hue and intoxicating aroma will waft through your home, inevitably drawing a crowd. Don’t be surprised if your neighbors, while maintaining a respectful six-foot distance, start lining up at your door, eager to experience a taste of your buttery, crispy goodness. This isn’t just baking; it’s creating an experience, a community event sparked by the magic of homemade pastry.
But what exactly are you going to do with all this perfectly laminated puff pastry once it’s ready? The versatility of this dough is truly astounding, opening up a world of culinary possibilities. And the best part? You can ensure you always have perfect puff pastry at your fingertips with just two easy steps:
- Step 1: Freeze it in sheets. Once rolled out to your desired thickness, carefully layer your puff pastry sheets between pieces of parchment paper. Wrap them really, really well in plastic wrap, then an extra layer of foil, to prevent freezer burn and keep them pristine.
- Step 2: Pull out one sheet at a time. Whenever inspiration strikes or a craving hits, simply retrieve a sheet from the freezer, thaw it, and proceed with your recipe.
What kind of culinary adventures await, you ask? I’m delighted you did! The possibilities are virtually endless. You could use your magnificent inverse puff pastry as an elegant topping for a hearty chicken pot pie, transforming a simple dish into something extraordinary. Imagine creating delightful fruit turnovers, bursting with seasonal fillings, or savory cheese straws, perfect for an appetizer. How about a classic tarte tatin, where caramelized apples meet delicate pastry? Explore the sweet side with a vibrant puff pastry fruit tart, or impress your guests with savory stuffed cheese and vegetable bites. For a touch of French sophistication, mille feuille layers beckon. This list merely scratches the surface; your creativity is the only limit!
Fear not, my fellow pastry enthusiasts! Over the next few months, I will be diligently working through the abundant supply of puff pastry currently residing in my freezer (and yes, there is a lot of it!). I’ll be sharing a plethora of exciting recipes and innovative uses for this incredible dough, taking you all along for the delicious ride. Get ready to transform your inverse puff pastry into an array of irresistible treats!
Now, let’s delve into the fascinating “nerdy details” for a minute! (You know this is the part that truly excites me!)
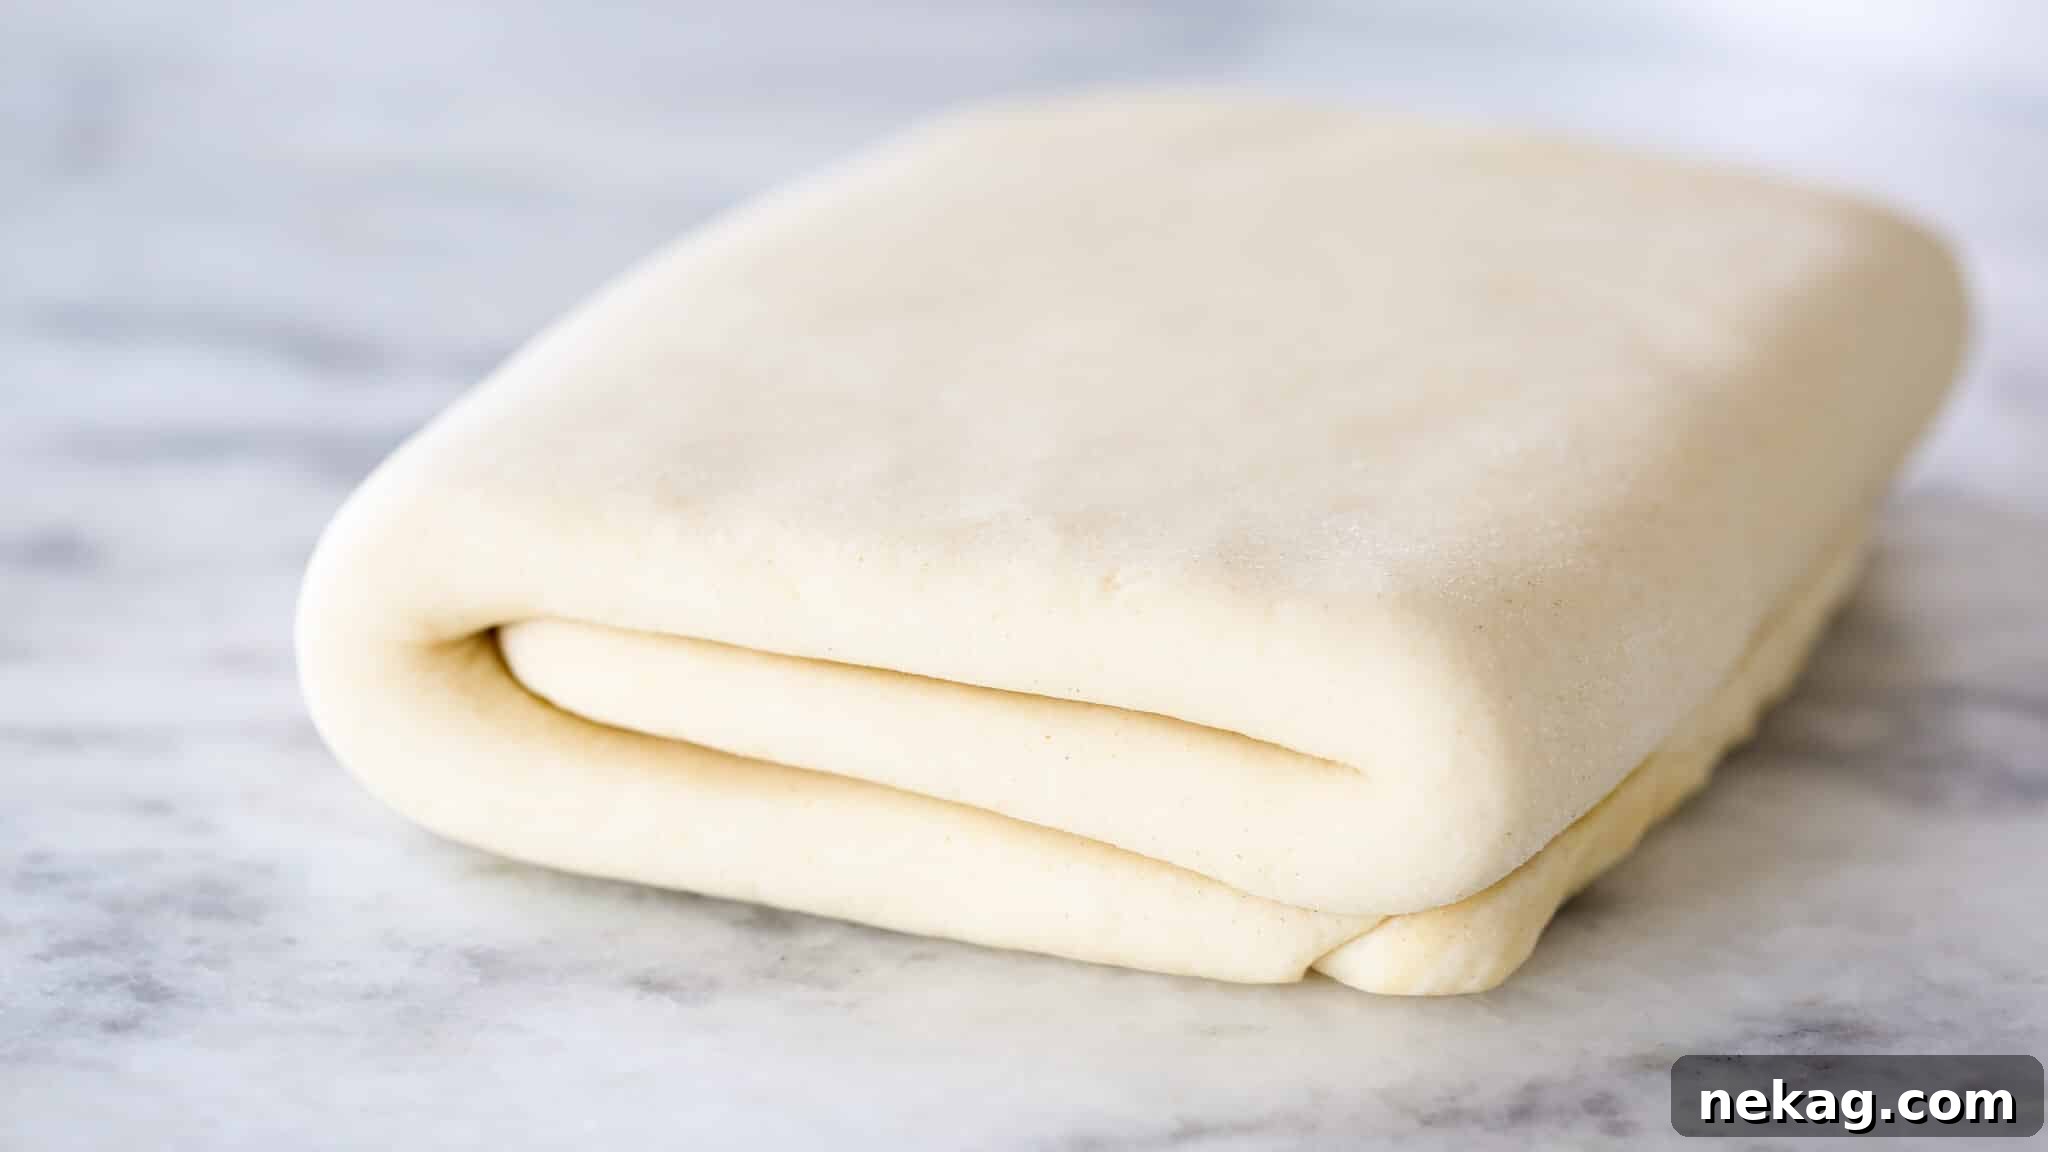
The Science Behind the Puff: Unveiling the Magic of Lamination
The characteristic flakey layers found in puff pastry are all achieved through a magical process known as lamination. This technique involves meticulously folding a block of butter (known as the “beurrage”) into a simple dough (the “détrempe”) multiple times. Each fold creates distinct, individual layers of butter and pastry dough. When this laminated dough is introduced to the high heat of a hot oven, a wondrous transformation occurs:
- First, the butter within these layers rapidly melts.
- Crucially, the water content in the butter instantly evaporates, generating steam.
- This steam, trapped between the dough layers, expands forcefully, pushing the delicate pastry layers apart.
Voilà! The result is a spectacular rise, yielding countless layers of light, airy, and undeniably buttery awesomeness. It’s a true marvel of baking physics!
Therefore, your deductive powers are absolutely correct: all that magnificent flakiness and impressive rise hinge on two fundamental principles: the precise creation of these numerous layers, and their careful maintenance throughout the entire process.
Inverse vs. Traditional Puff Pastry: A Superior Approach
In traditional puff pastry, the layers are initially created by enclosing a square of butter (the beurrage) within a dough packet (the détrempe), forming what’s called a pâton, before beginning the rolling and folding process. Inverse puff pastry, however, flips this concept on its head. As its name suggests, in this recipe, the butter is actually on the outside, encasing the dough within. While the initial combination and first fold of inverse puff pastry can be a tad trickier, many pastry chefs find it significantly easier to work with thereafter compared to its traditional counterpart. The resulting pastry is generally touted for being even flakier, more consistent in texture, and possessing a more pronounced buttery flavor.
The Beurrage in Inverse Puff Pastry: Your Layer Insurance
A key difference and advantage of inverse puff pastry lies in the composition of its beurrage. For this method, the butter for the beurrage is combined with a small amount of flour. This clever addition serves a vital purpose: it helps to keep the butter from melting too quickly, especially during the critical stages of forming the pâton and executing your first few folds. Think of this flour addition as your “cheap layer insurance” – it stabilizes the butter, allowing for cleaner, more defined layers and a less stressful lamination process.
The Art of the Fold: Mastering Turns for Maximum Layers
Once the butter and dough are expertly combined, they embark on a series of precise folds, often referred to as “turns” in the world of laminated doughs. There are primarily two types of folds employed:
- Single (Envelope) Folds: Where the dough is folded into thirds, much like a letter going into an envelope.
- Double (Book) Folds: Where the dough is folded into quarters, resembling a closed book.
The total number and type of folds you perform directly dictate the final number of incredibly fine layers your puff pastry will possess. This precise sequence is often a highly guarded secret among bakers, as it is the key differentiator in achieving consistent and spectacular results, even with identical ingredients.
For a truly exceptional inverse puff pastry, I recommend employing 6 single folds, executed in batches of two. This method strikes a perfect balance between developing sufficient layers and maintaining the integrity of the dough and butter.
Patience and Precision: The Golden Rules of Lamination
A crucial piece of advice for laminated doughs: Never attempt more than 2 turns at a time. This isn’t arbitrary; there’s a good reason. The gluten in your dough needs time to relax after being stretched and worked. If you rush it and try to do too many turns consecutively, the gluten will contract, making it exceedingly difficult, if not impossible, to roll the pastry thin enough. Furthermore, the butter will inevitably become too soft and warm. When butter warms up too much, it loses its structural integrity and begins to work *into* the dough rather than maintaining its distinct layers *between* the dough. And let me tell you, integrity in pastry is just as vital as it is in life. You heard it here first!
The Critical Role of Temperature Control
Both the initial creation and subsequent maintenance of those delicate layers are utterly dependent on keeping the butter consistently cold yet still pliable. This is a delicate balance. If your butter is too cold and rigid when you attempt to roll it, it will simply break and shatter within the dough, leading to sad, uneven, and ultimately disappointing layers. Conversely, if you neglect to chill your dough adequately between turns, the dough will become unyielding and uncooperative, shrinking back and resisting your efforts to roll it thinly.
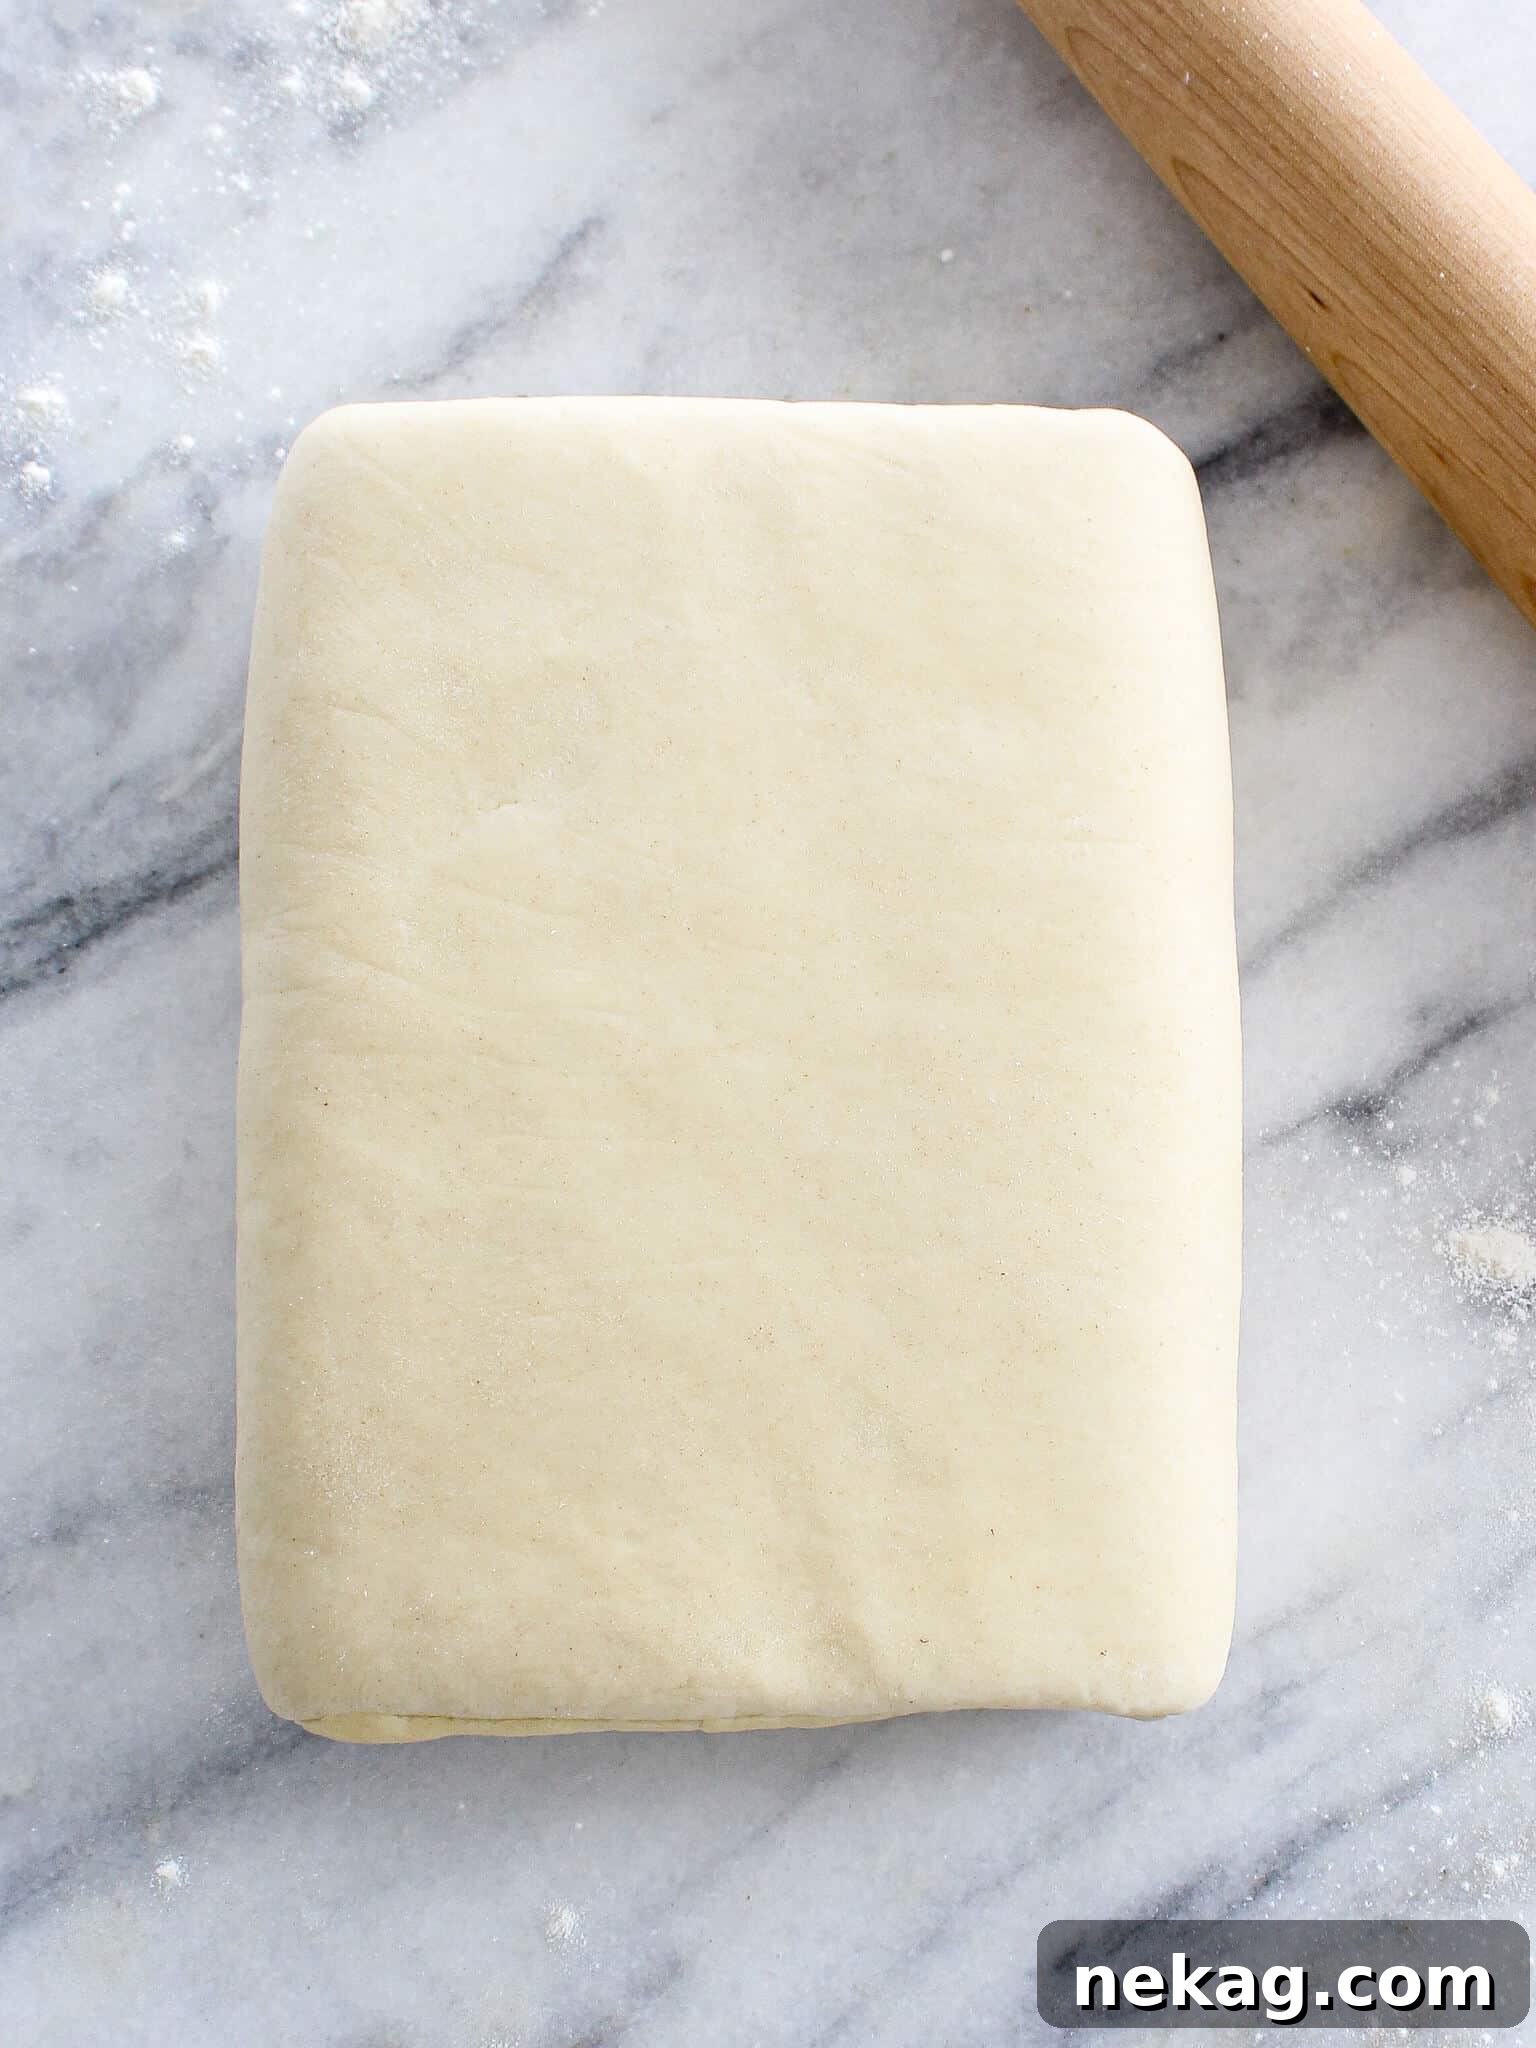
Listen to Your Dough: The Baker’s Intuition
The most important piece of advice in pastry, and this holds especially true for intricate laminated doughs, is to pay profound attention to your dough. You need to know it intimately, to understand its subtle struggles and frustrations, so that you can react immediately and provide precisely what it needs. Dough can never be forced; it must be coaxed. However, you can certainly learn the clever tricks to controlling it, ensuring it remains cooperative and “happy.” If you notice your dough shrinking back stubbornly, it’s a clear sign it needs a break. Place it back in the refrigerator, allowing the gluten to relax and unwind. If the butter feels too hard, resist the urge to power through. Either wait a few minutes for it to soften slightly, or learn how to subtly manipulate it at each stage to align with your desired timeline. (My accompanying video tutorial provides excellent visual guidance for this!)
If I could distill all this wisdom into one concise snippet of advice, it would be this: Do not rush, and keep it consistently cold and flat! Neglecting these two principles will inevitably lead to compromised lamination, meaning all your hard work will have been for naught. And that, my friends, is a truly sad outcome. We don’t do sadness here; we do butter. Loads and loads of glorious butter!
A Note on Precision: Why Weight Matters
Disclaimer: This recipe, like all professional baking recipes, is meticulously measured by weight, not volume. Before any angry comments flood in, I want you to understand that it took me months of exhaustive testing, making minute changes in a dank, hot prep kitchen, to arrive at this precise recipe. The tiniest adjustments—even just a few grams—of butter in the détrempe or the beurrage can make all the difference between a good pastry and an extraordinary one. While you can attempt to convert it to volume measurements, be forewarned that the accuracy will be significantly reduced, and your results may vary. For truly consistent and professional-level inverse puff pastry, a digital kitchen scale is your best friend.
Inverse Puff Pastry Recipe
Inverse Puff Pastry
by Chef Lindsey
Learn how to make inverse puff pastry from scratch with an easy to follow video tutorial! My inverse puff pastry makes the flakiest, most buttery pastry imaginable. The results will be better than store-bought!
Chill Time: 2 hrs
Total: 3 hrs
Servings: 12 people
Comment
Print Recipe
Ingredients
Beurrage:
- 420 g Butter
- 165 g AP Flour
Détrempe:
- 160 g Water
- 12 g Salt
- 4 g Distilled White Vinegar
- 125 g Beurre en pommade (softened butter)
- 15 g Sugar
- 198 g Cake Flour
- 198 g AP Flour
Instructions
- Fold a piece of parchment paper into a 10-inch square; set aside. This will be your guide for the butter block.
- To prepare the beurrage, temper the butter by gently hitting it with a rolling pin to soften it slightly, then place it in the bowl of a stand mixer fitted with the paddle attachment. Add the flour. Mix on low speed until no visible butter lumps remain and the mixture is well combined. Roll this butter mixture out in the prepared parchment paper to a perfect 10-inch square. Refrigerate for at least 30 minutes. (Pro Tip: I prefer to prepare the beurrage first, as it means I don’t need to wash my mixer bowl before moving on to the détrempe, saving time and effort.)
- For the détrempe, combine the dry ingredients (flours, salt, sugar) in the clean bowl of a stand mixer fitted with the paddle attachment. Add the softened butter (beurre en pommade) and cut it into the dry ingredients until no visible butter remains; the mixture should resemble coarse crumbs. In a separate small bowl, combine the water and vinegar. With the mixer running on low speed, slowly pour the water/vinegar mixture into the flour mixture. Mix until a cohesive dough forms. Turn the dough out onto a lightly floured surface and gently knead just until no dry bits remain. If needed, dip your hand in cold water and moisten any particularly dry areas. Press or roll the dough into a 6.5-inch square. Wrap it tightly in plastic wrap and chill in the refrigerator for 30 minutes.
- Approximately 5-7 minutes before your dough is ready, remove the chilled beurrage from the refrigerator to allow it to soften ever so slightly and become pliable. Generously flour a smooth work surface and remove the beurrage from its parchment paper. Carefully place the chilled détrempe (dough packet) on top of the beurrage, positioning it so that the dough appears like a diamond on top of the butter. This offset placement makes it easier to fold the corners of the butter over the dough in the next step.
- Working quickly to prevent the butter from melting, carefully enclose the détrempe completely inside the beurrage. Press the butter edges together firmly to seal all seams, ensuring the dough is fully encased.
- Now, gently roll out the pâton (the combined butter and dough packet) until it is approximately ¼ inch thick and measures about 18 inches long by 7 inches wide. Perform a single (envelope) fold: Fold the top third of the dough down towards the center, then fold the bottom third up, overlapping the top third. You will have three layers. Gently square off the edges if needed. Repeat this single fold once more immediately. After completing both folds, wrap the dough tightly in plastic wrap and refrigerate for 30 minutes to allow the gluten to relax and the butter to firm up.
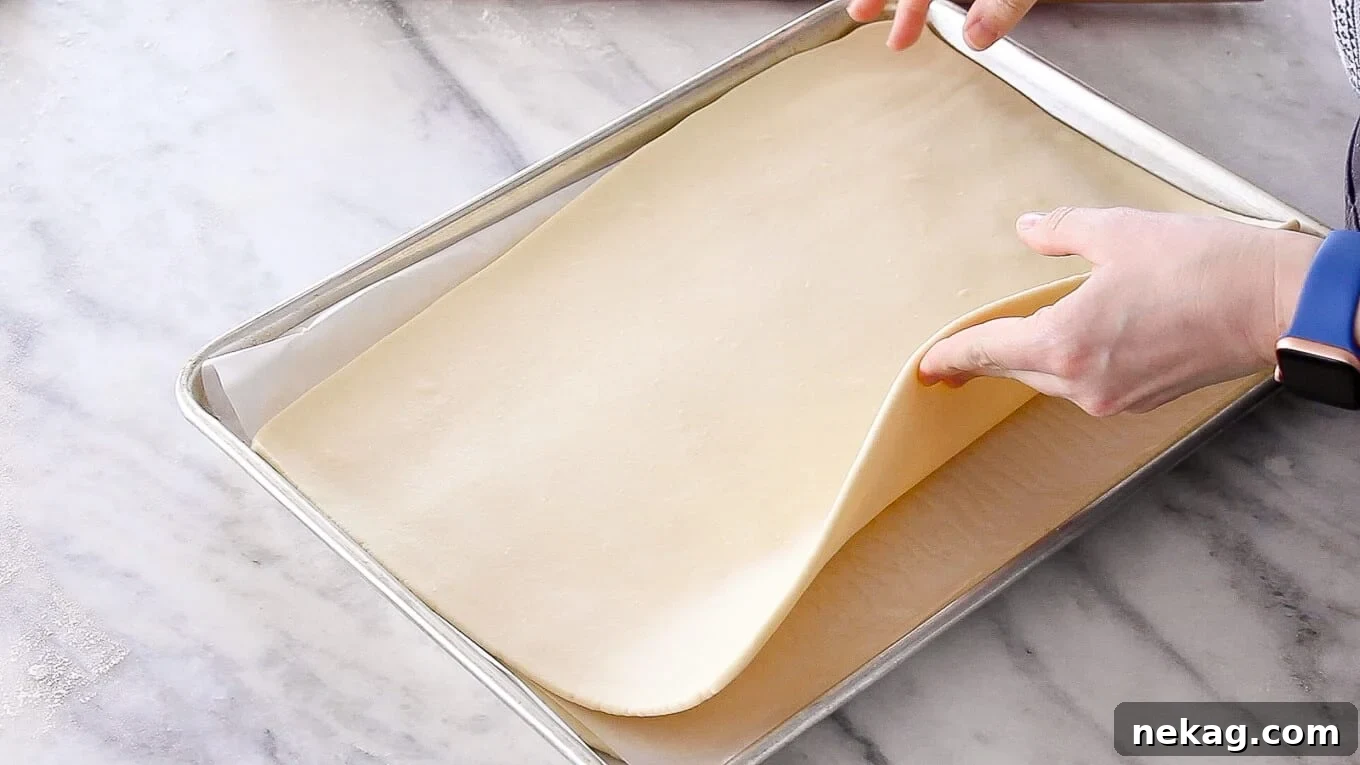
- Repeat two more sets of two single turns (a total of four more folds). It is critical to chill the dough for 30 minutes between each set of two folds. Towards the final set of turns, you will notice that the dough has developed more gluten and will become more resistant to rolling. If the dough begins to shrink back excessively, do not force it. Instead, place it flat on a baking sheet covered with parchment paper and refrigerate for an additional 10 minutes to allow the gluten to relax once more.
- Once you have completed all six single turns, wrap the puff pastry dough tightly in plastic wrap and chill it in the refrigerator for a minimum of 2 hours, or ideally, overnight. Chilling overnight is highly recommended for the best texture and flakiness.
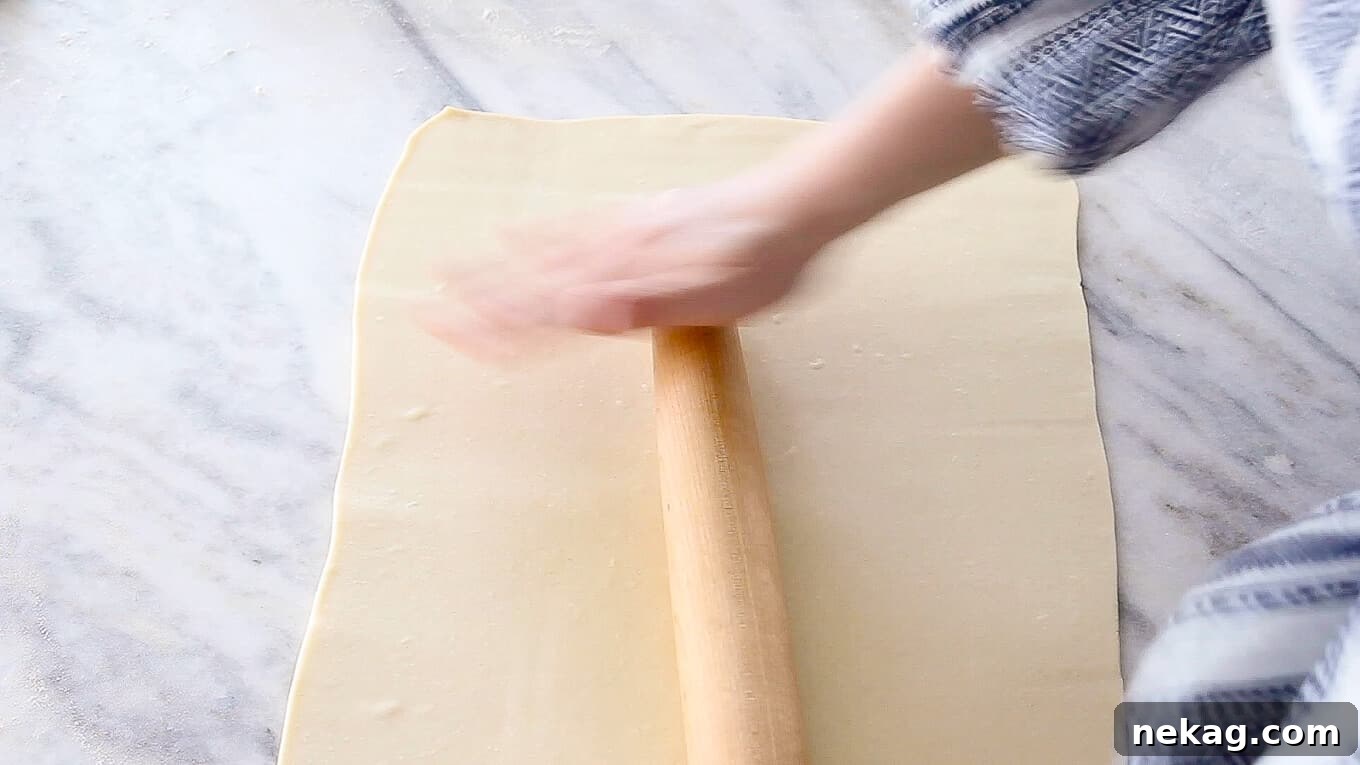
- When ready to use, remove the dough from the refrigerator and roll it out to a thickness of approximately 1/8 inch. During this process, you may need to chill the dough periodically to prevent it from getting too warm or shrinking. I find it easiest to roll the entire piece of dough to about the size of a standard baking sheet, then chill it. Once chilled, slice the dough in half with a pizza cutter or sharp knife. Continue rolling one half while the other half chills, swapping them out as they warm up or begin to shrink, until both pieces are consistently about 1/8 inch thick. You will end up with two perfectly rolled pieces of dough, each roughly the size of a baking sheet.
- Before baking, ensure the dough is thoroughly chilled for at least 30 minutes. Cut the dough into your desired shapes, then “dock” the dough (prick it all over with a fork) to prevent excessive puffing in unwanted areas. Chill it once more before placing it in the oven. Do not allow the dough to come to room temperature before baking, as this will prevent you from achieving those magnificent, distinct layers.
- Bake in an oven preheated to 375°F (190°C), preferably with the convection setting engaged for even heat distribution and optimal rise.
Video Tutorial
Nutrition Facts (per serving)
Carbohydrates: 36g |
Protein: 5g |
Fat: 37g |
Saturated Fat: 23g |
Polyunsaturated Fat: 2g |
Monounsaturated Fat: 10g |
Trans Fat: 1g |
Cholesterol: 98mg |
Sodium: 681mg |
Potassium: 60mg |
Fiber: 1g |
Sugar: 1g |
Vitamin A: 1135IU |
Calcium: 19mg |
Iron: 2mg
Cuisine: French
Calories: 500
Share Your Thoughts!
Loved this recipe? Have questions or tips to share? Leave a comment below! We love hearing from our community.
Explore More Baking Adventures
So, you’ve discovered the joy of making dough from scratch and are looking for your next culinary challenge? Excellent! Continue honing your skills with some of my other favorite recipes:
- Try my acclaimed flaky all-butter pie crust, perfect for sweet and savory pies alike.
- Or keep your culinary journey rooted in French tradition with my authentic sweet crepe recipe.
- And once you’ve mastered crepes, take it a step further with an impressive mille crepe cake, a delightful stack of delicate layers.
Happy baking!