
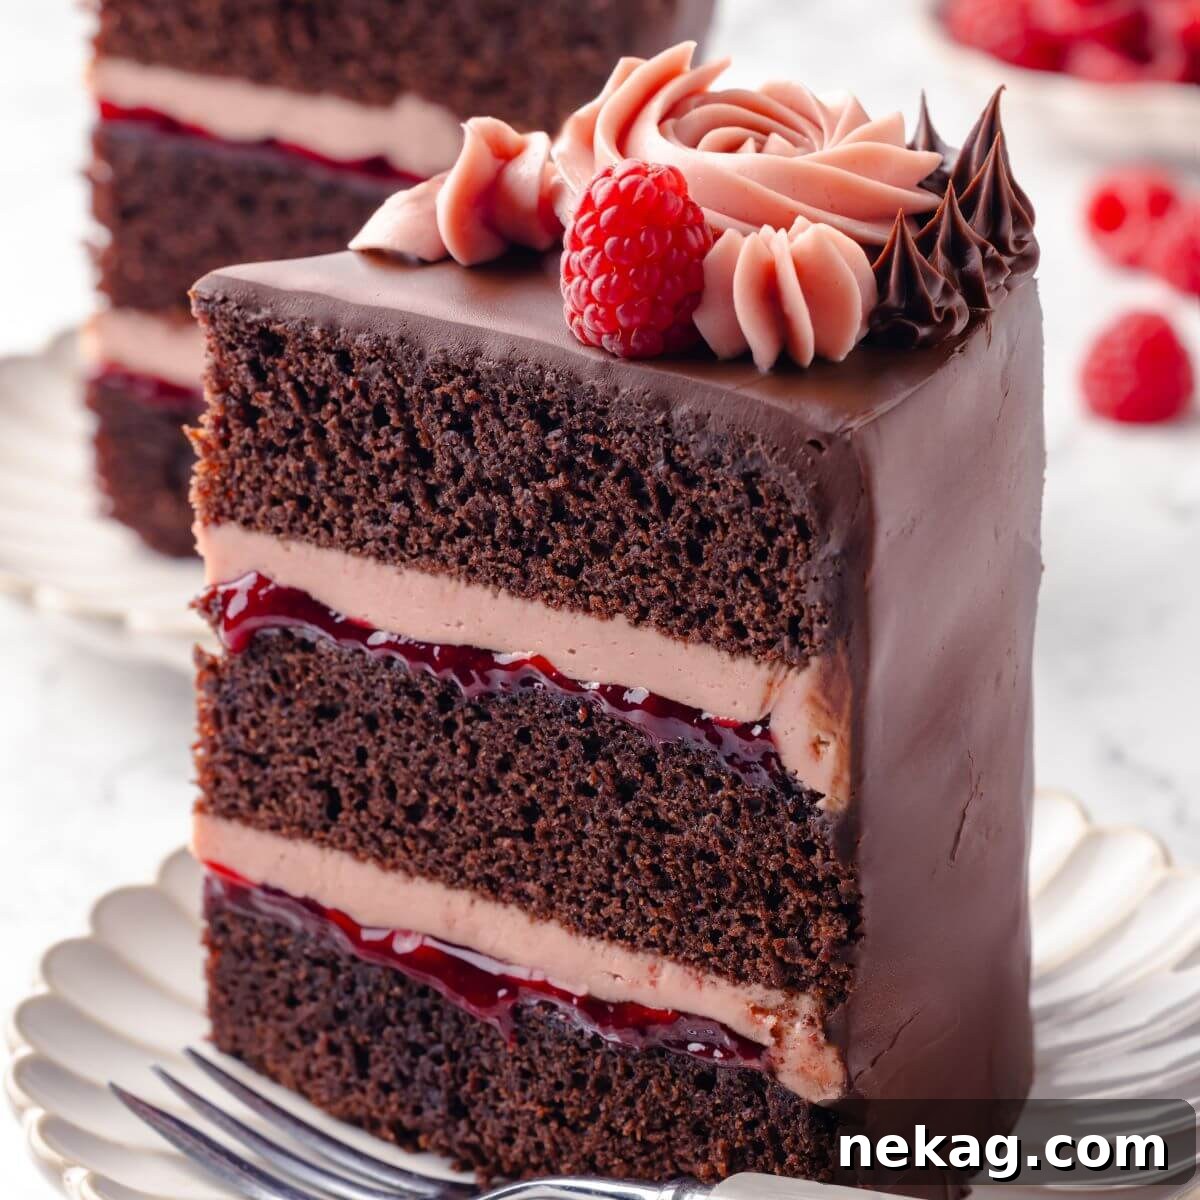
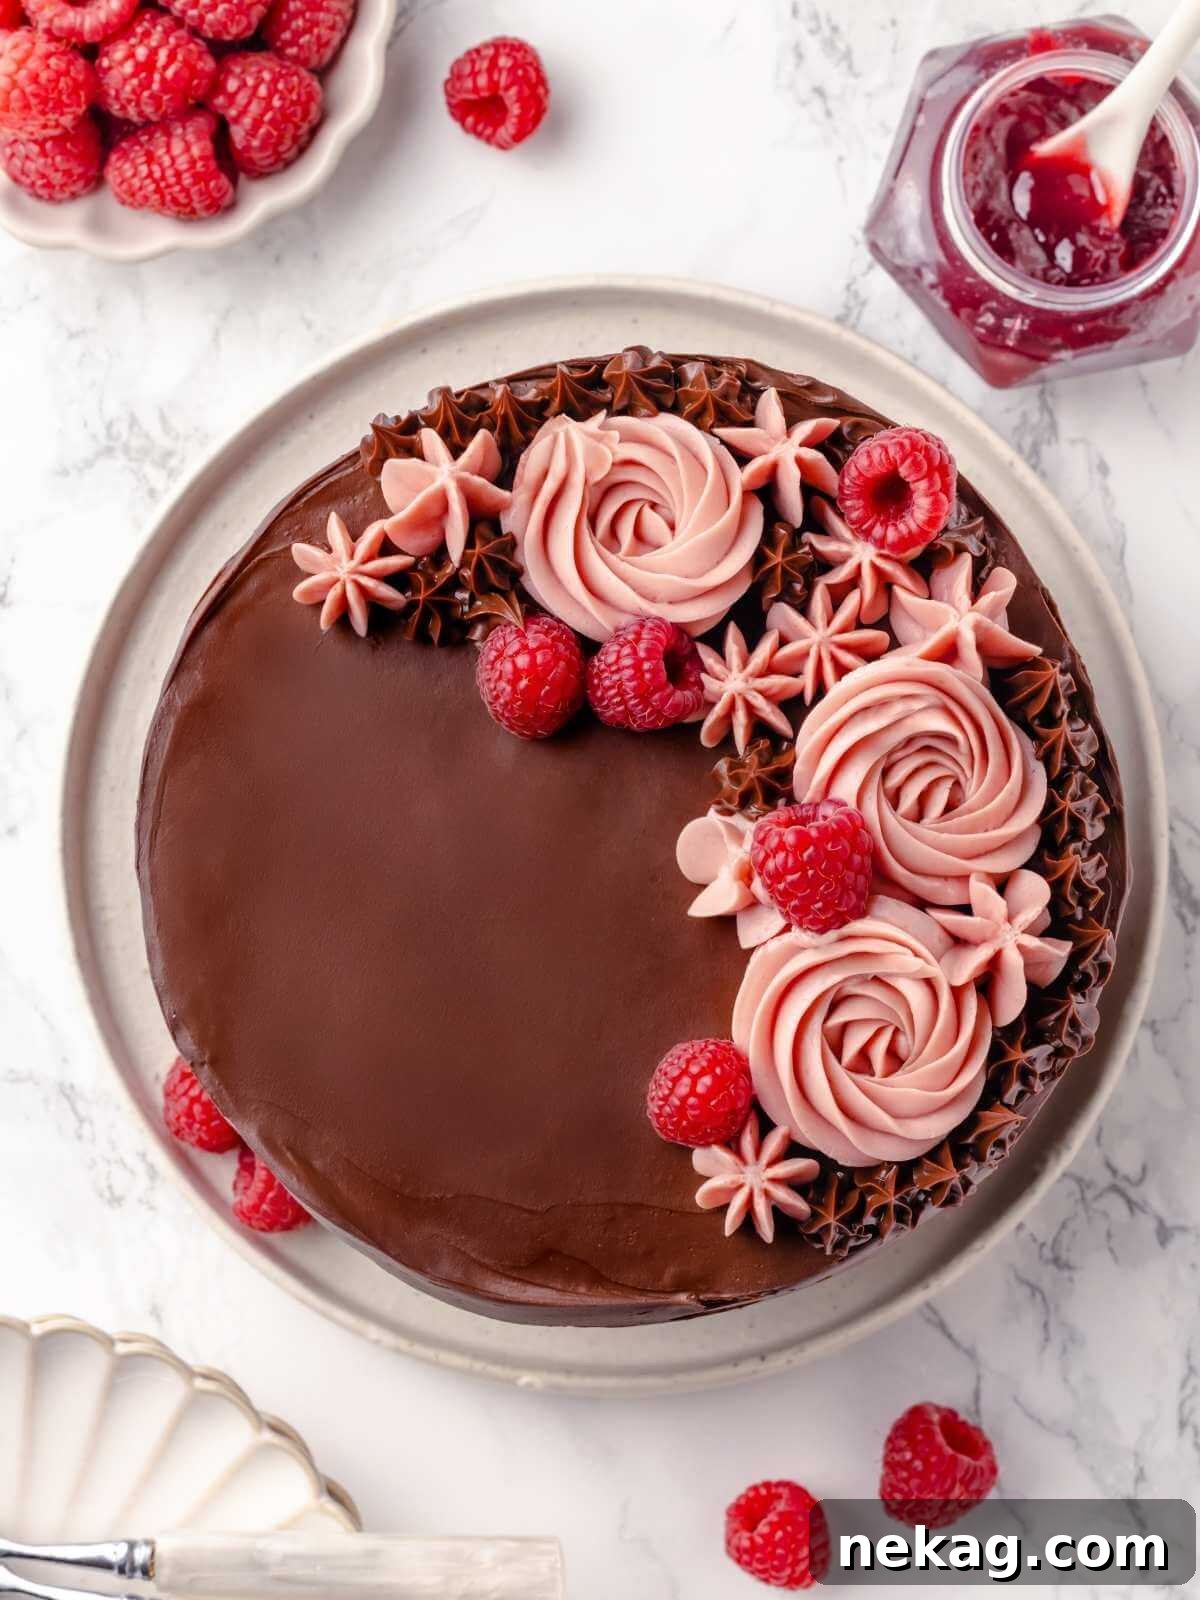
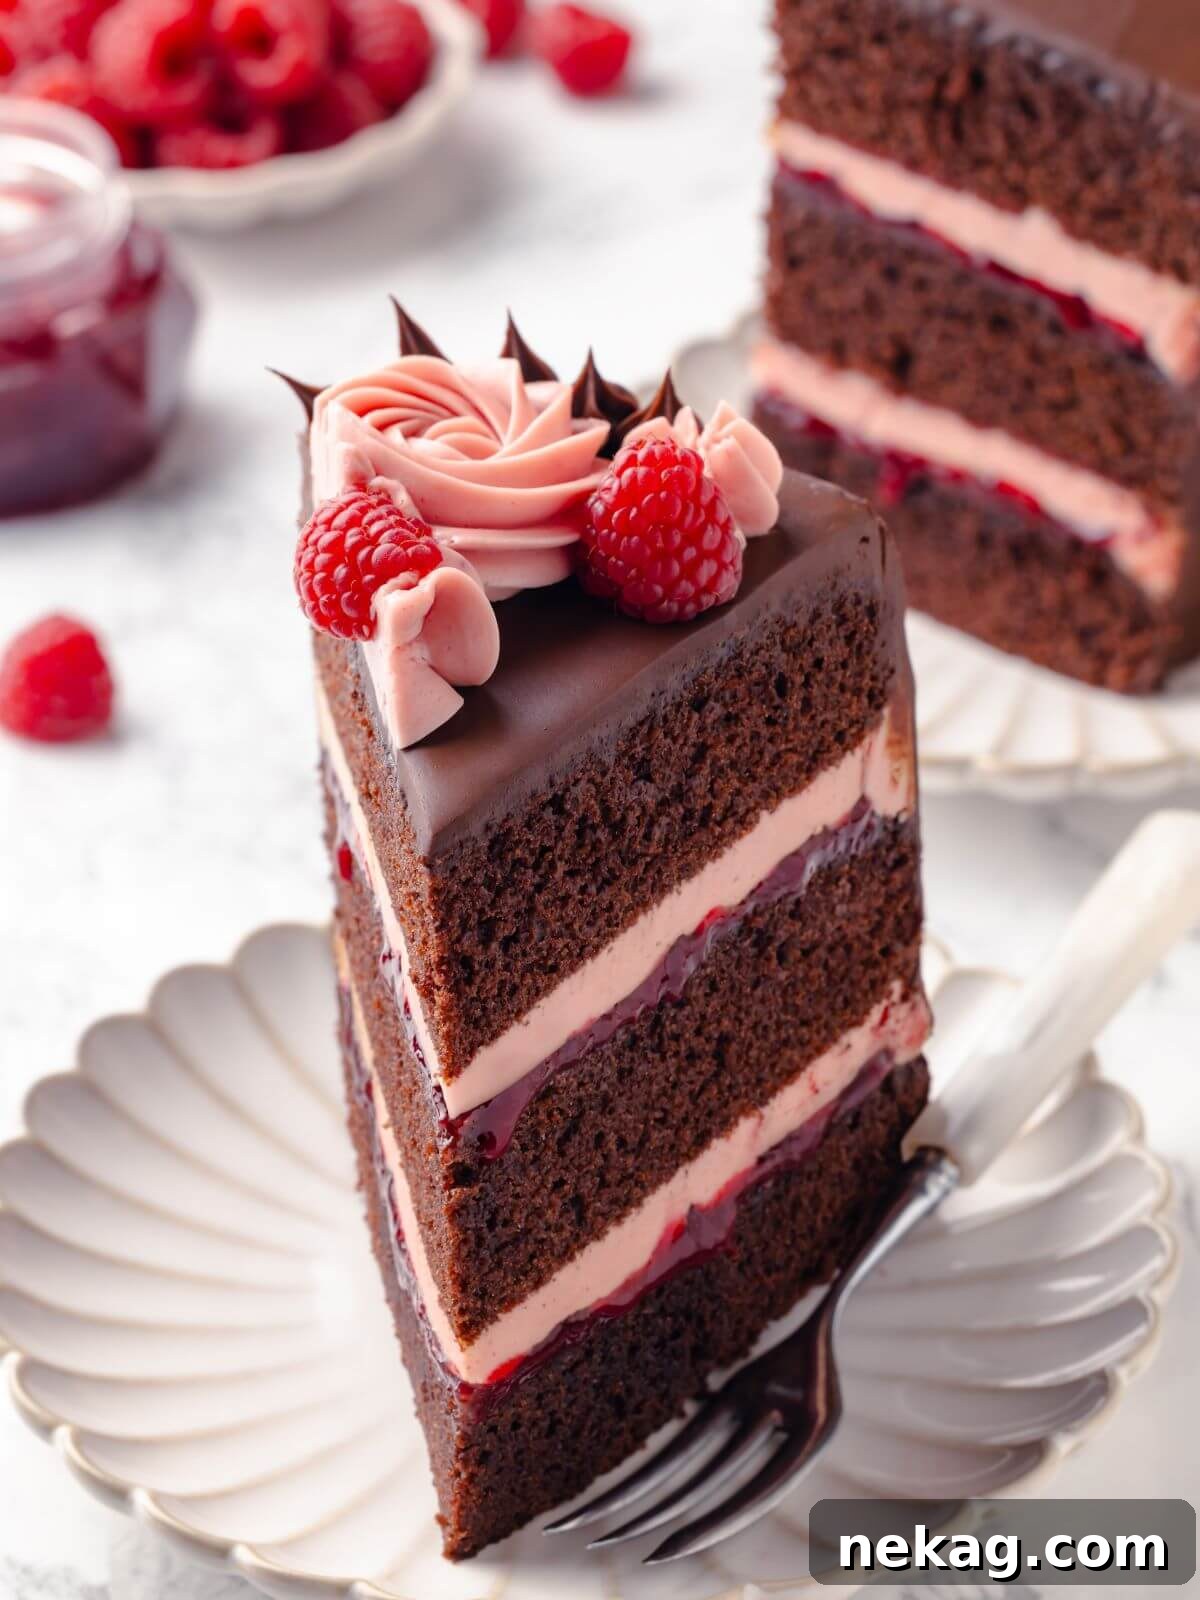
Indulge in a slice of pure heaven with this exquisite chocolate raspberry cake recipe. This impressive dessert features tender, rich chocolate cake layers, generously filled with a bright and fresh raspberry buttercream, and crowned with a decadent chocolate fudge frosting. Designed for home bakers, this cake recipe is surprisingly straightforward, mixed effortlessly in a single bowl, making it almost as easy as a box mix – but with a flavor profile that is infinitely more profound and satisfying.
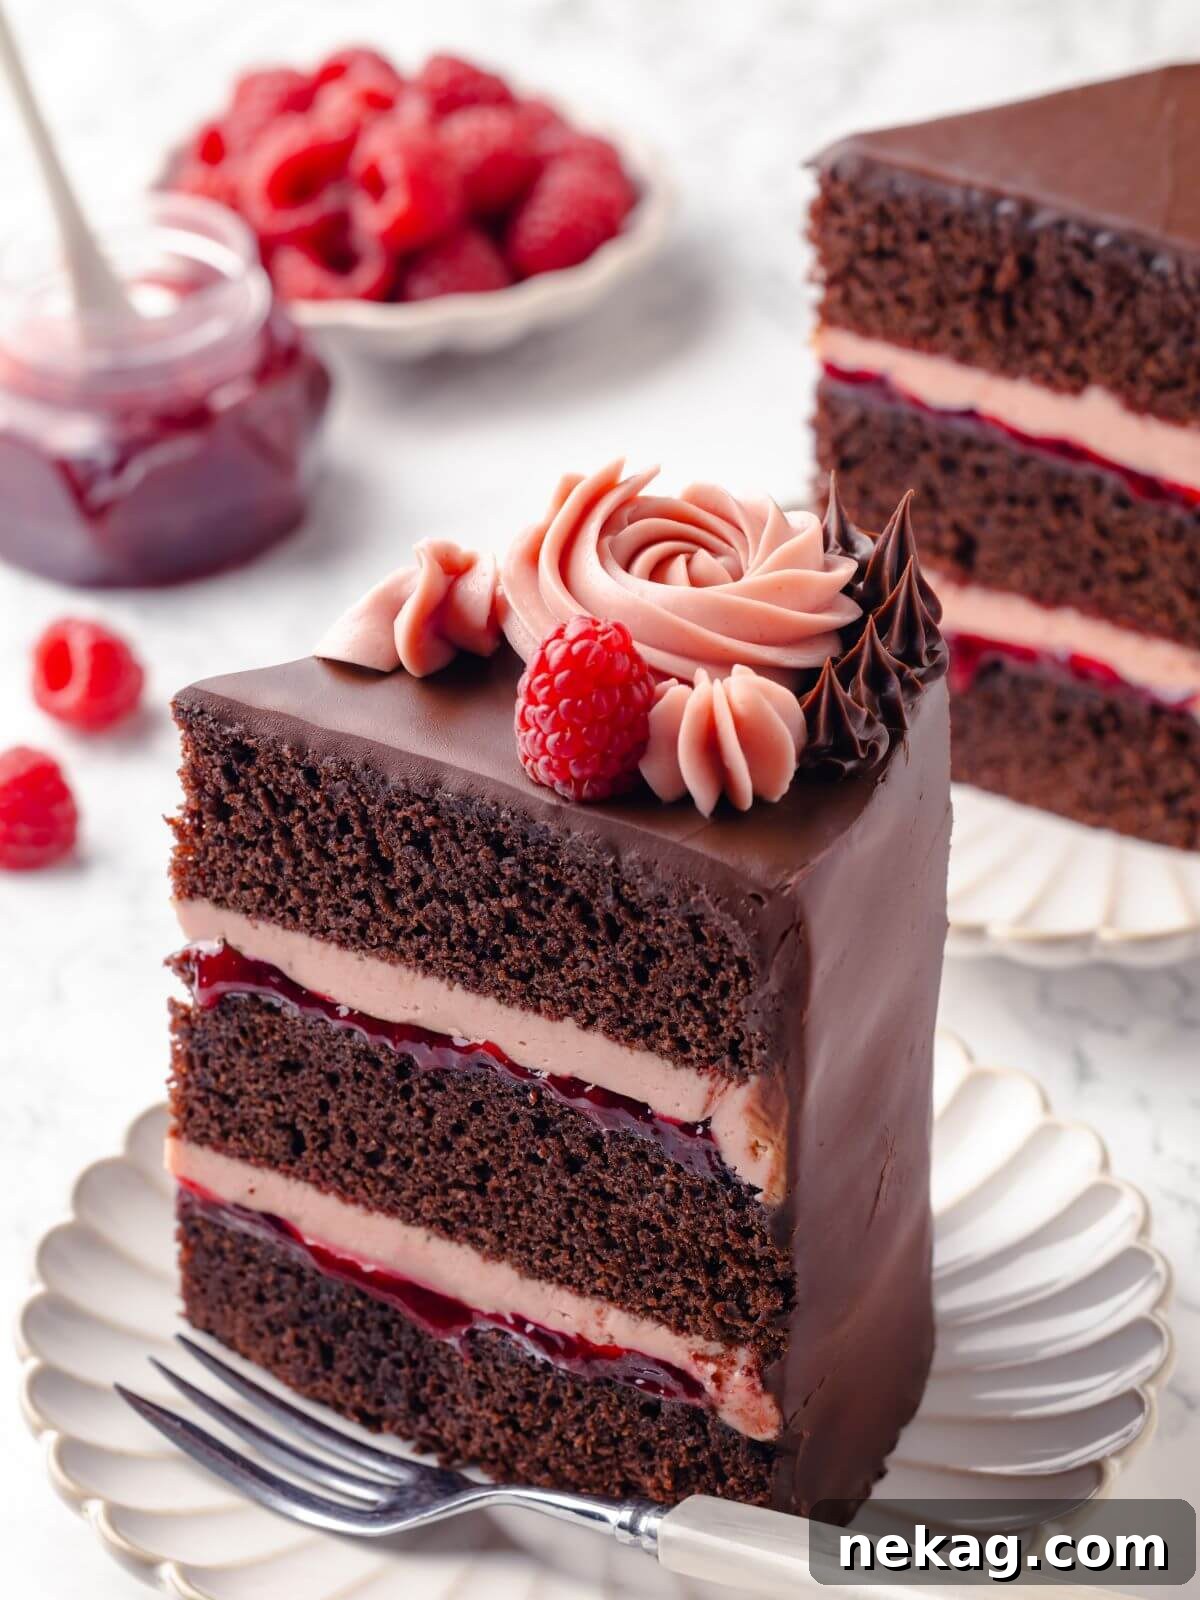
Prepare to impress with this perfectly balanced three-layered cake that marries robust chocolate with the delicate tartness of raspberries. Each forkful delivers a symphony of textures and tastes: a deeply moist chocolate cake foundation, followed by a quick, vibrant raspberry jam that bursts with fresh berry flavor, then a smooth, luscious raspberry buttercream, all enveloped in a rich, glossy chocolate fudge frosting. This harmonious blend of components creates an indulgent and visually stunning dessert, perfect for any special occasion or simply to elevate an everyday meal.
Once you venture into the delightful world of layered cakes, there’s no turning back! If you’re eager to explore more easy-to-make layered creations that are ideal for birthdays, holidays, or a memorable family dinner, start with our best red velvet cake, an easy moist chocolate cake, or evoke classic memories with a timeless yellow cake. For those ready to bake a show-stopping masterpiece like a seasoned pastry chef, delve into our devil’s food cake recipe and enhance your skills by watching our detailed video on how to assemble a four-layered cake! Mastering these techniques will build your confidence and expand your baking repertoire.
Table of Contents
- Why You Will Love This Raspberry Chocolate Cake
- Professional Tips for Making Chocolate Cake Recipes
- Ingredients & Substitutions for a Perfect Cake
- Exciting Variations to Try
- How to Make Chocolate Raspberry Cake Step-by-Step
- Chef Lindsey’s Expert Baking Tip
- Frequently Asked Questions About This Cake
- Chocolate Raspberry Cake Recipe Card
- Before You Go: More Delicious Cake Recipes
Why You Will Love This Decadent Raspberry Chocolate Cake
- Beautifully Balanced Layered Cake: This recipe delivers a harmonious blend of flavors and textures. Imagine a rich, intensely moist chocolate cake base, perfectly complemented by a bright, tangy raspberry filling, a smooth, delicate raspberry buttercream, and finally, a luxurious fudgy chocolate frosting. No single flavor overpowers another; instead, they unite to create a truly delicious and well-rounded layered cake experience that will leave everyone craving more.
- Effortlessly Rich and Moist Chocolate Cake: Forget complicated baking! Our chocolate cake recipe is designed for simplicity, mixed conveniently in just one bowl. Despite its ease, the result is a remarkably rich, fudge-like cake with an irresistible moist crumb. Plus, the one-bowl method means minimal cleanup, making your baking process enjoyable from start to finish.
- Unique Buttercream and Frosting Combination: What truly sets this cake apart is the innovative pairing of raspberry buttercream layers with a decadent chocolate fudge frosting finish. When you slice into this masterpiece, guests will be captivated by the stunning visual appeal of its beautiful layers and contrasting colors, promising an extraordinary dessert that tastes as magnificent as it looks. This dual frosting approach creates a depth of flavor and visual intrigue rarely found in homemade cakes.
Professional Tips for Making Perfect Chocolate Raspberry Cake Recipes
- Prepare Components in Advance for Stress-Free Baking: Layered cakes, while impressive, can seem daunting. To simplify the process, embrace the power of advance preparation. You can bake the chocolate cake layers a few days ahead of time and store them properly. The raspberry jam and buttercream can also be made in advance and refrigerated. This strategic planning ensures that assembling the cake on the day of your event is a quick and effortless task, letting you enjoy the celebration rather than rushing in the kitchen.
- Optimize Cake Baking with Sheet Pans: For perfectly even and consistently baked cake layers, consider baking your chocolate cake batter in baking sheets rather than traditional round cake pans. This method allows the cake to bake faster and ensures a more uniform thickness. Once baked, you can use a cake ring to effortlessly cut out your desired circular cake layers. The leftover cake scraps are an added bonus, perfect for snacking, making cake pops, or enjoying with a dollop of leftover frosting.
- Adjust Quick Jam Sweetness to Berry Flavor: Raspberries, whether fresh or frozen, can vary significantly in their natural sweetness. Before finalizing your quick raspberry jam, taste the berries and adjust the amounts of lemon juice and granulated sugar accordingly. This simple step ensures your jam has the perfect balance of sweet and tart, complementing the rich chocolate cake without being overly saccharine. A well-balanced jam is key to the overall flavor harmony of this chocolate raspberry cake.
- Bring Ingredients to Room Temperature: This is a golden rule in baking, especially for cakes and buttercreams. Cold ingredients like eggs, butter, and milk don’t emulsify properly, leading to a lumpy batter or curdled frosting. Plan ahead and take these ingredients out of the refrigerator at least 30 minutes to an hour before you begin baking to ensure a smooth, uniform batter and a perfectly stable buttercream.
- Don’t Overmix the Cake Batter: Overmixing develops the gluten in the flour too much, resulting in a tough, dense cake. Once you add the dry ingredients to the wet, mix just until combined and no streaks of flour remain. A few small lumps are perfectly fine and often preferred for a tender crumb.
- Cool Cakes Completely: Resist the urge to frost warm cakes! Even slightly warm cake layers will melt your frosting, leading to a messy and disappointing result. Ensure your cake layers are completely cooled to room temperature, or even slightly chilled, before you begin the frosting process. This patience will be rewarded with neat, defined layers and a beautiful presentation.
Essential Ingredients & Smart Substitutions for This Decadent Cake
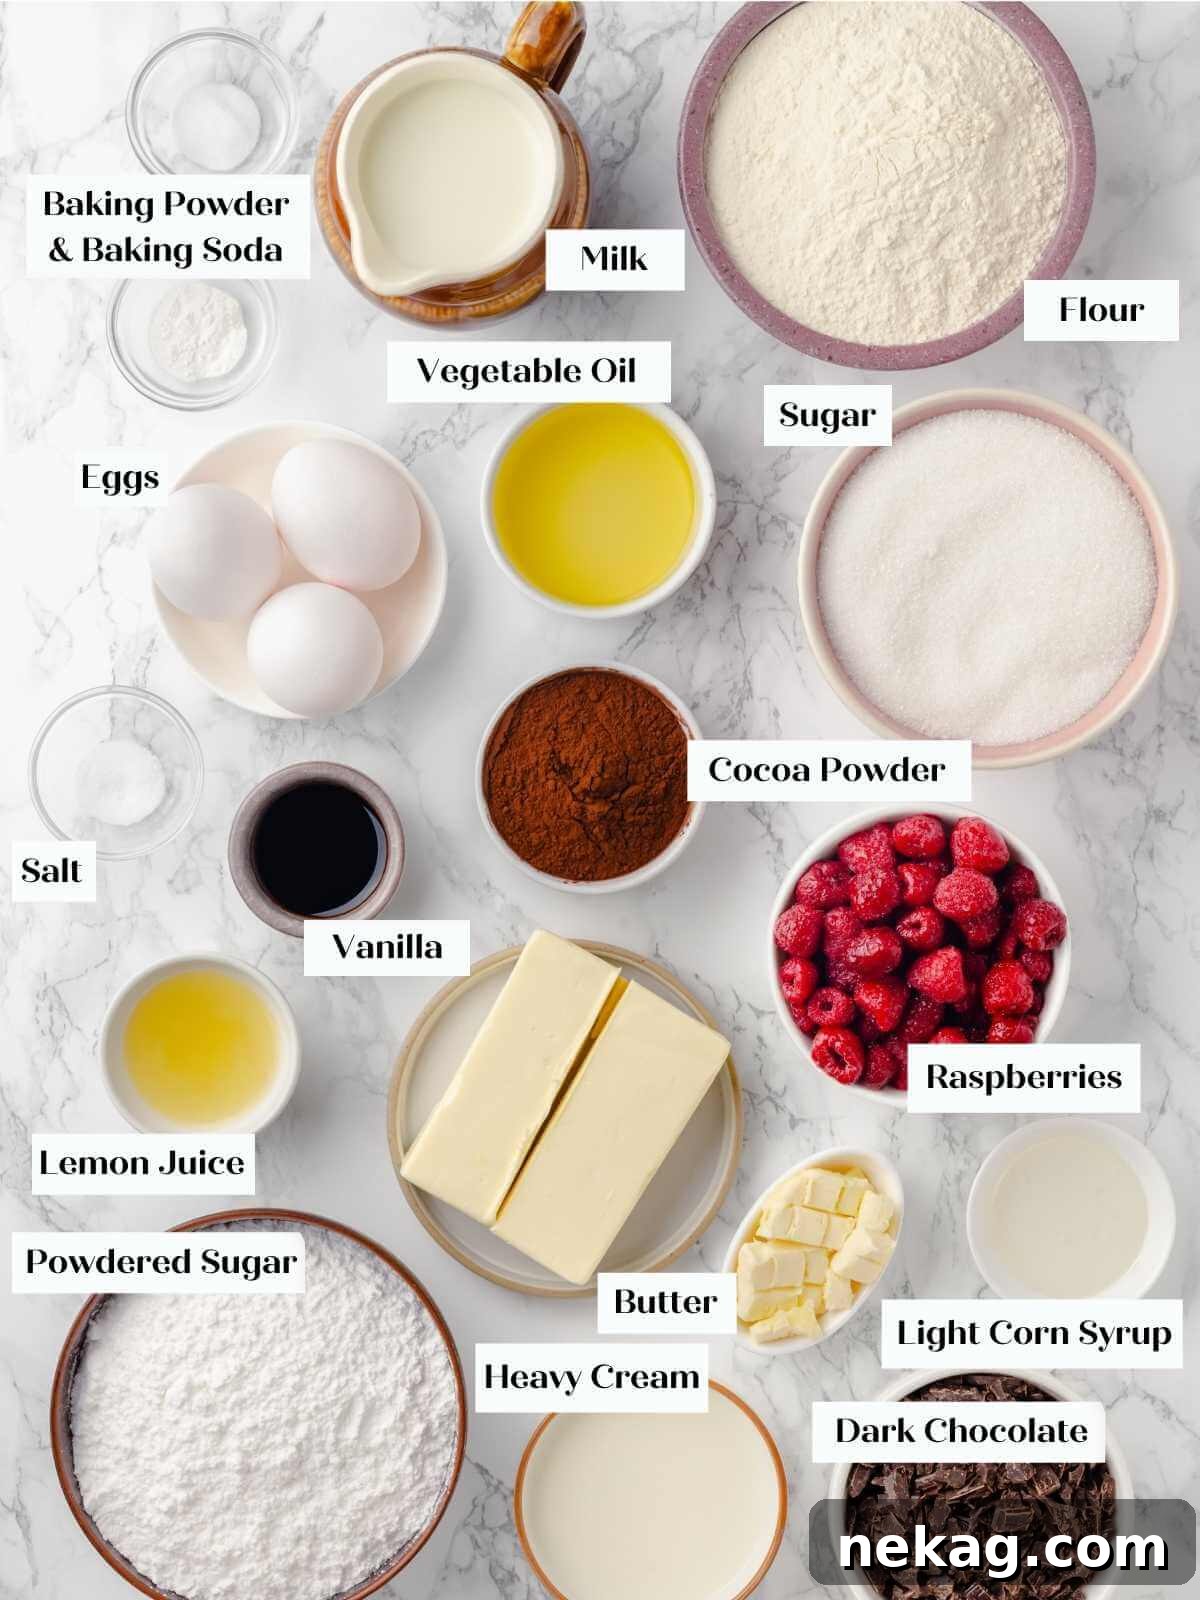
Crafting the perfect chocolate raspberry cake starts with understanding the role of each ingredient. Here’s a detailed guide to what you’ll need and potential substitutions:
For the Moist Chocolate Cake Layers:
- Dutch-Processed Cocoa Powder: We opt for Dutch-processed cocoa powder, which has been treated with an alkaline solution to neutralize its acidity. This treatment gives it a darker, richer color and a smoother, less bitter chocolate flavor, making it ideal for this decadent chocolate cake. Unlike natural cocoa, it won’t react with baking soda, so we rely on both baking soda and baking powder for leavening.
- All-Purpose Flour: All-purpose flour provides the perfect balance of gluten to achieve a tender yet structured cake crumb. To prevent a tough cake with undesirable “tunnels,” be mindful not to overmix the batter once the flour is added. For an even softer cake, you can substitute an equal amount of cake flour.
- Kosher Salt: A crucial ingredient that enhances all other flavors, bringing depth to the chocolate and brightness to the raspberry elements.
- Baking Soda & Baking Powder: The combination of baking powder and baking soda ensures a robust and even rise, creating a beautifully light and airy chocolate cake texture. Baking powder works independently, while baking soda reacts with acidic ingredients (even in Dutch cocoa, there’s a slight residual acidity, or other ingredients like milk could contribute).
- Large Eggs: Whole eggs are essential for emulsifying the oil into the batter, which is key to achieving an incredibly moist cake without any greasy residue. They also contribute to the cake’s structure and richness.
- Vanilla Extract: A timeless flavor enhancer, vanilla extract deepens the chocolate notes and adds a comforting aroma to the cake.
- Vegetable Oil: Using a neutral vegetable oil is a secret to making this chocolate cake and our easy carrot cake recipe exceptionally moist. We emulsify the oil with the sugar and eggs to integrate it seamlessly, ensuring moisture without a heavy or oily texture. It’s crucial to select a neutral-flavored oil; strong oils like olive oil will impart an unwanted taste.
- Granulated Sugar: Beyond sweetness, granulated sugar plays multiple roles in this cake. It contributes to leavening by helping to aerate the butter and eggs, adds moisture by attracting water, refines the texture, and provides crucial stability to the cake structure.
- Whole Milk: Baking with whole milk is preferred for its higher fat content and rich flavor. The extra fat helps keep the cake wonderfully tender and moist, while its lower water content compared to skim milk prevents a watery batter.
For the Vibrant Raspberry Jam and Silky Raspberry Buttercream:
- Fresh or Frozen Raspberries: Both fresh or frozen raspberries work beautifully for this recipe. If you’re baking during the winter months, opting for frozen raspberries often yields a better, more consistent flavor and potentially less water content, making for a richer jam. These are also the stars of our white chocolate raspberry cookies!
- Fresh Lemon Juice: A splash of fresh lemon juice is vital for brightening the raspberry jam, cutting through its sweetness and adding a well-rounded, tangy dimension. While store-bought lemon juice can be used, fresh or high-quality frozen juice will always provide the best, most vibrant flavor.
- Granulated Sugar: For the jam, granulated sugar not only sweetens the raspberries but also acts as a thickener, helping to achieve the perfect jam consistency for layering.
- Unsalted Butter: To create the most stable and flavorful buttercream, use a high-quality unsalted butter. Using salted butter will result in a noticeably salty buttercream, which isn’t ideal for this dessert. Ensure your butter is at room temperature for optimal whipping.
- Confectioner’s Sugar (Powdered Sugar): Confectioner’s sugar is the backbone of American buttercreams. Its finely ground texture allows it to dissolve easily into the butter, creating an incredibly smooth and silky frosting without the need for heating, as is common in other buttercream types.
- Vanilla Extract: Just a touch of vanilla extract in the buttercream adds a lovely aromatic complexity that complements the raspberry flavor beautifully.
- Kosher Salt: A pinch of kosher salt balances the sweetness of the buttercream and enhances the overall flavor profile.
For the Luxurious Chocolate Fudge Frosting:
- Heavy Cream: For the richest, smoothest, and most stable fudge frosting, we highly recommend using full-fat (40%) heavy whipping cream. It’s less likely to “break” or separate than lighter creams and contributes significantly to the frosting’s indulgent texture and mouthfeel.
- Light Corn Syrup: Light corn syrup is a key ingredient here; it helps to thicken the frosting without adding excessive sweetness, and it contributes to a wonderfully smooth and glossy texture. As an alternative, you can substitute an equal amount of honey, which will impart a slightly different but equally delicious flavor.
- Dark Chocolate (54%-65% Cocoa Solids): The choice of dark chocolate is crucial for this fudge frosting. We suggest using chocolate with 54% to 65% cocoa solids to achieve a perfect balance between sweetness and deep chocolate intensity, creating the impression of a truly dark chocolate cake. Always opt for chopped bar chocolate over chocolate chips, as bar chocolate contains higher quality fats and emulsifiers, ensuring a smoother melt and better incorporation into the ganache.
- Vanilla Extract: Enhances the chocolate flavor and adds a layer of aromatic warmth to the frosting.
- Kosher Salt: A small amount of kosher salt is essential to balance the sweetness and deepen the complex flavors of the dark chocolate.
- Dutch-Processed Cocoa Powder: Again, Dutch-processed cocoa powder is preferred for its robust chocolate flavor and darker hue, helping to create an intensely chocolatey fudge frosting that isn’t overly sweet. While regular cocoa powder can be used, expect a slightly sweeter frosting and a lighter color.
- Unsalted Butter: Added at the end, softened and cubed unsalted butter enriches the fudge frosting, giving it an incredibly smooth, glossy finish and a luxurious melt-in-your-mouth texture.
For complete details on ingredients and precise quantities, please refer to the comprehensive recipe card below.
Exciting Variations to Customize Your Chocolate Raspberry Cake
- Explore Different Fruit Fillings: While raspberry is classic, feel free to experiment with other berry quick jams! Substitute the raspberry layer with a thin, vibrant layer of blueberry, strawberry, or blackberry jam. Remember to taste your chosen berries and adjust the sugar and lemon juice levels in the jam recipe to achieve the perfect sweet-tart balance unique to your fruit. This simple swap can completely transform the cake’s flavor profile.
- Infuse with a Boozy Twist: For an adult-friendly version, elevate your raspberry buttercream with a touch of spirits. Add a tablespoon of raspberry liqueur, good quality brandy, or even bourbon to the buttercream for a delightful boozy kick that beautifully complements the chocolate and berry flavors. Alternatively, if you prefer different buttercream flavors, consider using our rich chocolate buttercream or a tangy cream cheese buttercream frosting instead of raspberry for a distinct experience.
- Change the Cake Flavor for a New Experience: This versatile raspberry jam and chocolate fudge frosting pairing can be adapted to other cake bases. Pair it with our light and fluffy moist vanilla cake for a brighter contrast, an earthy lemon olive oil cake for a sophisticated twist, or a truly indulgent devil’s food cake for an ultimate chocolate experience. If you’re looking to intensify the chocolate notes even further, consider layering it with a luxurious homemade chocolate ganache for an extra layer of richness.
How to Make a Show-Stopping Chocolate Raspberry Cake: A Step-by-Step Guide
Follow these detailed instructions to create a flawlessly layered chocolate raspberry cake every single time! More specific measurements and intricate details can be found in the complete recipe card provided below.
Part 1: Preparing the Tender Chocolate Cake Layers
Step 1: Begin by preheating your oven to 325°F if using convection (with the fan) or 350°F for a conventional oven (without the fan). Lightly spray three 8 or 9-inch round cake pans with baking spray and line the bottoms with parchment paper circles for easy release.
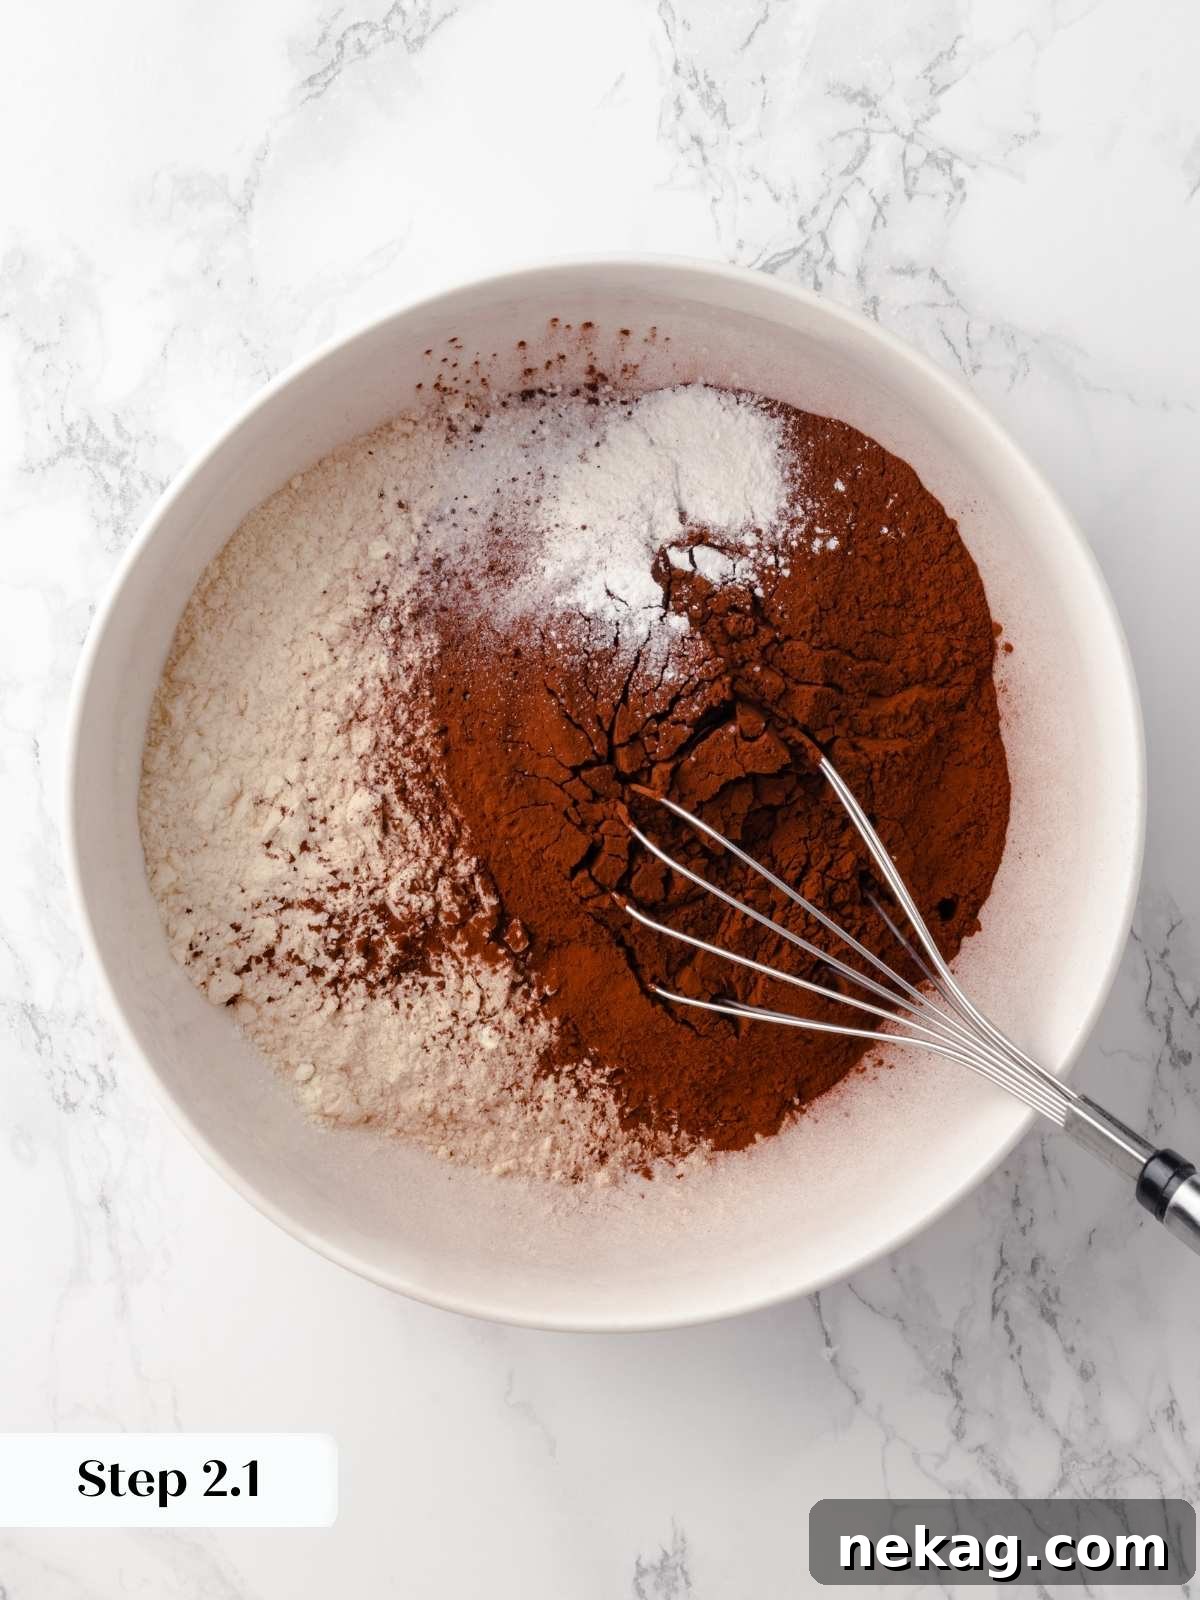
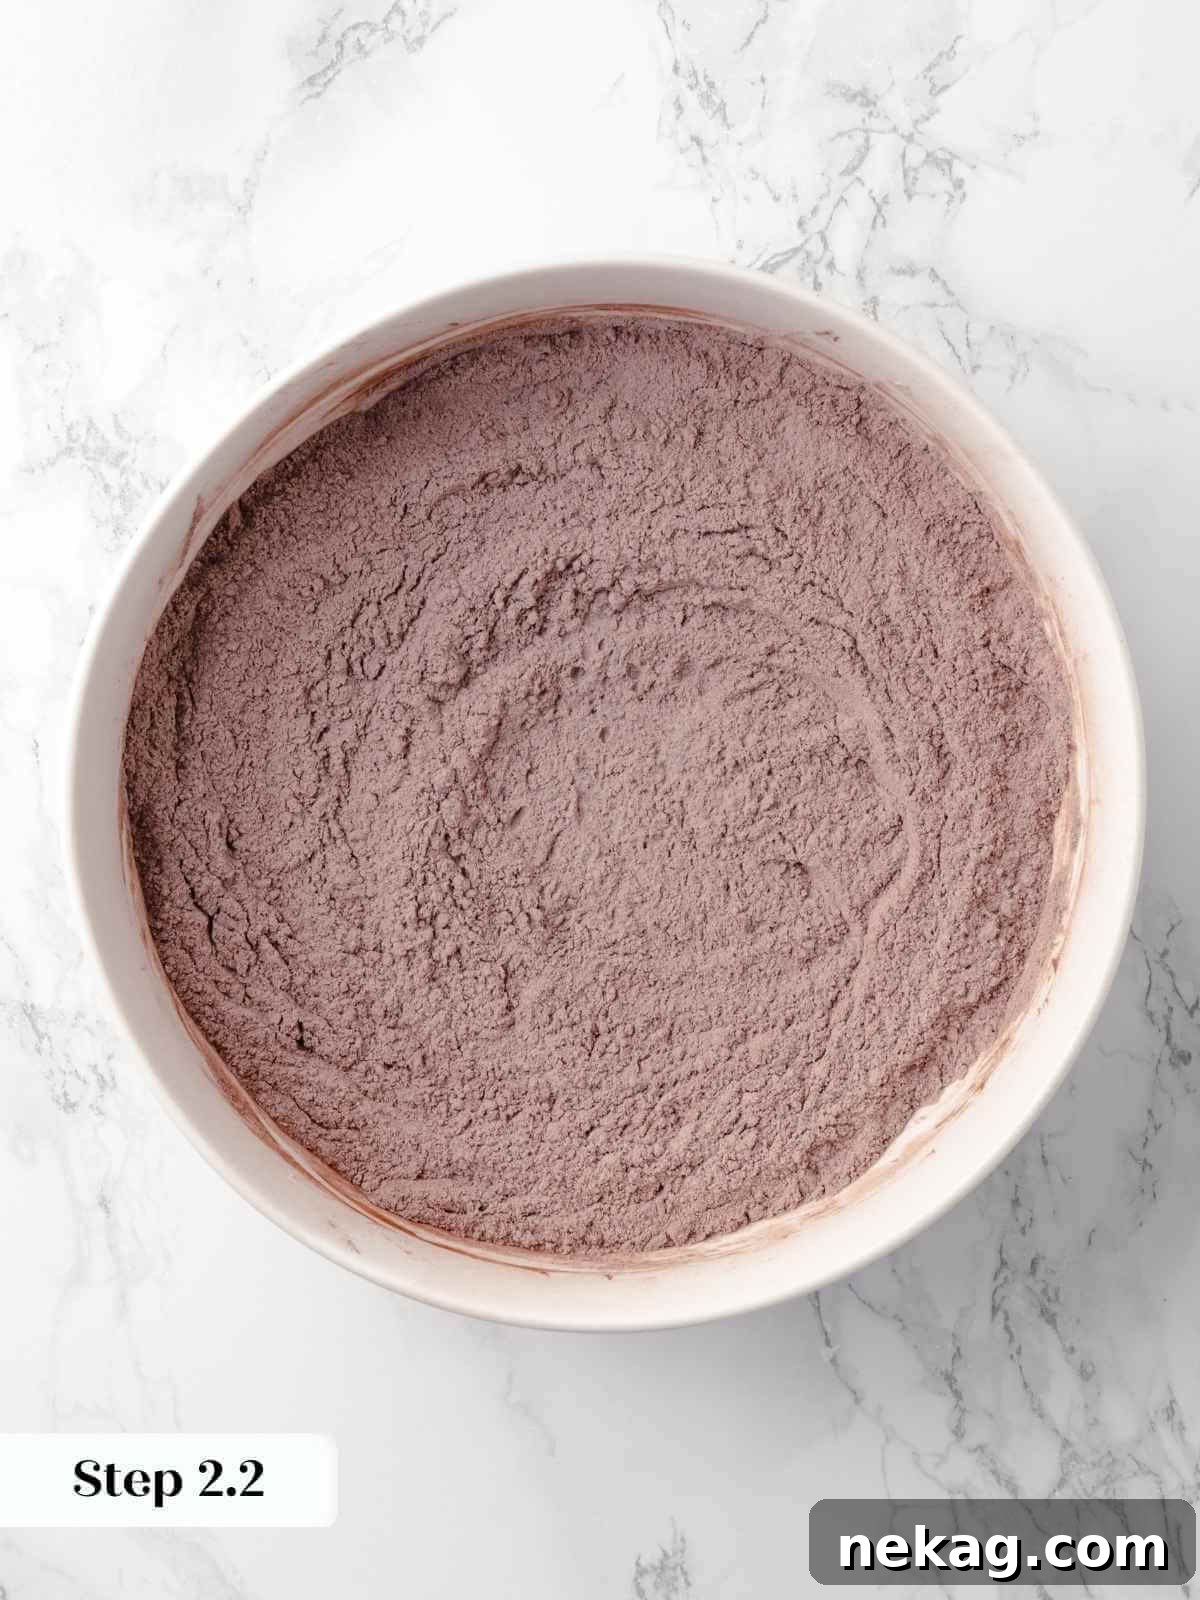
Step 2: In a large mixing bowl, meticulously sift together the cocoa powder, all-purpose flour, kosher salt, baking powder, and baking soda. Sifting ensures there are no lumps and helps aerate the dry ingredients, leading to a lighter cake. Set this dry mixture aside.
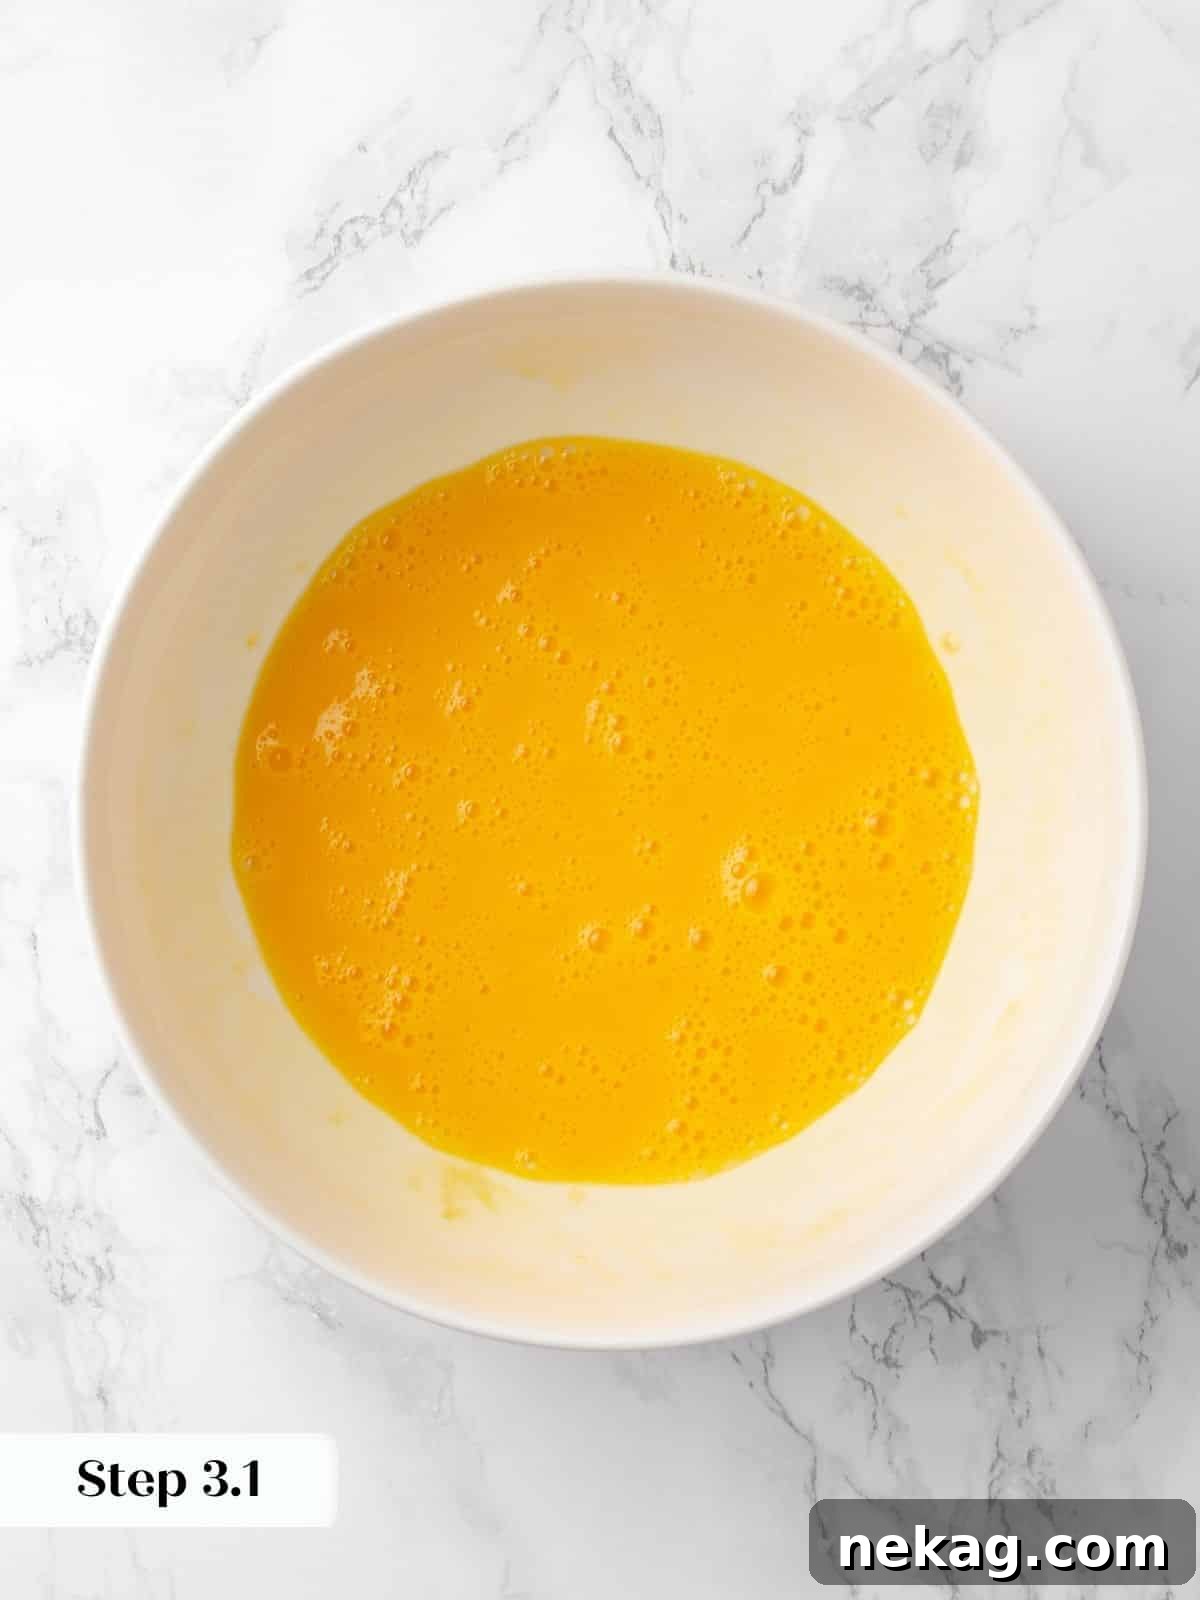
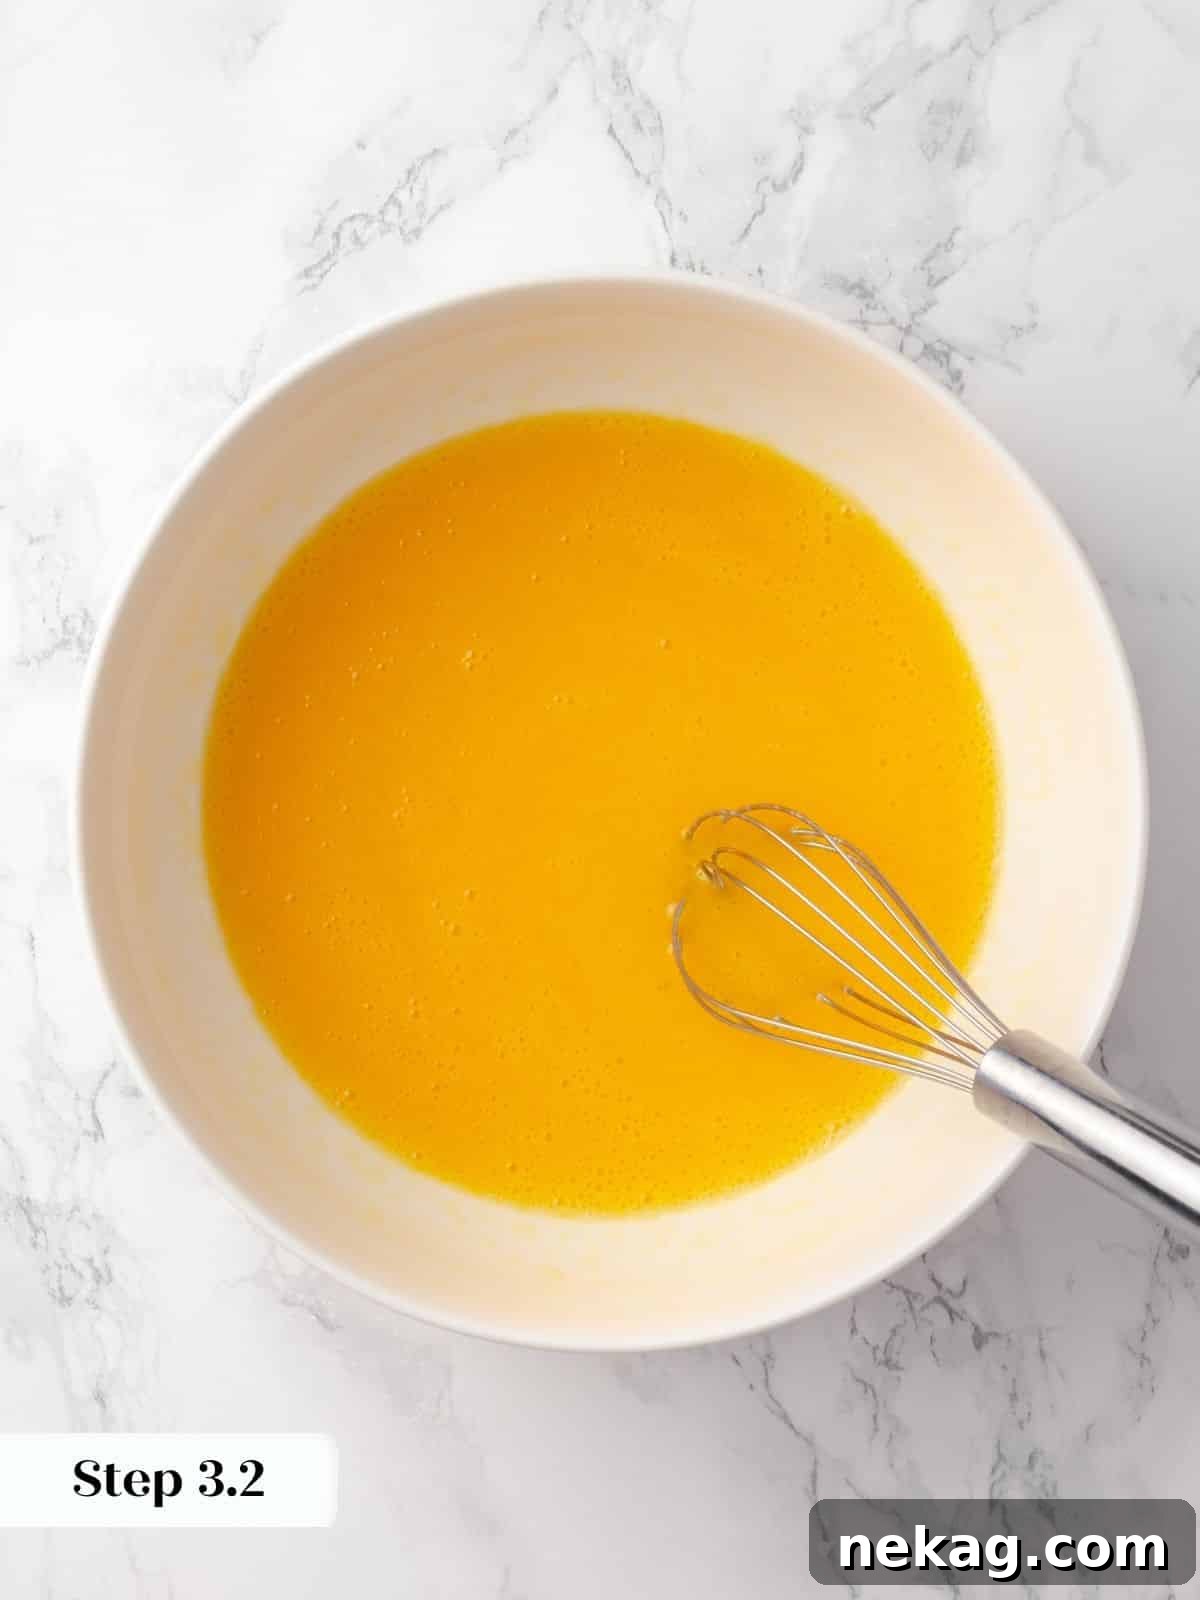
Step 3: In a separate, generously sized bowl, vigorously whisk the large eggs with the vanilla extract until the mixture is smooth, homogenous, and slightly pale. This initial whisking helps to build volume. Gradually and slowly, pour the vegetable oil into the egg mixture while continuously whisking. This creates a stable emulsion, essential for a moist and non-greasy cake.
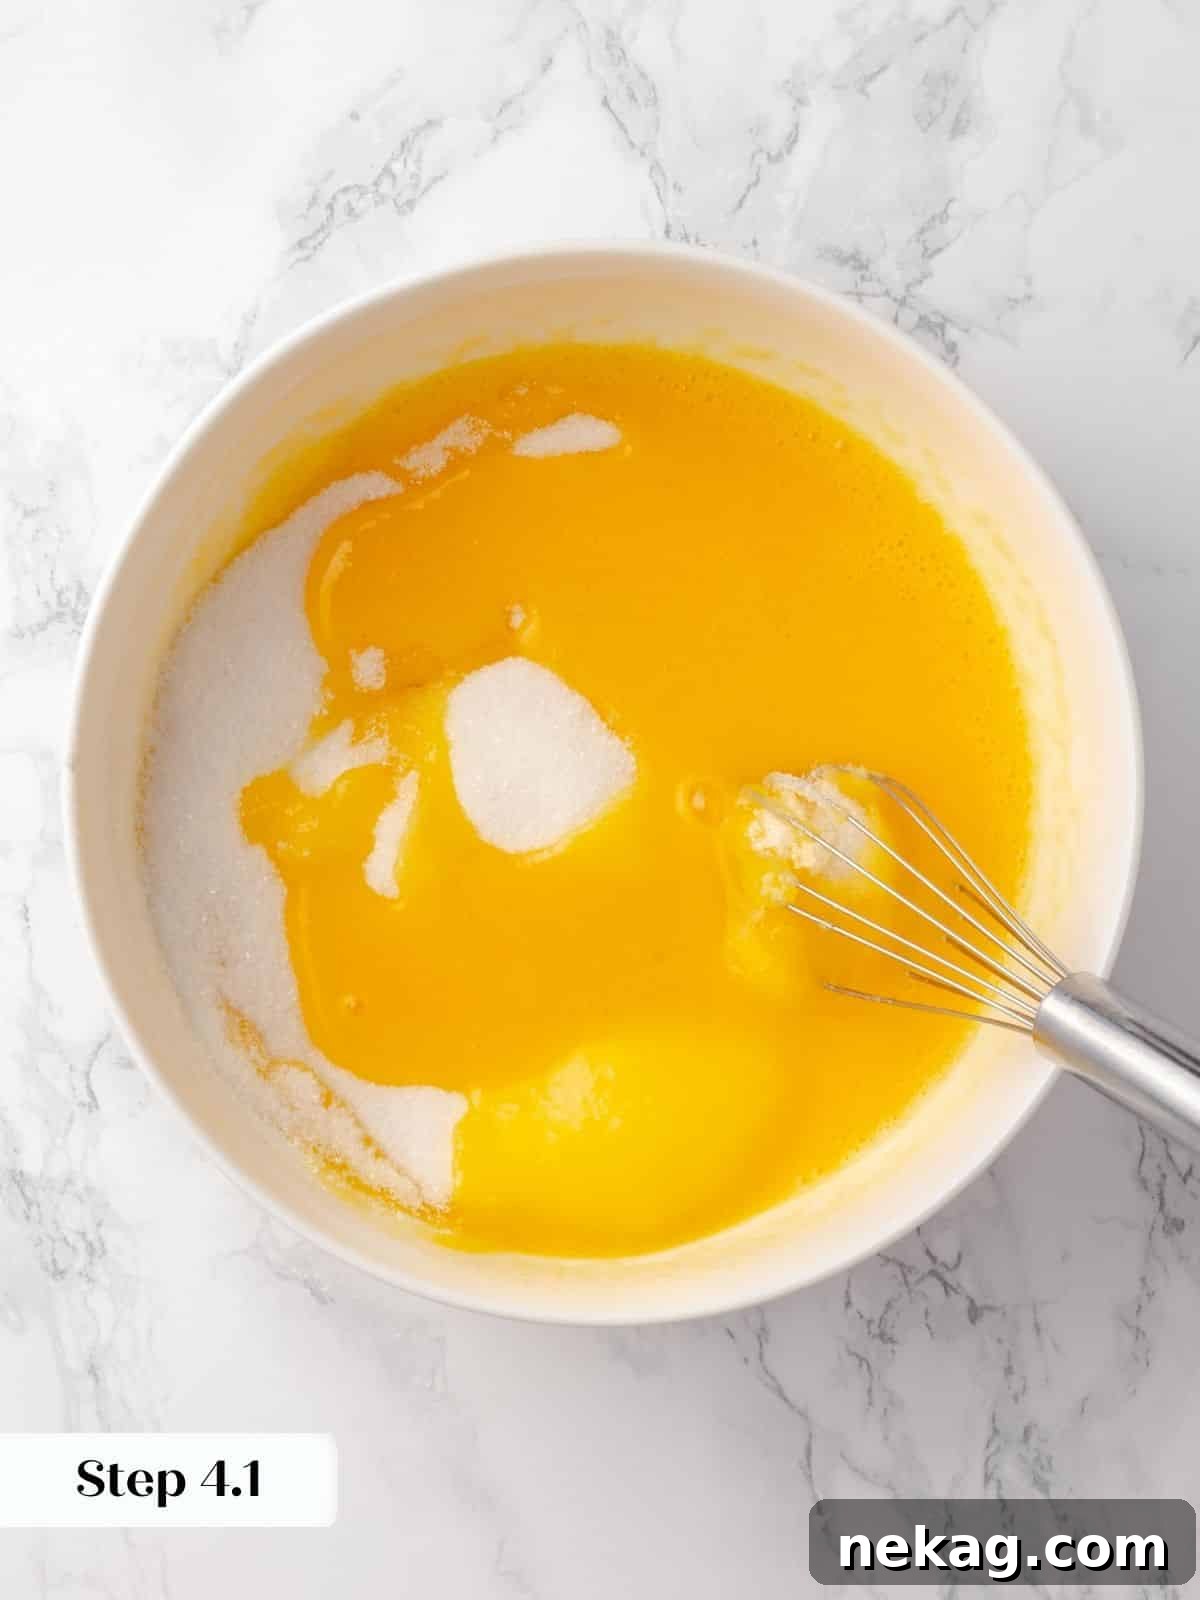
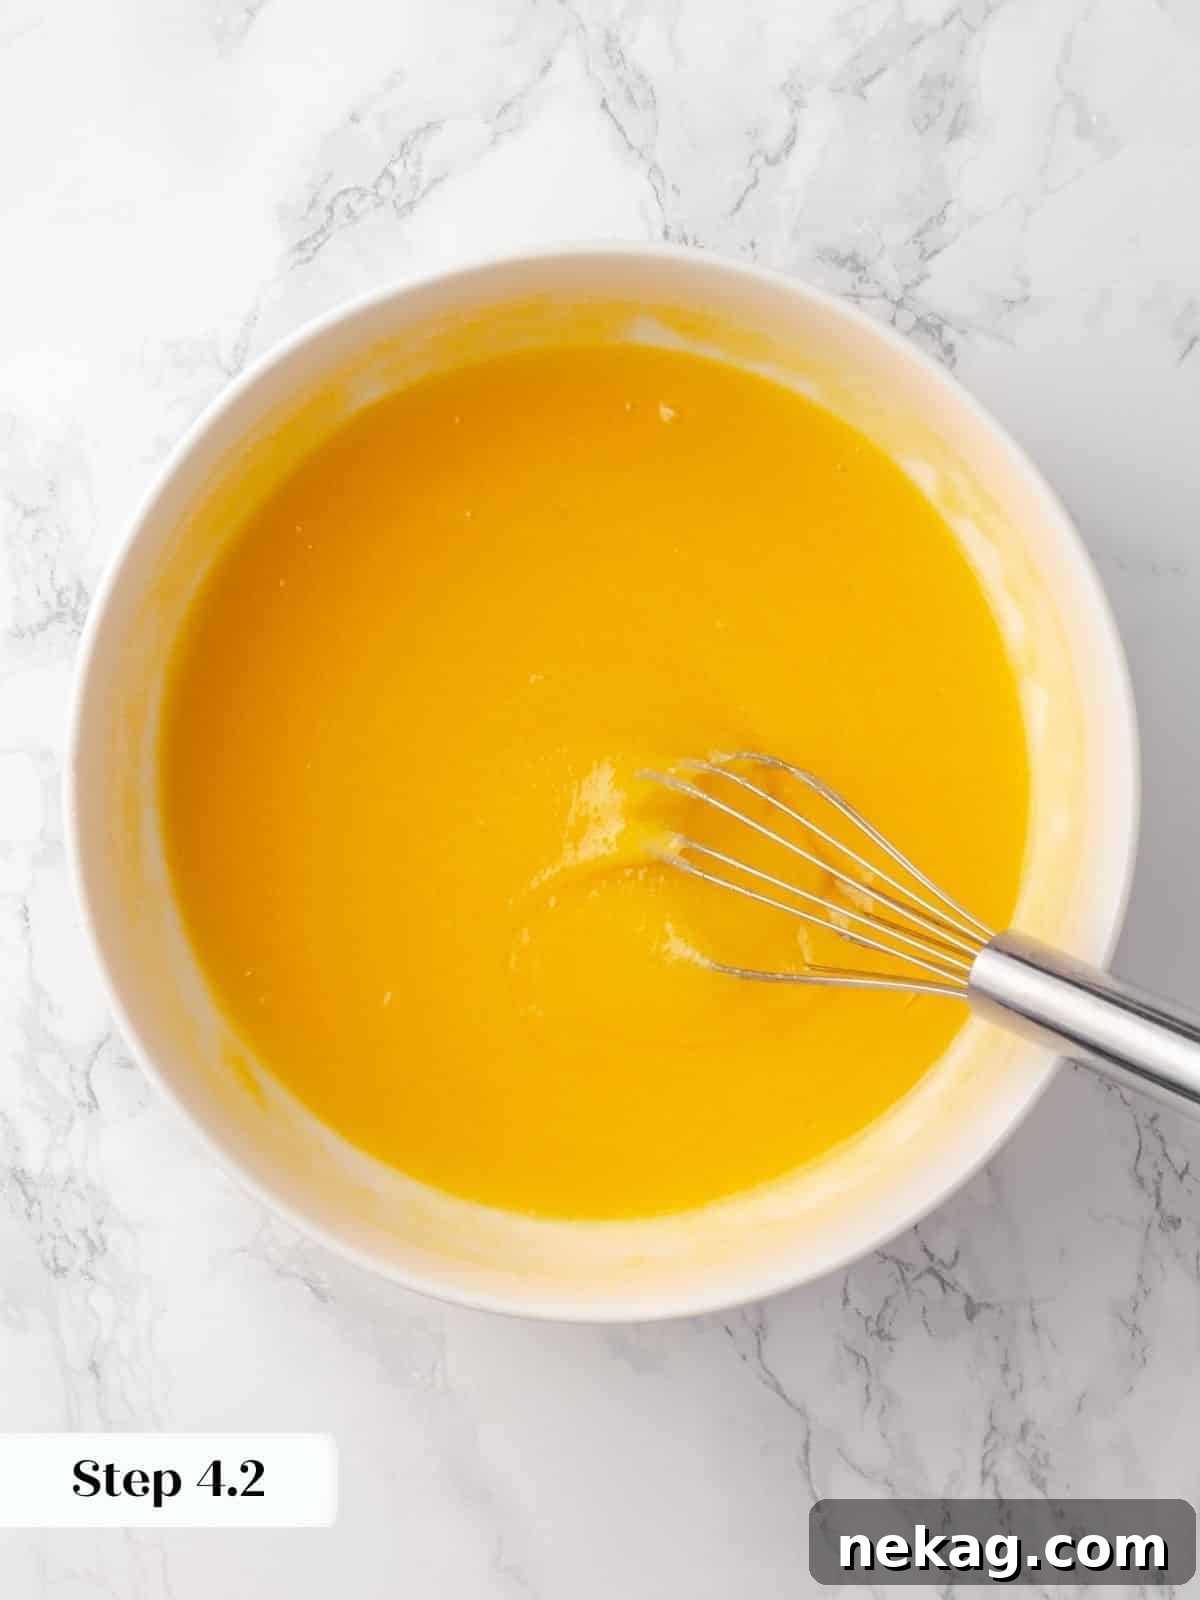
Step 4: To the emulsified egg and oil mixture, add the granulated sugar. Continue whisking diligently until the sugar is fully incorporated and the mixture is smooth and slightly thickened. This step also adds more air, contributing to the cake’s light texture.
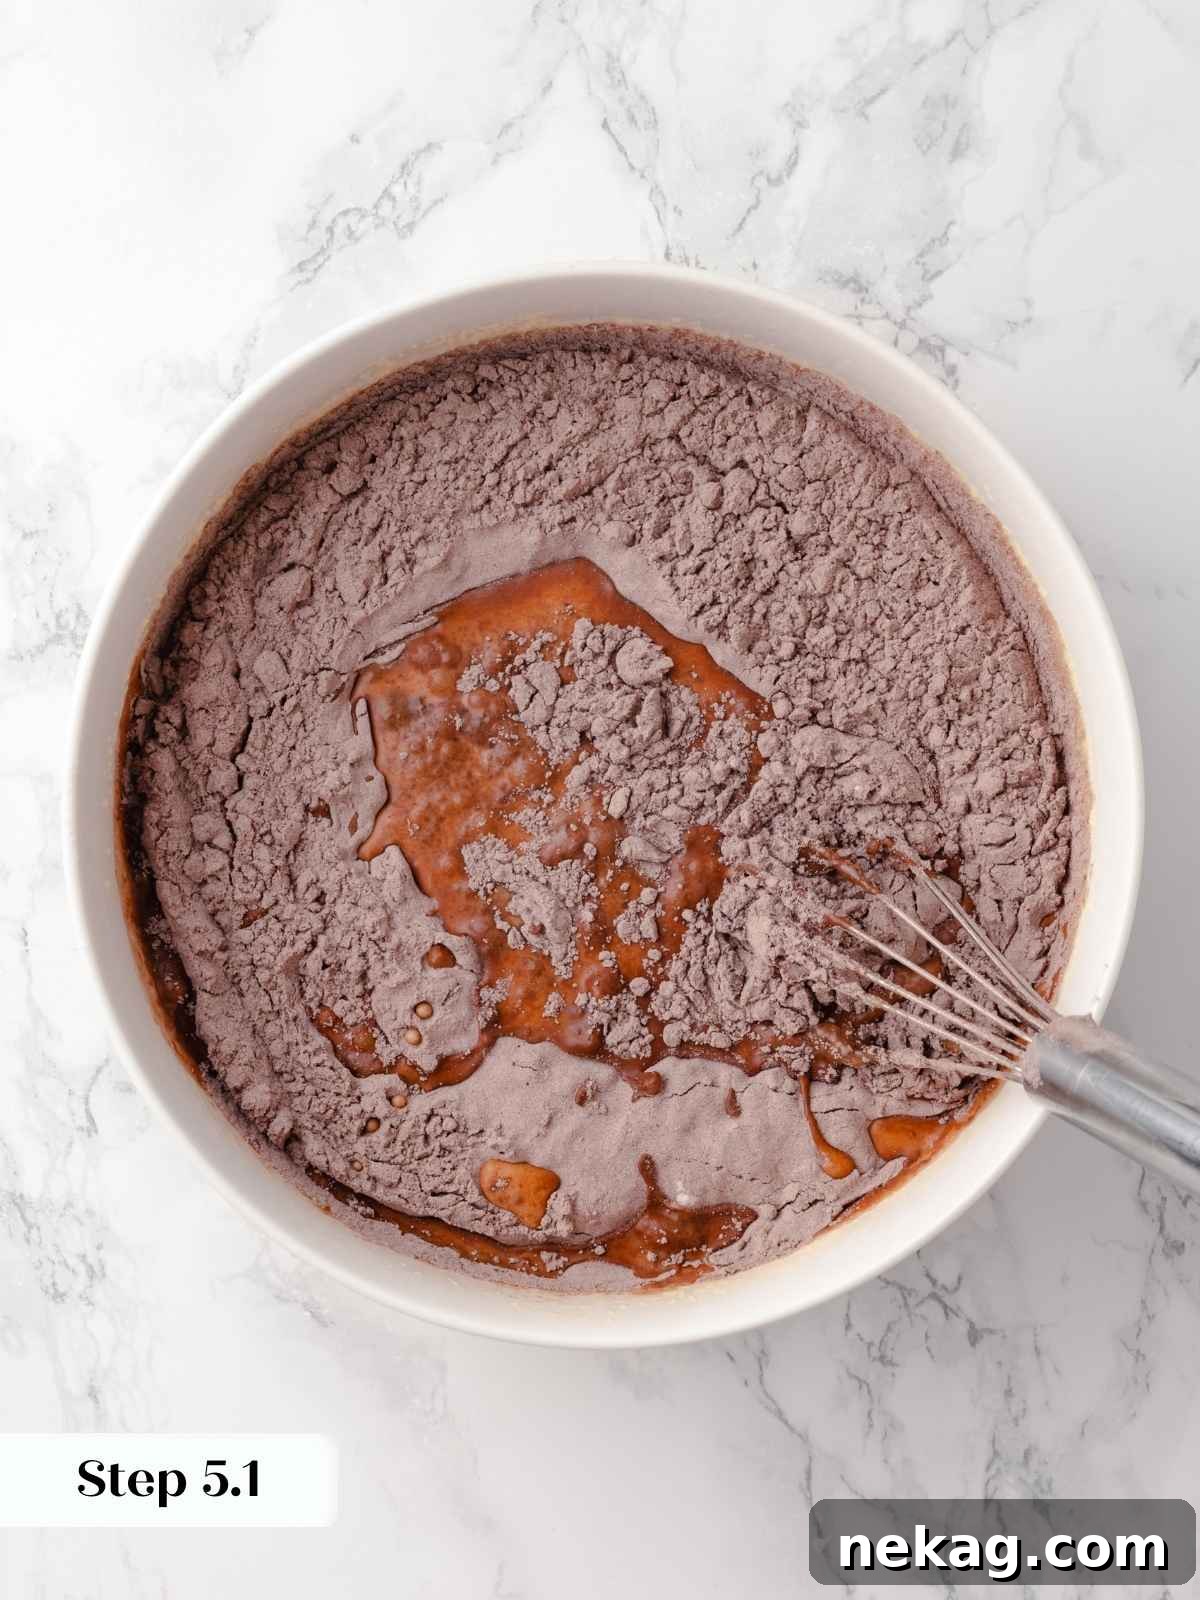
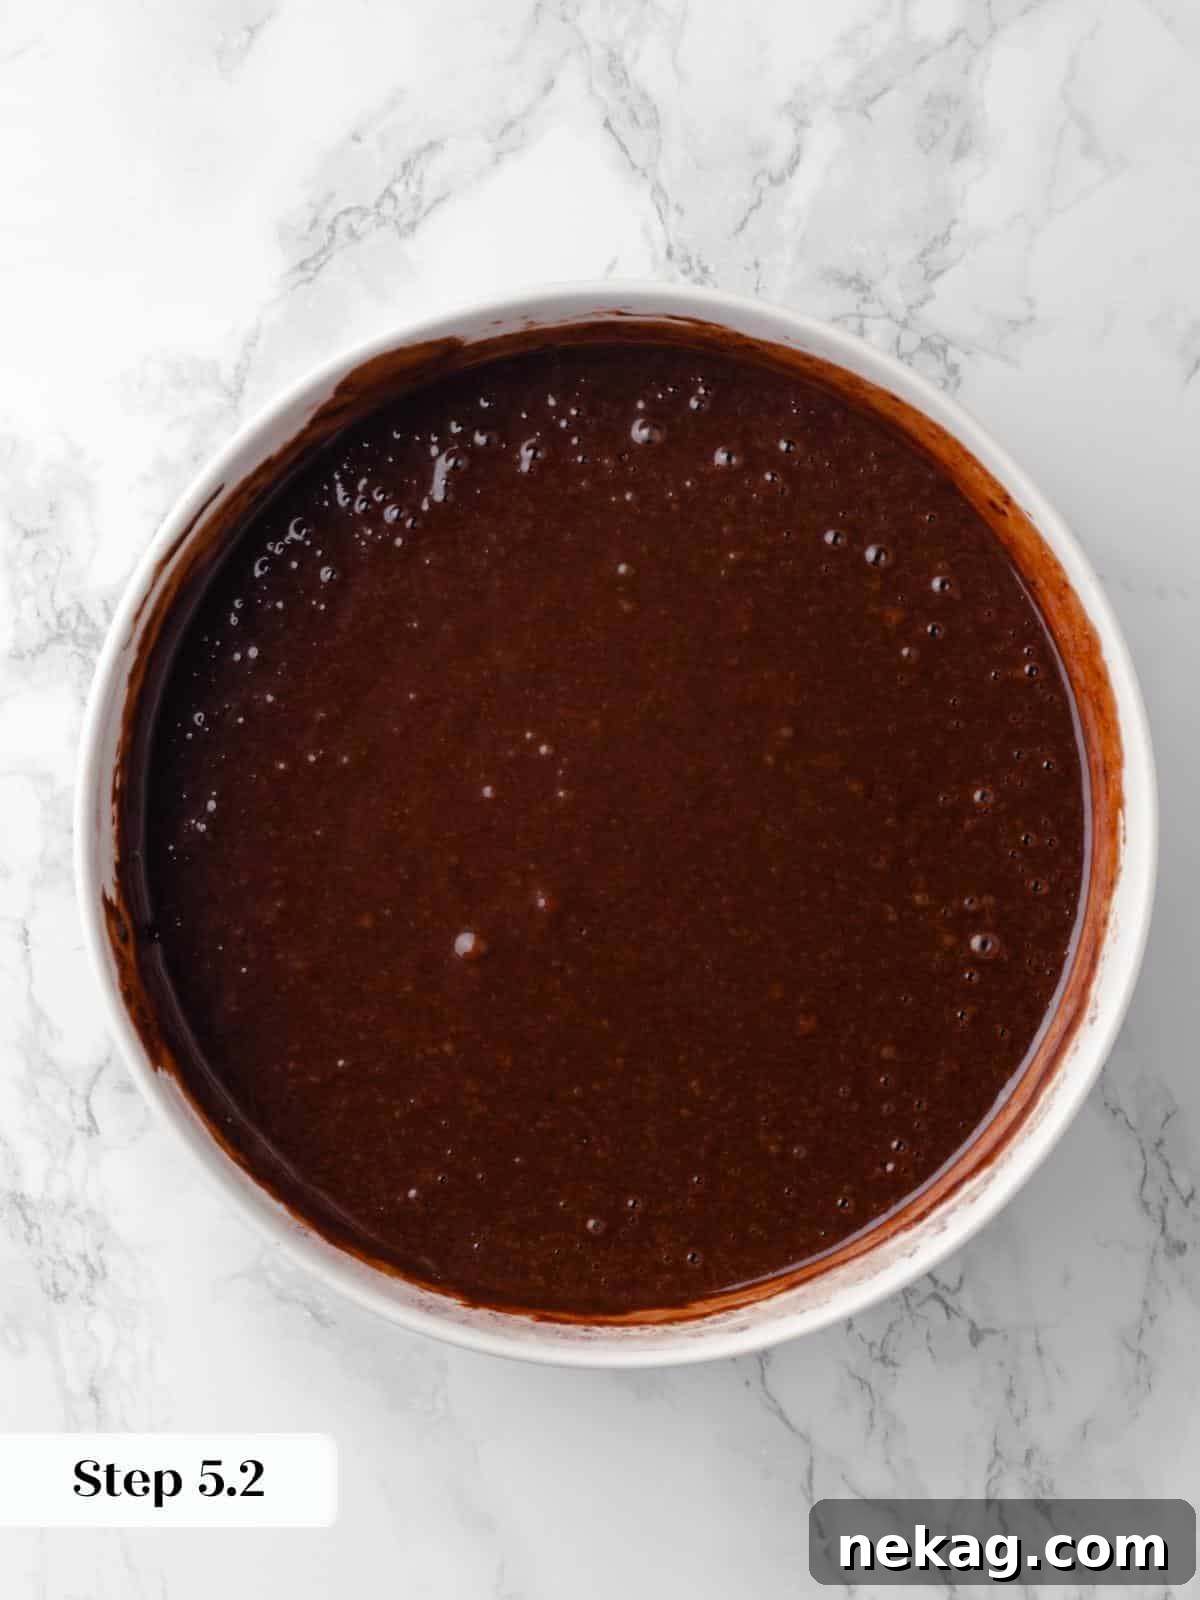
Step 5: Now, it’s time to combine the wet and dry ingredients. Alternately add the sifted dry ingredients and the whole milk to the wet mixture in three additions. I recommend adding approximately one-third of the dry ingredients and one-third of the milk simultaneously, then whisking gently until no lumps of flour remain. Repeat this process two more times with the remaining flour mixture and milk. This method ensures proper hydration of the flour and prevents overmixing, which can lead to a tough cake.
Adding the flour and milk in three distinct additions is a crucial technique. It helps prevent the over-development of gluten, which can result in a tough, chewy cake and undesirable “tunnels” (large air pockets). This gradual incorporation encourages a more tender, moist crumb.
Step 6: Evenly divide the rich chocolate cake batter among your prepared cake pans. Place the pans into the preheated oven. Bake until a cake tester or a toothpick inserted into the center of a cake layer comes out clean, or with just a few moist crumbs clinging to it. Three thinner layers will bake faster than two thicker ones, so begin checking for doneness around the 20-minute mark. For convection ovens, expect a baking time of approximately 25-28 minutes.
If you opt for two layers instead of three, each layer will be significantly larger, weighing approximately 920g, and will require a longer baking time, typically around 32 minutes. For three layers, each will be roughly 615g and bake quicker, as mentioned. Adjust baking times based on your oven and pan size for optimal results.
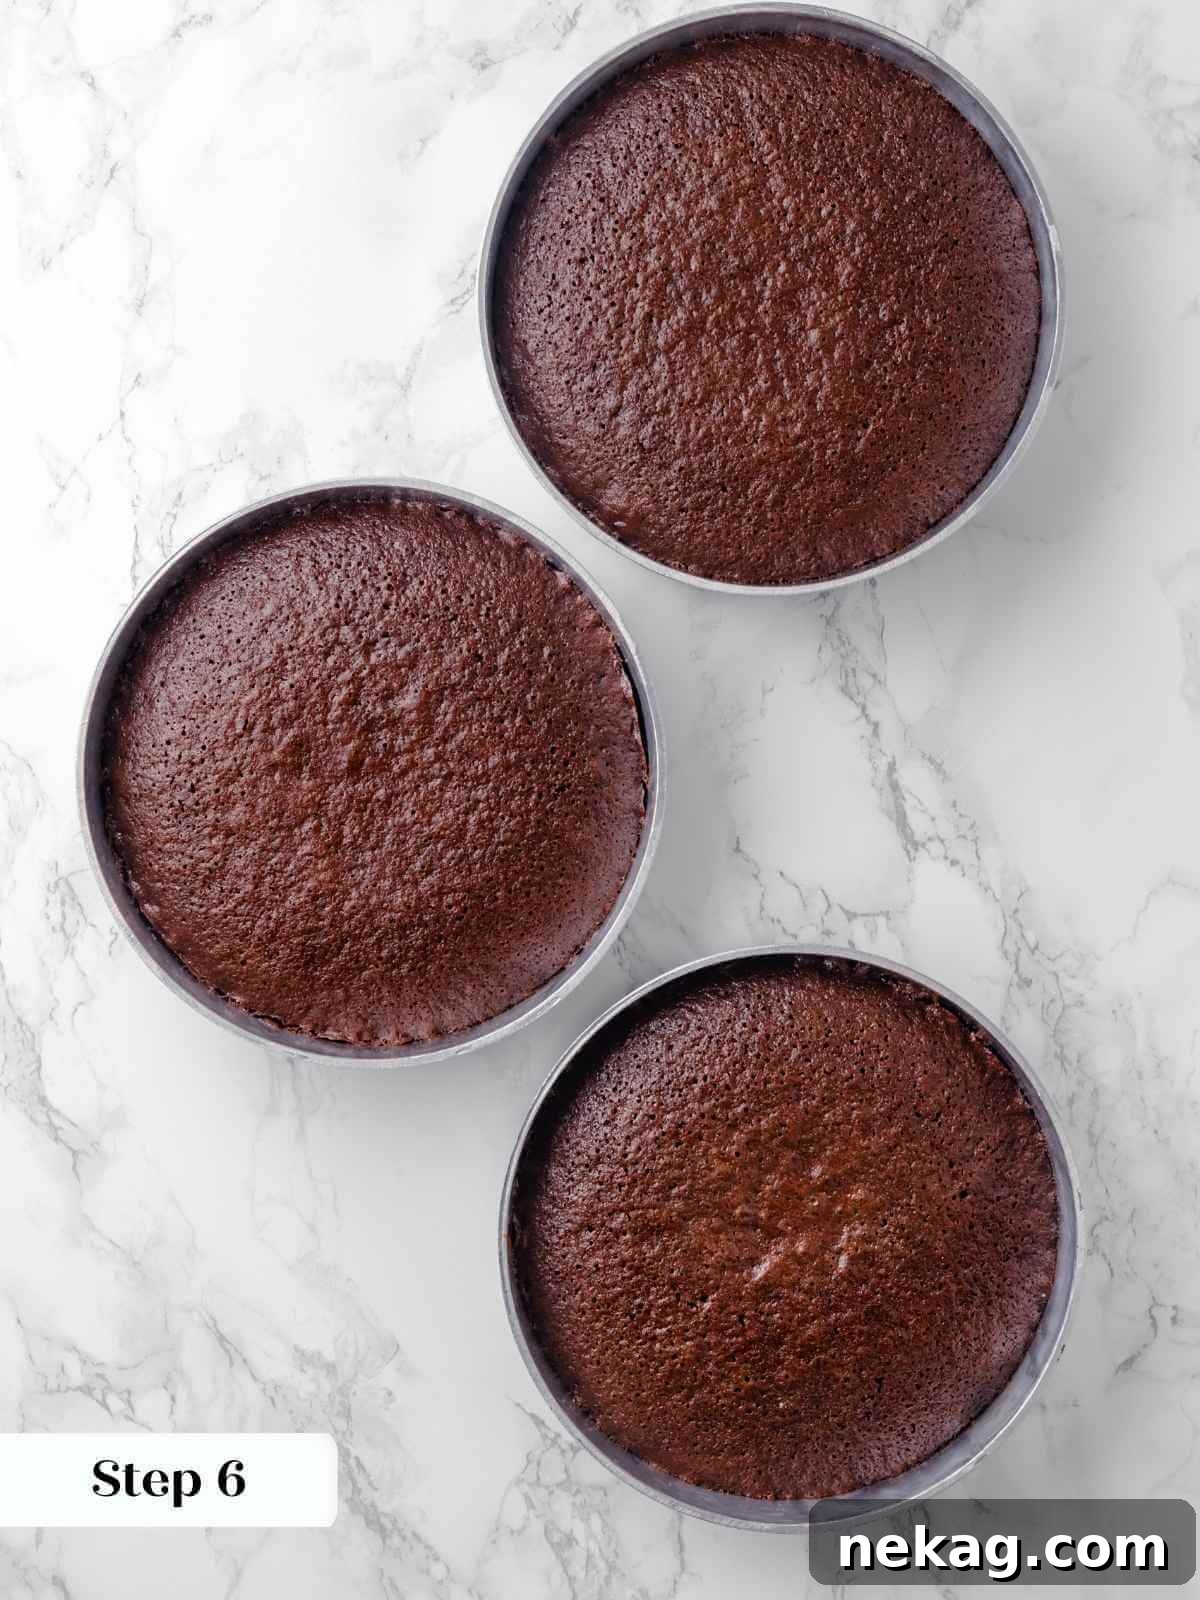
Step 7: Once baked, allow the cake layers to cool in their pans on a wire rack for about 10 minutes. This allows them to firm up slightly. Then, run a thin paring knife carefully around the edge of each pan to loosen the cake. Invert the pans to release the cakes onto the wire rack. You can cool them upside down for flatter tops or use a second wire rack to flip them back over.
Step 8: It is absolutely crucial to cool the cake layers completely to room temperature before attempting to frost them. Warm cake will cause your beautiful frosting to melt and slide off, compromising both the structure and appearance of your finished cake.
Part 2: Preparing the Vibrant Quick Raspberry Jam
Step 9: In a small, heavy-bottomed saucepan, combine the fresh or frozen raspberries, fresh lemon juice, and granulated sugar. The lemon juice is vital for brightening the raspberry flavor, ensuring a lively tartness that balances the cake’s sweetness.
Always taste your raspberries first! Depending on their natural sweetness, you might need more or less granulated sugar than the recipe suggests. Adjust to your personal preference for a perfectly balanced jam.
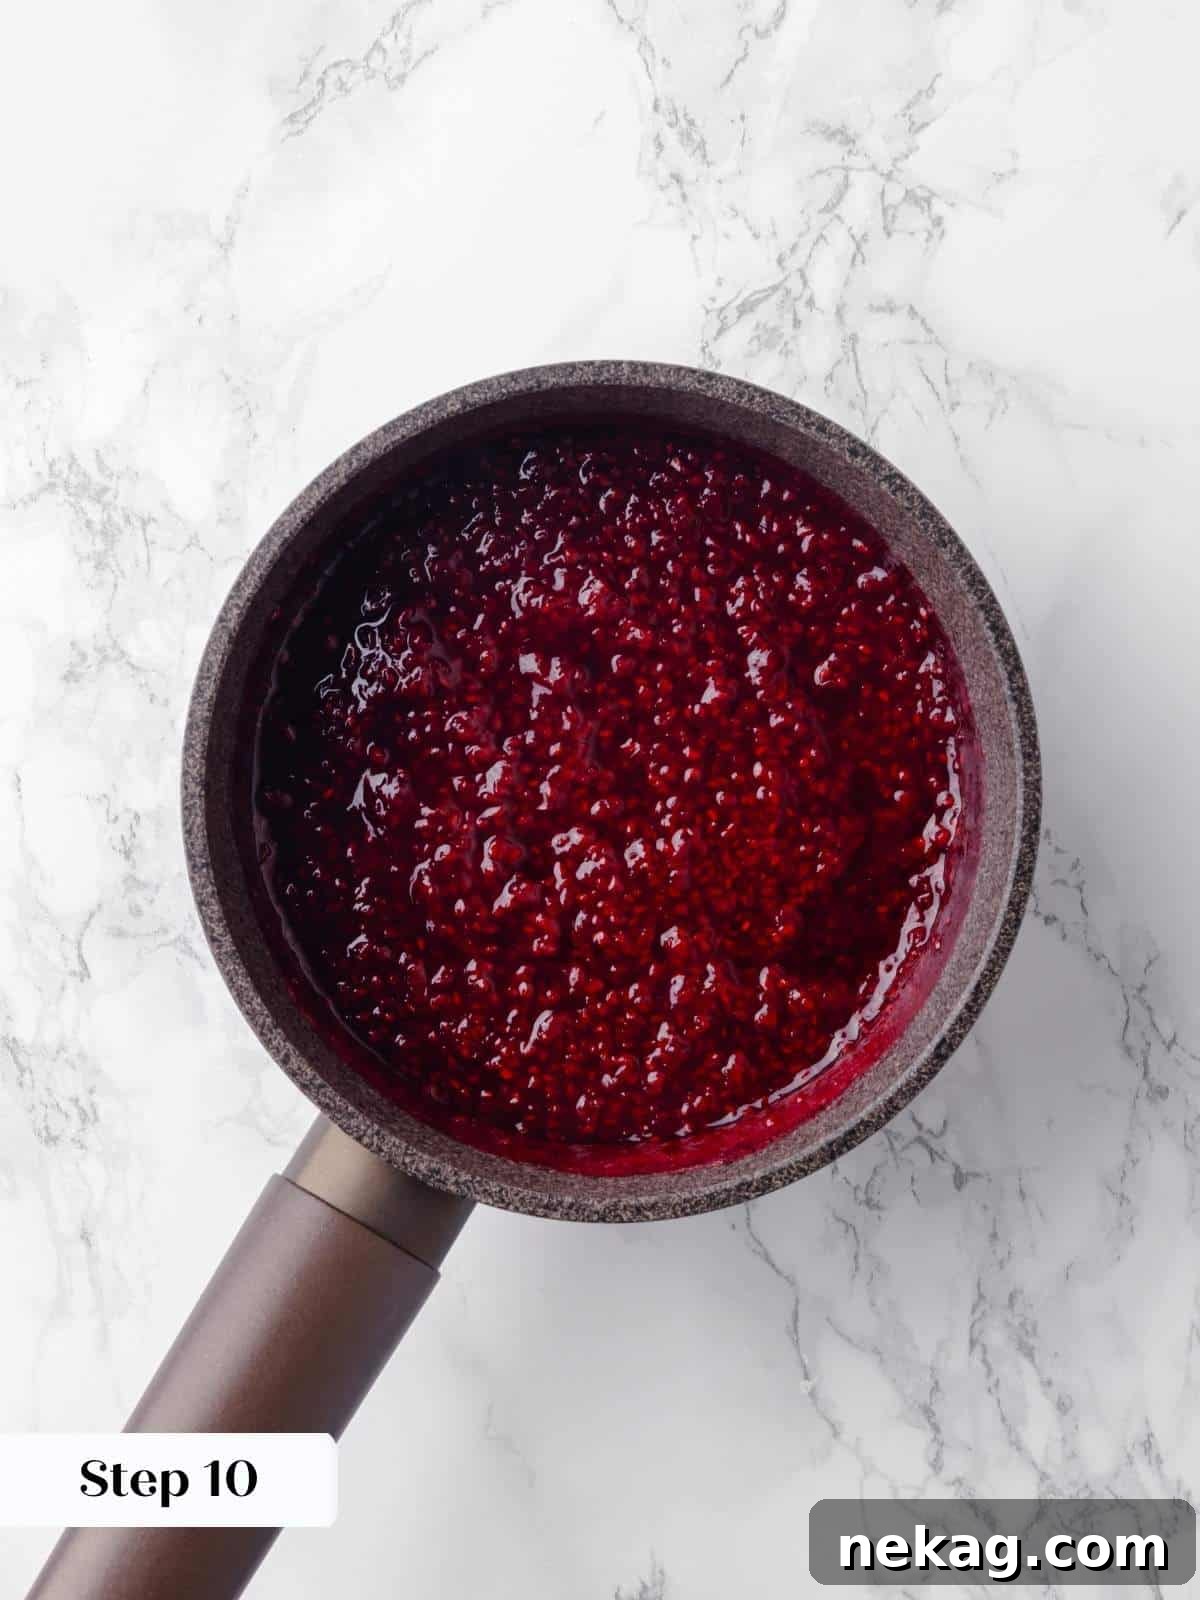
Step 10: Place the saucepan over low heat. Cook gently, stirring and occasionally smashing the raspberries with a spoon or spatula, until they soften and begin to release their juices. Once the juices are flowing, increase the heat to medium or medium-low and simmer the mixture. Continue cooking, stirring frequently, until the liquid evaporates and the jam thickens to a consistency that holds a distinct line when you drag a spoon across the back of it. As the jam thickens, reduce the heat back to low to prevent it from sticking and burning to the bottom of the pan.
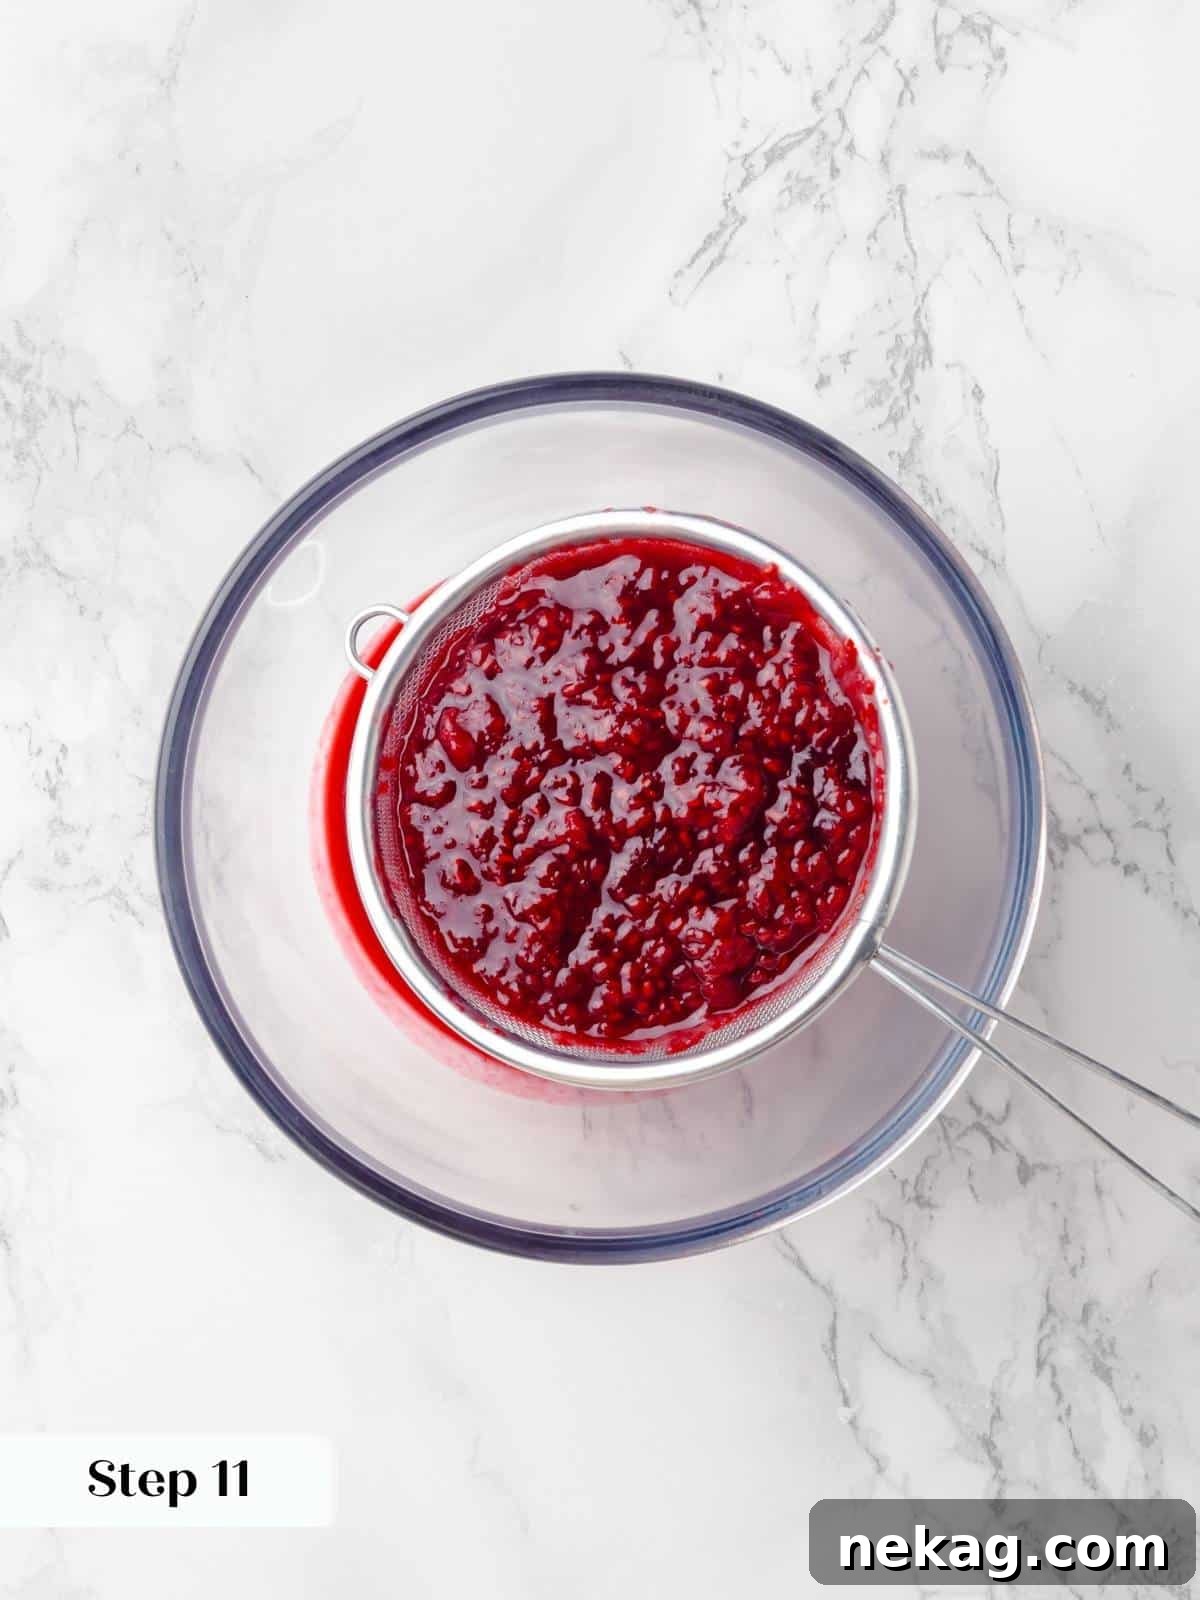
Step 11: To achieve a silky-smooth jam free of any seeds, carefully strain the cooked raspberry mixture through a fine-mesh metal sieve into a bowl that has been chilled in the freezer. Trust us, nobody wants an unexpected crunch of raspberry seeds in their creamy buttercream; it’s an unwelcome texture that can border on offensive in a refined dessert!
Step 12: Use a silicone spatula to press the jam vigorously through the sieve. Once most of the liquid has passed, scrape the thick jam that accumulates on the underside of the sieve into your frozen bowl. This technique ensures you extract every precious bit of flavorful jam while leaving the seeds behind.
To maximize your yield and ensure all the rich raspberry goodness is separated from the seeds, I recommend repeating the pressing and scraping process through the sieve at least three times. This meticulous approach guarantees you capture every last drop of that vibrant raspberry flavor.
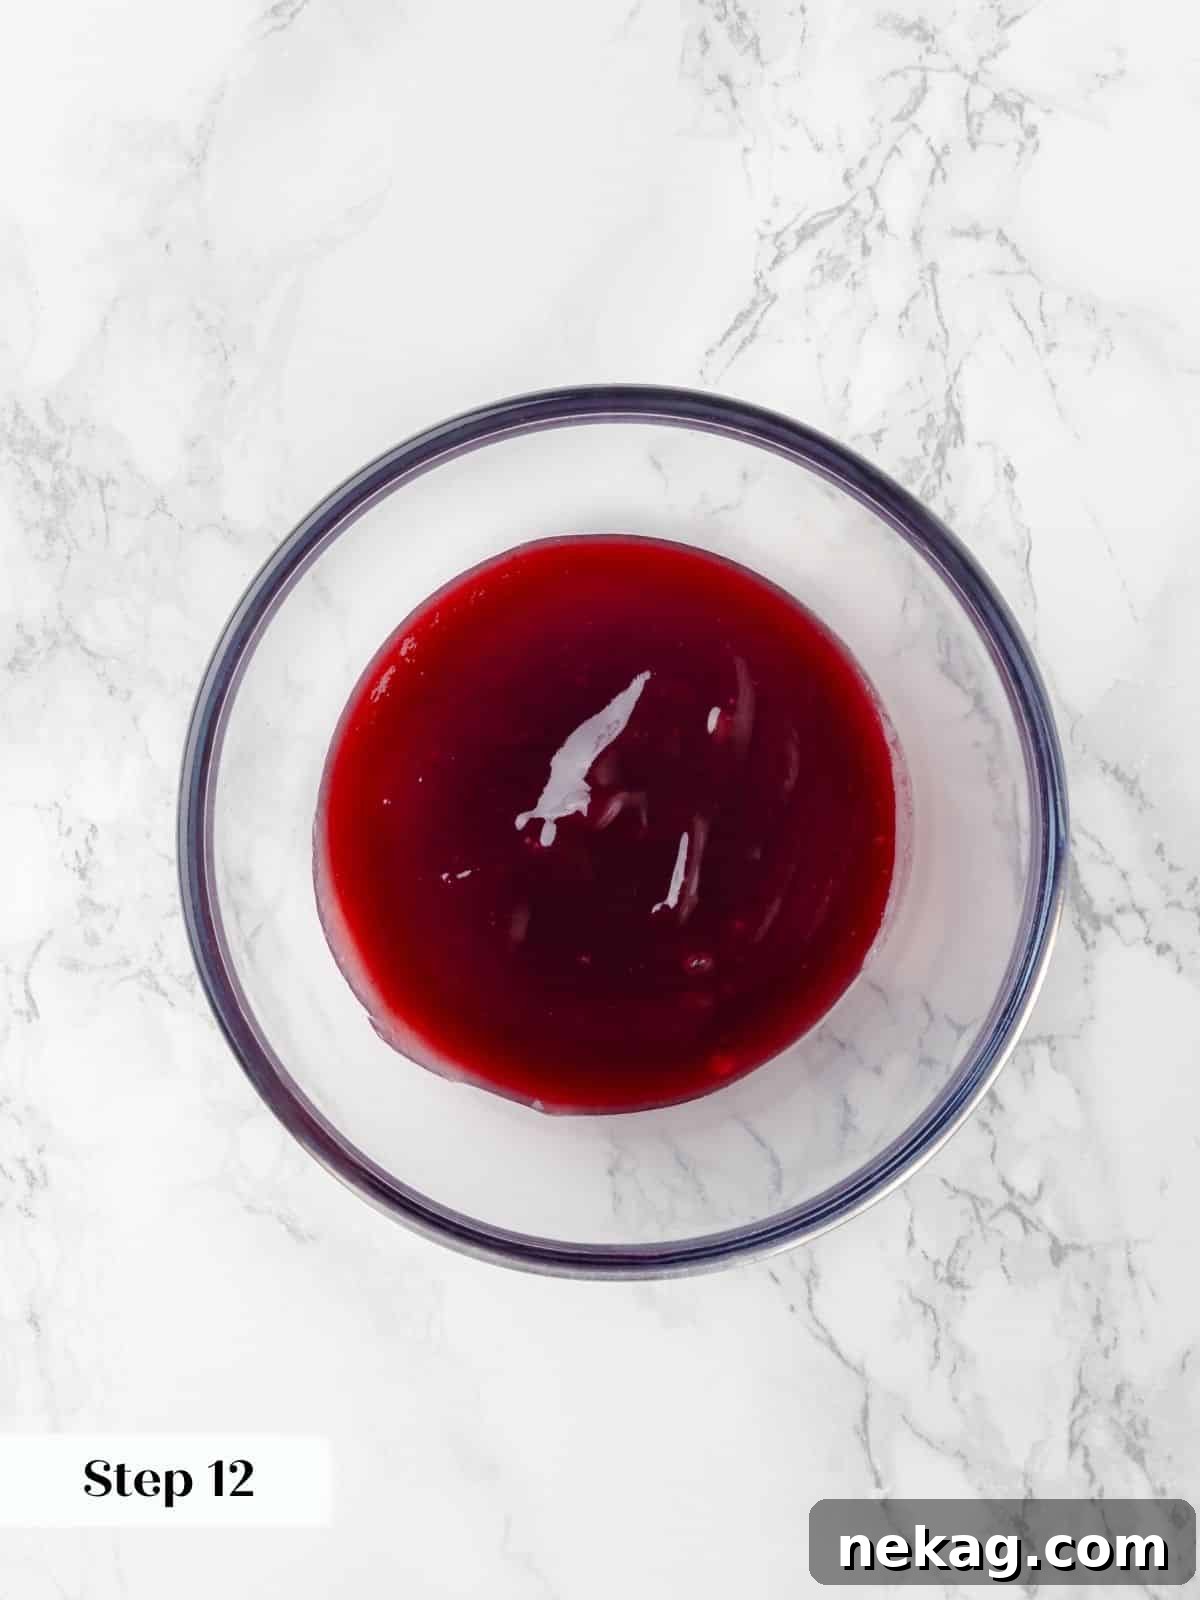
Step 13: Once strained, pour the warm raspberry jam into a cold or even frozen glass or Pyrex bowl. Immediately refrigerate it until it is thoroughly chilled. Adding cold jam to your buttercream is essential; it prevents the buttercream from softening too much and helps maintain a lovely, thick consistency for layering and piping.
Part 3: Crafting the Luxurious Chocolate Fudge Frosting
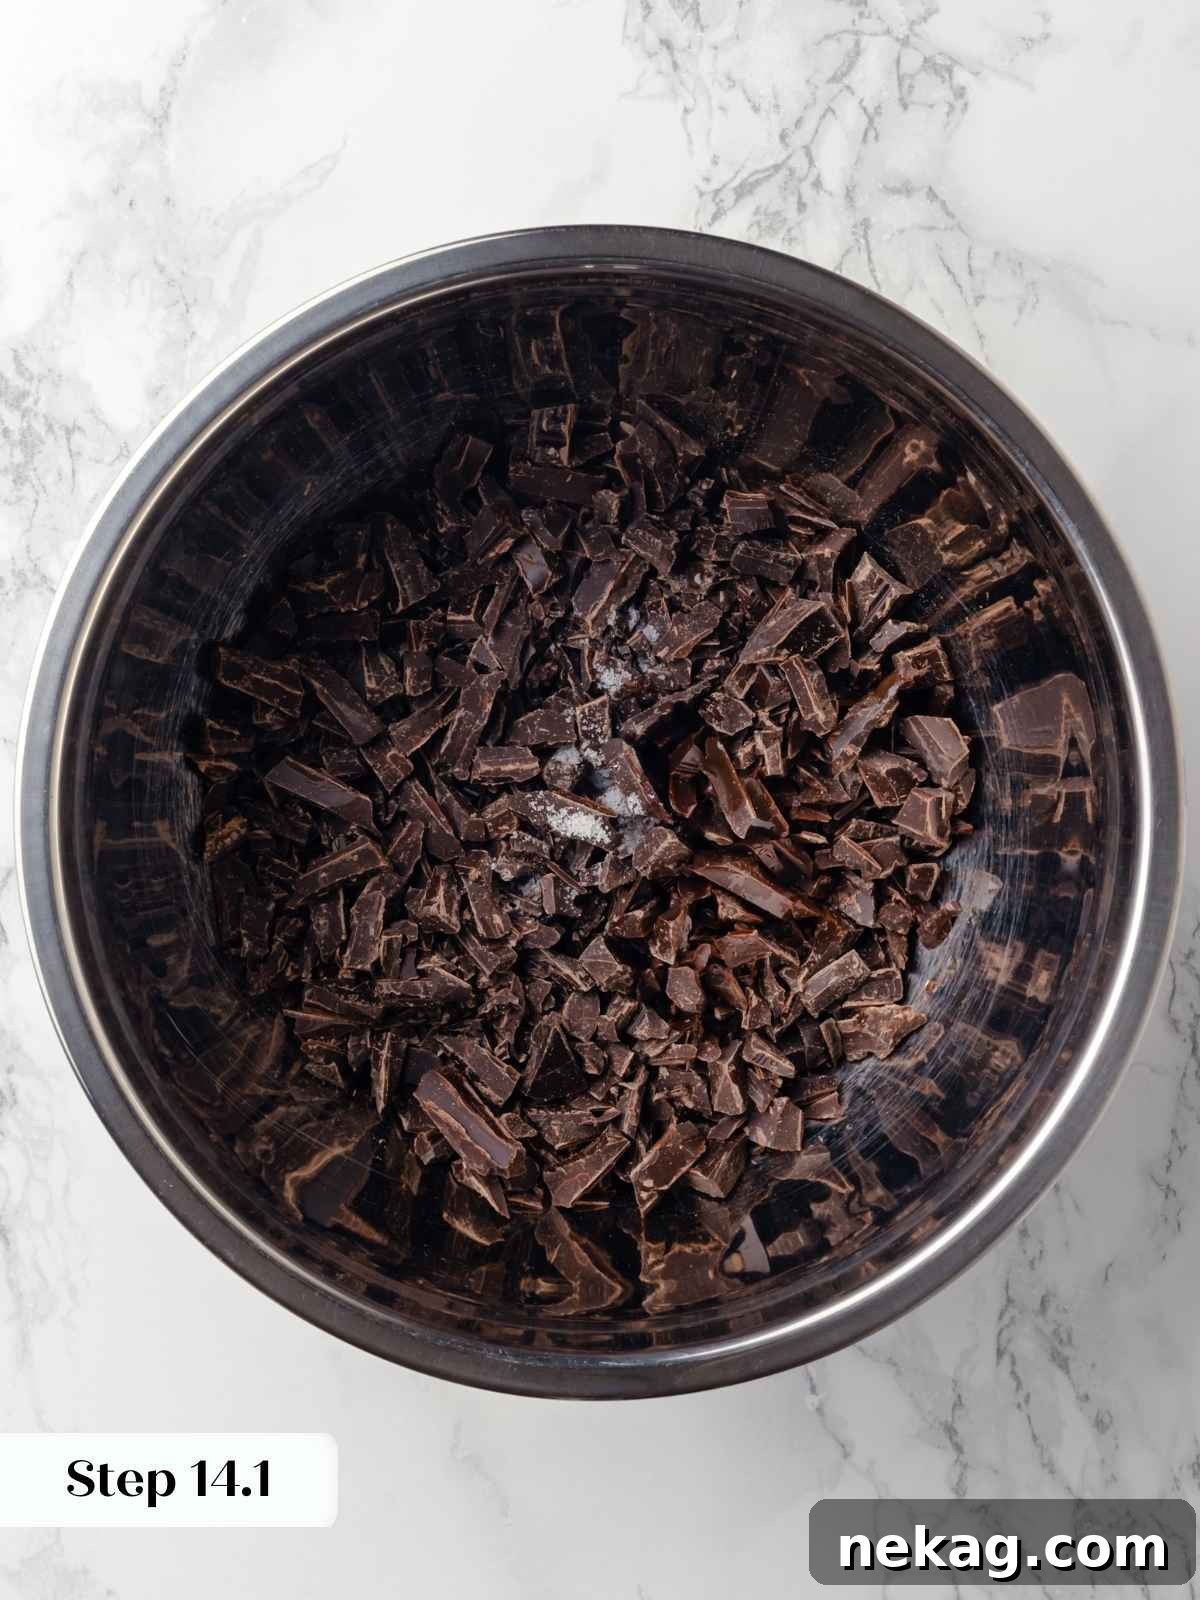
Step 14: In a large, heat-proof mixing bowl, combine the finely chopped dark chocolate, vanilla extract, light corn syrup, and kosher salt. Ensure your chocolate is well-chopped to facilitate even melting.
Given the significant amount of heavy cream used in this recipe, it’s highly recommended to chop your chocolate bar into small, even pieces, even if you typically use chocolate chips. Larger pieces or chips can cool the cream too quickly, preventing the chocolate from melting completely and resulting in a grainy ganache. Finely chopped chocolate melts more efficiently, ensuring a perfectly smooth and uniform frosting.
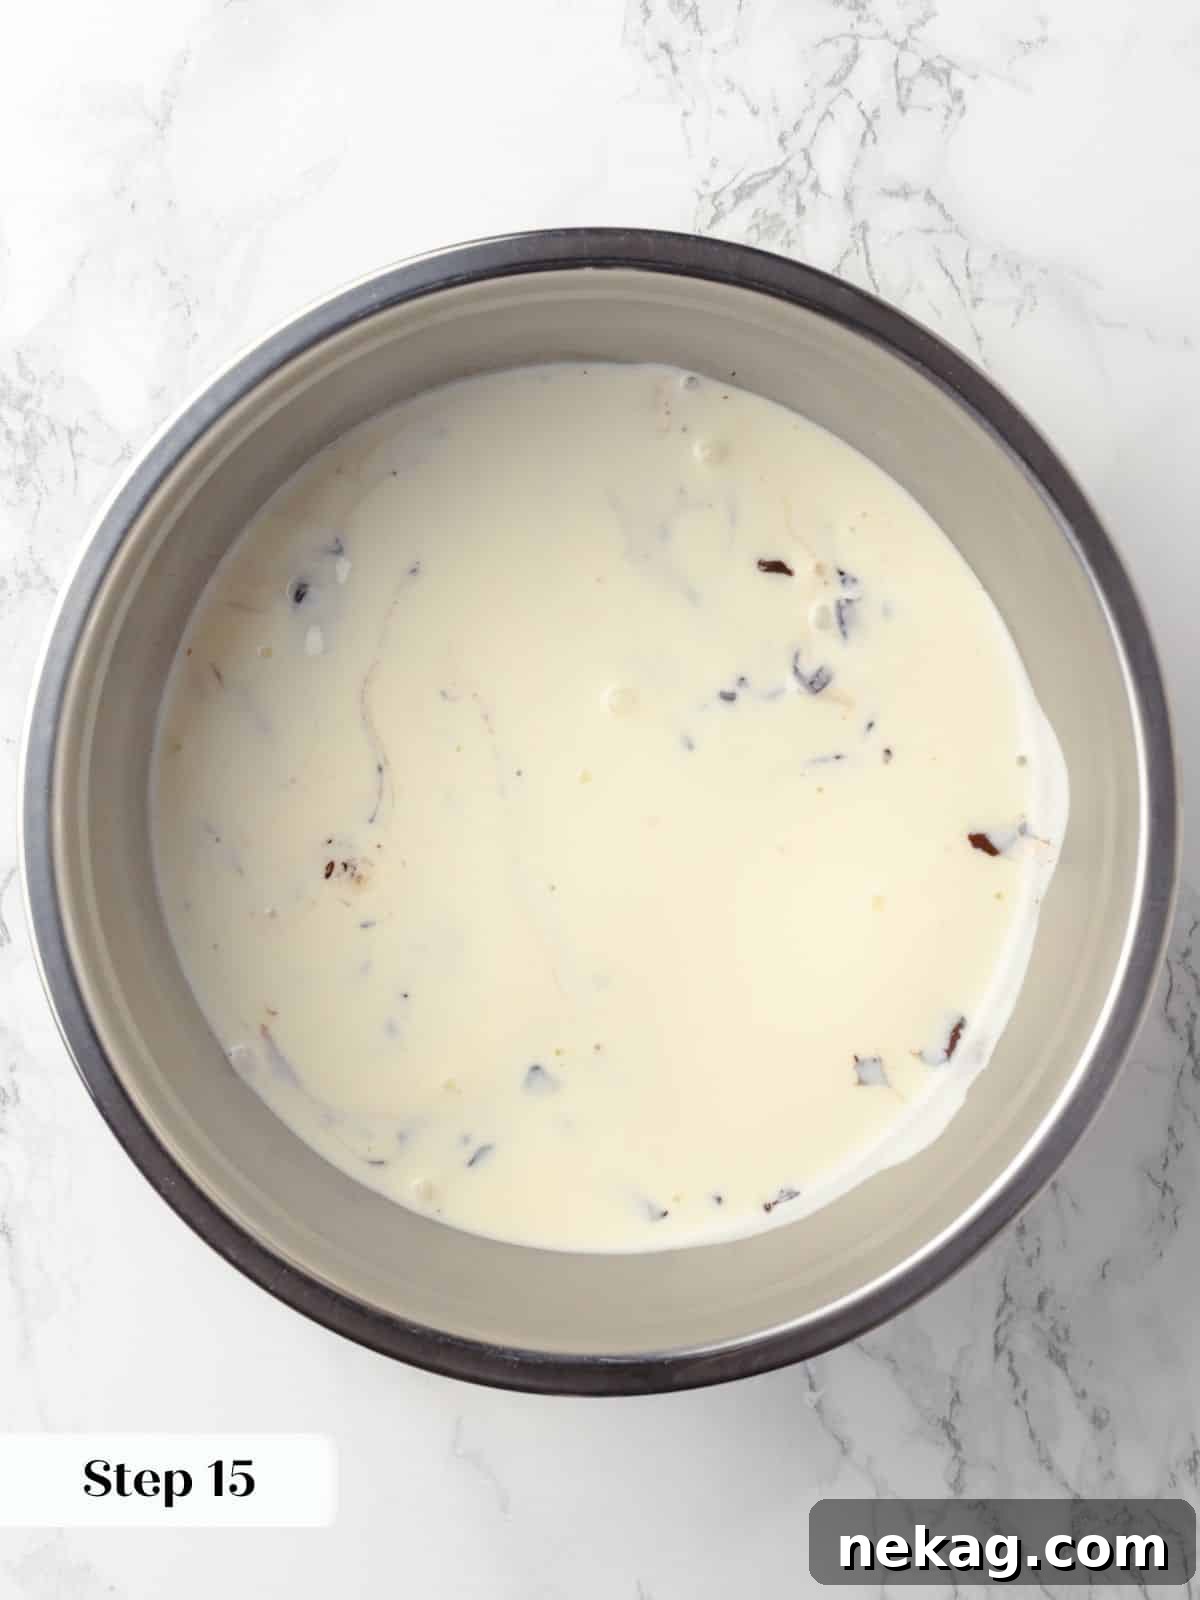
Step 15: In a small saucepan, bring the heavy whipping cream to a gentle boil, just until it begins to bubble around the edges. Immediately pour the hot cream over the chocolate mixture in the heat-proof bowl. Give the bowl a gentle shake to ensure the hot cream completely covers all the chocolate pieces. Let it sit undisturbed for 2 minutes; this allows the residual heat from the cream to melt the chocolate effectively.
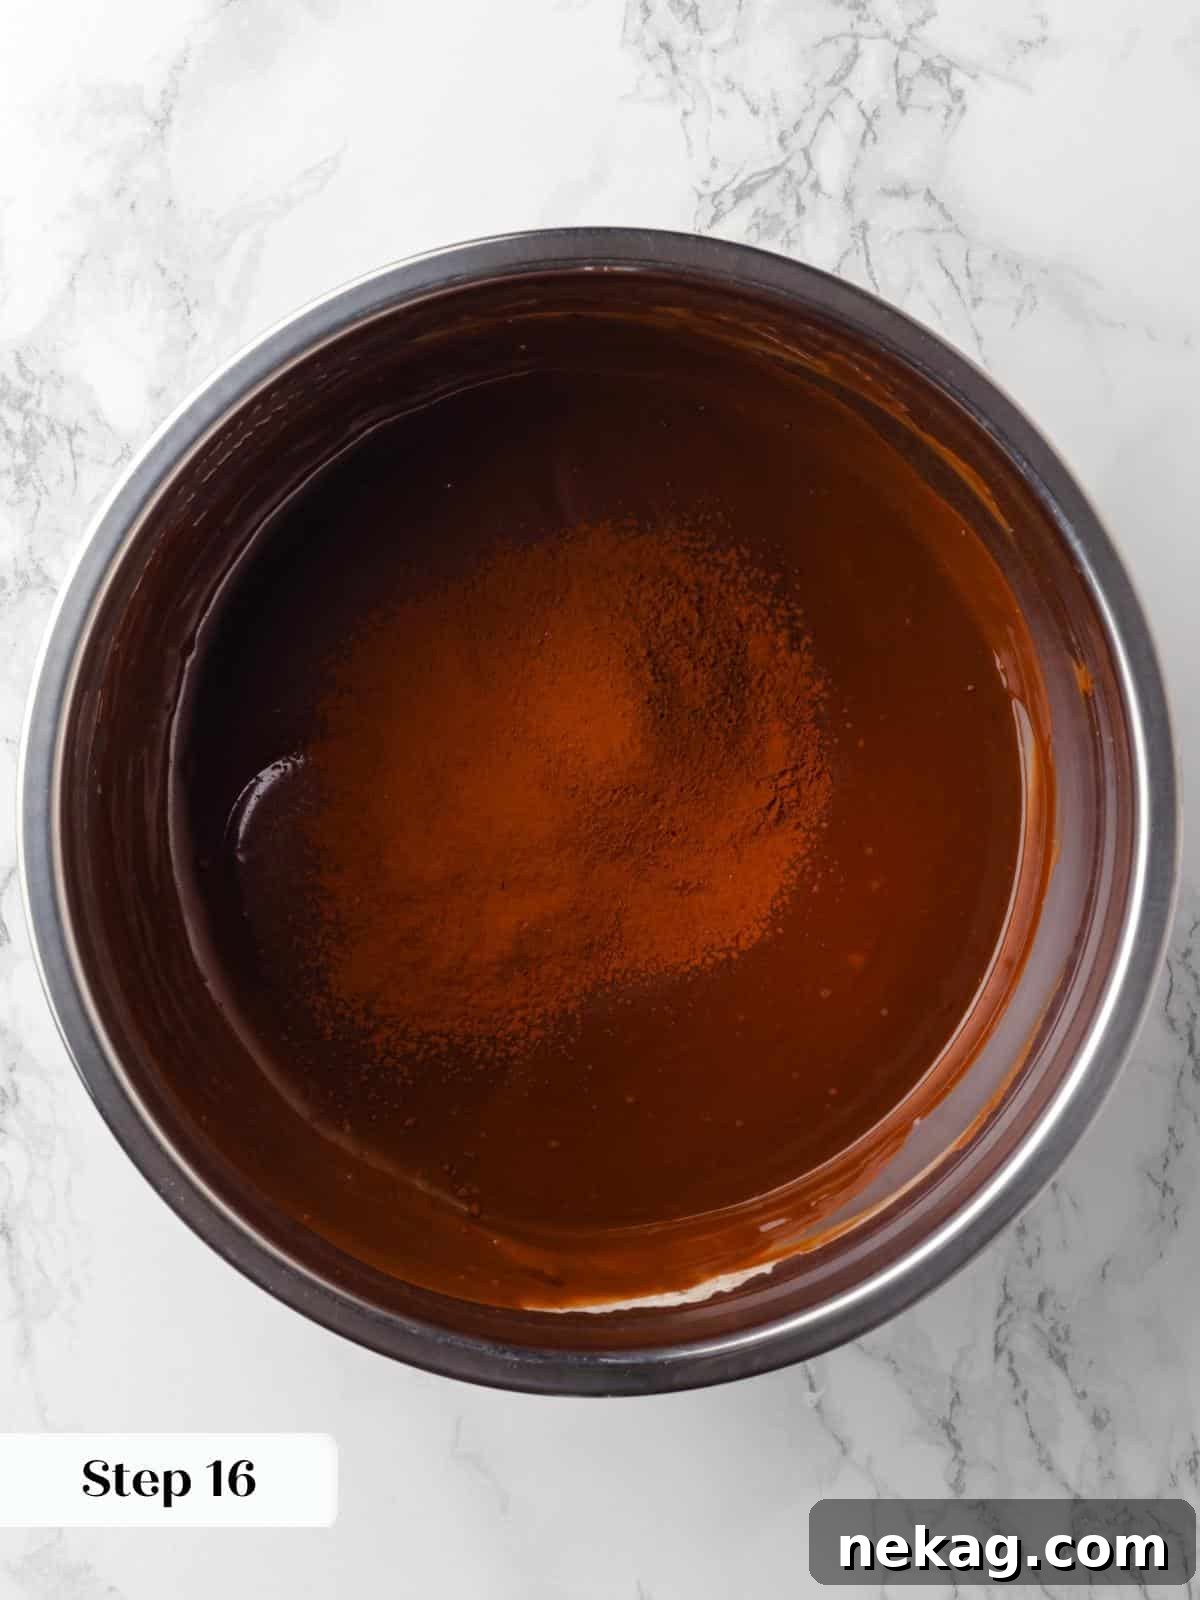
Step 16: After 2 minutes, begin to slowly whisk the mixture. Start whisking from the very center of the bowl, gradually working your way outwards in expanding circles. This technique is crucial for creating a smooth and stable emulsion (ganache). Next, sift the cocoa powder directly into the ganache and whisk until it is thoroughly incorporated and lump-free. While you can add cocoa powder before the cream, sifting it in at this stage often prevents clumping and ensures a silky-smooth frosting.
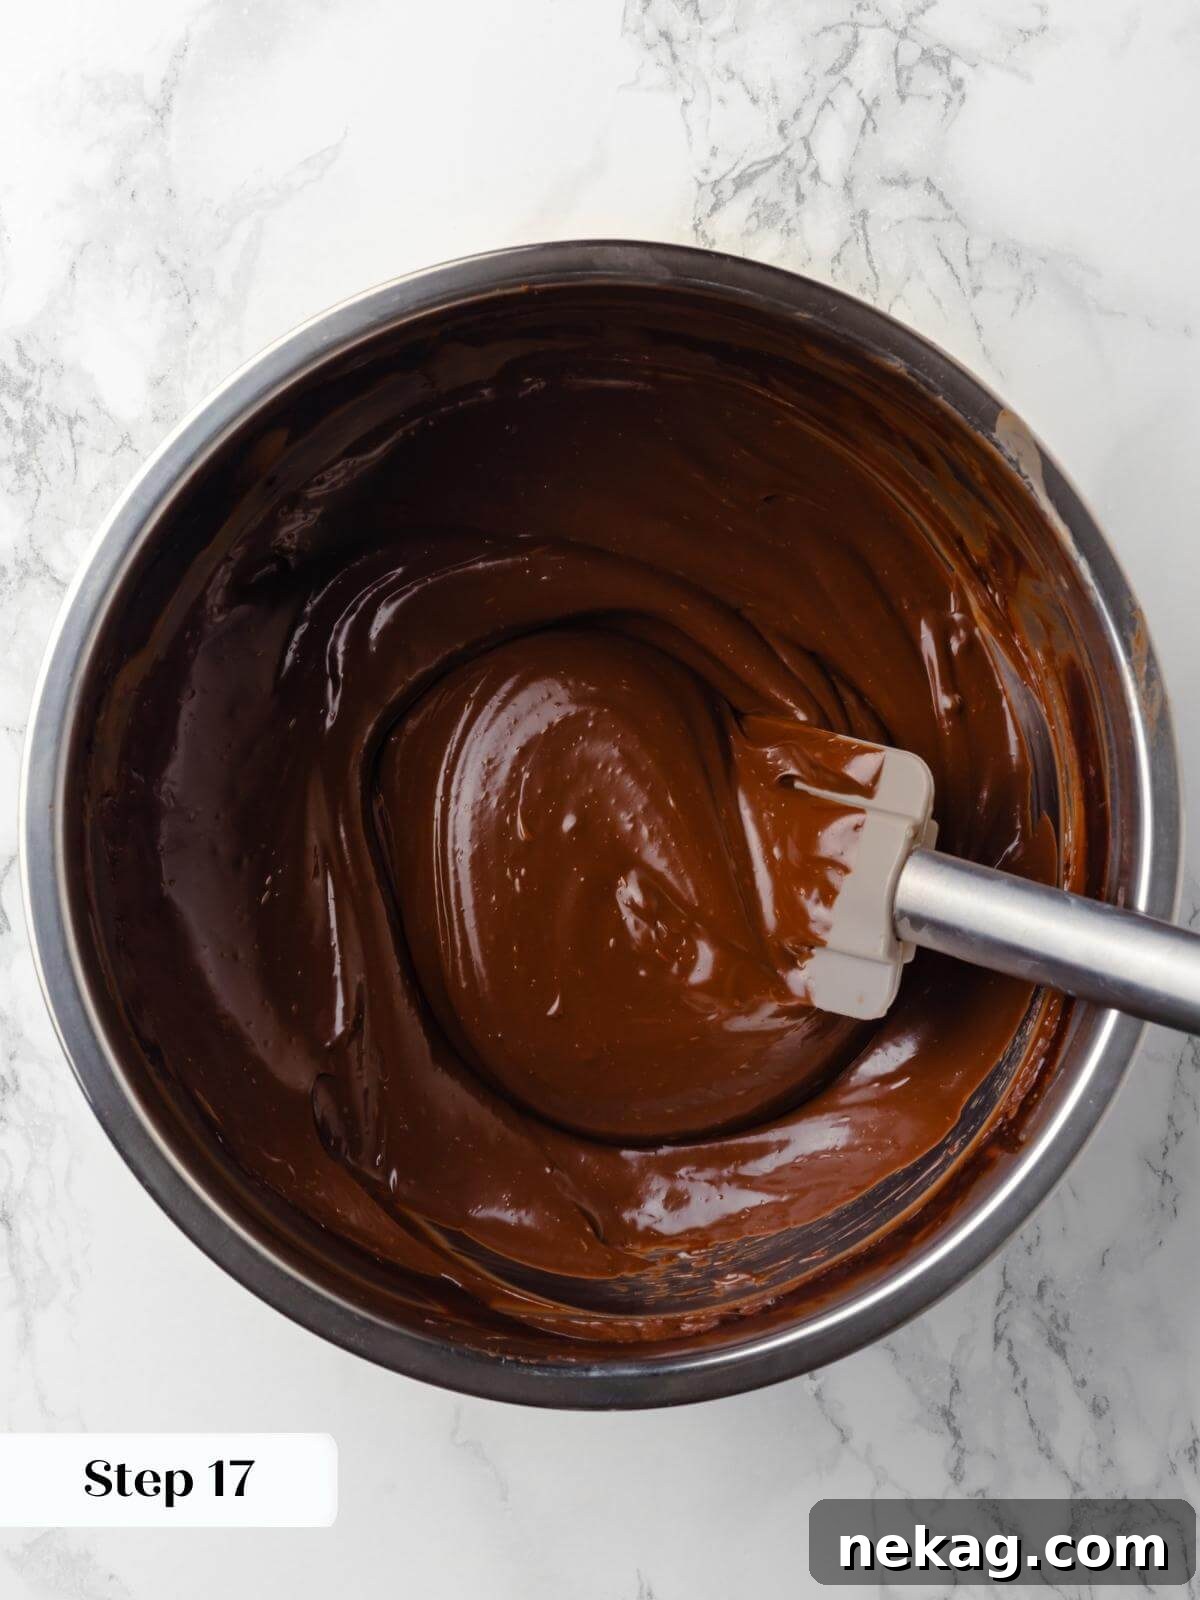
Step 17: While the ganache is still warm, add the softened, cubed butter. Switch from a whisk to a silicone spatula. Gently stir the mixture in one consistent direction. This gentle stirring helps the butter melt smoothly and fully incorporate into the ganache, resulting in a glossy, homogenous, and utterly luxurious fudge frosting.
Step 18: To prevent a skin from forming and to ensure a smooth texture, place a piece of plastic wrap directly onto the surface of the fudge frosting. Allow it to cool completely to room temperature. If you need to speed up the cooling process, you can place the bowl in the refrigerator, stirring it gently every 10 minutes to maintain consistency and prevent it from solidifying unevenly. The ideal consistency is spreadable, not too firm or too runny.
The cooling time for your fudge frosting will vary depending on your kitchen’s ambient temperature. In a room around 70°F, it typically takes a little under 2 hours to reach room temperature and the perfect spreadable consistency. This cooling period aligns perfectly with the time needed for the cake layers to cool and for you to prepare the other cake components, ensuring efficient workflow for your chocolate raspberry cake.
Part 4: Preparing the Silky Raspberry Buttercream
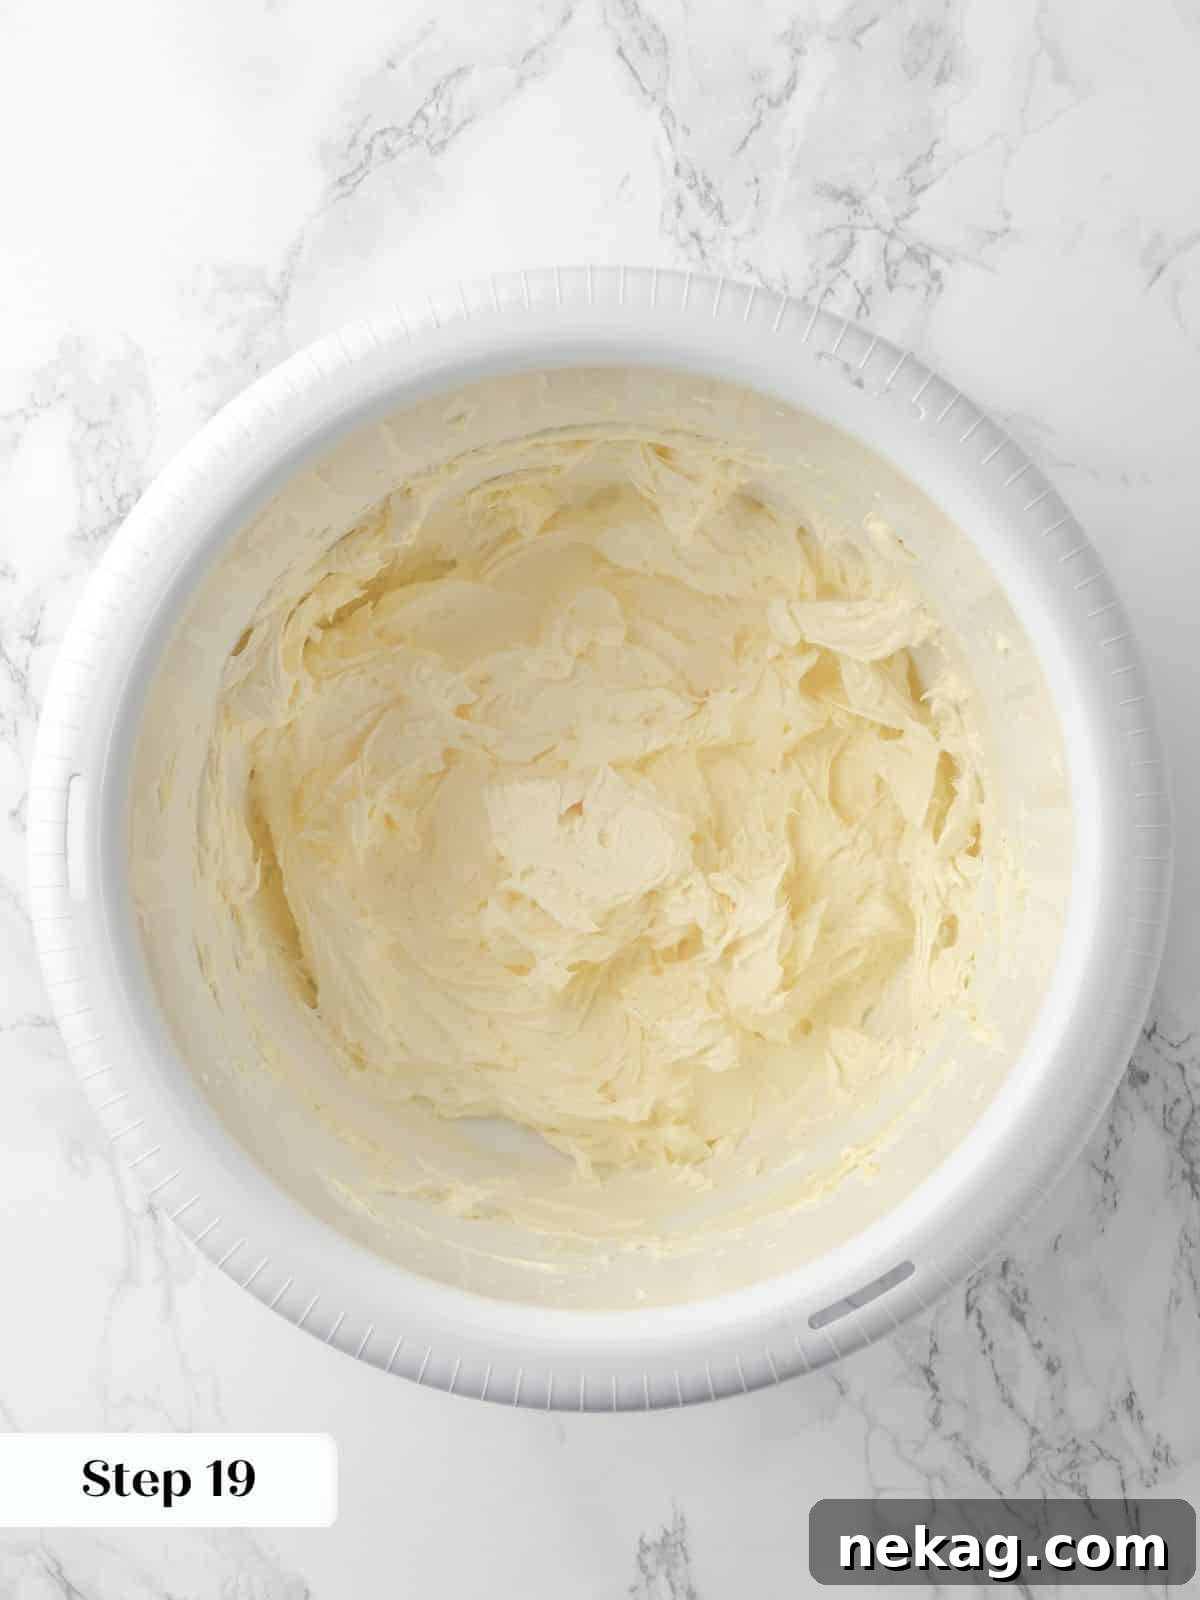
Step 19: In the bowl of a stand mixer fitted with the paddle attachment, beat the room-temperature unsalted butter on medium-high speed. Continue beating until the butter is noticeably lightened in color and wonderfully soft and fluffy, typically for 3-5 minutes. This creaming process incorporates air, making the buttercream light and airy.
Step 20: Gradually add the powdered sugar to the beaten butter, one cup at a time, mixing on low speed until combined, then increasing to medium until smooth. Once all the sugar is incorporated, add the vanilla extract and a pinch of kosher salt. Beat on medium-high until the buttercream is light and fluffy.
To guarantee the silkiest raspberry buttercream, I highly recommend sifting your powdered sugar before adding it to the butter. Confectioner’s sugar can often develop stubborn clumps that are difficult to fully incorporate later, even with vigorous beating. Sifting ensures a smooth, lump-free frosting from the start.
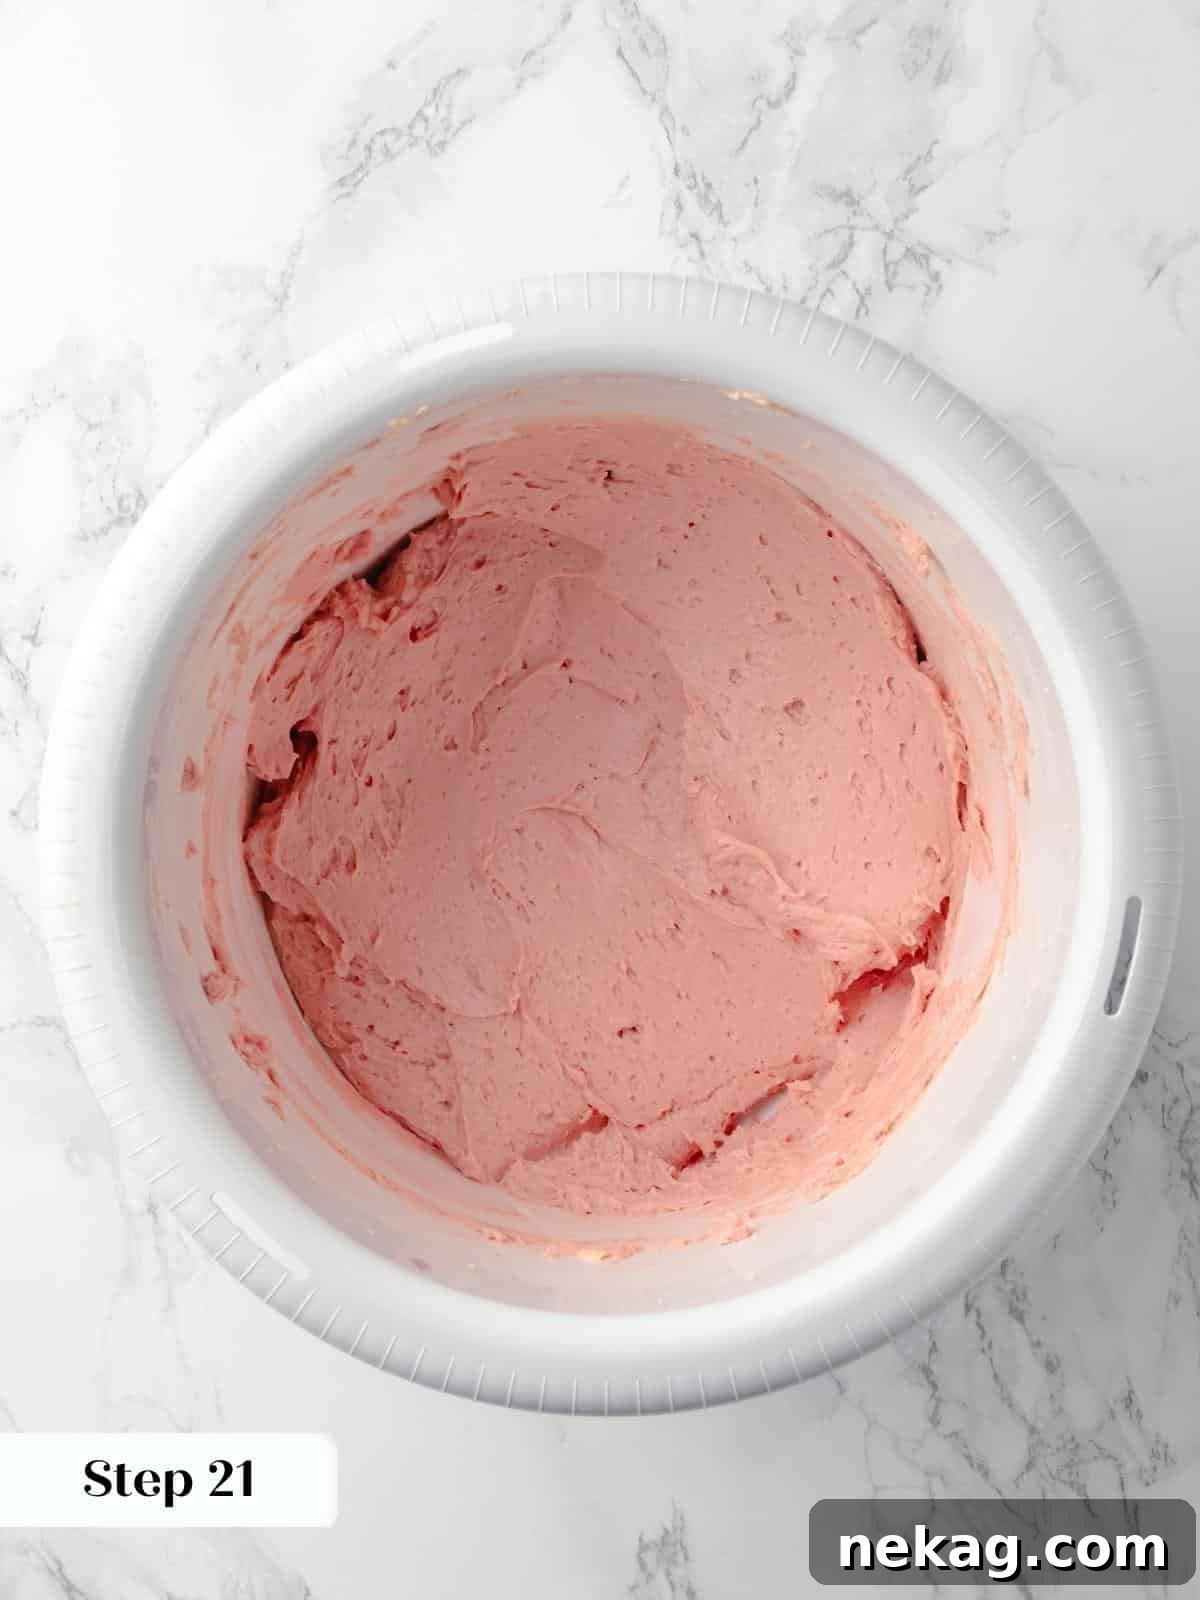
Step 21: Once the vanilla buttercream has achieved a smooth and unified texture, begin to add the chilled raspberry puree (jam). Introduce the puree 2 tablespoons at a time, incorporating up to ⅓ cup – which is roughly half of the quick raspberry jam you prepared earlier. Mix well after each addition to ensure it’s fully blended. At this point, you can adjust the consistency and flavor: if you desire a brighter, more tart flavor, add a little extra lemon juice. If the buttercream seems too thick, a touch of heavy cream will loosen it. If it’s too soft, add more powdered sugar.
I personally find that a little extra lemon juice in the raspberry buttercream beautifully contrasts its sweetness, creating a more dynamic flavor profile. While I didn’t need to adjust the consistency of my buttercream much, your results might vary depending on how precisely you measure your powdered sugar. Trust your taste buds and adjust as needed!
Step 22: Reserve about 1 cup of the prepared raspberry buttercream. Transfer this portion into a piping bag fitted with a round tip. If you don’t have a specific tip, simply snip off a small corner of the piping bag. This buttercream will be used to create a “dam” – a protective ring – around the edges of your cake layers, which helps to contain the softer jam filling and maintain neat, professional-looking layers.
Part 5: Time to Masterfully Assemble Your Chocolate Raspberry Cake
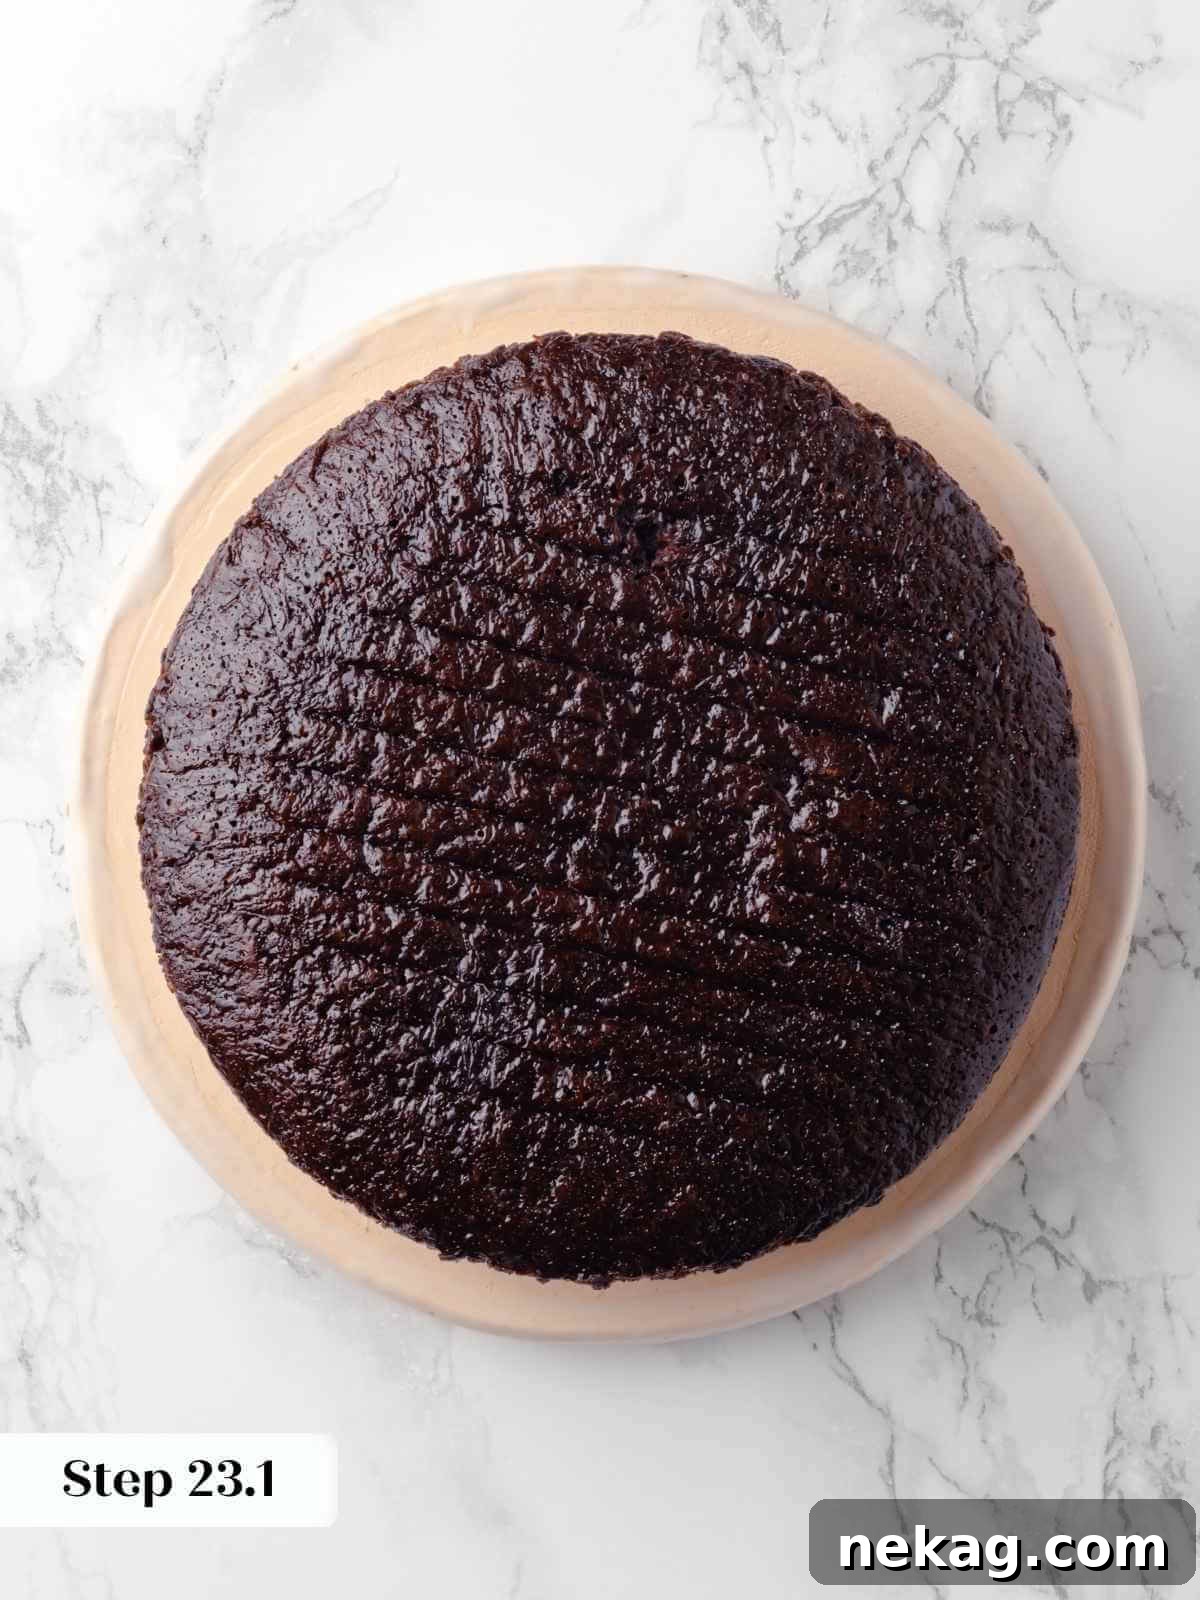
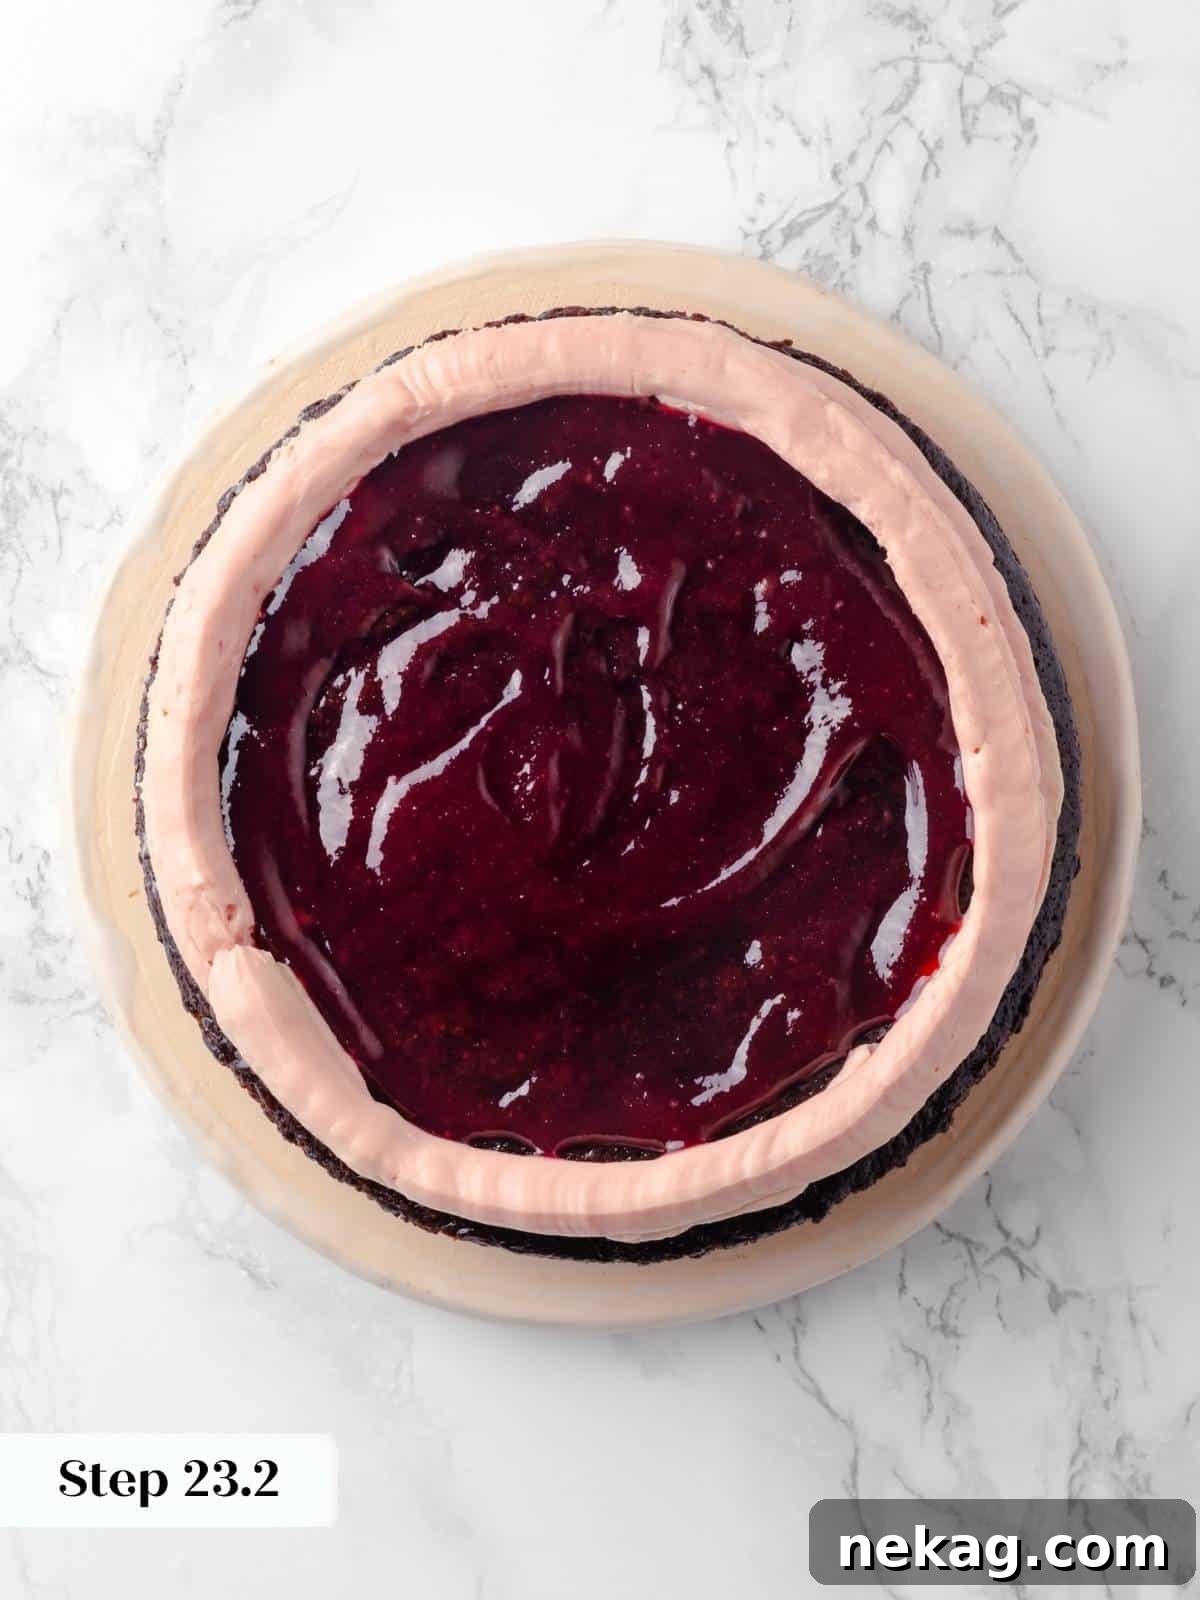
Step 23: Carefully place the first cooled chocolate cake layer onto your chosen serving plate or a sturdy cake stand. Using the piping bag, pipe a continuous ring of the raspberry buttercream around the very outer edge of this cake layer. This creates your “dam” for the jam filling.
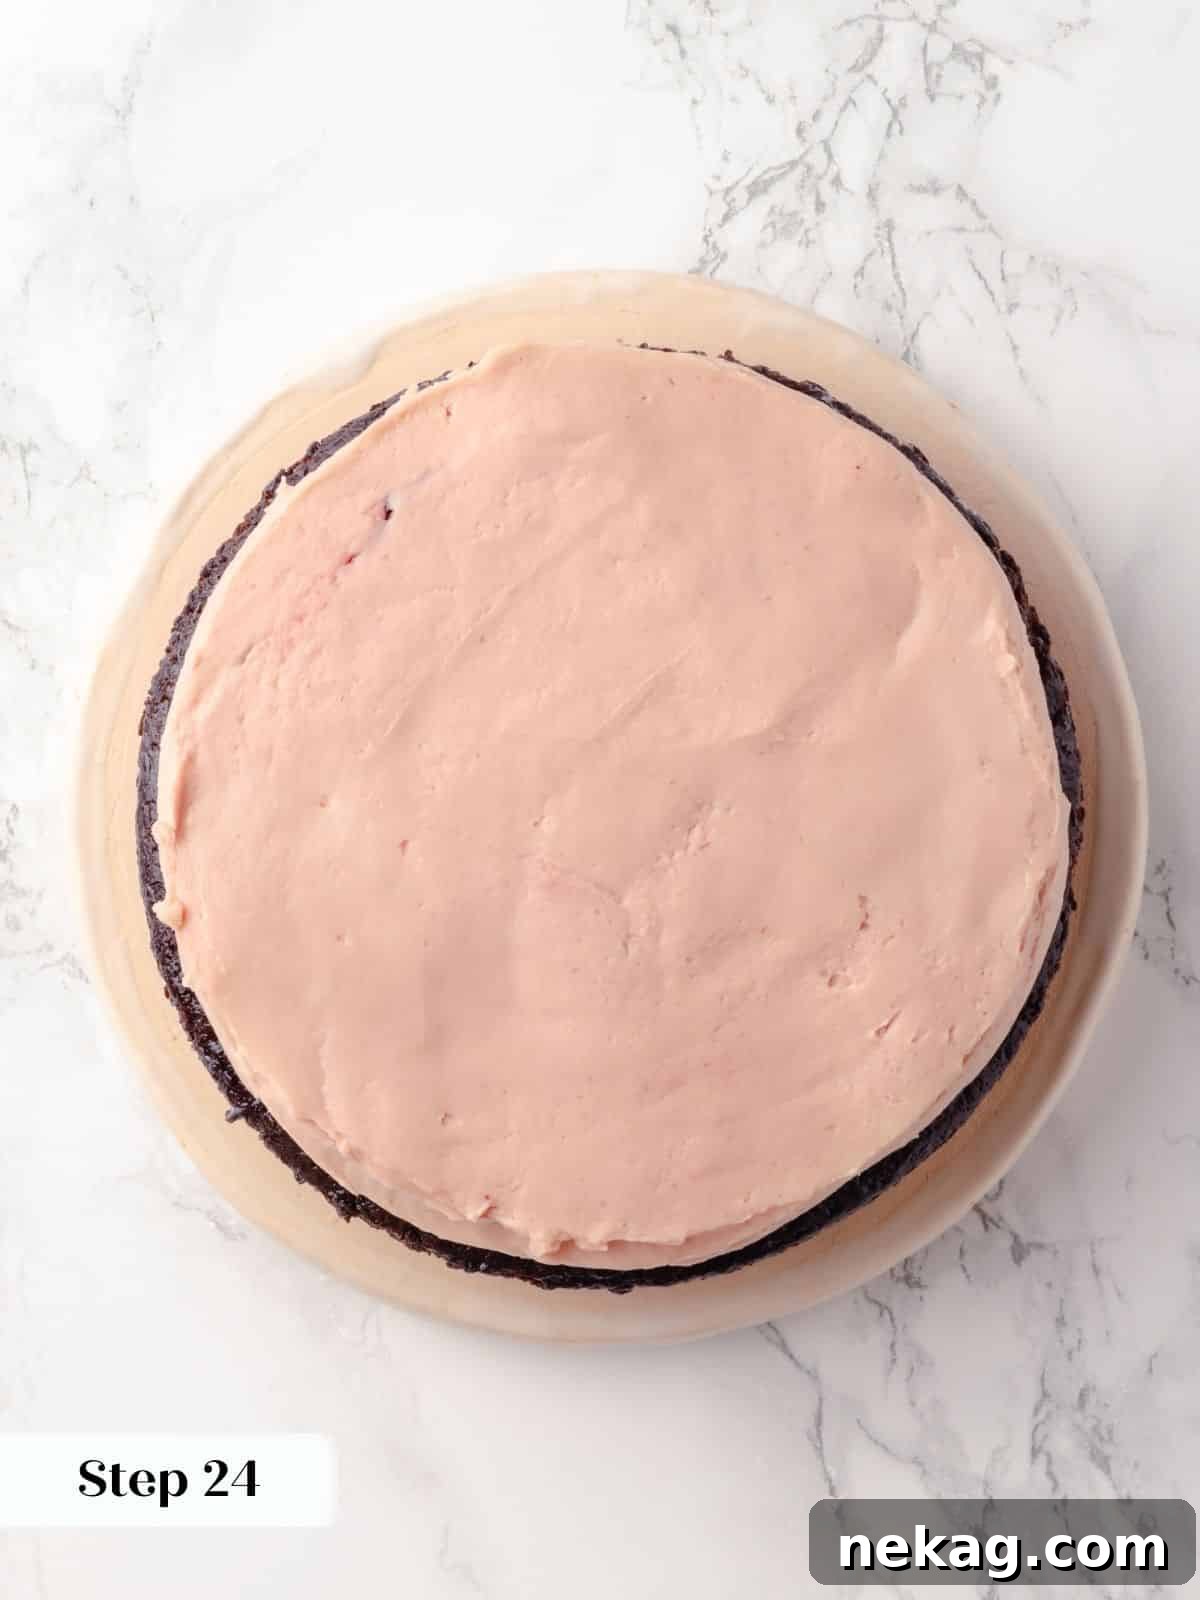
Step 24: Scoop approximately half of the remaining raspberry jam into the center of the cake layer, within the buttercream dam. Gently spread the jam evenly with the back of a spoon, ensuring it reaches the buttercream ring without overflowing. Next, gently spread a layer of raspberry buttercream over the jam, smoothing it out to create an even surface for the next cake layer. While you could pipe this buttercream layer, you might find a spoon or offset spatula easier to control, especially with the jam underneath.
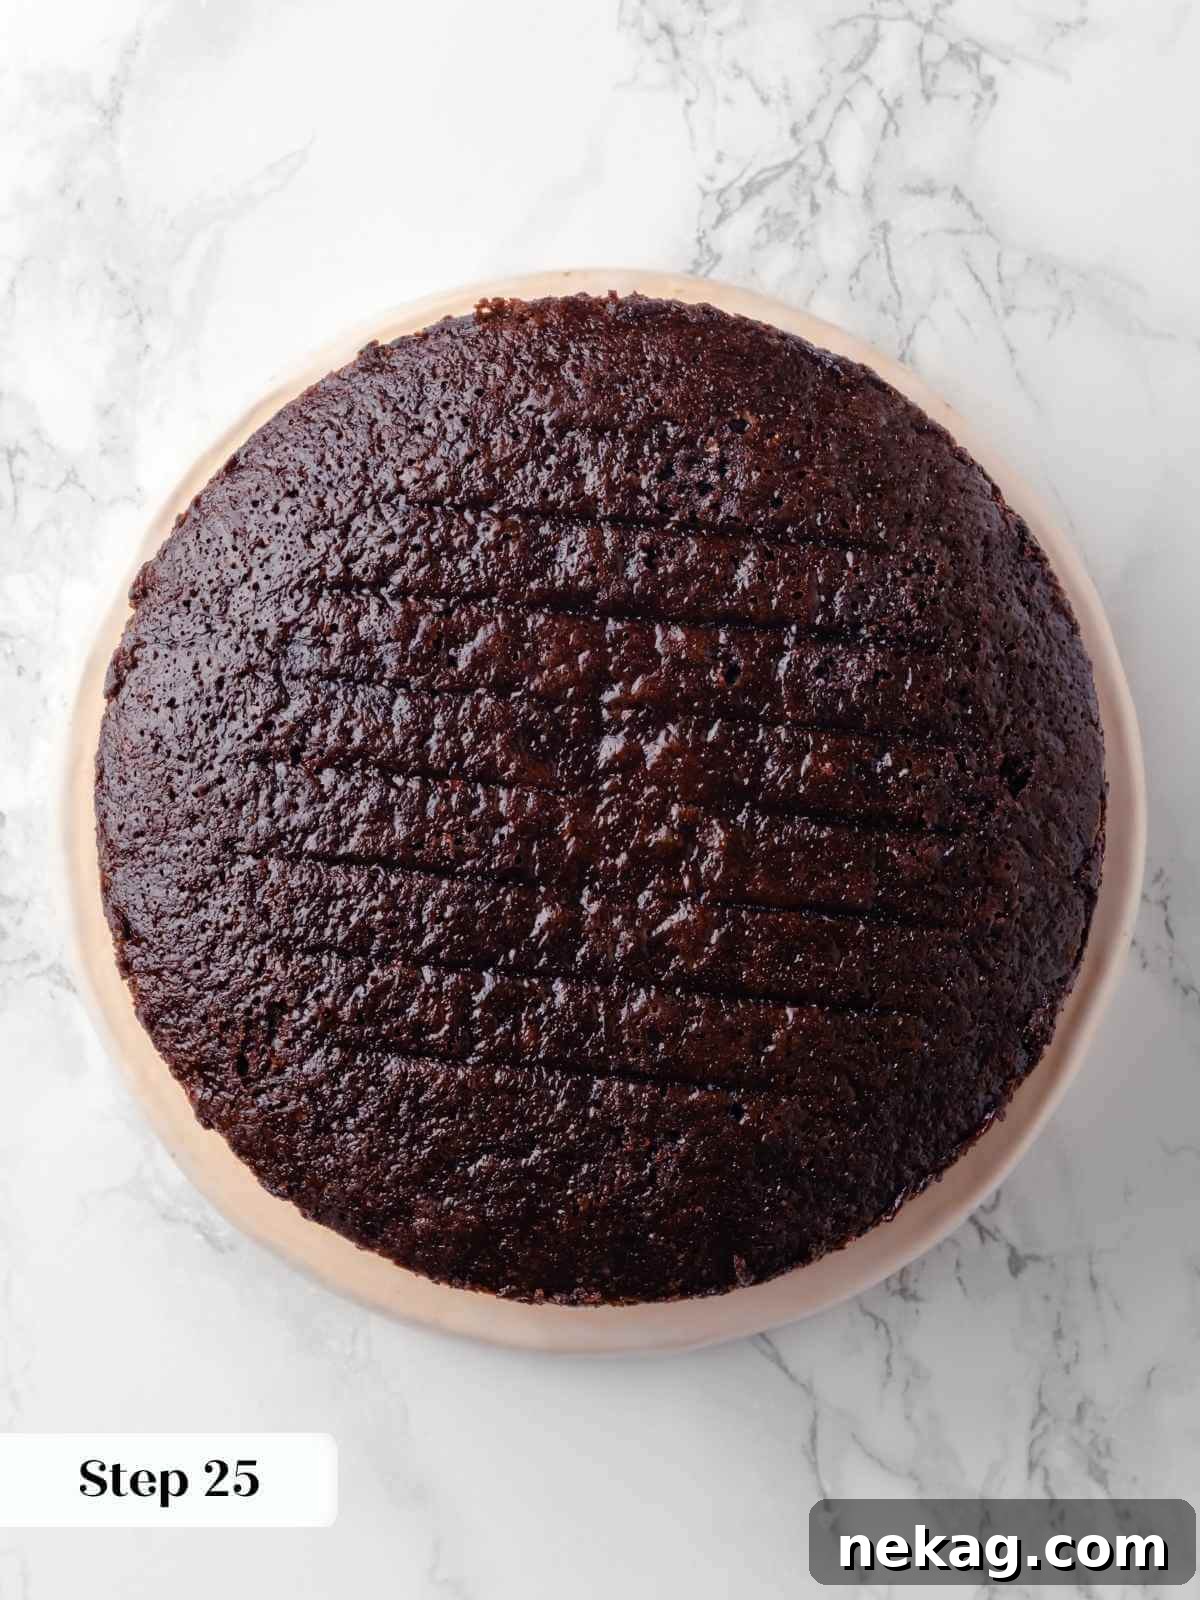
Step 25: Carefully smooth out the surface of the raspberry buttercream layer to ensure it’s as flat and even as possible. Then, delicately place the second chocolate cake layer directly on top. For optimal stability and to prevent the layers from shifting, I highly recommend chilling the cake in the refrigerator for about 20-30 minutes before adding the next layer, though this step is optional if you’re confident in your stacking.
Step 26: Repeat the filling process with the second cake layer: pipe another buttercream dam, spread the remaining half of the raspberry jam within it, and then cover with a smooth layer of raspberry buttercream. Carefully place the third and final chocolate cake layer on top. Once all layers are stacked, chill the entire cake in the refrigerator for a minimum of 30 minutes (or an hour if you skipped chilling between the first and second layers). This crucial chilling time allows the buttercream to firm up, making the cake sturdy and much easier to frost with the chocolate fudge frosting.
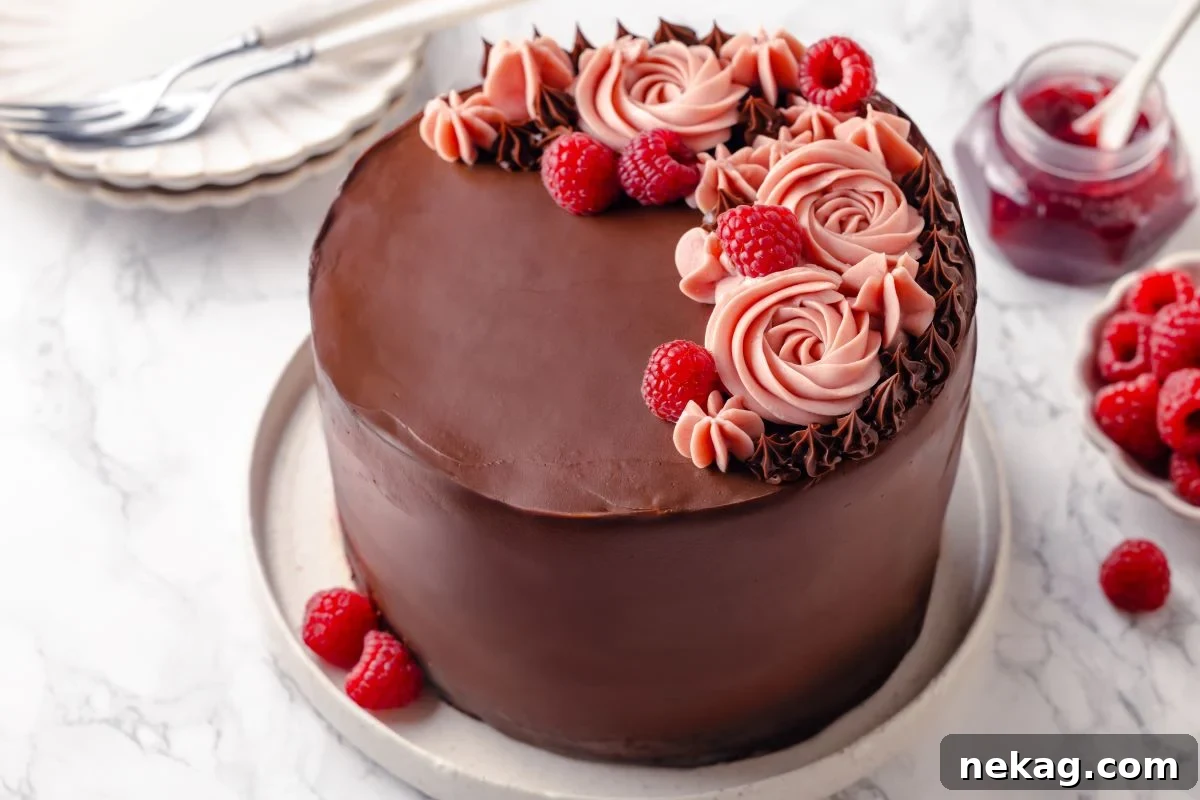
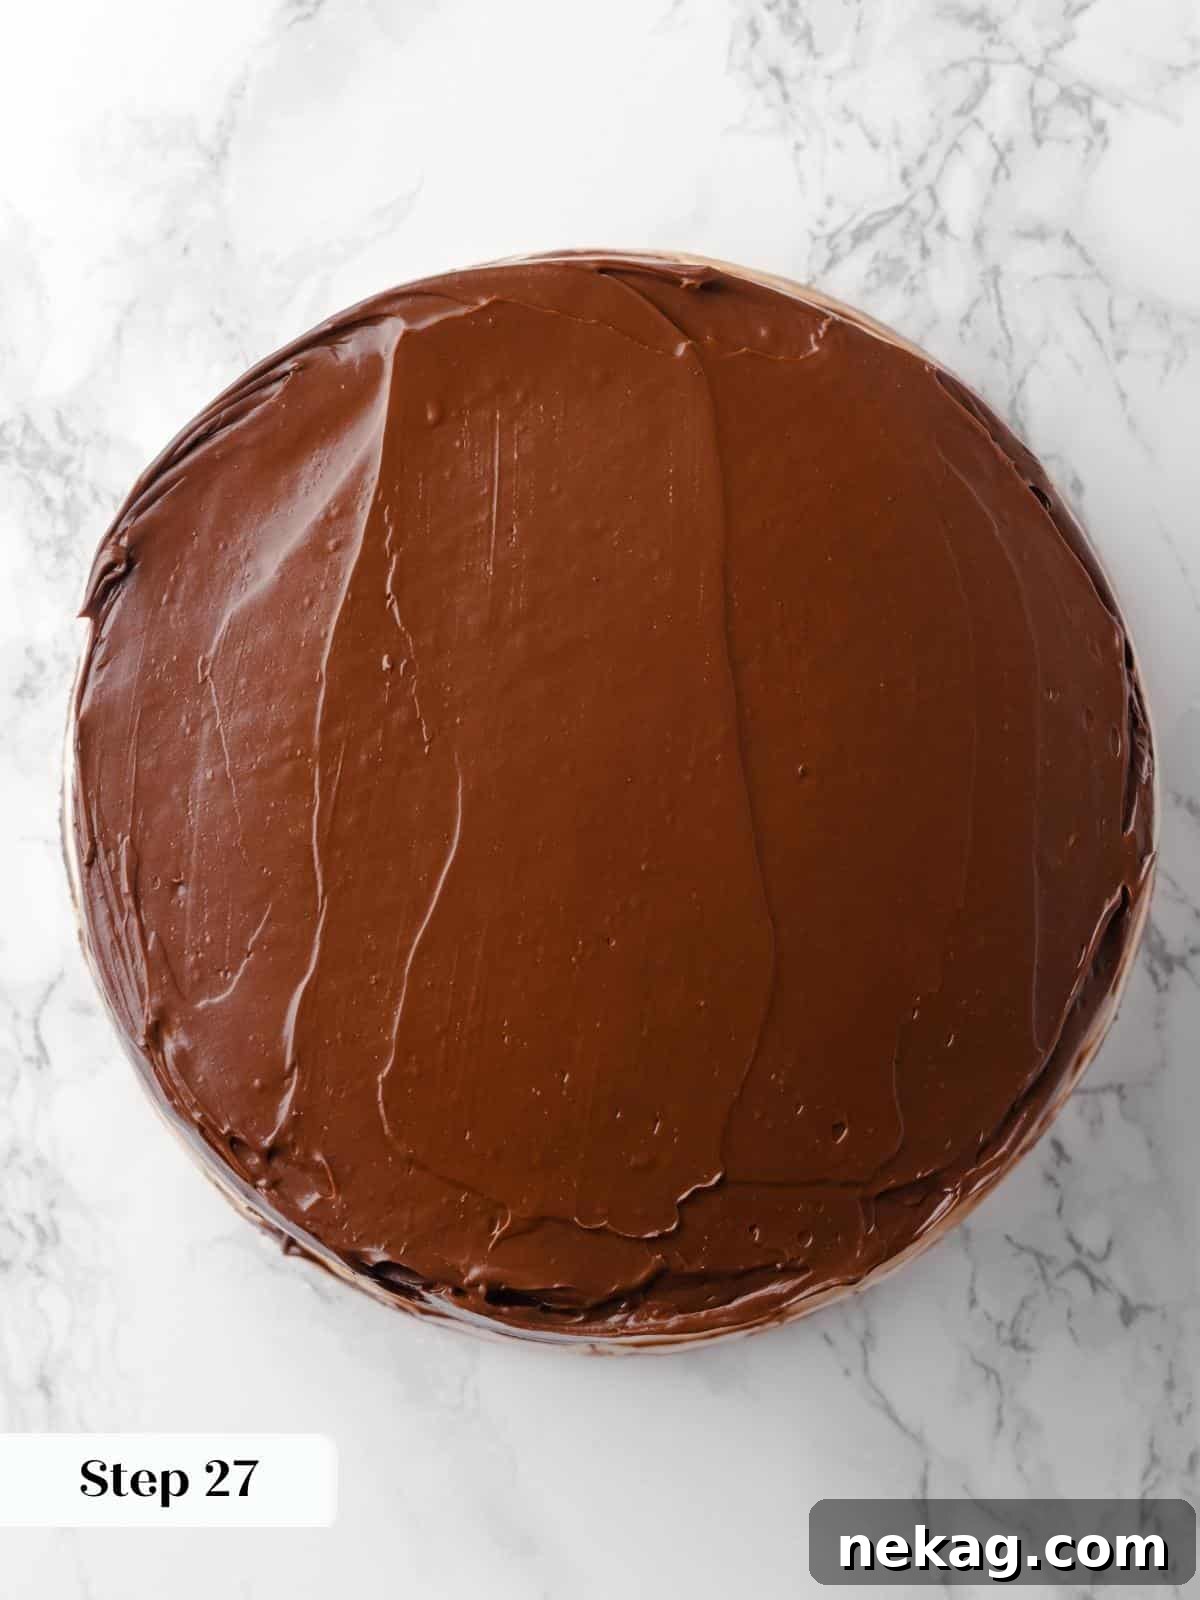
Step 27: With the cake now firm and chilled, generously spread the rich chocolate fudge frosting over the top and sides of the entire cake. Use a bench scraper or a large offset spatula (or a combination of both) to meticulously smooth out the frosting, aiming for a clean, even, and professional-looking finish. Take your time with this step, as a smooth exterior contributes significantly to the cake’s stunning presentation.
Chef Lindsey’s Expert Baking Tip: Embrace the Journey!
I understand that creating a layered cake can appear to be an intimidating challenge, but I urge you to trust your abilities and grant yourself some grace throughout the process. The secret to success lies in breaking it down: tackle each component one at a time, and don’t hesitate to spread the process over multiple days. For instance, while the chocolate fudge frosting should ideally be prepared on the day you assemble the cake for optimal texture, the cake layers and jam can easily be made in advance. Remember, you absolutely have what it takes to bake this stunning dessert! 💪
Frequently Asked Questions About This Chocolate Raspberry Cake
Proper storage is key to enjoying your cake for days. If you haven’t frosted the chocolate cake layers yet, they can be securely wrapped in plastic wrap and stored at room temperature for up to three days. For longer storage, refrigerate them for up to a week or freeze them for up to two months. Any leftover frosting (both raspberry buttercream and chocolate fudge) should be stored in airtight containers in the refrigerator for up to two weeks. Once the cake is fully assembled and frosted, it’s best kept at cool room temperature for up to three days to maintain its optimal texture and flavor, especially if your kitchen is cool. If your kitchen is warm, refrigerate the frosted cake and bring it to room temperature before serving.
Absolutely! Freezing a frosted cake is a fantastic way to prepare ahead or preserve leftovers. To do this, first flash-freeze the entire frosted cake in the freezer for about 1-2 hours, or until the frosting is firm to the touch. Once frozen solid, wrap the cake tightly and completely in several layers of plastic wrap, followed by a layer of aluminum foil. You can freeze the cake whole, or for convenience, pre-slice it before wrapping and freezing individual portions. When ready to serve, thaw the cake overnight in the refrigerator, then bring it to room temperature before slicing and enjoying.
While you technically can use store-bought raspberry jam as a shortcut, I strongly encourage you to prepare the quick raspberry jam as outlined in this recipe. Our homemade jam is specifically designed to be less sweet and much brighter in flavor, creating a perfect counterbalance to the rich chocolate cake and buttercream. Store-bought jams tend to be significantly sweeter and often lack the vibrant, fresh berry taste that makes all the difference in the overall balance of this layered cake and the delicate flavor of the raspberry buttercream. The quick jam is incredibly easy to make, and its superior flavor contribution is truly worth the minimal extra effort.
For the most exquisite and clean slices, always allow your chocolate raspberry cake to sit at room temperature for at least an hour before serving. This allows the frosting and cake to soften slightly, making it easier to cut. The ultimate professional tip for perfect slices: dip your sharp knife into hot water, wipe it clean and dry with a kitchen towel, and then make each cut. Repeat this process – dipping, wiping, and slicing – before every single cut. This technique ensures a clean separation of the layers and prevents the frosting from sticking to the knife. This cake is truly magnificent on its own, but for an extra touch of indulgence, serving it with a scoop of creamy vanilla bean ice cream or a dollop of homemade whipped cream would certainly not be amiss.
If you tried this incredible chocolate raspberry cake recipe and absolutely loved it, please take a moment to leave a 🌟 star rating and share your experience in the comments section below. I genuinely love hearing from you; your feedback and comments truly make my day and inspire new recipes!
Decadent Chocolate Raspberry Cake
Comment
Print Recipe
Ingredients
For the Chocolate Cake:
- ¾ cup Dutch processed cocoa powder
- 2 ¾ cups all-purpose flour
- 1 ½ teaspoons kosher salt
- 1 teaspoon baking powder
- ½ teaspoon baking soda
- 3 large eggs
- 1 tablespoon vanilla extract
- 1 cup vegetable oil or another neutral oil
- 2 ½ cups granulated sugar
- 1¾ cups whole milk
For the Quick Raspberry Jam:
- 12 ounces raspberries fresh or frozen
- ¼ cup fresh lemon juice
- ¼ cup granulated sugar
For the Raspberry Buttercream:
- 1 cup unsalted butter, softened
- 4 cups powdered sugar, sifted
- ½ teaspoon vanilla extract
- 1 pinch kosher salt
- ⅓ cup quick raspberry jam from above, chilled
For the Chocolate Fudge Frosting:
- ½ cup heavy whipping cream (40% fat)
- 1 ½ tablespoons light corn syrup or honey
- 5 ounces dark chocolate 50%-70% cocoa solids, finely chopped
- ¼ teaspoon vanilla extract
- ⅛ teaspoon kosher salt
- 2 tablespoons Dutch processed cocoa powder, sifted
- 2 tablespoons unsalted butter softened and cubed
Instructions
Prepare the Chocolate Cake:
-
Preheat the oven to 325°F convection (with the fan) or 350°F conventional (without the fan). Spray and line 3, 8, or 9-inch cake pans with parchment paper.
-
Into a large bowl, sift together cocoa powder, all-purpose flour, salt, baking powder and baking soda. Set Aside.
-
Whisk the eggs with the vanilla extract until smooth and homogenous in a separate large bowl. Slowly pour the oil into the eggs while whisking to create an emulsion.
-
Add the sugar to the bowl and whisk until smooth and incorporated.
-
Alternately add the dry ingredients and milk in 3 additions. I add about 1/3 of each at the same time, then whisk until no lumps remain. Repeat with the remaining flour mixture and milk.
-
Divide the cake batter between the cake pans and bake in a preheated oven. Bake until a cake tester or toothpick comes out clean or with just a few clinging crumbs. Three layers will bake faster, so begin checking around 20 minutes. They will bake for 25-28 minutes with convection.
-
Cool for 10 minutes on a wire rack, then run a paring knife around the edge and flip out onto the rack. You can cool them upside down or use a second wire rack to flip them back over.
-
Cool completely before frosting.
Prepare the Quick Raspberry Jam:
-
In a small saucepan, add raspberries, lemon juice, and granulated sugar.
-
Heat over low heat until the raspberries soften and release their juices, stirring and smashing occasionally. Increase heat to medium or medium-low and simmer until the juices evaporate and you are left with a jam that will hold a line on the back of a spoon. Reduce the heat back to low as the jam thickens to keep it from sticking to the bottom and burning.
-
Strain through a metal sieve to remove seeds into a frozen bowl. No one wants the crunch of raspberry seeds in their buttercream. It is unwelcome, bordering on offensive.
-
Press through the sieve, then run the silicone spatula over the bottom to release the thick part of the jam. This jam will actually keep more jam from pressing through.
-
Pour the mixture into a cold or frozen glass or Pyrex bowl and refrigerate until cold. Adding cold jam to the buttercream will keep the frosting nice and thick.
Prepare the Chocolate Fudge Frosting:
-
In a large heat-proof bowl, add chopped chocolate, vanilla extract, corn syrup, and salt.
-
In a small saucepan, bring whipping cream just to a boil. Pour over the chocolate, shake to distribute, and cover the chocolate. Allow to sit for 2 minutes.
-
Slowly whisk, starting from the center and working your way out to create an emulsion. Sift in the cocoa powder and whisk to incorporate. You can also put it in before the cream, but it has a tendency to clump and create lumps that will not come out.
-
Add butter to the still-hot ganache. Switch to a silicone spatula and gently stir in one direction until all the butter has melted and incorporated into the ganache.
-
Place a piece of plastic wrap directly on the surface and allow it to cool to room temperature. You can speed it up by putting it in the fridge and stirring every 10 minutes.
Prepare the Raspberry Buttercream:
-
Beat the butter in the bowl of a stand mixer fitted with the paddle attachment until lightened and soft.
-
Slowly add the powdered sugar, followed by the vanilla and salt.
-
Once the buttercream has come together, add the raspberry puree 2 tablespoons at a time, up to 1/3 cup, which is half what you made above. You can add additional lemon juice or heavy cream as desired.
-
Place about 1 cup in a piping bag fitted with a round tip. You can also just cut the piping bag because this is for creating a dam between the layers.
Time to Assemble the Cake:
-
Place the first cake layer on your favorite serving plate or cake stand. Pipe a ring of the raspberry buttercream around the outer edge of the cake layer.
-
Scoop about half the remaining raspberry jam into the center and spread out with the back of a spoon. Spread raspberry buttercream on top of the jam to level out the layer. You can use the piping bag to apply the buttercream, but you find that easier to control with the jam.
-
Smooth out the surface of the raspberry buttercream and add the second layer on top. I recommend chilling it for about 20-30 minutes before adding the next layer, but that is up to you!
-
Repeat the jam and raspberry buttercream with the second layer, placing the third and final layer on top. Chill the cake for 30 minutes (or an hour if you did not chill between the first and second layer).
-
Spread the chocolate fudge frosting over the top of the cake and its sides, smoothing out with a bench scraper or a large offset spatula, or a combination of both. However, you achieve a smooth surface!
Notes
Presentation Tips – Layered cakes truly shine when served at room temperature. For the best flavor and texture, allow the assembled cake to sit out for approximately one hour before you plan to slice and serve. To achieve the most beautiful, clean slices every time, use a sharp knife that has been dipped in hot water and wiped completely clean before each cut.
Flavor Enhancements – The quality and flavor of your raspberries significantly impact the jam and buttercream. Depending on the season, frozen raspberries can sometimes offer a more intense and consistent flavor profile compared to fresh raspberries, which can be watery during off-season months. Choose your berries wisely for the most vibrant taste.
Baking Technique – For a perfectly stable and even layered cake, it is highly recommended to allow your first layer of buttercream filling to set in the refrigerator before adding the subsequent cake layers. Chilling the buttercream ensures it is firm enough to support the weight of additional layers without bulging or shifting, resulting in a beautifully aligned and structured cake.
Storage Guidelines – Unfrosted chocolate cake layers can be wrapped well and stored at room temperature for up to three days, in the refrigerator for one week, or frozen for up to two months. Unused frosting can be stored in airtight containers in the refrigerator for up to two weeks. Once completely frosted, the cake maintains its best quality when kept at cool room temperature for up to three days.
Nutrition
Like this? Leave a comment below!
Before You Go: Explore More Delicious Cake Creations!
I sincerely hope you thoroughly enjoyed preparing and tasting this professional chef-tested layered chocolate raspberry cake recipe. It’s a true labor of love designed to bring joy to your kitchen and your table. Don’t let your baking adventure end here! I encourage you to check out our other delightful, chef-developed cake recipes, featuring a wide array of fun and unique flavors. Discover new favorites like the exquisitely rich best fig cake, the charmingly Southern hummingbird cake, and the surprisingly moist and old-fashioned chocolate mayonnaise cake! Each recipe offers a new opportunity to expand your baking skills and delight your palate.