
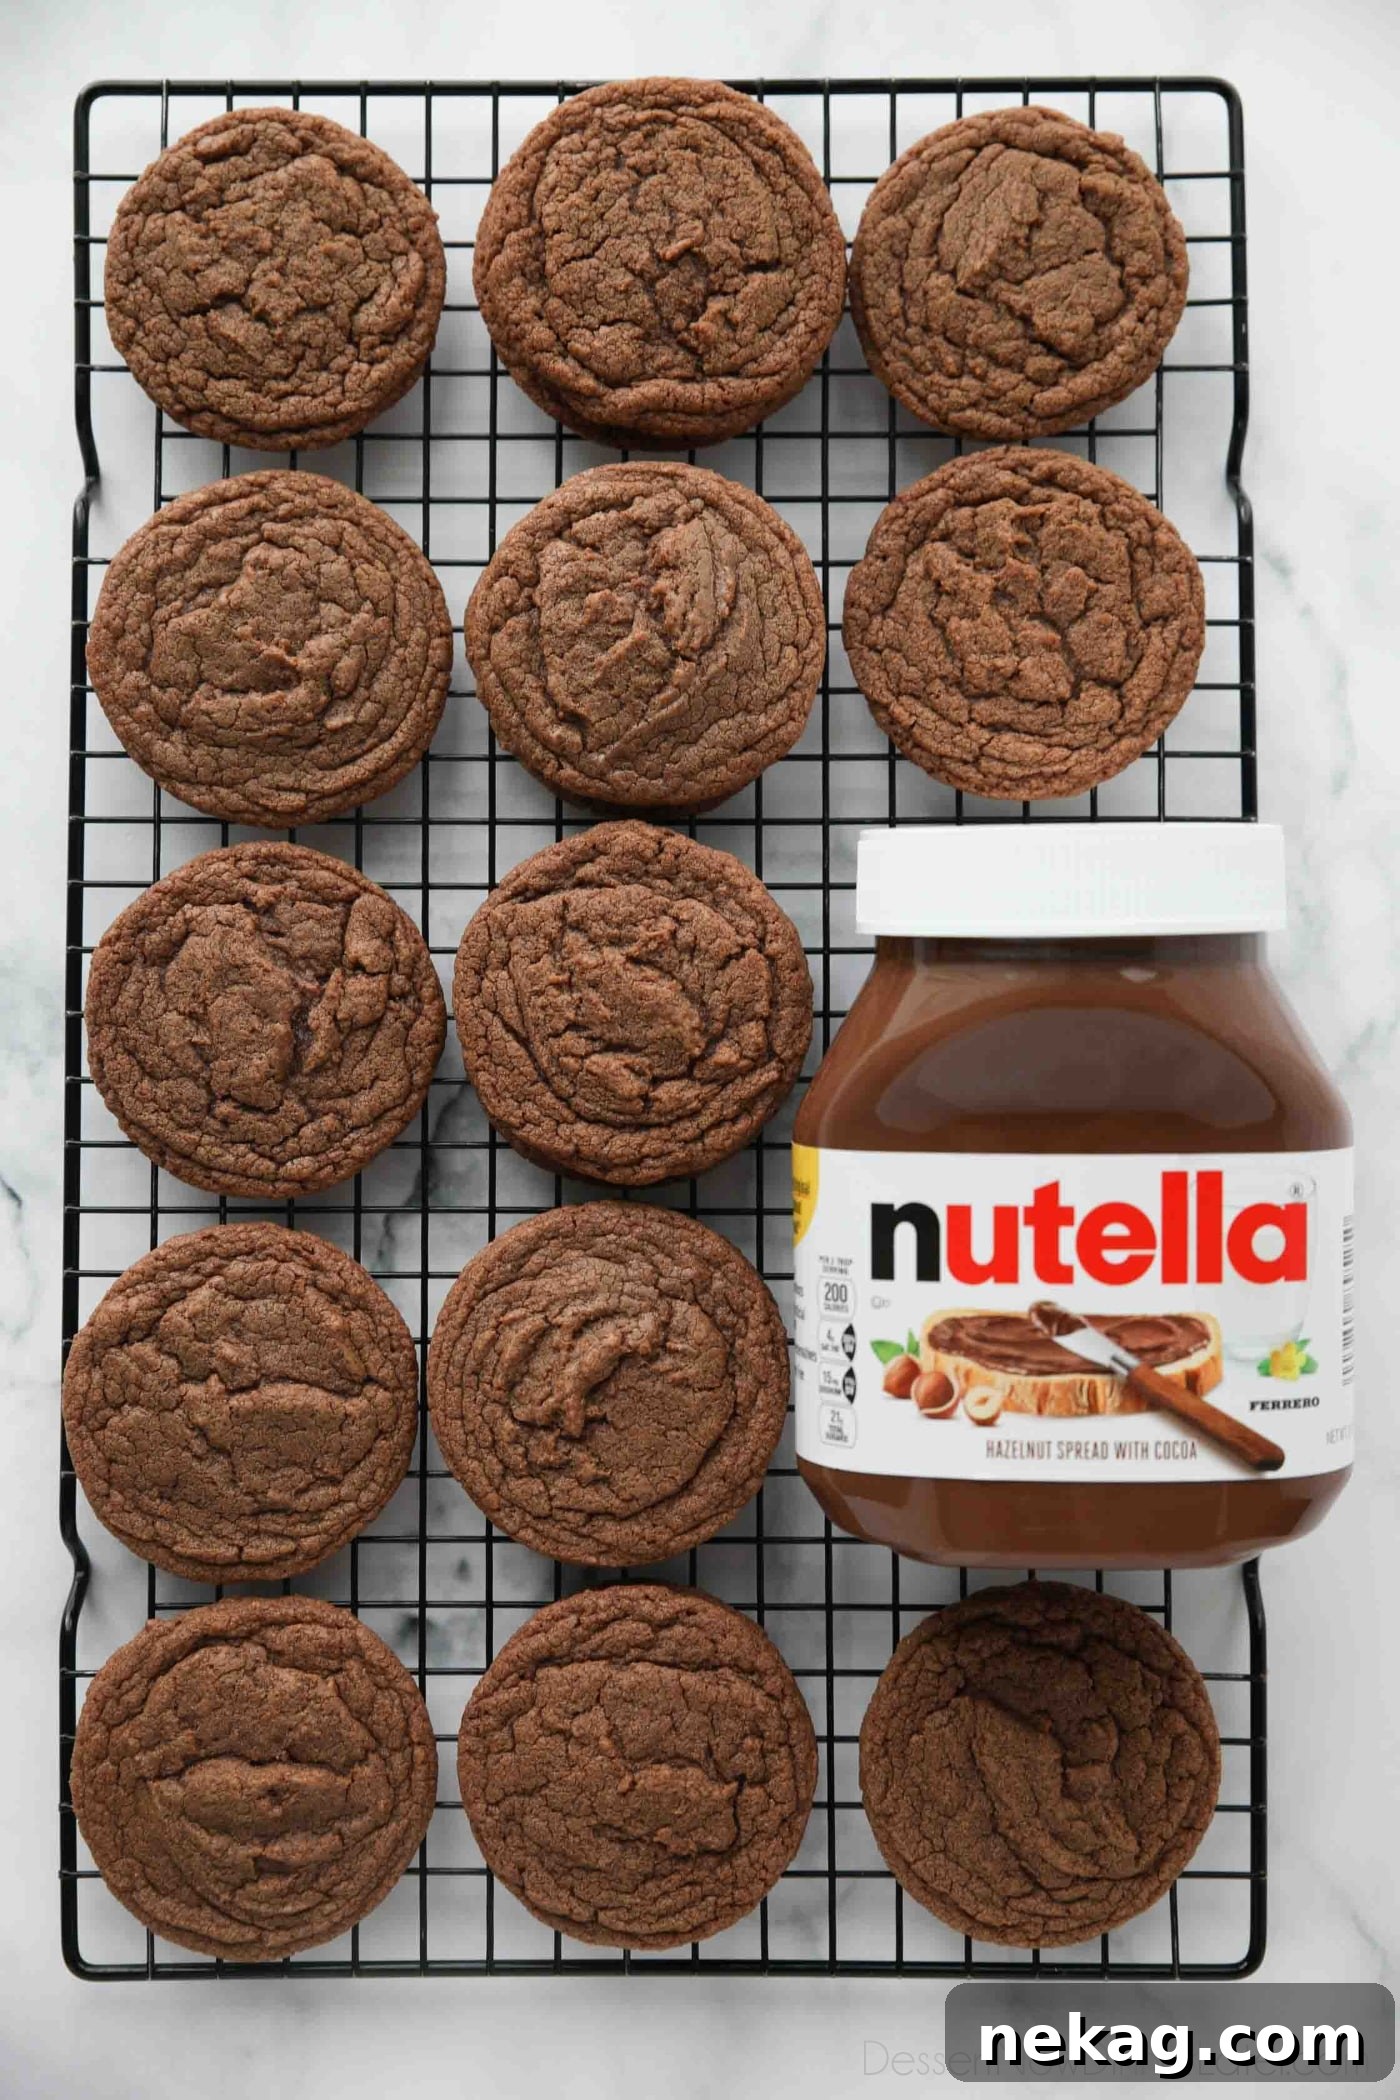
Welcome to the ultimate guide for crafting the most irresistible Nutella Cookies you’ll ever bake! This meticulously developed recipe promises cookies that are wonderfully moist, delightfully rich, and possess that coveted brownie-like texture. Imagine a crisp exterior giving way to a soft, utterly fudgy interior, bursting with the decadent flavors of chocolate and hazelnut. Forget about chilling dough; these easy Nutella cookies are designed to go from mixing bowl to oven to your happy plate in no time. Perfect for satisfying any sweet craving, this recipe brings together simple ingredients for an extraordinary treat.
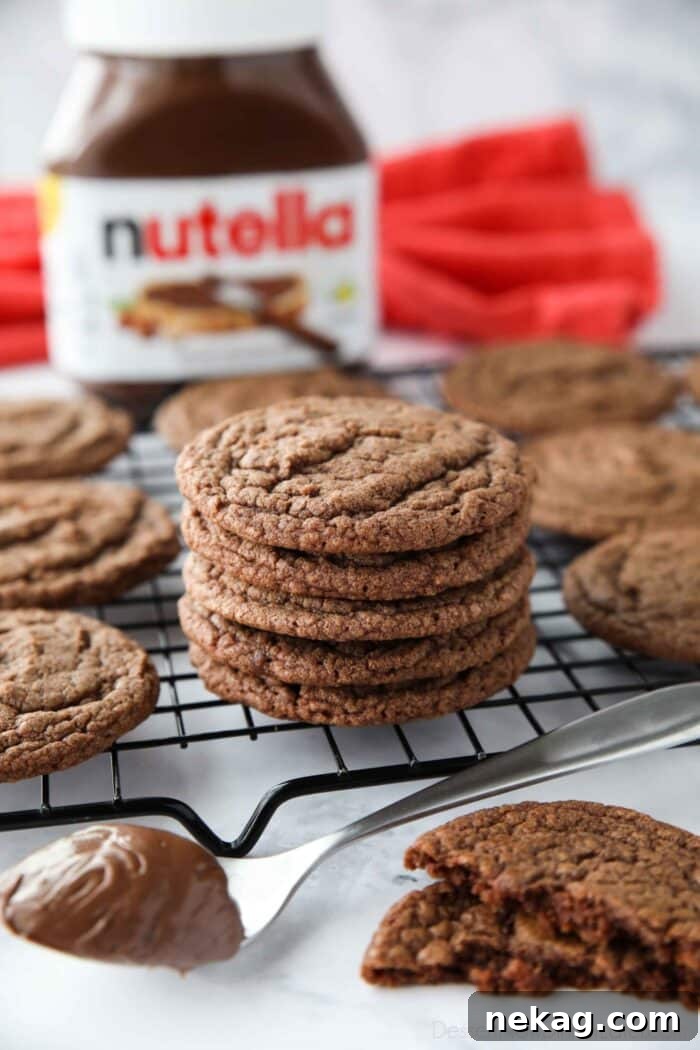
The Unique Challenge: Baking with Nutella vs. Peanut Butter
Many home bakers often ask: can you seamlessly substitute Nutella for peanut butter in your favorite cookie recipes? While both popular spreads share a similar thick, creamy consistency, the answer is a resounding “not without significant adjustments.” The critical difference lies in their chemical composition, specifically the varying levels of sugar and oil. These fundamental differences mean a direct 1:1 swap in a traditional peanut butter cookie recipe will likely lead to disappointing results, as the two ingredients behave quite differently during the baking process.
Nutella, the globally adored chocolate-hazelnut spread, contains significantly more sugar and oil compared to most creamy peanut butters. Both sugar and oil are crucial factors that influence how cookies spread in the oven. Higher sugar content leads to more aggressive caramelization and melting, which in turn causes the cookie dough to flatten out more readily. Similarly, an increased oil content contributes to a looser dough structure that struggles to hold its shape, resulting in widespread cookies.
This became abundantly clear during the rigorous testing phase for this very Nutella cookie recipe. Developing the perfect balance took several attempts, each batch revealing valuable insights into working with Nutella’s unique properties:
- My first attempt resulted in cookies that spread like thin pancakes, becoming flat and overly crisp, losing the desired chewy texture.
- For the second batch, I overcompensated by drastically reducing fats and sugars, leading to cookies that barely spread at all. They turned out dense, dry, and crumbly, lacking the characteristic soft interior.
- It was the third batch, with precise, calculated adjustments to the core ingredients and leavening agents, that finally achieved that perfect happy medium. This iteration yielded a cookie with a delightful balance of a crisp exterior and a soft, fudgy interior – the perfected recipe I am thrilled to share with you today!
One of the absolute best features of this particular Nutella cookies recipe is its simplicity and speed: there’s no need for chilling the dough. This means you can swiftly mix, scoop, and bake, enjoying warm, freshly made cookies in under 30 minutes from start to finish. This convenience places it among my collection of quick and satisfying treats, similar to my amazing chocolate chip cookies, M&M cookie recipe, and oatmeal chocolate chip cookies – all perfect for those moments when a sweet craving strikes without warning.
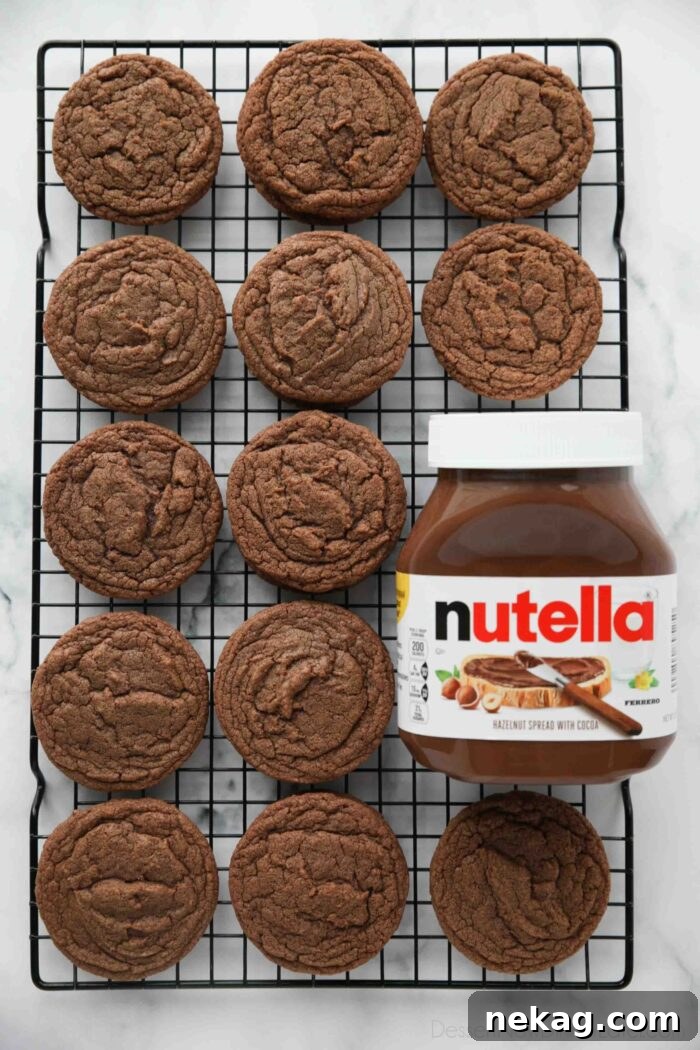
Mastering the Perfect Nutella Cookie Recipe
Developing a dedicated Nutella cookie recipe required a thoughtful and precise approach to ingredient ratios, differing significantly from standard peanut butter cookie formulas. To ensure an unmistakable and generous chocolate hazelnut flavor that truly shines through, I opted for a higher quantity of Nutella in the dough. However, to skillfully counteract Nutella’s natural tendency to cause excessive spreading due to its high sugar and fat content, I strategically reduced the amounts of granulated sugar, butter, and baking soda used in the recipe.
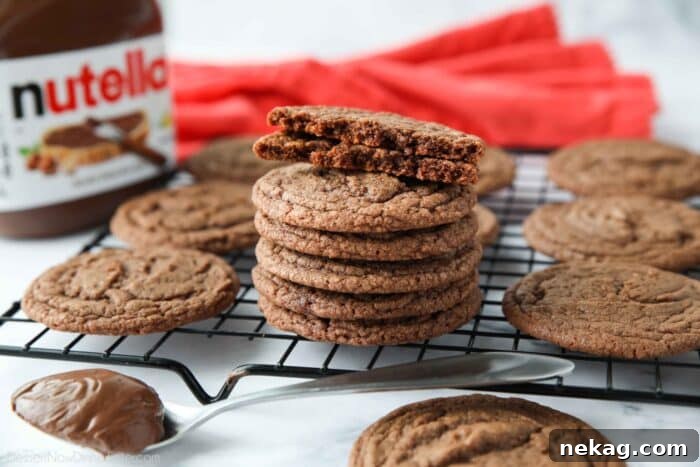
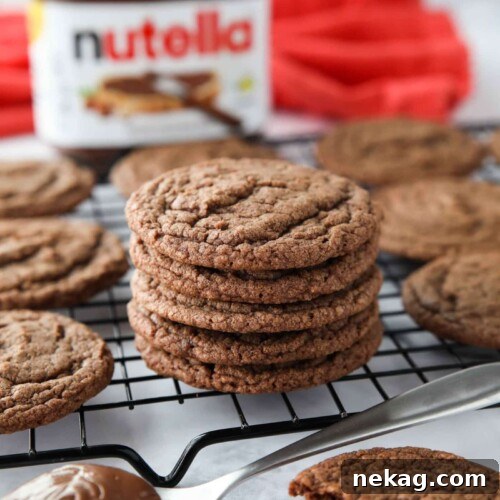
This careful and deliberate balance results in a cookie that is truly special and unique: a slightly thin, yet wonderfully substantial, brownie-like cookie. It boasts a perfectly crisp exterior that crackles gently with each bite, providing a delightful textural contrast. This crispness then transitions into a wonderfully soft, moist, and utterly fudgy interior, mirroring the rich, dense texture of a perfectly baked brownie, but in a more convenient cookie form.
If you’re a devoted fan of soft and chewy peanut butter cookies – those delightful treats that are inherently moist in the middle and require no flattening with a fork to achieve their ideal shape – then these Nutella Cookies are absolutely tailor-made for your palate. They deliver a similar melt-in-your-mouth experience but with a distinct, rich, and deeply beloved chocolate-hazelnut twist that is sure to become a new favorite.
Beyond their delightful texture and profoundly satisfying flavor, these chocolate-hazelnut cookies are incredibly versatile. They make a fantastic, sophisticated addition to any dessert platter, an incredibly comforting snack alongside a glass of cold milk, or an indulgent treat that pairs beautifully with your morning coffee or evening tea. The rich, nutty notes from the hazelnut in Nutella beautifully complement the sweetness and depth of the chocolate, creating a symphony of flavors that is both familiar and exciting, leaving you craving just one more.
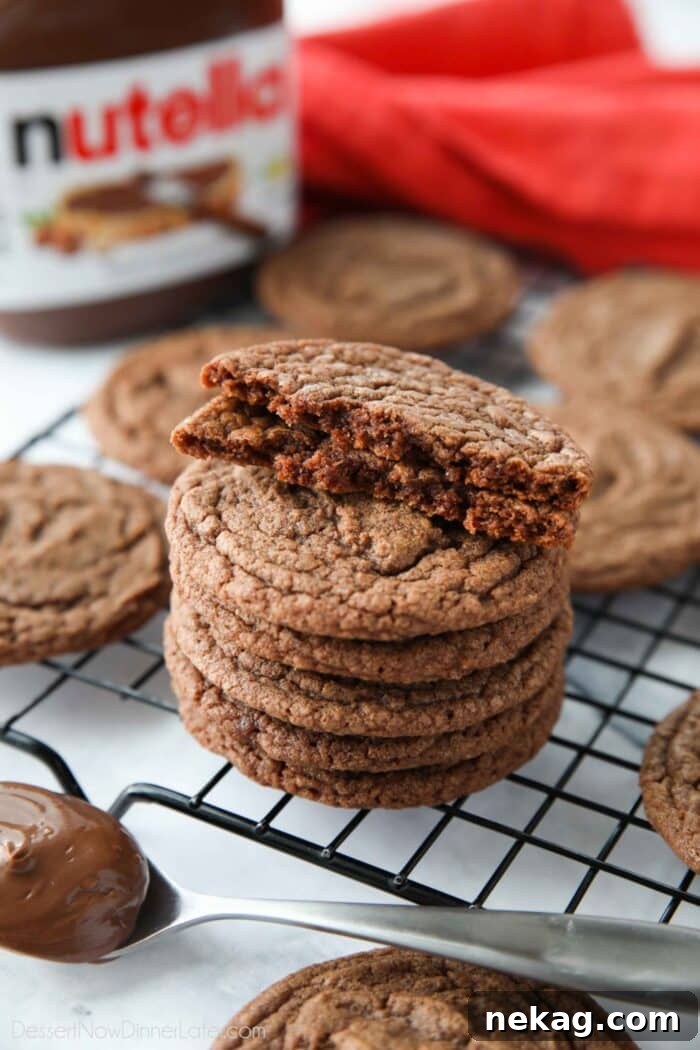
Simple Steps: How to Make Irresistible Nutella Cookies
Crafting these decadent chocolate-hazelnut Nutella cookies is surprisingly straightforward and enjoyable, requiring only basic baking ingredients that you likely already have in your pantry and a few simple steps. Even novice bakers will find this recipe approachable, rewarding, and consistently delicious. Let’s walk through the easy process to achieve perfect, fudgy Nutella cookies every single time.
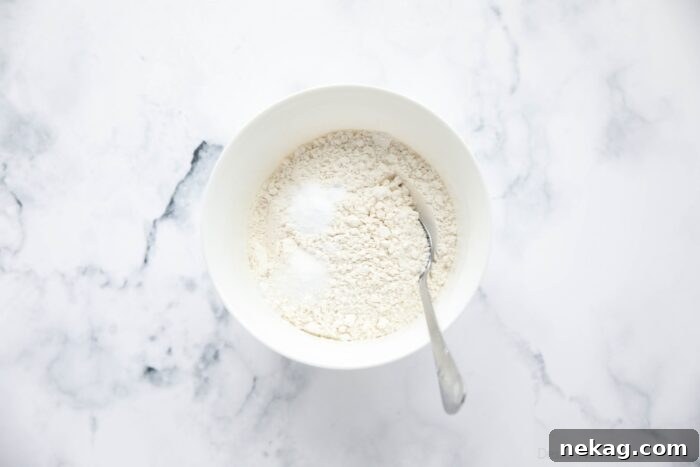
Begin your baking journey by combining your dry ingredients. In a medium-sized mixing bowl, thoroughly whisk together the all-purpose flour, baking soda, and salt. It is important to mix these ingredients well to ensure an even distribution throughout your dough, which is crucial for uniform texture and proper leavening (rise) in your finished cookies. Once combined, set this dry mixture aside while you prepare the wet ingredients.
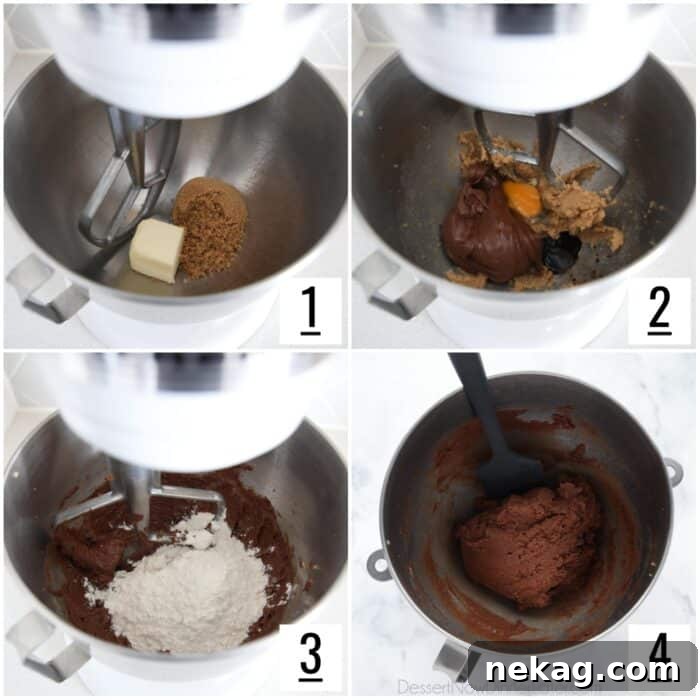
- Cream the Butter and Sugar: In the bowl of a stand mixer fitted with the paddle attachment (or a large bowl with an electric hand mixer), cream together the softened unsalted butter and light brown sugar. Beat on medium speed for 2-3 minutes until the mixture is visibly lighter in color, fluffy in texture, and well combined. This crucial step incorporates air into the butter, which contributes significantly to the cookies’ light and chewy final texture.
- Add Wet Ingredients: Next, add the star of the show, Nutella, along with one large egg and a dash of vanilla extract. Mix these ingredients on medium speed until everything is thoroughly incorporated and the mixture appears smooth and cohesive. Be diligent in scraping down the sides of the bowl with a silicone spatula to ensure all ingredients are evenly distributed and no pockets of unmixed ingredients remain.
- Combine Dry and Wet: With the mixer on low speed, gradually add the previously prepared dry ingredients (flour, baking soda, and salt) to the wet mixture in two or three additions.
- Mix Until Just Combined: Continue mixing on low speed only until the flour mixture is just incorporated and no streaks of dry flour are visible. It’s imperative not to overmix the dough at this stage, as excessive mixing can overdevelop the gluten in the flour, which leads to tougher, less tender cookies. Stop the mixer as soon as the dough comes together.
Achieving Perfection: Scooping and Baking Your Nutella Cookies
The final steps of proper scooping and precise baking are absolutely essential for achieving the perfect Nutella cookie texture and irresistible appearance. This section details the concluding stages to transform your delicious, unchilled dough into delectable, warm, and freshly baked treats that are crispy on the outside and wonderfully fudgy on the inside.
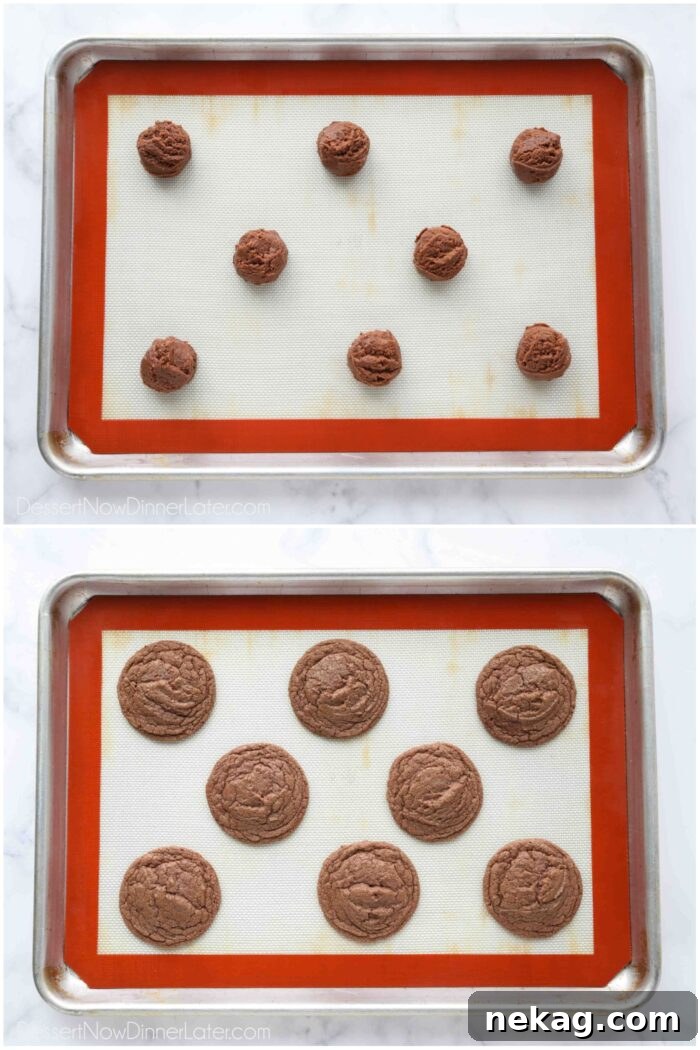
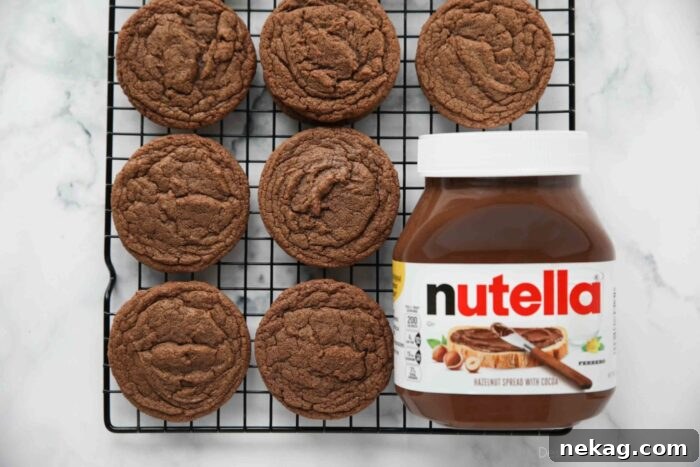
First, preheat your oven to 350˚F (175˚C). Prepare your baking sheets by lining them with parchment paper or a silicone baking mat. Using a medium-sized #40 cookie scoop (which holds approximately 1.5 Tablespoons of dough), scoop the cookie dough into uniform balls. This practice ensures that each cookie bakes evenly and results in consistently sized, professional-looking treats. Place the scooped dough balls onto your prepared baking sheet, ensuring they are spaced generously – specifically, about 3-inches apart. This wider spacing, a bit more than the typical 2-inches often recommended for other cookies, is crucial for these Nutella cookies. It prevents the cookies from spreading into each other as they bake and allows for optimal heat circulation, which is vital for achieving that desired thinness and fudginess. Aim for approximately 8 cookies per standard baking tray to allow ample space.
Bake the cookies at 350˚F for 9-10 minutes. You’ll know they’re perfectly baked when the edges appear set and have turned a delicate, light golden-brown, while the centers will still look slightly puffy and soft. It is incredibly important not to overbake these cookies if your goal is to retain that signature moist, fudgy, and chewy interior. Overbaking can quickly lead to a dry, crumbly texture, diminishing their rich and appealing characteristics.
Once you remove the perfectly baked cookies from the oven, resist the urge to move them immediately. Instead, allow them to rest on the hot baking tray for a few minutes. This crucial resting period serves two important purposes: it allows the cookies to continue baking slightly from the residual heat of the pan (known as carryover cooking) and gives them enough time to firm up adequately so they can be transferred without breaking apart. After resting on the tray, carefully transfer the warm cookies to a wire rack to cool completely. Cooling on a wire rack is essential as it allows air to circulate evenly around all sides of the cookies, preventing them from becoming soggy on the bottom and contributing significantly to their ultimate crisp-chewy texture.
Preserving Freshness: Storage and Freezing Tips
To ensure you can enjoy your delectable Nutella cookies for as long as possible, proper storage is absolutely key. Whether you’re planning to savor them over a few delightful days or want to save some dough for a future, spontaneous craving, these expert tips will help maintain their optimal taste, texture, and overall deliciousness.
For short-term enjoyment, it’s best to store baked Nutella cookies in an airtight container or a high-quality zip-top bag. Keep them at room temperature, away from direct sunlight or heat sources. When stored correctly, they will retain their irresistible freshness, soft texture, and fudgy center for up to 3-4 days. For an extra boost of moisture, some bakers find that placing a half-slice of plain bread in the container with the cookies can help keep them wonderfully soft.
If you’re a planner or simply enjoy the convenience of freshly baked cookies on demand, you can easily freeze the cookie dough to bake later. Begin by scooping the cookie dough balls onto a parchment-lined or silicone-lined baking sheet, using the same method as you would for immediate baking. Once all the dough is scooped, place the entire baking sheet into the freezer for 1-2 hours, or until the dough balls are completely firm. This crucial step, known as flash-freezing, prevents the individual dough balls from sticking together once they are transferred. After they are firm, transfer the frozen dough balls into a freezer-safe zip-top bag or an airtight container. Label with the date, and they can be stored in the freezer for up to 3 months without compromising quality.
When you’re ready to bake from your frozen stash, there’s absolutely no need to thaw the dough! Simply place the frozen cookie dough balls directly onto a prepared baking sheet and bake as directed in the recipe. NOTE: You will need to bake these cookies for approximately 3-5 minutes longer than the recipe specifies for fresh dough. This extended baking time is necessary because the dough starts at a colder temperature. Keep a close eye on them for those characteristic set edges and slightly puffy centers to avoid overbaking. This freezer-friendly method is perfect for ensuring you always have warm, homemade Nutella cookies ready whenever a craving strikes or unexpected guests arrive.
Expert Baking Tips for Flawless Nutella Cookies
Achieving the perfect Nutella cookie experience is all about paying attention to a few key details and understanding the nuances of baking. These expert tips will help ensure your cookies turn out beautifully moist, deliciously fudgy, and packed with irresistible chocolate-hazelnut flavor every single time you bake them.
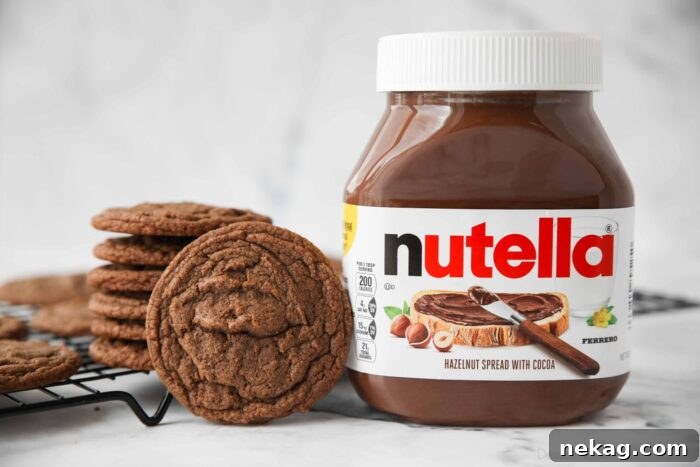
- Insist on Brand Name Nutella for Consistency: For the most consistent results and that authentic, rich chocolate-hazelnut flavor that everyone loves, it is highly recommended to use the official Nutella® brand hazelnut spread with cocoa. This specific recipe was carefully developed and extensively tested using only Nutella. Off-brand or store-brand alternatives may possess different fat, sugar, and emulsifier ratios, which could significantly alter the cookie’s texture, spread, and overall flavor profile. Sticking to the original will guarantee the intended outcome.
- Embrace the Cookie Dough Scoop for Uniformity: A cookie dough scoop is truly your secret weapon for creating uniform, professional-looking cookies. Using a scoop helps ensure that each cookie ball is the same size and weight, which in turn promotes even baking across the entire batch. This consistency is crucial for achieving the desired texture in every single cookie. I typically recommend a #30 or #40 scoop. (As a quick reference, remember that a larger number indicates a smaller scoop size, and vice versa. These two sizes generally hold between 1.5 and 2 tablespoons of dough.) For the specific cookies pictured in this post, a #40 scoop was used to achieve their elegant size.
- Scooping vs. Hand Rolling for Desired Texture: While I personally adore the rustic, crinkled tops that a trigger scoop naturally creates, there’s a slight textural and visual variation you can achieve by hand. Rolling the dough with your hands can yield a cookie with a slightly crustier edge and a more pronounced crackled appearance, reminiscent of classic fudgy brownies. Both methods work perfectly well and produce delicious results, so choose based on your desired aesthetic for these delightful treats.
- Mind the Spacing on Your Baking Sheet: Always space your cookie dough balls at least 3-inches apart on the baking sheet, rather than the more common 2-inches. While this might mean baking fewer cookies per tray (I typically bake 8 instead of a dozen), it is a non-negotiable step for two critical reasons. Firstly, this generous spacing is paramount in preventing your Nutella cookies from melting into each other, which can create an unsightly, uneven, and merged mass. Secondly, giving them ample space allows for optimal heat distribution in the oven. Each cookie receives consistent heat, ensuring it bakes uniformly and achieves the desired thinness and fudginess without competing for heat from neighboring cookies.
- For Thicker Nutella Cookies: If you find you prefer a slightly thicker cookie with less spread and a more substantial bite, you have a simple yet effective adjustment at your disposal: reduce the amount of baking soda. Try using just 1/8 teaspoon of baking soda instead of the 1/4 teaspoon specified in the recipe. If you decide to completely omit the baking soda from the recipe, the cookies will spread very little, resulting in a more domed and spherical shape. Experiment with these minor adjustments to precisely tailor your Nutella cookies to your preferred thickness!
- Room Temperature Ingredients are Non-Negotiable: Ensure your butter and egg are at proper room temperature before you begin mixing. Room temperature butter creams together more easily and effectively with sugar, incorporating more air into the mixture. This aeration is vital for creating a lighter, more tender cookie texture. Similarly, a room temperature egg emulsifies better with the other ingredients, leading to a smoother, more homogenous dough.
- Avoid Overbaking at All Costs: As emphasized in the baking instructions, these fudgy Nutella cookies are intentionally designed to be slightly soft and gooey in the center. Pull them from the oven promptly when the edges appear set and lightly golden, even if the centers still look a little soft and puffed. They will continue to set and firm up as they cool on the hot baking sheet. Overbaking is the quickest way to turn a fudgy cookie into a dry, crumbly one.
- Consider a Sprinkle of Sea Salt: For an extra layer of sophisticated flavor and to beautifully balance the sweetness of the Nutella, consider sprinkling a tiny pinch of flaky sea salt (such as Maldon) on top of each cookie immediately after they come out of the oven. This creates a wonderful and addictive sweet and savory contrast that elevates the entire experience.
We sincerely hope you enjoy baking and savoring these delightful Nutella cookies as much as we do! Your feedback and experiences are incredibly valuable to us. If you try this recipe, please share your thoughts by leaving a rating and review in the comments below. We truly appreciate your engagement and can’t wait to hear about your baking success!
Decadent Nutella Cookies
Amber Brady
10
10
20
Pin Recipe
18 cookies
Ingredients
- 1¼ cups (150 g) all-purpose flour, stir, spoon, & level
- ½ tsp baking soda
- ¼ tsp salt
- 4 Tbsp (57 g) unsalted butter, room temperature (½ stick)
- ½ cup (100 g) light brown sugar, gently packed
- ¾ cup (222 g) Nutella, chocolate hazelnut spread with cocoa
- 1 large egg
- 1 tsp vanilla extract
Equipment
-
Half Sheet Pans
-
6-Quart Steel Mixing Bowl
-
Electric Hand Mixer
-
Silicone Spatula Set
-
#40 Cookie Scoop
-
Wire Cooling Rack
Instructions
-
Preheat oven to 350℉ (175°C). Line half sheet trays with parchment paper or a silicone baking mat.
-
In a small bowl, stir together the flour, baking soda, and salt until well combined. Set aside.
-
In the bowl of a stand mixer using the paddle attachment (or a large bowl with an electric hand mixer), cream the butter and brown sugar together until light and fluffy.
-
Add the Nutella, egg, and vanilla extract. Mix well, scraping down the bowl as needed, until thoroughly incorporated. Gradually add the dry ingredients and mix on low speed until just combined. Be careful not to overmix.
-
Using a medium, #40 scoop (about 1.5 Tablespoons), scoop the cookie dough into balls. Place onto the prepared baking sheets about 3-inches apart (approx. 8 cookies per tray).
-
Bake for 9-10 minutes until the edges are set and lightly golden, but the centers are still slightly puffy. Let cookies rest on the tray for a few minutes before transferring to a wire rack to cool completely.
Notes
- Store baked Nutella cookies in an airtight container or zip-top bag at room temperature for up to 3-4 days to maintain their freshness.
- To freeze cookie dough for later, scoop balls onto a parchment-lined sheet and flash-freeze for 1-2 hours until firm. Transfer to a freezer-safe bag and freeze for up to 3 months. Bake from frozen, adding roughly 3-5 minutes to the bake time.
- Consider adding a sprinkle of flaky sea salt on top of the warm cookies for an enhanced flavor profile.
Nutrition Information
Calories: 119kcal |
Carbohydrates: 18g |
Protein: 2g |
Fat: 4g |
Saturated Fat: 3g |
Polyunsaturated Fat: 1g |
Cholesterol: 11mg |
Sodium: 78mg |
Fiber: 1g |
Sugar: 10g
Disclaimer: Nutritional values were calculated using a third-party tool and are provided as an estimation only.
Sharing this recipe with a link is both encouraged and appreciated. Copying/pasting and/or screenshots of full recipes to any social media is strictly prohibited. Content and photographs are copyright protected.
Did you make this?
Don’t forget to leave a rating below and make sure to follow on Pinterest and Instagram for more delicious recipes!