
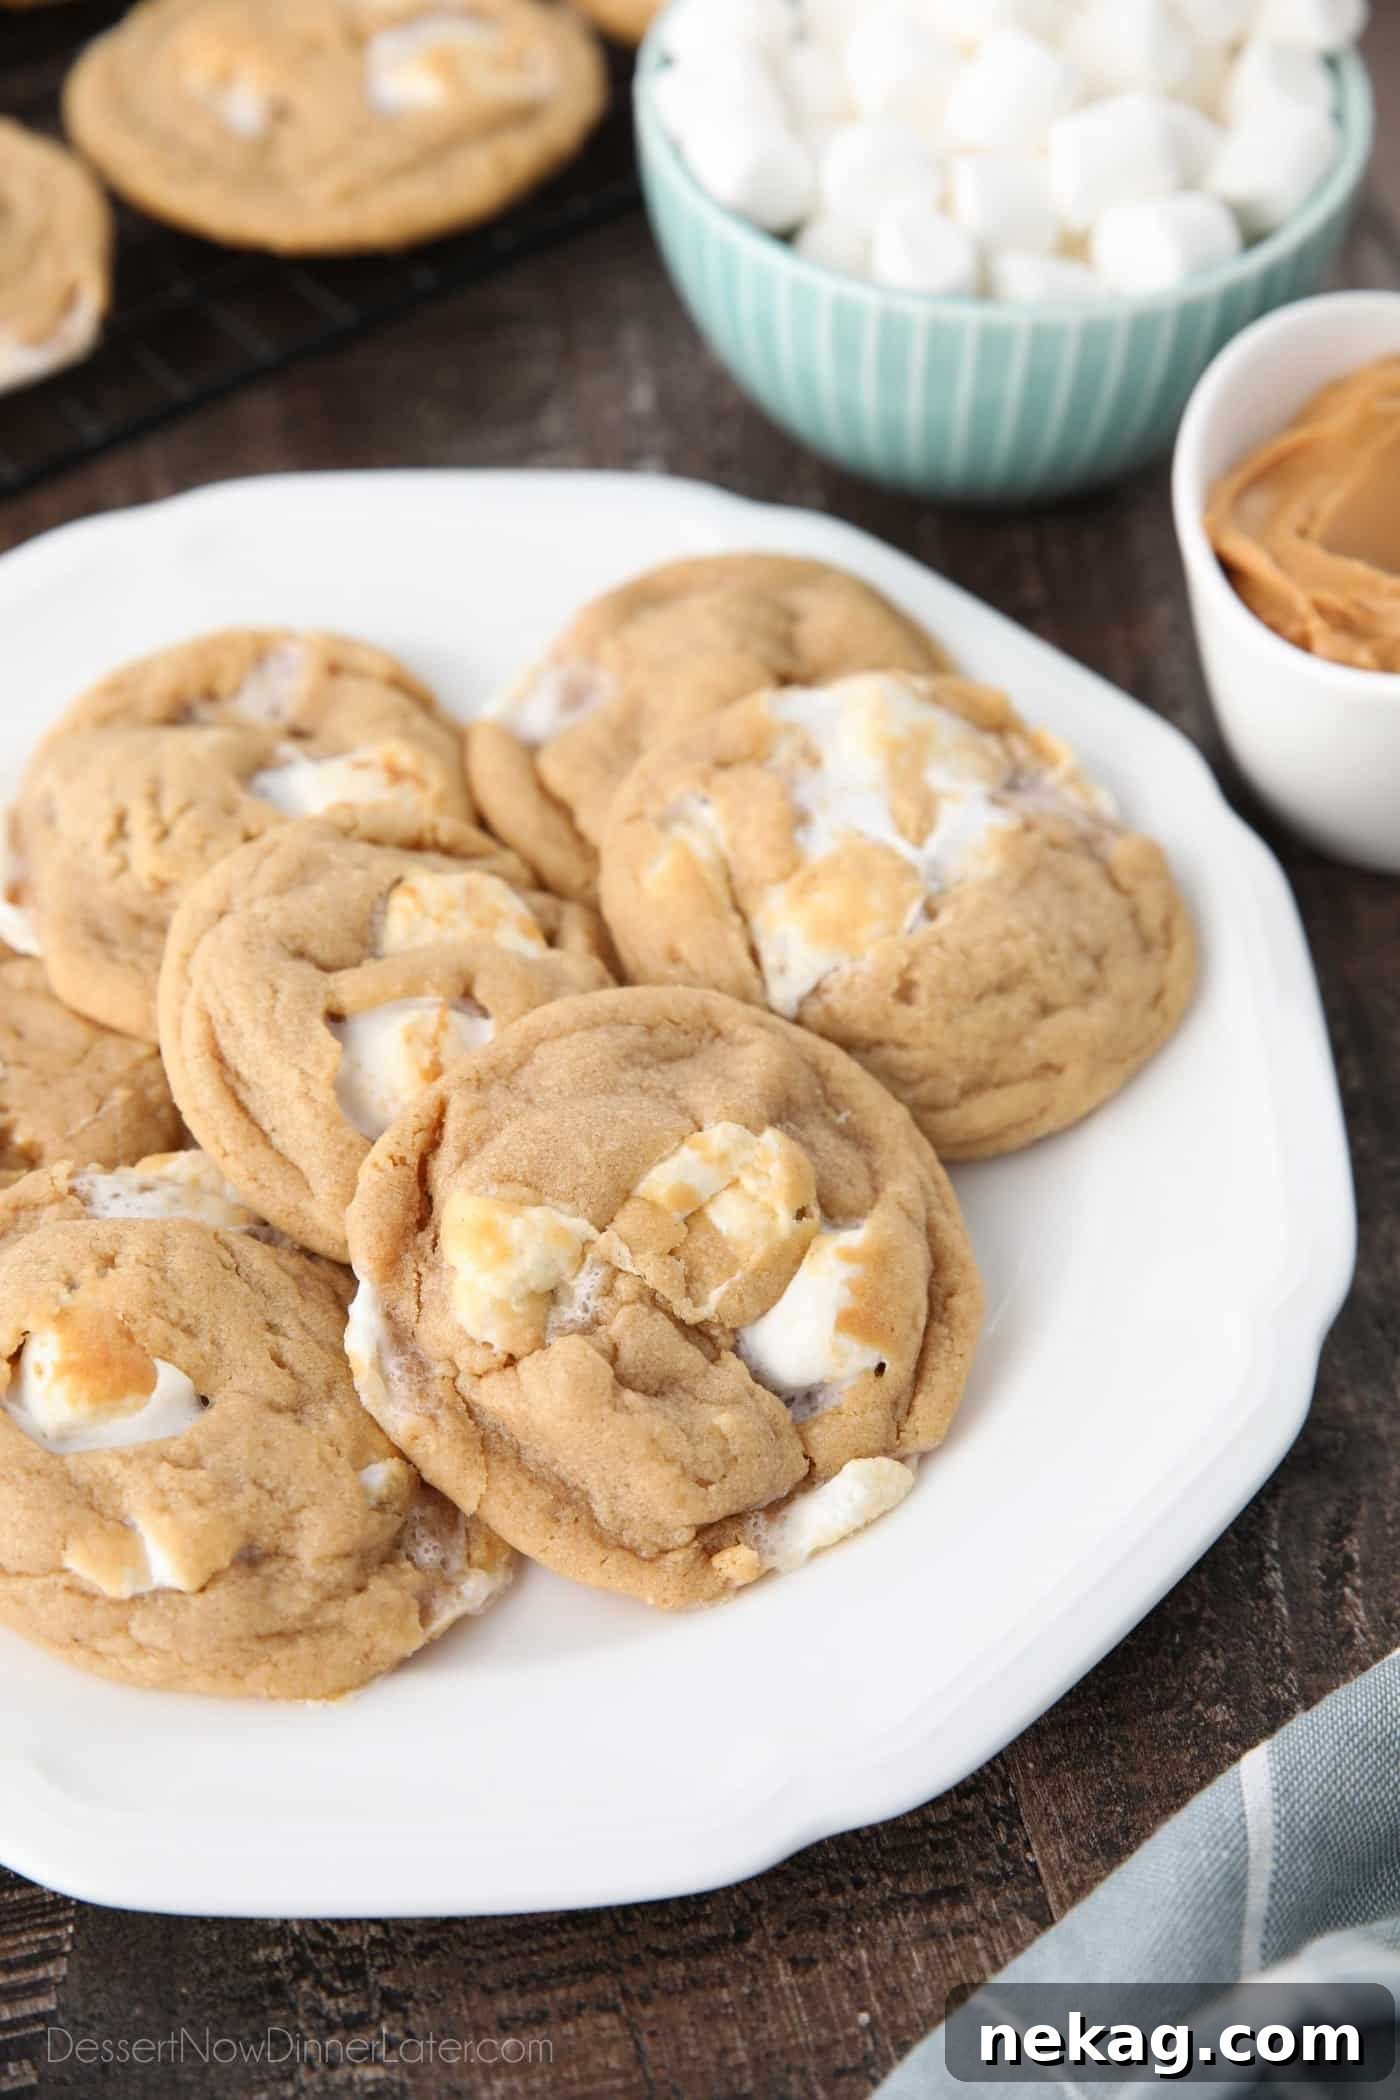
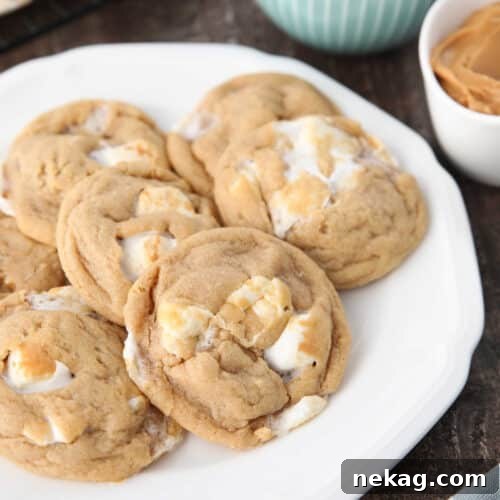
Indulge in the ultimate comfort food experience with these incredible Fluffernutter Cookies! Imagine sinking your teeth into a perfectly soft and delightfully chewy peanut butter cookie, studded with pockets of warm, gooey marshmallow. These aren’t just any cookies; they are the quintessential peanut butter marshmallow cookies, offering a nostalgic taste of childhood in every bite. Whether you’re a long-time fan of the classic Fluffernutter sandwich or simply seeking an exciting new cookie recipe, these delightful treats are guaranteed to become a household favorite. Their irresistible combination of creamy peanut butter and sweet, melt-in-your-your-mouth marshmallow makes them utterly unforgettable and remarkably addictive.
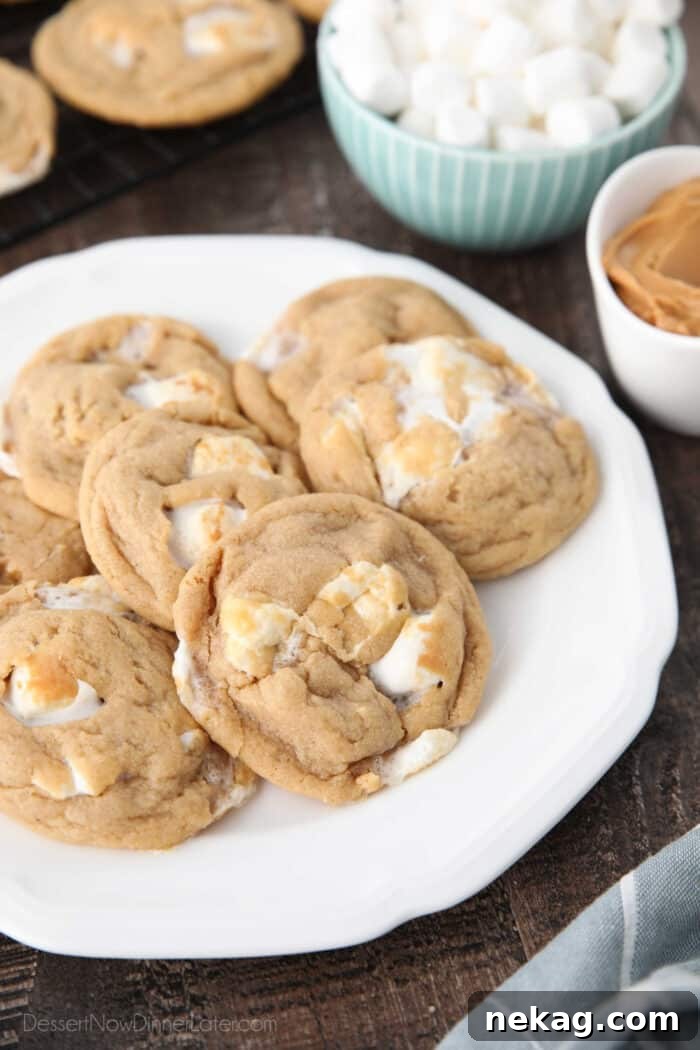
Decoding the Fluffernutter: A Sweet History and Its Allure
The term “fluffernutter” might sound whimsical, but it refers to a beloved American sandwich that has captured hearts for generations. At its core, a fluffernutter is a simple yet profoundly satisfying creation: a generous slathering of peanut butter paired with a fluffy layer of marshmallow creme, typically served between two slices of soft white bread. This iconic sandwich, particularly popular in New England, has been a staple in lunchboxes and a nostalgic treat for many. Some adventurous foodies even take it a step further, grilling it to create a warm, melty version, akin to a grilled cheese but with a sweet twist.
The magic of the fluffernutter lies in the harmonious interplay of flavors and textures. The rich, savory, and slightly salty notes of peanut butter perfectly balance the ethereal sweetness and light texture of marshmallow creme. This classic combination creates a truly unique and comforting taste profile that is both familiar and exciting. Given its undeniable appeal, it’s only natural to wonder: why confine such a brilliant flavor pairing to just a sandwich? The answer, of course, is to transform it into an even more delightful form – the humble yet extraordinary cookie. By taking the essence of the fluffernutter and baking it into a chewy, tender cookie, we unlock a whole new dimension of deliciousness, offering a portable and irresistible dessert experience.
Crafting the Ultimate Peanut Butter Cookie Base for Fluffernutter Perfection
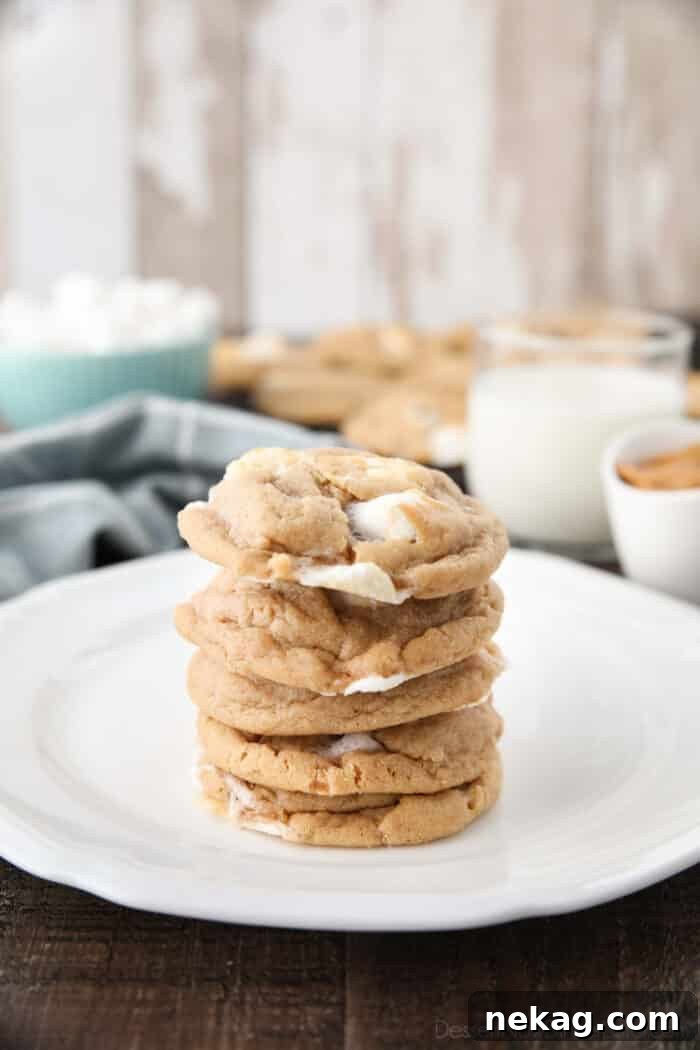
The foundation of any exceptional cookie lies in its base, and for these Fluffernutter Cookies, we’ve chosen a truly superior peanut butter cookie recipe. This isn’t just any ordinary peanut butter cookie; it’s designed for thickness, chewiness, and an incredibly rich flavor that perfectly complements the sweet marshmallow additions. What sets this particular recipe apart is its remarkable simplicity and efficiency. Forget the usual fuss – there’s no need for rolling the dough in sugar, no tedious chilling period for the dough, and no requirement to press the cookies with a fork to achieve that classic crosshatch pattern. This streamlined approach means you can get from craving to biting into warm, homemade cookies much faster, making it an ideal choice for busy bakers and spontaneous dessert moments.
The beauty of this peanut butter cookie base also lies in its versatility. It serves as a fantastic canvas for various delicious alterations, allowing you to customize your treats to suit any preference. For instance, you can easily elevate the classic peanut butter flavor by stirring in a generous handful of chocolate chips, creating a delightful contrast between salty and sweet. Alternatively, for a truly iconic dessert, place a Hershey’s Kiss on top immediately after baking to create delightful Peanut Butter Blossoms, where the warm chocolate melts into a decadent crown. If you’re looking to add a wholesome twist and a different texture, consider swapping some of the all-purpose flour for oats to bake up hearty and satisfying Oatmeal Peanut Butter Cookies. This adaptability ensures that the core peanut butter cookie experience remains a cherished favorite, no matter how you choose to personalize it.
Mini Marshmallows vs. Marshmallow Creme: The Gooey Dilemma and the Freezing Solution
When developing these Fluffernutter Cookies, the choice of marshmallow component presented a delightful yet challenging dilemma. While the base peanut butter cookie recipe was a proven winner, integrating marshmallows seamlessly into a baked good often leads to questions. The immediate thought might be to use marshmallow creme, given its smooth, spreadable texture that mimics the classic sandwich. However, marshmallow creme, being inherently soft and delicate, tends to melt completely and quickly disappear into the cookie dough during baking, leaving little of that distinct gooey pocket we desire. While one could meticulously pipe marshmallow creme into the center of each cookie dough ball to shield it from direct heat exposure, this process can be overly time-consuming and labor-intensive, detracting from the joy of baking.
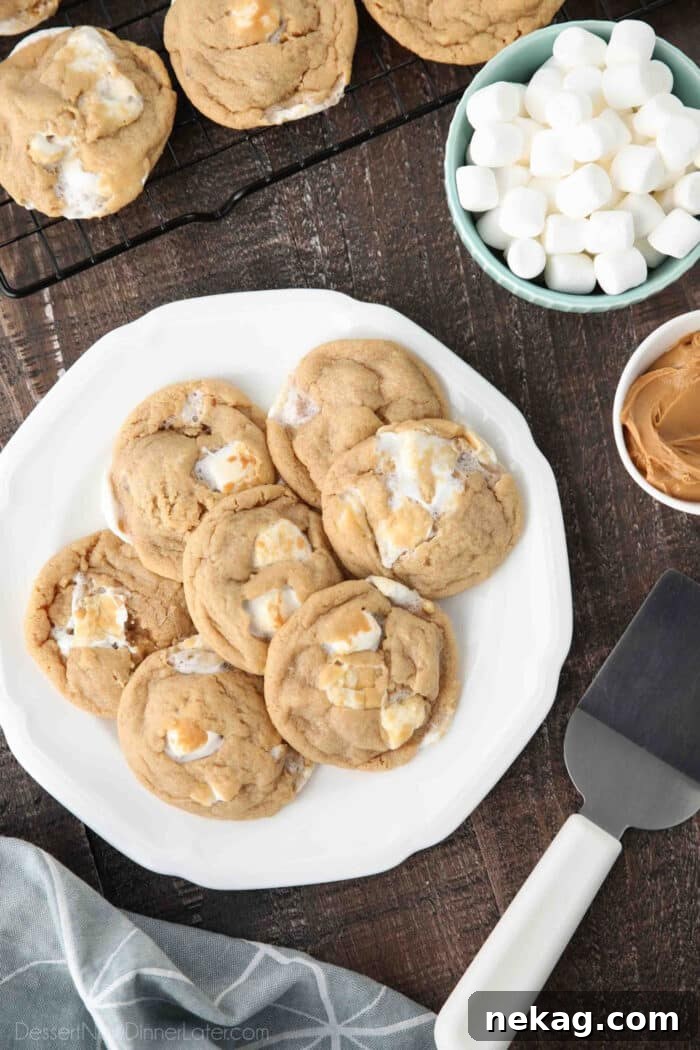
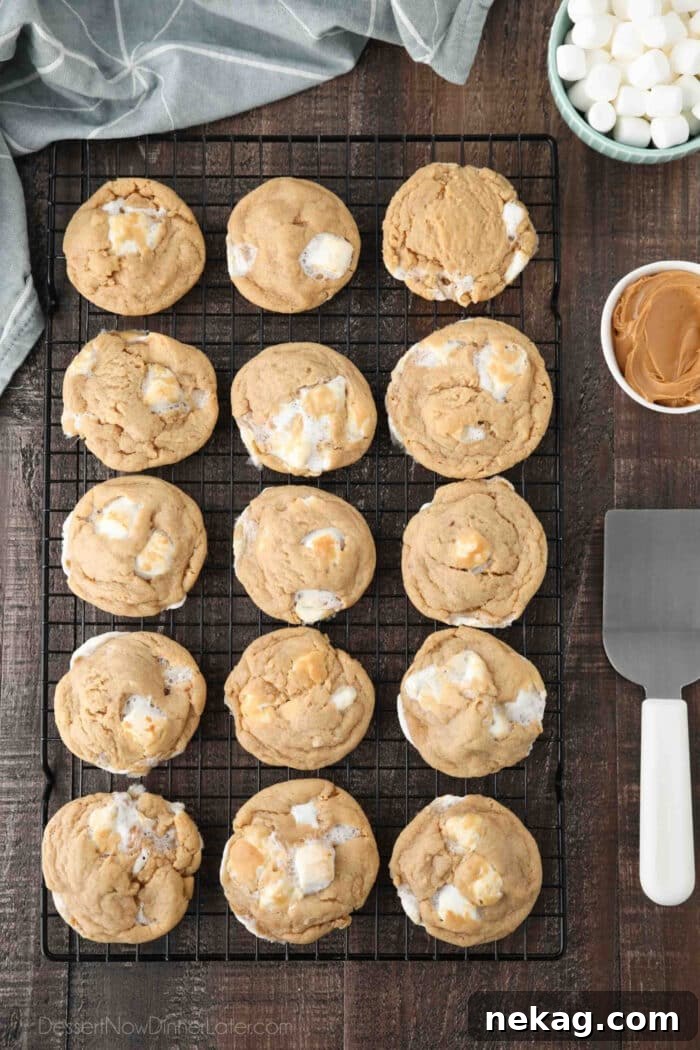
The primary concern with any marshmallow-infused baked good is preventing them from melting too rapidly and spreading into a sticky, impossible-to-manage mess. After some experimentation and research, a game-changing solution emerged: freezing marshmallows! This simple yet brilliant technique is the key to achieving those coveted pockets of gooey, melted marshmallow within your cookies, rather than them completely dissolving. Freezing the mini marshmallows for an extended period, typically at least 1-2 hours, significantly slows down their melting process during baking. The intense cold essentially gives them a head start against the oven’s heat, allowing them to soften and become delightfully gooey without losing their structural integrity entirely.
Of course, even with freezing, marshmallows will still melt, particularly if they are exposed on the sides or bottom of the cookie dough mounds. This is a natural part of the baking process. However, by employing this freezing hack, combined with a few other strategic baking tips, you can manage the melt and ensure that each Fluffernutter cookie delivers that perfect balance of chewy peanut butter and luscious, soft marshmallow. This discovery transforms the potential “gooey dilemma” into a manageable and incredibly rewarding baking experience.
Essential Baking Tips for Perfect Fluffernutter Cookies
Achieving the perfect Fluffernutter cookie, with its ideal balance of chewy peanut butter and molten marshmallow, requires a few key techniques. These tips are designed to help you navigate the unique challenges of baking with marshmallows and ensure every batch is a success.
- Freeze Marshmallows for Optimal Gooiness: This is perhaps the most crucial step! Freeze your mini marshmallows for at least 1-2 hours before incorporating them into the cookie dough. This preemptive freezing helps the marshmallows resist melting too quickly in the oven, allowing them to become beautifully gooey rather than completely disappearing. For convenience, you can freeze marshmallows up to three months in advance. Simply toss the entire bag into the freezer, or portion them into smaller zip-top bags for easy access. The colder they are, the better they will hold their shape and structure during the initial stages of baking.
- Maintain Marshmallow Chill Until Baking: To maximize the effect of freezing, it’s essential to keep the marshmallows as cold as possible until they hit the oven. Preheat your oven and prepare your baking sheets before you even think about adding the marshmallows to the dough. Once you’ve scooped out a tray of cookies, immediately place it in the hot oven. Keep any remaining cookie dough, especially any that contains marshmallows, stored in the refrigerator. This ensures that every cookie gets the benefit of super-cold marshmallows, preventing premature melting and guaranteeing a delightful gooey center.
- Utilize Silicone Baking Mats or Parchment Paper: Marshmallows, when melted, become incredibly sticky. Any part of a marshmallow that touches your bare baking sheet will likely fuse to it, making removal a challenge. To prevent this sticky situation, always line your baking sheets with either a silicone baking mat or parchment paper. These non-stick surfaces provide a barrier that significantly reduces sticking. For an extra layer of protection, you can even lightly spray the parchment paper with cooking spray, ensuring your beautiful Fluffernutter cookies lift off the tray with ease.
- Reshape Warm Cookies with a Greased Spatula: It’s common for cookies, especially those with melty additions like marshmallows, to come out of the oven a little less than perfectly round. If your Fluffernutter cookies appear misshapen, don’t despair! Much like working with sticky treats such as rice krispie treats, a spatula lightly sprayed with cooking spray is your best friend. Wait for the cookies to cool for 2-3 minutes directly on the baking sheet – they should still be warm and pliable but no longer aggressively sticky. Gently use the greased spatula to push and round the edges of the cookies back into a perfect circle. Attempting this straight from the oven will likely result in a sticky mess, so a short cooling period is essential.
- Cool Completely on the Baking Sheet: While many cookies benefit from cooling on a wire rack, Fluffernutter cookies are a special case. Due to the melted marshmallows, they can be prone to sticking to the grates of a wire cooling rack. For the easiest cleanup and to ensure your cookies remain intact, allow them to cool completely on the baking sheet. Once fully cooled and set, transfer them directly to a serving platter or an airtight container. This not only minimizes dishes but also safeguards the integrity of your delicious, marshmallow-filled creations.
Storing and Freezing Your Fluffernutter Creations for Lasting Enjoyment
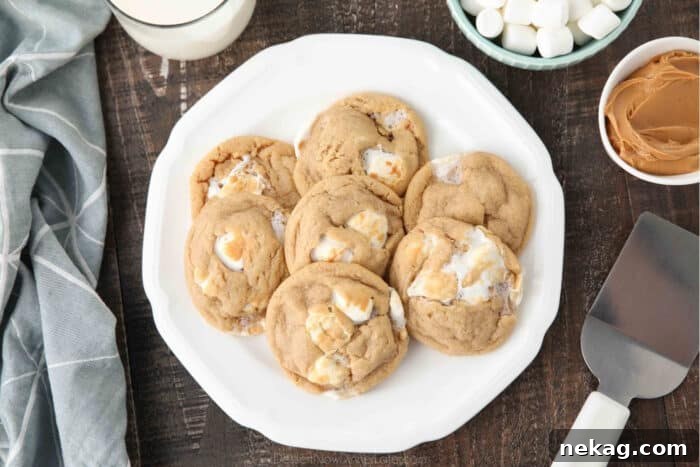
Once you’ve baked a batch of these irresistible Fluffernutter Cookies, you’ll want to ensure they remain as fresh and delicious as possible. Given that this recipe yields approximately 20 cookies, they are often best enjoyed fresh, ideally within a few days of baking. For optimal freshness and to preserve their soft, chewy texture and gooey marshmallow centers, store the peanut butter marshmallow cookies in an airtight container at room temperature. This method will keep them wonderfully palatable for up to 5 days, though their peak deliciousness is usually within the first 2-3 days.
When it comes to freezing these cookies, the presence of marshmallows introduces a unique consideration. While freezing baked cookies is generally a great way to extend their shelf life, the delicate, melted marshmallows within these cookies can become more fragile after freezing and thawing. There’s a possibility that the marshmallow pockets might become somewhat brittle or separate from the peanut butter cookie base, leading to potential breakage. If you decide to experiment with freezing, it’s recommended to flash freeze the cookies on a baking sheet until solid, then transfer them to an airtight freezer-safe container or bag, separating layers with parchment paper to prevent sticking. Thaw them at room temperature, and for an extra touch of gooeyness, a quick warm-up in the microwave for 10-15 seconds can often revive the marshmallow’s soft texture. If you do embark on the journey of freezing your Fluffernutter cookies, we’d love to hear about your experience and any tips you discover in the comments below!
Using Marshmallow Fluff: An Alternative Approach for Your Fluffernutter Cookies
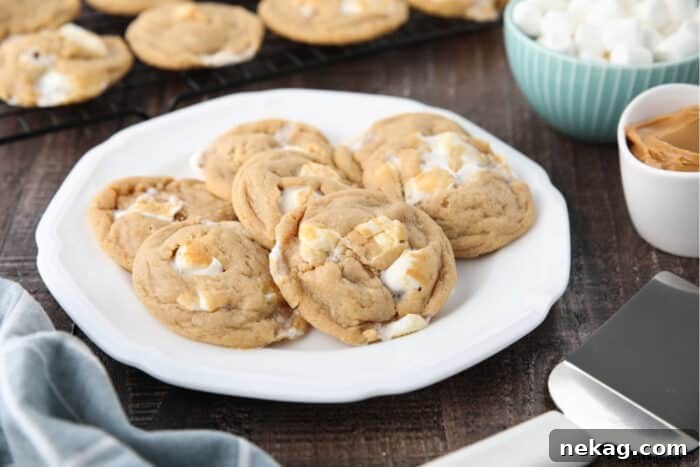
While mini marshmallows are the preferred choice for achieving distinct gooey pockets in these Fluffernutter Cookies, many home bakers wonder if the iconic marshmallow fluff (or marshmallow creme) can be used as an alternative. The good news is, yes, you absolutely can use marshmallow fluff in place of mini marshmallows, though the technique and resulting texture will differ slightly. Marshmallow fluff, with its airy and sticky consistency, presents a unique opportunity to infuse that classic fluffernutter flavor into your cookies, but it requires a slightly different approach to prevent it from simply melting away.
Instead of folding the fluff into the dough directly, which would likely result in it dissolving, the best method is to create a “stuffing” for your cookies. First, prepare your peanut butter cookie dough as directed. Then, flatten a portion of the cookie dough into a disc in the palm of your hand. Place a spoonful of marshmallow fluff (start with a small amount, perhaps ½ to 1 teaspoon, as it expands) directly in the center of the flattened dough. Carefully wrap the cookie dough around the fluff, sealing it completely to form a ball. Ensure there are no exposed areas of fluff, as it will melt and spread quickly. Once sealed, bake the cookies as directed. The encapsulated fluff will warm and become incredibly soft and gooey, creating a truly unique and delicious experience that closely mimics the texture of the original sandwich filling. This method ensures a burst of pure marshmallow flavor in the center of each cookie, offering a delightful variation for fluff enthusiasts.
More Irresistible Marshmallow Recipes to Explore
If you’ve fallen in love with the sweet, sticky allure of marshmallows in these Fluffernutter Cookies, you’re in for a treat! Marshmallows are incredibly versatile and can elevate a wide array of desserts and snacks. Their unique texture and delicate sweetness make them a perfect addition to everything from crunchy popcorn to rich brownies and vibrant fruit salads. Dive into more delightful recipes that showcase the magic of marshmallows:
- Soft & Gooey Marshmallow Popcorn: A sweet and sticky twist on classic popcorn, perfect for movie night.
- Empty Tomb Rolls: A meaningful and delicious Easter treat featuring a melting marshmallow surprise.
- Marshmallow Crunch Brownies: Fudgy brownies topped with a delightful layer of crunchy, toasted marshmallows.
- Frog Eye Salad with Pudding: A unique and creamy pasta salad with pineapple, mandarin oranges, and mini marshmallows.
- S’mores Cookie Bars: All the classic flavors of s’mores – graham cracker, chocolate, and toasted marshmallow – in an easy-to-eat bar form.
- Raspberry Fluff: A light and fruity dessert salad combining raspberries, cool whip, and marshmallows.
- S’mores Krispie Treats: An elevated version of rice krispie treats with chocolate and toasted marshmallows.
- Orange Fluff Salad: A bright and refreshing fruit salad featuring mandarin oranges and fluffy marshmallows.
Fluffernutter Cookies: The Ultimate Peanut Butter Marshmallow Dream
Pin
Rate
Save
Ingredients
- 1 ½ cups (188 g) all-purpose flour, (stir, spoon & level)
- 1 tsp baking soda
- ½ tsp salt
- ½ cup (113 g) unsalted butter, room temperature
- ½ cup (100 g) granulated sugar
- ½ cup (100 g) light brown sugar, gently packed
- ½ cup (132 g) creamy peanut butter
- 1 large egg
- 1 tsp vanilla extract
- 1 cup (45 g) mini marshmallows, frozen*
Equipment
-
KitchenAid 5-Qt. Stand Mixer
-
Electric Hand Mixer
-
Aluminum Half Sheet Tray (2 Pack)
-
Silicone Baking Mat
-
#30 Cookie Scoop
-
Serving Spatula
Instructions
-
*FREEZE marshmallows for at least 1-2 hours before using. Keep marshmallows in freezer until ready to bake.
-
Preheat oven to 350 degrees Fahrenheit. Line cookie sheets with a silicone baking mat or parchment paper. Set aside.
-
In a medium bowl, stir together the flour, baking soda and salt. Set aside.
-
Cream the butter and both sugars with an electric mixer until light and creamy.
-
Add the peanut butter, egg, and vanilla. Mix well and scrape bowl. Add the dry ingredients and mix until almost incorporated.
-
Remove marshmallows from freezer and fold a heaping cup of marshmallows into the cookie dough.
-
Use a #30 scoop (about 2 Tbsp) to quickly shape the cookie dough into balls. Place a few inches apart on a prepared baking sheet. Place remaining cookie dough in the fridge to keep marshmallows cold until ready to bake.
-
Bake cookies at 350˚F for 11-12 minutes or until just set and edges are starting to brown. Allow cookies to cool completely on tray, about 10 minutes. After 2-3 minutes of cooling, use a greased spatula to round any misshapen cookies, if desired. Transfer cooled cookies directly to serving platter or airtight container. May stick to a wire cooling rack.
Video
Watch our video tutorial for a step-by-step guide to making these delicious Fluffernutter Cookies!
Notes
- For the best results and a deeper understanding of the techniques, refer to the detailed baking tips provided earlier in the article.
- Ensure all cold ingredients, such as butter and egg, are brought to room temperature before mixing, unless otherwise specified, for optimal dough consistency.
- Baking times can vary slightly depending on your oven. Look for cookies that are just set at the edges with centers still looking slightly soft for that perfect chewiness.
Nutrition
Disclaimer: Nutritional values were calculated using a third-party tool and are provided as an estimation only.
Sharing this recipe with a link is both encouraged and appreciated. Copying/pasting and/or screenshots of full recipes to any social media is strictly prohibited. Content and photographs are copyright protected.
Made these amazing cookies?
We’d love to hear from you! Don’t forget to leave a rating below and make sure to follow us on Pinterest and Instagram for more delightful recipes and baking inspiration!