
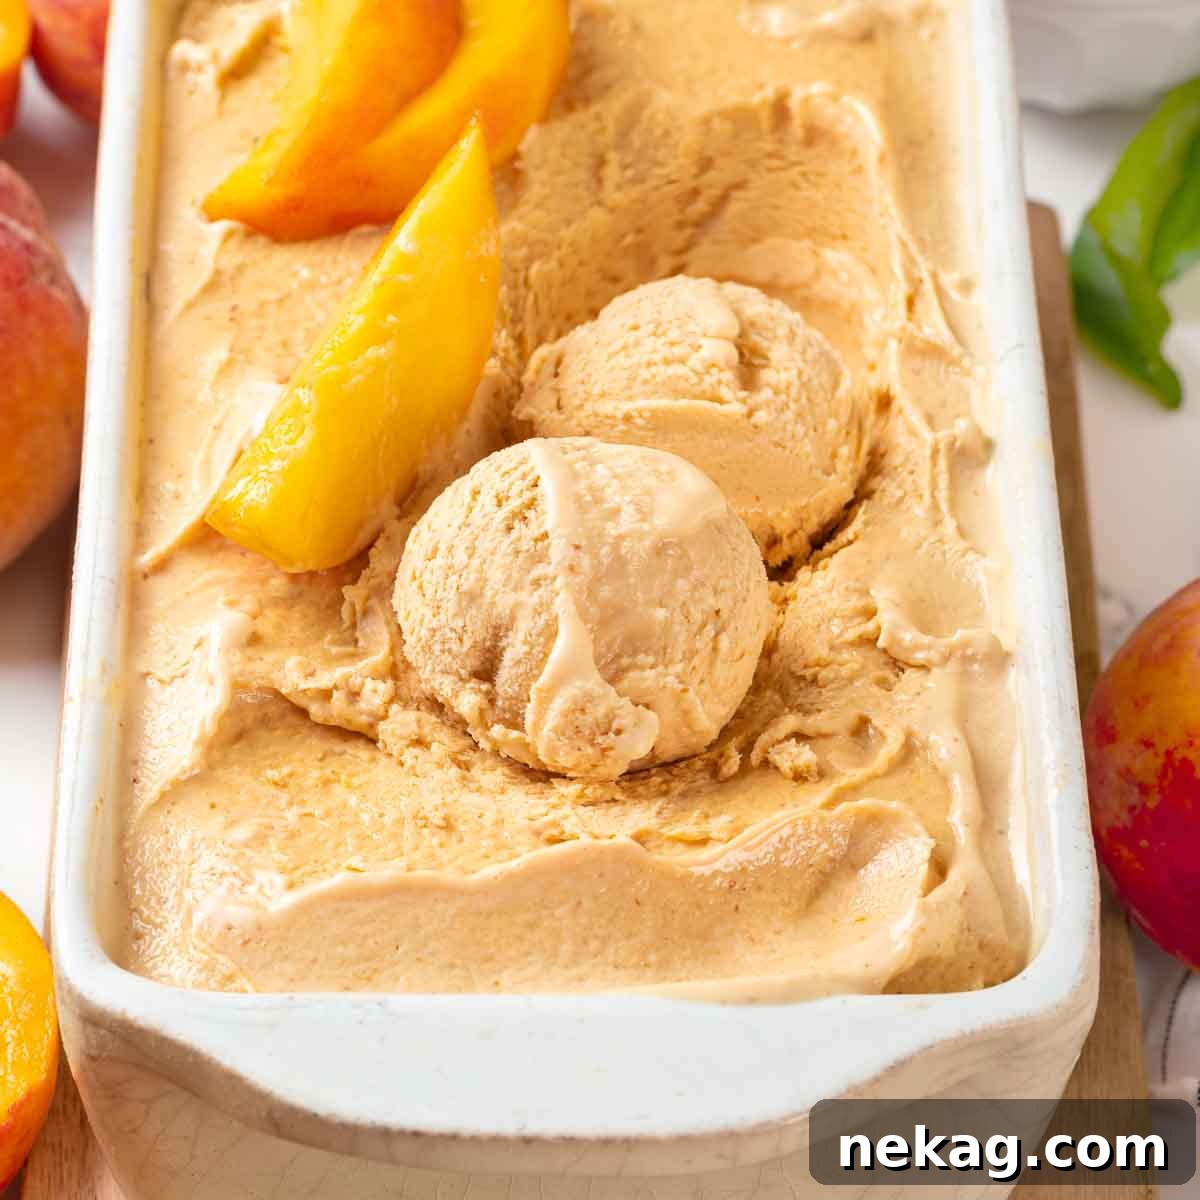
The Ultimate Homemade Peach Ice Cream Recipe: Creamy, Flavorful, and Easy!
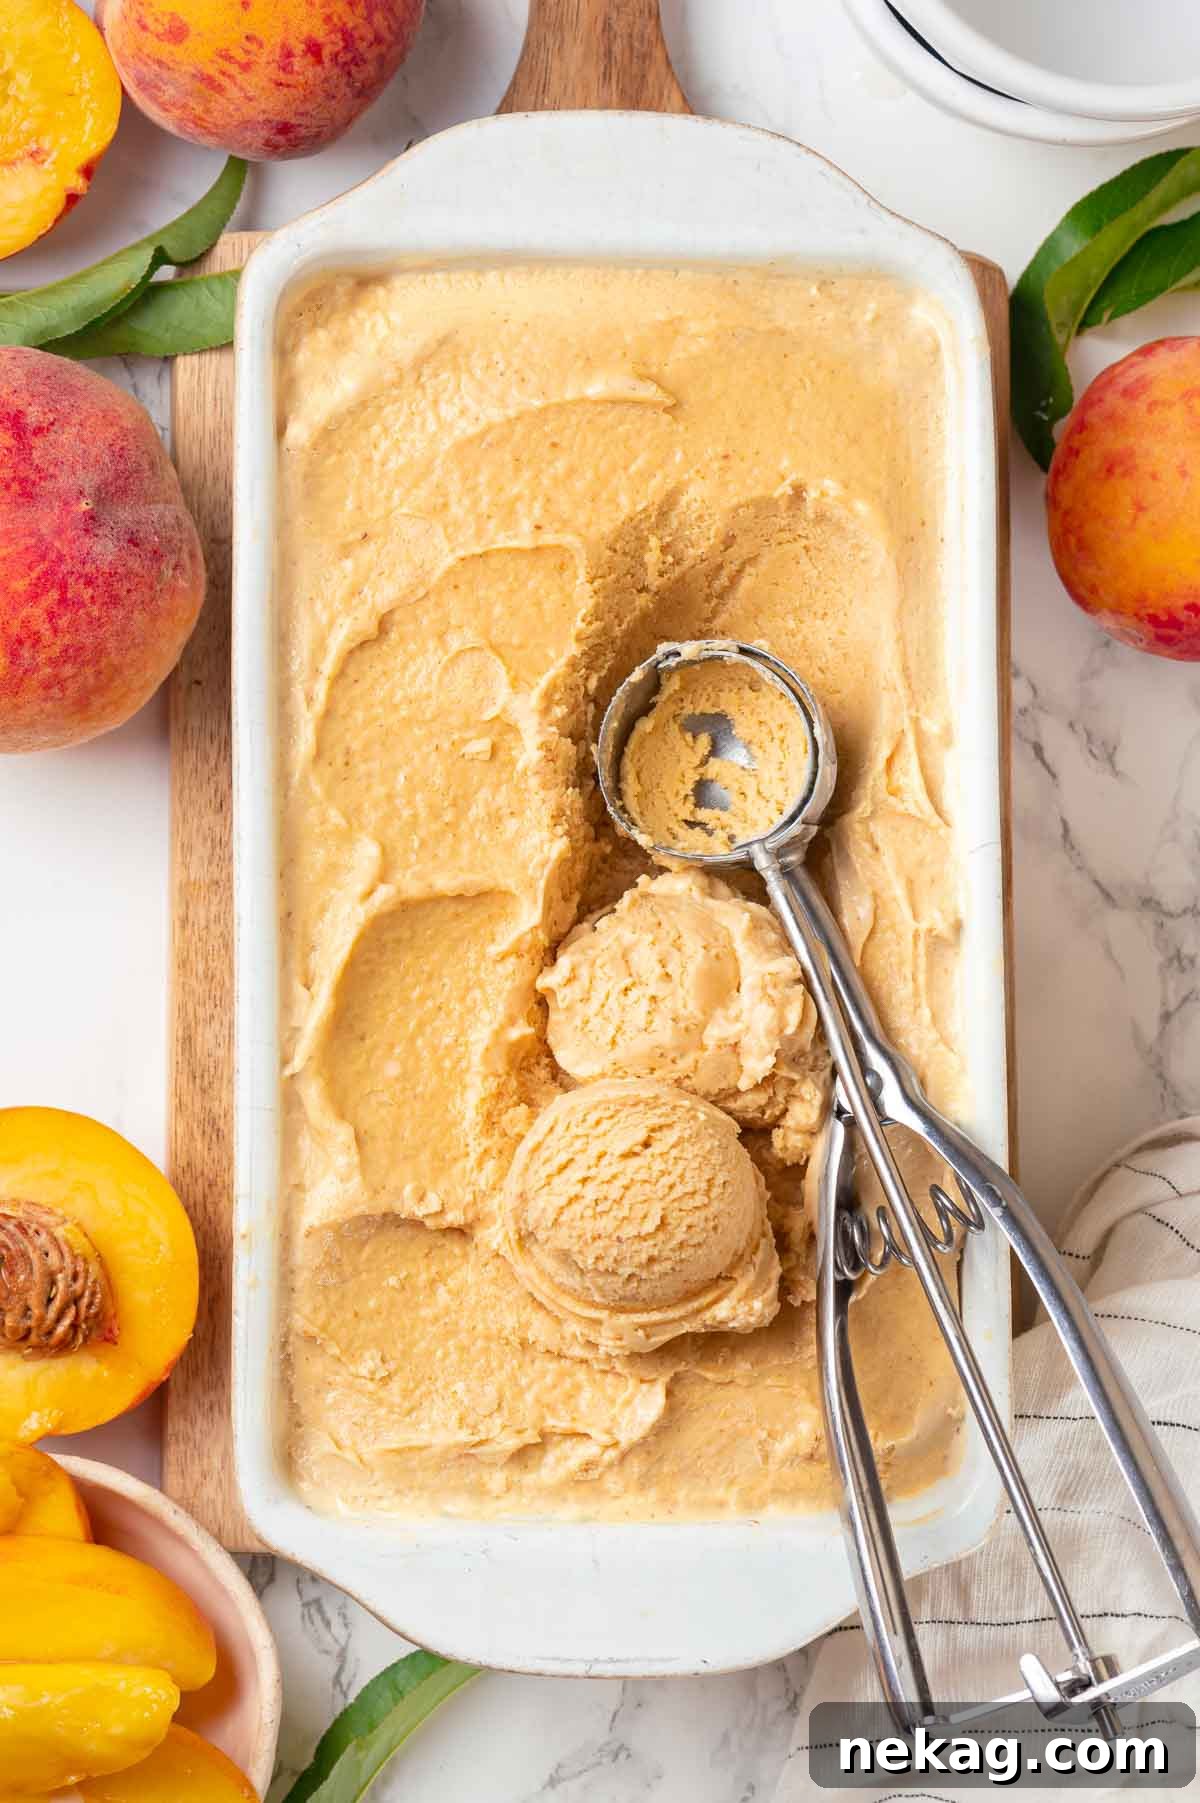
Dive into the exquisite taste of summer with this sensational peach ice cream recipe. Crafted with a generous bounty of fresh, juicy peaches and elevated with the aromatic depth of vanilla bean paste, this dessert is surprisingly simpler to master than you might imagine. Forget the mediocre offerings of store-bought options; once you experience the rich, velvety texture and vibrant, natural flavor of this homemade delight, you’ll undoubtedly agree it’s the absolute best peach ice cream you’ll ever taste. Prepare to transform your summer days with this effortlessly delicious frozen treat.
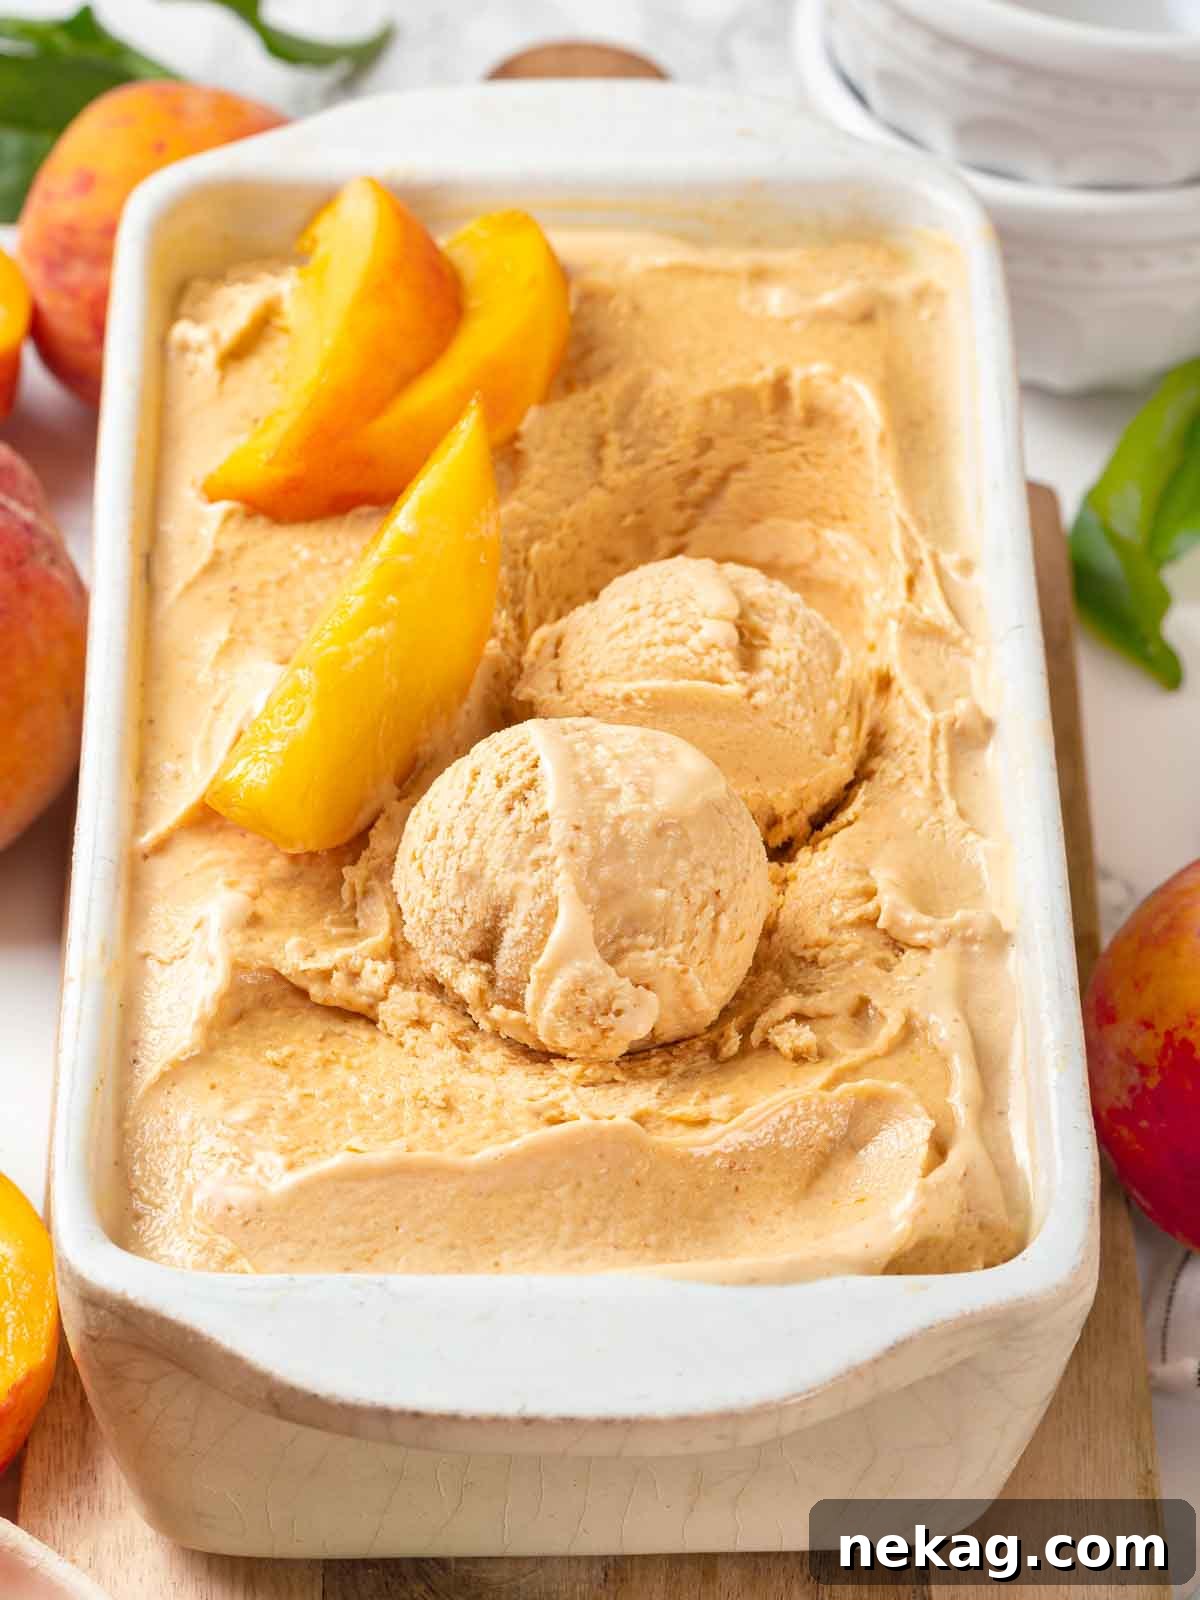
Few things truly encapsulate the warmth and sweetness of summer quite like the perfectly ripe, sun-kissed flavor of fresh peaches. For me, cherished memories of living in Atlanta bring back the distinct joy and unparalleled convenience of having easy access to those perfectly sweet Georgia peaches. My annual summer baking ritual was always incomplete without a delightful lineup of peach-infused creations. This list invariably included a classic peach pie (often made with my reliable Crisco pie crust), a wonderfully simple easy peach cake, countless jars of luscious peach preserves cooked in my largest pot, and, of course, this incredible homemade peach ice cream. It was a true “peach-a-palooza” of flavors, aromas, and culinary joy!
Crafting your own homemade peach ice cream isn’t just about making a dessert; it’s an experience that guarantees unparalleled freshness and a depth of flavor far superior to anything you’ll find in a grocery store freezer aisle. While incorporating fresh fruit into ice cream, much like with my popular strawberry caramel swirl ice cream, can sometimes be tricky due to the fruit’s water content, often leading to undesirable icy textures, there’s a professional secret to achieving that perfectly smooth, scoopable consistency: a precise and masterful balance of fat and sugar. This recipe expertly employs that secret, ensuring every spoonful delivers pure, creamy bliss without a hint of iciness, letting the natural peach flavor truly shine.
Table of Contents
- Why This is the Best Peach Ice Cream Recipe You’ll Ever Make
- Professional Tips for Perfect Peach Ice Cream Every Time
- Essential Ingredients & Smart Substitutions for Peach Ice Cream
- Creative Variations to Customize Your Peach Ice Cream
- Step-by-Step Guide: How to Make Fresh Peach Ice Cream
- Frequently Asked Questions About Peach Ice Cream
- The Complete Peach Ice Cream Recipe
- Before You Go
Why This is the Best Peach Ice Cream Recipe You’ll Ever Make
What sets this particular peach ice cream recipe apart, making it an undeniable favorite and a summer essential? It boils down to a few meticulously crafted elements that consistently deliver an exceptional dessert experience:
- A Harmonious & Unforgettable Flavor Combination: The timeless pairing of sweet, succulent peaches with the rich, complex, and aromatic notes of real vanilla bean is simply unparalleled. While vanilla extract provides a good base, opting for a high-quality vanilla bean paste infuses the ice cream with delicate, tiny specks of vanilla and a more profound, nuanced flavor that truly elevates the natural sweetness of the peach. This perfect synergy creates a dessert that is both refreshingly fruity and luxuriously indulgent, ensuring every single spoonful is a memorable event that delights the senses.
- Achieving Ultimate Creaminess and a Perfect Texture: The meticulously balanced ratio of heavy cream, whole milk, granulated sugar, and eggs forms the cornerstone of this recipe’s success. This thoughtful combination creates a rich, emulsified custard base that, when properly churned, transforms into an incredibly thick, smooth, and utterly creamy ice cream. This precise balance is key to completely avoiding those unwelcome, crunchy ice crystals that can often plague homemade frozen treats. The higher fat content from the dairy works synergistically with the sugar to effectively lower the freezing point of the mixture and inhibit ice crystal growth, resulting in a perfectly scoopable, melt-in-your-mouth texture every single time.
- Easy-to-Follow Professional Guidance for Home Cooks: You don’t need years of pastry chef experience to achieve professional-level results in your home kitchen. This recipe masterfully demystifies the art of ice cream-making by incorporating expert tips and tricks directly into the step-by-step instructions. From guiding you on how to select the perfect, peak-season peaches to providing insights into the nuances of chilling and churning, every stage is meticulously detailed for clarity and guaranteed success. We empower you with professional insights that proactively minimize common pitfalls, maximizing your chances of creating a flawless peach ice cream that tastes like it came straight from a gourmet parlor.
- Embracing the Authenticity of Fresh, Seasonal Peaches: The core philosophy of this recipe revolves around celebrating and showcasing the natural bounty of peak-season peaches. By utilizing the freshest, most perfectly ripe fruit available, we ensure that the vibrant, sun-drenched, and authentic flavor of peaches truly shines through as the star of the show. This unwavering commitment to high-quality, fresh ingredients is precisely what distinguishes this recipe from others, delivering a depth of natural fruit flavor that simply cannot be replicated with lesser quality or out-of-season fruit.
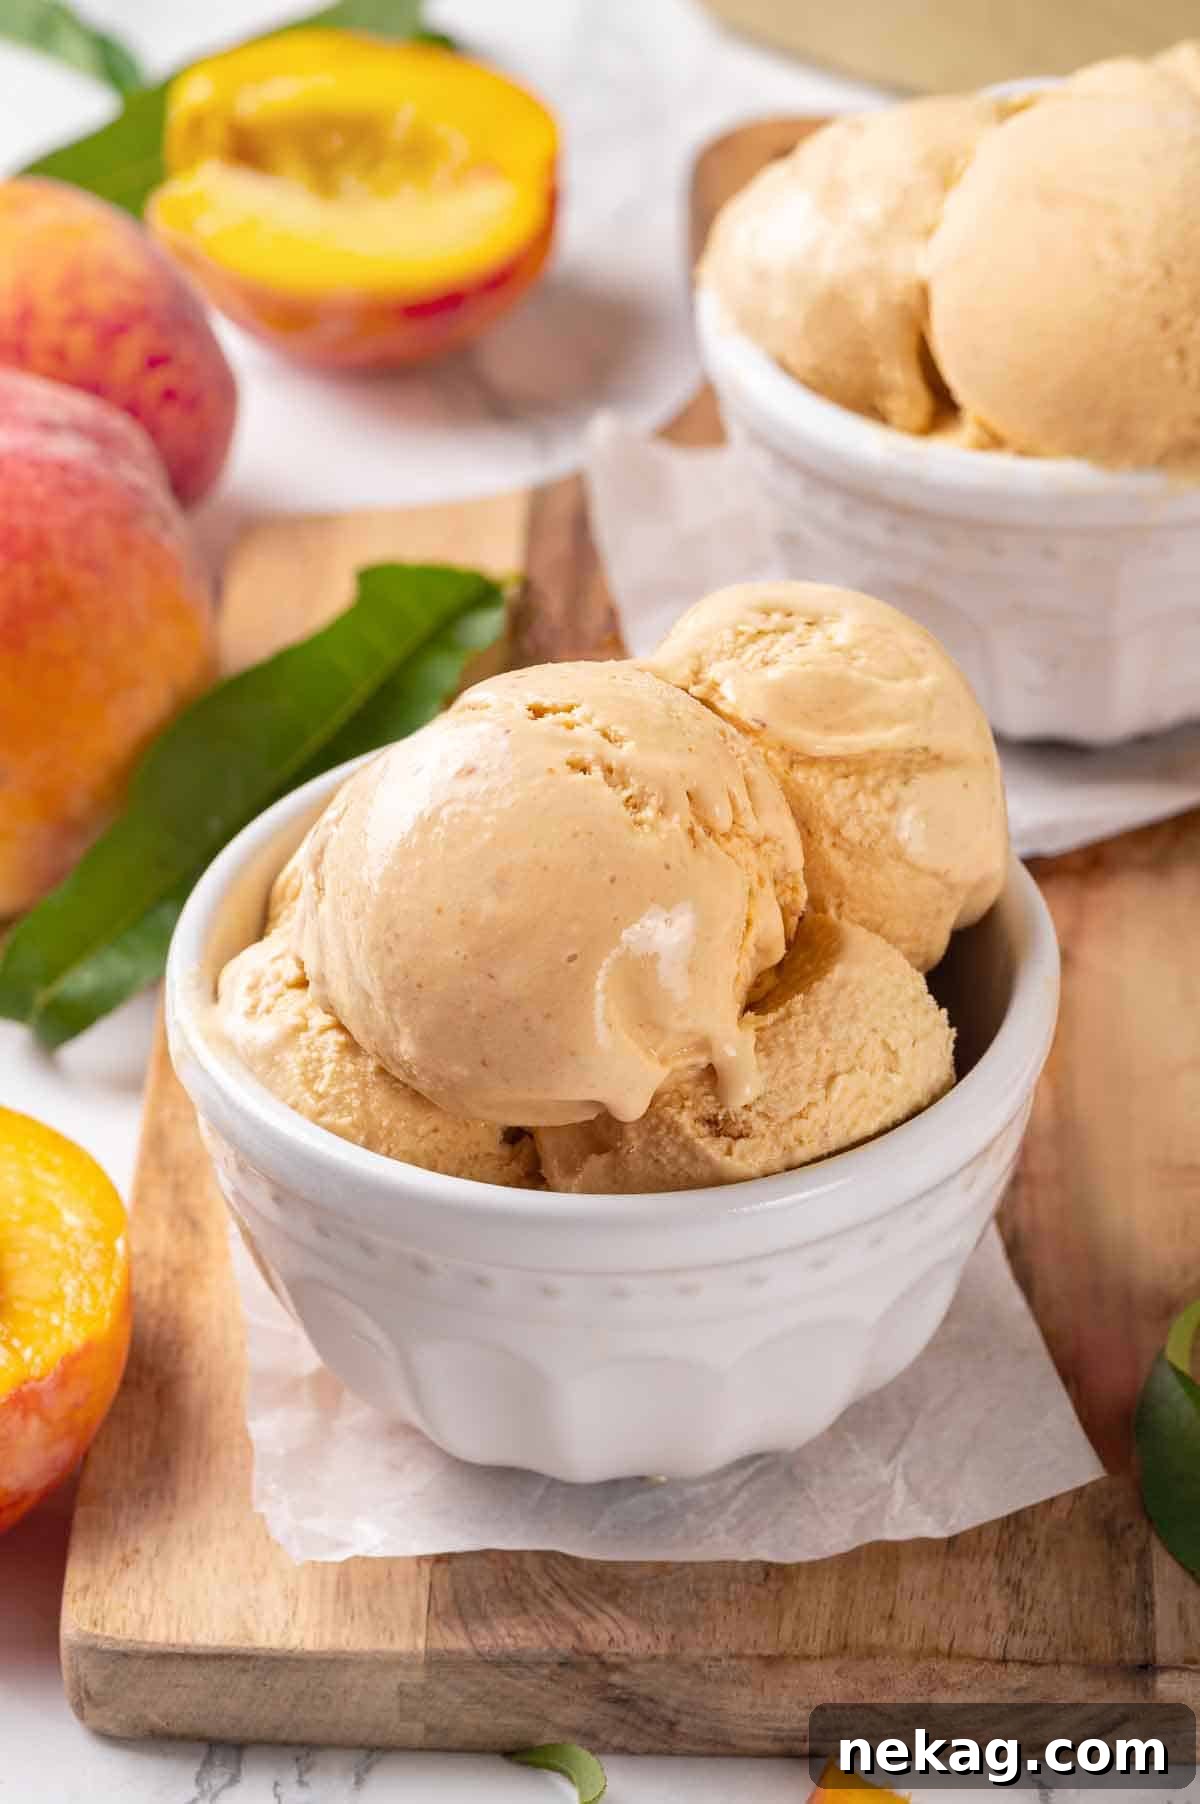
Professional Tips for Perfect Peach Ice Cream Every Time
Crafting truly exceptional homemade ice cream requires a bit of insider knowledge and attention to detail. Here are my top professional tips to ensure your peach ice cream turns out perfectly creamy, bursting with flavor, and utterly irresistible:
- Prioritize Fresh, Ripe Peaches Above All Else: This is arguably the single most crucial tip for outstanding peach ice cream. The intensity and authenticity of your ice cream’s flavor will directly reflect the quality and ripeness of your peaches. Always seek out fresh, in-season peaches that are wonderfully fragrant and yield slightly to gentle pressure when squeezed. While high-quality frozen peaches can serve as a substitute if fresh ones are unavailable (especially if you froze them yourself at their peak ripeness), they rarely capture the nuanced, vibrant, and sun-kissed taste of a truly fresh, optimally ripened peach. Think of those incredible, juicy Georgia or New Jersey peaches when they’re at their absolute best – that’s the unparalleled flavor profile you’re striving for. Their natural sweetness, intense aroma, and vibrant color are simply irreplaceable.
- Thoroughly Chill the Ice Cream Base – Patience is Key: In the world of ice cream making, patience is indeed a virtue, and thorough chilling is non-negotiable. Refrigerating your custard base for a minimum of 2 hours, and ideally overnight (8-12 hours), is essential for achieving a thick, supremely smooth, and delightfully non-icy final product. This prolonged chilling process ensures the mixture is as cold as possible before it even enters your ice cream maker. Why is this so important? A very cold base helps to maintain the frigid temperature inside your ice cream machine’s bowl, which in turn significantly minimizes the formation of large, undesirable ice crystals. The faster the mixture freezes during churning, the smaller the ice crystals will be, resulting in that coveted, luxurious creamy texture we all desire.
- Preserve the Delicate Fresh Peach Flavor with Gentle Cooking: Unlike traditional vanilla custard bases, which are often cooked over direct heat to a specific, higher temperature to achieve a thick consistency, this peach ice cream base is handled with a more delicate touch. The primary goal here is to gently cook the eggs just enough to ensure safety and provide a slight thickening to the base, all without overheating and inadvertently dulling the fresh, bright, and vibrant essence of the peaches. By carefully “tempering” the eggs with the hot cream mixture (rather than cooking the entire base over direct heat), we expertly encapsulate that pure, unadulterated peach flavor, allowing it to truly shine through as the star in the finished ice cream.
- Pre-freeze Your Storage Containers for Optimal Texture: Just as important as chilling your ice cream base is preparing your final storage vessels. A simple yet highly effective step is to place both your ice cream machine’s chilling bowl and any freezer-safe container(s) you plan to use for the final storage (like a loaf pan or an airtight container) into the freezer the night before. This foresight prevents the initial warmth of a room-temperature container from causing the freshly churned, soft-serve ice cream to melt around the edges. Any melted ice cream would then refreeze into an undesirable icy layer rather than maintaining its perfectly creamy consistency, compromising all your hard work.
- Avoid Over-Churning: Know When to Stop: It might be tempting to let your ice cream maker run for an extended period, but over-churning can actually be detrimental to your ice cream’s texture. Running the machine for too long can lead to two main issues: first, the heavy cream can over-agitate and begin to resemble butter, resulting in an unpleasantly greasy or fatty mouthfeel; and second, the machine’s freezing element might lose its optimal chill, causing the ice cream to warm up. This warming would then lead to the formation of large, icy crystals once the ice cream is transferred to the freezer. Stop churning as soon as the ice cream reaches the consistency of a thick soft-serve – it should hold its shape on a spoon.
Essential Ingredients & Smart Substitutions for Peach Ice Cream
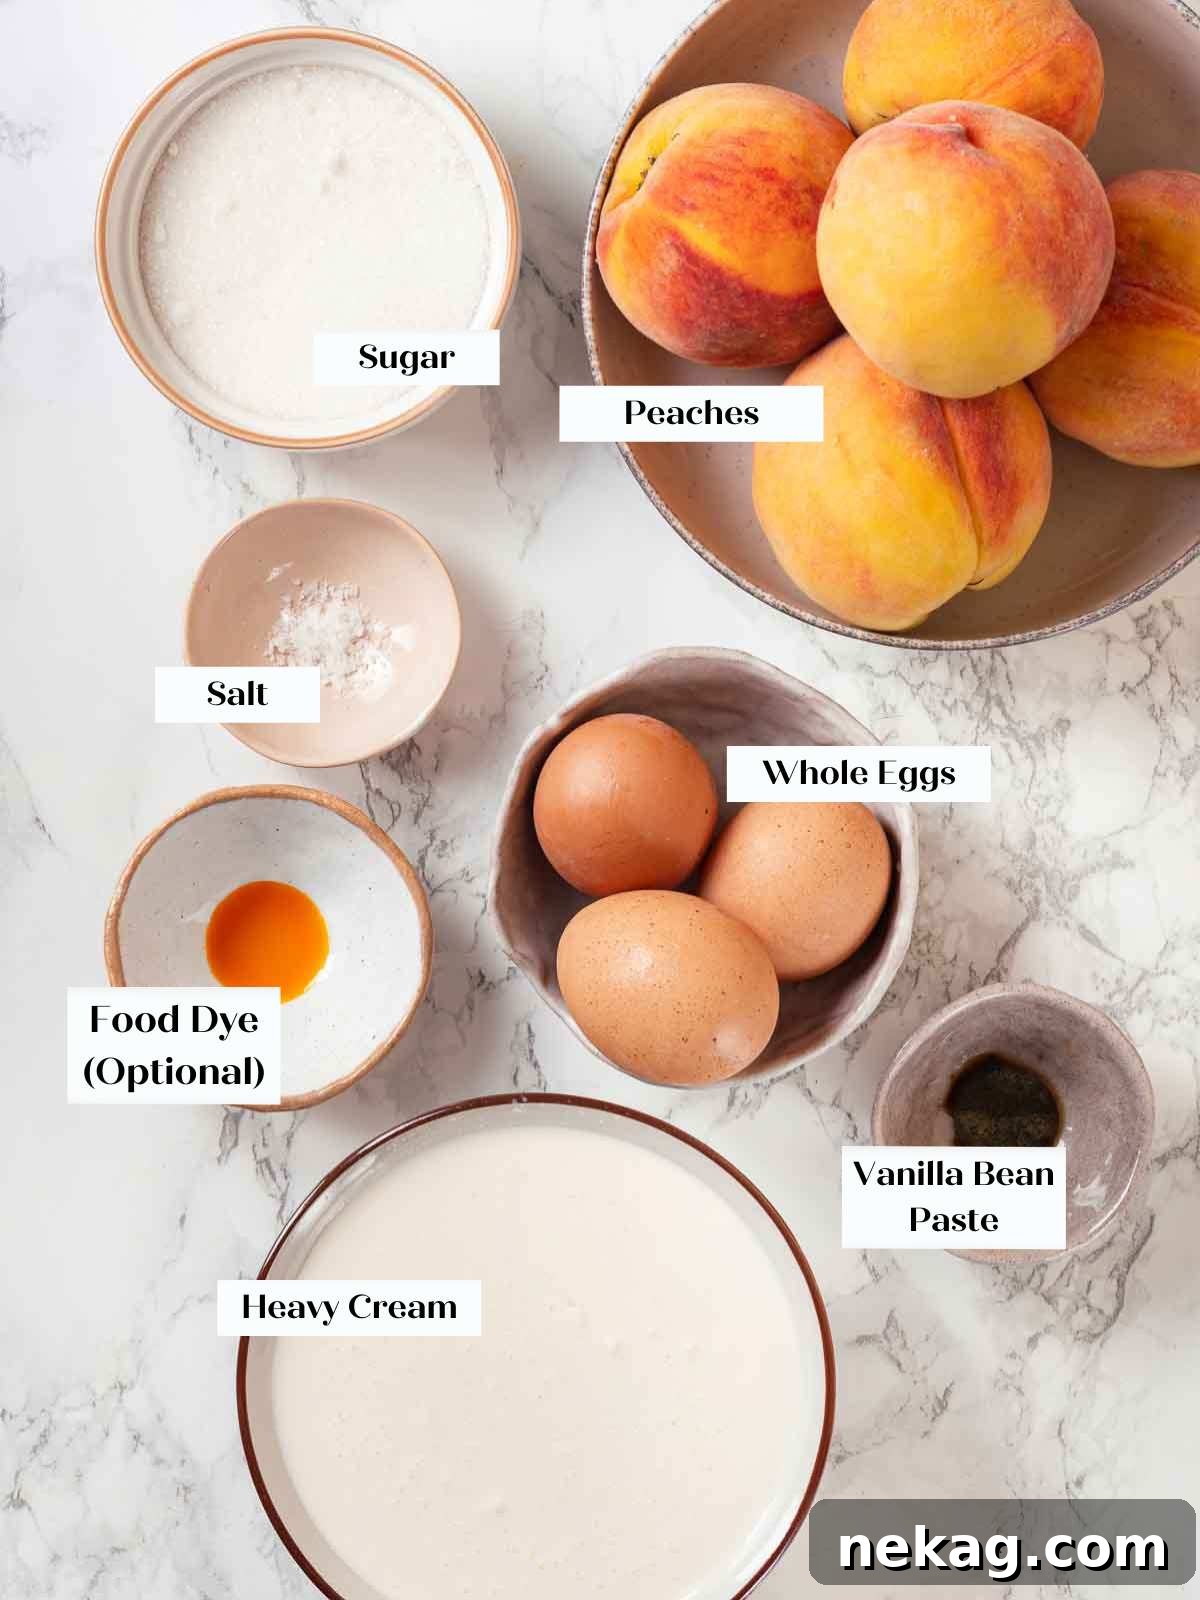
Each ingredient in this recipe is thoughtfully chosen and plays a vital role in achieving the perfect balance of flavor, richness, and texture. Here’s a closer look at what you’ll need and how to make smart choices or substitutions:
- Whole Eggs: Eggs are indispensable for creating a truly rich, smooth, and beautifully emulsified custard base. They contribute to the luxurious mouthfeel and help to thicken the ice cream. While many traditional recipes, such as my decadent chocolate ice cream, often call for only egg yolks to maximize richness, using whole eggs in this peach ice cream offers significant convenience without making a noticeable sacrifice in texture for most palates. If you truly crave the ultimate velvety indulgence and don’t mind the extra step of separating eggs, you can certainly substitute with an equivalent amount of yolks (typically 4-5 yolks for 3 whole eggs). As a bonus, you’ll have extra egg whites on hand for other delightful recipes like light and airy pavlova cake, fluffy Italian meringue buttercream, or a classic angel food cake!
- Granulated Sugar: Beyond simply providing sweetness, granulated sugar is a critical component for achieving the desired texture in ice cream. It plays a vital role in lowering the freezing point of the mixture, which is essential for preventing the formation of large, icy crystals and contributing to a significantly smoother, creamier final product. You can adjust the amount of sugar slightly based on the natural sweetness of your peaches and your personal preference, but it is crucial to avoid drastically reducing it, as this will directly and negatively impact the final creamy texture.
- Fresh Peaches: The undeniable star of this recipe! Always prioritize using fresh, perfectly ripe peaches for the most intense and authentic flavor. The best indication of a peach’s optimal flavor and ripeness is its aroma—it should smell distinctly, sweetly peachy and inviting. Gently squeeze the fruit; it should yield slightly to the pressure without being mushy. Peaches that have ripened naturally on the tree, such as the famous Georgia or New Jersey varieties when they are in peak season, will impart the most intense and truly authentic flavor to your ice cream. Make sure to grab a few extra for other timeless summer treats like a comforting peach cobbler!
- Heavy Cream: This is where the luxurious richness and much of the creamy texture of your ice cream originate. Heavy whipping cream boasts a high-fat content, which is absolutely essential for creating that desirable thick, opulent mouthfeel and actively preventing iciness. The abundant fat globules stabilize the mixture, contributing immensely to its smooth and luscious texture. Under no circumstances should you substitute with lighter creams (like half-and-half or light cream), as this will significantly compromise the final consistency and result in a less satisfying product.
- Whole Milk: Working in perfect partnership with the heavy cream, whole milk contributes to the ideal fat balance necessary for achieving that perfectly creamy, consistently non-icy texture. Its fat content is crucial; therefore, using low-fat, skim milk, or alternative milks (such as almond milk or oat milk) will considerably alter the final texture of your ice cream, almost certainly resulting in a more icy and significantly less satisfying frozen dessert.
- Salt: A tiny pinch of fine salt might seem counterintuitive in a sweet dessert recipe, but it is an incredibly effective flavor enhancer. It works by brightening and expertly balancing the sweetness of both the sugar and the fruit, making the natural peach flavor pop even more vividly and preventing the ice cream from tasting one-dimensionally sweet.
- Vanilla Bean Paste (Optional but Highly Recommended): While technically an optional ingredient, the marriage of pure vanilla bean and fresh peach creates a flavor combination that is truly sensational and harmonious. Vanilla bean paste not only delivers a deeper, more complex, and wonderfully aromatic vanilla flavor than standard vanilla extract, but it also adds those beautiful, speckled vanilla seeds that are a visual hallmark of high-quality, gourmet ice cream. If you don’t have paste, a good quality pure vanilla extract can be used, or for the ultimate indulgence, carefully scrape the seeds from half a fresh vanilla bean pod.
- Orange Food Coloring (Optional): The natural color of peach ice cream can sometimes be surprisingly pale, even with the most vibrant peaches. A tiny drop or two of orange food coloring is included purely for aesthetic appeal, serving to enhance the visual vibrancy of the ice cream to beautifully match its rich and delicious flavor. It’s entirely up to your preference whether you include it; rest assured, the taste will be unaffected.
Refer to the full recipe card below for exact measurements and further detailed instructions on how to best incorporate these ingredients.
Creative Variations to Customize Your Peach Ice Cream
While this peach ice cream recipe is a masterpiece in its original form, it also serves as a fantastic and versatile canvas for your culinary creativity. Don’t be shy about experimenting and truly making this dessert your own!
- For an Ultra-Bright, Undiluted Fresh Peach Flavor: If you consider yourself an adventurous home cook and prioritize an intense, raw, and untamed fruit flavor above all else, you can explore an alternative method where the eggs are not cooked. In this variation, the cold heavy cream and whole milk are simply combined with the whisked egg and peach mixture and then directly churned in the ice cream maker. While this method carries an inherent risk associated with consuming raw eggs (always use pasteurized eggs if attempting this), it undeniably results in an incredibly vibrant, “just-picked” peach taste that many ice cream enthusiasts adore.
- Nectarine Swap (or a Delicious Mix): For those who, like me, sometimes prefer the subtle differences of nectarines, they make an absolutely excellent substitute for peaches in this recipe. Nectarines possess a naturally smoother skin (no need to worry about straining peels if you leave them on!) and often a slightly more intense sweetness, making them ideal for this frozen treat. You can use nectarines in a simple 1:1 ratio as a direct replacement, or for a wonderfully nuanced fruit blend, try combining an equal mix of both peaches and nectarines.
- Infuse with Additional Complementary Flavorings: Elevate the flavor profile of your ice cream by introducing carefully chosen complementary flavors that enhance rather than overpower the peach:
- Citrus Zest or Juice: A tablespoon of freshly squeezed lemon or lime juice, or even a teaspoon of grated zest, added to the base before churning can significantly brighten the natural peach flavor, adding a delightful zesty counterpoint and enhancing its vibrancy.
- Spirits for Sophistication: A modest splash (1-2 tablespoons) of a quality aged whiskey, bourbon, or even an unexpected smoky Mezcal can add a sophisticated depth and a subtle, warming undertone to your ice cream. As an added benefit, alcohol helps to keep ice cream softer and more scoopable by naturally lowering its freezing point.
- Aromatic Dairy Infusions: Before heating your heavy cream and whole milk, infuse them with warm aromatics. Consider adding a whole cinnamon stick, a few thin slices of fresh ginger, or strips of orange peel directly to the saucepan. Gently heat the mixture, then let it steep off the heat for 15-20 minutes. Remember to strain out all solids before proceeding to temper the eggs, leaving behind only a delicate, fragrant undertone.
- Go Wild with Delicious Mix-ins: Just as you would customize a classic vanilla ice cream, this luscious peach base provides a fantastic foundation for a wide variety of delightful additions. Don’t be shy about incorporating your favorite mix-ins during the last few minutes of churning, or by layering them into the ice cream as you transfer it to your storage container. Consider these delectable options:
- Crushed gingersnaps or shortbread cookies for a spicy, buttery crunch.
- A luxurious swirl of homemade salted caramel sauce, similar to how it perfectly enhances the flavors in my caramel chocolate ice cream.
- Finely chopped and toasted pecans or walnuts for a delightful nutty element and added texture.
- Small chunks of high-quality white chocolate or milk chocolate for a decadent and creamy touch.
- Even crushed chocolate sandwich cookies for a playful and contrasting twist, like a peach ‘n’ cookies ice cream!
Step-by-Step Guide: How to Make Fresh Peach Ice Cream
Follow these detailed, easy-to-understand instructions to create luscious, creamy peach ice cream from scratch. Precision in each step ensures a wonderfully smooth, rich, and flavorful result every single time. For precise measurements and a printable version, please refer to the comprehensive recipe card provided further below.
Preparation is Key: The Night Before
- Pre-freeze Equipment: The night before you intend to churn your ice cream, place the chilling bowl of your ice cream maker into the coldest part of your freezer. Additionally, put any freezer-safe containers you plan to use for storing the churned ice cream (such as a loaf pan or an airtight plastic container) into the freezer as well. This crucial preparatory step is essential to prevent premature melting and inhibit large ice crystal formation once the ice cream is churned.
Pro Tip for Creaminess: Pre-freezing your storage containers is just as vital as chilling your ice cream maker’s bowl. Even a slightly warm container can cause the freshly churned, soft-serve consistency ice cream to melt around the edges. This melted portion would then refreeze into an undesirable icy layer during final hardening, rather than maintaining its perfectly smooth and creamy consistency throughout. Keeping everything as cold as possible from the start ensures optimal creaminess and a superior final product.
Crafting the Rich Peach Custard Base
- Whisk Eggs and Sugar: In a large, heat-proof mixing bowl, vigorously whisk the whole eggs until they are smooth, uniformly combined, and appear slightly lighter in color. Gradually add the granulated sugar to the eggs, continuing to whisk constantly and vigorously until the mixture is completely smooth, well combined, and the sugar has largely dissolved. This creates a stable and ready-to-be-tempered base for your custard.
- Prepare and Incorporate Peaches: Thoroughly wash and dry your fresh peaches. Carefully cut each peach in half, remove the pit, and then chop the fruit into small, manageable chunks. Transfer these chopped peaches to a food processor or blender and process until you achieve a smooth puree. Measure out approximately 2 ¼ to 2 ½ cups of this vibrant peach puree and stir it thoroughly into your whisked egg and sugar mixture until fully combined.
Chef’s Note on Peeling: You do not necessarily need to peel the peaches before pureeing them! The skin of ripe peaches contributes significantly to both the beautiful natural color and adds an extra layer of authentic flavor to your ice cream. If you prefer a completely silken-smooth texture, the tiny bits of peel will be naturally strained out in a later step after the base is cooked. However, leaving them unstrained (and unstrained after tempering) provides a delightful, subtle texture and even more genuine peach essence, offering a rustic charm.
Tempering and Chilling the Base
- Heat Dairy Mixture: In a medium-sized, heavy-bottomed saucepan, combine the heavy cream, whole milk, and a pinch of salt. Place the saucepan over medium heat and bring the mixture to a gentle, rolling boil, stirring occasionally with a whisk or spatula to prevent the dairy from scorching at the bottom. Once it reaches a boil, immediately remove the saucepan from the heat.
- Temper the Eggs Carefully: This step is absolutely critical for creating a smooth, uncurdled custard. While continuously whisking the egg and peach mixture vigorously in the large bowl, slowly pour the hot cream mixture into the eggs in a thin, steady stream. It is imperative to whisk constantly and vigorously throughout this process until all of the hot cream has been fully incorporated into the egg mixture. This gradual addition gently raises the temperature of the eggs without scrambling them, effectively “tempering” the base and ensuring a smooth custard.
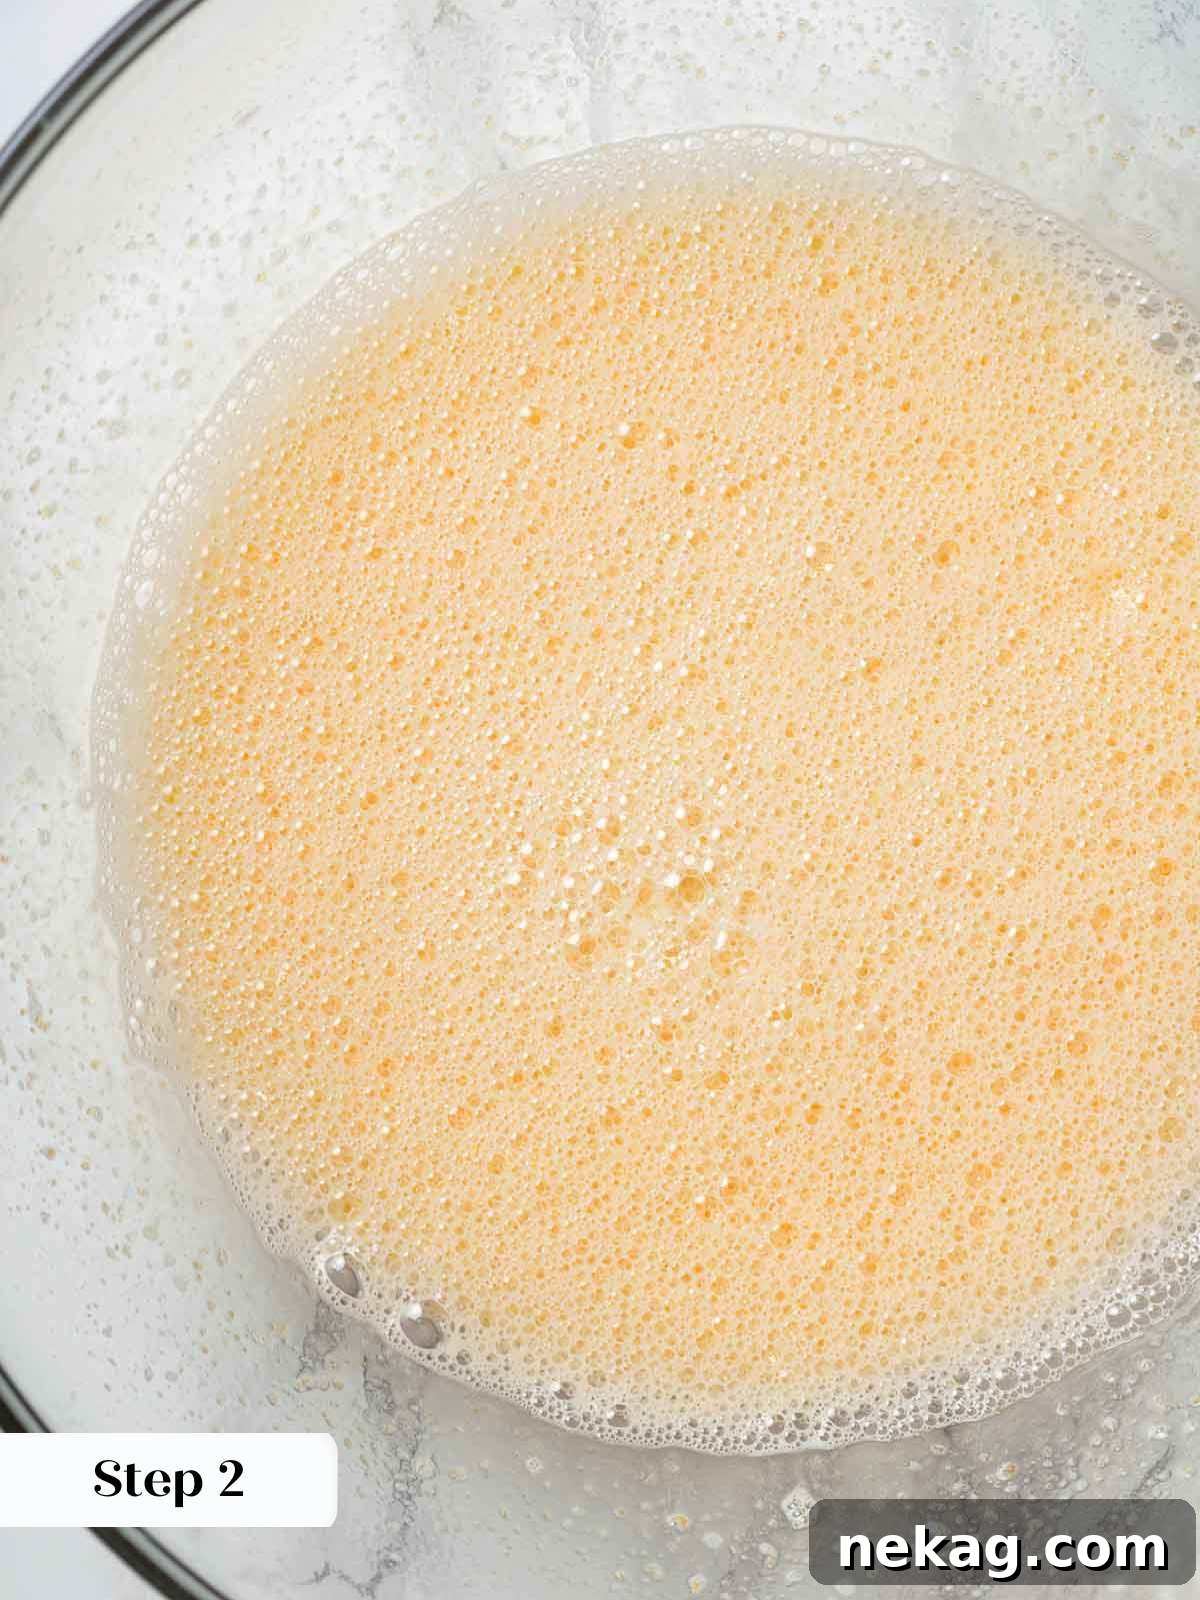
Whisking eggs and sugar.
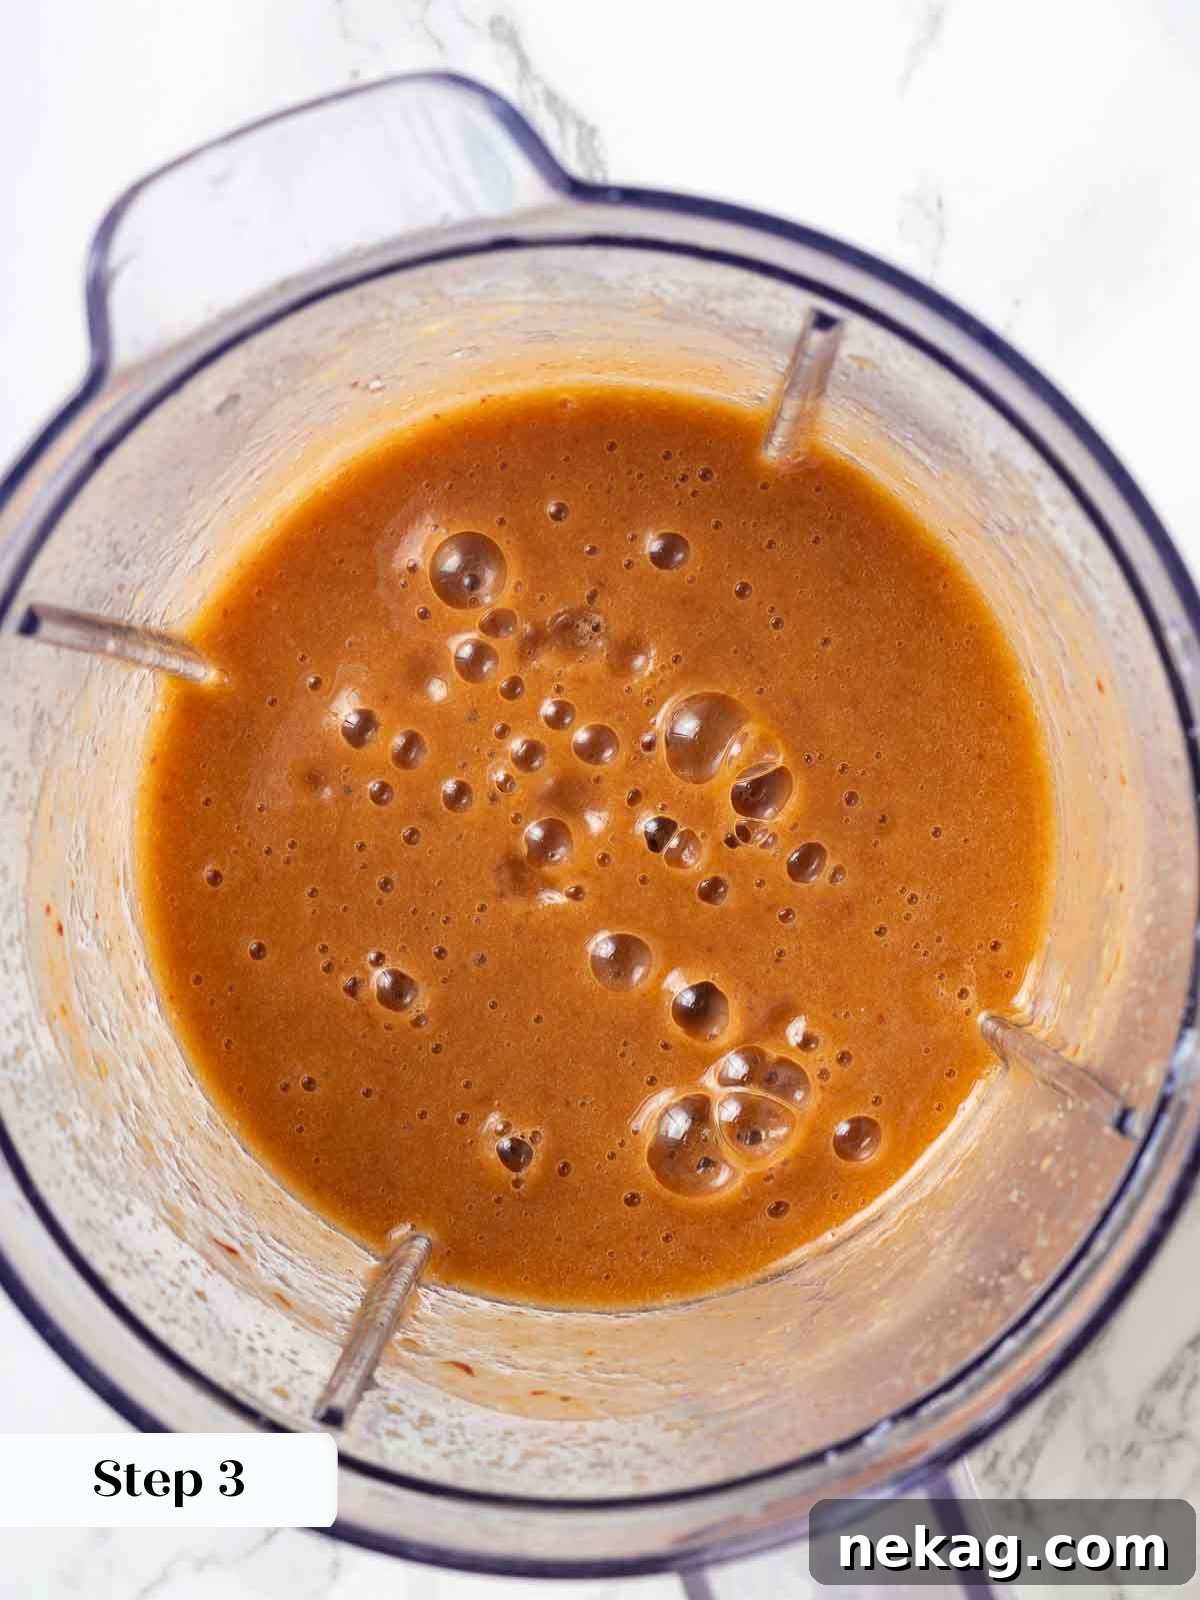
Pureed fresh peaches.
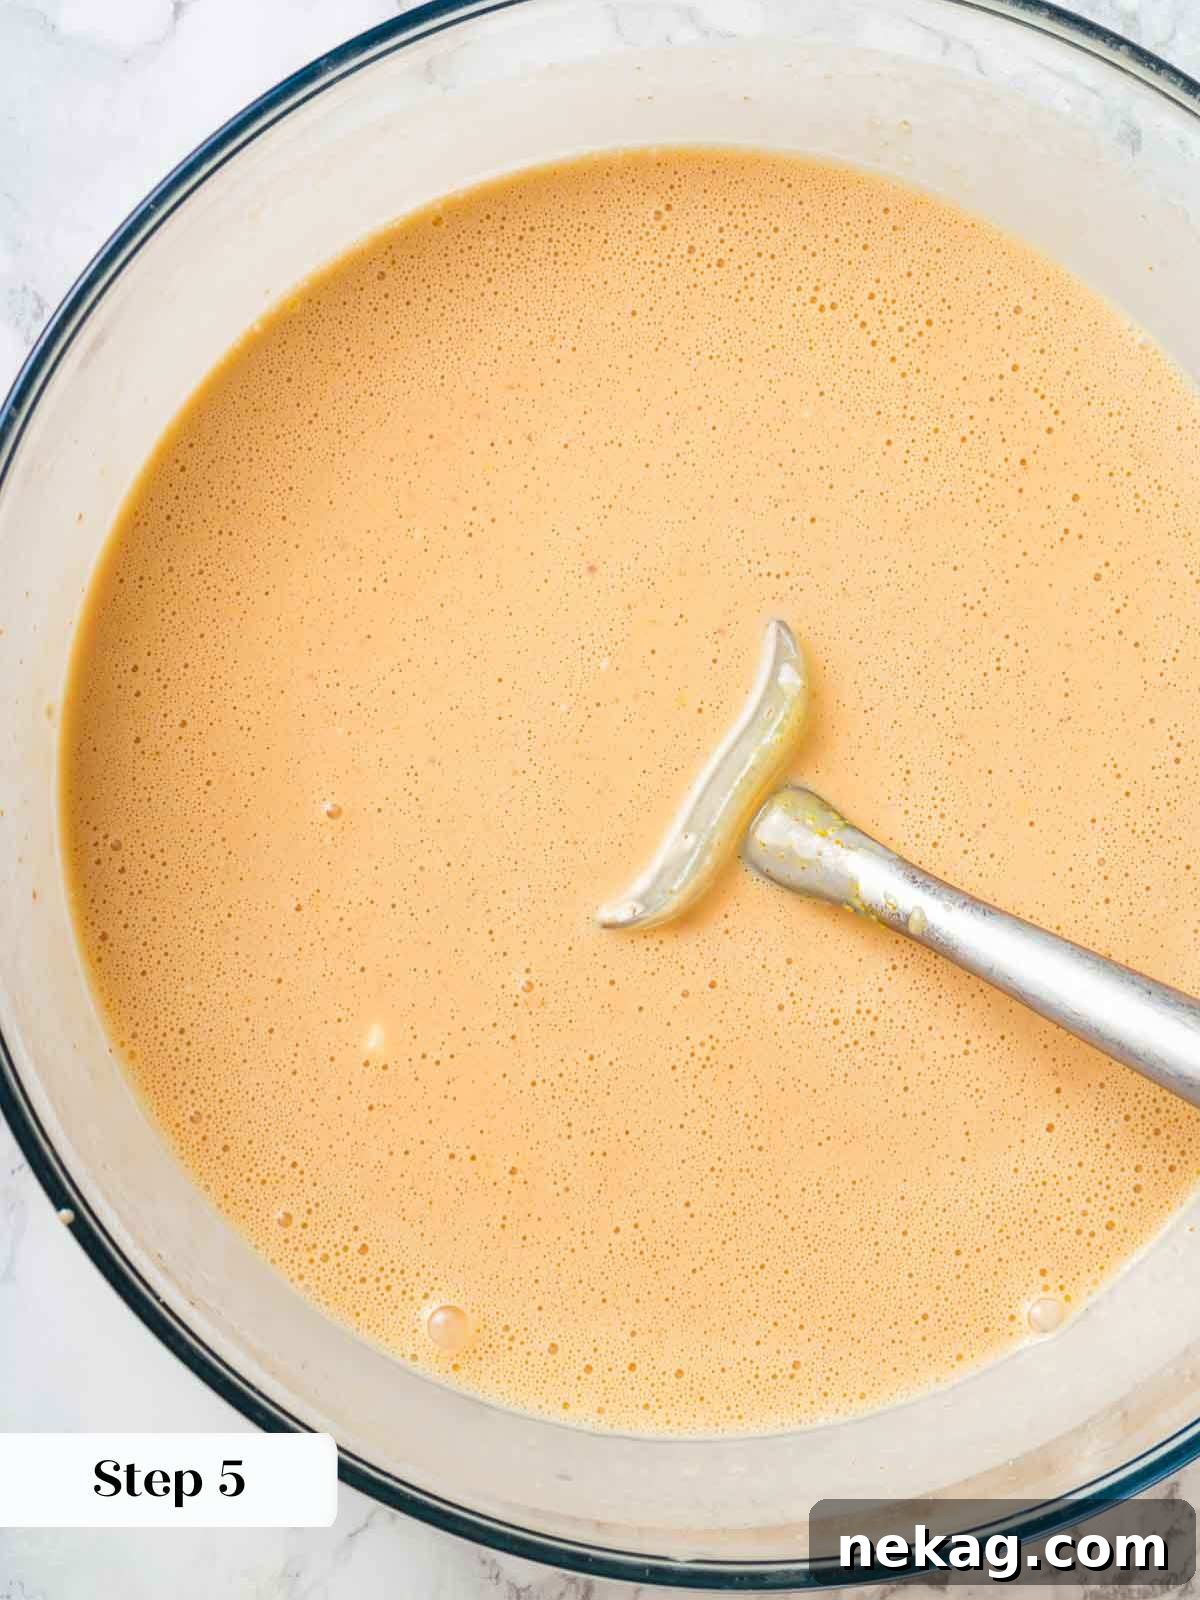
Combined ice cream base.
- Strain and Thoroughly Chill: Carefully pour the entire tempered ice cream base through a fine mesh sieve into a clean, large bowl. This essential step removes any tiny bits of cooked egg, peach peel, or other solids, ensuring an ultra-smooth and luscious texture. Stir in the vanilla bean paste (if you are using it) and any optional orange food coloring for a more visually vibrant hue. Cover the bowl securely with plastic wrap, pressing the wrap directly onto the surface of the custard. This prevents a “skin” from forming and reduces air exposure. Refrigerate the base until it is completely and thoroughly cold, ideally for at least 2 hours or, even better, overnight for optimal results.
Churning and Freezing for Perfection
- Churn the Ice Cream: Once your ice cream base is thoroughly chilled (this is paramount!), transfer it to your pre-frozen ice cream maker bowl. Churn the mixture according to your specific appliance manufacturer’s instructions. This process typically takes approximately 20-30 minutes, during which the mixture will gradually thicken to the luxurious consistency of soft-serve ice cream. It should hold its shape on a spoon, indicating it’s ready for the next stage.
Important: Do Not Over-Churn! It is absolutely crucial to stop churning as soon as the ice cream reaches the desired soft-serve consistency. Allowing the machine to run for too long can lead to two undesirable outcomes: first, the heavy cream will separate and begin to turn into butter, resulting in an unpleasantly greasy or fatty mouthfeel that spoils the texture; and second, the ice cream maker’s freezing element might lose its optimal chill, causing the ice cream to warm up slightly. This warming would then lead to the formation of large, icy crystals once transferred to the deep freezer, compromising that coveted creamy texture. Pay close attention to the texture and stop when it’s just right.
- Final Freeze & Hardening: Immediately and swiftly transfer the freshly churned ice cream into your pre-frozen storage container(s). Gently smooth the top surface with a spatula. Then, cover the surface directly with plastic wrap (ensuring it touches the ice cream) to create a barrier against air and prevent the formation of large ice crystals on the ice cream’s surface. Finally, seal the container and place it in the deepest part of your freezer for at least 2 hours, or until the ice cream is frozen solid and perfectly firm enough for easy scooping.
Final Pro Tip for Storage: Placing plastic wrap directly onto the surface of the ice cream before sealing the container is a small but powerful step. This barrier significantly limits air exposure, which is the primary cause of large ice crystal formation and freezer burn. This simple technique helps maintain a consistently smooth and delightful texture throughout the entire batch during storage.
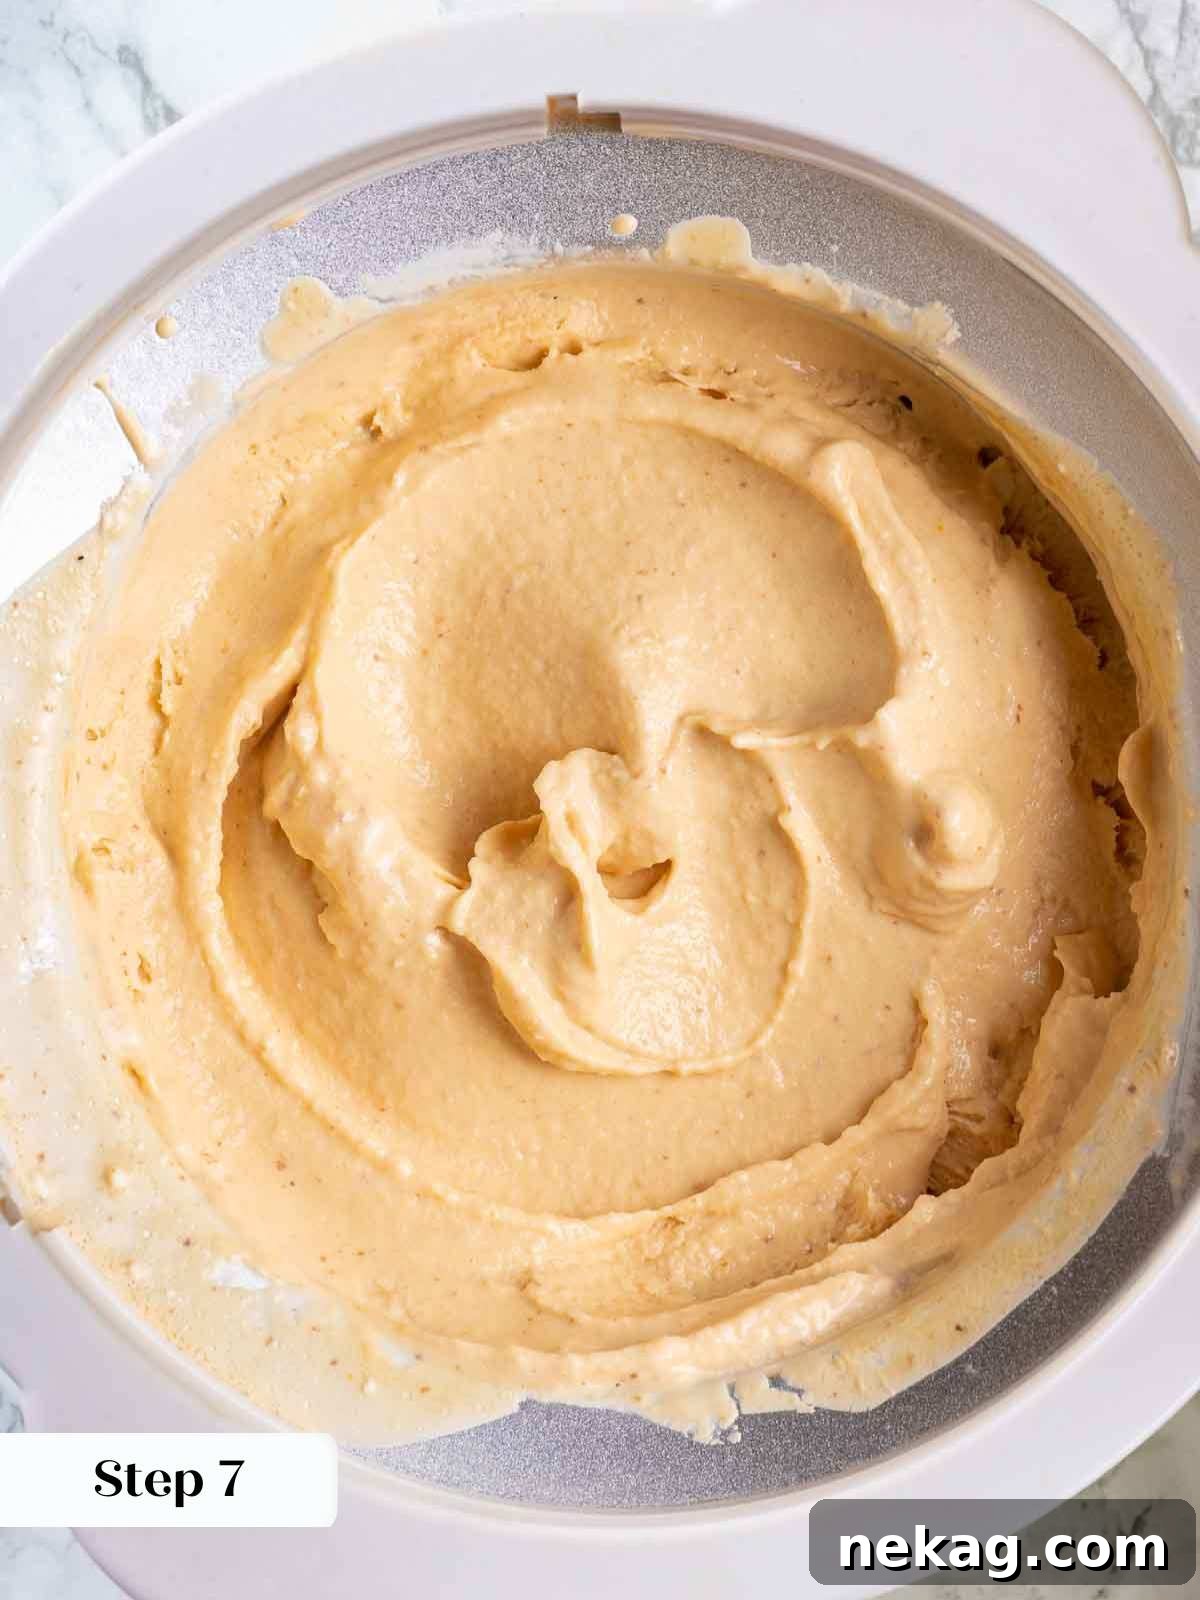
Churning the ice cream.
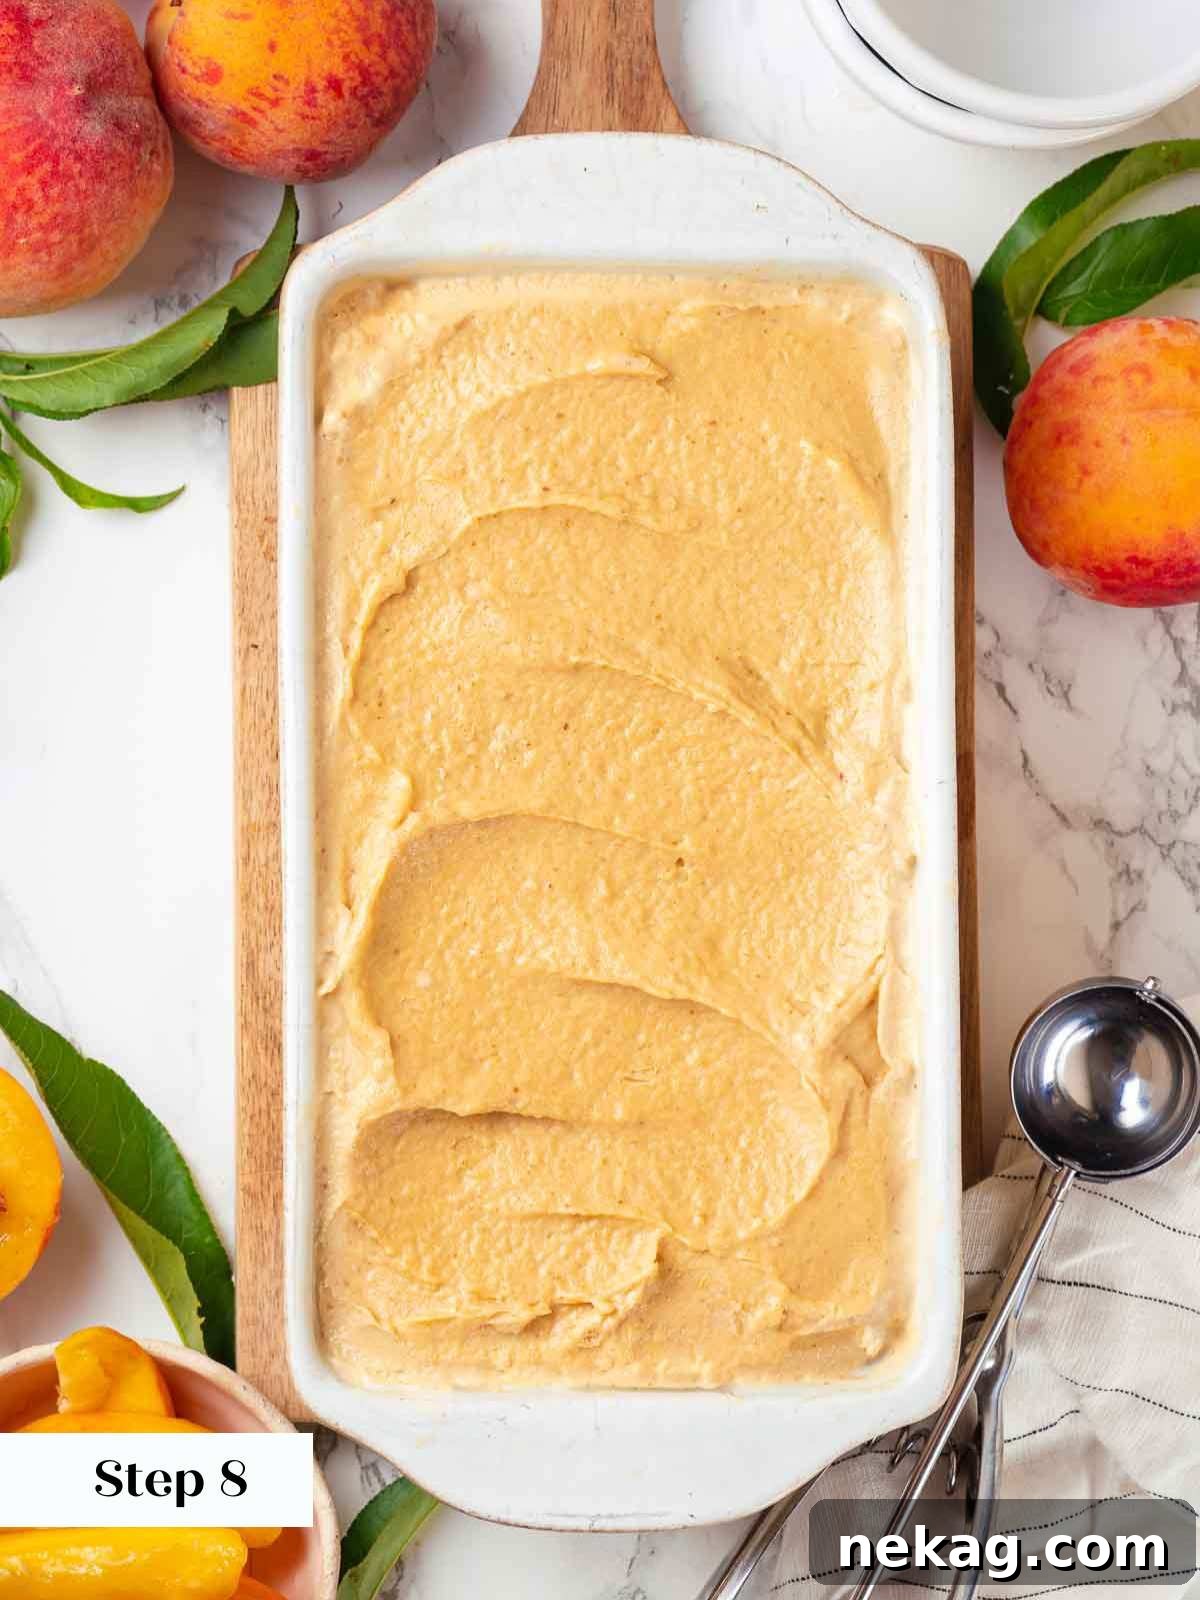
Transferring to a container.
Frequently Asked Questions About Peach Ice Cream
How should I store homemade peach ice cream for best results?
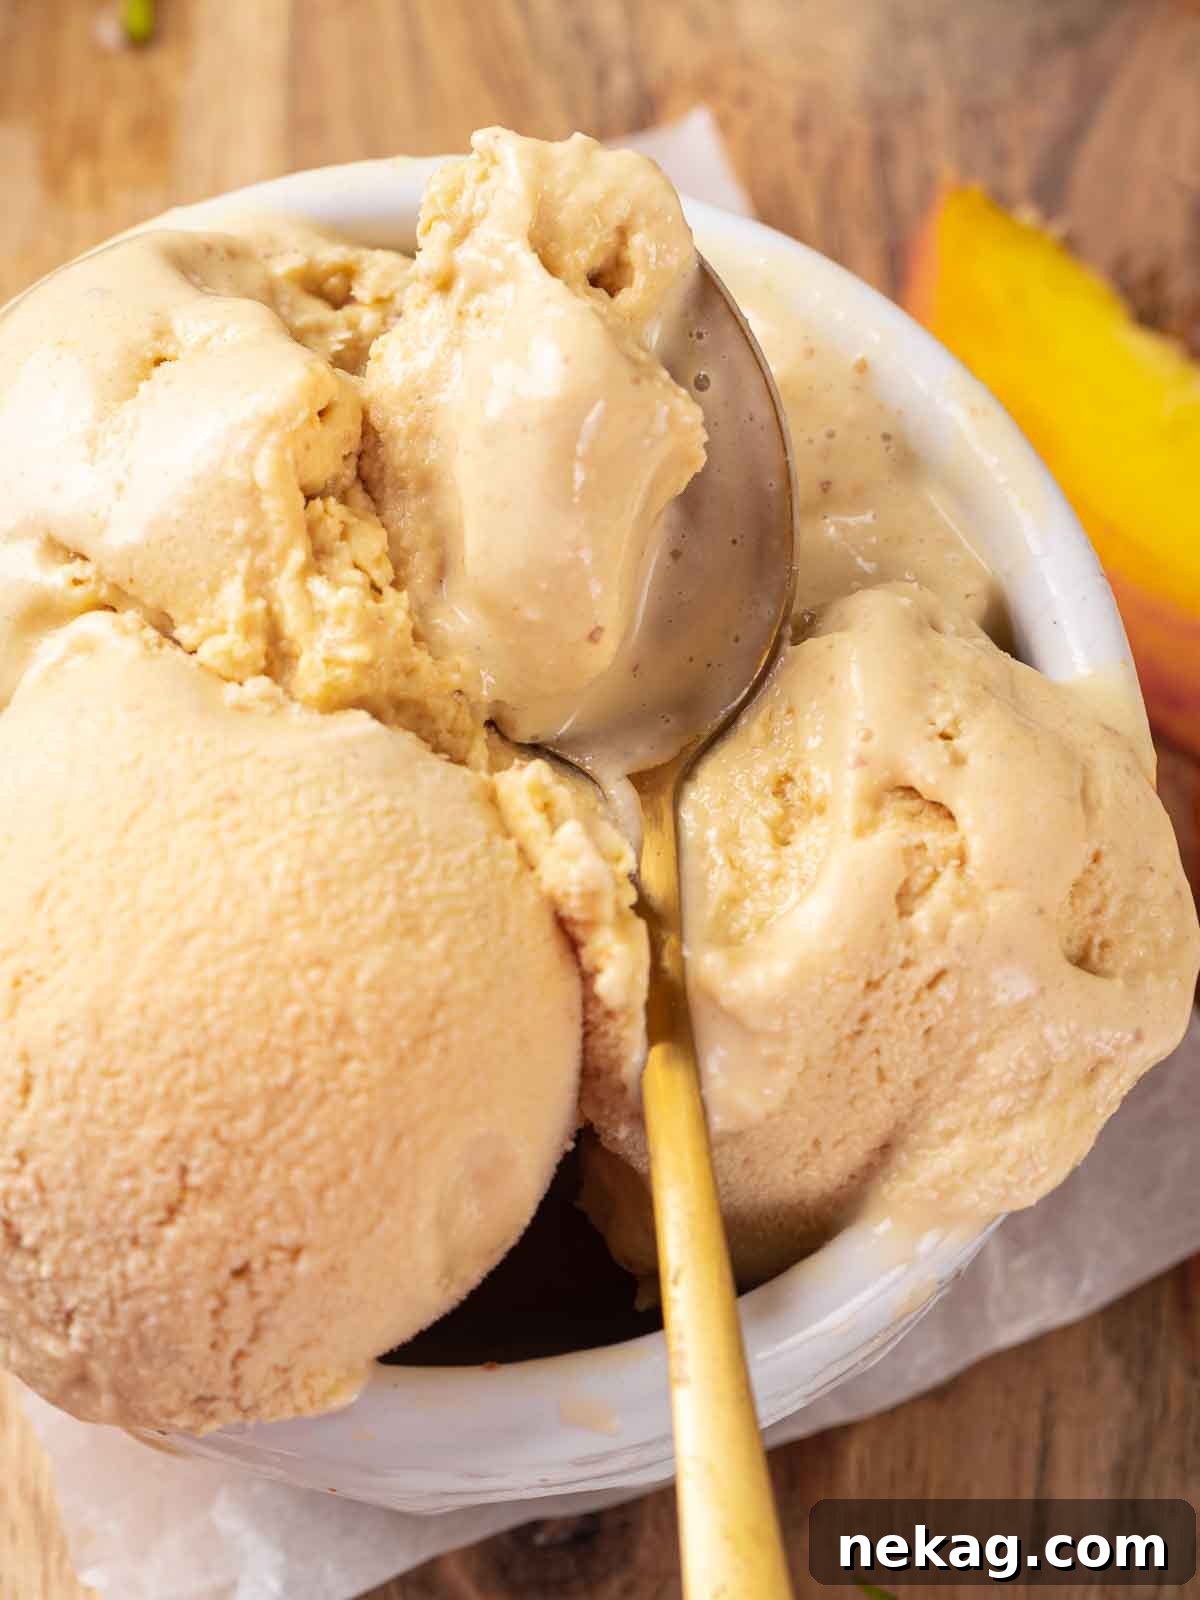
For optimal freshness, texture, and to minimize ice crystal formation, always store your churned peach ice cream in a clean, airtight freezer-safe container. Before sealing the container, ensure you press plastic wrap or parchment paper directly onto the surface of the ice cream to prevent air exposure, which is the main culprit for iciness and freezer burn. Stored properly, homemade peach ice cream will maintain its best quality, including its creamy texture and vibrant flavor, for up to 1 month. Beyond that timeframe, while still perfectly safe to eat, its texture may gradually become icier due to typical freezer temperature fluctuations and the natural aging process.
What are the best ways to serve peach ice cream?
Peach ice cream is utterly delicious and satisfying on its own, whether served in a classic scoop, piled high in a crunchy cone, or enjoyed simply from a bowl. However, if you’re looking to elevate the experience and add a gourmet touch, consider these delightful serving ideas:
- Ice Cream Sandwiches: Create memorable summer ice cream sandwiches by pairing generous scoops of peach ice cream between two soft and chewy sugar cookies, or even delicate shortbread.
- Gourmet Sundae: Craft an impressive peach sundae by topping it with a warm, crumbly brown sugar streusel topping, a luxurious drizzle of fresh peach preserves, and perhaps a dollop of freshly whipped cream.
- Pie A La Mode: The ultimate classic! Serve a scoop alongside a slice of warm peach pie, a comforting peach cobbler, or even a simple pound cake for a truly decadent combination.
- With Fresh Berries: A simple topping of complementary fresh raspberries, blueberries, or thinly sliced strawberries adds vibrant color, a burst of contrasting tartness, and additional fruity freshness.
And as a delicious side note, while you’re thinking about peaches and streusel, don’t miss out on trying these equally delightful peach streusel muffins!
Can I substitute half-and-half for heavy cream and milk?
Substituting half-and-half directly for both the heavy cream and whole milk in this specific recipe is generally not recommended, as it will significantly impact the final texture of your ice cream. Half-and-half has a notably lower fat content than heavy cream, which is crucial for achieving that signature creamy, non-icy consistency. While you *could* potentially substitute half-and-half for *just* the whole milk without a drastic change in texture, using it for *both* the cream and milk components will almost certainly result in an ice cream that is noticeably less creamy, lacks richness, and is much more prone to developing an icy texture. For the best, most luxurious, and perfectly scoopable results, it’s highly advised to stick to the specified heavy cream and whole milk to achieve that signature smooth consistency.
Do I need an ice cream maker for this recipe?
Yes, this recipe is specifically designed and optimized for use with a traditional ice cream maker. The continuous churning process provided by an ice cream machine is absolutely essential as it constantly agitates the mixture while it freezes. This crucial action incorporates air and prevents large ice crystals from forming, which is what ultimately results in the incredibly smooth, light, and creamy texture that we desire in classic ice cream. While there are “no-churn” ice cream recipes available, they typically rely on different ingredient balances (often using condensed milk and whipped cream) to achieve a similar frozen effect and will yield a distinctly different texture than this custard-based recipe. For this specific recipe and its intended results, an ice cream maker is an indispensable tool.
Can I use frozen peaches instead of fresh ones?
While fresh, perfectly ripe peaches are unequivocally highly recommended for their superior, vibrant flavor and intense natural aroma, you can certainly use high-quality frozen peaches as a viable alternative if fresh ones are out of season or simply unavailable. If using frozen peaches, ensure they are unsweetened and completely thawed before you proceed to puree them. Be mindful that the overall flavor and intensity might not be as remarkably vibrant or complex as with peak-season fresh peaches, and you might need to slightly adjust the amount of added sugar in the recipe if your chosen frozen peaches happen to have any added sweetness or syrup. Always taste your puree and adjust accordingly.
If you tried this recipe and absolutely loved it, please consider leaving a 🌟 star rating and sharing your delightful experience in the comments section below. Your feedback truly brightens my day and helps others discover this wonderful recipe!
The Complete Peach Ice Cream Recipe
by Chef Lindsey
This peach ice cream recipe is made with fresh, juicy peaches and is easier than you think! Adding vanilla bean paste and using ripe peaches make this the best peach ice cream you’ll ever try!
Prep: 20 mins | Freeze Time: 2 hrs | Total: 2 hrs 50 mins | Servings: 10 people
Ingredients
- 3 large eggs
- 1 ½ cups granulated sugar
- 5 ripe peaches, pitted and chopped (yields approximately 2 ¼ – 2 ½ cups puree)
- 2 ½ cups heavy cream
- ½ cup whole milk
- ¼ teaspoon fine salt
- 1 teaspoon vanilla bean paste (optional, but highly recommended)
- A few drops of orange food coloring (optional, for vibrant color)
Instructions
- The night before you plan to make the ice cream, place the chilling bowl of your ice cream maker and any freezer-safe containers for storage into the freezer.
- In a large, heat-proof bowl, whisk the eggs until smooth and light. Gradually whisk in the granulated sugar until the mixture is thoroughly combined and smooth.
- Puree the chopped peaches in a food processor or blender until smooth. Stir the peach puree (approximately 2 ¼ – 2 ½ cups) into the egg and sugar mixture.
- In a medium saucepan over medium heat, combine the heavy cream, whole milk, and salt. Bring the mixture to a gentle boil, then immediately remove it from the heat.
- While continuously whisking the egg mixture, slowly pour the hot cream mixture into the eggs in a thin, steady stream. Whisk vigorously until all the cream has been fully incorporated and the base is tempered.
- Strain the entire ice cream base through a fine mesh sieve into a clean large bowl to remove any solids. Stir in the vanilla bean paste and optional orange food coloring, if desired. Cover the bowl with plastic wrap, pressing the wrap directly onto the surface to prevent a skin from forming. Refrigerate until completely cold, at least 2 hours or preferably overnight.
- Transfer the thoroughly chilled ice cream base to your pre-frozen ice cream maker bowl. Churn according to your manufacturer’s instructions until the ice cream is thickened to a soft-serve consistency, typically 20-30 minutes. Be careful not to over-churn.
- Immediately spoon the churned ice cream into your pre-frozen storage container(s). Cover the surface directly with plastic wrap, then seal the container. Freeze for at least 2 hours, or until the ice cream is solid and ready to scoop.
Notes
- Yield: Approximately 1 quart.
- Presentation: The orange food coloring is optional but without it, the natural peach color will be lighter and less vibrant.
- Recipe Source: This recipe was originally by Kristi from Inspiration Kitchen (no longer active). I updated it in 2024 to include cooking the eggs for safety and improved texture. The original method, which did not cook the eggs, offered a very fresh peach flavor but carries raw egg risks.
- Storage: The prepared (uncooked) ice cream base can be stored in an airtight container in the refrigerator for up to 5 days before churning. Churned ice cream, when well-wrapped, can be stored in the freezer for up to a month. Over time, slight iciness may develop due to freezer cycles.
Nutrition
Calories: 377kcal | Carbohydrates: 40g | Protein: 4g | Fat: 23g | Saturated Fat: 14g | Polyunsaturated Fat: 1g | Monounsaturated Fat: 6g | Trans Fat: 0.01g | Cholesterol: 118mg | Sodium: 108mg | Potassium: 185mg | Fiber: 1g | Sugar: 39g | Vitamin A: 1210IU | Vitamin C: 3mg | Calcium: 65mg | Iron: 1mg
Recipe Details
- Course: Dessert
- Cuisine: American
- Calories: 377
Before You Go
Thank you for exploring this comprehensive guide to crafting the ultimate homemade peach ice cream. I sincerely hope you thoroughly enjoy creating and savoring this wonderfully fresh and delightful summer recipe. If you’re eager to discover more tantalizing frozen treats or seasonal desserts, be sure to check out our other enticing ice cream recipes for a variety of flavors and styles. For a broader array of warm-weather delights, dive into our curated collection of summer dessert recipes, or get inspired by our specially compiled list of 20 Easy Summer Dessert Recipes! Happy scooping and enjoy every sweet moment!