
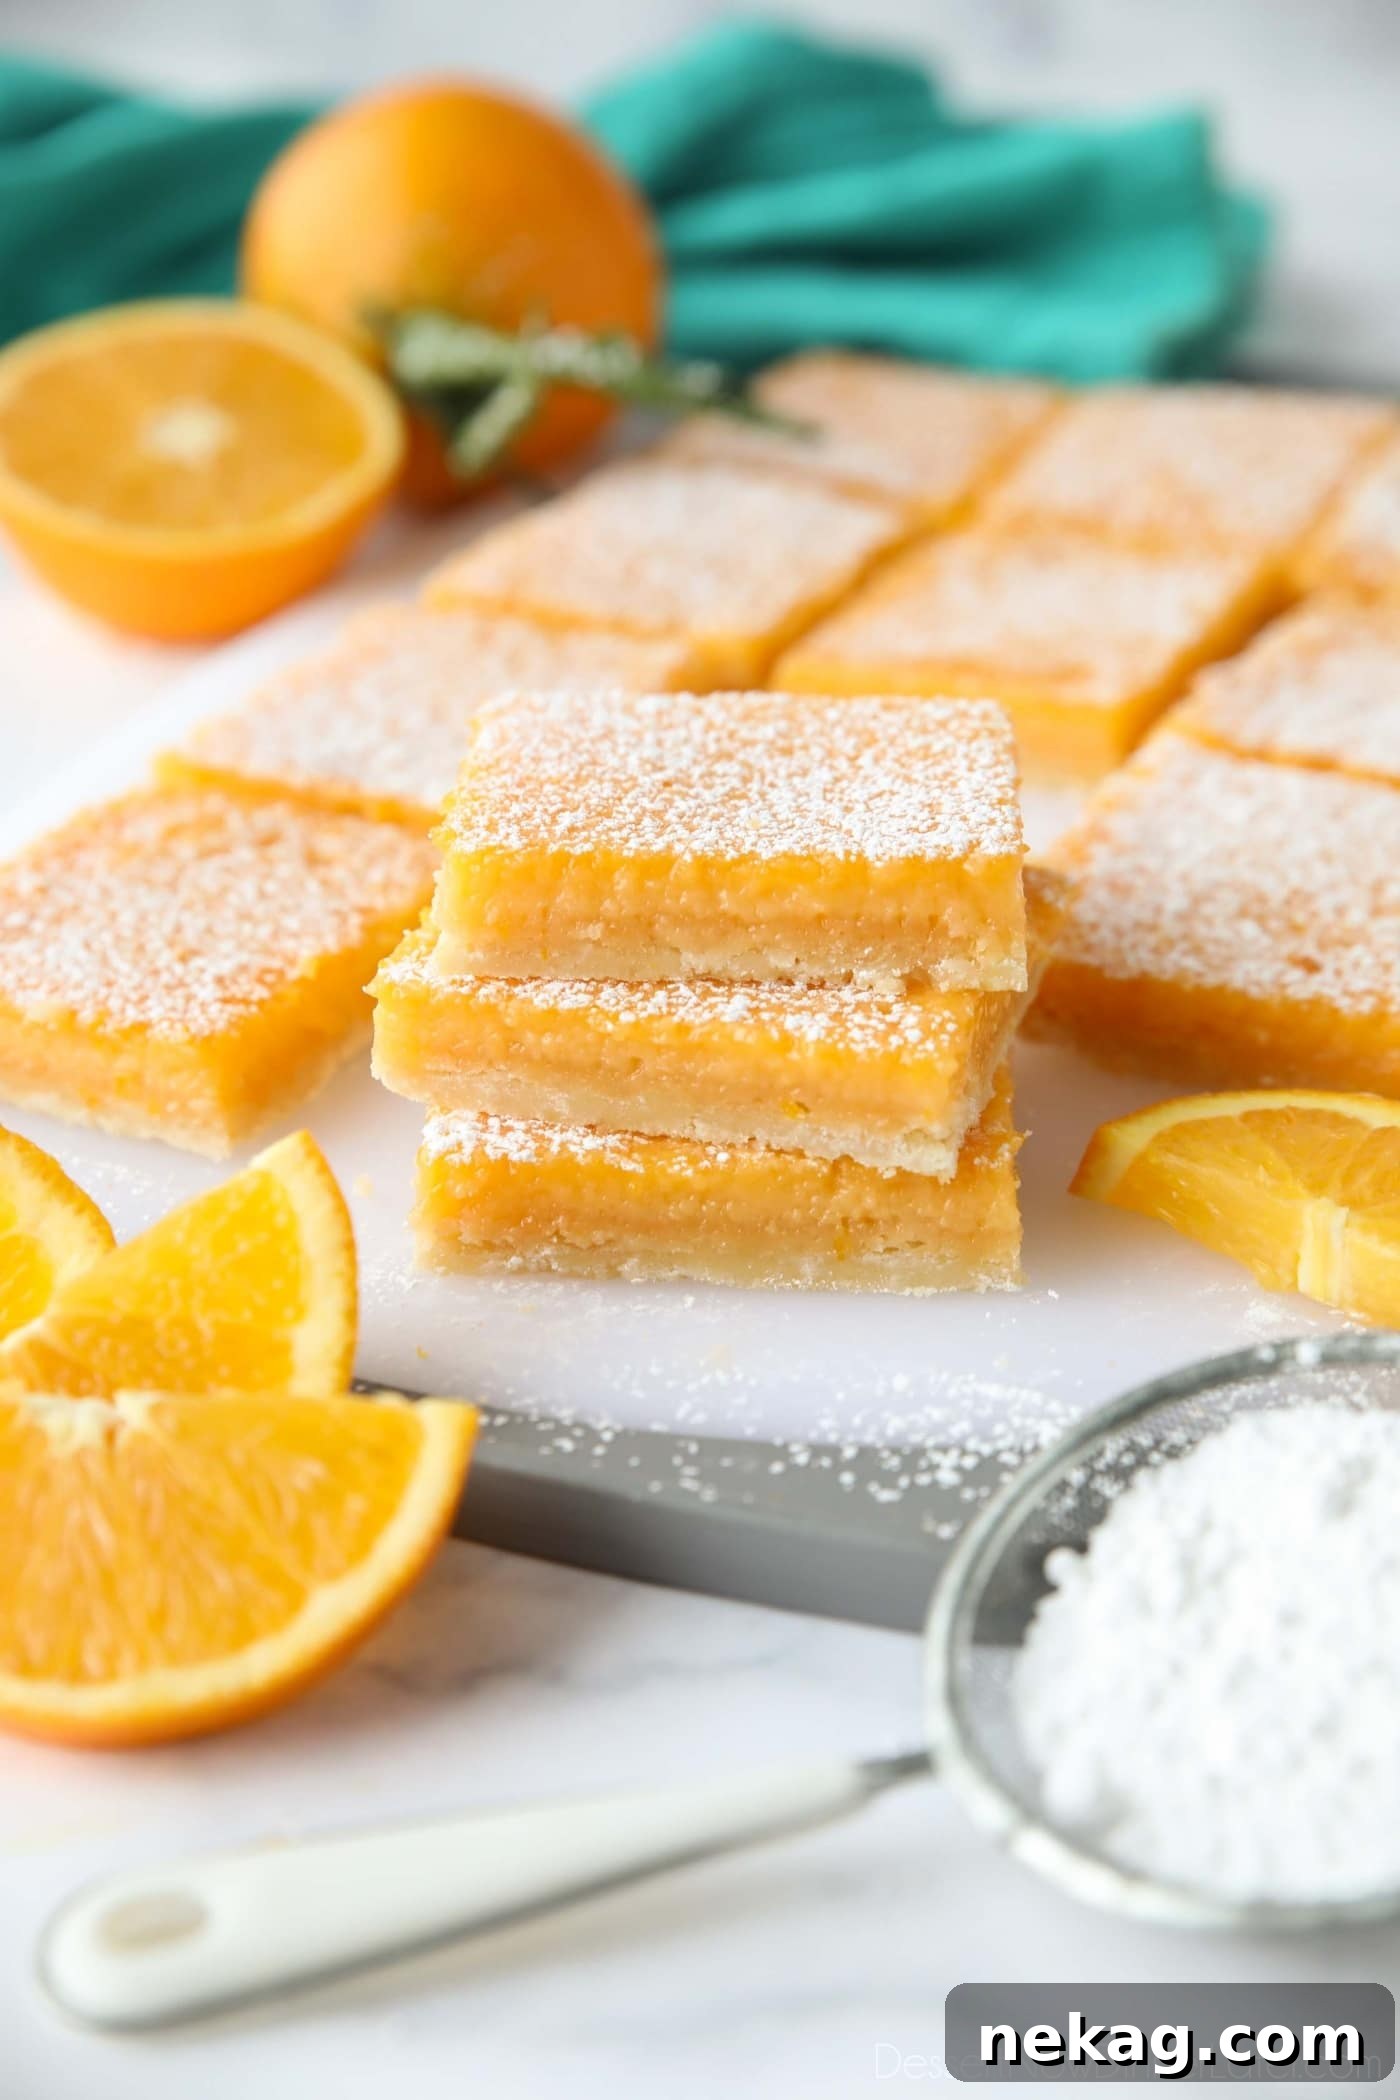
Orange Bars are a bright, delightful twist on the beloved lemon bar, offering a sunnier, sweeter citrus experience. Imagine a buttery, crumbly shortbread crust crowned with a velvety, sweet orange custard that melts in your mouth. This recipe is not just easy to follow; it promises a truly delicious and elegant dessert perfect for any occasion. If you adore the tangy zest of citrus but crave a slightly milder, sweeter profile, these homemade orange bars are about to become your new favorite treat!
The Irresistible Allure of Citrus Bars
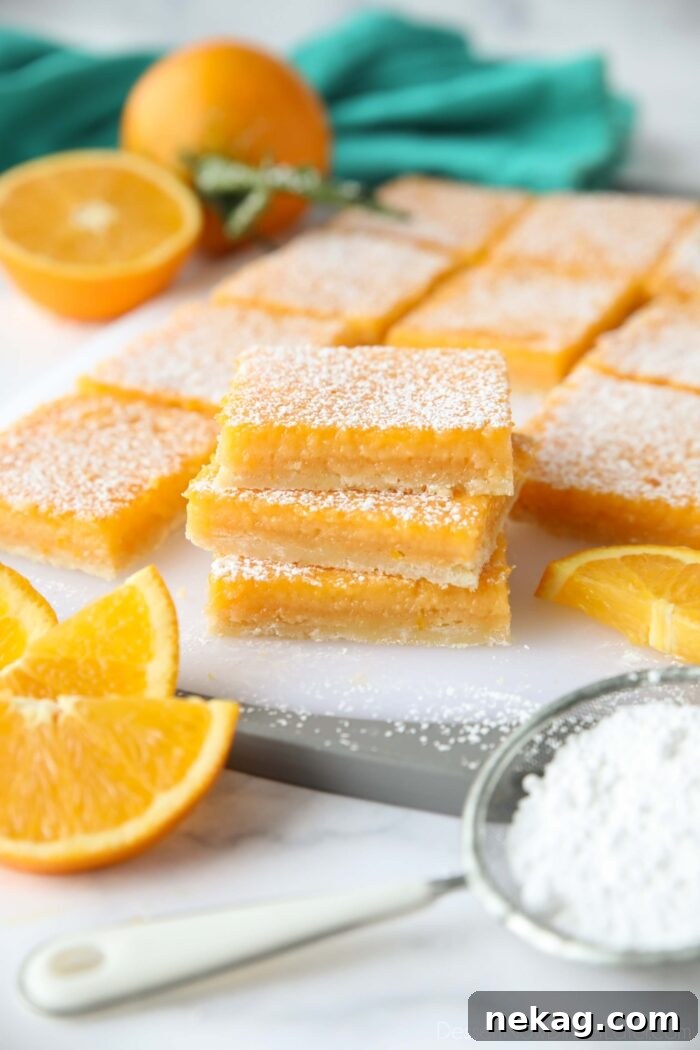
Citrus bars hold a special place in the dessert world, celebrated for their vibrant flavors and delightful textures. From the classic tang of lemon bars to the exotic zing of lime bars, and even the sophisticated bitterness of grapefruit bars, these treats consistently deliver a burst of freshness. But what about the often-overlooked orange? Our Orange Bars bring a unique sweetness and aromatic charm to this beloved category, proving that oranges deserve their moment in the spotlight.
There’s something inherently appealing about the combination of a rich, buttery shortbread crust and a smooth, creamy fruit curd. This pairing creates a dessert that feels both incredibly indulgent and surprisingly light. The contrast in textures – the slight crunch of the crust against the silky filling – makes every bite a sensory delight. While undeniably elegant in appearance and taste, the beauty of these citrus bars lies in their remarkable ease of preparation. You don’t need to be a pastry chef to create a show-stopping dessert that will impress everyone.
The versatility of the basic citrus bar recipe is truly inspiring. You can venture into creative variations like strawberry lemon bars or tropical coconut lime bars. However, for a flavor that truly shines with sun-kissed sweetness, our orange bar recipe stands out. It’s a testament to how simple ingredients, when combined thoughtfully, can lead to endlessly delicious possibilities. Whether you’re a seasoned baker or just starting your culinary journey, these bars offer a rewarding and delicious experience.
Why These Orange Bars Are Simply The Best
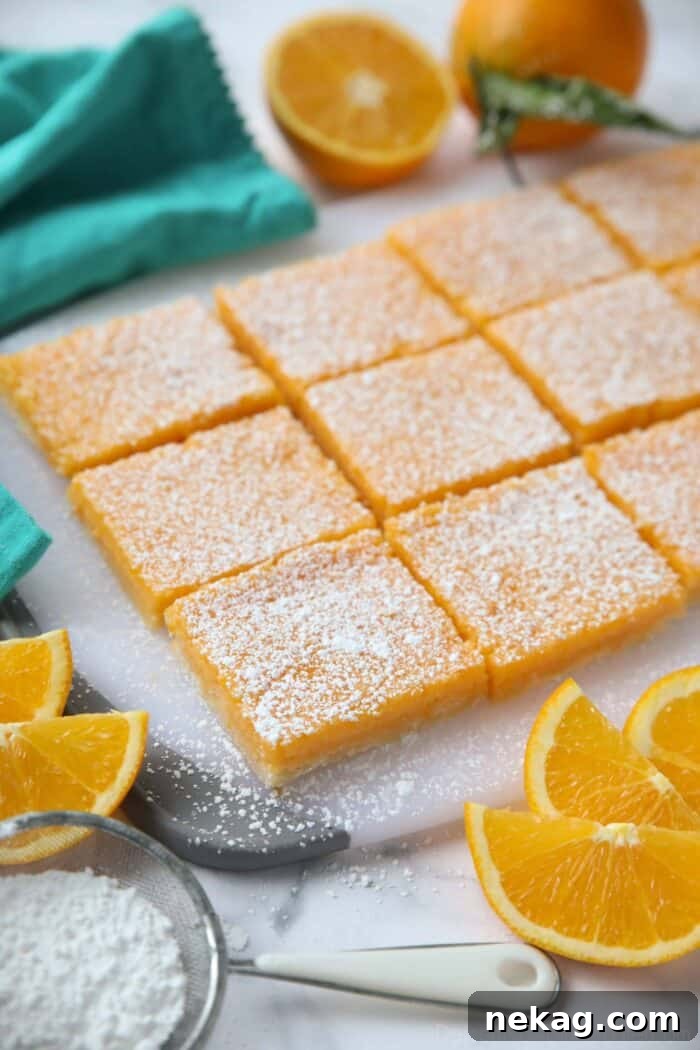
Unlike their tart cousins, these orange bars offer the sweetest variation of citrus bars you’ll encounter. They are beautifully balanced, delivering a luscious, creamy, and sweet experience with an undeniable hint of bright orange essence, without any overpowering sourness. This makes them exceptionally appealing to those who prefer a dessert that’s rich in fruit flavor but gentle on the palate.
One of the remarkable qualities of these orange bars is that they actually taste better the next day. This isn’t just a suggestion; it’s a crucial step for flavor development. After the bars have chilled completely, the orange zest and juice have ample time to intensify, permeating the custard with a deeper, more pronounced citrus aroma and taste. The texture also firms up beautifully, making for cleaner cuts and a more satisfying bite. Patience truly is a virtue when it comes to achieving peak orange bar perfection.
When you find yourself with an abundance of ripe, juicy oranges, this recipe is your perfect excuse to put them to delicious use. You’ll need about two oranges to gather both the precious zest and juice, which are the fundamental components amplifying the authentic orange flavor in the custard. To give these bars an even more captivating visual appeal, I often add a subtle drop of orange gel paste to make the color pop. While entirely optional, a touch of food coloring can enhance the vibrant, sunny aesthetic, making these bars even more inviting.
For those who desire an even more profound orange flavor, there are excellent ways to further boost the orange essence in your filling. You can choose to add one of these three fantastic options:
- 1/8 teaspoon orange essential oil: A little goes a long way with essential oils, delivering an incredibly potent and pure orange aroma.
- 1 teaspoon orange extract: A readily available option that provides a consistent and delightful orange flavor boost.
- 1 Tablespoon thawed frozen orange juice concentrate: This adds a concentrated burst of real orange flavor and a touch more sweetness without altering the filling’s consistency too much.
Mastering the Art of Orange Bar Baking
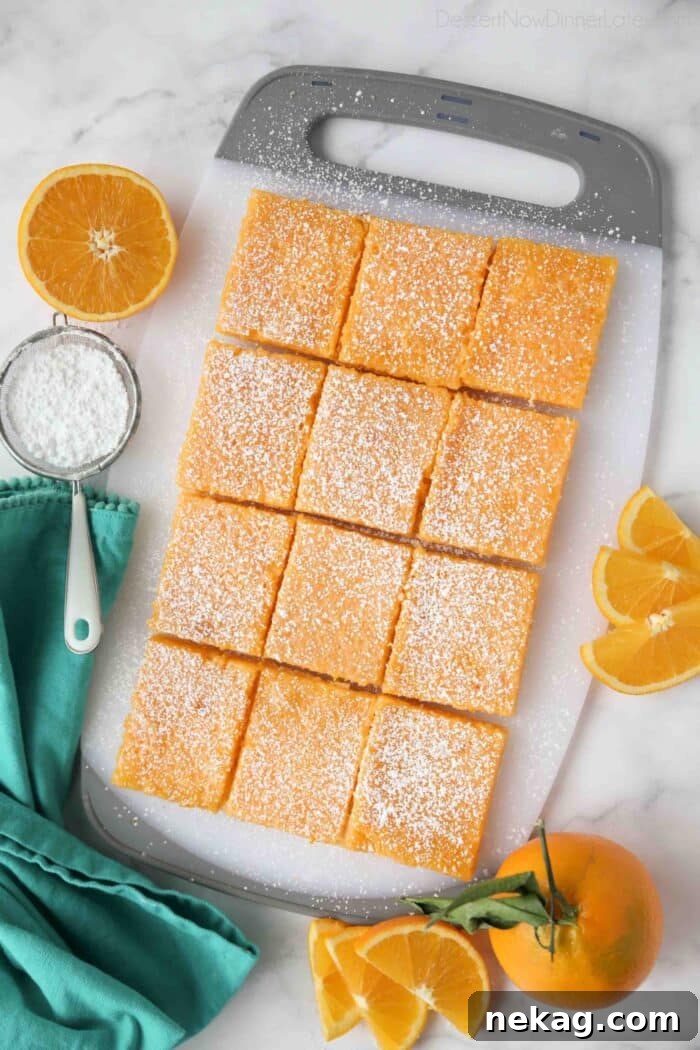
The journey to perfect orange bars begins with selecting the right baking vessel and understanding the crucial steps for both crust and filling. I personally prefer my citrus bars to have a delicate, thinner profile, which is why I typically reach for an 11×7-inch pan. This size yields beautifully proportioned bars with an ideal crust-to-filling ratio. However, don’t fret if you don’t have this exact size. A 9-inch square pan works perfectly well; just be aware that your bars will be slightly thicker, which some people actually prefer! If you’re aiming to serve a larger crowd or simply want more of these irresistible treats, you can easily adapt the recipe for a 13×9-inch pan, but remember to make 1.5 times the crust recipe to ensure adequate coverage and a satisfying foundation for your bars.
Before you begin assembling, preheat your oven to 350 degrees Fahrenheit (175°C). This ensures a consistent baking temperature from the moment your crust enters the oven, which is key for an evenly baked and golden-brown result. Next, prepare your baking dish. Lightly grease it, or, for the easiest removal and cleanest cuts, line an 11×7-inch baking dish with parchment paper, making sure the paper overhangs by about 2 inches on both sides. These parchment “handles” will be your best friend when it comes time to lift the cooled bars out of the pan. With your oven preheated and pan ready, it’s time to craft the foundation: the exquisite shortbread crust.
Crafting the Perfect Shortbread Crust
The shortbread crust is more than just a base; it’s a crucial element that provides a wonderful textural contrast and a buttery richness that perfectly complements the bright orange filling. Achieving that perfect crumbly-yet-tender texture is simpler than you might think.
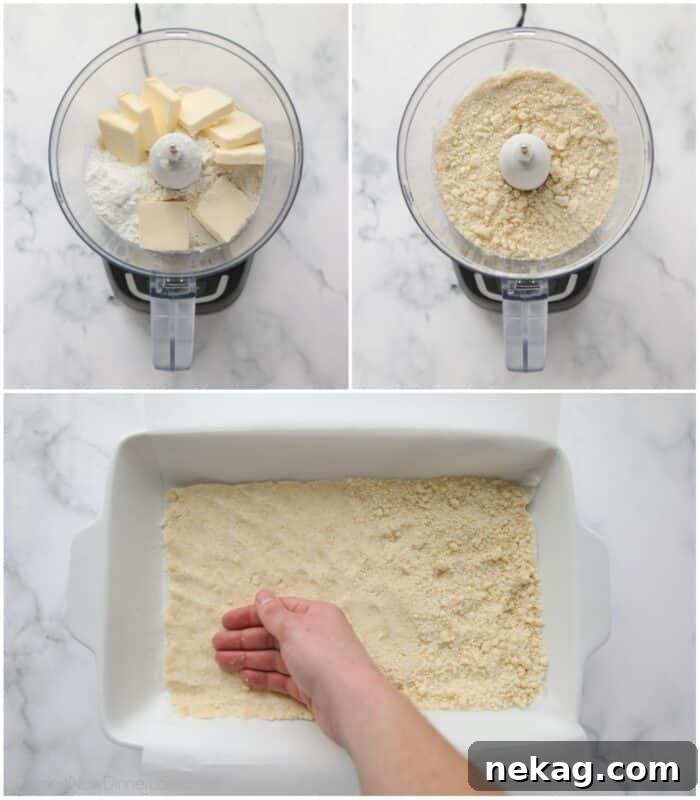
- Combine your dry and wet ingredients: In the bowl of a food processor or a stand mixer fitted with a paddle attachment, add the all-purpose flour, powdered sugar, and a pinch of salt. The powdered sugar helps create a more tender crust. Next, add the cold, cubed unsalted butter. Using cold butter is essential for achieving a crumbly, flaky shortbread texture, as it prevents the butter from fully integrating too quickly, creating pockets of steam during baking.
- Pulse/Mix to perfection: Pulse your ingredients in the food processor or mix on low speed in a stand mixer. Continue until the mixture transforms into fine, sandy crumbs. As you continue, these crumbs will just begin to clump together when pressed. Be careful not to overmix, as this can develop the gluten in the flour and lead to a tough crust.
- Press and Bake: Gently spread the buttery crumbs evenly across the bottom of your prepared baking dish. Once spread, use the bottom of a flat glass or your fingers to firmly press the crumbs into a compact, even layer. This creates a solid foundation for your filling. Bake the crust in the preheated oven at 350°F (175°C) for 18-20 minutes, or until it achieves a beautiful light golden-brown hue around the edges. This pre-baking step (blind baking) ensures the crust is fully cooked and crisp before the moist filling is added.
Crafting the Zesty Orange Custard Filling
The heart of these orange bars is the vibrant, creamy custard filling. It’s a delightful balance of sweet and tangy, with a captivating aroma that fills your kitchen. Timing is key here: begin preparing your orange filling when the crust is just about done baking, ensuring it’s ready to pour over the hot crust for optimal adhesion and texture.
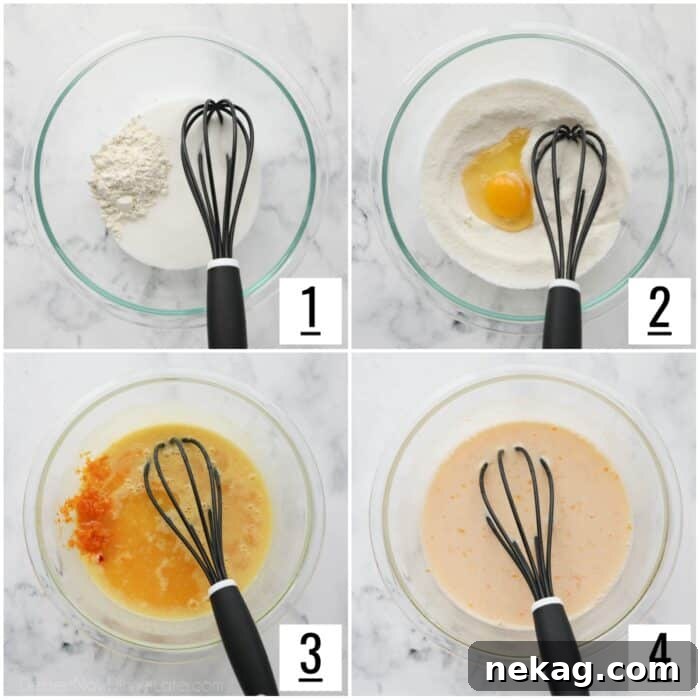
- Combine Dry Ingredients: In a medium-sized mixing bowl, thoroughly whisk together the granulated sugar and all-purpose flour. This crucial step prevents lumps in your custard and ensures a smooth, consistent texture. The flour acts as a thickener, giving the custard its luscious body.
- Incorporate Eggs: Add the large eggs, one at a time, whisking vigorously after each addition until fully incorporated. This gradual addition helps emulsify the mixture, leading to a smoother and more stable custard.
- Add Citrus Essentials: Now for the star ingredients! Add the finely grated orange zest (making sure to avoid the bitter white pith), the freshly squeezed orange juice, and if you desire an extra pop of color, a drop or two of orange food coloring. The zest is where much of the intense orange oil resides, providing aromatic depth, while the juice delivers the pure, sweet-tart flavor.
- Final Whisk: Whisk together all the ingredients until the mixture is uniform, smooth, and beautifully fragrant. At this stage, you might notice the vibrant color beginning to develop, especially if you’ve added food coloring.
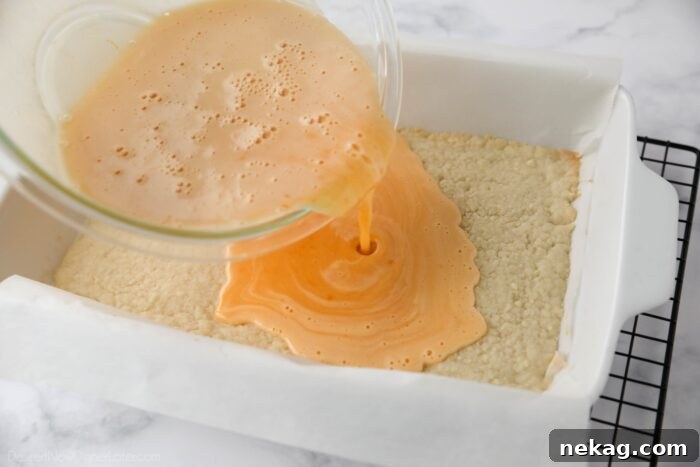
- Bake the Filling: Carefully pour the prepared orange filling over the hot, pre-baked crust. The warmth of the crust helps the filling begin to set quickly and prevents a soggy bottom. Return the pan to the oven and bake for an additional 20 minutes, or until the filling is set and no longer jiggles significantly when the pan is gently nudged. The edges of the filling might also start to turn a light golden-brown, indicating it’s perfectly cooked. Overbaking can lead to a dry or cracked filling, so keep a close eye on it!
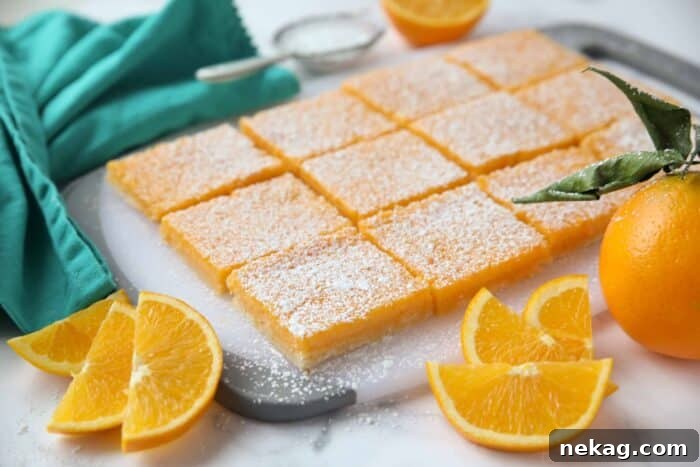
Serving and Storing Your Delightful Orange Bars
Patience is paramount after baking if you want to experience these orange bars at their absolute best. Resist the urge to cut into them immediately!
- Cooling is Key: First, allow the orange bars to cool completely in the pan on a wire rack at room temperature for about 1 hour. This initial cooling allows the custard to firm up. After that, cover the pan and refrigerate it for at least 1-2 hours until the bars are thoroughly chilled. For the most intense orange flavor and perfect texture, I highly recommend chilling them preferably overnight. This extended chilling time allows the flavors to truly meld and deepen, resulting in an unparalleled taste experience.
- Effortless Cutting and Presentation: Once chilled, use the parchment paper overhang to gently lift the entire slab of bars out of the pan. This technique makes cutting incredibly easy and mess-free. I often like to trim off the very edges for a clean, professional look before proceeding to cut the bars into even squares. Just before serving, give your ready-to-eat squares a beautiful finish by dusting them generously with powdered sugar. This adds a touch of elegance and a lovely sweetness that complements the citrus.
- Storage Solutions: To keep any leftovers fresh, store them covered in an airtight container in the refrigerator for up to 1 week. If you’ve made a large batch or simply want to enjoy these treats later, they freeze beautifully. Arrange the bars (without powdered sugar, as it can get soggy when thawed) in an airtight container, separating layers with parchment paper. Press a piece of parchment firmly on top of the bars to minimize air exposure. They can be frozen for up to 3 months. To thaw, simply place the frozen bars separated on a plate at room temperature for about 30 minutes, or transfer them to the refrigerator overnight. Dust with powdered sugar just before serving.
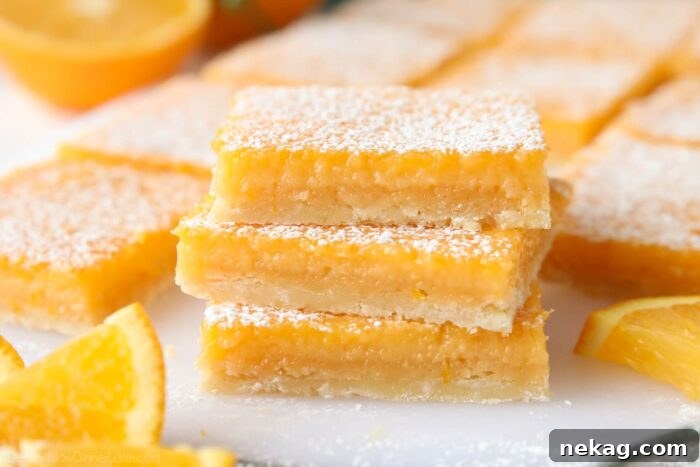
Expert Tips for the Best Orange Bars
- Zest Wisely: When zesting oranges, use a microplane and only remove the bright orange outer layer, avoiding the bitter white pith underneath. This ensures pure, bright orange flavor.
- Fresh Juice is Best: While bottled orange juice can work in a pinch, fresh-squeezed orange juice offers a far superior, more vibrant flavor that truly makes these bars shine.
- Don’t Overbake the Crust: A slightly underbaked crust can become soggy. Bake until golden brown but don’t let it get too dark.
- Prevent Cracks in Filling: Overbaking the custard filling can lead to cracks. It should still have a slight “jiggle” in the center when removed from the oven, as it will continue to set as it cools.
- Even Thickness: For uniform bars, ensure your crust is pressed evenly into the pan and the filling is poured smoothly over it.
- Room Temperature Eggs: Eggs incorporate more smoothly into batter when at room temperature, helping to create a uniform and creamy custard.
- Serving Temperature: While delicious chilled, allowing the bars to sit at room temperature for about 15-20 minutes before serving can soften the custard slightly, enhancing its melt-in-your-mouth quality.
Frequently Asked Questions About Orange Bars
Here are answers to some common questions you might have about making these delightful orange bars:
- What kind of oranges should I use for this recipe?
For the best flavor, use sweet, juicy oranges such as Navel or Valencia oranges. Their natural sweetness and abundant juice make them ideal for baking. Avoid blood oranges unless you want a different flavor profile and color. - Can I use bottled orange juice instead of fresh?
While fresh orange juice is highly recommended for its superior flavor and aromatic qualities, you can use good quality bottled orange juice if fresh isn’t available. Just be aware that the flavor might not be as vibrant or intense as with fresh juice. - Why do my orange bars taste better the next day?
The overnight chilling process is crucial. It allows the orange zest and juice to fully infuse into the custard, intensifying the flavor profile. Additionally, the cold helps the custard set completely, resulting in a firmer, cleaner slice and a more pleasant texture. - My custard filling cracked after cooling. What went wrong?
Cracking usually occurs if the custard is overbaked or cools too rapidly. To prevent this, remove the bars from the oven when they still have a slight wobble in the center. Also, let them cool gradually on a wire rack at room temperature before transferring to the refrigerator. - Can I make these bars gluten-free?
Yes, you can adapt this recipe to be gluten-free by substituting the all-purpose flour in both the crust and the filling with a good quality 1:1 gluten-free baking flour blend. Ensure the blend contains xanthan gum for best results.
More Irresistible Orange Desserts
If you’ve fallen in love with the bright, sweet flavor of orange in this recipe, you’ll be thrilled to explore these other fantastic orange-inspired desserts:
- Fluffy Orange Rolls
- Classic Orange Julius Recipe
- Decadent Creamsicle Cake
- Light and Zesty Orange Fluff Salad
- Chewy Orange Brownies
If You Make This Recipe, Please Share Your Thoughts and Rate it in the Comments Below. We Appreciate Your Feedback!
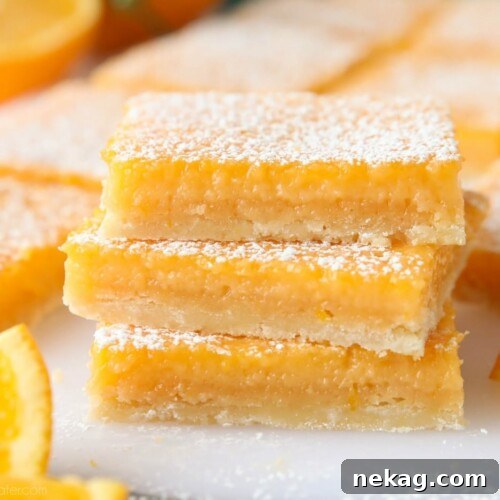
Luscious Orange Bars
Orange Bars are a delightful twist on classic lemon bars, featuring a rich shortbread crust topped with a sweet, zesty orange custard. Easy to make and incredibly delicious!
Created by: Amber Brady
Prep Time: 15 mins
Cook Time: 40 mins
Chill Time: 2 hrs
Total Time: 2 hrs 55 mins
Yields: 12 bars
Ingredients
Crust:
- 1 cup (120 g) all-purpose flour, stirred, spooned, & leveled
- ¼ cup (30 g) powdered sugar
- ¼ tsp salt
- ½ cup (113 g) unsalted butter, (1 stick) cold, cut into 8 pieces
Orange Filling:
- 1¼ cups (250 g) granulated sugar
- ¼ cup (30 g) all-purpose flour, stirred, spooned, & leveled
- 4 large eggs
- 1 Tbsp orange zest, no white pith (from about 2 oranges)
- ⅔ cup (159 ml) fresh orange juice, (from about 2 oranges)
- Orange food coloring, optional
Equipment
- Food Processor
- 11×7-inch Pan
- Parchment Paper
- Nylon Whisk
- Pyrex Glass Bowl Set of 3
- Wire Cooling Rack
Instructions
- Preheat the oven to 350℉ (175°C). Lightly grease or line an 11×7-inch baking dish with parchment paper that overhangs 2-inches on both sides.
- CRUST: Combine the flour, powdered sugar, salt, and cold butter pieces in a food processor or stand mixer. Pulse/mix until the mixture resembles fine crumbs that just start to clump together. Lightly spread the crumbs evenly, then press them firmly onto the bottom of the prepared baking dish. Bake at 350℉ (175°C) for 18-20 minutes, or until light golden brown.
- FILLING: While the crust is baking, prepare the filling. In a bowl, whisk together the granulated sugar and flour. Add the eggs, one at a time, whisking well after each addition until smooth. Stir in the orange zest, orange juice, and a drop or two of orange food coloring (if desired). Whisk until all ingredients are well combined.
- Pour the orange filling over the hot, baked crust. Return the pan to the oven and bake for an additional 20 minutes, or until the filling is set and no longer significantly jiggles in the center, and the edges are lightly browned.
- Let the orange bars cool completely in the pan on a wire rack for about 1 hour. Then, cover the pan and refrigerate for at least 1-2 hours until thoroughly cold. For best flavor and texture, chill overnight.
- Once cold, use the parchment paper to lift the bars out of the pan for easy cutting. Trim off the edges if desired, then cut into desired square sizes. Dust ready-to-eat squares with powdered sugar before serving.
Notes
- Store leftover orange bars covered in the refrigerator for up to 1 week.
- To freeze, arrange bars (without powdered sugar) in an airtight container with parchment paper between layers. Freeze for up to 3 months. Thaw at room temperature for 30 minutes or in the fridge overnight.
- This recipe can be made in a 9×9-inch square baking dish. The filling may require an extra 5-10+ minutes of baking time.
- For a 13×9-inch pan, you will need to increase the crust recipe by 1.5 times, or the crust will be very thin.
- To boost the orange flavor, you can add one of these to the filling: 1/8 teaspoon orange essential oil, 1 teaspoon orange extract, or 1 Tbsp thawed frozen orange juice concentrate.
Nutrition
Serving: 1 bar | Calories: 179 kcal | Carbohydrates: 37g | Protein: 4g | Fat: 2g | Saturated Fat: 1g | Polyunsaturated Fat: 1g | Cholesterol: 63mg | Sodium: 77mg | Fiber: 1g | Sugar: 25g
Disclaimer: Nutritional values are an estimation calculated using a third-party tool and may vary.
Sharing this recipe by linking directly to this page is encouraged and greatly appreciated. Copying, pasting, or taking screenshots of full recipes for any social media platform or website is strictly prohibited. All content and photographs are protected by copyright.
Did you make this recipe?
Don’t forget to leave a rating below and make sure to follow us on Pinterest and Instagram for more delicious recipes and baking inspiration!