
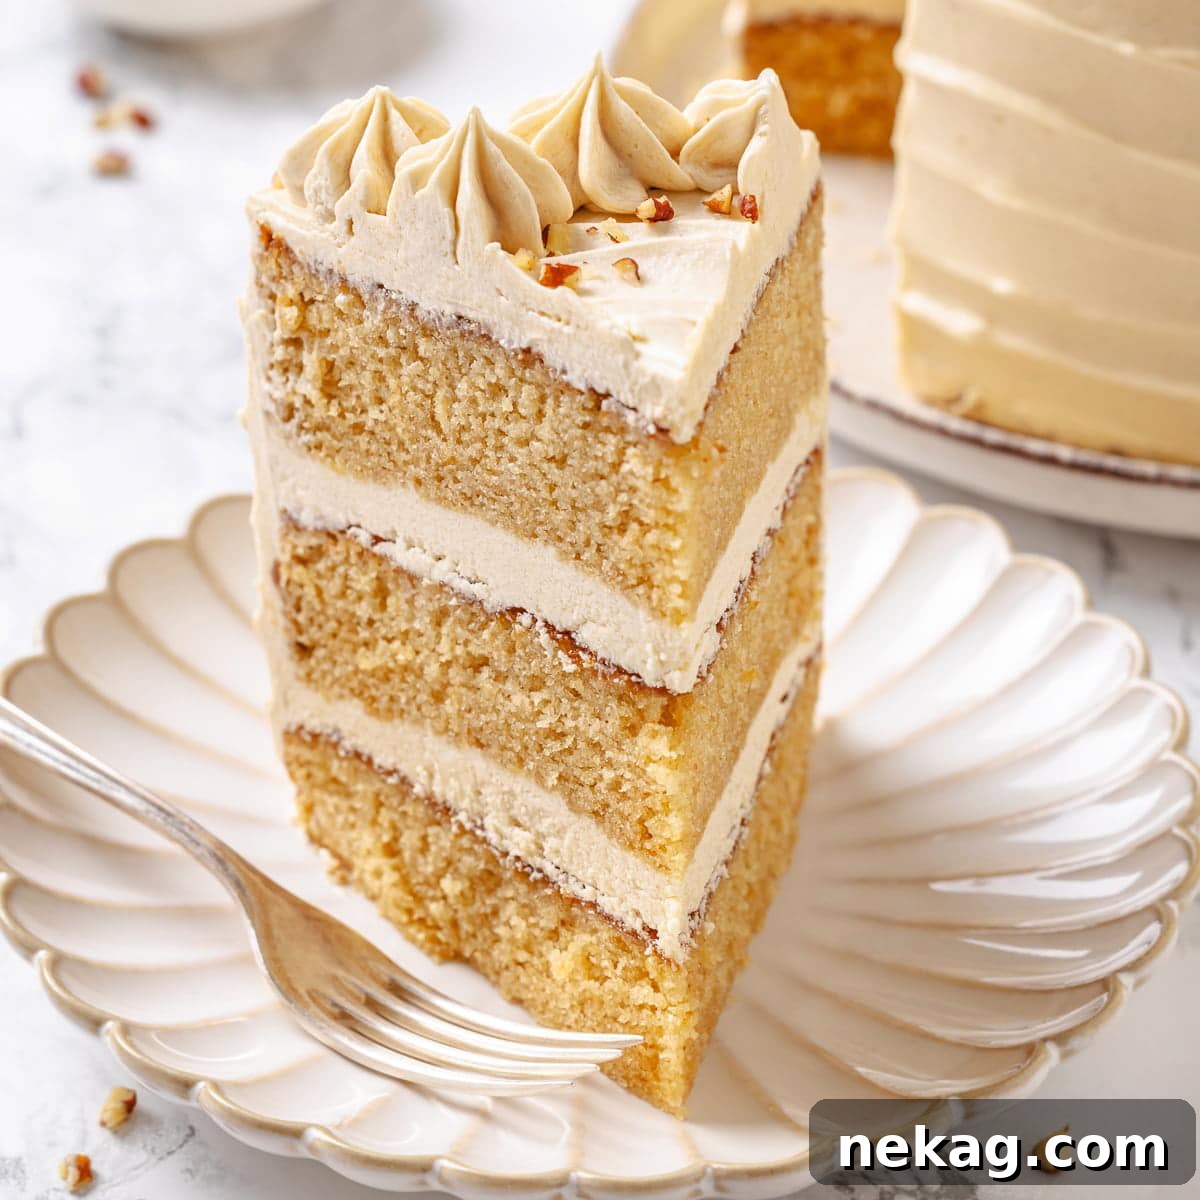
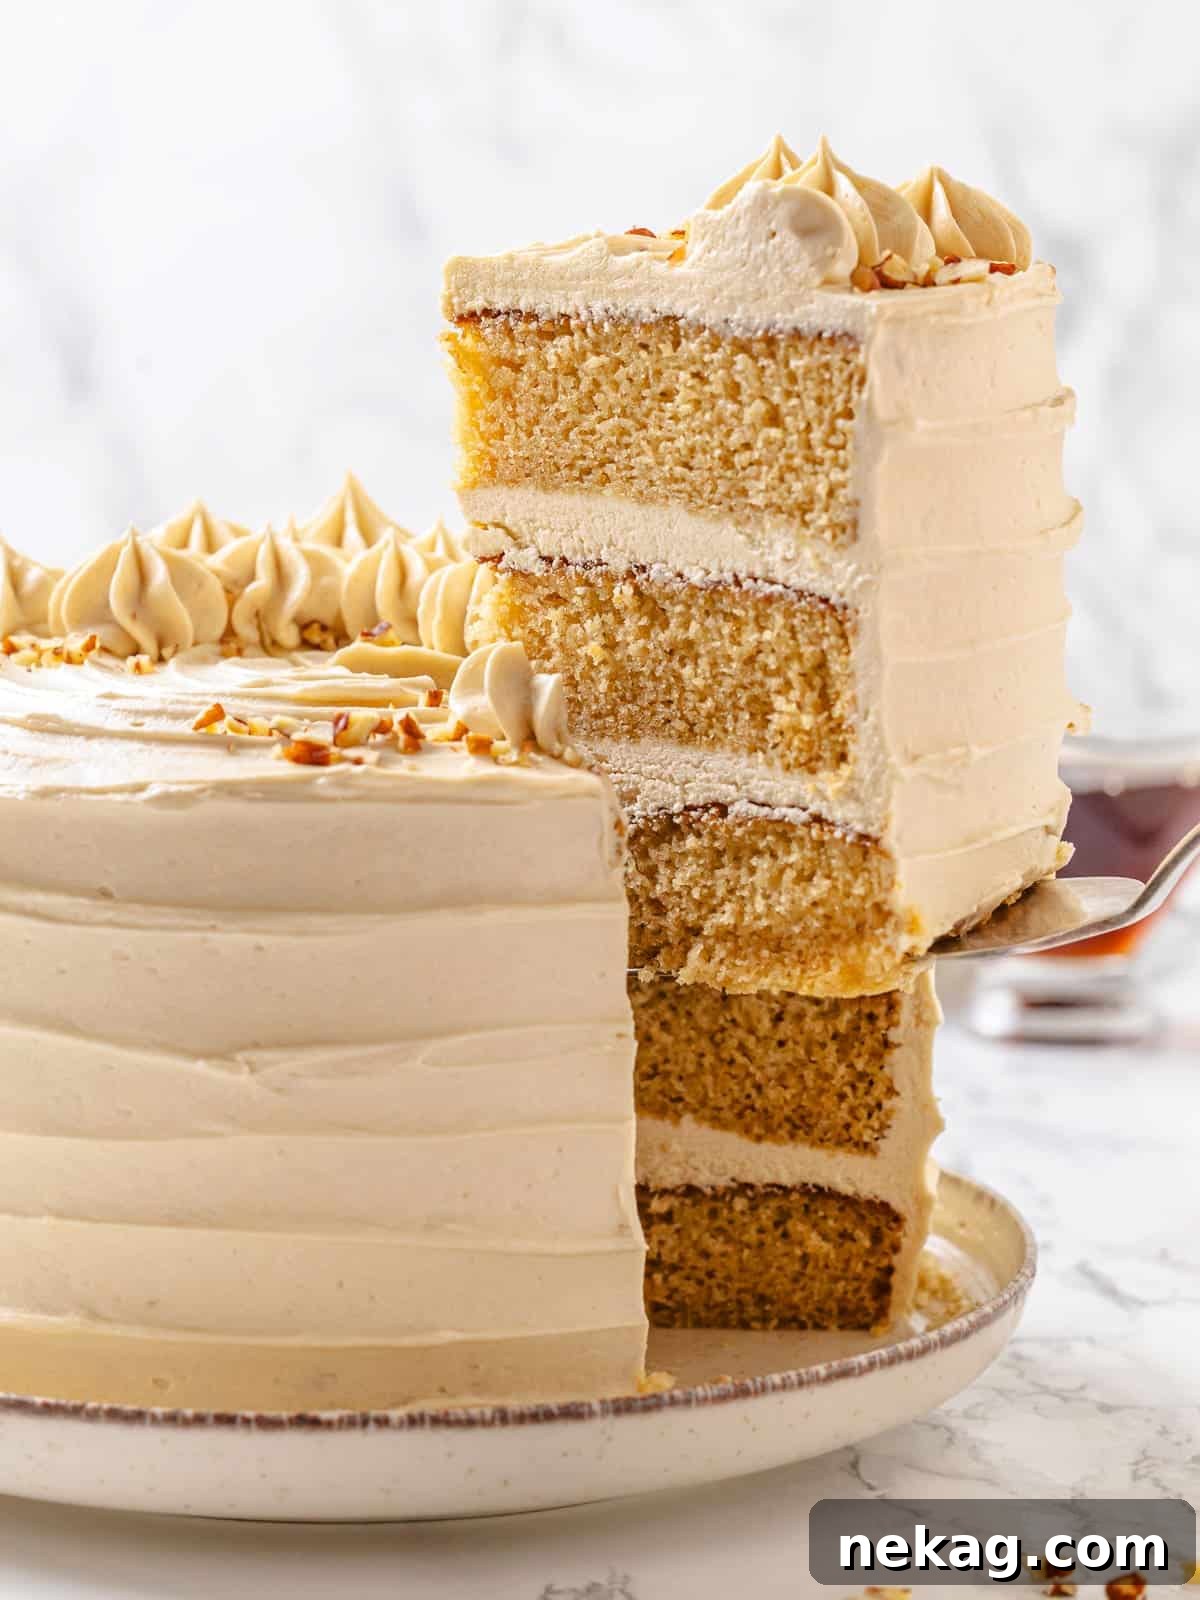
Indulge in the heartwarming flavors of autumn with our exquisite **Maple Cake** recipe. This cake is renowned for its incredibly soft and tender crumb, making it a truly delightful treat for any occasion, especially during the fall season. Crafted as a convenient one-bowl recipe, it simplifies your baking process while promising exceptional results. Each luscious bite of this moist cake is perfectly complemented by a silky, cooked maple frosting that achieves an ideal balance of sweetness, allowing the rich, authentic maple flavor to truly shine.
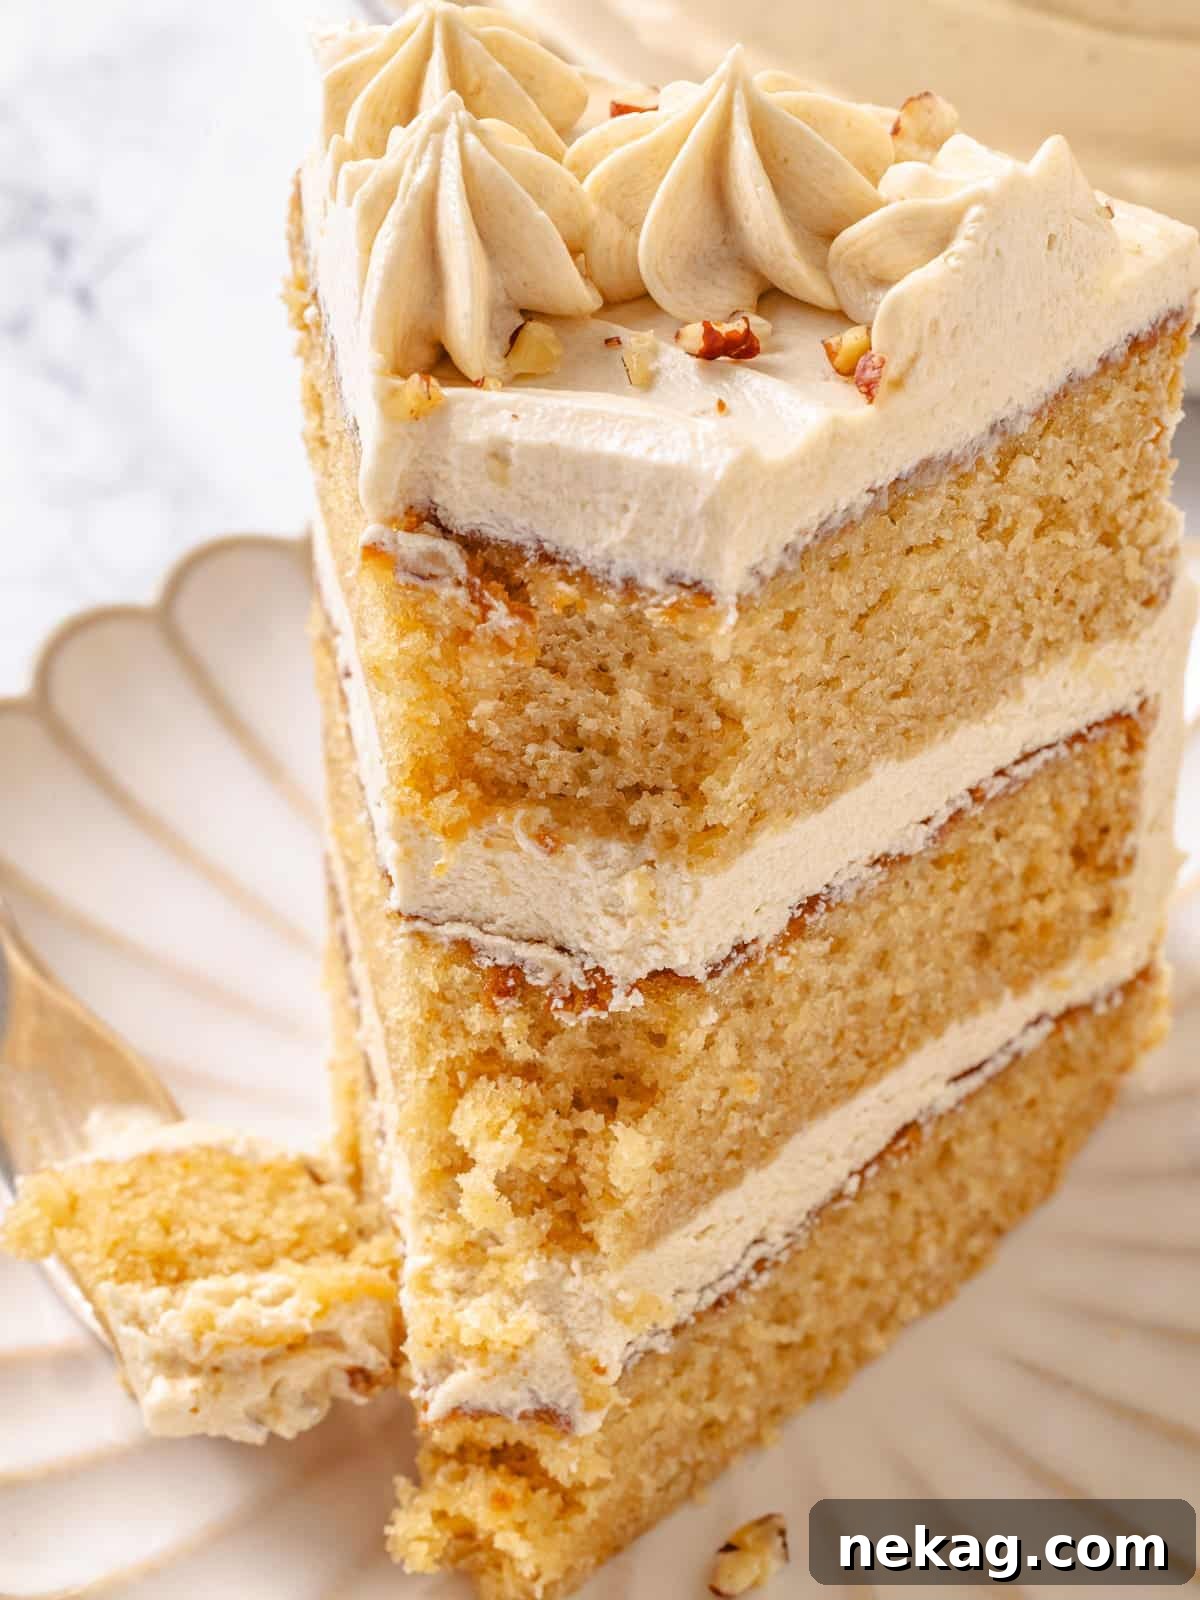
Developing this maple cake recipe has been a journey of careful experimentation and dedication. Our primary goal was to deliver the most exceptional flavor and texture possible to our home bakers. Initially, our tests focused on a butter-based cake, drawing inspiration from our beloved vanilla cupcakes recipe. However, this approach yielded a cake that, while good, lacked the desired tenderness and moisture we envisioned for the perfect maple cake.
Through persistent refinement, we transitioned to an oil-based cake, similar to the foundation of our easy moist chocolate cake. This crucial change proved to be a game-changer, resulting in the super soft, wonderfully moist, and impeccably tender cake you’ll experience today. The oil not only contributes to the cake’s luxurious moisture but also helps maintain its freshness for several days, ensuring every slice is as delightful as the first.
For an truly authentic taste, we wholeheartedly recommend investing in pure Grade A maple syrup. It’s an ingredient that elevates this cake from simply good to absolutely unforgettable. This premium syrup is not just for this recipe; you can also use it to create our decadent maple bundt cake and our delightful pumpkin trifle. Any remaining syrup can be savored with a stack of delicious whole wheat pancakes, making it a versatile staple in your pantry.
Why You Will Love This Maple Cake
This isn’t just another cake recipe; it’s a carefully perfected creation designed to bring joy and warmth to your kitchen. Here’s why this maple cake will become your new favorite:
- Authentic and Perfectly Balanced Maple Flavor: Unlike cakes that rely on artificial flavors or become overly sweet, our recipe is meticulously tested to ensure an authentic, pure maple syrup taste that is robust yet never cloying. We’ve fine-tuned the balance of maple syrup in both the cake and the frosting, so every component contributes to a harmonious and truly delicious maple experience. This dedication to flavor ensures that the natural richness of maple is the star of the show.
- Remarkably Easy to Make & Stays Moist for Days: You’ll be delighted by how straightforward this cake is to prepare, often mixed by hand in just one bowl. The combination of pure maple syrup and a neutral oil in the batter is the secret to its incredible moisture. This not only makes the cake exceptionally tender from day one but also ensures it remains wonderfully moist and fresh for several days, making it perfect for preparing ahead or enjoying as leftovers.
- Light, Fluffy, and Stable Cooked Maple Frosting: Forget heavy, overly sweet frostings. Our unique cooked maple frosting is whipped to an ethereal lightness and fluffiness. The cooking process for the flour base gives it an impressive stability, much like an Italian meringue buttercream. This results in a frosting that’s not only incredibly smooth and delicious but also holds its shape beautifully, making it a joy to work with and a perfect complement to the cake.
Table of Contents
- Why You Will Love This Maple Cake
- Key Ingredients & Substitutions
- Creative Variations
- Professional Tips
- How to Make Maple Cake
- Chef Lindsey’s Recipe Tip
- Recipe FAQs
- Recommended Cozy Cake Recipes
- Maple Cake Recipe
- Before You Go
Key Ingredients & Substitutions
Creating an exceptional maple cake starts with understanding the role of each ingredient. Here’s a detailed look at what you’ll need and potential substitutions:
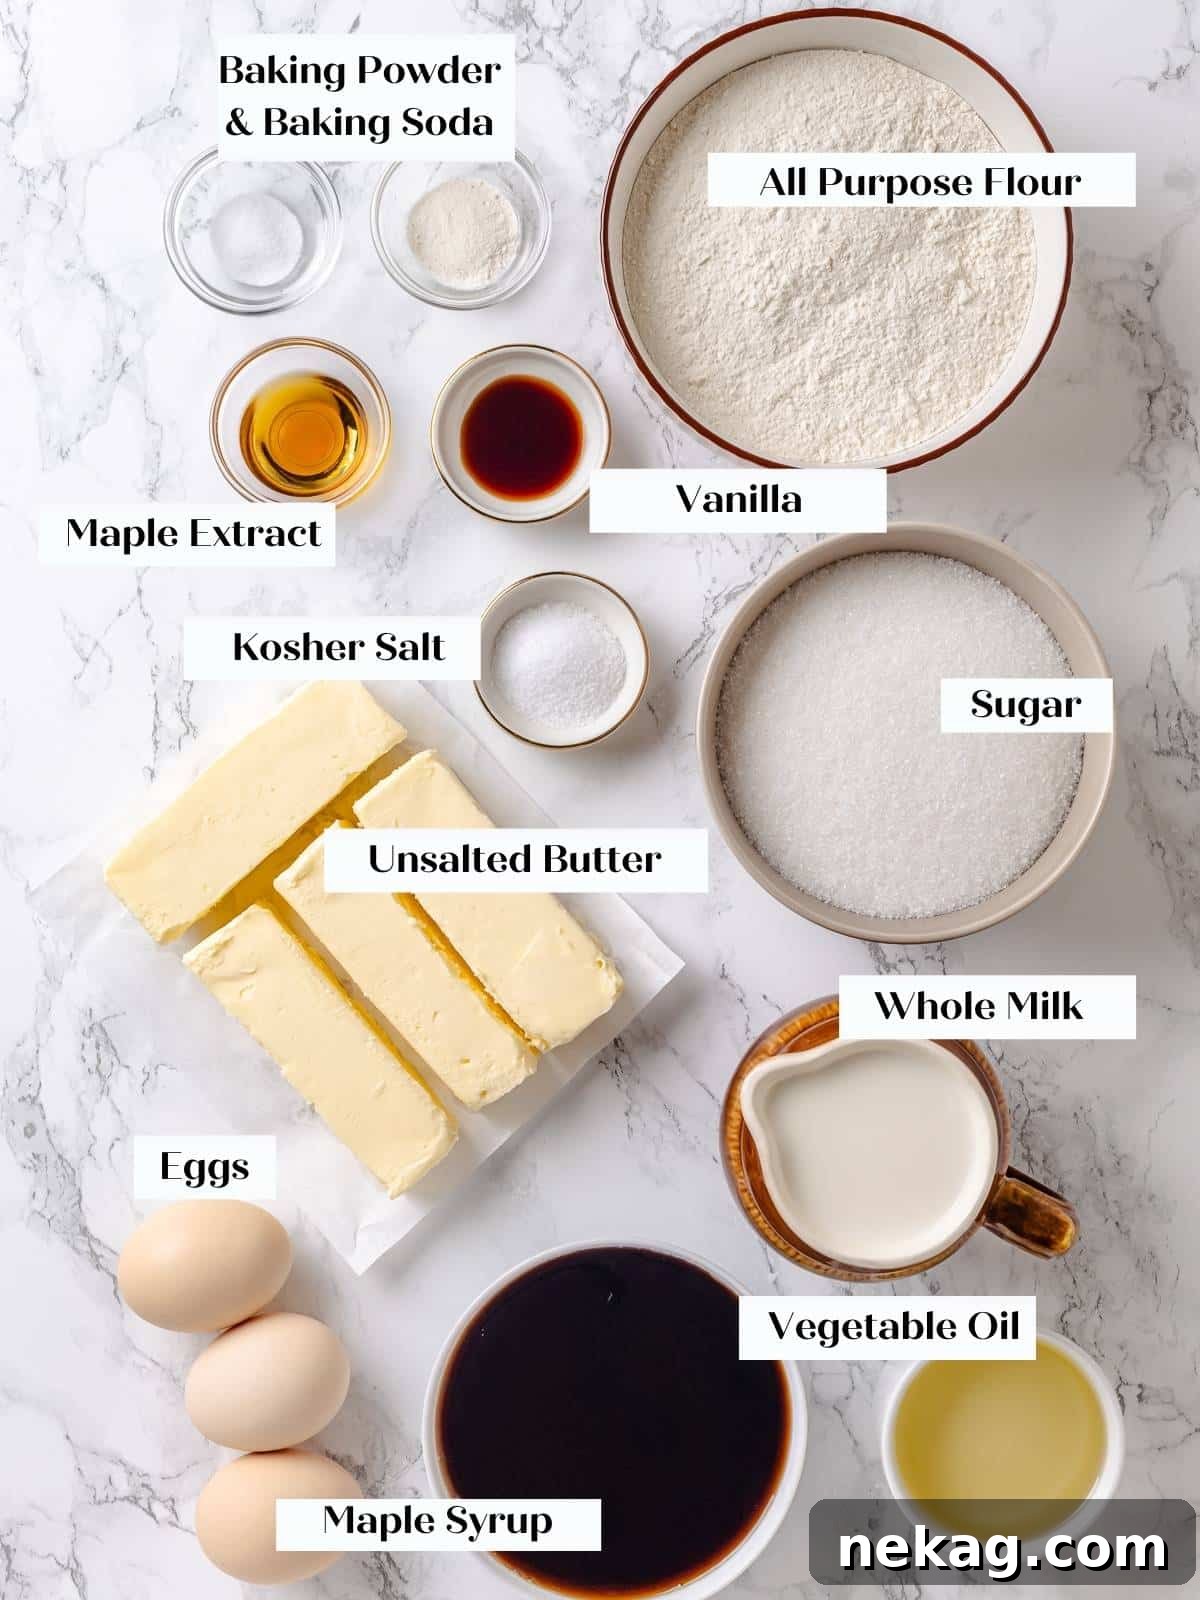
- All-Purpose Flour: This forms the essential structure of your cake. For a gluten-free alternative, you can substitute King Arthur’s Cup4Cup flour for the all-purpose flour in the cake batter. However, please note that using gluten-free flour for the frosting base can sometimes result in a grainy texture. If you plan to make the entire cake gluten-free, we highly recommend opting for a Swiss meringue buttercream for your frosting, which naturally avoids the flour-based thickener.
- Eggs: Crucial for emulsifying the oil and maple syrup into the batter, eggs create a cohesive mixture that prevents the cake from becoming greasy. They contribute to the cake’s structure, richness, and overall moist texture.
- Maple Extract: While optional, a small amount of maple extract significantly enhances the robust maple flavor of the cake without adding extra sweetness or liquid. It’s an excellent way to boost the aromatic notes and depth of flavor.
- Granulated Sugar: Beyond sweetness, granulated sugar contributes to the cake’s tenderness and helps achieve a beautiful golden crust through caramelization. For a deeper, more complex flavor profile with subtle molasses notes, consider substituting light or dark brown sugar. For an even more intense maple presence, maple sugar can be used, though it is often pricier.
- Neutral Vegetable Oil: The use of oil is key to this cake’s exceptional moisture and tender crumb. Unlike butter, which can make cakes denser, oil creates a softer, more consistently moist texture that lasts longer. It’s vital to choose a neutral-flavored oil, such as vegetable, canola, or grapeseed oil, as the cake contains enough oil for its flavor to come through. Save the aromatic olive oil for specialized recipes like this pumpkin olive oil cake.
- Pure Maple Syrup: This is the star ingredient! We exclusively use pure Vermont maple syrup for its superior quality and flavor. Specifically, we recommend what used to be labeled “Grade B,” now officially known as “Grade A: dark amber color and robust flavor.” This grade offers the most pronounced maple taste and a thicker consistency compared to lighter grades, making it ideal for baking. “Grade A: Very Dark and Strong Flavor” is another excellent choice if you can find it, though it’s generally more expensive and less widely available.
- Whole Milk: Whole milk contributes richness, flavor, and additional fat to the cake. Its lower water content and higher fat content compared to skim milk help ensure baked goods remain tender and moist. Feel free to use any of your favorite milk substitutes if needed, though the fat content might slightly alter the final texture.
Refer to the complete recipe card below for precise quantities and full ingredient information.
Creative Variations to Elevate Your Maple Cake
While this maple cake is perfect as is, it also serves as an excellent canvas for creativity. Experiment with these delightful variations to customize your dessert:
- Embrace the Nutty Crunch! Incorporate a wonderful textural contrast by mixing in 1 cup of toasted pecans, walnuts, or hazelnuts into the cake batter. For an extra touch of elegance and flavor, garnish the frosted cake with candied nuts, adding both visual appeal and a delightful crunch.
- Transform into Delightful Cupcakes. This versatile cake batter bakes beautifully into approximately 24 individual cupcakes. Adjust the baking time to 15-20 minutes, or until a tester comes out clean. Once cooled, pipe the light and fluffy maple frosting on top for a perfect portable treat.
- Explore Different Buttercreams. If you desire a different flavor profile for your frosting, this cake pairs wonderfully with various buttercreams. Consider topping it with a rich caramel Swiss meringue buttercream, a tangy cream cheese buttercream frosting, or even flavoring our classic American buttercream recipe with maple liqueur or additional maple extract for a different take on maple.
- Add a Flavorful Filling. Elevate your layer cake experience by incorporating a delicious filling between the cake layers. Create a “dam” around the edge of each cake layer using the maple frosting, then fill the center with luscious salted maple caramel sauce, a sweet and tangy easy apple compote, or a festive cranberry chutney. These additions introduce an extra layer of flavor and texture that will impress.
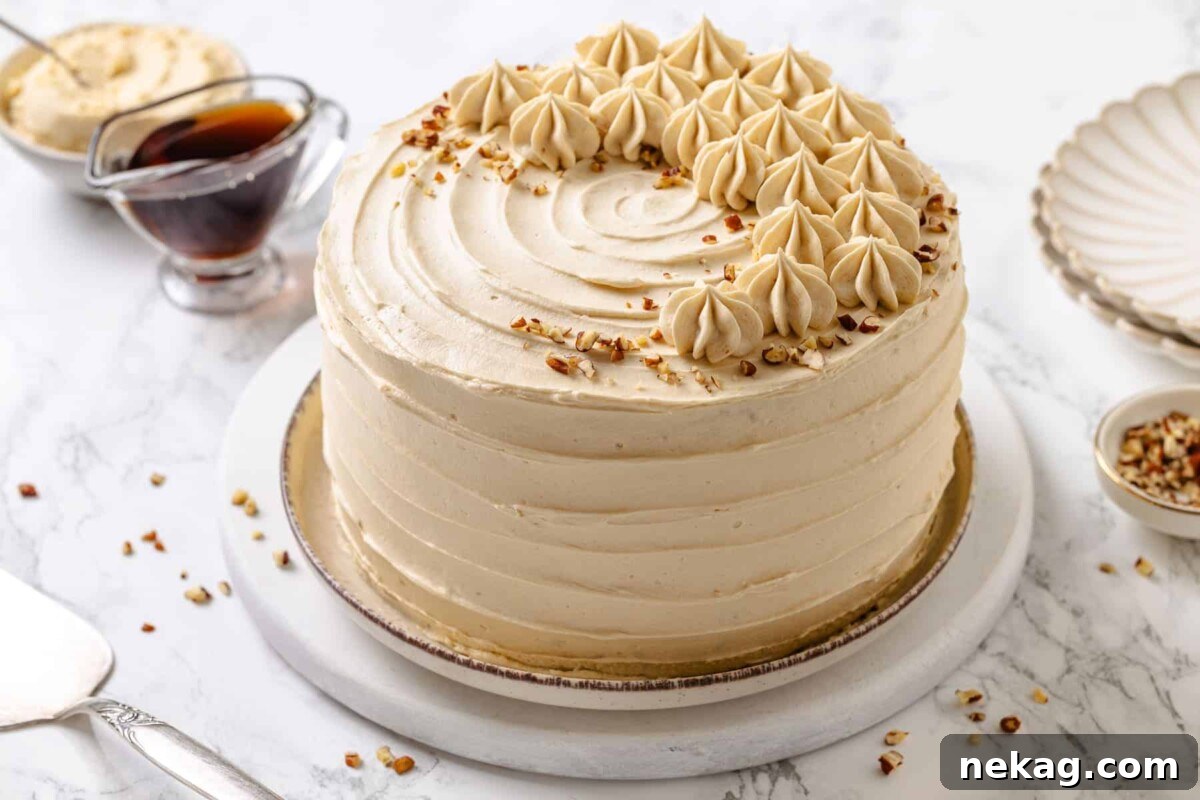
Chef’s Pro Tips for Baking the Perfect Maple Cake
Achieving bakery-quality results at home is easier than you think with a few professional insights. Here are our top tips to ensure your maple cake turns out flawlessly:
- Master the Cooked Flour Base for Frosting Stability. The cooked flour base is the foundation of our silky maple frosting, and its consistency directly dictates the stability and texture of your final buttercream. You must cook this base thoroughly until it becomes very thick and “plops” off your spoon or spatula in distinct clumps, rather than pouring in a stream. A key indicator is when you can draw a line through the mixture on the back of your spoon, and it holds its shape. This ensures the flour has fully thickened the mixture, preventing a runny frosting and creating a stable, pipeable buttercream that can withstand warmer temperatures and humidity.
- Optimize Your Baking and Frosting Schedule. Efficient timing can make your baking process much smoother. We recommend mixing the cake batter first and placing it in the oven. While the cake is baking, begin preparing the cooked flour base for your frosting. This allows both the cake layers and the frosting base ample time to cool completely to room temperature before you begin assembling. Proper cooling is crucial for both components. If you need to speed up the cooling of the frosting base, you can place it in the refrigerator, stirring every 20 minutes until it reaches body temperature.
- Determine Your Desired Cake Finish. The final appearance of your cake depends on your preferred frosting technique. If you aim for a smooth, polished, and more perfect finish, much like our elegant chocolate raspberry cake, it’s highly recommended to apply a thin “crumb coat” of frosting, then refrigerate the cake until this initial layer is firm. This crumb coat traps any loose crumbs, creating a clean canvas for your final layer of frosting. Chilling also significantly aids in building stable layers and smoothing the exterior without the frosting shifting or giving way. For a charmingly rustic, swirled finish, similar to our comforting chocolate mayonnaise cake, you can simply apply as much frosting as you desire and create beautiful textures with the back of a spoon or an offset spatula, skipping the chilling step after the crumb coat.
How to Make Maple Cake: A Step-by-Step Guide
Follow these detailed instructions to bake and assemble a truly perfect maple cake. More precise details and measurements are available in the recipe card below.
Prepare the Cake:
Step 1: Prepare your oven and pans. Preheat your oven to 325°F (160°C) if using convection (with a fan) or 350°F (175°C) for a conventional oven (without a fan). Lightly spray and line the bottoms of 2 (or 3, for taller layers) 8 or 9-inch round cake pans with parchment paper. This preparation ensures easy release and beautifully even cakes.
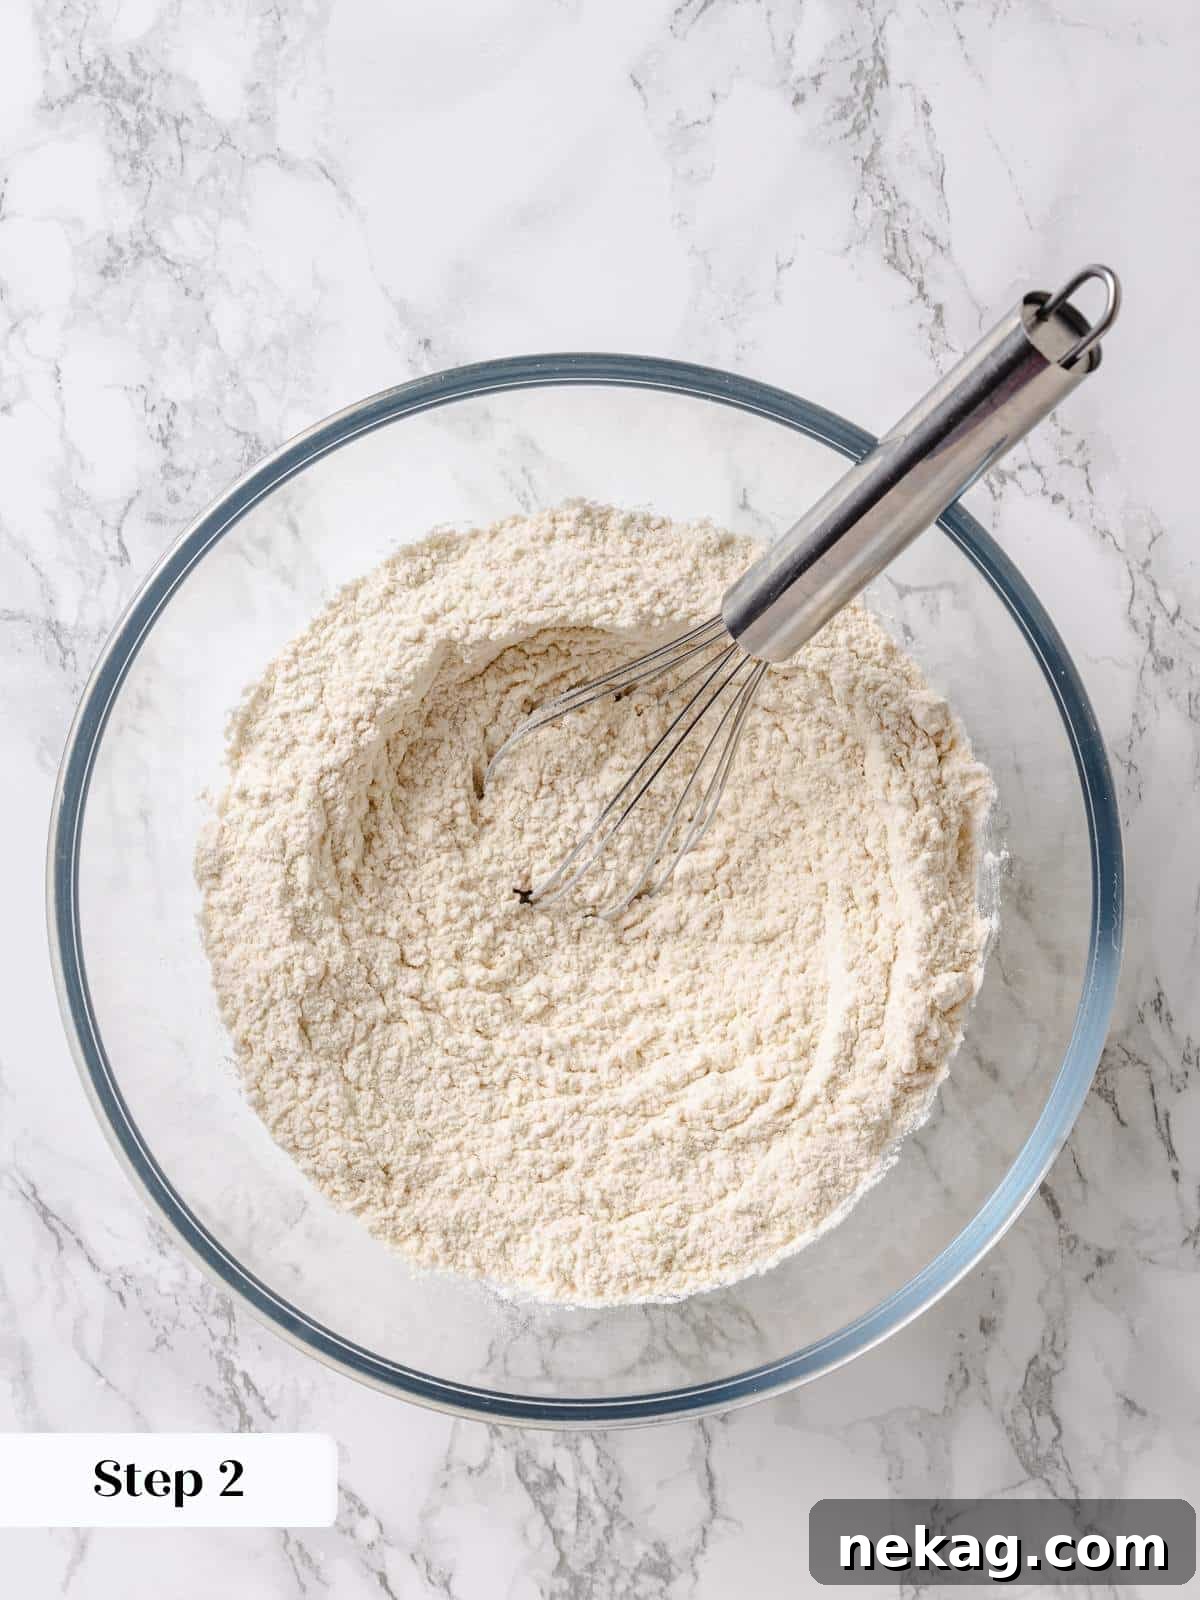
Step 2: Combine dry ingredients. In a medium-sized bowl, whisk together the all-purpose flour, salt, baking powder, and baking soda. Whisking ensures these leavening agents and flavorings are evenly distributed throughout the flour. Set this mixture aside (refer to **photo 1** for visual reference).
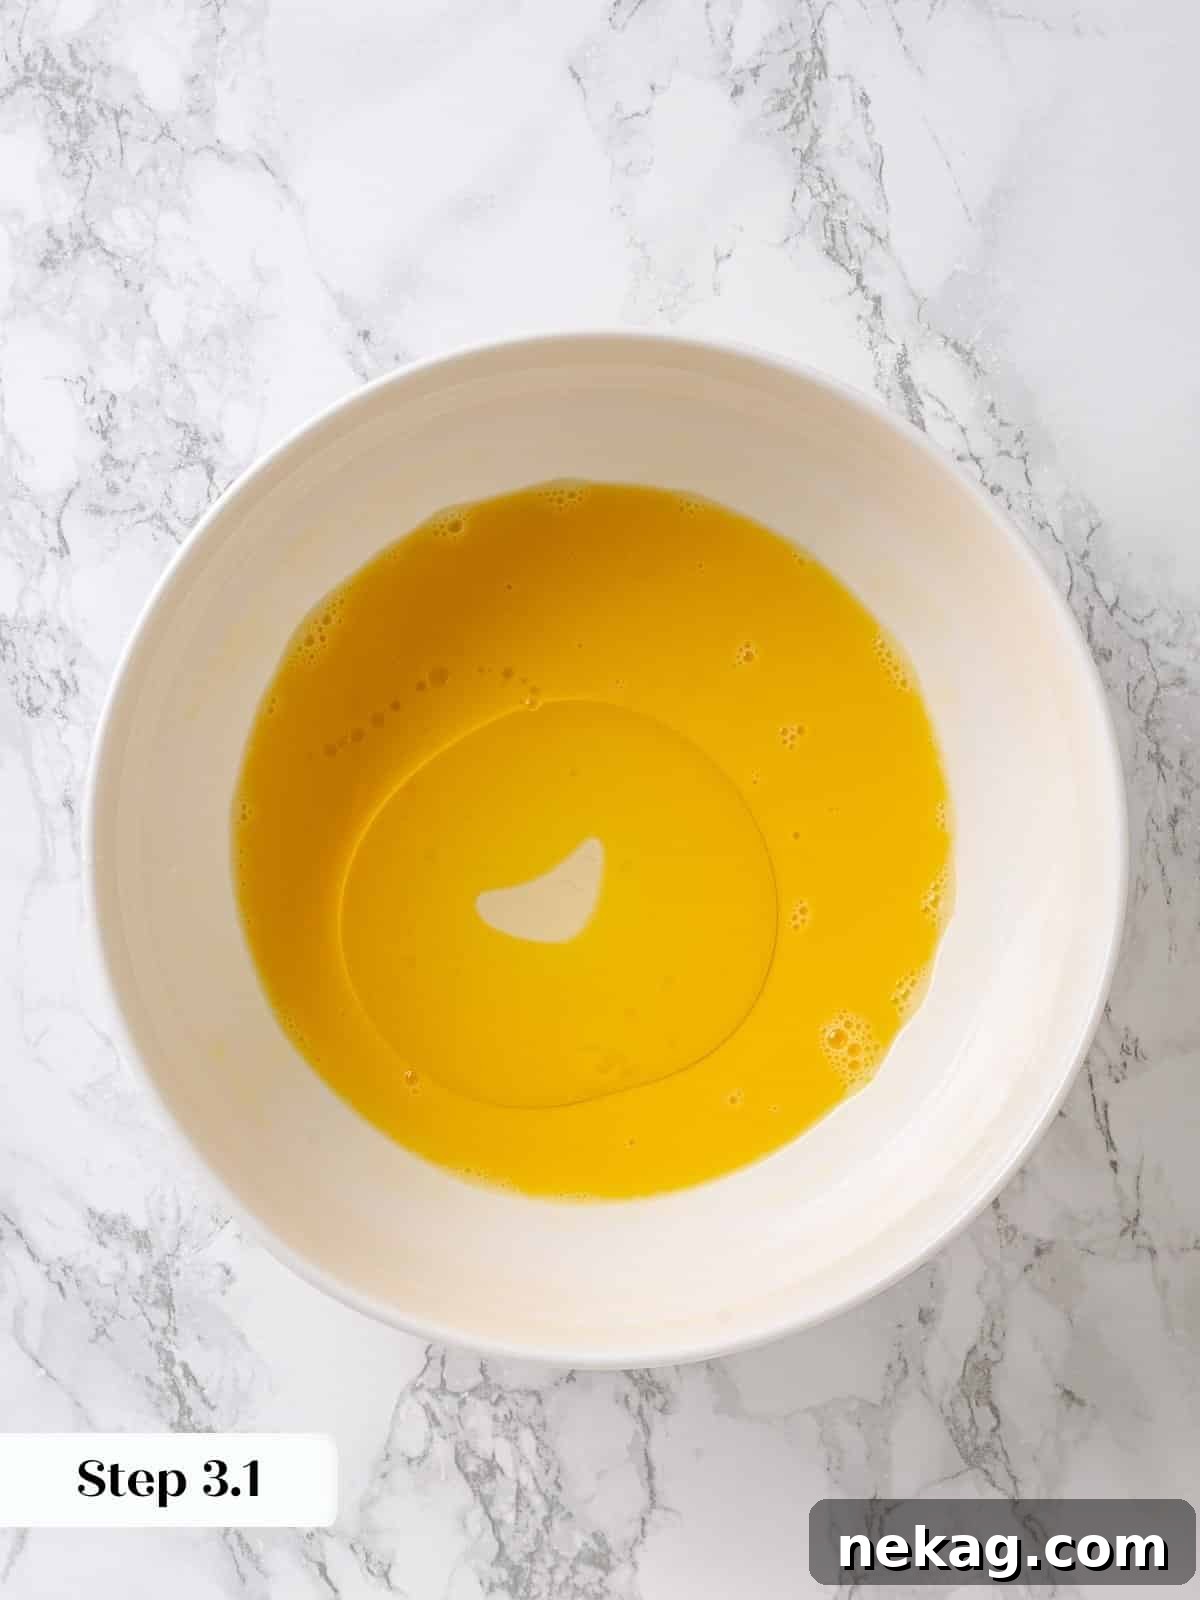
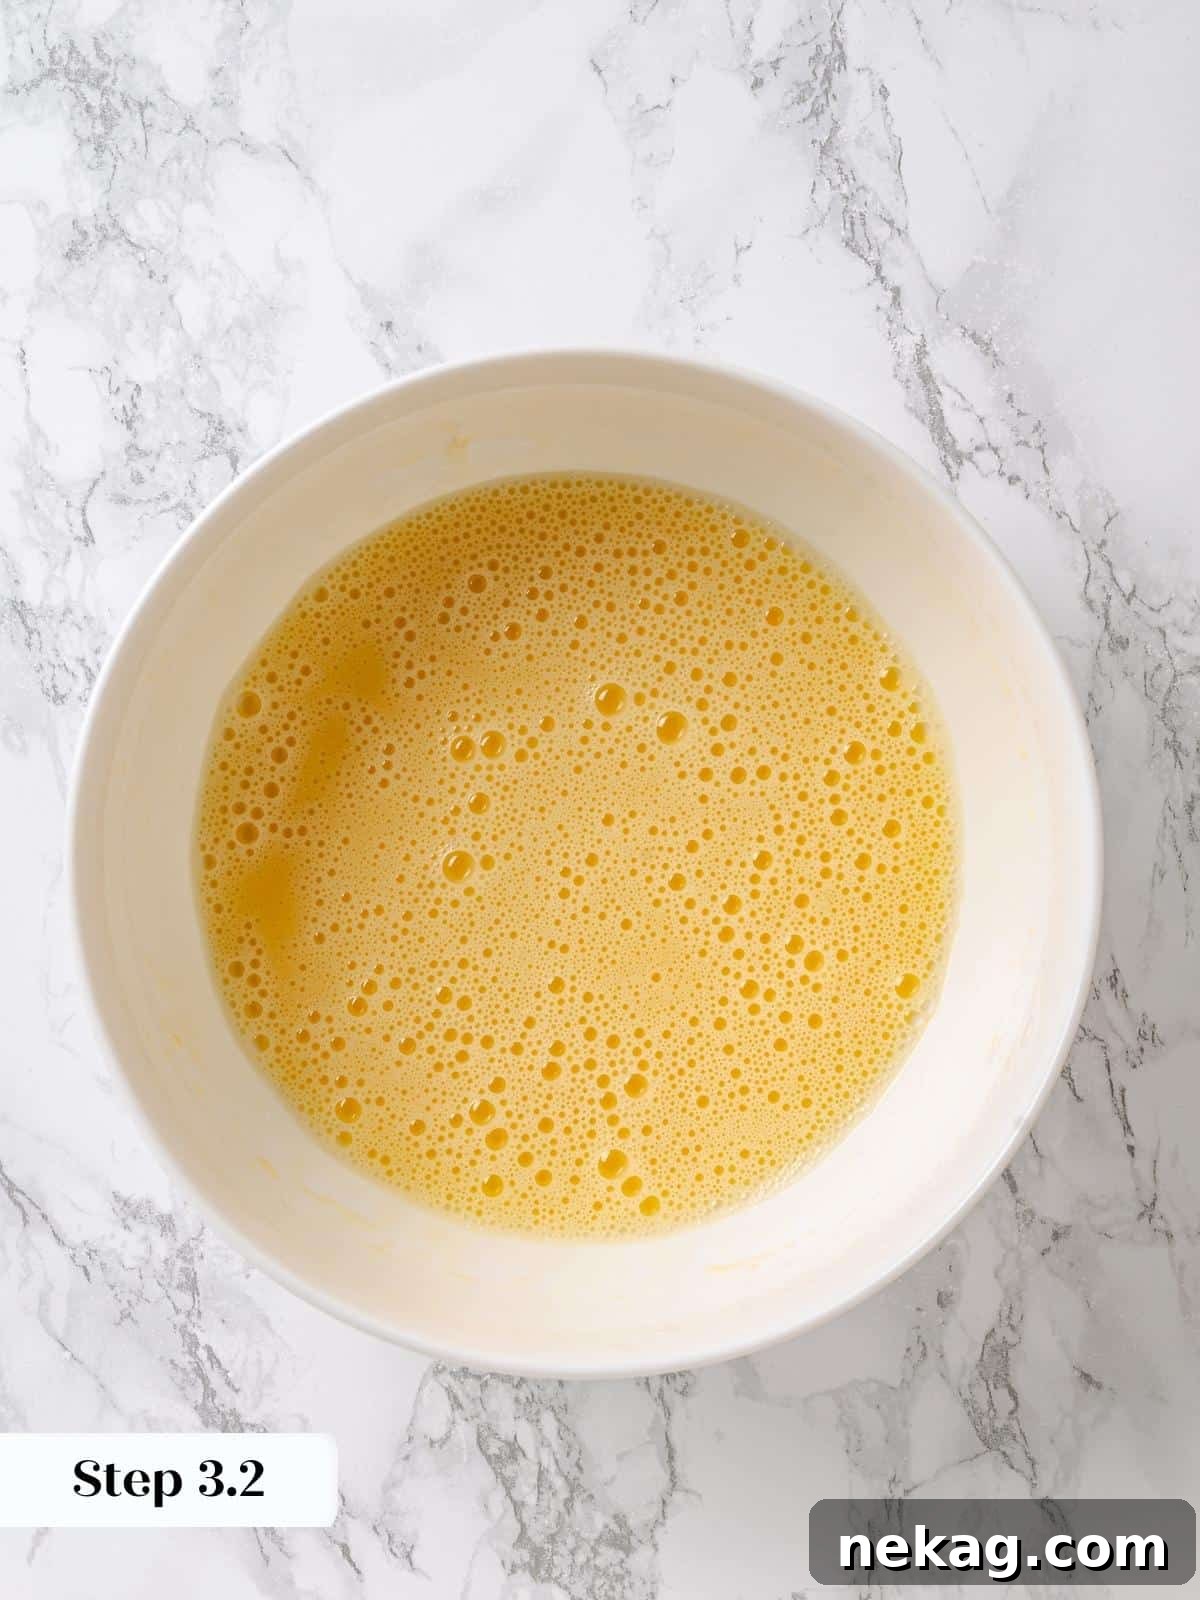
Step 3: Create the emulsion. In a separate, large mixing bowl, vigorously whisk the eggs until they are smooth and homogenous. While continuously whisking, slowly pour the neutral vegetable oil into the eggs in a steady stream. This gradual addition and constant whisking will create a smooth, stable emulsion, which is crucial for a moist, non-greasy cake (**photos 2 & 3**).
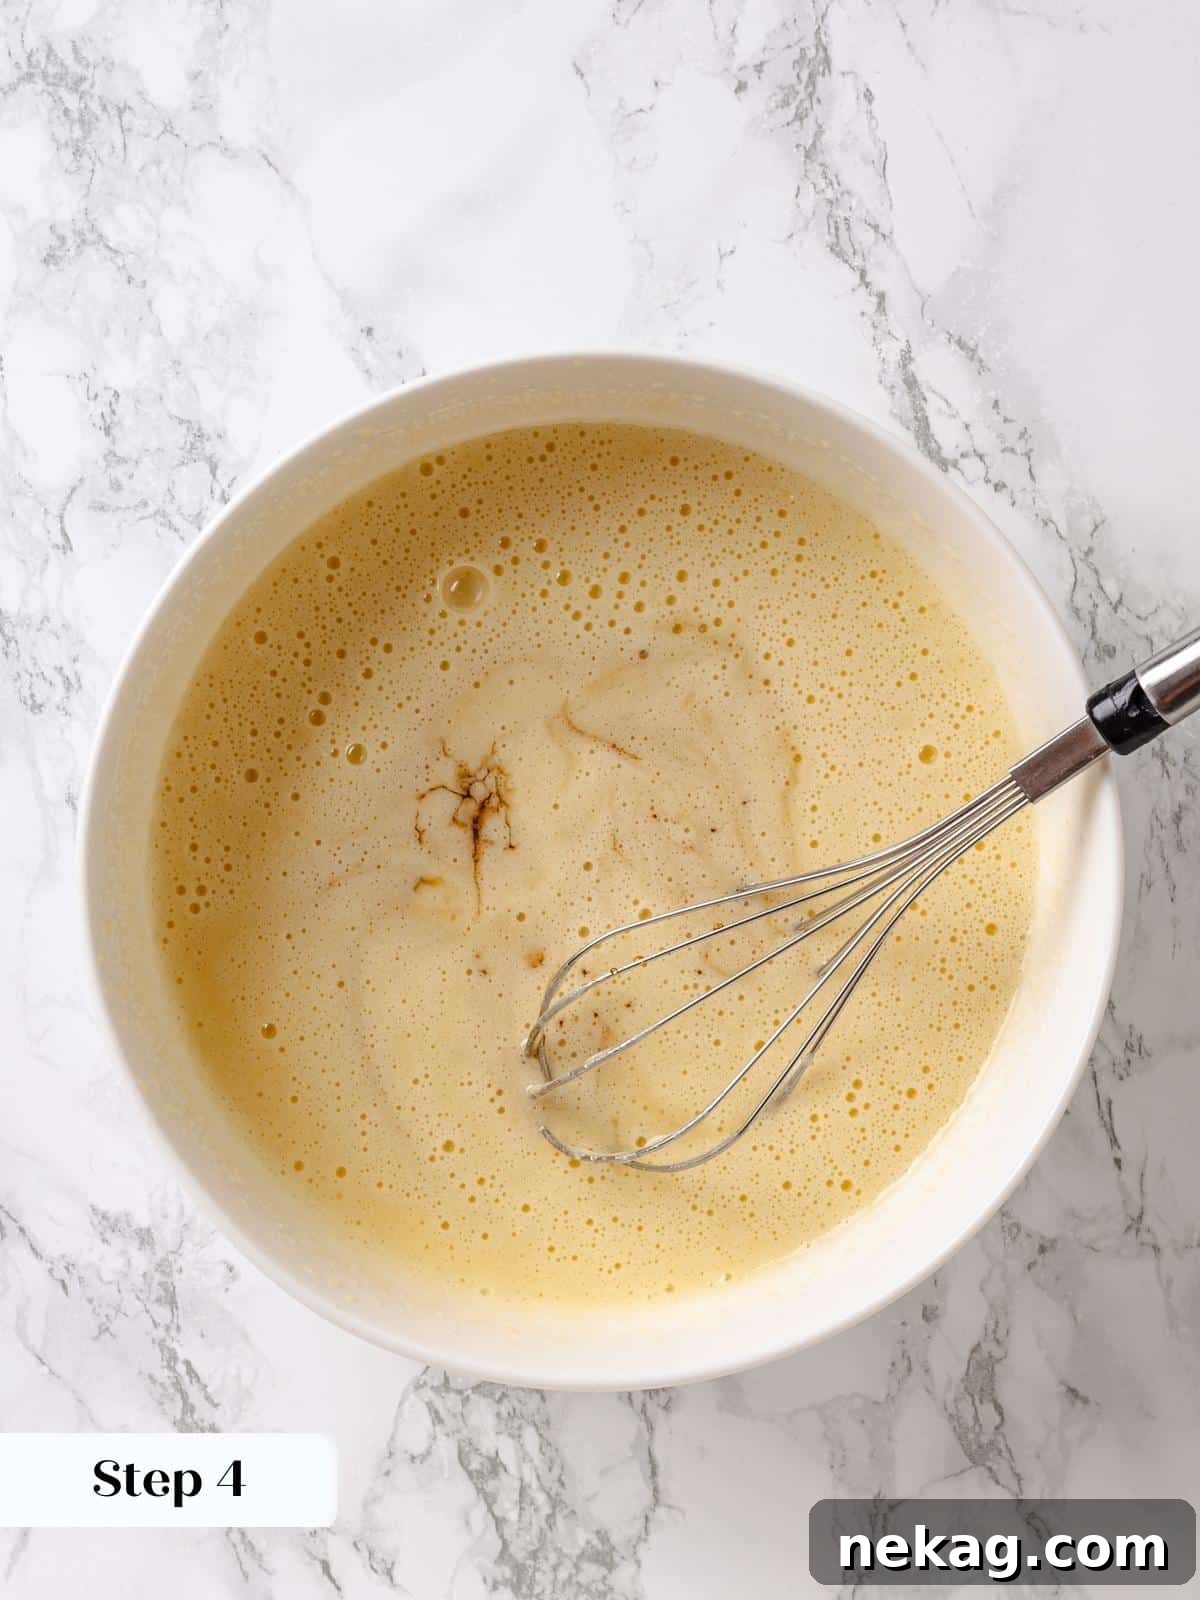
Step 4: Incorporate sugars and maple. Add the granulated sugar to the egg and oil mixture. If using, also add the maple extract at this stage. Whisk thoroughly until the sugar is fully dissolved and incorporated into the mixture, ensuring a smooth consistency. Finally, whisk in the pure maple syrup (**photo 4**).
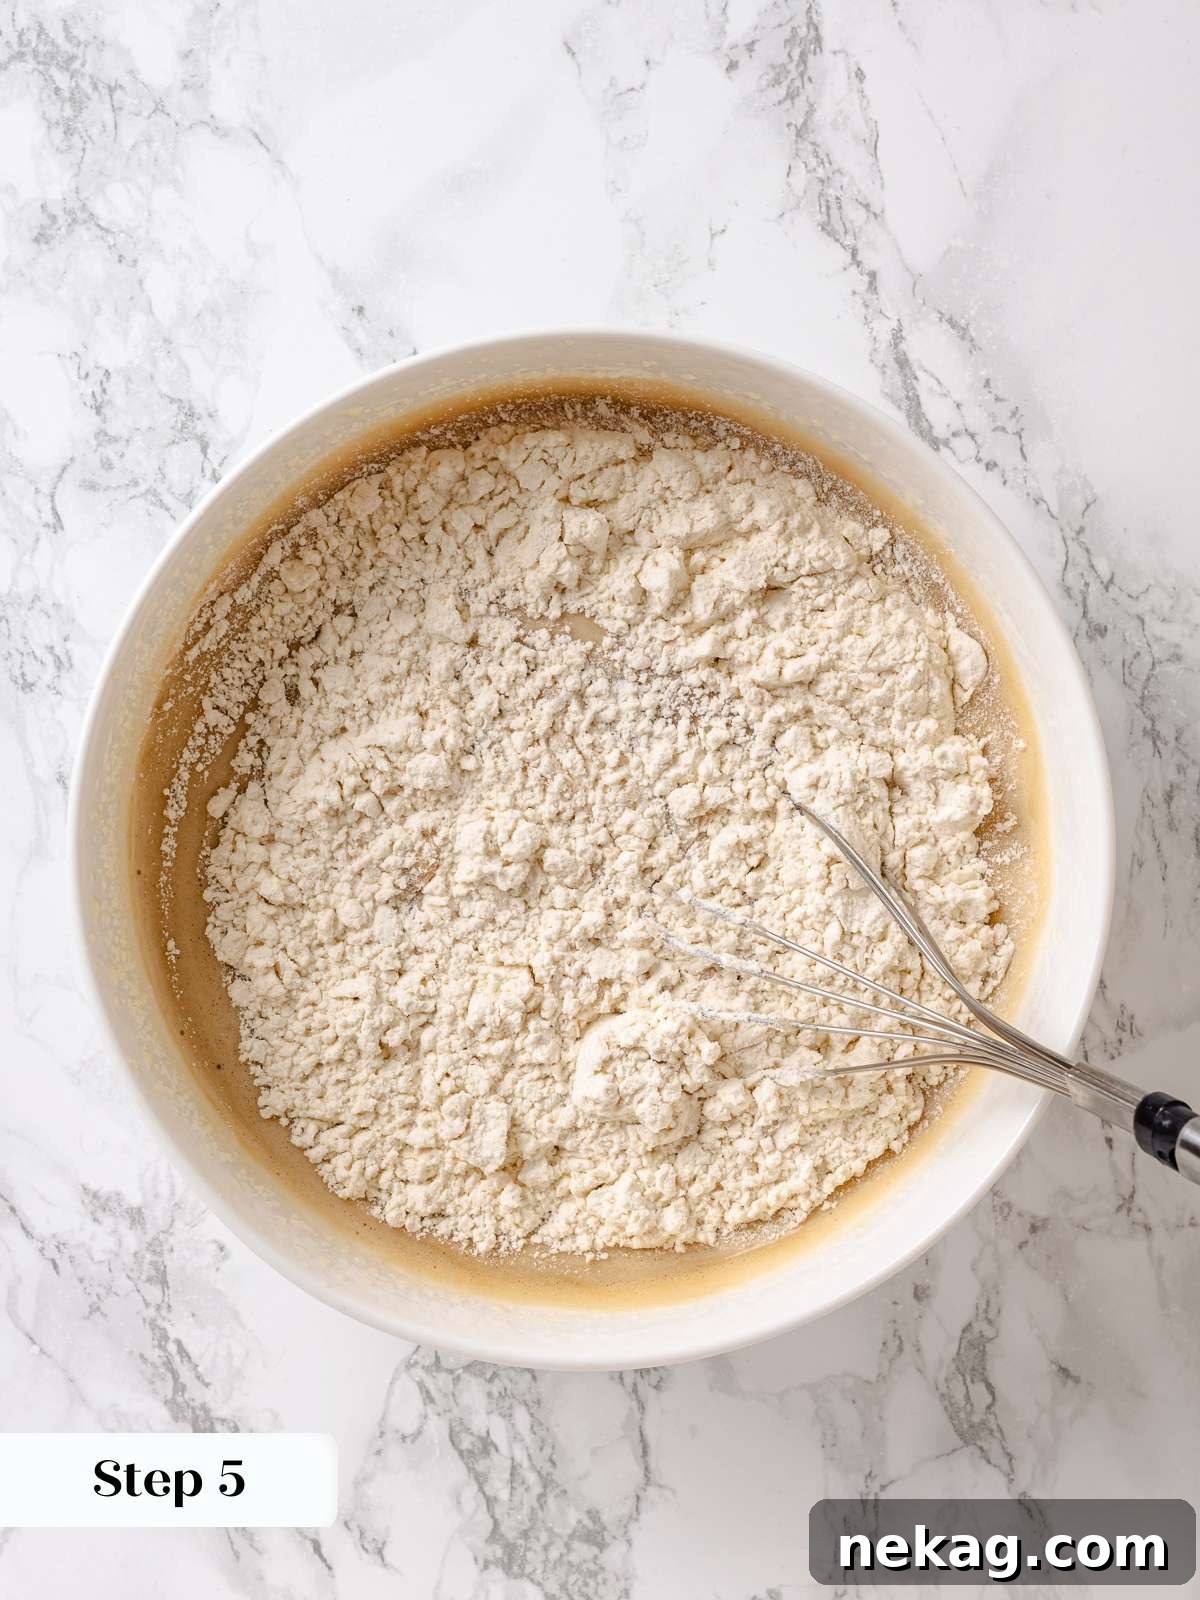
Step 5: Alternate additions of flour and milk. To the wet ingredients, alternately add the dry flour mixture and the whole milk in three equal additions. Start and end with flour. After each addition of about 1/3 of the flour and 1/3 of the milk, whisk gently until no lumps remain. This method prevents overmixing and develops the gluten gradually, resulting in a tender cake (**photo 5**).
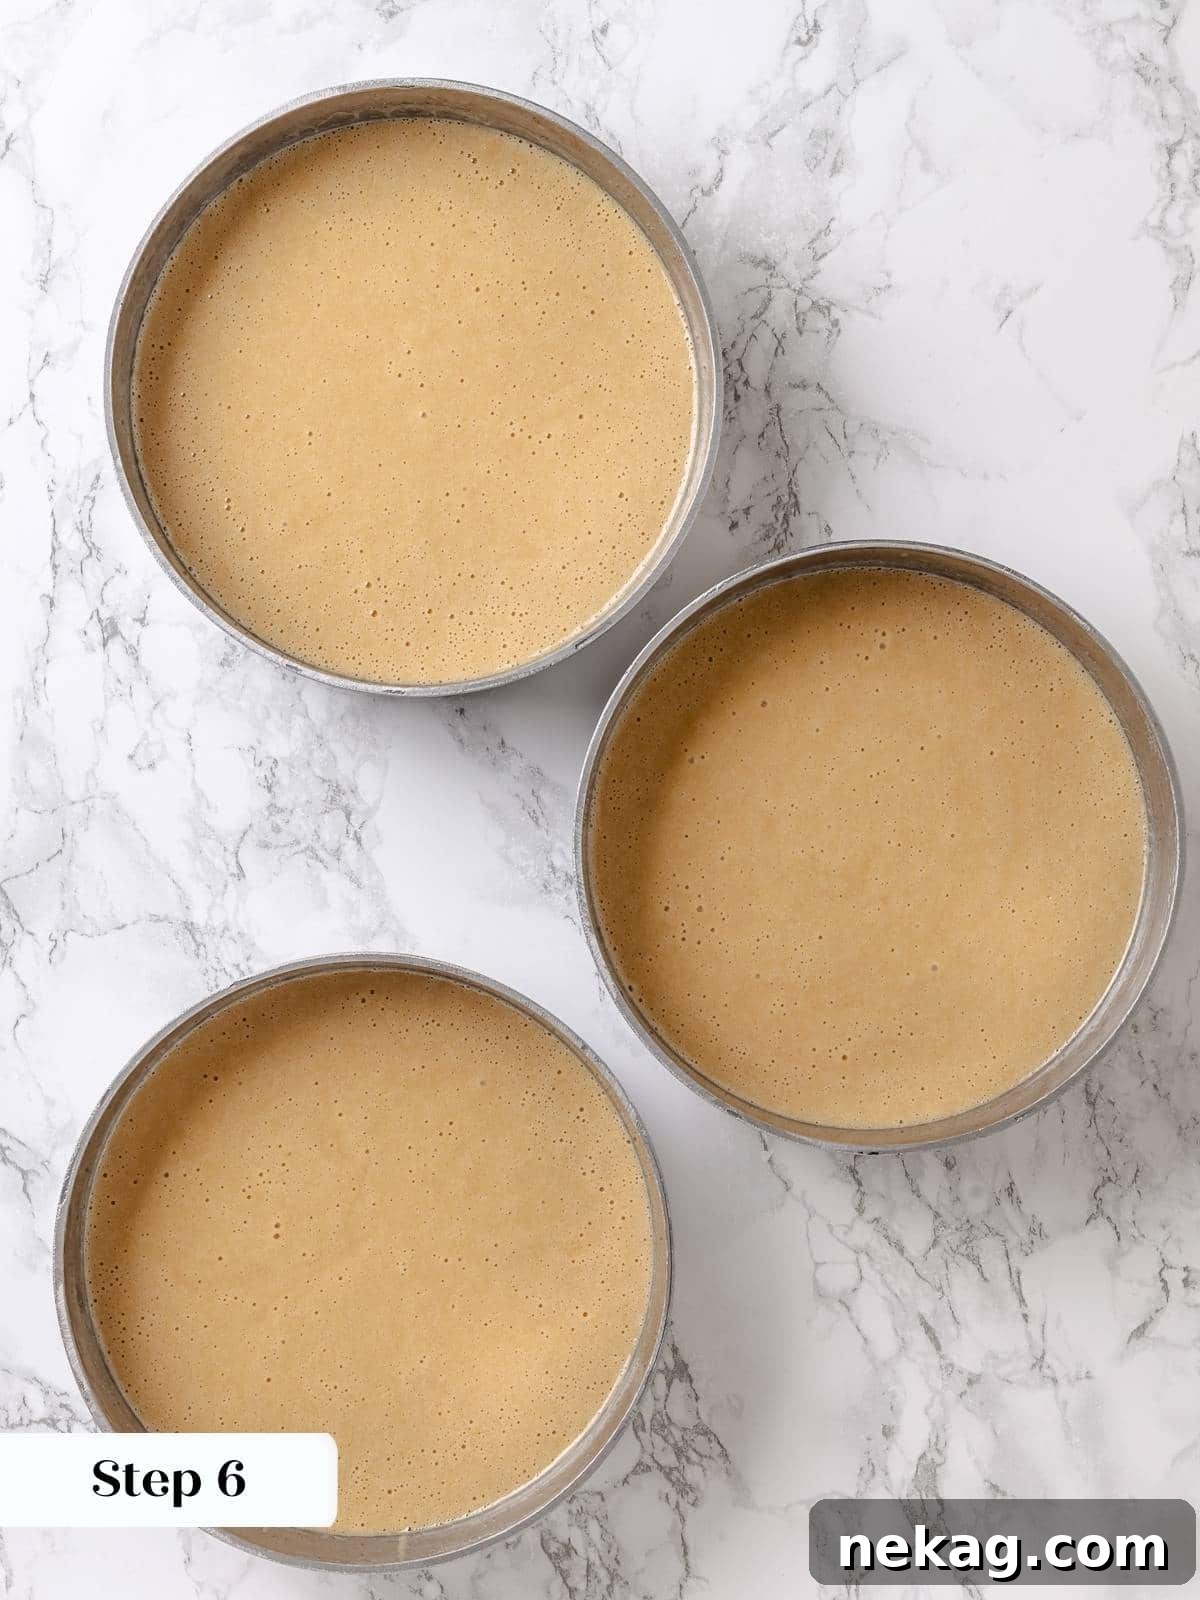
Step 6: Bake the cake layers. Divide the prepared cake batter evenly between your greased and lined cake pans. For consistent baking and even layers, you can weigh the batter in each pan. Place the pans into the preheated oven (**photo 6**).
Chef’s Note: For two 8-inch layers, I typically aim for approximately 850g of batter in each pan. These layers baked for about 37 minutes in a 325°F convection oven.
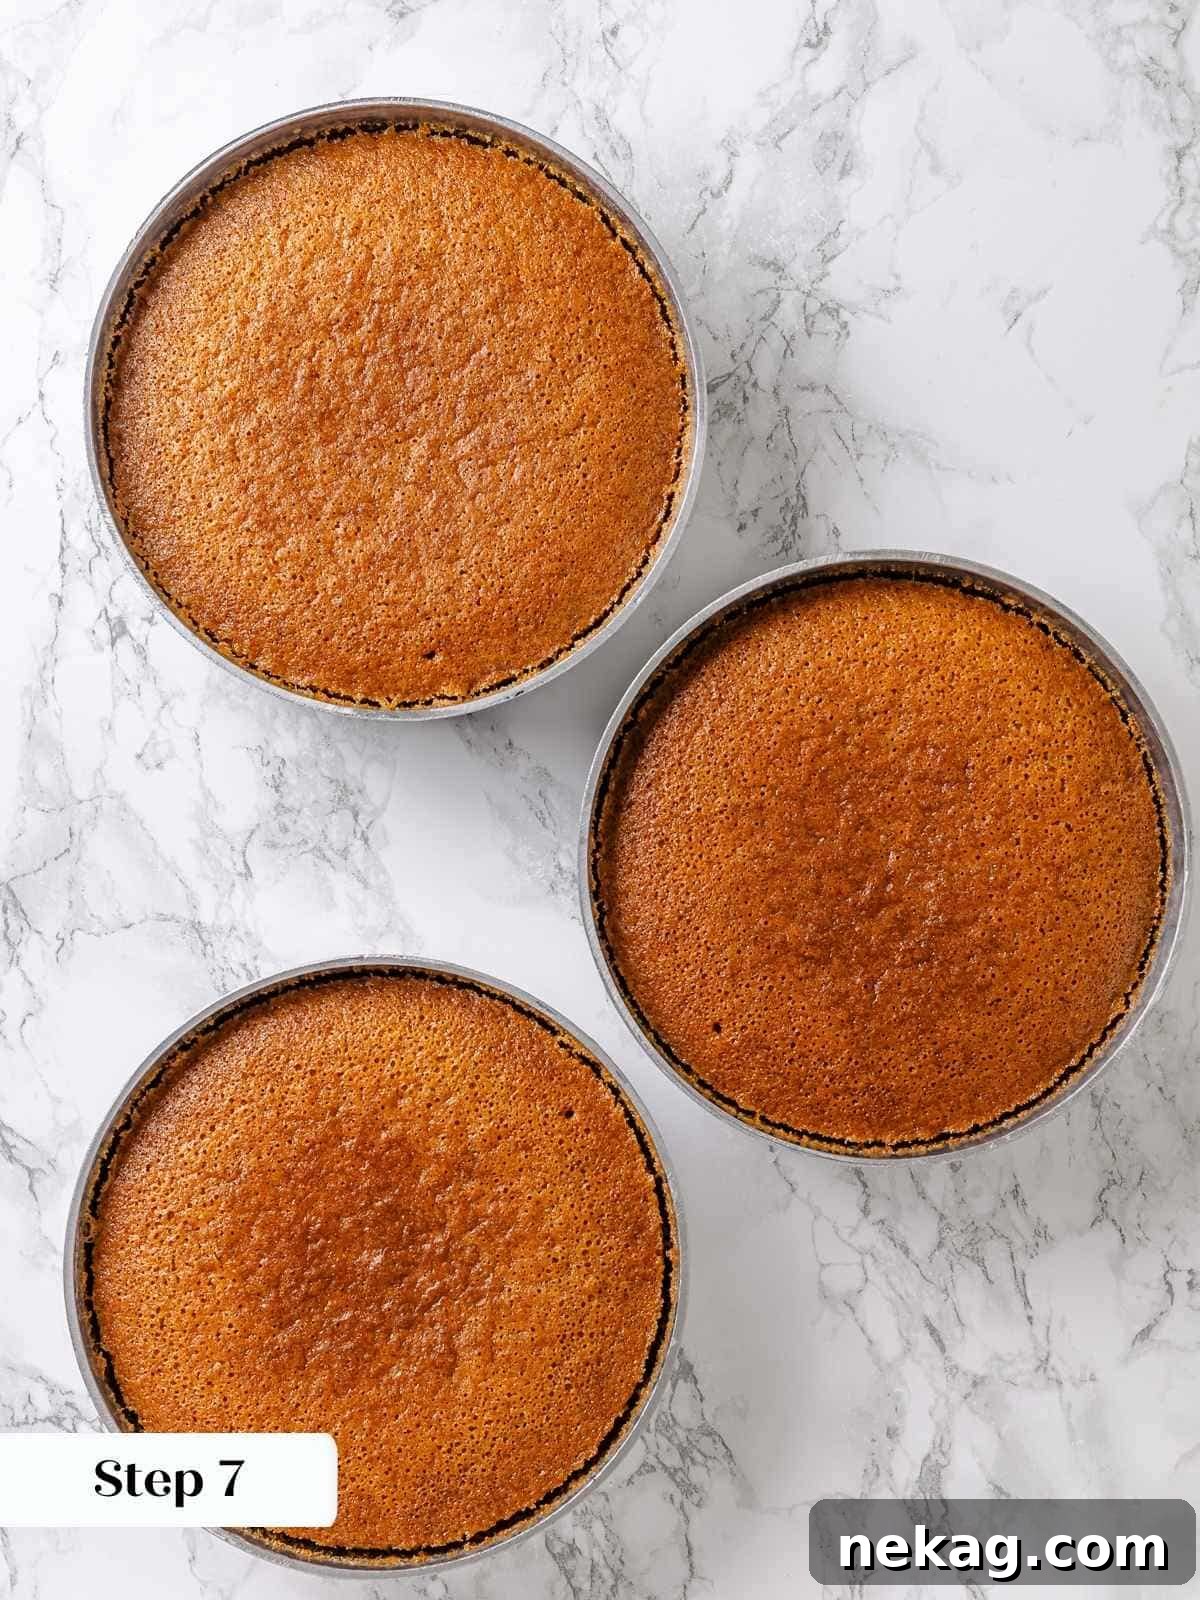
Step 7: Check for doneness. Bake until a wooden skewer or cake tester inserted into the center of a cake layer comes out clean, or with just a few moist crumbs clinging to it. The tops of the cakes should be a beautiful golden brown, slightly darker around the edges (**photo 7**).
Step 8: Cool the cake layers. Allow the cakes to cool in their pans for about 10 minutes. This resting period helps the cakes set and prevents them from sticking. Then, carefully run a thin paring knife or small offset spatula around the edges of each pan to loosen the sides. Invert the cakes onto a wire rack, gently remove the parchment paper, and allow them to cool completely to room temperature before attempting to frost them. This is crucial for successful frosting application.
Prepare Maple Frosting:
Step 9: Prepare the frosting base dry ingredients. In a large, heavy-bottomed saucepan, combine the all-purpose flour, granulated sugar, and kosher salt. Stir these dry ingredients together thoroughly to ensure they are well mixed and ready for the liquid additions (**photo 8**).
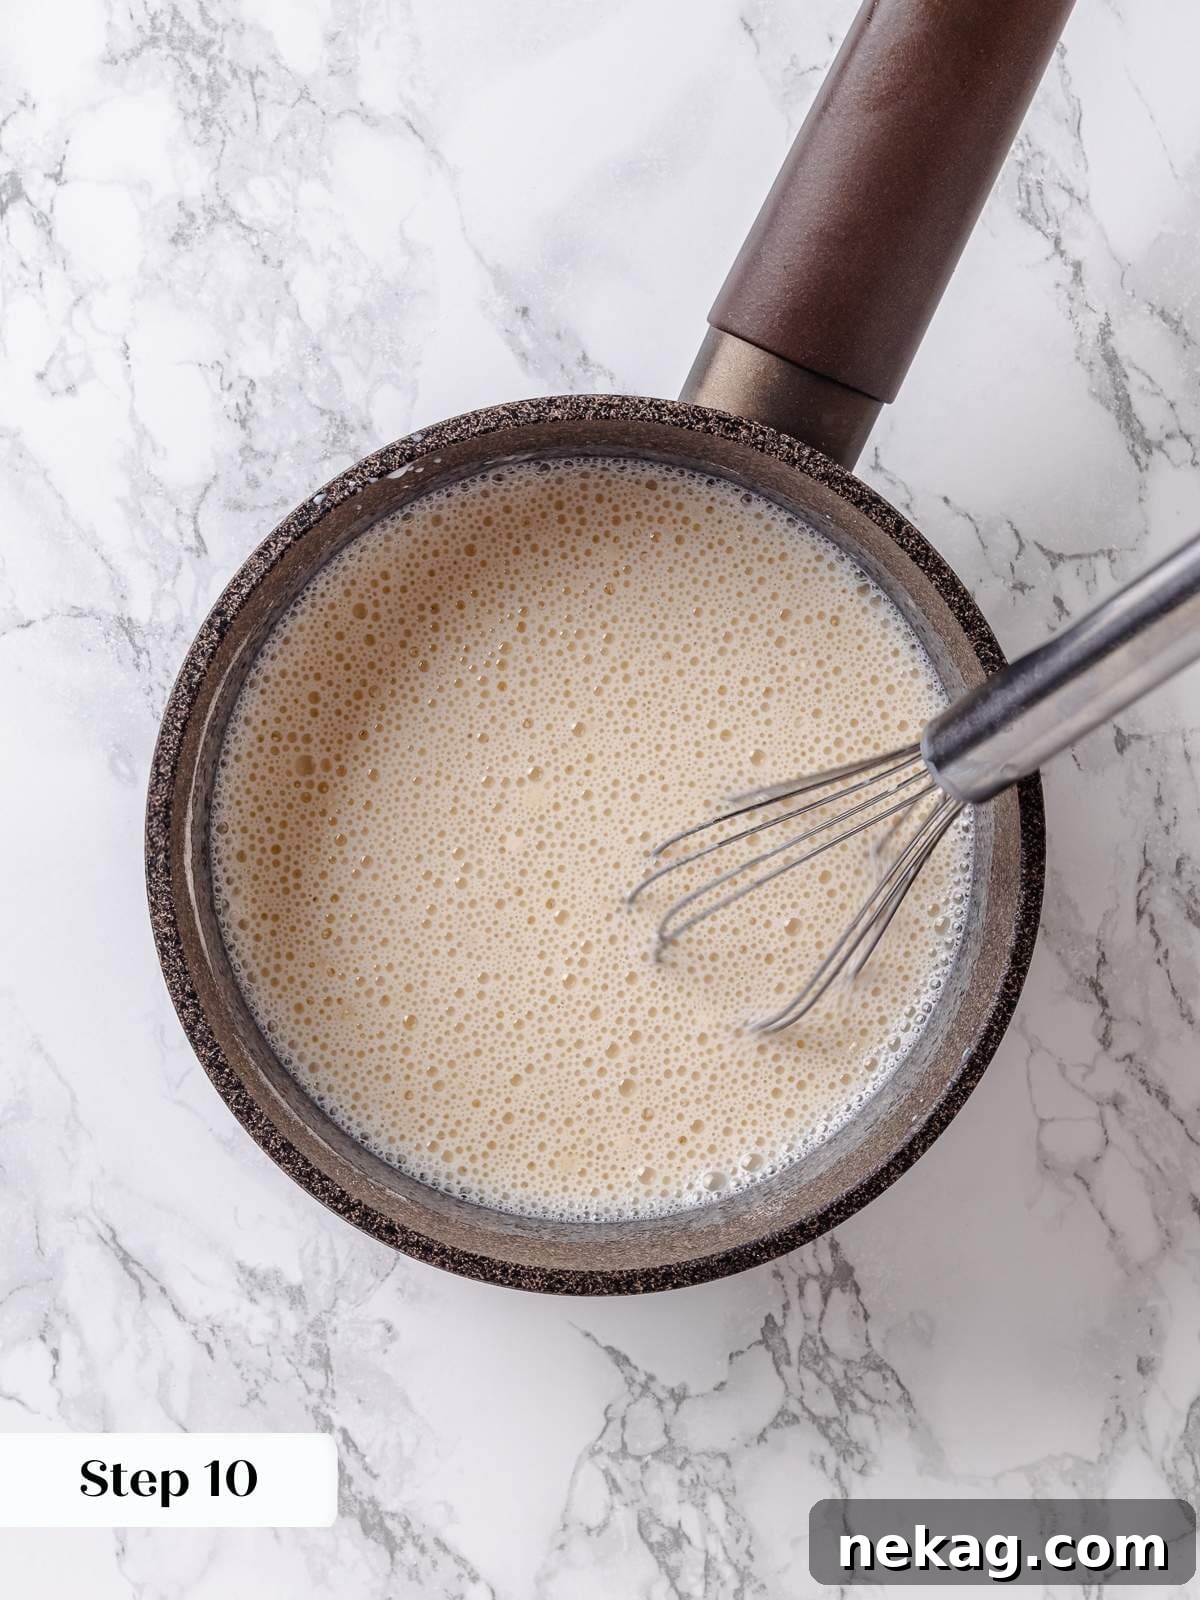
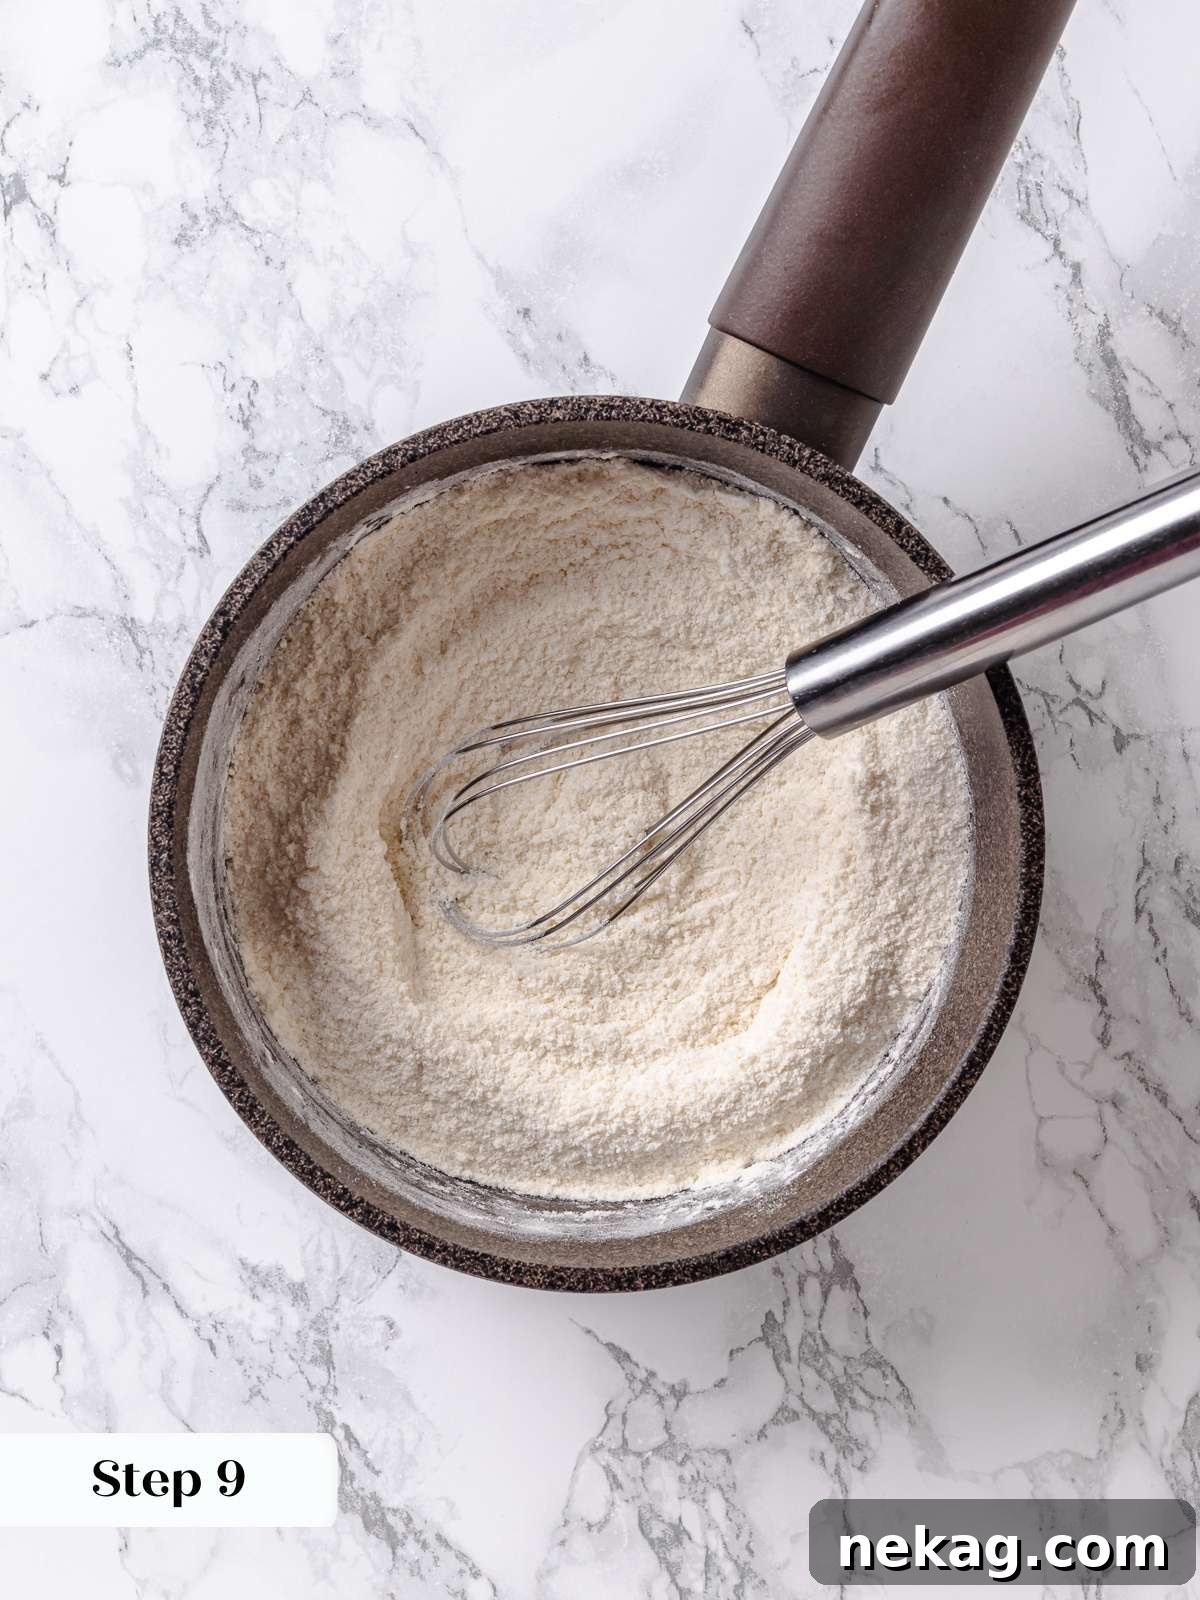
Step 10: Slowly whisk in the milk. Begin slowly whisking the whole milk into the dry mixture, adding only a small amount at a time. Ensure each addition is fully incorporated and smooth before adding more milk. This technique is key to preventing lumps and achieving a perfectly smooth base, much like when you prepare homemade vanilla pudding (**photo 9**).
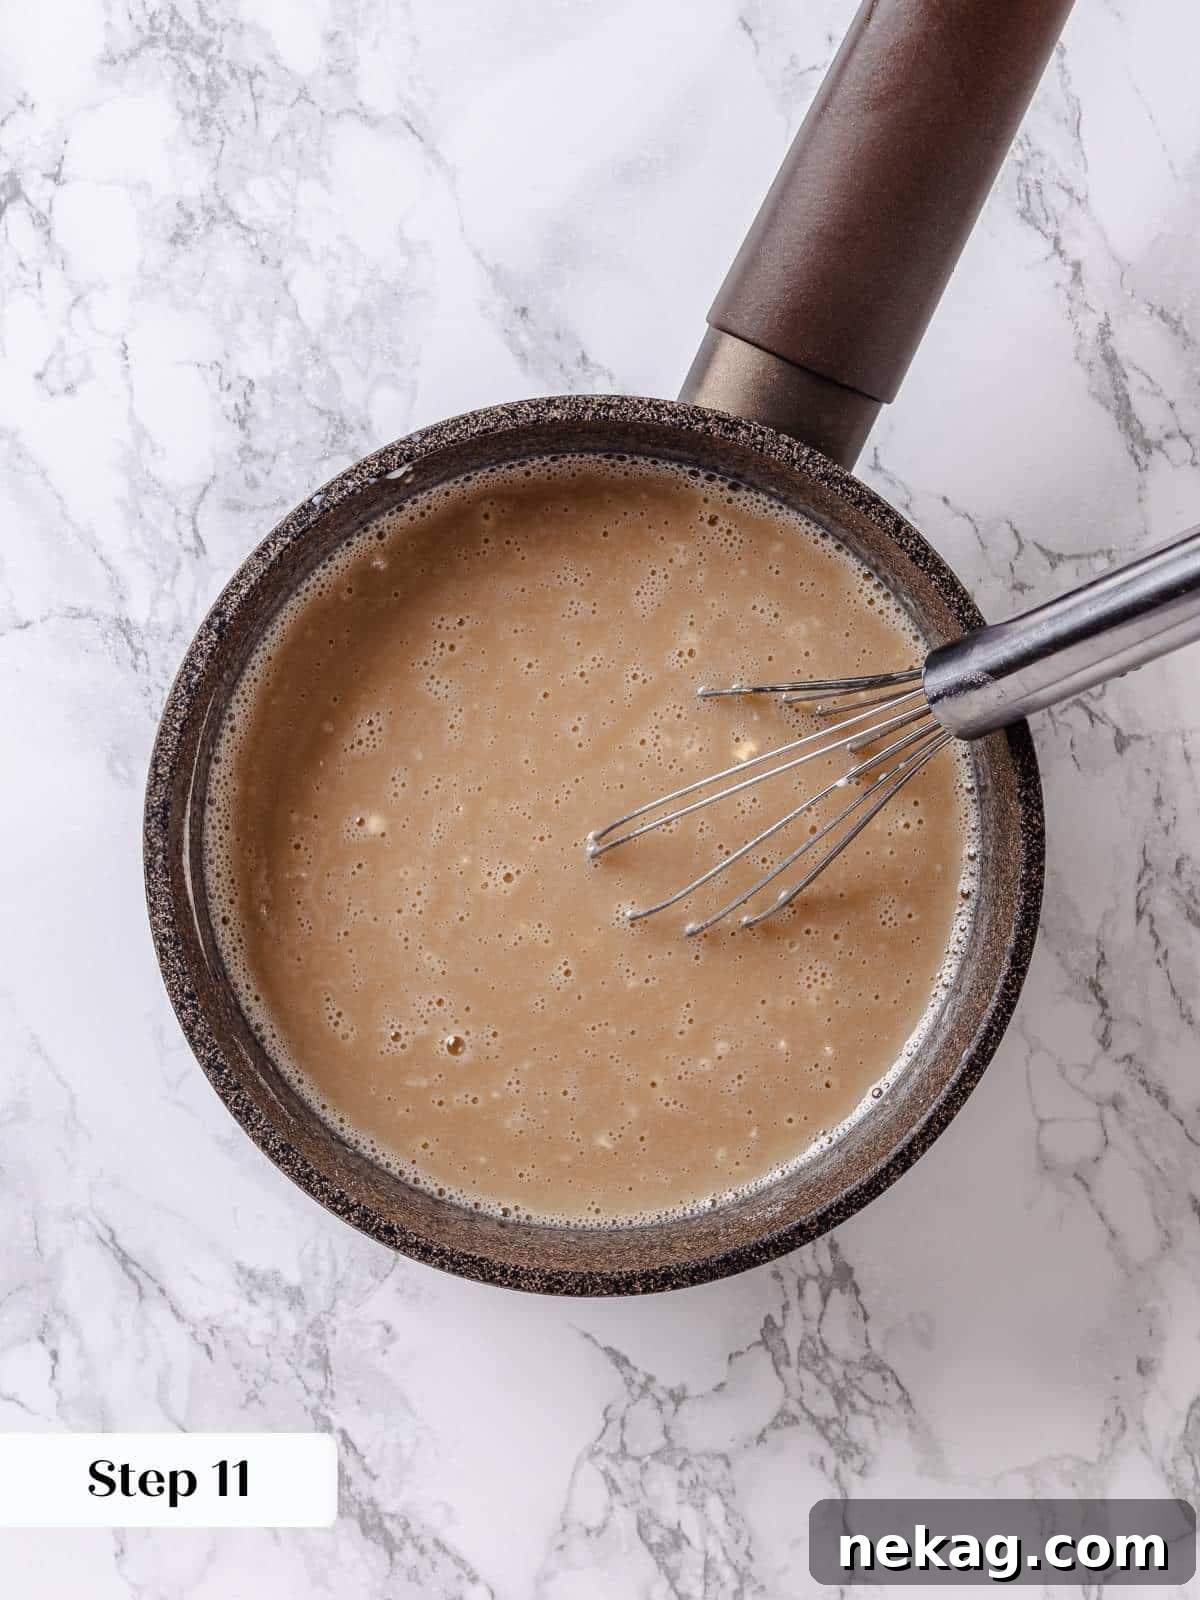
Step 11: Add maple syrup and cook. Stir in the pure maple syrup. Switch from a whisk to a heat-resistant silicone spatula. Cook the mixture constantly over medium heat, stirring without interruption. This continuous motion is critical to prevent scorching the bottom of the pan.
Chef’s Tip: To ensure even cooking and prevent burning, I like to use a zig-zag pattern across the bottom of the pot, then sweep around the edges. Repeat this pattern consistently, similar to techniques used for delicate sauces like crème anglaise or easy lemon curd.
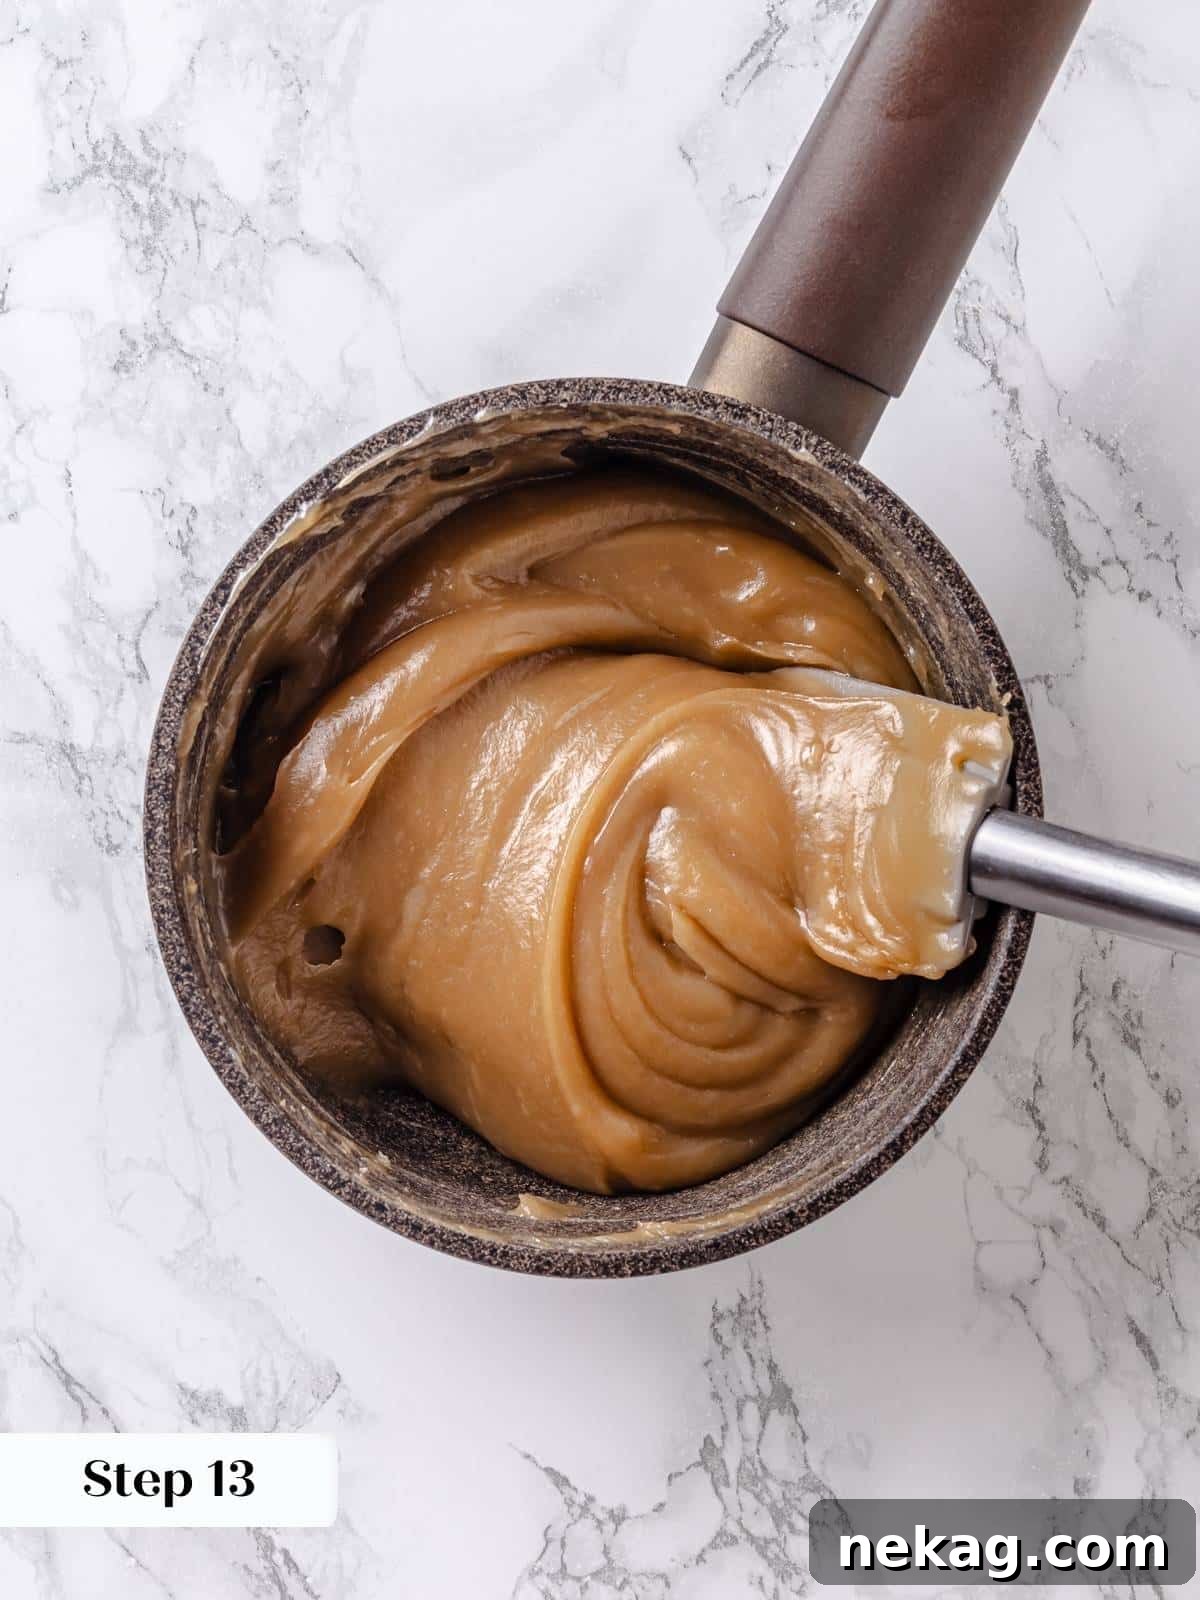
Step 12: Thicken the base. Continue cooking and stirring until the flour mixture has significantly thickened. It should reach a consistency where it no longer pours off the spoon in a thin stream but rather drops off in distinct, thick clumps.
Chef’s Insight: The ultimate thickness of this cooked base is paramount and will directly dictate the final consistency and stability of your frosting. A properly thick base will yield a pipeable frosting that maintains beautiful lines and details, even in challenging conditions of high heat and humidity. This thickening process typically takes approximately 25 minutes of continuous stirring.
Step 13: Cool the cooked base. Once thickened, remove the saucepan from the heat. Scrape the entire mixture into a large bowl using your spatula. Immediately cover the surface of the mixture with plastic wrap, ensuring the wrap directly touches the surface to prevent a skin from forming. Allow the base to cool completely to room temperature until it is no longer warm to the touch. To expedite this process, you can cool it in 20-minute intervals in the refrigerator, stirring after each interval, until it reaches body temperature (**photo 11**).
Step 14: Whip the butter. In the bowl of a stand mixer fitted with the whisk attachment, beat the softened unsalted butter on medium-high speed. Continue beating until the butter becomes incredibly light, fluffy, and noticeably almost white in color. This aeration is crucial for a light frosting.
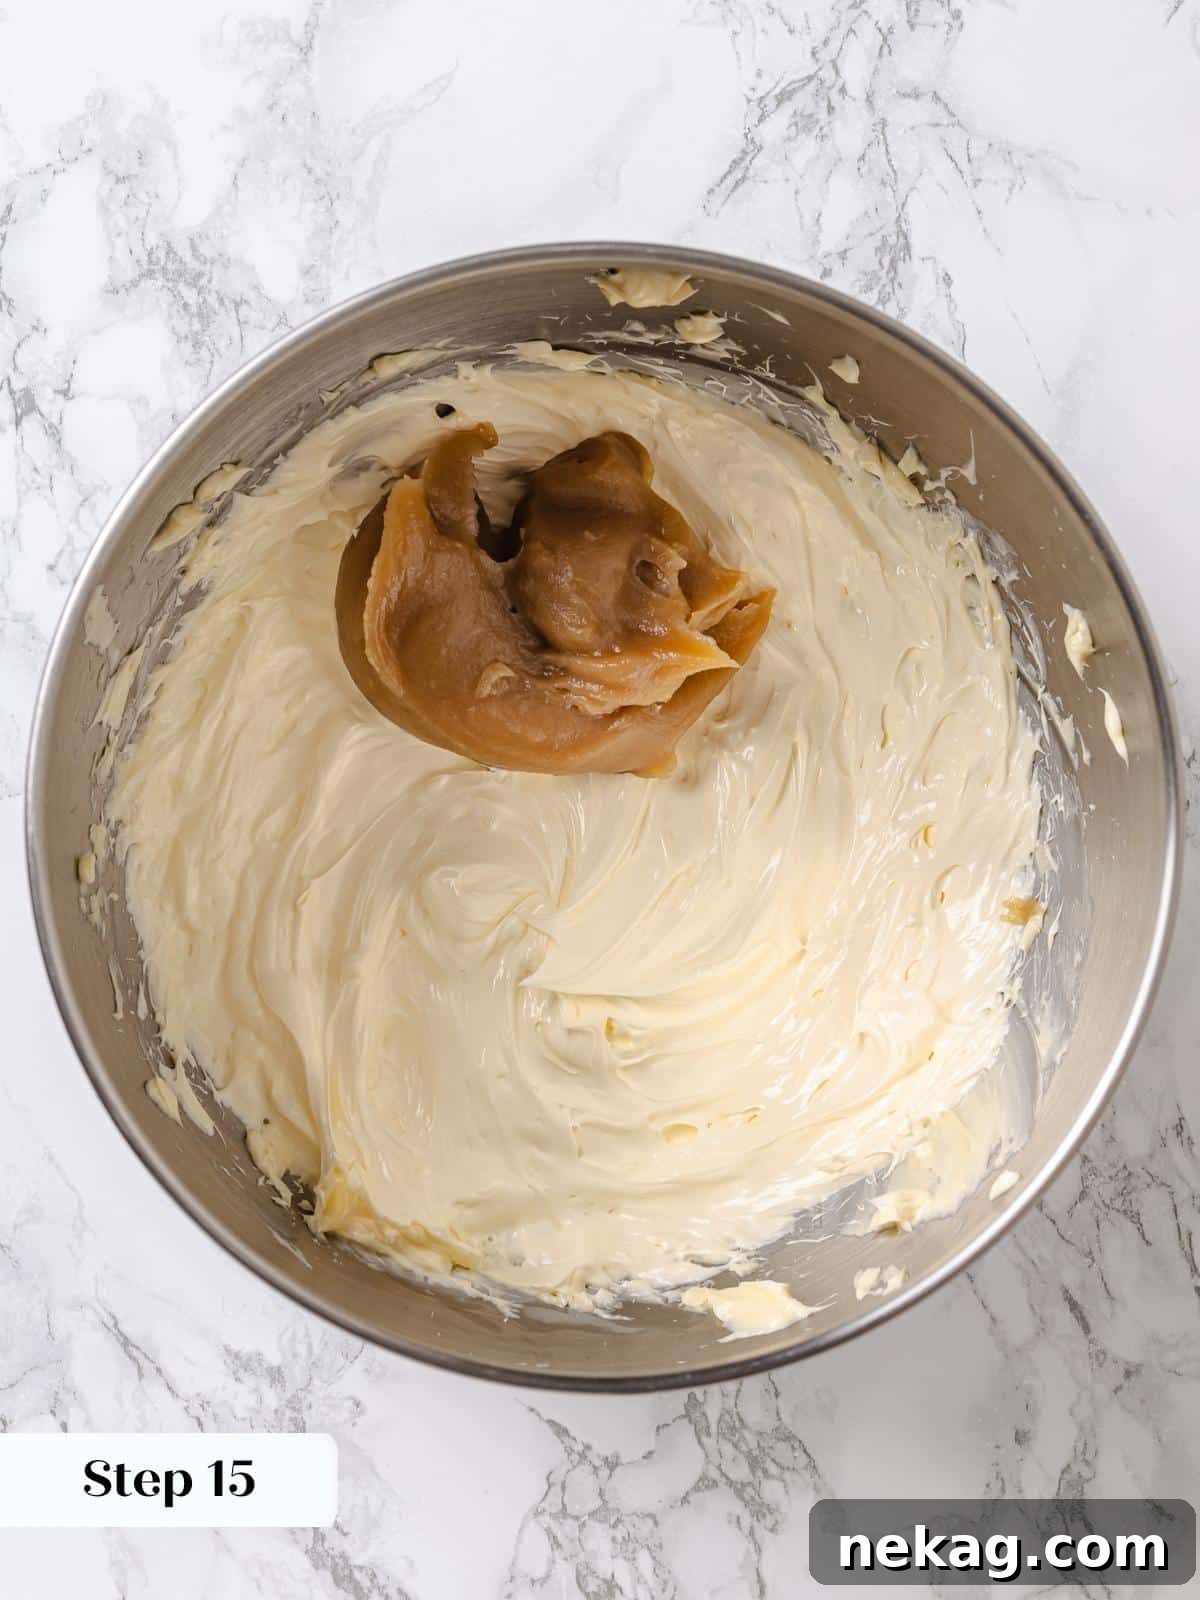
Step 15: Gradually add the cooled base. With the mixer running on medium-low speed, begin adding the cooled maple flour mixture, one spoonful at a time. Allow each spoonful to be thoroughly beaten and incorporated into the whipped butter before adding the next. Pause as needed to scrape down the sides and bottom of the mixing bowl, ensuring everything is well combined (**photo 12**).
Step 16: Scrape thoroughly. After adding all the flour mixture, stop the mixer. Use a spatula to carefully scrape down the sides and bottom of the bowl one last time, ensuring no pockets of unmixed butter or base remain. This attention to detail guarantees a homogenous, smooth frosting.
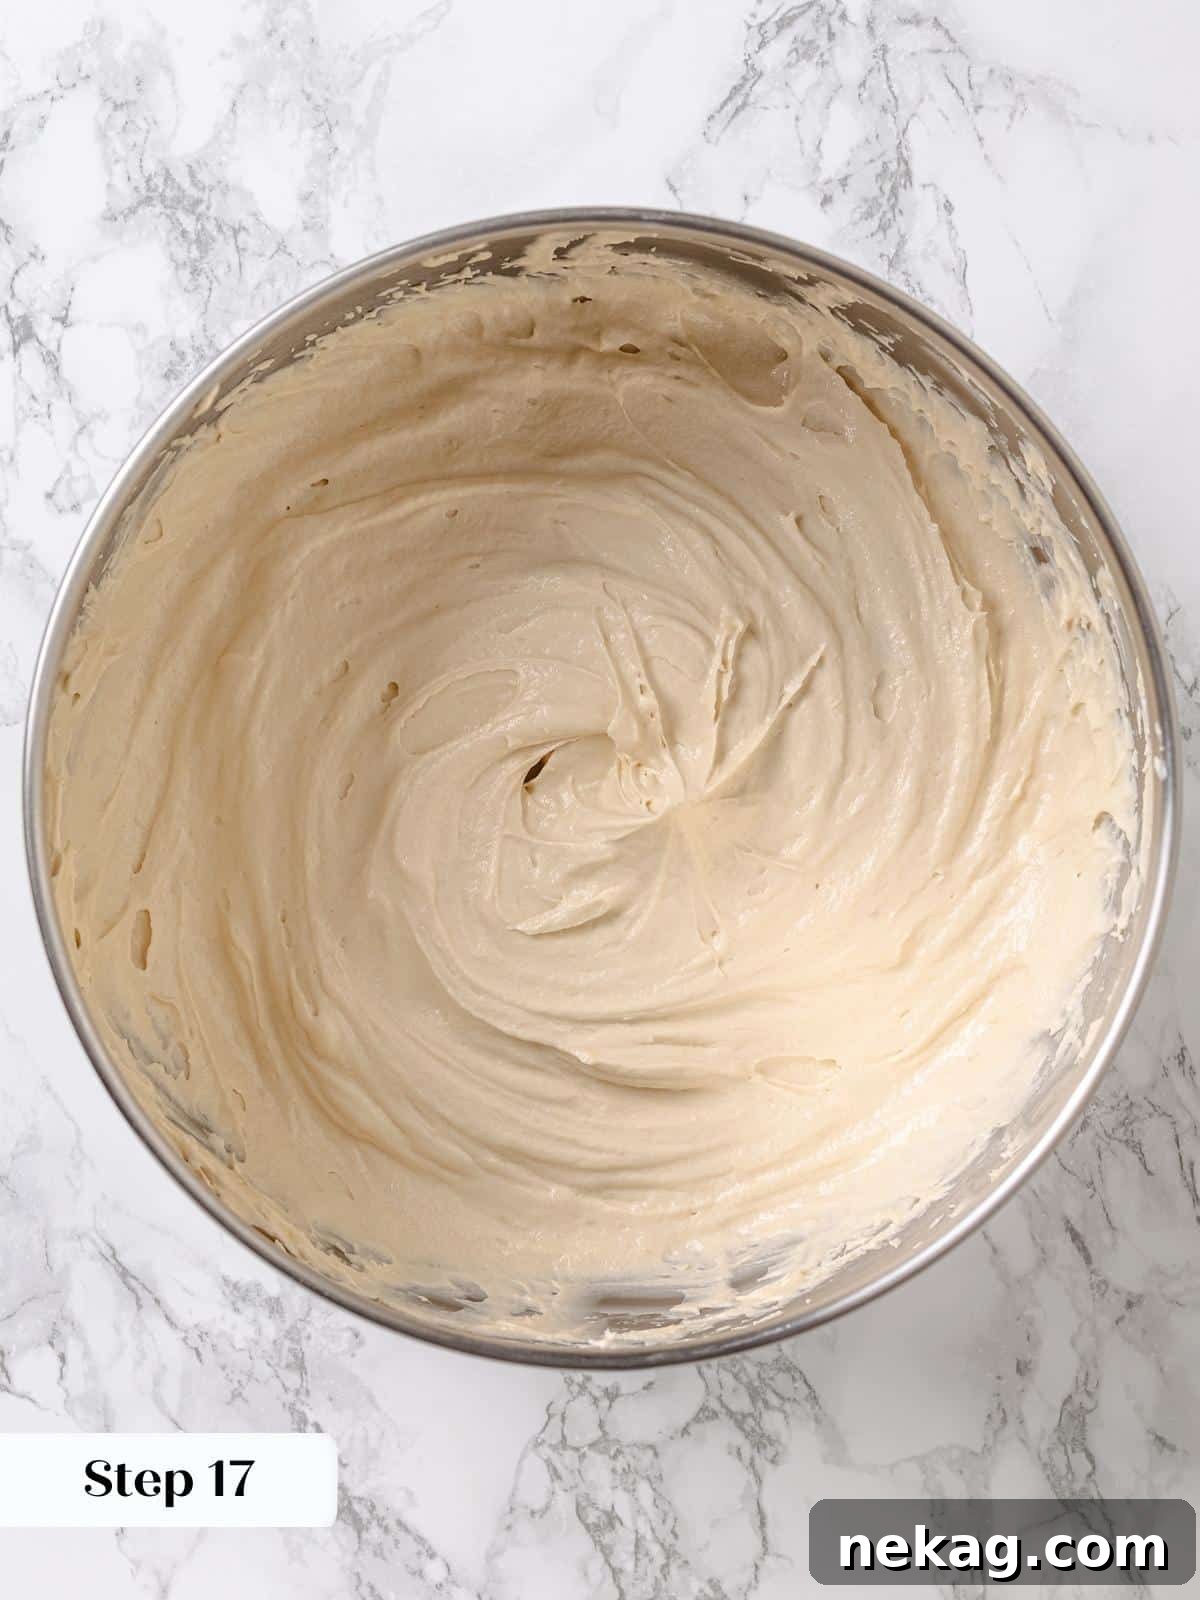
Step 17: Whip to stiff peaks. Add the vanilla extract to the frosting. Increase the mixer speed to high and continue to beat the frosting vigorously until it becomes very light, airy, and holds stiff peaks when you lift the whisk attachment (**photo 13**). This indicates a perfectly stable and pipeable frosting.
Assembly:
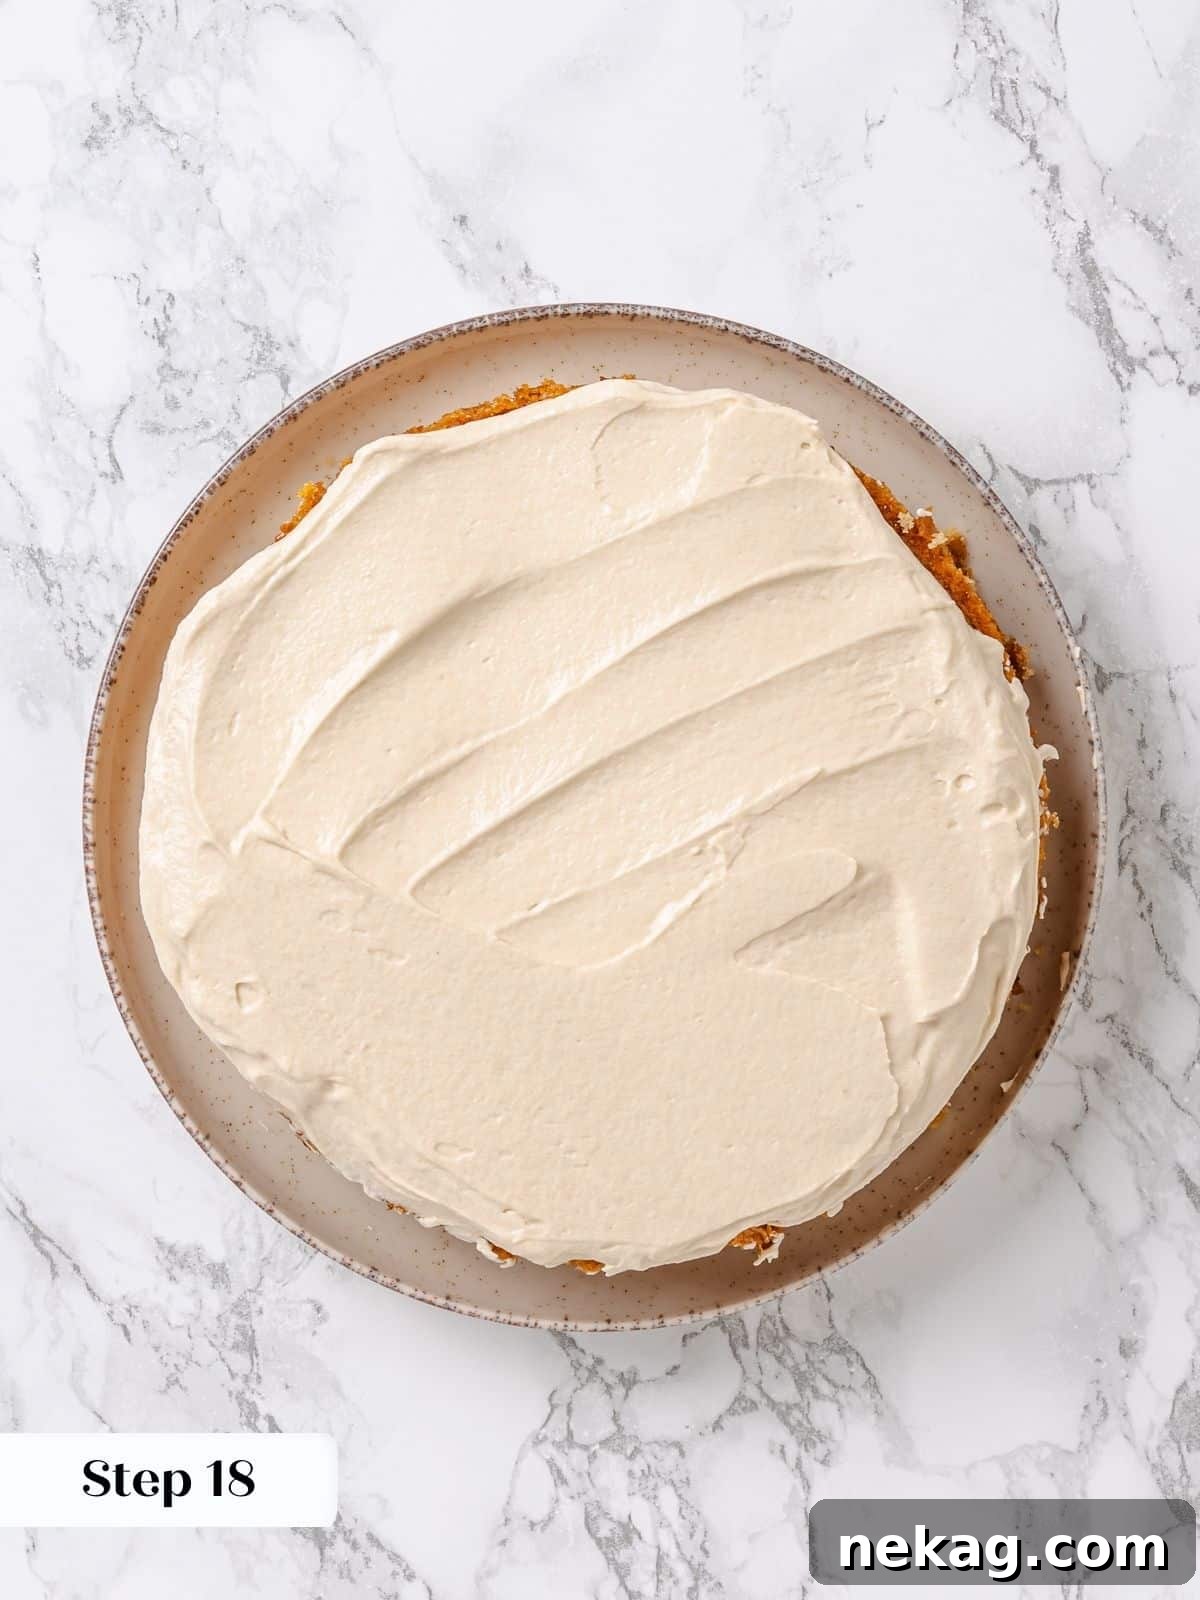
Step 18: First layer and crumb coat. Once your cake layers are completely cooled, place one layer on your chosen cake stand, plate, or platter. Take about one-third of the prepared maple frosting and spread it evenly over the top of this first cake layer, allowing a small amount to spill over the edges. Use this excess frosting to lightly coat the sides of the cake – this is your “crumb coat” (**photo 14**).
Chef’s Recommendation: For optimal results and a cleaner final finish, refrigerate the crumb-coated cake for 30 minutes to an hour. This allows the buttercream to firm up, effectively trapping any loose crumbs. Given that this cake is quite moist and tender, its weight can sometimes squish out soft frosting. While you can proceed without chilling if you’re short on time or patience, this step significantly eases the final frosting application.
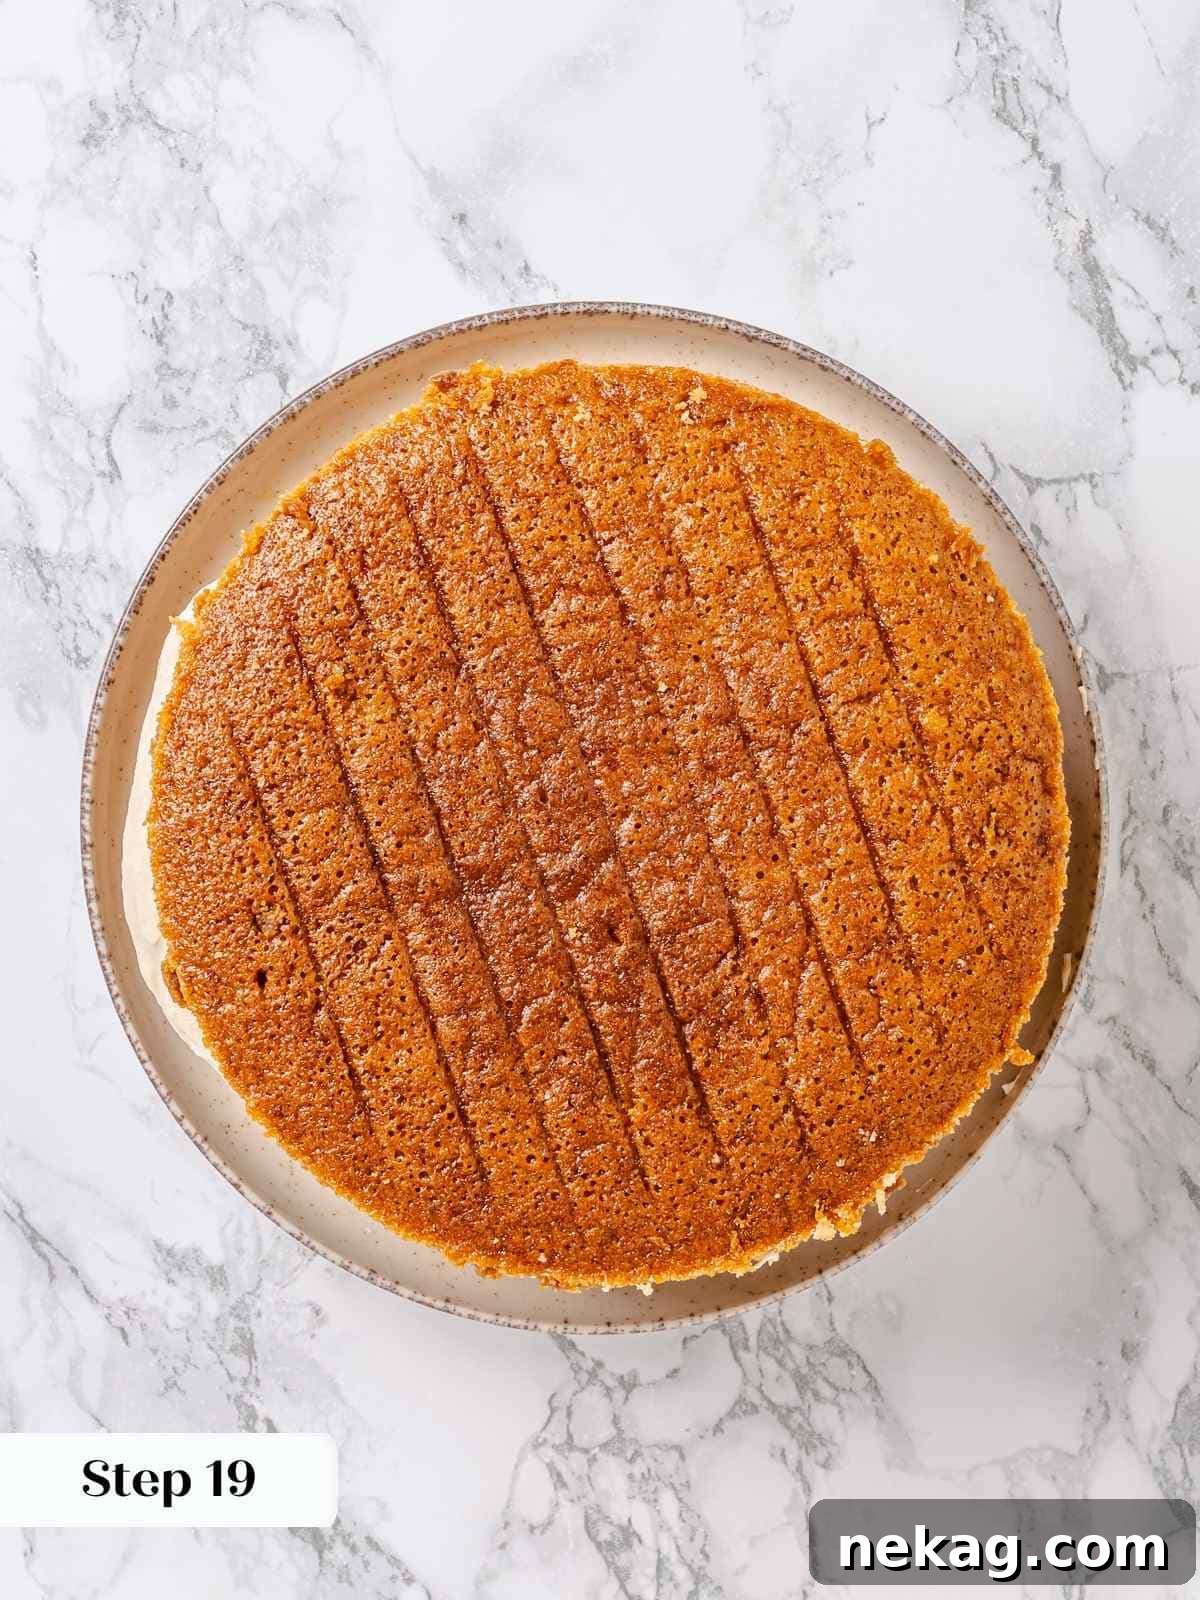
Step 19: Add the second layer. Carefully place the second cake layer directly on top of the frosted first layer (**photo 15**). Repeat the frosting process with another one-third of the maple frosting, covering the top and gently crumb-coating the sides of the newly added layer.
Step 20: Fill any gaps (optional). For an exceptionally neat presentation, you can fill any visible gaps between the cake layers. Use a small offset spatula or fill a small piping bag with a bit of frosting and pipe it directly into the spaces. While this step can enhance perfection, it’s often not strictly necessary for this particular cake, but we offer it as a possibility for those who seek utmost precision!
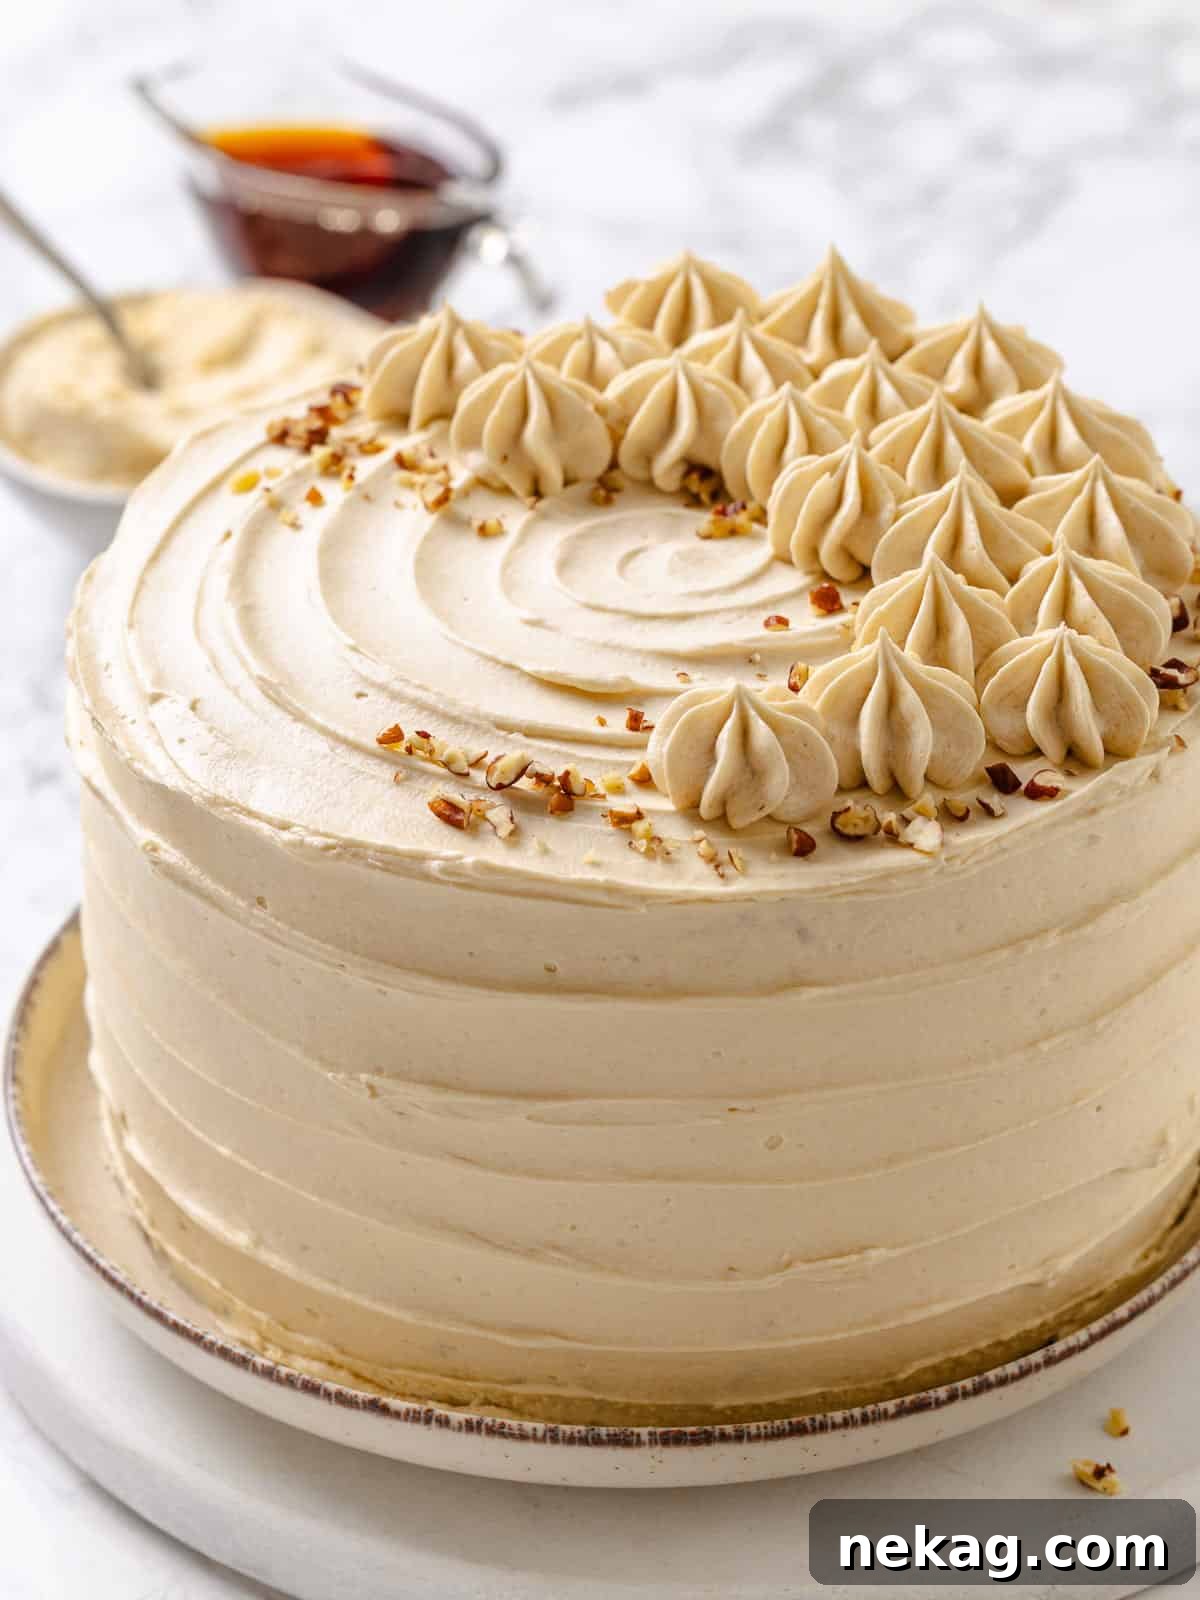
Step 21: Store and serve. Your beautiful maple cake is now ready to be enjoyed! It will remain wonderfully moist and fresh for up to four days at room temperature. For extended freshness, especially after the first day, we recommend wrapping the cake and refrigerating it. However, for the best flavor and texture experience, always allow refrigerated cake to come back to room temperature before serving (**photo 16**).
Chef Lindsey’s Recipe Tip
I have carefully reduced the maple syrup in the frosting to the lowest possible amount without compromising its authentic flavor. If you wish to further reduce the overall sweetness, consider making our ermine frosting recipe and substituting some of the vanilla extract with maple extract for that delightful maple essence.
Maple Cake FAQs
Here are some frequently asked questions to help you master this delicious maple cake:
How do I store maple cake?
Unfrosted maple cake layers can be stored well-wrapped at room temperature for a day, in the refrigerator for up to 3 days, or frozen for up to 2 months. Unused maple frosting should be kept in an airtight, clean container in the fridge for up to 2 weeks. Once fully frosted, the assembled cake can be kept at room temperature for up to four days. For longer storage, or in warm climates, it’s best to store the frosted cake in the refrigerator. Always allow refrigerated cake to come to room temperature before serving for the best flavor and texture.
What maple syrup is best for baking?
For the absolute best texture and deepest flavor in your maple cake, it is imperative to use pure maple syrup that is labeled “Grade A: dark amber, rich taste.” This grade was formerly known as Grade B. This particular grade of syrup has been boiled down more before bottling, which concentrates its flavor and reduces its moisture content. This results in a more robust, intense maple taste that truly shines in baked goods, making it superior to lighter, milder grades.
Why is my maple frosting runny?
There are typically two main reasons why your maple frosting might turn out runny. The first is not cooking the flour base long enough. The base needs to be thick and pasty, dropping off the spoon in clumps rather than pouring, to provide sufficient structure. If it’s too thin, the final frosting will lack stability. The second reason is using butter that is too warm. If your butter is overly soft or melted, the frosting will not have the necessary structure to whip up properly and hold its shape, especially when piped. Ensure both the flour base and butter are at the correct temperature for optimal results.
Recommended Cozy Cake Recipes
Cake Recipes
Maple Pound Cake with Maple Glaze
Cake Recipes
Applesauce Cake
Cake Recipes
Pumpkin Bundt Cake
Cake Recipes
Sour Cream Pound Cake
If you tried this recipe and loved it, please leave a 🌟 star rating and let me know how it goes in the comments below. I love hearing from you; your comments make my day!
Rated 5 stars by 2 users
Maple Cake
Chef Lindsey
A soft, tender maple cake recipe with a cooked maple frosting! This easy cake recipe comes together in one bowl and is incredibly moist! The maple ermine frosting is silky smooth and not too sweet.
Comment
Print Recipe
Ingredients
For the cake:
- 3 ½ cups all-purpose flour
- 1 ½ teaspoons kosher salt
- 2 teaspoons baking powder
- ½ teaspoon baking soda
- 3 large eggs
- ½ teaspoon maple extract (optional)
- ¾ cup vegetable oil (or another neutral oil)
- 1 ½ cups granulated sugar
- 1 cup maple syrup (grade A, dark amber)
- 1 cup milk
For the maple ermine frosting:
- 10 tablespoons all-purpose flour
- 1 cup whole milk
- ¾ cup maple syrup (grade A, dark amber)
- ⅔ cup granulated sugar
- 2 teaspoons vanilla extract
- 1 teaspoon kosher salt
- 2 cups unsalted butter (room temperature)
Instructions
Prepare the Cake:
- Preheat the oven to 325°F convection (with the fan) or 350°F conventional (without the fan)—spray and line 2 (or 3) 8 or 9-inch cake pans with parchment paper.
- Into a medium bowl, combine the all-purpose flour, salt, baking powder, and baking soda. Set aside.
- In a separate large bowl, whisk the eggs until smooth and homogenous. Slowly pour the oil into the eggs while whisking to create an emulsion.
- Add the sugar to the bowl and the maple extract (optional) and whisk until smooth and incorporated. Whisk in the maple syrup.
- Alternately add the flour and milk in 3 additions. I add about 1/3 of each at the same time, then whisk until no lumps remain. Repeat with the remaining dry ingredients and milk.
- Divide the batter between the cake pans and bake in the preheated oven.
- Bake until a cake tester comes out clean or with just a few clinging crumbs. The tops will be a nice golden brown but darker around the edges.
- Let cool for 10 minutes in the pans, then loosen the sides by running a paring knife or small offset spatula around the edges. Flip out onto a wire rack, remove parchment paper, and then cool completely before frosting.
Prepare Maple Frosting:
- In a large saucepan, combine the flour, sugar, and salt. Stir to combine.
- Slowly whisk in the milk, adding just a little at a time, making sure it is completely incorporated before adding more. This will keep it lump-free, just like when making homemade vanilla pudding.
- Stir in maple syrup. Switch from the whisk to a silicone spatula and stir constantly over medium heat.
- Continue cooking until the flour mixture has thickened and will drop off a spoon in clumps rather than pour off in a stream.
- Remove from the heat and scrape into a large bowl with the spatula. Cover the top with plastic wrap that is touching the surface, and allow to cool at room temperature until it is no longer warm to the touch. You can speed this up by cooling it in 20-minute intervals in the refrigerator, stirring and repeating until it is body temperature.
- In the bowl of a stand mixer fitted with the whisk attachment, beat the butter on medium-high speed until fluffy and almost white in color.
- With the mixer running, add a spoonful of the maple mixture and allow it to beat in thoroughly before adding the next. Scraping down the sides of the bowl as you go.
- Stop the mixer to scrape in the last of the flour mixture and scrape down the sides and bottom of the bowl.
- Add the vanilla extract and continue to mix on high until it holds stiff peaks.
Assembly:
- Once the cakes are cooled, place one layer on your favorite cake stand, cake plate, or platter. Add about 1/3 of the frosting to the top of the cake and spread it out, allowing some to fall over the edges. Coat the edges with the frosting that spilled over – this is your crumb coat!
- Place the second layer on top of the frosting and repeat with another 1/3 of the frosting. Covering the top and crumb coating the sides.
- Fill in any gaps between the cake layers using an offset spatula or by filling a small piping bag with frosting and piping it in. This feels unnecessary for this cake, but I’m just giving you all the possibilities!
- Store and serve. The cake will stay moist for 4 days. I do prefer to wrap and refrigerate after 1 day, but it is best served at room temperature.
Notes
- Yield: This recipe yields one 9” x 13” rectangular baking dish cake, a two-layer 9-inch round cake, or approximately 24 cupcakes. You can also opt for a three-layer 8-9 inch round cake.
- Flavor Tips: The maple extract is optional, but it offers a concentrated maple flavor without introducing additional sweetness or liquid, which can be tricky with maple syrup.
- Variations: For an even more pronounced maple flavor in the cake batter, try substituting maple sugar for some or all of the granulated sugar.
- Technique (Frosting): The key to a stable, pipeable frosting that maintains beautiful lines and details, even in high heat and humidity, lies in the thickness of the cooked flour base. Ensure it’s cooked until very thick.
- Storage: Once frosted, the cake can be kept at room temperature for up to four days. For longer storage, it should be kept in the refrigerator.
Nutrition
Calories: 428 kcal | Carbohydrates: 51g | Protein: 4g | Fat: 24g | Saturated Fat: 11g | Polyunsaturated Fat: 5g | Monounsaturated Fat: 6g | Trans Fat: 1g | Cholesterol: 64mg | Sodium: 321mg | Potassium: 119mg | Fiber: 1g | Sugar: 33g | Vitamin A: 535IU | Calcium: 81mg | Iron: 1mg
Like this? Leave a comment below!
Before You Go
We hope you thoroughly enjoyed preparing and tasting this sweet, autumnal layered cake recipe. Its rich maple flavor and wonderfully moist texture are sure to become a seasonal favorite. Don’t stop here – we invite you to explore our other delicious fall dessert recipes. Why not try our comforting pumpkin spice layer cake for another seasonal treat, or these incredibly addictive maple pecan pie bars with a pecan shortbread crust?