
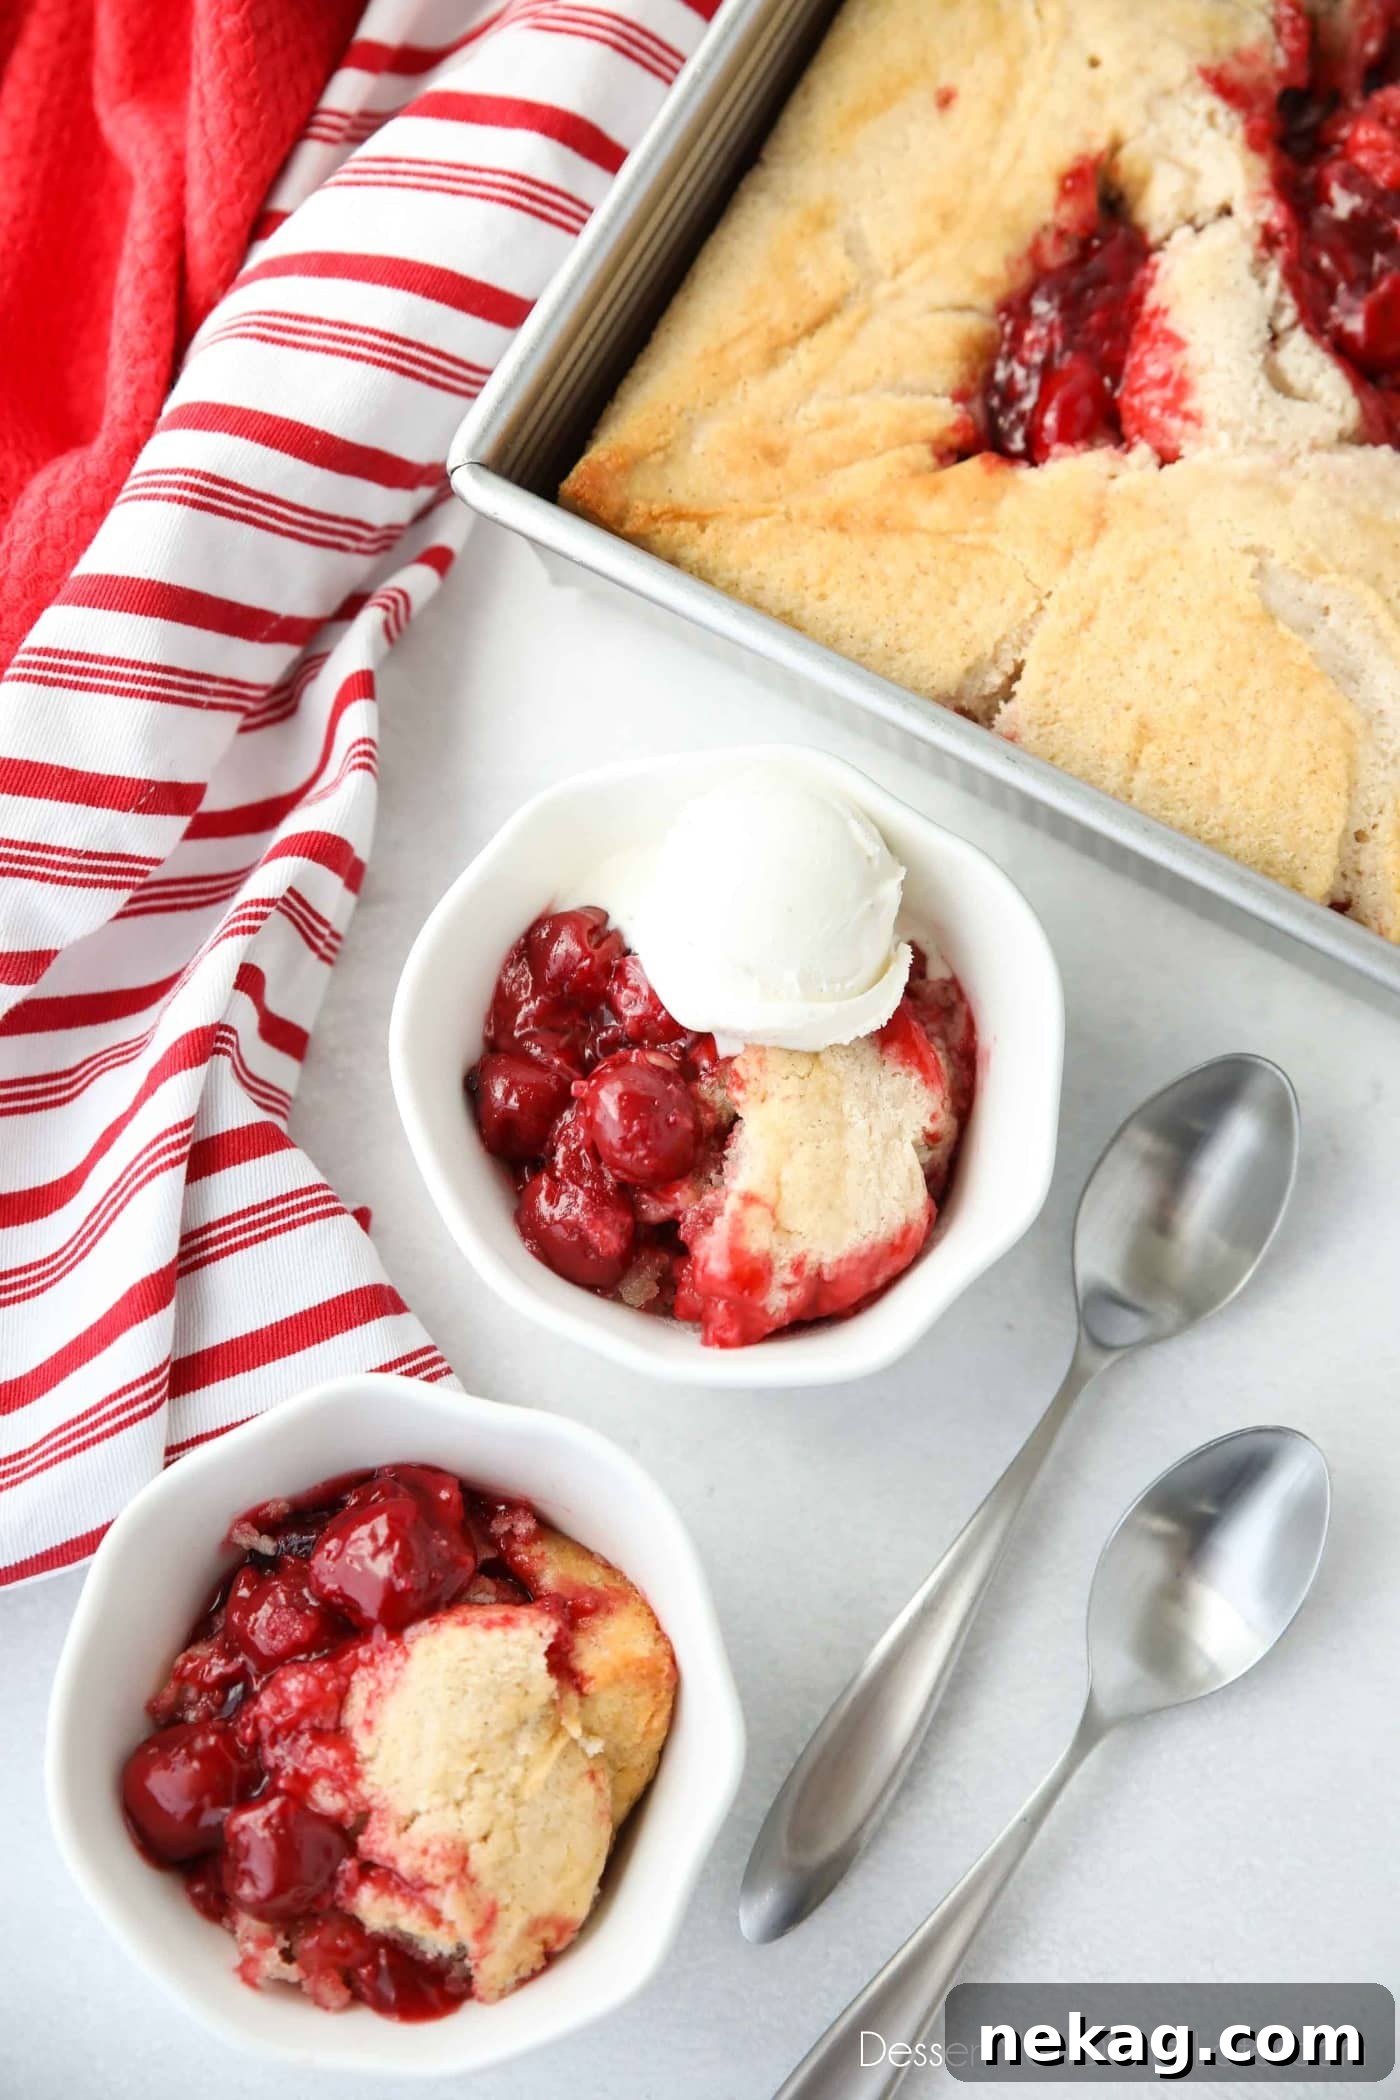
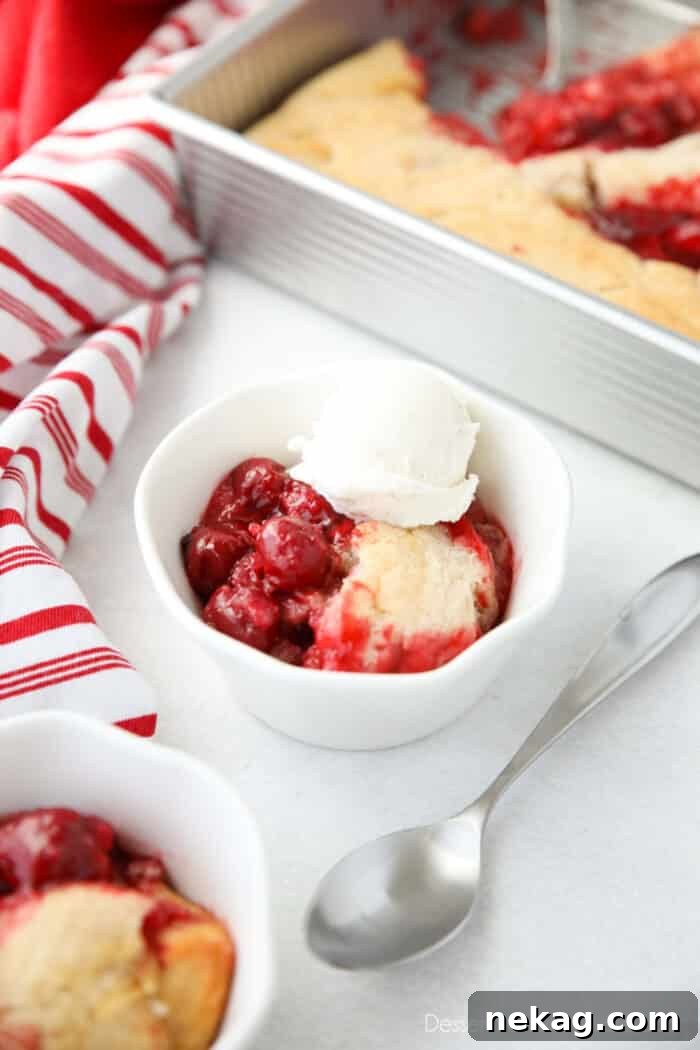
There are few desserts that capture the essence of comfort and joy quite like a homemade cobbler. And when it comes to fruit desserts, a Cherry Cobbler stands out as a true crowd-pleaser. Imagine succulent, sweet cherries bubbling beneath a golden, tender cake topping, all served warm with a generous scoop of melting vanilla ice cream. Pure bliss! This easy cherry cobbler recipe is designed for maximum flavor with minimal effort, making it the perfect choice for a spontaneous summer treat or a comforting dessert any time of year.
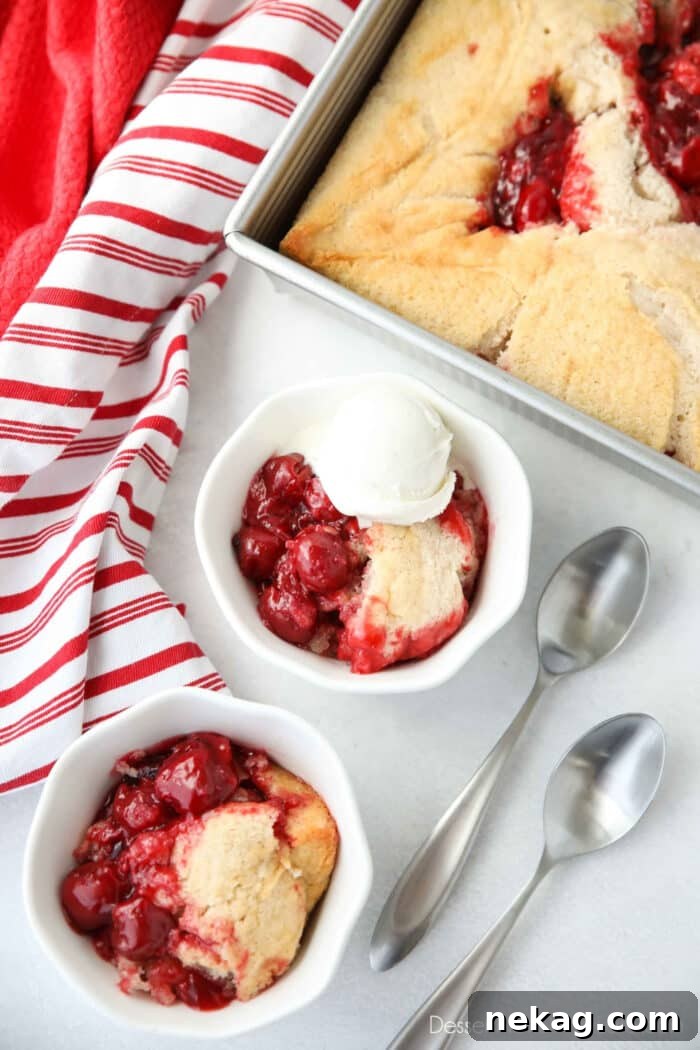
Unveiling the Charm of Cherry Cobbler: Your Go-To Dessert
Our Easy Cherry Cobbler recipe celebrates simplicity without compromising on taste. It’s one of those magical desserts that comes together with remarkable ease, especially when you leverage the convenience of canned cherry pie filling. The result is a delightfully warm fruit base topped with a sweet, fluffy cake that bakes to golden perfection. There’s no need for elaborate plating; simply spoon this rustic dessert into a bowl, let its enticing aroma fill your kitchen, and prepare to indulge. The best way to enjoy it? Fresh from the oven, adorned with a luxurious scoop of vanilla ice cream or a dollop of freshly whipped cream. It’s a dessert that not only tastes incredible but also brings a feeling of nostalgic warmth and homemade goodness.
This recipe is perfect for busy weeknights, last-minute gatherings, or when you simply crave a comforting sweet treat. Its straightforward preparation means you spend less time in the kitchen and more time enjoying the delicious outcome with loved ones.
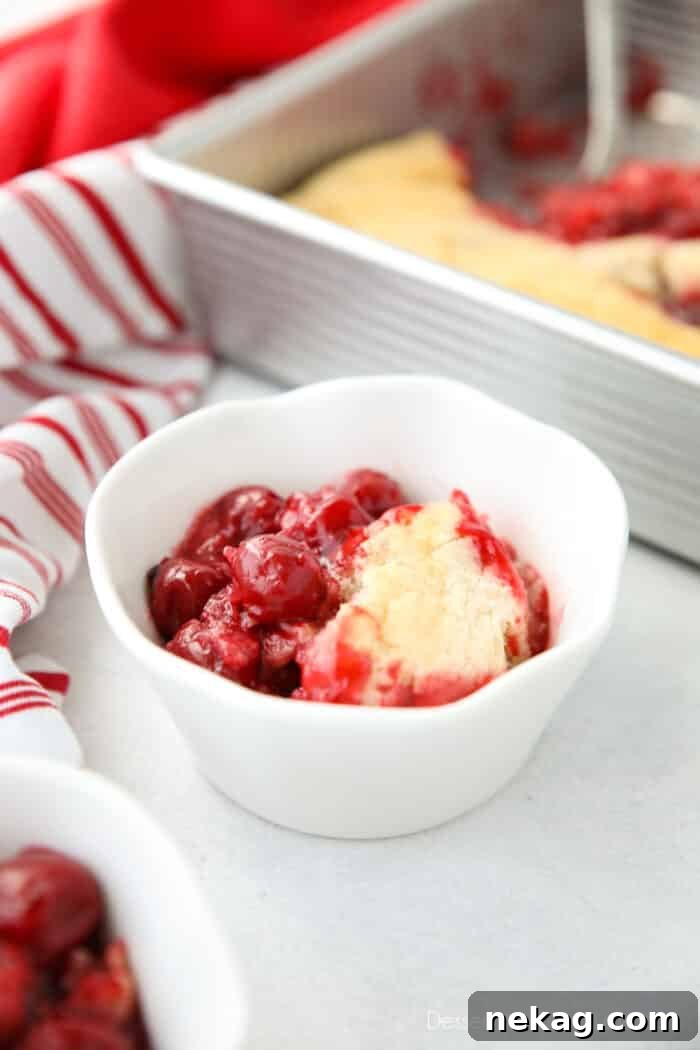
Exploring the Wonderful World of Cobblers: What Makes Them Special?
The term “cobbler” can mean different things to different people, depending on regional traditions or cherished family recipes. You might be familiar with cobblers topped with biscuits, others with a streusel-like crumble, or even a dump cake style where ingredients are simply “dumped” into a pan. This culinary diversity is what makes cobblers so fascinating and versatile!
At its heart, a cobbler is a baked fruit dessert with a sweet topping. What truly defines a cobbler is that its topping isn’t a solid crust like a pie, but rather a more rustic, often dropped or poured batter. While our easy cherry cobbler features a light, fluffy cake batter, other popular variations might use:
- Biscuits: Fluffy, tender biscuits baked on top of the fruit, creating a more savory-sweet profile.
- Dumplings: Similar to biscuits, but often cooked directly in the fruit filling, resulting in a softer, chewier texture.
- Cake Batter: Like in this recipe, a pourable cake batter that bakes around and through the fruit, yielding a delightful cake-like texture with fruity pockets.
It’s important not to confuse a cobbler with its close cousins, the crisp or crumble, which are typically distinguished by their streusel-like topping made from oats, flour, sugar, and butter. Each dessert offers its own unique texture and charm, but for a truly comforting, cake-meets-fruit experience, this cherry cobbler hits all the right notes.
Choosing Your Cherries: Canned, Fresh, or Frozen?
One of the beauties of this easy cherry cobbler recipe is its adaptability. You have several fantastic options for the cherry filling, allowing you to tailor the dessert to your preference, seasonality, and what you have on hand. Each choice offers a slightly different texture and flavor profile, so you can experiment to find your favorite!
Here are your options for the perfect cherry base:
- Canned Cherry Pie Filling (The Easiest & Sauciest): This is the ultimate convenience option. A single 21-ounce can of pre-made cherry pie filling provides a thick, sweet, and saucy fruit layer with minimal fuss. It’s perfectly spiced and ready to go, making it ideal for those busy days when you crave homemade taste without the extensive prep. The cherries in canned filling are usually softer and burst with syrupy sweetness.
- Homemade Cherry Pie Filling with Frozen Cherries: For a step up in freshness and control over sweetness, consider making your own pie filling using frozen cherries. This also results in a wonderful, saucy fruit base, much like the canned version but with a more vibrant, natural cherry flavor. You can follow a recipe for cherry pie filling, or simply simmer frozen cherries with a bit of sugar, cornstarch, and a splash of water or lemon juice until thickened.
- Plain Fresh Cherries (For a Fruit-Filled Cake): If you prefer a firmer, more “bitty” fruit texture and less sauce, you can use 2 1/2 cups of fresh, pitted cherries directly. This option highlights the pure flavor of the cherries and integrates them beautifully within the cake batter, creating a fruit-filled cake rather than a saucy cobbler. Remember to pit them thoroughly!
- Sweetened & Thickened Fresh Cherries (For a Slight Sauce): For a balance between fresh fruit texture and a hint of sauce, toss 2 1/2 cups of pitted fresh cherries with 1/3 cup of granulated sugar and 1 tablespoon of cornstarch. The sugar will draw out juices, and the cornstarch will thicken them as the cobbler bakes, creating a lovely, light sauce that complements the slightly firmer fresh fruit.
Pro Tip for Fresh Cherries: When using fresh cherries, opt for a sweeter variety, which typically have a darker hue. If you’re using tart cherries (like Montmorency), you’ll need to increase the sugar content significantly and it’s recommended to cook them down with sugar and cornstarch beforehand to soften them and balance their tartness. Keep in mind that fresh or frozen fruit options will maintain more of their structural integrity and a slight “bite” compared to pre-cooked pie filling.
Essential Ingredients for Your Easy Cherry Cobbler
Creating this delightful cherry cobbler requires just a handful of common pantry staples. Each ingredient plays a crucial role in achieving that perfect balance of sweetness, texture, and flavor:
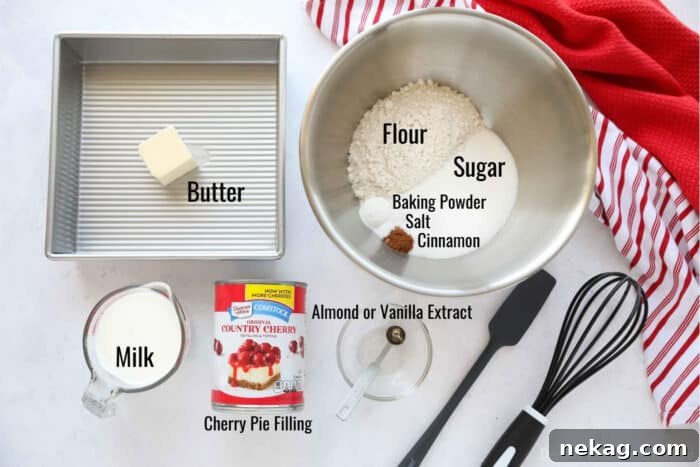
- Unsalted Butter: This is key for creating a rich, golden crust and preventing the cobbler from sticking. Melting it directly in the baking dish adds incredible flavor and creates a delicious, crispy bottom layer for the cake.
- All-Purpose Flour: The foundation of our cake batter, providing structure and tender crumb. Remember to stir, spoon, and level it for accurate measurement.
- Granulated Sugar: Sweetens both the fruit and the cake, ensuring a perfectly balanced dessert.
- Baking Powder: The leavening agent that makes our cake topping light, airy, and wonderfully fluffy as it bakes.
- Salt: A pinch of salt enhances all the other flavors, balancing the sweetness and adding depth. Omit if you’re using salted butter.
- Ground Cinnamon: This warm spice beautifully complements the sweet cherries, adding a subtle, comforting note to the cobbler.
- Milk: Provides the necessary moisture for the cake batter, creating a smooth consistency. Any type of milk (dairy or non-dairy) will work.
- Almond or Vanilla Extract: Both extracts pair wonderfully with cherries. Almond extract amplifies the cherry flavor, while vanilla provides a classic sweet aroma. Choose your favorite, or even use a combination!
- Cherry Pie Filling: As discussed, this is the star of our fruit layer. Whether canned, homemade from frozen, or prepared fresh, it delivers the vibrant cherry taste and texture.
Crafting the Perfect Cake Batter & Assembling Your Cobbler
The beauty of this recipe lies in its simplicity. The cake batter is quick to prepare, and the assembly technique is unique yet foolproof, leading to a perfectly layered cobbler every time.
For the Cake Batter:
- First, preheat your oven to 350 degrees Fahrenheit (175°C).
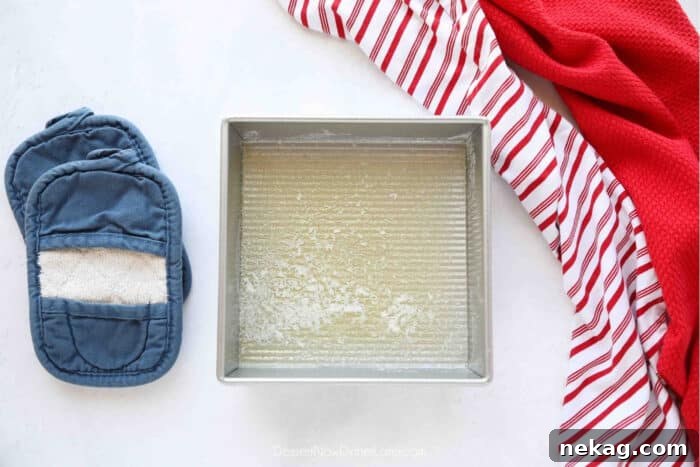
- Place the butter (4 tablespoons or 57g) into an 8×8-inch square baking dish. Slide the dish into the preheated oven for 3-5 minutes, just until the butter is completely melted. Remove the pan from the oven and set it aside. This step not only melts the butter but also lightly greases the pan and adds a delicious toasted butter flavor to the bottom of the cobbler.
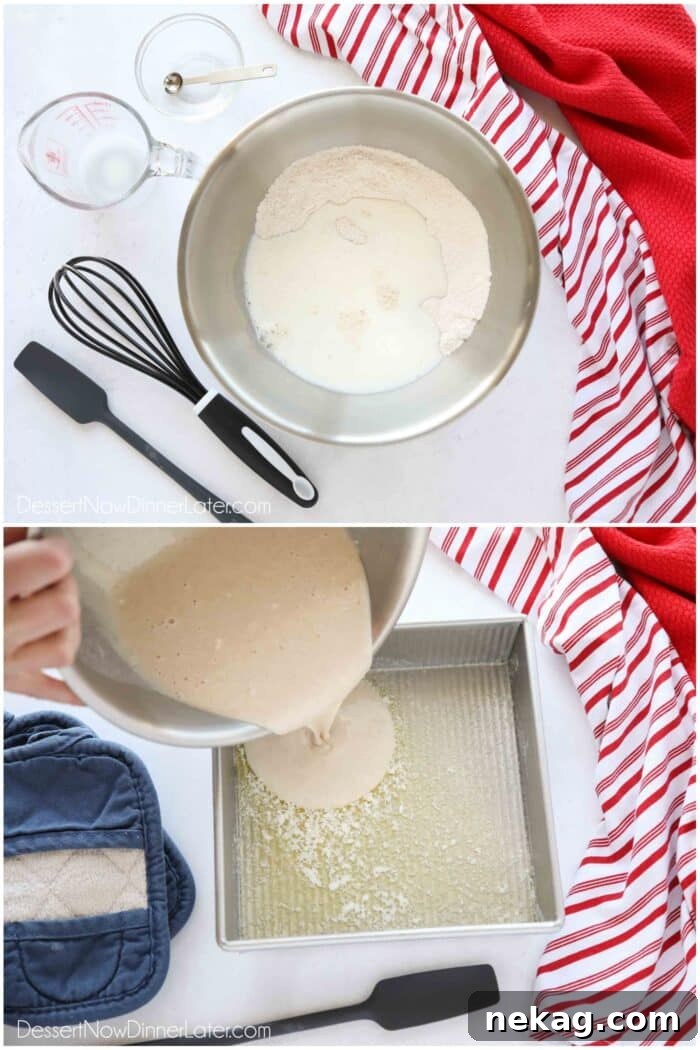
- In a large mixing bowl, combine the dry ingredients: whisk together the all-purpose flour (1 cup), granulated sugar (¾ cup), baking powder (1 tsp), cinnamon (¼ tsp), and salt (⅛ tsp). Give them a good whisk to ensure they are well combined and evenly distributed.
- Next, add the wet ingredients to the dry mixture: pour in the milk (1 cup) and your chosen extract (¼ tsp almond or vanilla). Whisk everything together until just combined. A few small lumps in the batter are perfectly fine – overmixing can lead to a tough cake, so stop as soon as the ingredients come together.
- Carefully pour this prepared cake batter directly over the melted butter in your baking dish. Resist the urge to mix or stir it with the butter. The layers are meant to stay separate for now.
To Assemble and Bake:
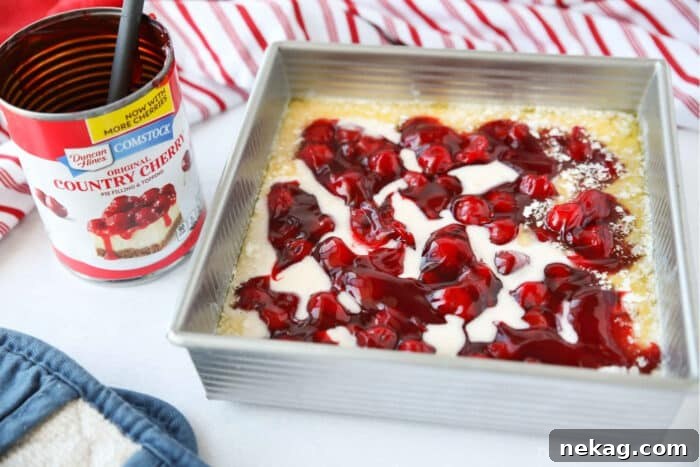
- Finally, spoon or dollop the cherry pie filling (21 oz can or prepared fresh/frozen equivalent) evenly over the cake batter. Again, and this is crucial, do NOT mix the cherry filling into the batter. Just let it rest on top.
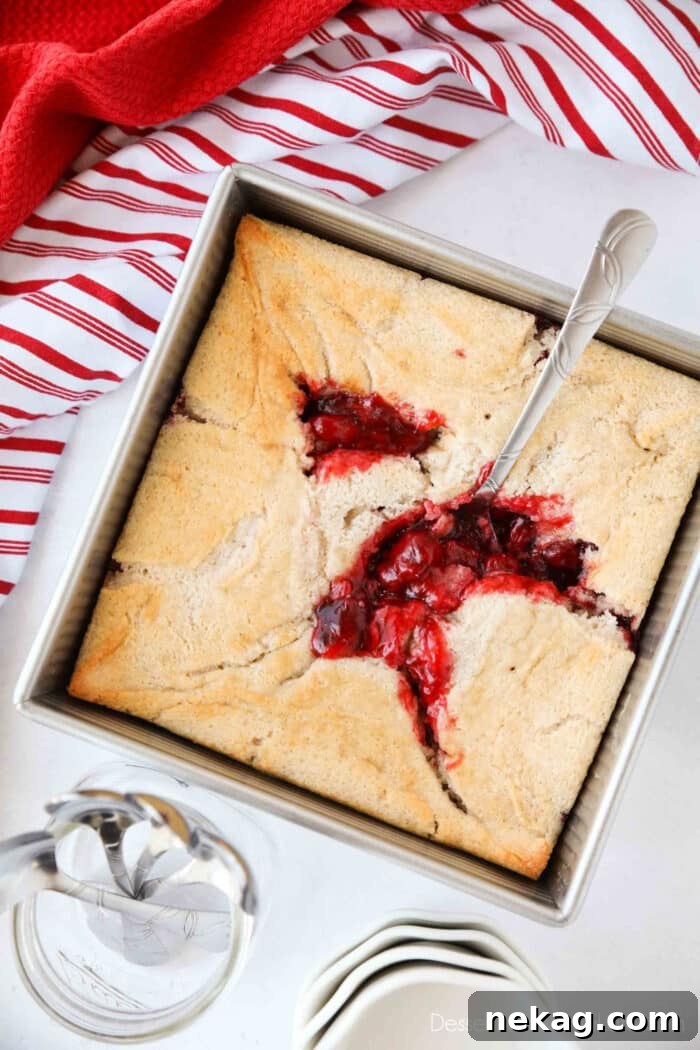
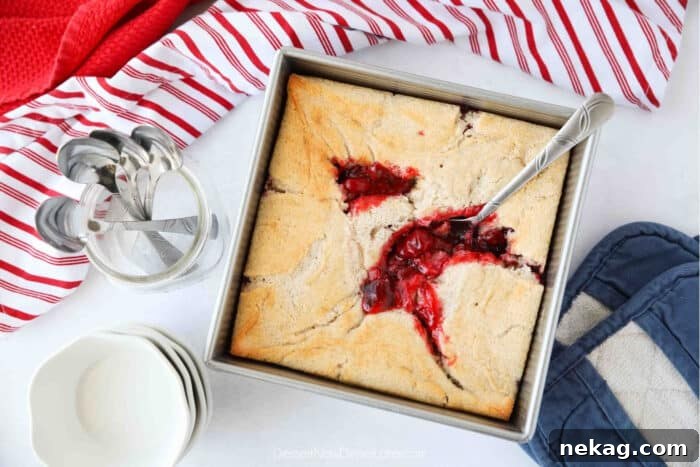
- Place your assembled cherry cobbler into the preheated oven. Bake for 45 to 50 minutes, or until the cake topping is beautifully golden brown and the fruit filling is bubbling around the edges. A toothpick inserted into the cake portion should come out clean.
- Once baked, remove the cobbler from the oven and let it rest for about 5 minutes before serving. This allows the fruit filling to set slightly and prevents any scorching from the piping hot pan.
The Magic Behind the Layers: Why Cherries Go Last
You might be wondering about the unconventional layering technique in this recipe: why is the cherry pie filling added *on top* of the cake batter when you’d expect the fruit to be at the bottom? This is where the simple magic of baking, combined with gravity and density, comes into play!
When you pour the lighter cake batter into the pan first, followed by the denser cherry pie filling, a fascinating transformation occurs during baking. As the cake batter heats up, the leavening agents (baking powder) activate, causing the batter to rise. Simultaneously, the heavier cherry filling, influenced by gravity, begins to sink gently through the rising cake. This natural process ensures that by the time the cobbler is fully baked, the fruit filling has settled to the bottom, creating that classic fruit-on-the-bottom-cake-on-top structure we all love in a cobbler. It’s an effortless way to achieve a beautifully layered dessert without any complex mixing or inversion tricks.
This “dump cake” style method is incredibly forgiving and guarantees a perfectly moist and flavorful cake topping that’s infused with cherry goodness from below. No fuss, just deliciousness!
How to Serve and Store Your Delicious Cherry Cobbler
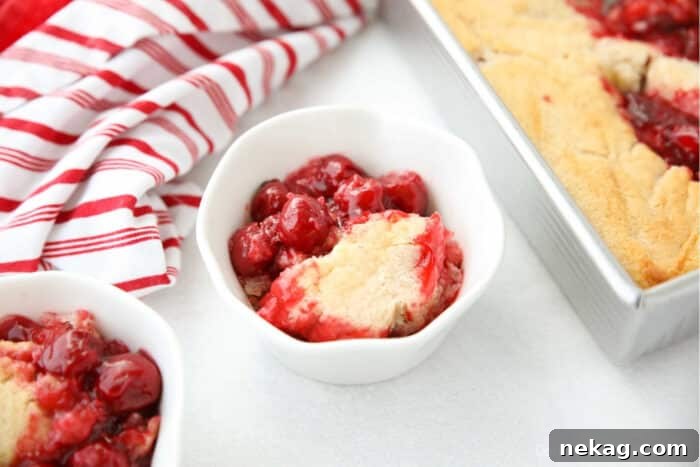
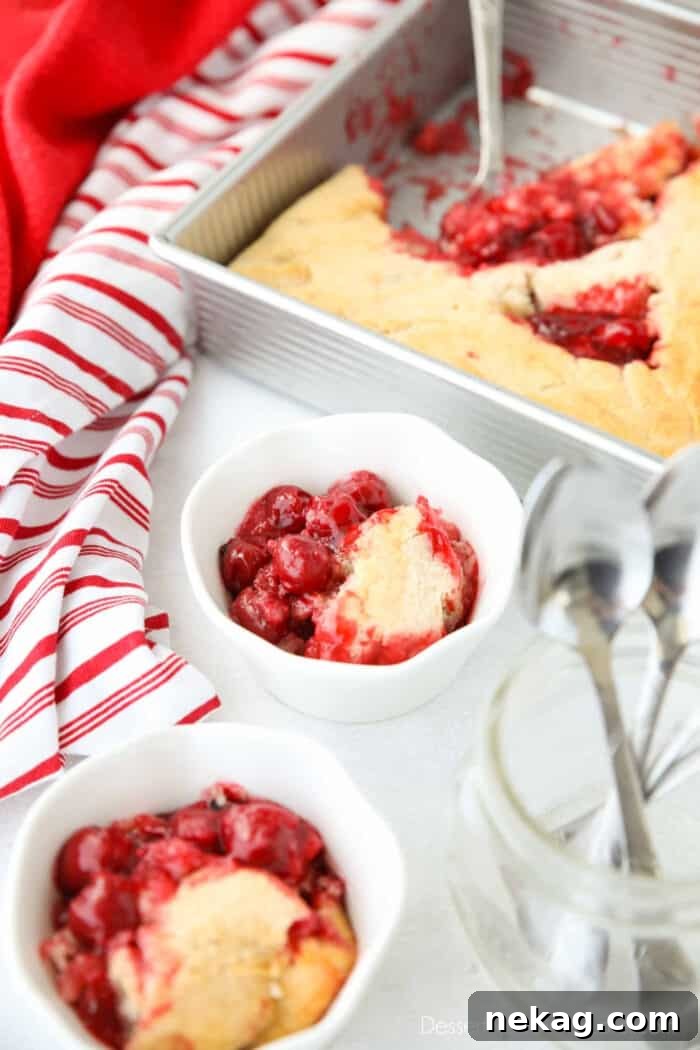
Once your cherry cobbler emerges golden and bubbling from the oven, the anticipation builds! This dessert is truly at its best when served warm, allowing the sweet fruit and tender cake to meld together perfectly. For an unforgettable experience, here are some serving suggestions and storage tips:
Serving Suggestions:
- Classic Vanilla Ice Cream: The ultimate pairing! A cold, creamy scoop of vanilla ice cream slowly melting over the warm cobbler creates a delightful contrast in temperature and texture.
- Sweetened Whipped Cream: A light and airy dollop of homemade or store-bought whipped cream adds a touch of elegance and balances the richness of the cobbler.
- A Drizzle of Cream or Custard: For a richer indulgence, a splash of heavy cream or a spoonful of warm vanilla custard can elevate the dessert.
- Plain: Sometimes, the pure, unadulterated flavors of the cherry cobbler are all you need. It’s delicious on its own!
- Garnish: A sprinkle of fresh mint leaves, a few extra fresh cherries (if in season), or a dusting of powdered sugar can add a lovely visual touch.
Storage and Reheating:
Should you be lucky enough to have leftovers (a rare occurrence with this cobbler!), proper storage ensures you can enjoy them for days to come:
- Refrigeration: Once the cobbler has cooled completely to room temperature, cover the baking pan tightly with plastic wrap or aluminum foil. Store it in the refrigerator for up to 5 days.
- Reheating: For the best-tasting leftovers, individual servings are easily reheated. Scoop a portion into a microwave-safe dish and warm it in the microwave for 30-60 seconds, or until heated through. Alternatively, you can reheat a larger portion in a preheated oven (around 300°F/150°C) for 15-20 minutes, covered with foil, until warm. Don’t forget that extra scoop of ice cream or whipped cream to bring it back to life!
- Freezing: While best fresh, you can freeze cooled cobbler. Wrap tightly in plastic wrap, then foil, and freeze for up to 2-3 months. Thaw in the refrigerator overnight and reheat as directed above.
More Delicious Cherry Desserts to Explore
If you’re a fan of the vibrant flavor of cherries, you’re in for a treat! Cherries are incredibly versatile and shine in a variety of desserts beyond just cobblers. Here are some other delightful cherry recipes you might enjoy trying next:
- Cherry Squares with Shortbread Base
- Classic Cherry Crumb Pie
- Cherry Pie with Chocolate Chips
- Chocolate Cherry Coconut Cookies
- Cherry Cream Cheese Braid
- Cherry Jam Brownies
- Cherry Cookie Cake
- Cherry Banana Bread Muffins
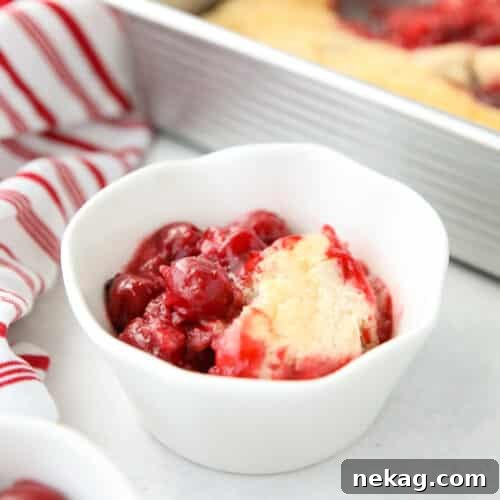
Easy Cherry Cobbler
Created by Amber Brady
Cook: 45 mins
Total: 55 mins
Easy Cherry Cobbler is fruity and delicious. Made with canned cherry pie filling (or fresh cherries) and baked with a quick homemade cake batter. Enjoy it warm with a scoop of ice cream for a delicious summer dessert.
Pin Recipe
Rate Recipe
Save Recipe
Yields: 9 servings
Ingredients
- 4 Tbsp (57 g) unsalted butter
- 1 cup (120 g) all-purpose flour (stir, spoon & level)
- ¾ cup (150 g) granulated sugar
- 1 tsp baking powder
- ¼ tsp cinnamon
- ⅛ tsp salt
- 1 cup (237 ml) milk
- ¼ tsp almond or vanilla extract
- 21 oz (595 g) can cherry pie filling
Equipment
- 6-Quart Steel Mixing Bowl
- Silicone Spatula Set
- Silicone Whisks
- 4-Quart Glass Mixing Bowl
- 8-inch Square Pan
Instructions
- Preheat oven to 350 degrees Fahrenheit (175°C).
- Put the butter in an 8×8-inch square baking dish and place it in the oven for 3-5 minutes or until the butter is melted. Remove pan from oven and set aside.
- In a large bowl, whisk together the flour, sugar, baking powder, cinnamon, and salt. Add the milk and almond or vanilla extract. Whisk until combined. (It’s ok to have a few lumps.)
- Pour batter over melted butter. Do NOT mix.
- Pour or dollop the cherry pie filling over the cake batter. Do NOT mix.
- Place cherry cobbler in oven and bake at 350˚F (175°C) for 45 to 50 minutes, or until cake is golden brown and fruit is bubbling. Let rest for 5 minutes before serving.
Notes
- Cover and store leftovers in the refrigerator for up to 5 days.
- Scoop leftovers into a bowl and microwave for 30-60 seconds to reheat.
Nutrition
Serving: 1 serving | Calories: 252 kcal | Carbohydrates: 47g | Protein: 3g | Fat: 6g | Saturated Fat: 4g | Polyunsaturated Fat: 0.3g | Monounsaturated Fat: 2g | Trans Fat: 0.2g | Cholesterol: 17mg | Sodium: 103mg | Potassium: 127mg | Fiber: 1g | Sugar: 18g | Vitamin A: 335IU | Vitamin C: 2mg | Calcium: 71mg | Iron: 1mg
Disclaimer: Nutritional values were calculated using a third-party tool and are provided as an estimation only.
Sharing this recipe with a link is both encouraged and appreciated. Copying/pasting and/or screenshots of full recipes to any social media is strictly prohibited. Content and photographs are copyright protected.
Did you make this?
Don’t forget to leave a rating below and make sure to follow on Pinterest and Instagram for more!