
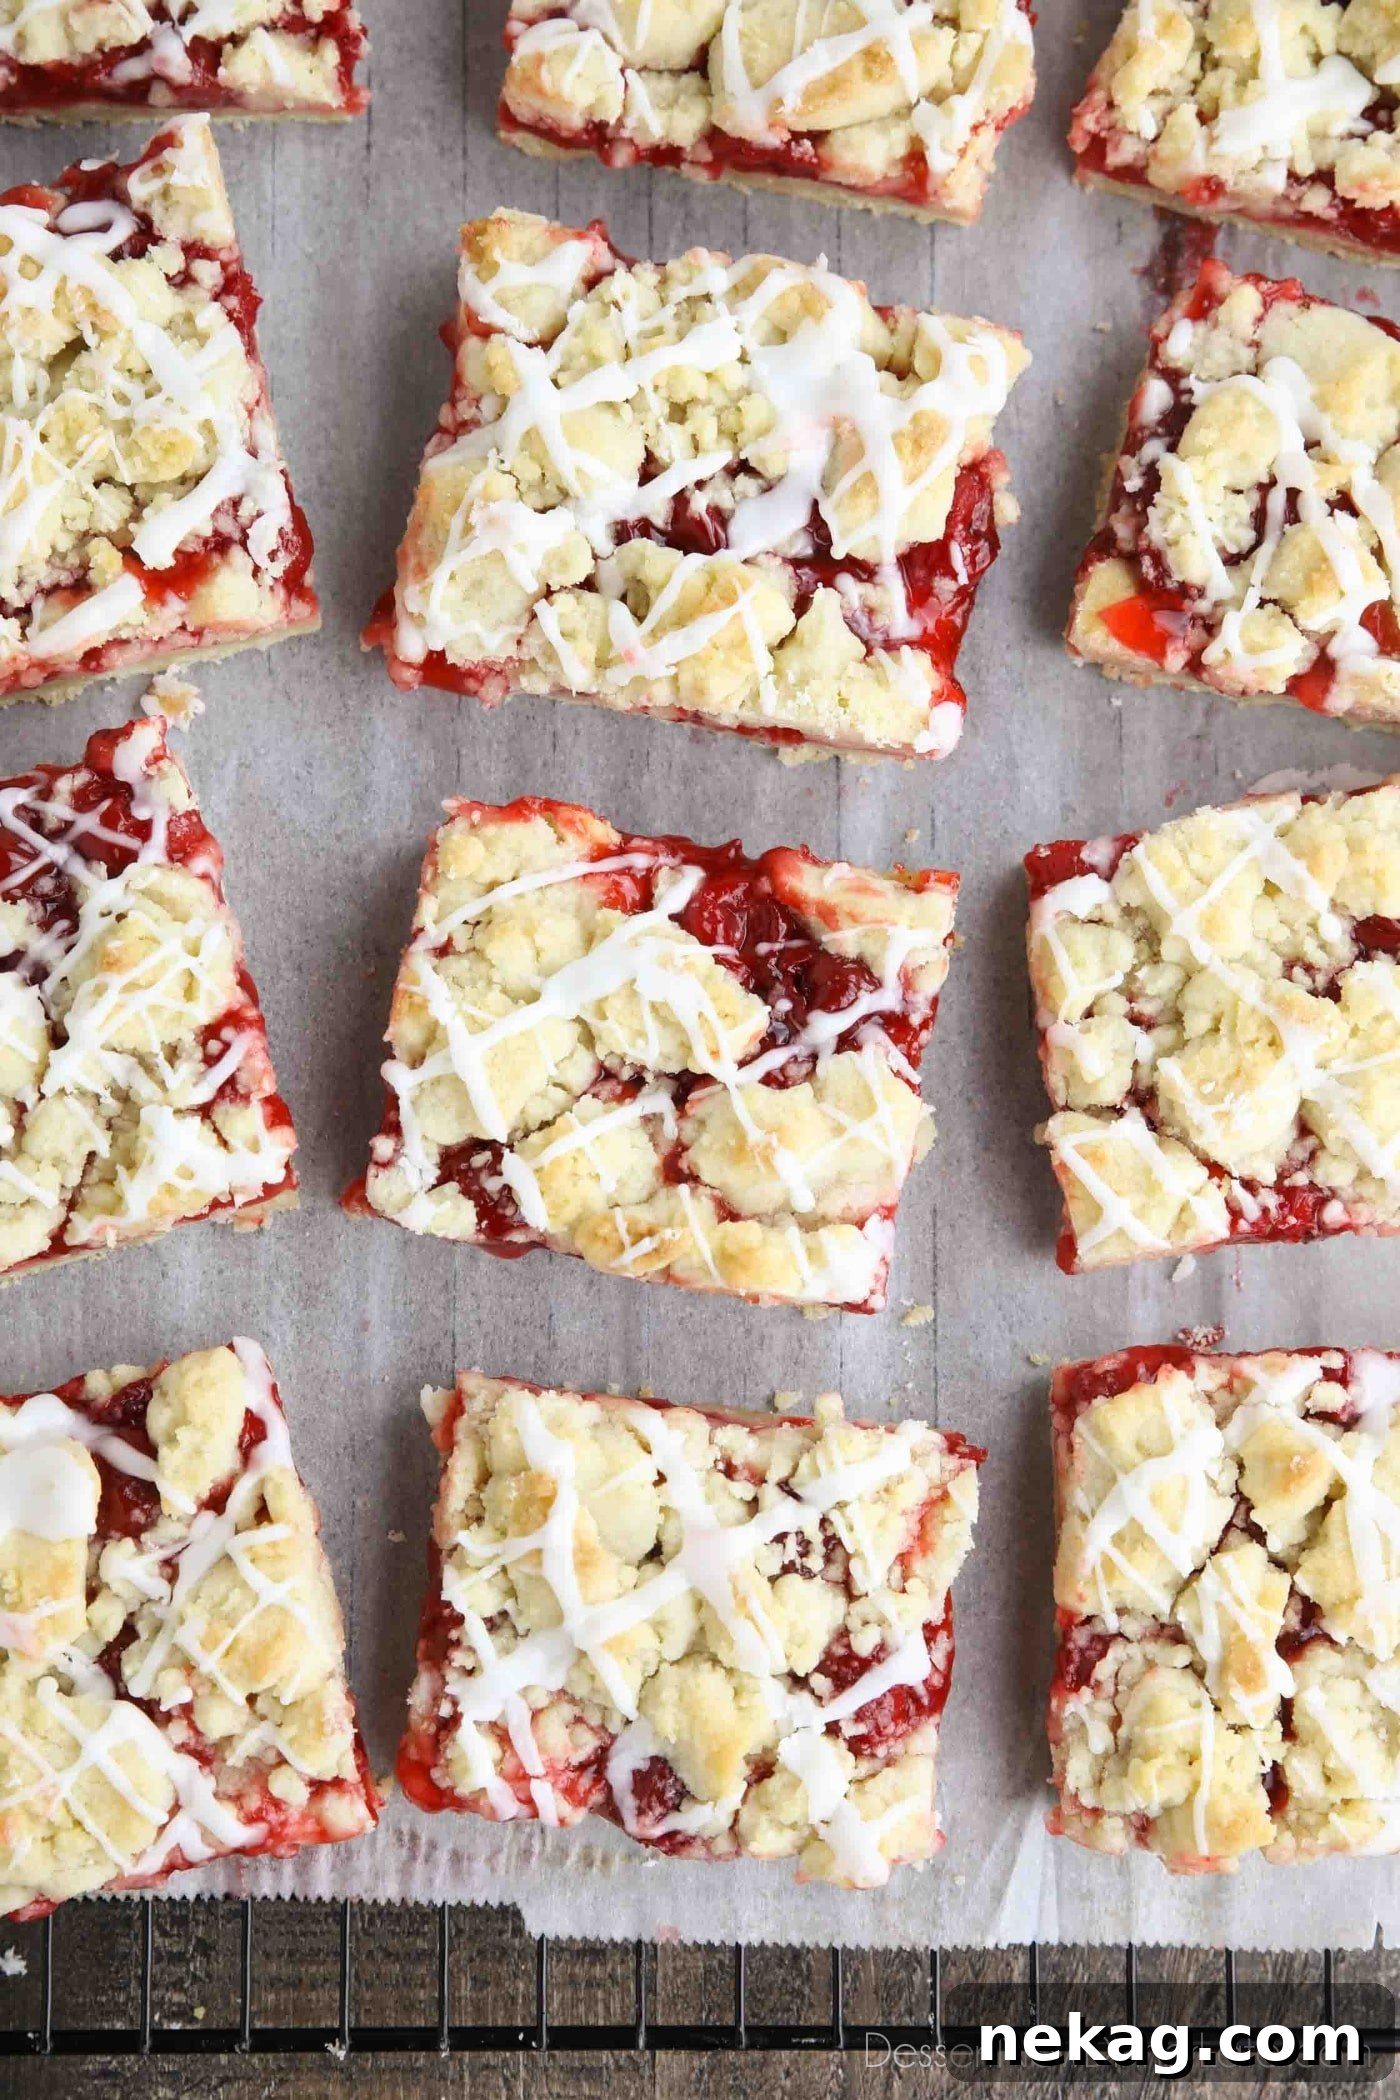
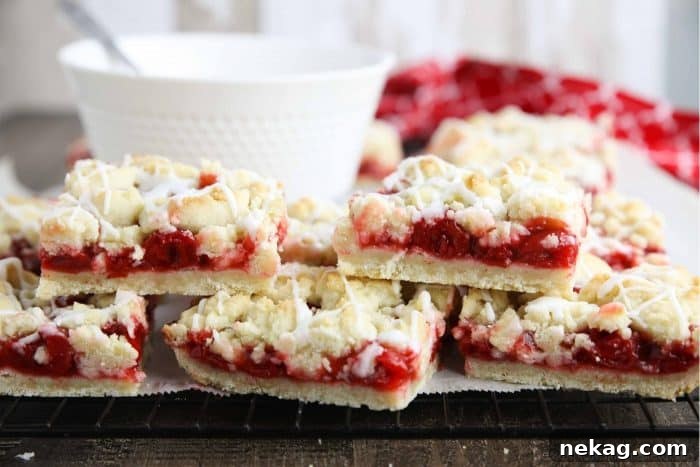
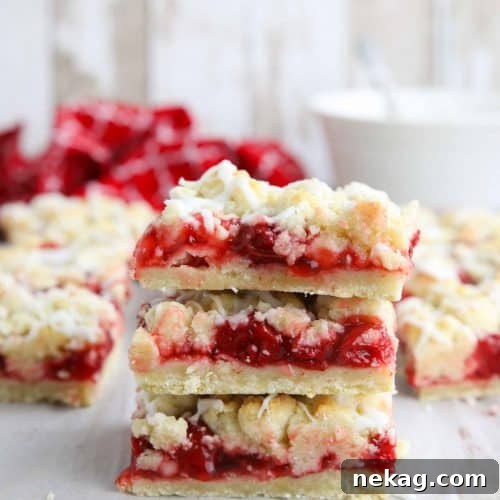
Cherry Pie Bars feature a sweet, buttery shortbread crust and crumb topping—think sugar-cookie flavor—with a layer of cherry pie filling in the center and a delicate almond glaze drizzled on top. These bars are easier than making a pie and ideal for feeding a crowd during Thanksgiving, Christmas, or any gathering.
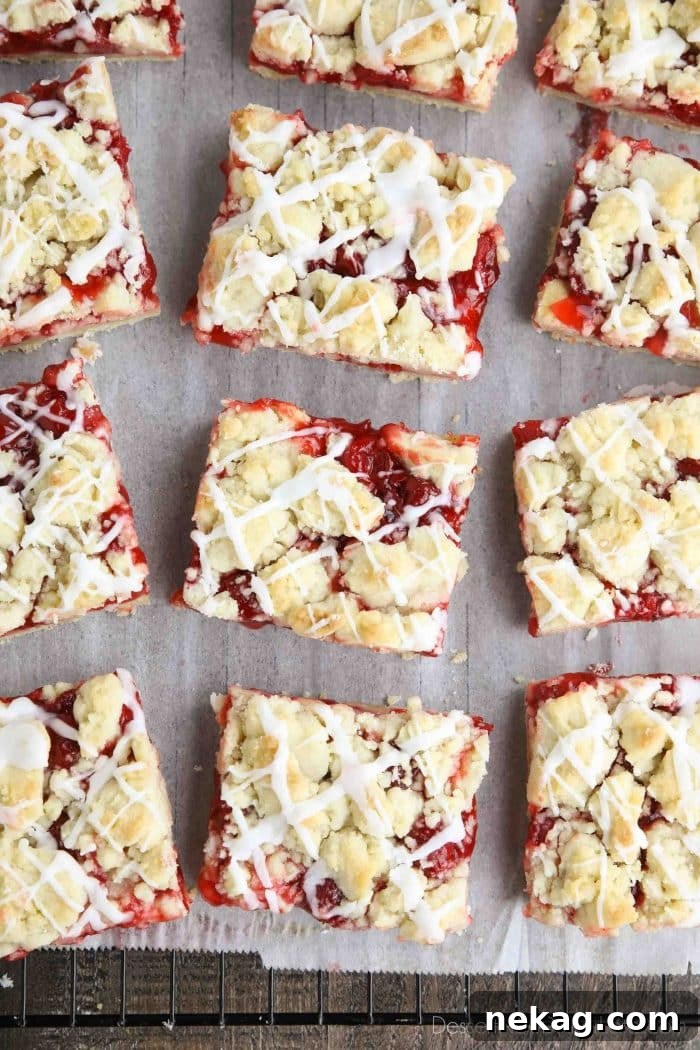
Cherry Pie Bars are a convenient and delicious alternative to traditional pie. This version uses canned cherry pie filling for simplicity, though you can substitute a homemade cherry filling if you prefer.
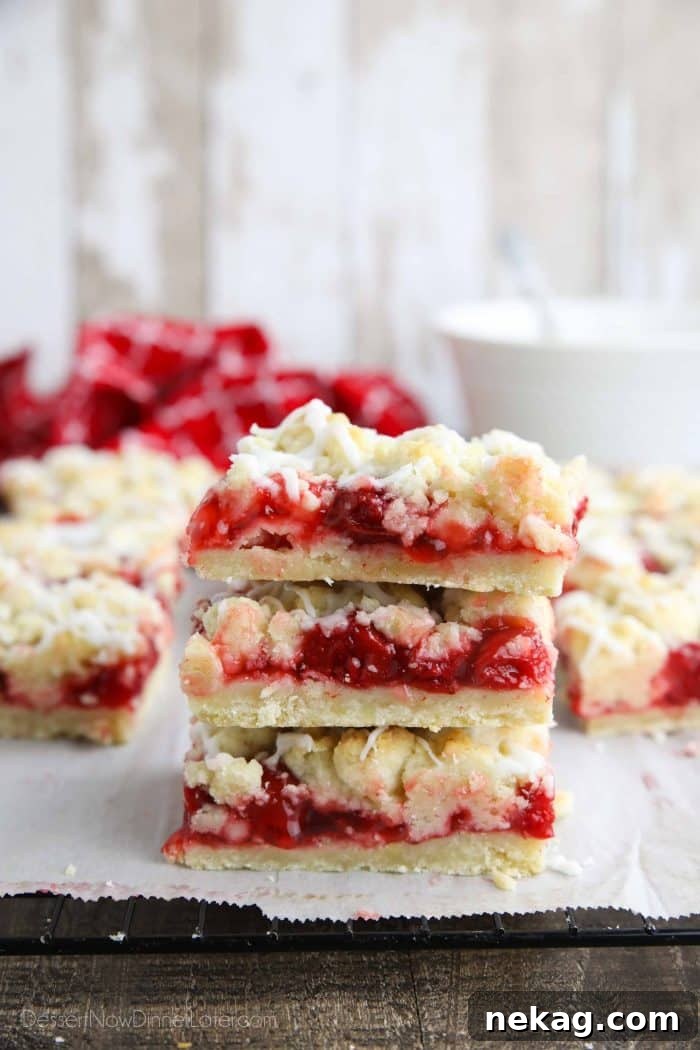
Homemade Cherry Pie Bars
These bars are a variation of classic crumb bars: the same shortbread-style dough forms both the base and the crumbly topping. The dough is rich and buttery with a texture similar to sugar cookies, and it holds together enough to form chunks for a streusel-like finish.
One of the great benefits of this recipe is its flexibility. Swap the cherry filling for another fruit or pie filling to create your favorite flavor—blueberry, lemon, peach, and apple all work beautifully.
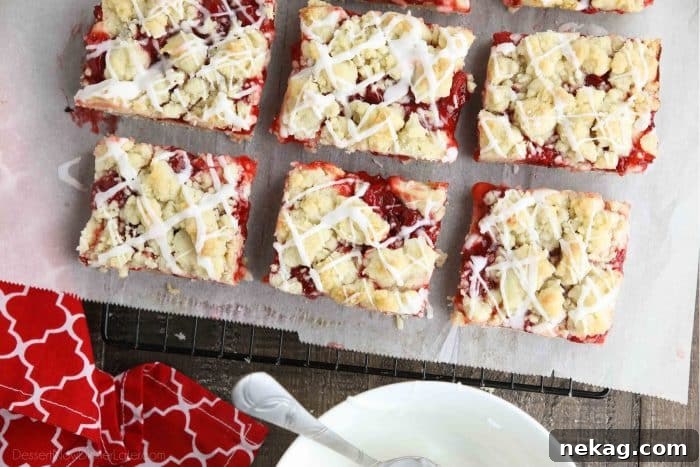
For this cherry version, the canned filling keeps the process quick, while a splash of almond extract in the glaze (and optionally in the filling) enhances the cherry flavor with a subtle, complementary note.
How to Make Cherry Pie Bars
Begin by preparing the shortbread-style crust and crumb topping. Combine the flour, sugar, baking powder, and salt. Cut in cold butter, a tablespoon at a time, until the mixture resembles fine crumbs. Add one egg and mix until the crumbs begin to come together but remain slightly crumbly.
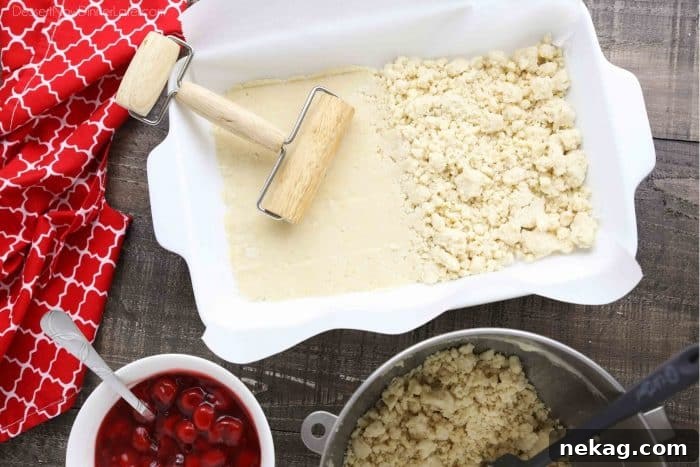
Press about half to two-thirds of the mixture firmly into the bottom of a lightly greased or parchment-lined 13×9-inch pan to form the crust. Use a rolling pin or your hands to make an even layer. Bake the crust at 375°F (190°C) for 10–12 minutes, until it is matte and just beginning to brown around the edges.
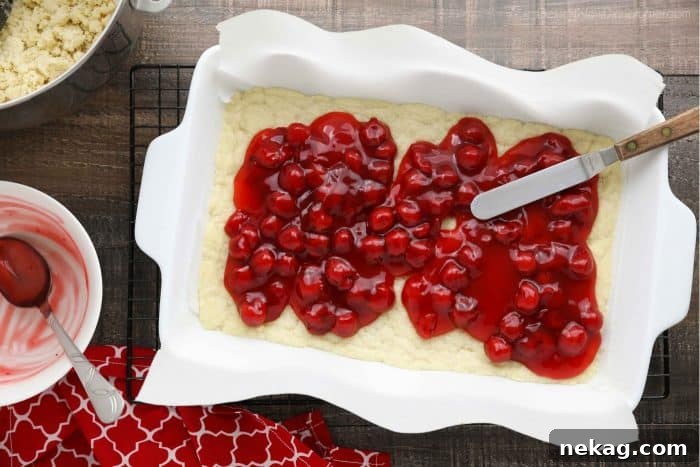
While the crust bakes, stir the cherry pie filling and, if desired, add 1/2 teaspoon almond extract to brighten the flavor. Spread the filling evenly over the partially baked crust.
Crumble the remaining shortbread mixture over the cherry layer, pressing a few crumbs together in your palms for larger chunks if you like a chunkier topping.
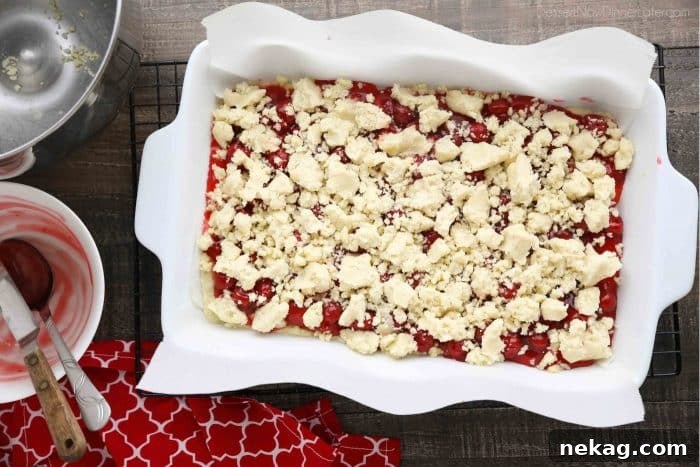
Return the pan to the oven and bake for another 25–30 minutes, until the topping is lightly golden and the filling bubbles in the center. Remove from the oven and cool completely on a wire rack before glazing.
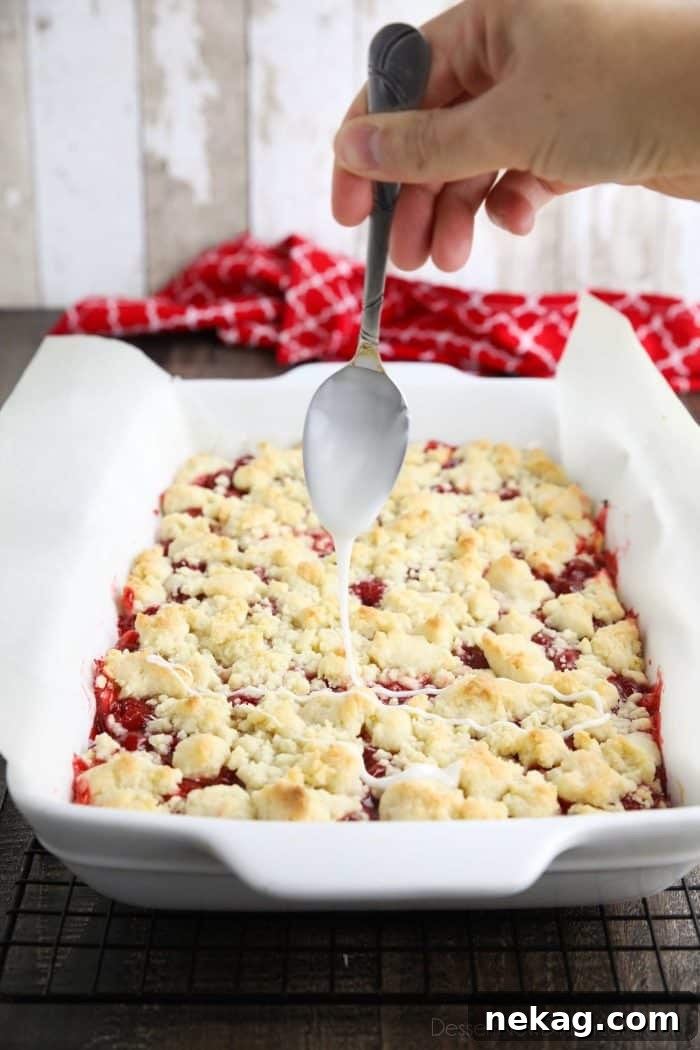
Make a simple glaze by whisking powdered sugar with milk and a little almond (or vanilla) extract until smooth. Drizzle the glaze over the cooled bars, let it set, then lift the bars from the pan using the parchment paper and cut into squares to serve.
Baking Tips
- You can use any canned pie filling—blueberry, strawberry, peach, or apple—so feel free to experiment with flavors.
- Line the pan with parchment paper for easy removal and cleaner slices when cutting the bars.
- When measuring flour, stir, spoon, and level for accurate results. The crumb mixture may appear dry at first but will begin to clump as you mix; avoid overworking it so it stays slightly crumbly.
Try These Other Dessert Bars
- Blueberry Bars
- Apple and Chocolate Caramel Dessert Bars
- Strawberries and Cream Crumble Bars
- Peach Bars
- Lemon Crumble Bars
- Apple Crumble Bars
- Cherry Chocolate Chip Crumble Bars
Cherry Pie Bars
Ingredients
Crust & Topping:
- 3 cups (360 g) all-purpose flour (stir, spoon, & level)
- 1 cup (200 g) granulated sugar
- 1 tsp baking powder
- ½ tsp salt
- 1 cup (226 g) butter, room temperature (2 sticks), salted or unsalted
- 1 large egg
Filling & Glaze:
- 21 oz (595 g) can cherry pie filling
- 1 tsp almond extract, divided*
- 1 cup (120 g) powdered sugar
- 1–2 Tbsp milk
Equipment
- Mini rolling pin (optional)
- Parchment paper
- 13×9-inch pan
Instructions
- Preheat oven to 375°F (190°C). Line a 13×9-inch baking dish with parchment paper or lightly grease it.
- In a mixing bowl, combine flour, sugar, baking powder, and salt. Add butter one tablespoon at a time and mix until the mixture resembles fine crumbs. Add the egg and mix until the crumbs start to clump but remain slightly crumbly.
- Press ½ to 2/3 of the mixture into the bottom of the prepared pan. Bake 10–12 minutes, until the crust is matte and beginning to brown.
- Stir ½ tsp almond extract into the cherry pie filling if using. Spread the filling over the partially baked crust.
- Crumble the remaining dough over the filling, pressing some crumbs together for larger pieces if desired. Bake 25–30 minutes more, until the topping is lightly brown and the filling bubbles. Cool completely.
- Whisk together powdered sugar, 1 Tbsp milk, and ½ tsp almond extract. Add up to 1 more tablespoon of milk for desired consistency. Drizzle glaze over cooled bars, allow to set, lift out with parchment, cut, and serve.
Notes
- Store cherry pie bars covered at room temperature.
- Substitute vanilla extract for almond extract if preferred.
Nutrition
Disclaimer: Nutritional values are estimates.
Sharing this recipe with a link is encouraged. Content and photographs are copyright protected.