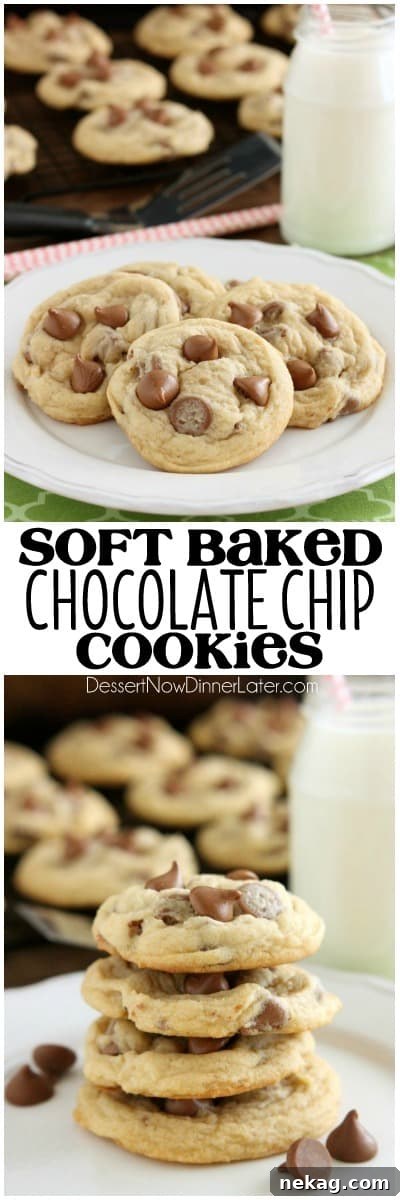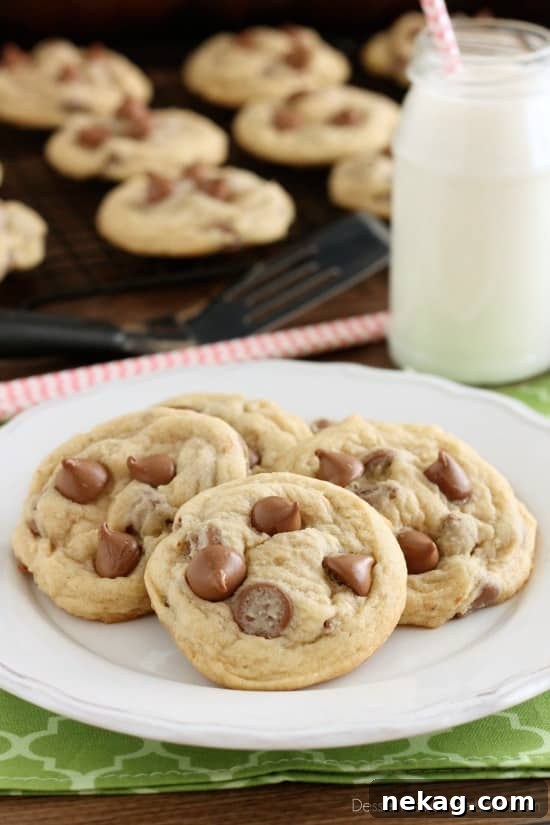
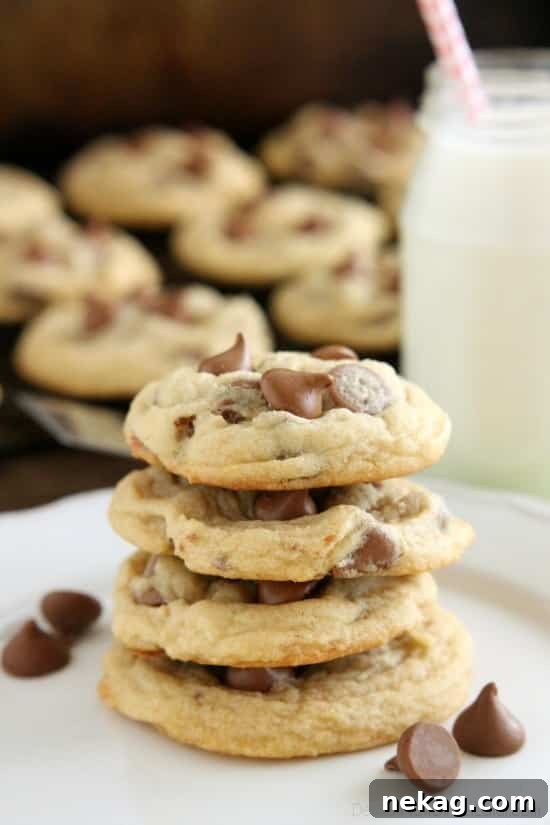
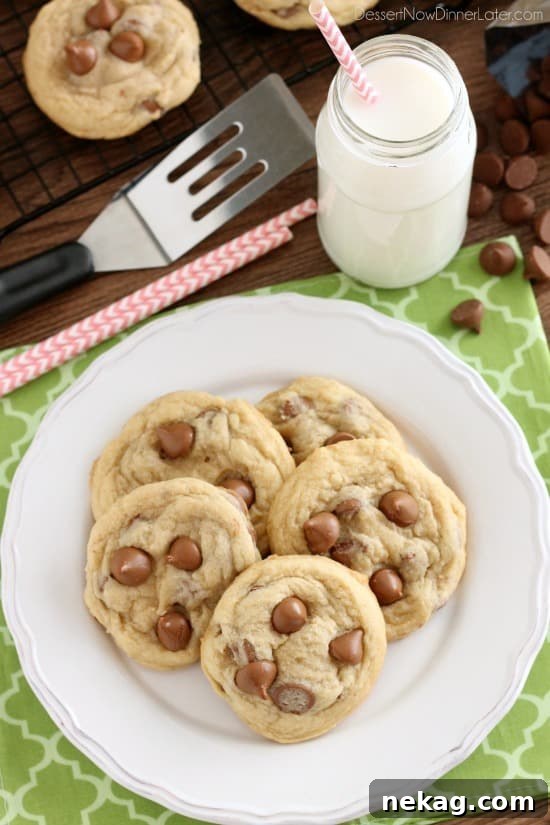
These Soft Baked Chocolate Chip Cookies are designed for ultimate indulgence, featuring a special ingredient that guarantees an incredibly thick, wonderfully chewy, and perfectly soft texture with every bite. Discover expert tips and techniques to consistently bake the best chocolate chip cookies your family and friends will ever taste!
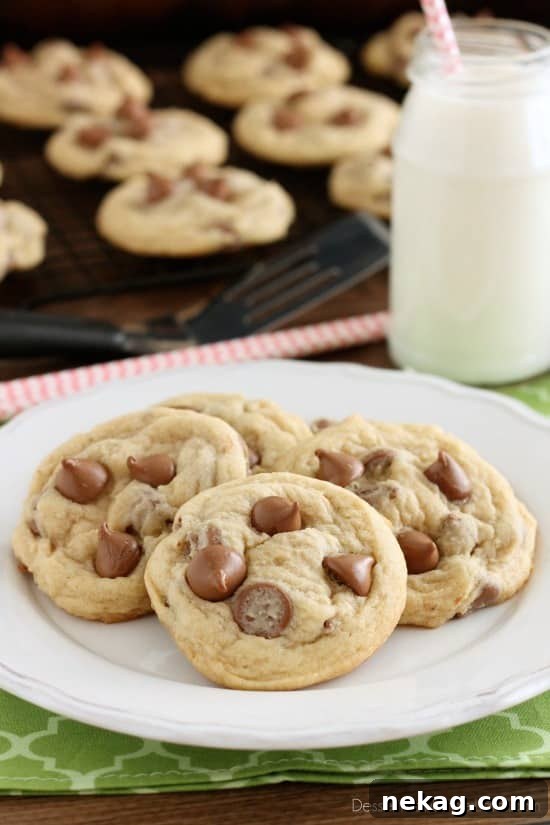
After years of baking and refining, I’m thrilled to finally share my go-to recipe for classic chocolate chip cookies. It’s truly shocking that it’s taken me this long to unveil this masterpiece! What makes these cookies stand out, you ask? Beyond a deeply satisfying chewiness and a melt-in-your-mouth softness, this recipe incorporates a secret ingredient that elevates the texture to pure perfection. Coupled with a collection of my tried-and-true baking tricks, you’ll be creating gorgeous, thick, and irresistibly soft cookies with ease.
The Foundation of Flavor: The Importance of Quality Ingredients
Achieving truly outstanding chocolate chip cookies begins with one crucial step: using quality ingredients. This might seem obvious, but the difference it makes is profound, especially when it comes to chocolate and butter.
Chocolate Chips: A Flavorful Obsession
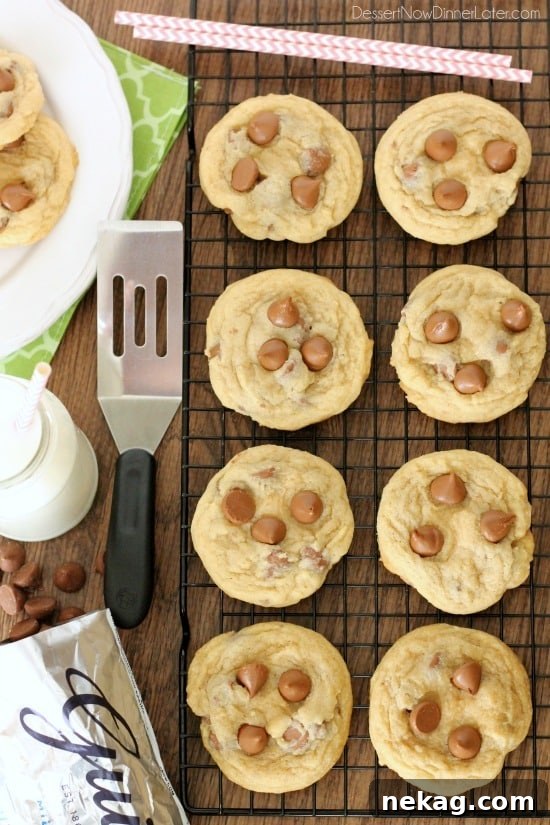
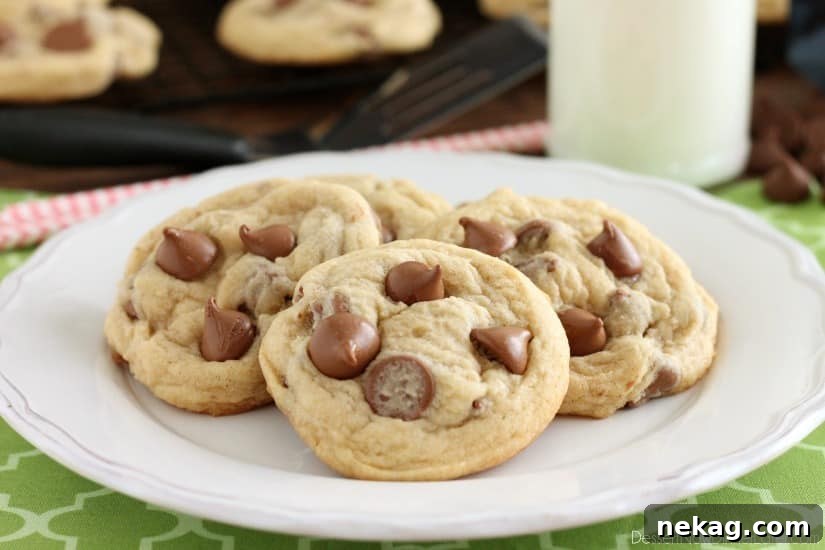
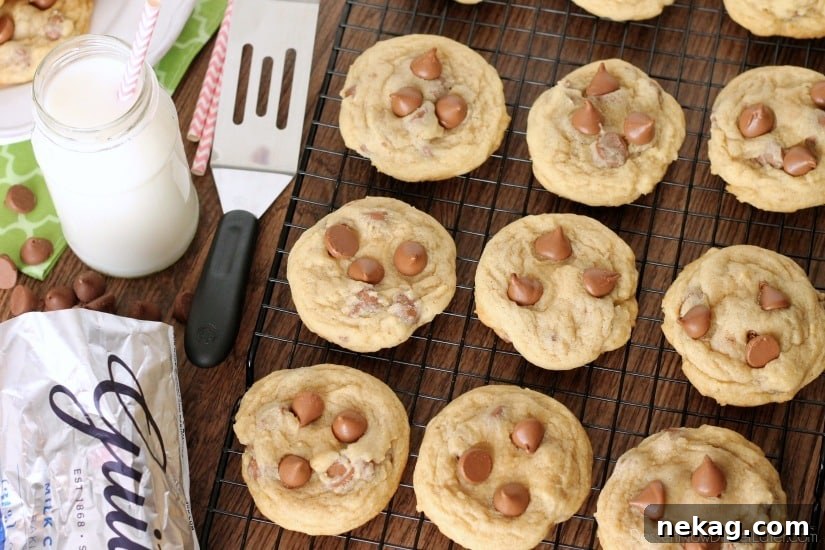
When it comes to chocolate, I am unwavering in my recommendation: Guittard Chocolate Chips. While there are many brands available, Guittard stands head and shoulders above the rest. Their milk chocolate variety, in particular, are larger than average, offering generous pockets of rich, melt-in-your-mouth chocolate in every bite. Their semi-sweet chips are equally fantastic if you prefer a less sweet profile. The secret to Guittard’s superiority lies in what they *don’t* include – wax fillers. Many commercial chocolate chips contain these fillers, which can leave a waxy residue on your palate and diminish the pure chocolate flavor. Guittard uses high-quality, legitimate chocolate, and you can truly taste the difference. In fact, I often keep a bag of Guittard Milk Chocolate Chips in my pantry for those moments when a serious chocolate craving strikes!
Butter: The Heart of Every Cookie
Beyond chocolate, let’s talk about butter. This seemingly simple ingredient plays an enormous role in the texture, flavor, and even appearance of your cookies. My own experience has taught me that not all butter is created equal. I once used a budget-friendly brand for a batch, and the cookies turned out noticeably yellower and spread much more than I desired. Re-making the recipe with high-quality Land O Lakes Butter, combined with a slight adjustment of 1/4 cup more flour to manage spreading, resulted in the gorgeous, light, and perfectly shaped cookies you see here. It absolutely pays to invest a little more in high-quality butter for baking; the results speak for themselves. You can even see the visual difference on my Instagram post!
Now, let’s address a common baking question: UNSALTED BUTTER vs. SALTED BUTTER – What’s the difference? The primary distinction lies in their salt content and, consequently, their shelf life. In culinary school, I was taught to ALWAYS use unsalted butter for baking. This allows you complete control over the amount of salt in your recipe. Different brands of salted butter contain varying amounts of salt, making it nearly impossible to accurately adjust a recipe. If you opt for salted butter, it’s generally advisable to halve the amount of salt called for in the recipe, or even omit any additional salt entirely. While salted butter does last longer due to salt acting as a preservative, butter freezes exceptionally well, making it easy to keep unsalted butter on hand. We personally use unsalted butter for all our baking and save salted butter for spreading on bread and rolls. Ultimately, the choice is yours, but salted butter definitely impacts the flavor profile more significantly, which is why I strongly recommend sticking to unsalted for consistent, delicious baking results.
No Chill, No Problem: Master Baking Tips for Perfect Cookies
One of the biggest frustrations for impatient bakers (like me!) is recipes that require chilling cookie dough. Good news: this chocolate chip cookie recipe requires NO REFRIGERATION! I’ve developed several tricks to ensure your cookies don’t spread excessively, giving you thick, perfect results right away:
-
Precision Scooping for Uniformity
Use a cookie scoop. This isn’t just about making evenly sized cookies; it’s a critical step in preventing spread. When you roll dough into balls with your hands, the warmth from your skin can start to melt the butter in the dough, leading to flatter cookies. A cookie scoop allows you to portion the dough directly onto the baking sheet without adding extra heat. For the medium/large cookies pictured here, I used a #30 cookie scoop, which holds approximately 2 tablespoons of dough. If you prefer smaller cookies, a #50 scoop (about 1 tablespoon) is ideal. When shopping for scoops, look for the engraved number on the part that pushes the dough out. Remember this counter-intuitive tip: the larger the number, the smaller the scoop, and vice versa!
-
The Right Baking Surface Matters
Use a silicone baking mat and half sheet pans. I own four silicone baking mats and use them for almost everything I bake on a tray! Cookies slide off effortlessly and, crucially, spread less than they do on a baking sheet greased with cooking spray. While parchment paper works well, silicone mats are reusable, making them a more economical and environmentally friendly choice. They are incredibly easy to clean with just soap and water. Half sheet pans are the perfect size for baking a dozen cookies at a time and are versatile enough for other baking projects like cake rolls.
-
The Golden Rule: Always Test Bake!
ALWAYS do a test cookie first! This is a non-negotiable step for consistent results. Many factors can influence a recipe, from your local altitude and the weather (humidity!) to the specific calibration of your oven. To account for these variables, I always bake one cookie first, right in the center of the tray. This allows me to observe its behavior. If it spreads too much and flattens out, I’ll incorporate an additional 1/4 cup of flour into the remaining dough and bake a second test cookie. Only when the test cookie is perfect do I proceed with scooping and baking the rest of the batch.
-
Perfectly Baked: The Art of Carryover Cooking
Bake the cookies until they are just set, meaning the edges are lightly golden and the centers still look slightly soft. Immediately remove the tray from the oven and allow the cookies to rest on the warm pan for a few minutes before transferring them to a cooling rack. This “carryover cooking” during the resting period allows the cookies to finish setting up gently without overbaking, ensuring they remain wonderfully soft and chewy in the center.
-
Keeping Your Pans Cool
Allow the cookie sheet to cool completely before reloading it with fresh cookie dough balls. This principle is similar to why we avoid rolling dough with warm hands. A warm baking tray can prematurely melt the butter in your cookie dough before it even enters the oven, inevitably leading to flatter, thinner cookies. To prevent this, keep your cookie dough in a cooler area of your kitchen (or even in the refrigerator if it’s a particularly hot day, especially in summer) and scoop the dough onto a cool pan just before baking.
The Secret Weapon for Ultimate Softness: Cornstarch
Last but certainly not least, let’s reveal the secret ingredient that transforms these into truly soft baked chocolate chip cookies: CORNSTARCH! This humble pantry staple acts as a tenderizer, contributing significantly to the luxurious softness and delightful chewiness of these cookies. Have you ever enjoyed a “meltaway” cookie? They owe their ephemeral texture to cornstarch. We’re applying the same principle here, using just enough cornstarch to create that incredible tenderness, ensuring each cookie practically melts in your mouth while retaining a satisfying chew. I hope you’ve learned some new insights today! Now, arm yourself with these tips and get ready to bake the best chocolate chip cookies of your life!
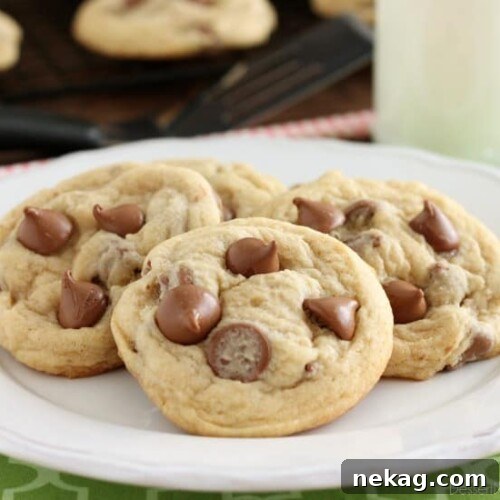
Soft Baked Chocolate Chip Cookies
Amber Brady
10
mins
10
mins
20
mins
Pin Recipe
Rate this Recipe
24
cookies
Ingredients
- 1 cup (226 g) unsalted butter, (2 sticks) room temperature
- ½ cup (100 g) light brown sugar, gently packed
- ½ cup (100 g) granulated sugar
- 2 large eggs
- 1 tsp vanilla extract
- 2 ½ to 2 ¾ cup (300-330 g) all-purpose flour, (start with less, do 1 test cookie, and add more if needed)
- 1 tsp baking soda
- 1 tsp salt
- 1 Tbsp cornstarch
- 12 oz (340 g) bag Guittard Milk Chocolate Chips
Instructions
-
Cream the butter and sugars together in a stand mixer with the paddle attachment.
-
Add the eggs and vanilla. Mix well, then scrape the bowl.
-
Combine the flour, baking soda, salt, and cornstarch in a bowl. Add dry ingredients all at once into the butter mixture, and mix just until incorporated.
-
TEST COOKIE DOUGH: Scoop 1 test cookie onto a silicone lined baking sheet. Bake at 350 degrees Fahrenheit for 9 to 11 minutes, until just set in the center. If the cookie spreads, add ¼ cup more flour to the remaining dough and do another test cookie.
-
Scoop the cookie dough onto cool (not warm) silicone lined baking sheets, bake at 350 degrees Fahrenheit for 9 to 11 minutes, until just set in the centers. (10 minutes was perfect for my oven.)
-
Allow cookies to rest on the cookie sheet for 2 to 3 minutes, then transfer cookies to a wire rack to cool. Store cookies in an airtight container.
Notes
For best results, ensure butter is truly at room temperature. For optimal texture and flavor, using high-quality chocolate chips like Guittard is recommended.
Nutrition
Serving: 1 cookie | Calories: 210kcal | Carbohydrates: 40g | Protein: 5g | Fat: 3g | Saturated Fat: 2g | Polyunsaturated Fat: 1g | Cholesterol: 18mg | Sodium: 166mg | Fiber: 1g | Sugar: 12g
Disclaimer: Nutritional values were calculated using a third-party tool and are provided as an estimation only.
Sharing this recipe with a link is both encouraged and appreciated. Copying/pasting and/or screenshots of full recipes to any social media is strictly prohibited. Content and photographs are copyright protected.
Did you make this?
Don’t forget to leave a rating below and make sure to follow on Pinterest and Instagram for more!