
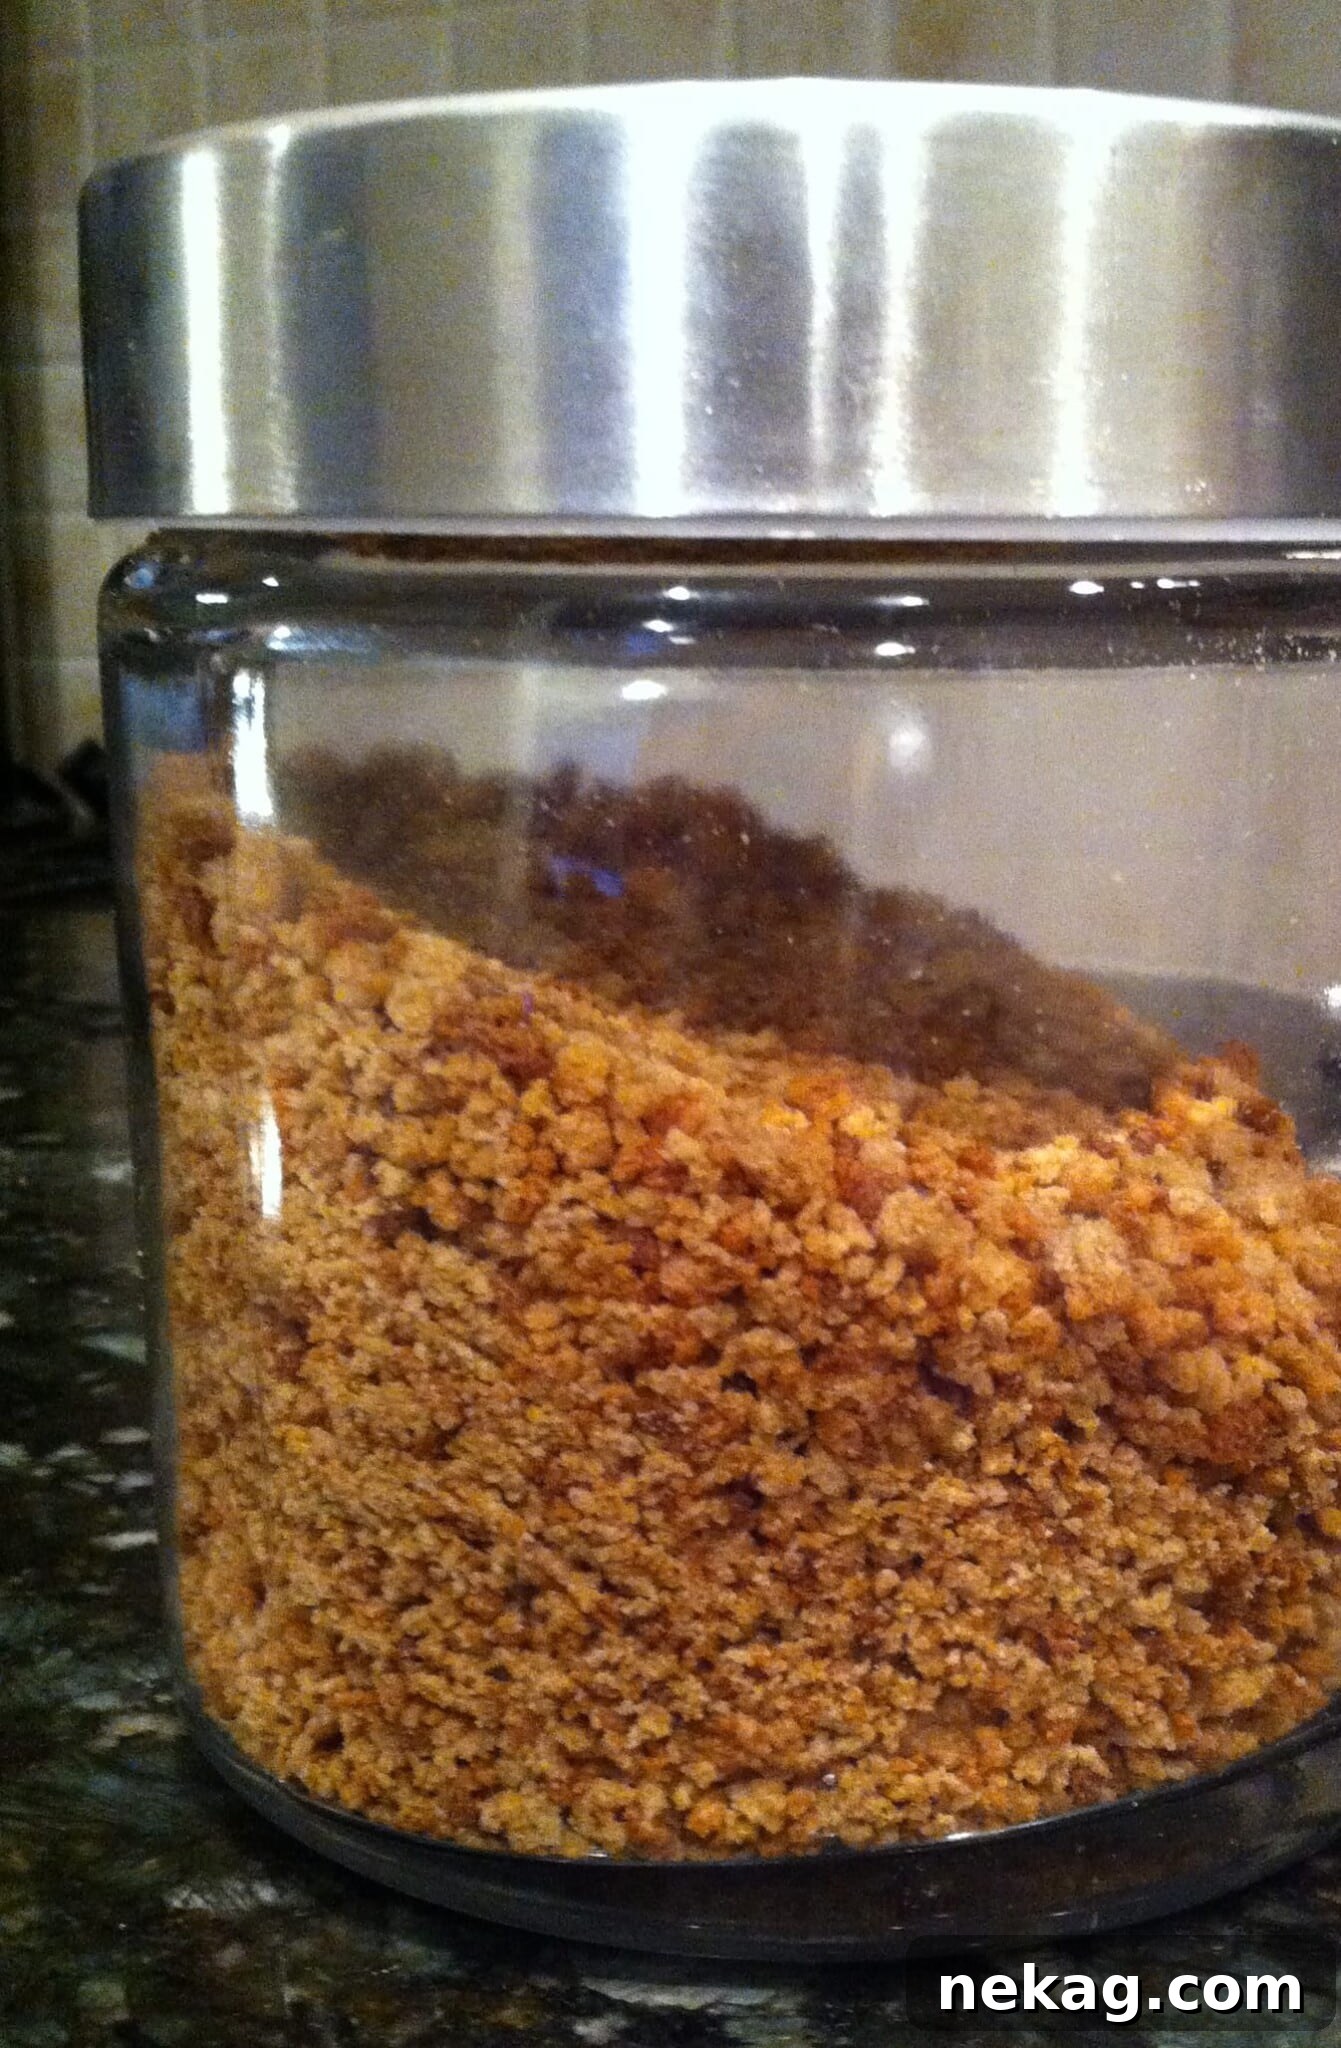
Homemade Bread Crumbs: Your Ultimate Guide to Reducing Waste and Boosting Flavor
Transforming leftover bread into delicious, versatile bread crumbs is one of the simplest and most rewarding kitchen hacks. Not only does it help you reduce food waste, but it also allows you to add a genuinely homemade touch to countless meals. Forget store-bought options filled with preservatives and unknown ingredients; making your own bread crumbs at home is incredibly easy, cost-effective, and guarantees superior flavor and texture.
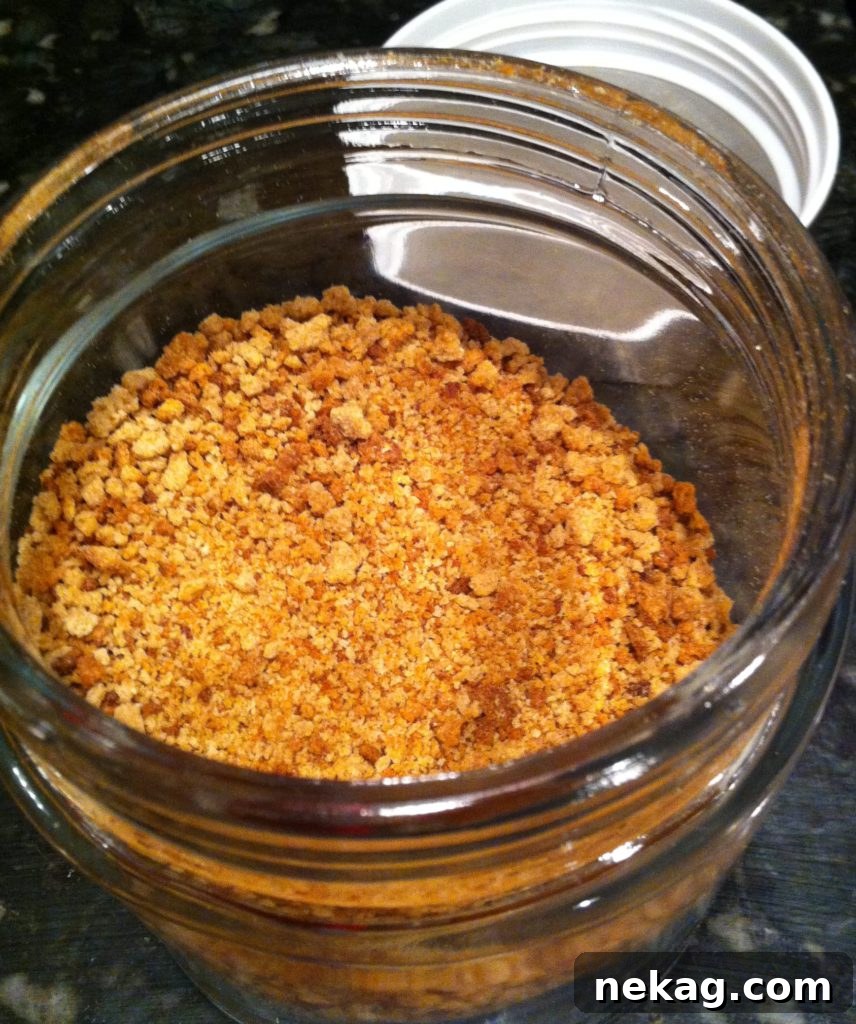
Remember that wonderful 100% whole-wheat bread from the American Woman’s Cookbook, or perhaps your latest batch of Potato Bread? Freshly baked breads, especially those made without preservatives, tend to dry out quickly after a day or two. But don’t fret! That slightly dry, beautiful loaf is far from past its prime. In fact, it’s the perfect candidate for becoming even more fabulous homemade bread crumbs, bringing new life and purpose to every slice.
Why Make Your Own Bread Crumbs? The Benefits Are Abundant
While grabbing a canister of bread crumbs from the supermarket shelf might seem convenient, the advantages of making them yourself are truly compelling. Once you try homemade, you’ll likely never go back.
Superior Taste and Texture
Store-bought bread crumbs often lack the depth of flavor and satisfying crunch that homemade versions offer. When you make your own, you control the quality of the bread, which directly translates to richer, more nuanced crumbs. The texture is also customizable, allowing you to achieve anything from a coarse, rustic crumb to a fine, delicate powder, perfect for different culinary applications.
Sustainable Kitchen Practices: Reducing Food Waste
One of the most significant benefits of making homemade bread crumbs is its role in reducing food waste. Bread is a staple that often goes stale before it can all be consumed. Instead of discarding those dry crusts and forgotten slices, turning them into bread crumbs is an excellent way to give them a delicious second life. It’s a simple act that contributes to a more sustainable kitchen and mindful consumption.
Cost-Effective and Economical
Why spend money on a product you can easily create from something you might otherwise throw away? Making your own bread crumbs is incredibly cost-effective. It transforms a potential waste product into a valuable ingredient, stretching your grocery budget further.
Control Over Ingredients: Healthier Choices
When you prepare bread crumbs at home, you know exactly what goes into them. This means no unnecessary preservatives, artificial flavors, or excessive sodium often found in commercial products. You can choose high-quality, natural bread and even customize seasonings to suit your dietary preferences or recipe requirements.
Choosing the Best Bread for Homemade Crumbs
Virtually any type of bread can be transformed into bread crumbs, but some varieties yield better results than others, depending on your desired outcome. The key is to use bread that is a day or two old and has started to dry out. Fresh, soft bread tends to become gummy when processed.
Ideal Bread Types:
- Sourdough or Artisan Breads: These often have a robust flavor and a good crust, which contributes to exceptionally crunchy and flavorful crumbs.
- Whole Wheat or Multigrain Breads: Excellent for a healthier option, providing more fiber and a nutty taste. The whole wheat bread mentioned earlier is a perfect example.
- Italian or French Bread: Classic choices that produce wonderfully versatile crumbs suitable for a wide range of dishes.
- Challah or Brioche: While richer, these can create delightful, slightly softer crumbs that are fantastic for certain desserts or savory dishes where a tender crumb is preferred.
- Day-Old Sandwich Bread: Even your everyday sandwich bread can be transformed, especially if you’re looking for a finer, more uniform crumb.
Breads to Use with Caution:
Avoid heavily sweetened breads or those with excessive inclusions (like nuts or dried fruits) if you’re aiming for plain, versatile crumbs. These might be great for specific sweet applications but won’t be as adaptable for savory dishes.
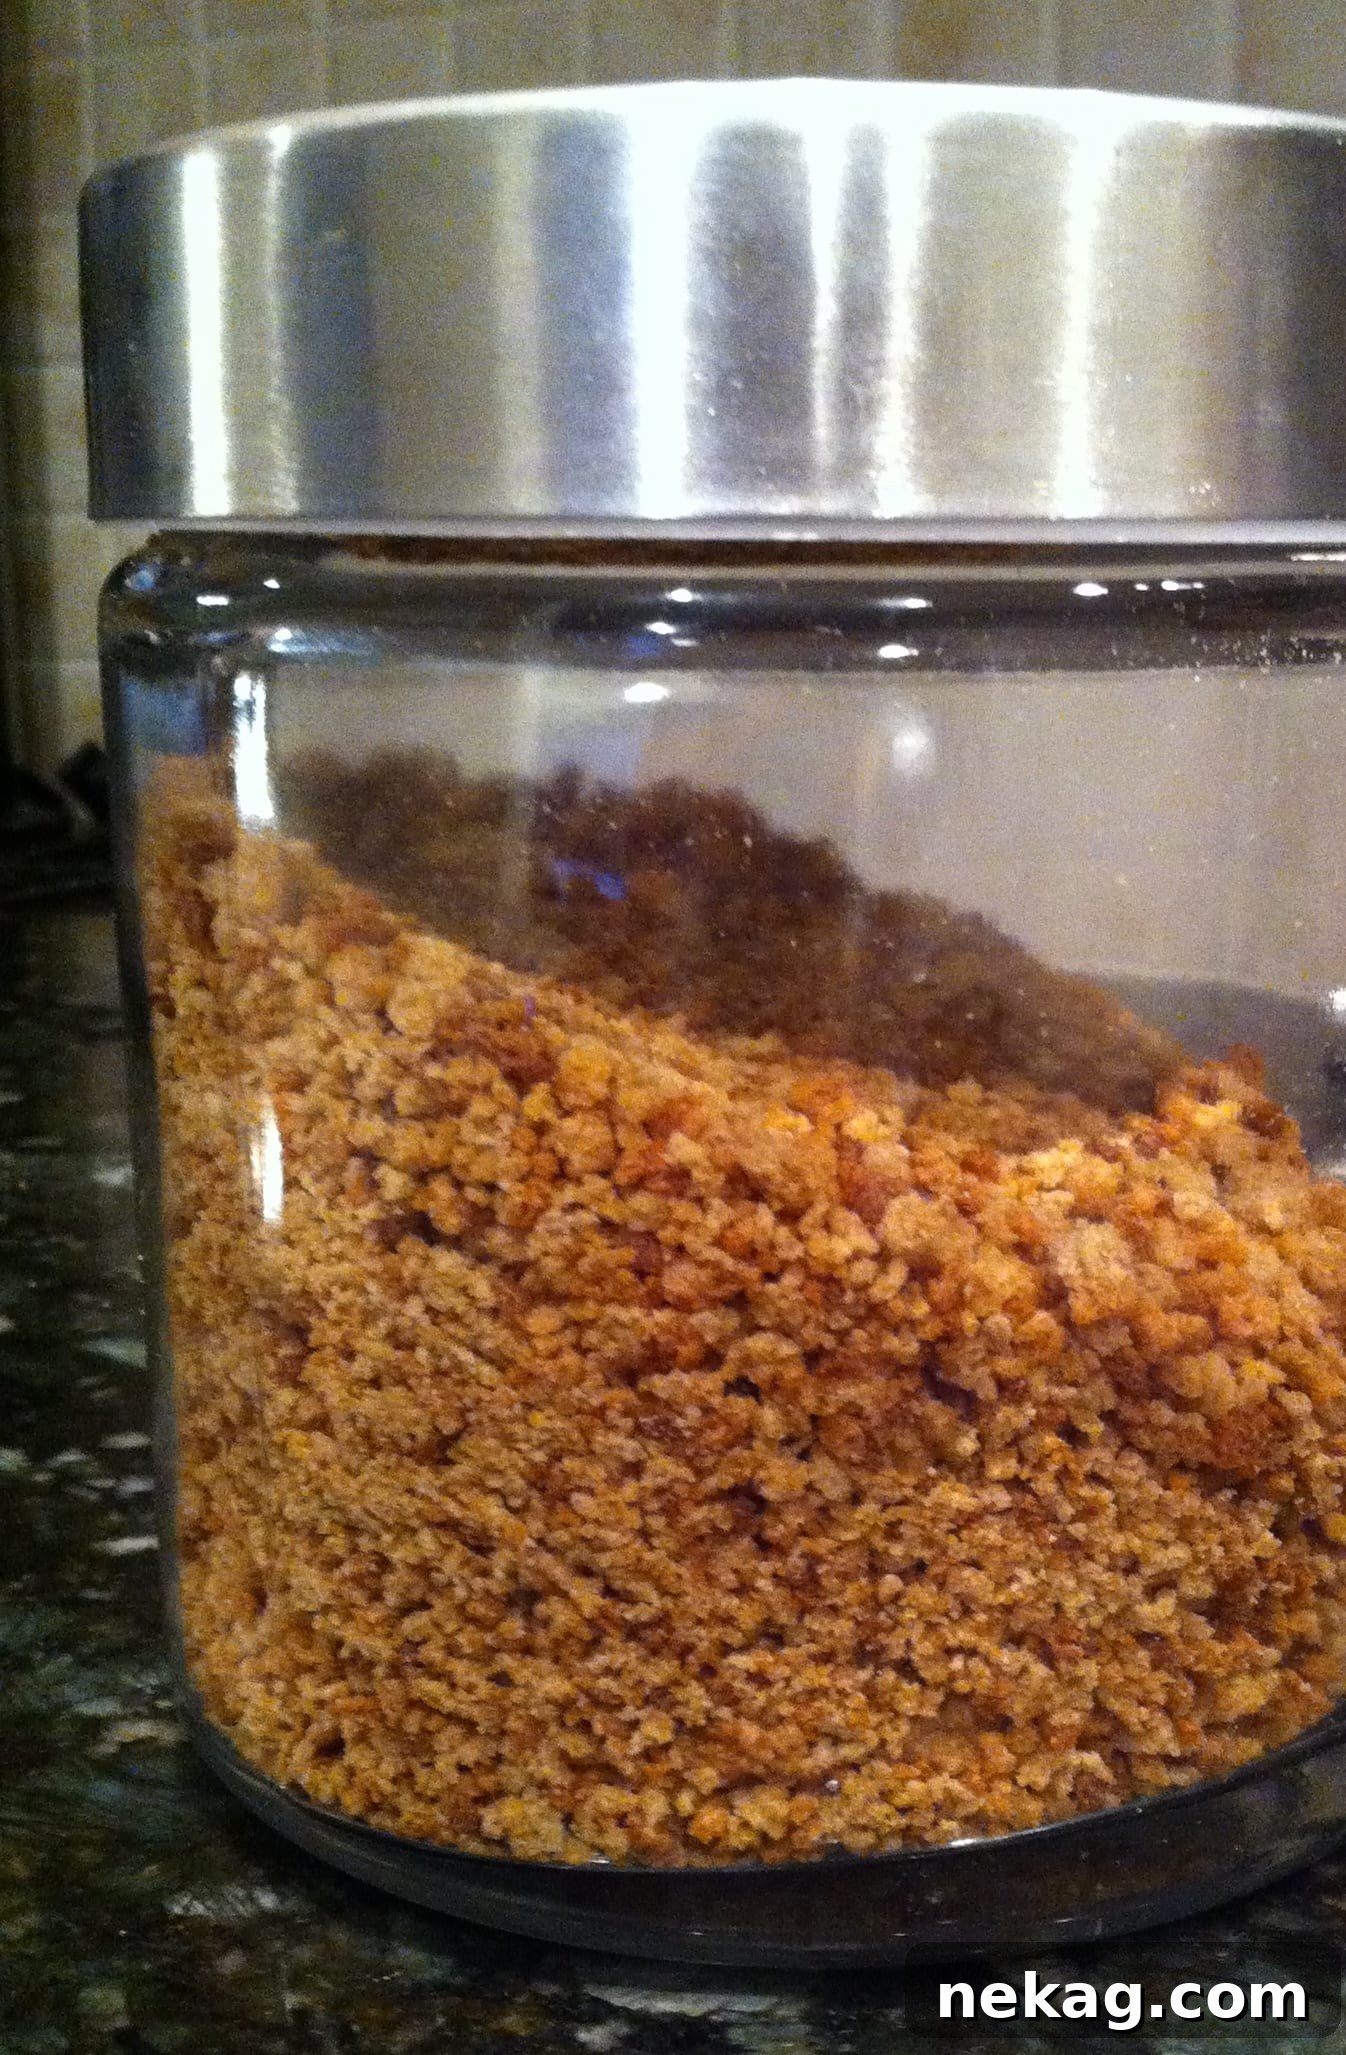
Homemade Bread Crumbs Recipe
Homemade Bread Crumbs
by Chef Lindsey
Easy homemade bread crumbs are a simple way to preserve any bread! Keep them in the refrigerator or freezer to add a homemade touch to any meal.
Prep Time: 5 mins
Cook Time: 30 mins
Total Time: 35 mins
Yield: 12 servings (approx. 4-6 cups of crumbs)
Print Recipe
Ingredients
- 1 loaf bread (your choice, preferably stale)
Instructions
- Preheat Oven: Preheat your oven to 300°F (150°C). This low temperature is crucial for drying the bread without burning it.
- Slice the Bread: Slice your stale bread into approximately ¼ inch (about 0.6 cm) thick slices. The thinner the slices, the faster and more evenly they will dry.
- Arrange on Baking Sheet: Arrange the bread slices in a single layer on a baking sheet. Avoid overlapping them, as this can lead to uneven drying.
- Initial Bake: Place the baking sheet on the middle rack of the preheated oven and bake for 15 minutes.
- Flip and Continue Baking: After 15 minutes, carefully flip each bread slice to the other side. Return the baking sheet to the oven and bake for another 15 minutes.
- Check for Doneness: After a total of 30 minutes, remove the baking sheet from the oven. Test a piece of bread for doneness. It should be completely dry, stiff, and snap or crumble easily. If there’s any softness or chewiness, return the bread to the oven for an additional 5-10 minutes, checking frequently.
- Cool Completely: Allow the dried bread slices to cool completely on the baking sheet or a wire rack. Cooling ensures they become fully crisp before processing.
- Process into Crumbs: Once cooled, break the crisp bread into smaller pieces and place them in a food processor. Pulse until they are processed into medium to fine crumbs, or to your desired consistency. Be careful not to over-process, which can turn them into powder.
- Store: Transfer the fresh homemade bread crumbs into a clean, sealable airtight container.
Nutrition
Calories: 155 kcal | Carbohydrates: 27g | Protein: 6g | Fat: 3g | Saturated Fat: 1g | Polyunsaturated Fat: 1g | Monounsaturated Fat: 1g | Trans Fat: 1g | Sodium: 268mg | Potassium: 80mg | Fiber: 2g | Sugar: 3g | Vitamin A: 1 IU | Vitamin C: 1mg | Calcium: 71mg | Iron: 2mg
Course: Condiments
Cuisine: French
Storage Tips for Your Homemade Bread Crumbs
Proper storage is essential to maintain the freshness and extend the shelf life of your homemade bread crumbs. Ensure they are completely dry before storing to prevent mold growth.
- Pantry Storage: For short-term use (several weeks), store plain, unseasoned bread crumbs in an airtight container in a cool, dark, dry place like your pantry or cupboard.
- Refrigerator Storage: If you’ve made seasoned bread crumbs, or want to extend the shelf life of plain ones, store them in an airtight container in the refrigerator for up to 1-2 months.
- Freezer Storage: For the longest shelf life (several months to up to 6 months), place bread crumbs in a freezer-safe, airtight container or heavy-duty freezer bag. They can be used directly from the freezer in most recipes.
Always check for any off-smell or signs of mold before using stored bread crumbs.
Plain vs. Seasoned Bread Crumbs: Customizing Your Flavor
One of the joys of making your own bread crumbs is the ability to customize them. You can keep them plain for maximum versatility or infuse them with herbs and spices for specific culinary creations.
Plain Bread Crumbs
Plain bread crumbs are the workhorse of the kitchen. They are neutral in flavor, making them suitable for almost any recipe that calls for crumbs. You can always season them later, right before use, allowing for endless possibilities.
Seasoned Bread Crumbs
To make seasoned bread crumbs, you have a couple of options:
- Before Toasting (for deeper flavor): Lightly brush bread slices with olive oil and sprinkle with your desired herbs and spices before toasting in the oven. This method infuses the flavors directly into the bread as it dries.
- After Toasting (for fresh flavor): After processing your dried bread into crumbs, toss them with dried herbs (like oregano, basil, thyme), garlic powder, onion powder, paprika, salt, and pepper. You can also briefly sauté them in a pan with a little olive oil to toast the seasonings and add extra crunch.
Popular Seasoning Combos:
- Italian Style: Garlic powder, onion powder, dried oregano, dried basil, parsley flakes, and a pinch of red pepper flakes.
- Herb & Garlic: Minced fresh garlic, finely chopped fresh parsley, rosemary, and thyme (toss with olive oil and lightly toast in a pan).
- Spicy Crumbs: Chipotle powder, cayenne pepper, and smoked paprika for a fiery kick.
- Parmesan Crumbs: Mix with grated Parmesan cheese after processing for a rich, savory flavor. (Note: These should be refrigerated or frozen due to the cheese.)
Creative Uses for Your Homemade Bread Crumbs
Now that you have a fresh batch of homemade bread crumbs, the culinary possibilities are endless! They are a fantastic ingredient for adding texture, binding, and flavor to a wide array of dishes.
1. Crispy Coatings for Proteins
This is perhaps the most classic use. Coat chicken, fish, pork chops, or even tofu for a delightfully crispy exterior. Think beyond plain breading:
- Breadcrumb Crusted Halibut: A light, flavorful coating elevates simple baked fish.
- Chicken Parmesan: A staple that relies on perfectly breaded chicken breasts.
- Fried Shrimp or Onion Rings: Achieve that golden, crunchy texture every time.
2. Toppings for Casseroles and Gratins
Bread crumbs create a wonderful, golden-brown crust on baked dishes, adding a textural contrast to creamy interiors.
- Old Fashioned Macaroni and Cheese: A generous topping of seasoned bread crumbs is essential for that irresistible crunchy crust.
- Vegetable Gratins: Broccoli, cauliflower, or potato gratins benefit immensely from a cheesy, bread crumb topping.
- Stuffed Mushrooms or Tomatoes: Mix with herbs, cheese, and other fillings for a delicious stuffing.
3. Binders for Meat and Vegetable Mixtures
Bread crumbs absorb moisture and help bind ingredients together, preventing them from falling apart during cooking.
- Meatballs and Meatloaf: An essential ingredient for juicy, tender results.
- Vegetable Burgers: A key component for creating a firm texture in homemade veggie patties.
- Stuffed Peppers or Cabbage Rolls: Use in the filling mixture for body and moisture retention.
4. Enhancing Soups, Salads, and Pasta
A sprinkle of toasted bread crumbs can elevate simple dishes with a burst of texture and flavor.
- Croutons: Toast larger pieces with olive oil and garlic for homemade croutons for salads and soups.
- Pasta Dishes: Toasted, seasoned bread crumbs can be a fantastic, economical alternative to Parmesan cheese, especially with garlicky pasta or pasta primavera.
- Soups and Stews: A spoonful sprinkled over creamy soups adds a delightful crunch.
5. Savory Stuffings
From holiday roasts to poultry, bread crumbs are the foundation of many classic stuffing recipes.
- Holiday Turkey or Chicken Stuffing: A traditional use, often combined with aromatics, broth, and herbs.
- Pork Chops with Apple-Sage Stuffing: Bread crumbs provide the bulk and absorb the flavors.
Troubleshooting Common Bread Crumb Issues
While making bread crumbs is generally straightforward, a few common issues can arise. Here’s how to avoid and fix them:
Issue 1: Bread Crumbs Aren’t Crispy Enough
This usually means the bread wasn’t dried out sufficiently. The bread needs to be completely hard and brittle.
- Solution: Return the bread slices to a low oven (around 250-275°F or 120-135°C) and continue to bake, checking every 10-15 minutes, until they are thoroughly dry and snap easily. Air drying for an extra day can also help if you’re not in a rush.
Issue 2: Bread Crumbs Burn in the Oven
Too high a temperature or leaving them in for too long can result in burnt crumbs.
- Solution: Ensure your oven temperature is set correctly to 300°F (150°C) or lower. Always keep a close eye on the bread, especially during the second half of the baking time. Ovens can vary, so adjust baking time as needed. If they start to brown too quickly, reduce the temperature or remove them sooner.
Issue 3: Unevenly Processed Crumbs
Some crumbs are too fine, while others are too large.
- Solution: When using a food processor, work in batches if necessary. Use the pulse function rather than continuous blending. This allows you to control the consistency better and avoid over-processing. You can also manually break larger pieces if a uniform crumb is crucial for your recipe.
Conclusion: Embrace the Art of Homemade
Making homemade bread crumbs is more than just a recipe; it’s a testament to resourceful cooking and a simple way to elevate your everyday meals. By transforming stale bread into this versatile ingredient, you’re not only reducing waste and saving money but also ensuring that your dishes are infused with genuine, wholesome flavors. Whether you use them to create a crispy coating, a flavorful topping, or a tender binder, homemade bread crumbs are a pantry staple that truly makes a difference.
So, the next time you find a loaf of bread looking a little past its prime, don’t discard it. Instead, embrace the simple satisfaction of making your own bread crumbs and discover the endless culinary possibilities they unlock.
Like this? Leave a comment below!
We’d love to hear your thoughts or favorite ways to use homemade bread crumbs!