
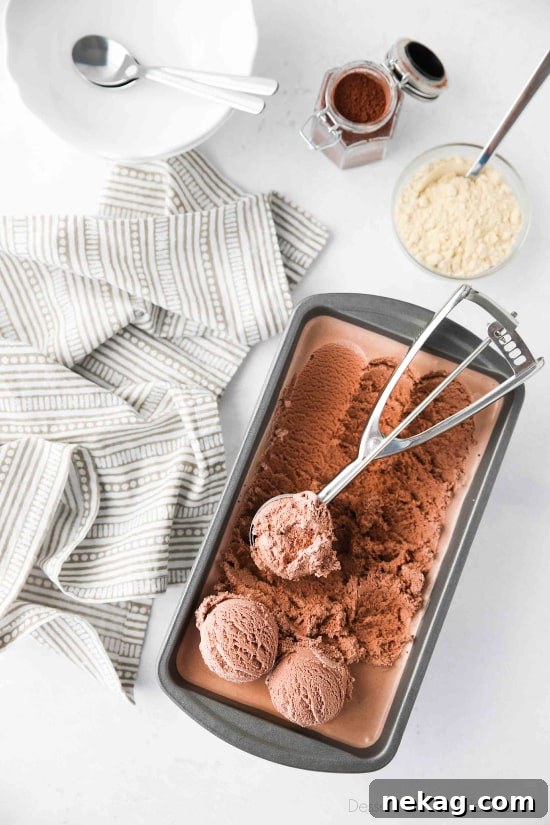
Indulge in Homemade Chocolate Malt Ice Cream: A Creamy, Classic Treat
Transform your beloved chocolate malt milkshake into a rich, decadent dessert you can savor by the scoop! This easy, no-cook, and egg-free homemade chocolate ice cream recipe blends the deep flavor of cocoa with the distinct, nostalgic taste of malted milk powder, creating a truly old-fashioned experience. Perfect for a warm summer day or whenever a craving strikes, this recipe promises a smooth, creamy texture and an unforgettable flavor that will transport you back to classic soda fountain days.
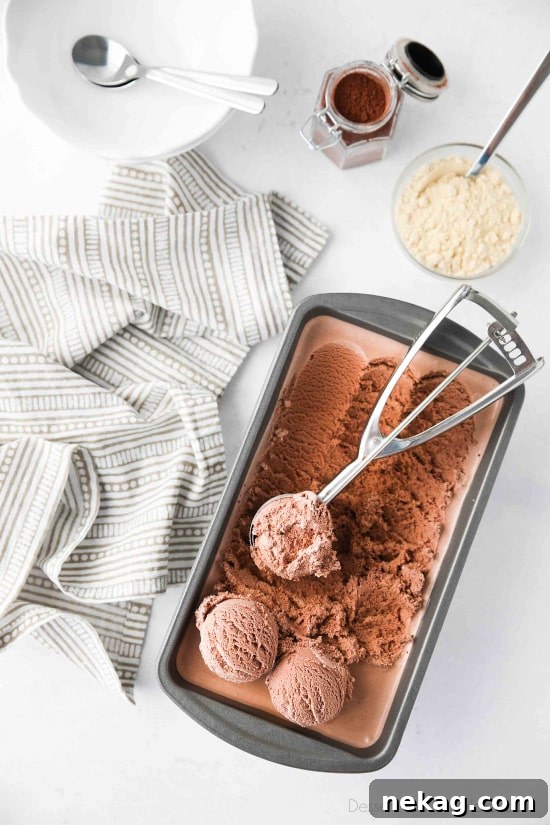
There’s an undeniable charm to an old-fashioned chocolate malt milkshake, isn’t there? That unique blend of rich chocolate and a distinctive, slightly toasty malt flavor is pure comfort. This homemade chocolate malt ice cream captures all that magic and elevates it into a frozen delight. Prepare yourself for an incredibly creamy, intensely chocolatey, perfectly malty, and wonderfully smooth scoop of pure bliss.
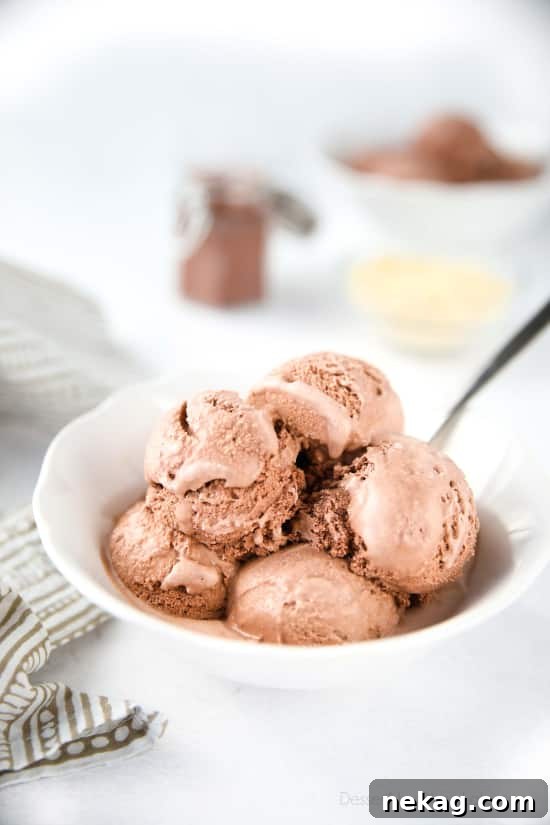
It’s quite amusing how much I adore a chocolate malt, especially considering my aversion to chocolate malted milk balls. While the crunchy texture of the candies isn’t my preference, the pure, unadulterated flavor of malt in a creamy shake is my absolute favorite. It was this deep love that sparked an idea: why not transform that beloved shake into a scoopable ice cream? The result is nothing short of spectacular, delivering all the nostalgic goodness without the crunch.
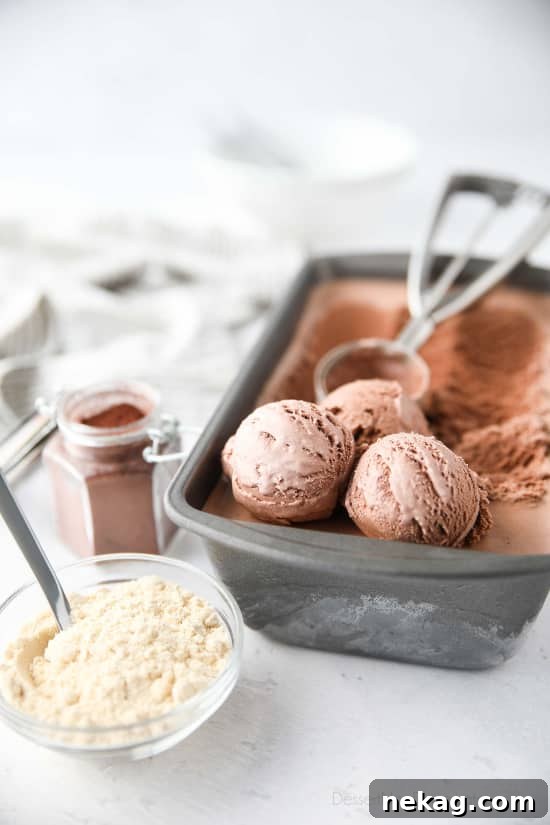
The Irresistible Allure of Chocolate Malt
The combination of chocolate and malt is a classic for a reason. Malted milk powder, made from malted barley and wheat flour, adds a unique depth of flavor that complements chocolate beautifully. It introduces a slightly nutty, toasted, and subtly caramel-like note that enriches the cocoa, creating a more complex and satisfying taste profile than plain chocolate alone. This distinct sweetness and underlying earthiness make malted milk powder an essential ingredient for achieving that authentic, old-fashioned chocolate malt flavor in this easy homemade ice cream.
Why Choose Homemade Ice Cream?
Making ice cream at home offers several advantages. You have complete control over the ingredients, allowing you to choose high-quality cocoa, fresh dairy, and the exact amount of sugar. This means no artificial flavors, preservatives, or stabilizers often found in commercial brands. The freshness of homemade ice cream is unparalleled, offering a truly superior taste and texture. Plus, there’s an immense sense of satisfaction that comes from creating such a delicious treat from scratch.
The Beauty of a No-Cook, Egg-Free Recipe
Many traditional ice cream recipes require cooking a custard base with egg yolks, a process that can be intimidating for novice cooks. This recipe eliminates that step entirely, making it incredibly accessible and foolproof. By skipping the eggs and the cooking, you save significant time and effort without compromising on flavor or creaminess. It’s a straightforward approach that proves you don’t need fancy techniques to achieve exceptional homemade ice cream.
Crafting Your Chocolate Malt Ice Cream: The Simple Way
The journey to perfect chocolate malt ice cream begins with a simple whisking of dry ingredients. Combine high-quality cocoa powder, your chosen malted milk powder, and granulated sugar in a large bowl. Whisk these together thoroughly until no lumps remain. For an exceptionally smooth base, you can even sift these ingredients through a fine mesh sieve. This initial step is crucial for ensuring a uniform flavor distribution and preventing any grainy texture in your final product.
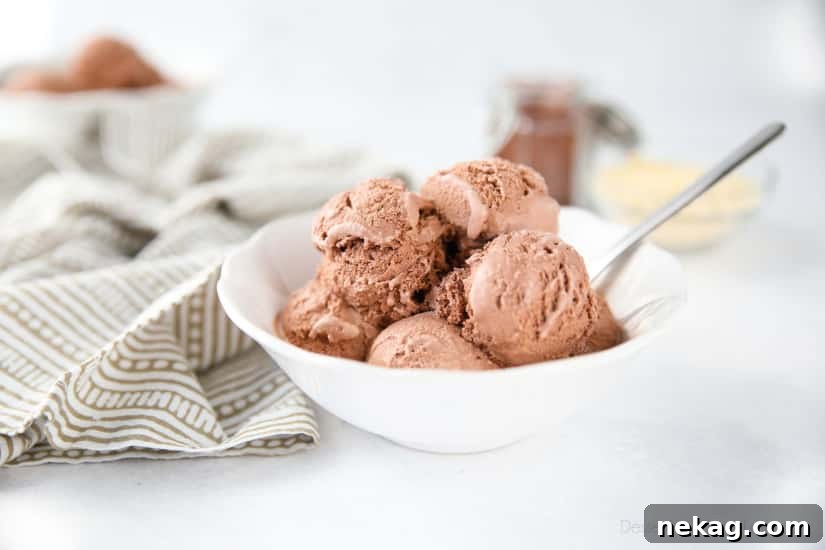
Once your dry ingredients are perfectly blended, it’s time to introduce the liquid components. Gradually whisk in the heavy cream and milk. Continue to stir until all the dry ingredients are completely dissolved. This step is key to avoiding a gritty texture in your finished ice cream. Ensure the mixture is smooth and homogenous before moving on. Then, pour this delightful concoction into your ice cream maker and process according to the specific directions of your machine. The churning process typically takes between 25 to 40 minutes, transforming the liquid base into a soft, airy, and irresistible ice cream.
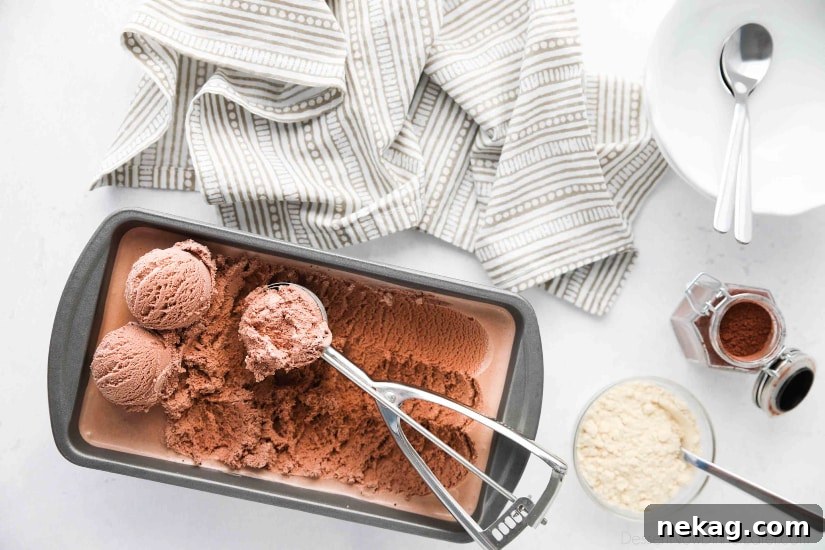
At this stage, you have a choice: enjoy your freshly churned ice cream soft-serve style, which is wonderfully refreshing and immediate. Or, for a firmer, more scoopable texture, transfer it to an airtight, freezer-safe container and freeze completely for 4-5 hours. While I personally adore the pure, smooth, creamy chocolate malt flavor as is, you could certainly fold in some crushed malted milk balls or chocolate chips before freezing if you prefer an ice cream with delightful chunks and added texture. The beauty of homemade lies in the endless possibilities for customization.
Choosing Your Ice Cream Maker
For avid ice cream enthusiasts, having the right equipment makes all the difference. I love homemade ice cream so much that I actually own two machines! A Cuisinart Ice Cream Maker, with its pre-freezable bowl, is fantastic for quick batches. However, sometimes I forget to freeze the bowl in advance. For those spontaneous cravings, I turn to the Ice Cream Maker Attachment on my Bosch Universal Mixer, which uses ice and rock salt. Both types are excellent and deliver delicious results, so choose the one that best suits your kitchen and preferences.
Tips for the Best Homemade Chocolate Malt Ice Cream
- Chill Your Base: For optimal results, ensure your ice cream base is thoroughly chilled before churning. Ideally, refrigerate the mixture for at least 2-4 hours, or even overnight. A colder base leads to faster churning and a smoother, creamier final texture with fewer ice crystals.
- Don’t Overfill: Most ice cream makers have a maximum fill line. Do not overfill your machine, as the mixture will expand significantly during the churning process.
- High-Quality Ingredients: The flavor of your ice cream is only as good as its ingredients. Use good quality cocoa powder (Dutch-processed often provides a darker color and milder chocolate flavor), fresh heavy cream, and whole or 2% milk for richness.
- Prevent Ice Crystals: Sugar and fat are natural enemies of ice crystals. Ensure all sugar is fully dissolved before churning. The fat content in heavy cream also contributes significantly to a smooth, luscious texture.
- Proper Storage: Store your ice cream in an airtight container in the coldest part of your freezer. Press a piece of parchment paper or plastic wrap directly onto the surface of the ice cream before sealing to prevent freezer burn and keep it fresh for longer.
Serving Suggestions and Variations
While this chocolate malt ice cream is magnificent on its own, here are a few ideas to take it to the next level:
- Classic Sundae: Top with whipped cream, a drizzle of hot fudge, and a cherry.
- Malted Crunch: As mentioned, fold in crushed malted milk balls or chocolate-covered pretzels for added texture.
- Coffee Kick: Add a tablespoon of instant espresso powder to the dry ingredients for a mocha malt flavor.
- Caramel Swirl: Swirl in some homemade or store-bought caramel sauce during the last few minutes of churning, or drizzle over scoops.
- Affogato Style: Serve a scoop with a shot of hot espresso poured over it for an adult treat.
- Nuts About It: Sprinkle with chopped toasted pecans or walnuts for a nutty complement.
More Delicious Ice Cream Flavors:
Chocolate Peanut Butter Cup Ice Cream – Experience rich chocolate ice cream swirled with creamy peanut butter and generously studded with mini peanut butter cups. The best part? No ice cream maker is required for this indulgent delight.
No Churn Chocolate Chip Cookie Dough Ice Cream – Dive into creamy vanilla ice cream featuring generous pieces of eggless cookie dough and decadent hot fudge swirls. No ice cream maker? No problem! This recipe makes it incredibly easy to enjoy.
Oreo Fudge Ice Cream – For all the Oreo fanatics, this cookies & cream ice cream is a dream come true, boasting a luxurious chocolate hot fudge swirl throughout. It’s a no-churn marvel!
Average rating: 4.35 from 99 ratings
Chocolate Malt Ice Cream
Amber Brady
This no-cook, egg-free, easy homemade chocolate ice cream is combined with malted milk powder for that good old-fashioned taste.
Ingredients
- ⅓ cup (27 g) cocoa powder
- 6 Tbsp malted milk powder (Carnation is recommended)
- ¾ cup (150 g) granulated sugar
- 2 cups (473 ml) heavy cream (1 pint)
- 1 cup (237 ml) milk (whole or 2% preferred)
Instructions
- In a large bowl, whisk or sift together the cocoa powder, malted milk powder, and granulated sugar to remove any lumps.
- Gradually whisk in the heavy cream and milk. Continue whisking until all dry ingredients have completely dissolved and the mixture is smooth (ensure it’s not grainy).
- Pour the prepared mixture into an ice cream maker and process according to your machine’s directions (this usually takes about 25-40 minutes).
- Enjoy as soft-serve ice cream immediately, or spread it into a freezer-safe container, cover tightly, and freeze for 4-5 hours or until it reaches a firm consistency.
Notes
For an extra rich flavor, you can chill the mixed ice cream base in the refrigerator for at least 2 hours (or overnight) before churning. This helps the flavors meld and improves the final texture.
Nutrition Information
Disclaimer: Nutritional values were calculated using a third-party tool and are provided as an estimation only.
Sharing this recipe with a link is both encouraged and appreciated. Copying/pasting and/or screenshots of full recipes to any social media is strictly prohibited. Content and photographs are copyright protected.
Did you make this delicious ice cream?
Don’t forget to leave a rating below and make sure to follow us on Pinterest and Instagram for more inspiring recipes and dessert ideas!