
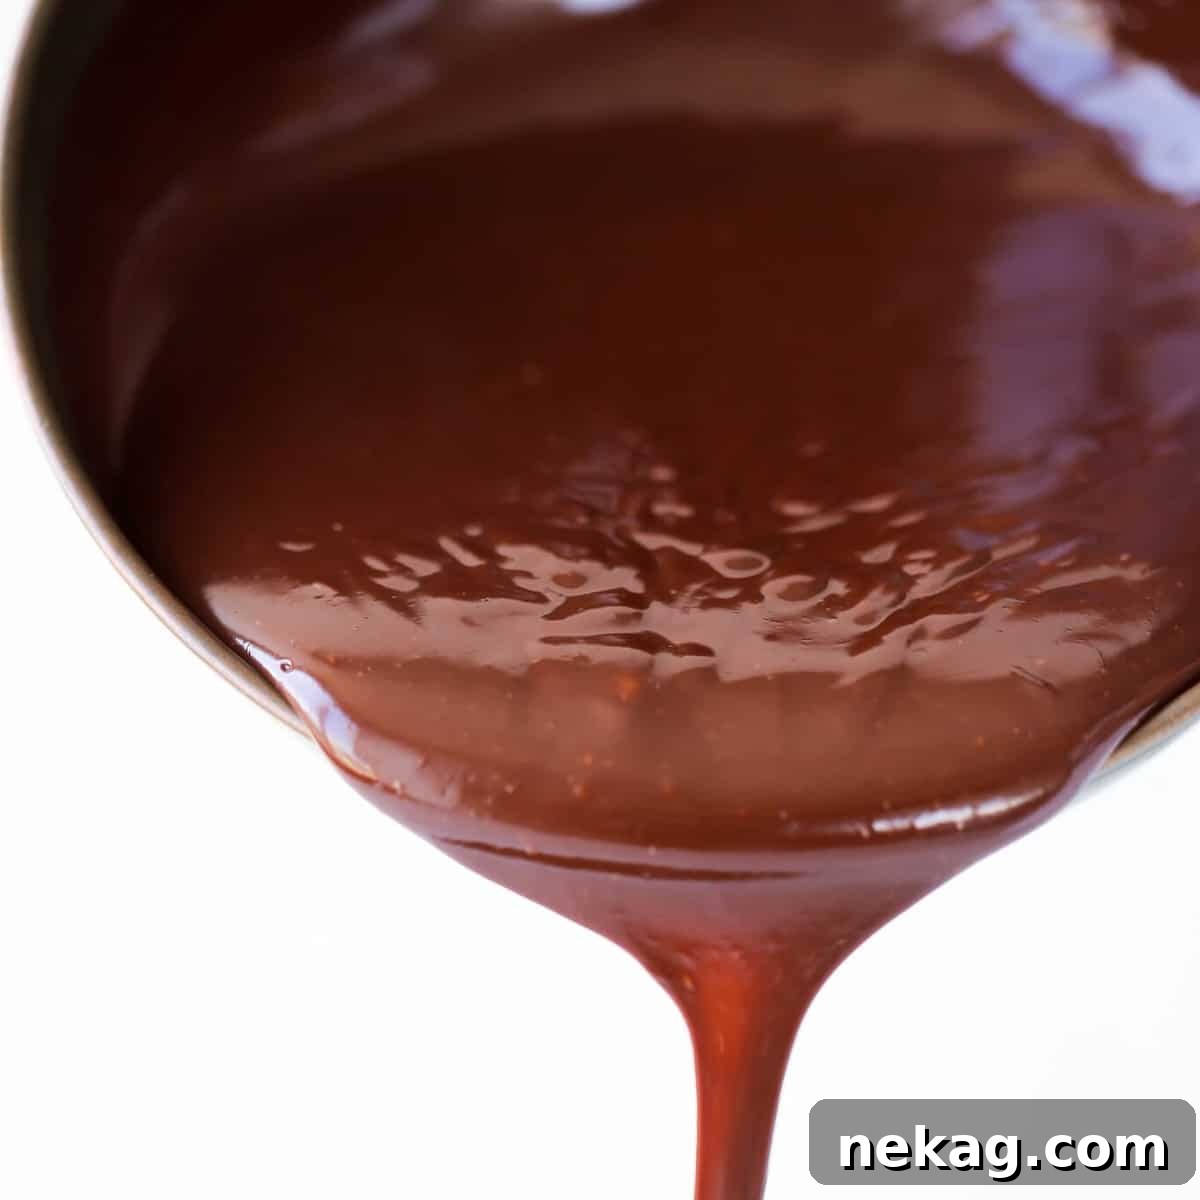
Unlock the secrets to crafting a perfectly rich, intensely chocolatey, and irresistibly silky smooth chocolate ganache with this professional recipe from a seasoned pastry chef. Beyond just a basic method, this guide delves into the nuances of adapting ganache for every possible use, comprehensive troubleshooting tips, and an in-depth look at the science behind this beloved confection.
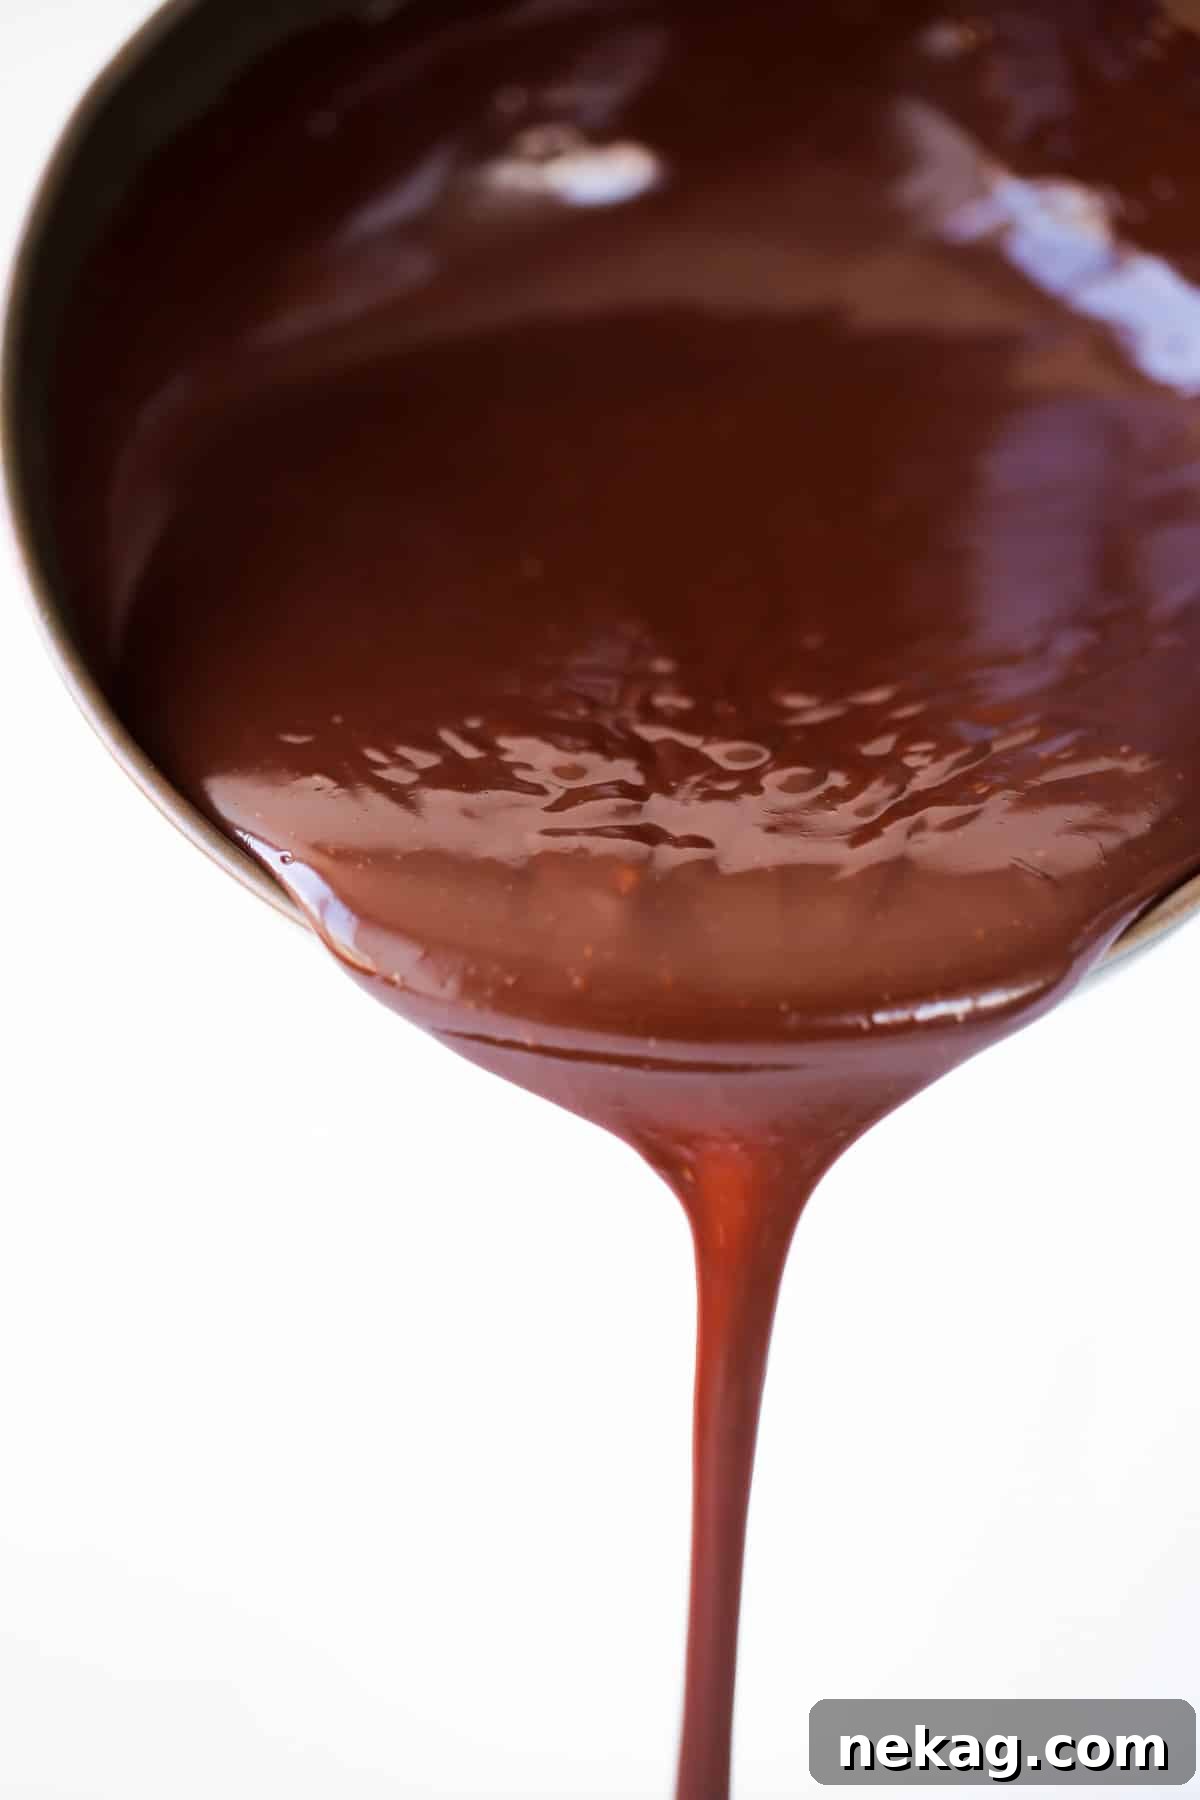
Chocolate ganache is a deceptively simple concoction, so fundamental in professional kitchens that it often doesn’t even require a written recipe. Yet, its versatility and profound impact on desserts make it a cornerstone of pastry arts. In culinary school, we explored the various types, critical ratios, and how to expertly adapt these ratios based on the specific type of chocolate and its intended application. Now, I’m excited to share all these invaluable insights with you, empowering you to create flawless ganache every time without needing to memorize countless variations.
Before you embark on your ganache journey, a foundational understanding of chocolate itself is essential. Chocolate, at its core, is a complex network of tiny crystals, primarily cocoa butter. When you create ganache, you are essentially disrupting these existing crystalline structures by melting them down. The magic then happens as you meticulously realign and emulsify these melted components with a liquid, typically heavy cream. This process allows the chocolate structures to re-set into a new, looser form, the consistency of which is directly influenced by the amount of liquid incorporated.
Another crucial factor to grasp about chocolate, particularly concerning ganache, is the concept of its “liquidity.” Different chocolates, varying by brand or cocoa percentage, possess distinct fluidities. **Chocolate manufacturers carefully adjust the texture and fat content by adding varying amounts of cocoa butter back into the chocolate.** A higher proportion of added cocoa butter results in higher liquidity, meaning the chocolate will be more fluid and less viscous when melted. This characteristic can facilitate easier tempering, contribute to a delightful melt-in-your-mouth feel, and generally make the chocolate more pliable for various applications.
Consequently, if you use a high-liquidity chocolate to prepare ganache with a standard ratio, the resulting mixture might be significantly looser than expected, or softer than a ganache made with, for instance, standard melted chocolate chips, which often contain stabilizers that affect their melt and set.
Table of Contents
- Why This is the Best Chocolate Ganache Recipe
- Professional Tips for Making Silky Smooth Ganache
- Essential Ingredients for Perfect Ganache
- Mastering Ganache Ratios and Flavor Variations
- Versatile Applications for Your Ganache
- Step-by-Step Guide to Making Chocolate Ganache
- Frequently Asked Questions About Ganache
- Classic Chocolate Ganache Recipe
- Beyond the Ganache: Explore More Chocolate Delights
Why This is the Ultimate Chocolate Ganache Recipe
This recipe isn’t just a guide; it’s a gateway to mastering chocolate ganache, offering a blend of professional techniques and customizable options that make it truly exceptional:
- Achieve Unrivaled Silky Smoothness: Our foundational 1:1 ratio (by weight) ensures a ganache that sets beautifully soft yet remains sliceable when thoroughly chilled. This texture is ideal for a myriad of applications, holding its shape elegantly without becoming overly rigid.
- Infinitely Adaptable for Any Need: Learn how to effortlessly adjust the consistency. Decrease the heavy cream for a remarkably firm ganache perfect for truffles or piping, or increase the cream for a pourable glaze that cascades over cakes with a glossy finish. Furthermore, discover how to infuse your ganache with a spectrum of flavors by adding alcohol, various extracts, rich butter, or a touch of corn syrup for enhanced sheen and texture.
- Incredibly Versatile for Endless Creations: This single recipe serves as the foundation for countless desserts. Imagine topping fudgy brownies with a luscious layer, filling delicate chocolate thumbprint cookies, frosting an elegant chocolate zucchini cake, creating a brilliant glaze for pastries, or even forming the base for homemade chocolate truffles. Its versatility knows no bounds, making it an indispensable tool in any baker’s repertoire.
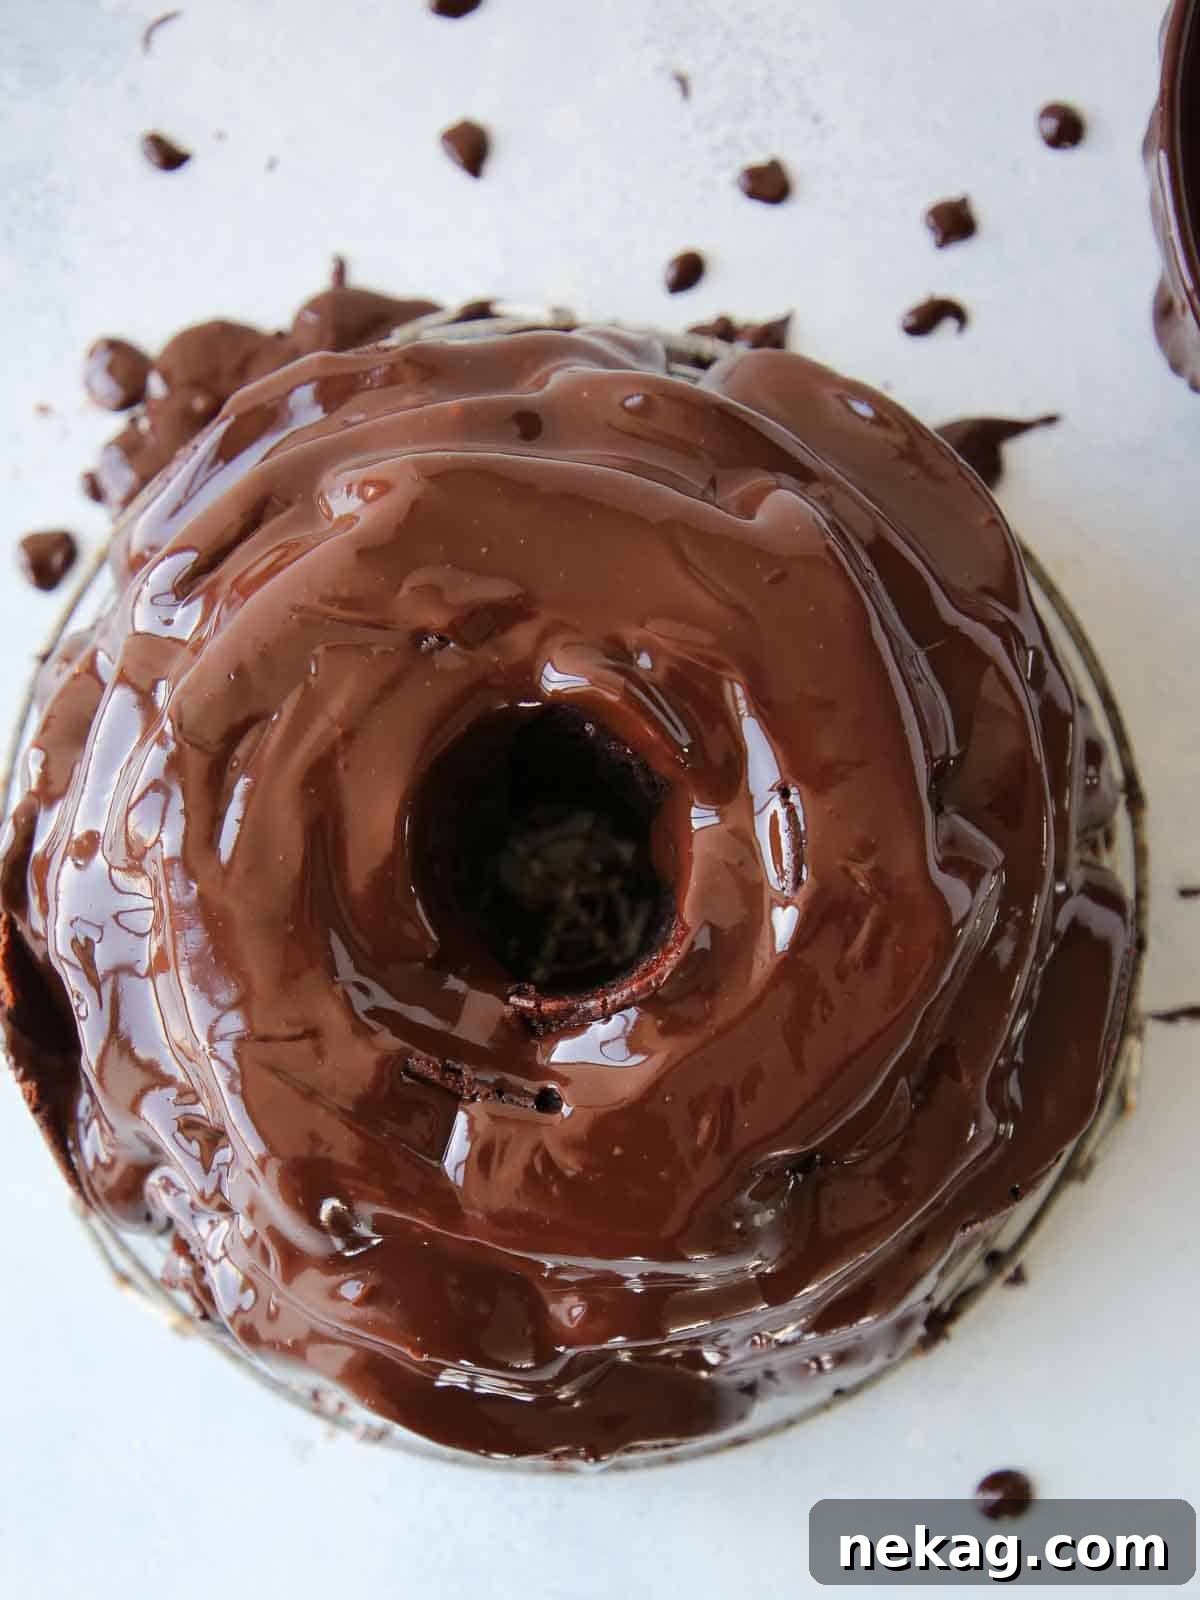
Professional Tips for Making Silky Smooth Ganache
Crafting flawless chocolate ganache goes beyond simply combining ingredients. These expert tips, honed over years in professional pastry kitchens, will elevate your ganache from good to truly exceptional:
- Leverage the Power of Hot Cream: The secret to a perfectly emulsified ganache lies in allowing the hot heavy cream ample time to thoroughly melt the chocolate. Pour the heated cream over the chopped chocolate and let it sit undisturbed for at least two minutes. This passive melting process significantly reduces the amount of whisking required, thereby minimizing the risk of crystallization (which can lead to a grainy texture) and ensuring that all chocolate pieces fully incorporate without any stubborn unmelted bits.
- Whisk with Purpose and Precision: Remember the intricate chocolate crystal structures we discussed earlier? Your whisking technique plays a vital role in their realignment. Once the resting period is complete, begin whisking gently in one consistent direction, starting from the center of the bowl and gradually expanding your circles. This encourages the formation of desirable, stable structures, preventing the ganache from seizing or becoming clumpy. Avoid aggressive, back-and-forth whisking, which can introduce too much air or disrupt the emulsion.
- Know When to Stop: This is perhaps the most crucial tip. As soon as the chocolate has fully melted and the ganache transforms into a smooth, homogenous, and glossy emulsion, stop whisking immediately. Over-whisking is a common pitfall that can lead to separation or a dull finish. If you plan to add extracts, softened butter, or other flavorings, incorporate them at this stage and whisk just enough to combine them thoroughly, again, avoiding excessive agitation.
- Account for Additional Liquids: When introducing liquid additions like alcohol (e.g., two tablespoons of Bourbon for a rich flavor), be mindful of their impact on the ganache’s final consistency. Liquids will naturally soften the ganache. To maintain your desired texture, consider slightly reducing the amount of heavy cream by 1-2 tablespoons to compensate for the added liquid. This careful balance ensures your ganache sets exactly as intended.
Essential Ingredients for Perfect Ganache
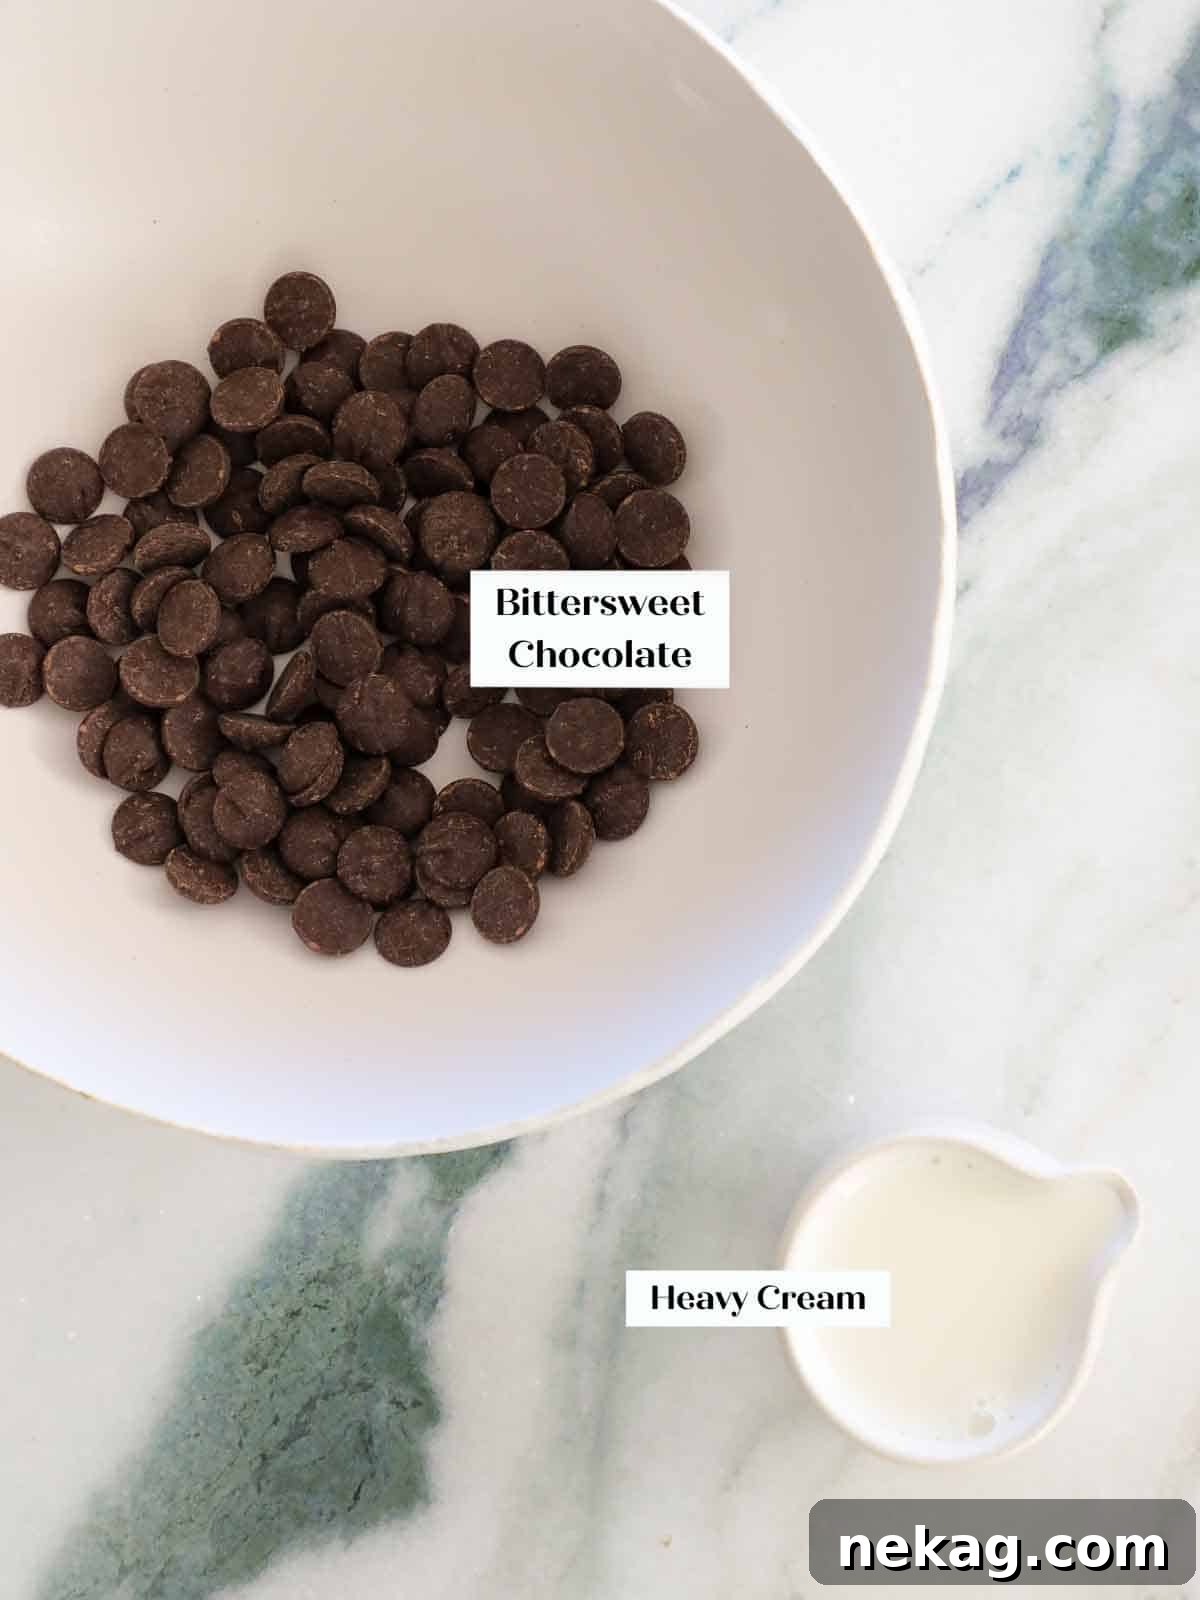
While ganache is celebrated for its simplicity, the quality and type of its two core ingredients profoundly influence the final taste and texture. Choosing wisely is key to unlocking its full potential.
- Chocolate: The Heart of Your Ganache: For a classic dark chocolate ganache, I recommend selecting a chocolate with a cocoa percentage ranging from 54% to a robust 100%. Bear in mind that typical high-percentage baking chocolate bars (over 75%) can sometimes have a naturally lower fluidity. In such cases, you might want to slightly increase the amount of cream to achieve that desired soft, pliable consistency without sacrificing richness. Investing in high-quality couverture chocolate from brands like Ghirardelli, Guittard, Valrhona, or Scharffen Berger will undoubtedly yield a ganache with superior texture, deeper flavor, and a truly luxurious mouthfeel. Avoid standard semi-sweet chocolate chips when possible, as they often contain stabilizers and additives that can result in a thicker, less smooth ganache compared to baking bars or couverture chocolate.
- Heavy Cream: The Key to Richness and Stability: The fat content in heavy whipping cream is what imbues ganache with its signature decadence and velvety richness. Beyond flavor, this fat plays a crucial role in stabilizing the emulsion, preventing the ganache from separating or “breaking.” While heavy whipping cream (typically around 40% milk fat) is ideal, you can also use lighter whipping cream or even half-and-half if handled gently. For instance, I successfully used half-and-half in the ganache for my chocolate thumbprint cookies, demonstrating that flexibility is possible. The higher the fat content, generally the more stable and rich your ganache will be, but careful technique can compensate for slight variations.
For precise measurements and quantities, please refer to the comprehensive recipe card below.
Mastering Ganache Ratios and Flavor Variations
Once you’ve grasped the fundamental technique of making ganache, you’ll discover a world of possibilities for customization. The basic process remains constant, but adjusting ratios, swapping chocolate types, or introducing creative additions at the end allows for endless culinary expression. Use these guidelines to confidently adapt your ganache to any desire:
- Tailoring for Different Chocolate Types:
- Dark Chocolate (54% cocoa solids and above): Generally, you can stick to a 1:1 ratio (by weight) of chocolate to cream for semi-sweet or bittersweet dark chocolate. However, as noted, very high percentage dark chocolates (e.g., 75%+) might benefit from a slight increase in cream to achieve the same pliable consistency due to their lower natural fluidity.
- Milk Chocolate: Milk chocolate contains higher percentages of milk solids and often more cocoa butter than dark chocolate. To achieve a similar set consistency, you’ll need to reduce the amount of cream. A common starting point is a 2:1 ratio (two parts chocolate to one part cream by weight).
- White Chocolate: White chocolate, entirely devoid of cocoa solids, relies heavily on cocoa butter and milk solids for its structure. It is the softest setting of all chocolates. For a firm white chocolate ganache, a ratio of 3:1 (three parts white chocolate to one part cream by weight) is often necessary.
- Achieving Your Desired Consistency:
- Looser, Pourable Ganache: For a soft-setting ganache that’s easily pourable (perfect for glazes or sauces) and not designed to be sliceable when cold, increase the amount of cream. For example, a 1:1.5 or 1:2 ratio (chocolate to cream) can work wonders.
- Firmer, Pipeable Ganache: If you need a ganache that sets firmly enough to be sliced, piped, or used as a truffle base, decrease the amount of cream. A ratio of 2:1 (two parts chocolate to one part cream by weight) is excellent for this.
- Adding Alcohol for Softer Texture: Introducing 1-2 tablespoons of high-proof alcohol (like Bourbon, as demonstrated in my Bourbon truffles) will also result in a softer ganache due to the added liquid. Adjust your cream ratio accordingly if you want to maintain firmness.
- Infusing Your Ganache with Flavor: The possibilities for flavoring are vast, allowing you to personalize your ganache for any dessert:
- Extracts: After emulsifying, whisk in a few drops of pure vanilla extract, refreshing peppermint extract, or robust coffee extract.
- Alcohols & Liqueurs: Elevate the flavor profile with a splash of whiskey, citrusy Grand Marnier, or almond-infused Amaretto.
- Fruit Juices: For a bright, tangy note, add a small amount of concentrated (reduced) orange juice.
- Infused Cream: For deeper, more nuanced flavors, infuse your heavy cream before heating. Steep citrus zest (lemon, orange), whole spices (cinnamon sticks, star anise), espresso powder, or even quality tea bags in the cold cream, then gently heat and strain before using.
- Adding Butter or Corn Syrup: Why and How: These additions offer specific textural and visual benefits:
- Butter for Richness and Thickness: Incorporating softened, unsalted butter at the very end of the emulsion process (after the initial whisking) can create an even thicker, more intensely rich, and utterly luscious ganache. Whisk it in just until fully combined, ensuring it doesn’t melt too quickly into the hot cream to maintain its structural contribution.
- Corn Syrup or Glucose for Softness and Sheen: A touch of corn syrup or liquid glucose is a pastry chef’s secret weapon. It helps to keep ganache remarkably soft and pliable, even when refrigerated, preventing it from becoming rock-hard. Additionally, corn syrup imparts a beautiful, glossy sheen, making your ganache toppings, glazes, and tart fillings look incredibly professional. I use corn syrup in my chocolate tarts specifically for both these reasons, ensuring a perfectly smooth and soft filling with a brilliant finish.
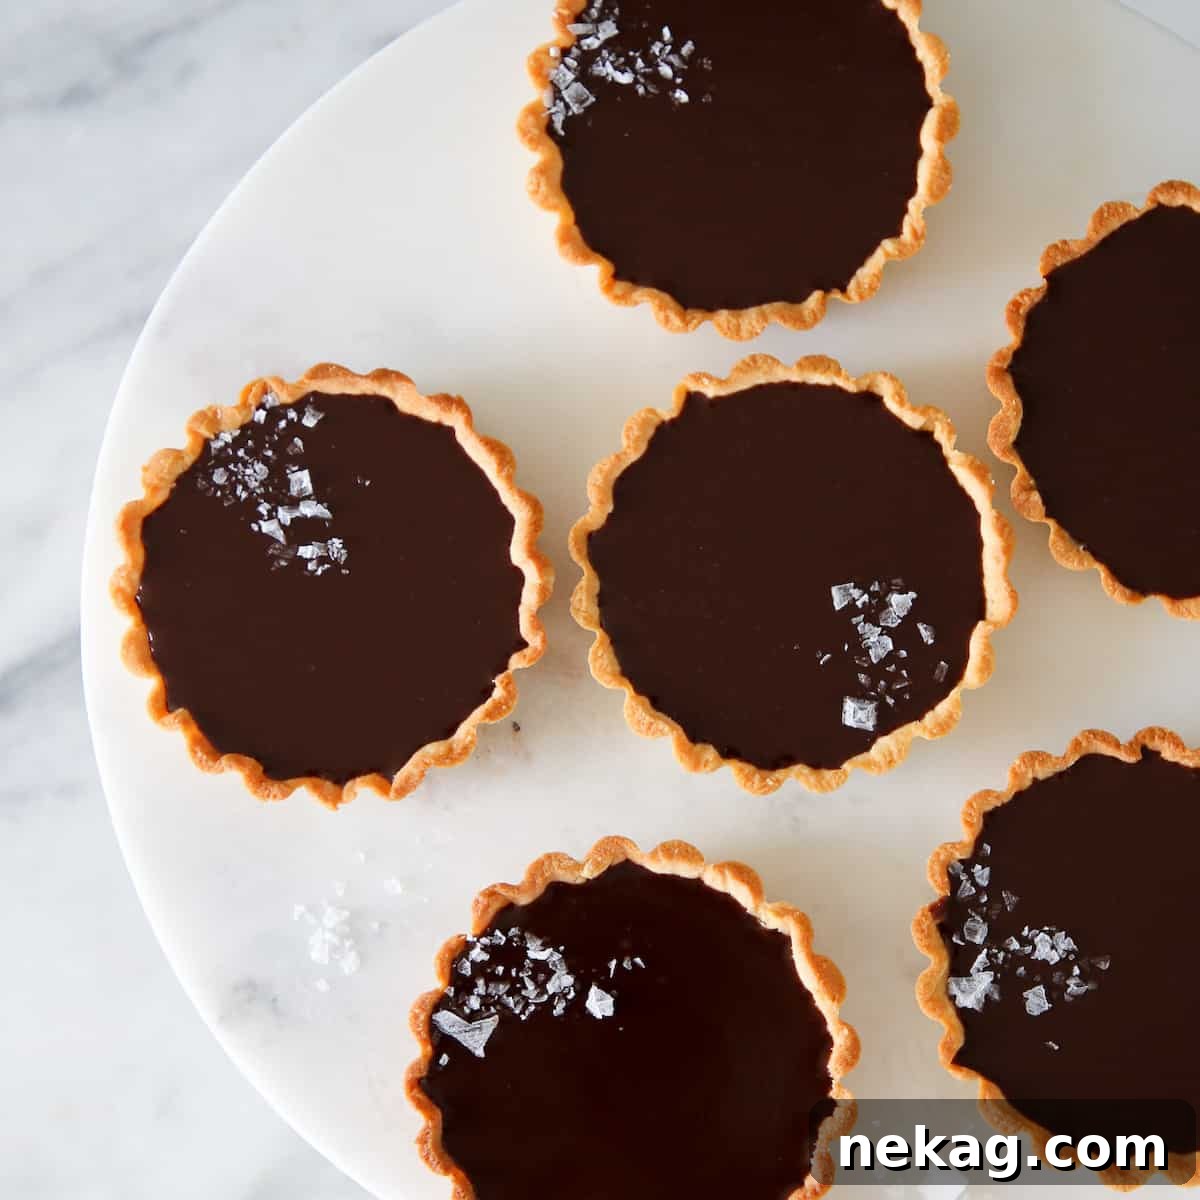
Versatile Applications for Your Ganache
Chocolate ganache is a culinary chameleon, transforming to suit an incredible array of desserts. Here’s how you can put your perfectly crafted ganache to work:
- As an Exquisite Filling: Use the basic 1:1 ratio ganache (as detailed in the recipe below) as a gloriously rich filling for classic layer cakes or delicate cupcakes, much like in my death-by-chocolate cupcake recipe. For a softer, more decadent filling, consider adding a little extra cream and a touch of corn syrup, as I did for my devil’s food cake. This recipe is also impeccably suited for filling small pastries or piping into thumbprint cookies for a delightful surprise.
- Topping and Glazing Cakes: Transform any cake into a showstopper with ganache.
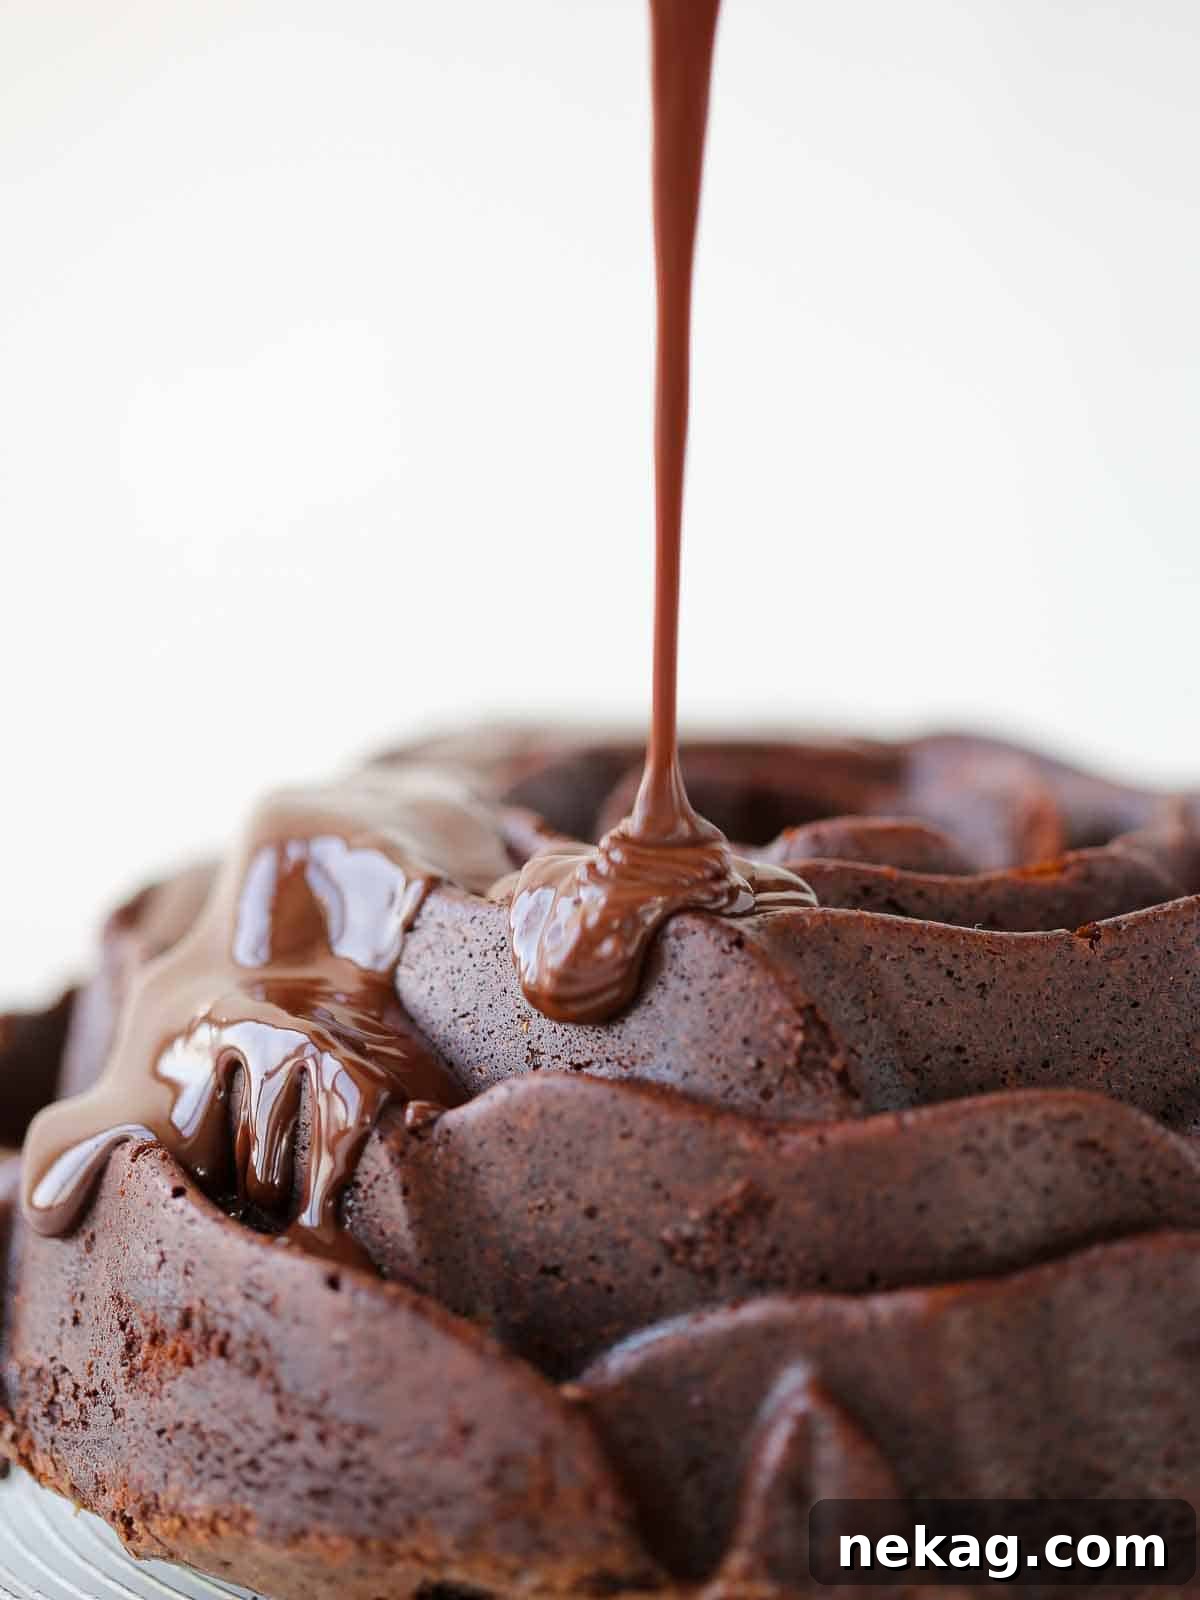
- Full Coverage Glaze: Pour warm, fluid ganache over the entire surface of a cake, allowing it to naturally cascade down the sides, as seen with this elegant flourless chocolate torte or creamy chocolate cheesecake.
- Decorative Drizzle: Achieve a more artistic touch by drizzling slightly cooled ganache decoratively over a chocolate bundt cake or chocolate zucchini cake.
- Drip Cake Effect: For the popular drip cake look, allow the ganache to gently flow over the edges of your cake for a beautiful, cascading finish. It’s truly delicious on a classic chocolate cake, a vibrant red velvet cake, or even as an unexpected layer in a moist vanilla cake.
- Spread as Frosting: If you prefer a thicker coating, simply allow the ganache to cool and thicken at room temperature, then spread it onto your cake as a luxurious chocolate ganache frosting.
- Perfect for Tarts and Pies: Ganache is a phenomenal choice for tart and pie fillings, whether it’s the star of the show or one element in a multi-layered dessert.
- Signature Filling: Let it shine as the sole filling, like in these delectable mini salted chocolate tarts.
- Layered Dessert Component: Incorporate it as a rich layer in more complex creations, such as my no-bake whiskey s’mores pie.
- Crust Pairings: Experiment with different tart shells to complement the ganache flavor. Try it with an almond flour tart crust, a classic pâte sûcrée, or a quick no-bake graham cracker crust.
- Creating Light and Fluffy Whipped Chocolate Ganache: For a lighter, airier texture akin to mousse, simply refrigerate your prepared ganache until it’s firm but still pliable. Transfer it to the bowl of a stand mixer fitted with the whisk attachment (or use a hand mixer) and whisk on medium-high speed until it becomes light, fluffy, and significantly paler in color. Use it immediately, as it will firm up as it sets.
- Handmade Chocolate Candies: Ganache is the fundamental building block for simple, yet elegant, homemade candies.
- Rolled Truffles: Chilled ganache, rolled into balls and coated in cocoa powder, chopped nuts, or sprinkles, is simply what professional pastry chefs call “rolled chocolate truffles.”
- Dipped Truffles: For an extra layer of indulgence, try your hand at dipping (enrobing) your ganache truffles, such as these sophisticated chocolate Bourbon truffles, or keep it classic with Nutella truffles.
- A Simple, Decadent Dip: Warm chocolate ganache makes an incredibly easy and luxurious dip. Serve it alongside fresh strawberries, cubes of brownies, fluffy marshmallows, banana slices, or other fresh fruits for a delightful and interactive dessert experience.
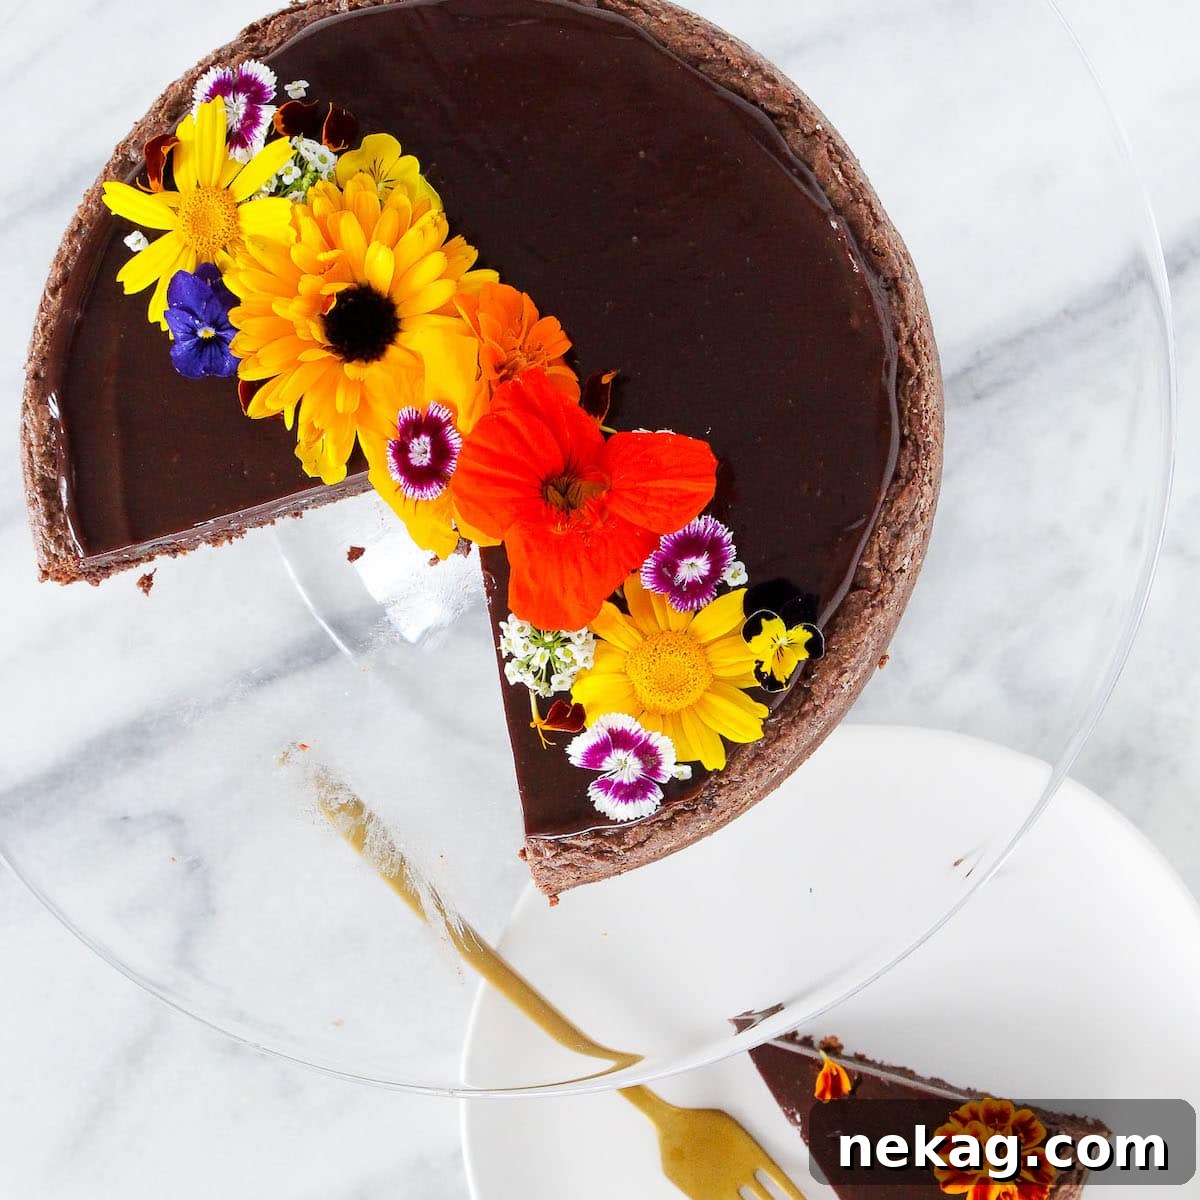
Step-by-Step Guide to Making Chocolate Ganache
Follow these detailed instructions to create a soft, yet firm and sliceable ganache that sets beautifully in the refrigerator. All precise measurements can be found in the recipe card further below.
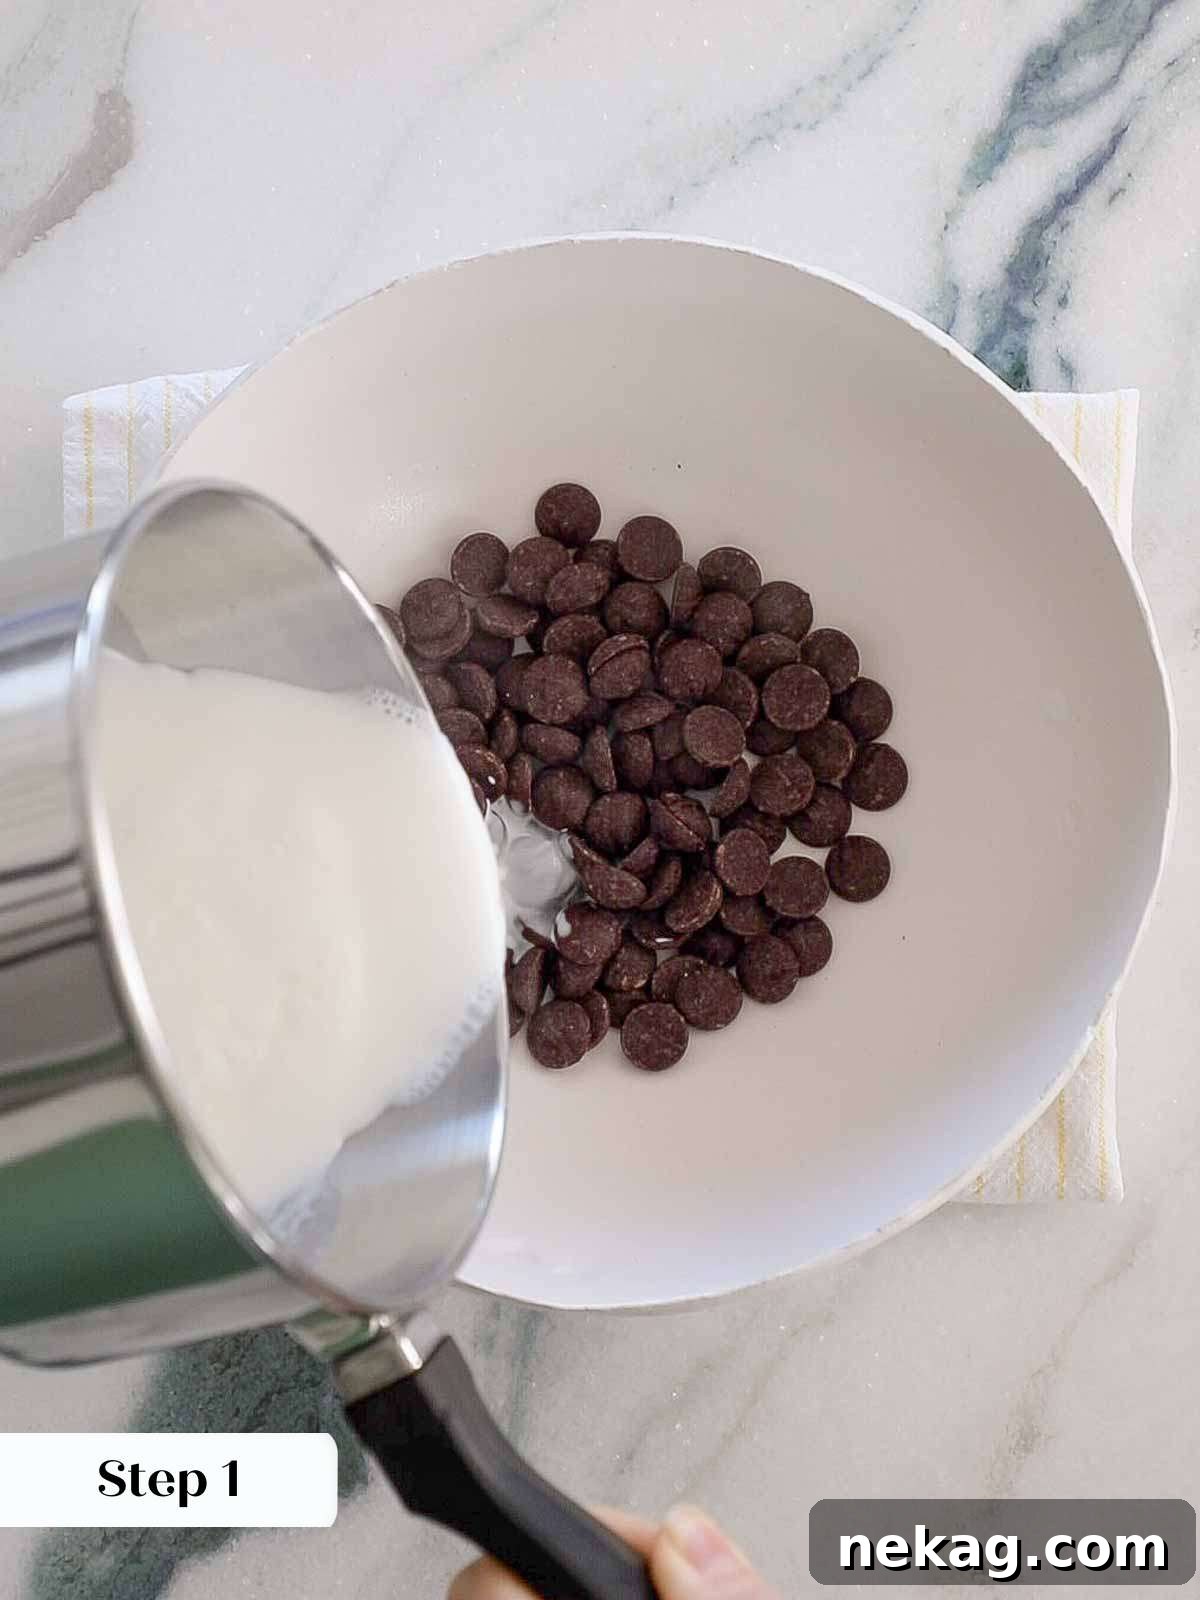
Step 1: Prepare Your Chocolate and Heat the Cream. Begin by placing your finely chopped chocolate or chocolate chips into a medium-sized, heatproof bowl. For stability and ease of working, you might set this bowl on a folded tea towel. If your recipe calls for salt or corn syrup, add these directly to the chocolate at this stage. In a separate small saucepan, gently heat the heavy cream over medium heat. Watch it closely and remove it from the heat just as it begins to come to a boil, indicated by small bubbles forming around the edges of the pan.
Important Tip: Do not allow the cream to boil vigorously or for an extended period. Boiling will cause the cream to reduce, leading to a ganache that is thicker than intended and potentially less smooth due to changes in fat concentration.
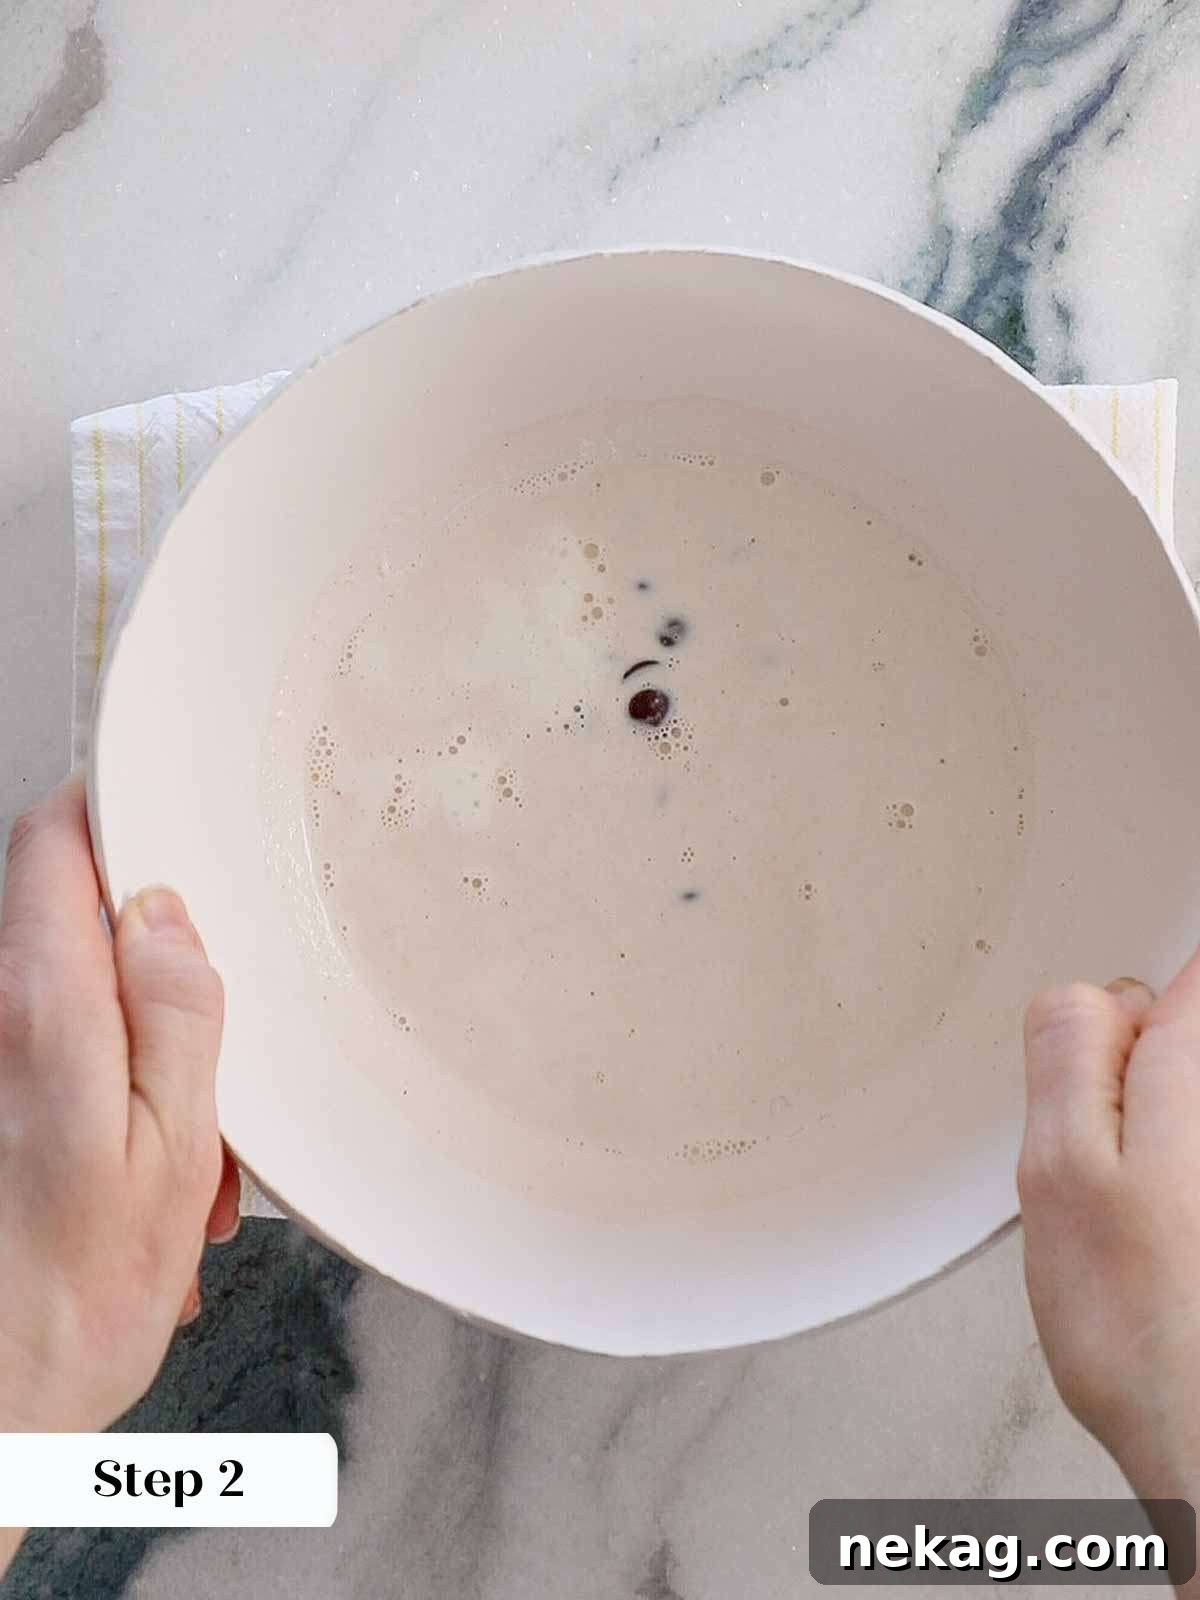
Step 2: Pour the Hot Cream Over Chocolate and Rest. Immediately pour the hot cream directly over the prepared chocolate in the bowl. Once poured, gently shake the bowl slightly to ensure that all the chocolate pieces are fully submerged and covered by the hot cream. This is crucial for even melting. Now, let the mixture sit undisturbed for a full 2 minutes. This crucial resting period allows the residual heat from the cream to thoroughly melt the chocolate, making the subsequent emulsification process much easier and reducing the need for excessive whisking, which can prevent the ganache from breaking.
Pro Tip: Covering All Chocolate: Ensuring every piece of chocolate is covered by cream is vital for even melting. This can be a bit trickier when working with lower cream ratios or smaller bowls, but a gentle swirl or tilt of the bowl usually does the trick. A whisk is generally more efficient for emulsifying than a spoon or rubber spatula due to its ability to create uniform shear forces.
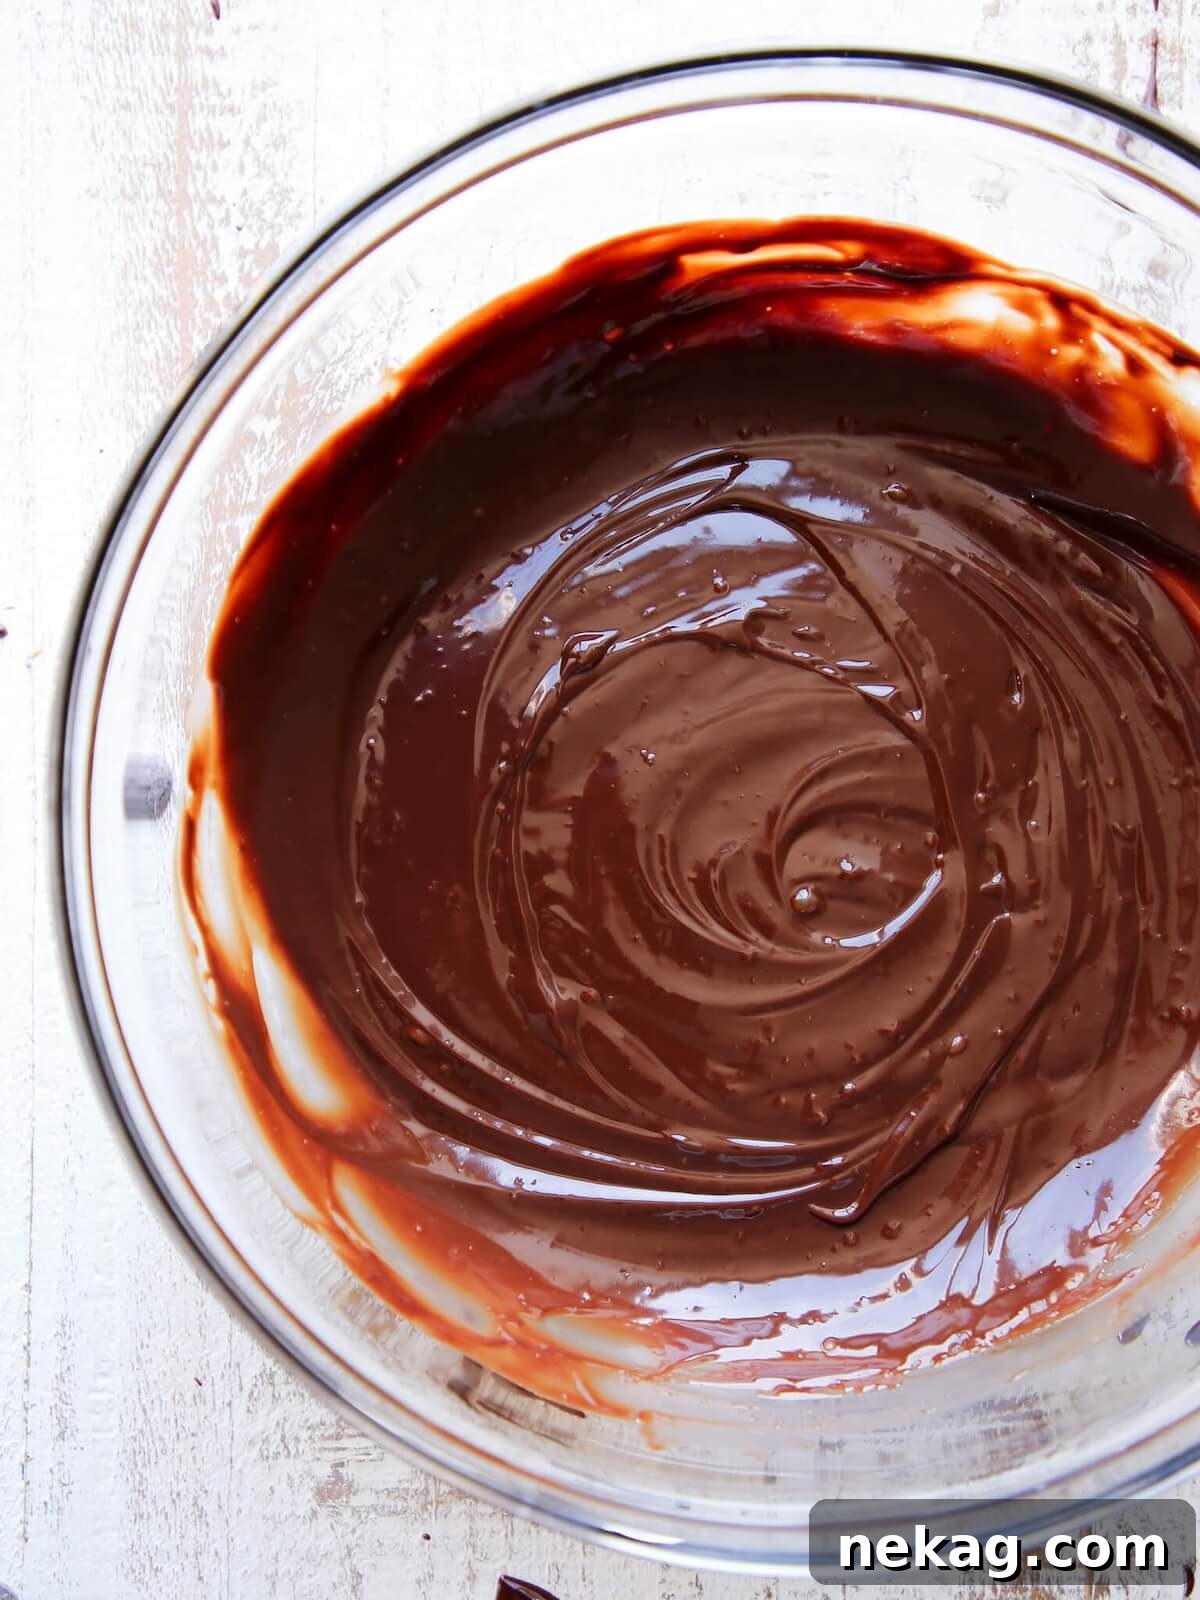
Step 3: Begin Whisking to Emulsify. After the 2-minute resting period, take your whisk and begin stirring gently in the very center of the chocolate mixture. You will notice a smooth, glossy ganache starting to form in the middle. Gradually expand your whisking strokes outwards, steadily incorporating more of the surrounding cream and melted chocolate. Continue whisking smoothly and consistently in one direction until the entire mixture is completely smooth, homogenous, and beautifully emulsified. Once this smooth ganache texture is achieved, stop whisking immediately to avoid incorporating too much air or causing separation.
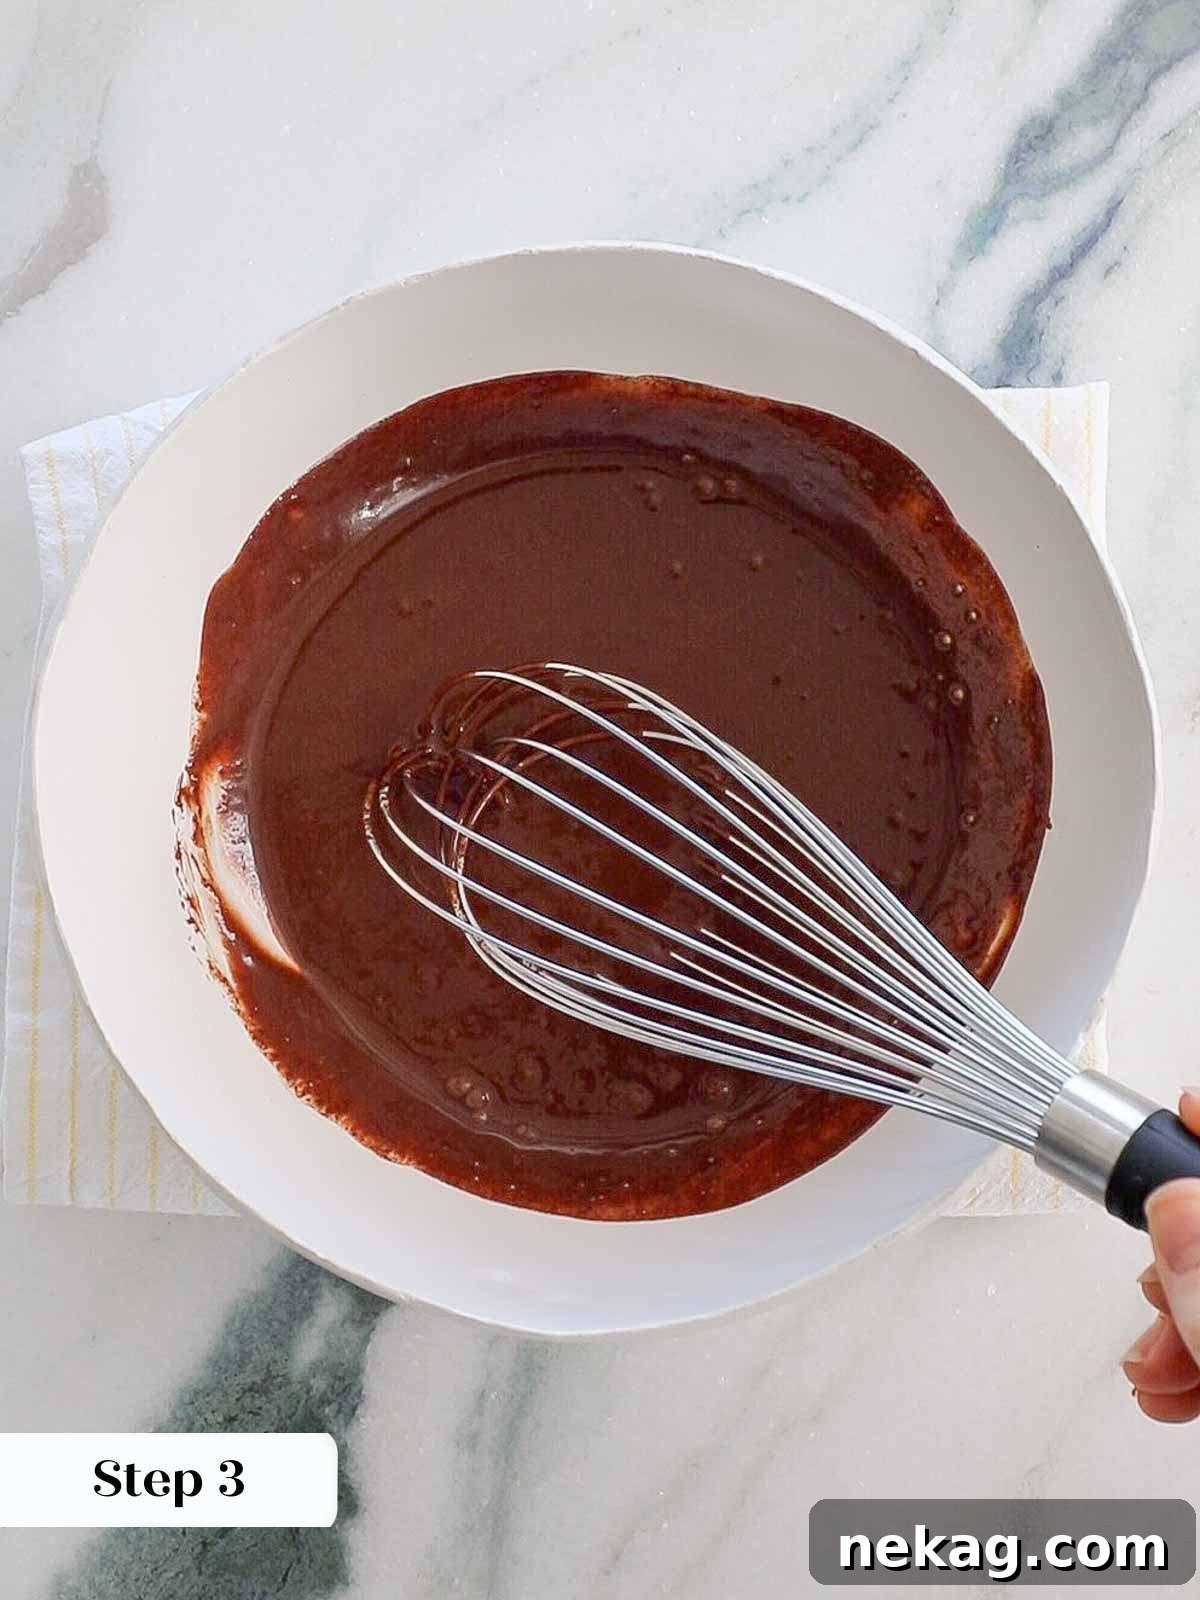
Step 4: Incorporate Flavorings (Optional). If you wish to add any extracts, liqueurs, or other flavorings, now is the time. Drizzle them into the finished ganache and whisk gently, just until they are fully incorporated. Remember not to over-whisk.
Step 5: Cool and Store. Depending on its intended use, transfer the warm ganache to a piping bag for immediate application, or cover the surface directly with plastic wrap to prevent a skin from forming. Allow it to cool to your desired consistency – room temperature for a pourable glaze, or refrigerated for a firm, spreadable, or pipeable ganache.
Frequently Asked Questions
If your ganache appears grainy, separated, or oily, it means the emulsion has unfortunately broken, causing the fat to separate from the chocolate. Don’t despair, it’s often fixable! First, try gently whisking in a very small amount (1-2 tablespoons) of cold heavy cream. If this doesn’t work, refrigerate the ganache for about an hour until it firms up slightly. Then, gently reheat it in a heatproof bowl set over a pot of simmering water (a double boiler), stirring occasionally. Do not allow it to melt completely on the stove. Remove it from the heat once it starts to loosen, let it continue to melt with residual heat, and then try to gently whisk it again to re-emulsify until smooth and cohesive.
The most fundamental and widely used formula for ganache is an equal parts ratio of chocolate to heavy cream. This is typically measured by weight for precision in professional settings, but using equal parts by volume (e.g., cups) will also yield excellent results for most home bakers. For a ganache that is looser, pourable, and soft-setting (not sliceable when cold), you would increase the proportion of cream. Conversely, for a firmer-setting ganache suitable for piping or truffles, you would use a higher ratio of chocolate to cream, such as two parts chocolate to one part cream.
The final firmness of your chocolate ganache is primarily determined by the ratio of cream to chocolate you use. A standard equal-parts ganache will typically set soft but firm enough to be cleanly sliceable when refrigerated. For a ganache that sets harder, suitable for thicker coatings or shaping, you would need to adjust by using less cream, opting for a higher percentage dark chocolate (which has less cocoa butter relative to cocoa solids), or choosing a chocolate with naturally lower liquidity.
The terms “heavy cream” and “heavy whipping cream” are often used interchangeably, and for the purposes of ganache, they generally refer to similar products. The key differentiator is the milk fat percentage. Heavy whipping cream typically contains around 36-40% milk fat, while some products labeled simply “heavy cream” might be closer to 35%. For ganache, this slight difference in fat content usually doesn’t make a dramatic impact on the final result. However, it’s worth noting that a higher fat content generally contributes to a more stable emulsion, resulting in a slightly richer and more forgiving ganache.
Due to its heavy cream content, prepared ganache should be refrigerated if it’s not being used immediately or consumed within 24 hours at room temperature. Stored properly in an airtight container or with plastic wrap pressed directly onto its surface, ganache can be kept in the refrigerator for up to 10 days. While some people attempt to freeze ganache, it is generally not recommended as the emulsion can separate or break during the thawing process, leading to a less desirable texture.
If you tried this professional ganache recipe and absolutely loved it, please take a moment to leave a 🌟 star rating and share your experience in the comments below. Your feedback truly brightens my day!
Classic Chocolate Ganache Recipe
by Chef Lindsey
A professional chocolate ganache recipe from a pastry chef that is rich and silky smooth. Plus how to adapt it for each use, troubleshooting and more!
Prep Time: 5 minutes
Total Time: 5 minutes
Yields: 12 Servings
Ingredients
- 3 ounces semi-sweet or bittersweet chocolate, chopped or morsels (about ½ cup)
- ½ cup heavy whipping cream
Instructions
- Place chopped chocolate or chocolate chips in a medium bowl set on a folded tea-towel. You should also add any salt or corn syrup at this point. Heat cream in a small saucepan just until it comes to a boil then pour over the chocolate.
- Allow the cream to sit on the chocolate undisturbed for 2 minutes. This melts the chocolate and will allow you to emulsify the ganache easily with less whisking. Less whisking means less of a chance for the ganache to break.
- Once you pour the cream on the chocolate, shake it gently to ensure all the chocolate is covered by cream. This can be more difficult when using a lower ratio of cream but still possible with the right bowl.
- Start whisking in one direction in the center of the chocolate until you see a smooth ganache beginning to form. Then gradually make your whisking strokes larger, pulling in more of the cream. Once a smooth ganache forms, stop whisking.
- Add any flavorings you desire at this point. Whisk just in incorporate.
- Transfer to a piping bag or cover the surface with plastic wrap and allow to cool depending on the intended use.
Notes
Yield: Approximately 1 cup of ganache. This is enough to generously fill 12 cupcakes, provide a lustrous cover for one standard cake, or fill about 30 cookies.
Variations: For enhanced flavor, whisk in your preferred extract (e.g., vanilla, peppermint, almond), alcohol (e.g., rum, brandy, liqueur), or a small amount of concentrated fruit juice after the ganache has fully emulsified.
Storage: Store any leftover prepared ganache in the refrigerator for up to 10 days. Ensure it is kept in an airtight container or with plastic wrap pressed directly onto its surface to prevent a skin from forming and to lock in freshness. It can also be stored safely at room temperature for up to 24 hours. Freezing ganache is not recommended as it may separate or break upon thawing, compromising its smooth texture.
Nutrition Information (per serving)
Calories: 34kcal | Carbohydrates: 0.3g | Protein: 0.3g | Fat: 4g | Saturated Fat: 2g | Polyunsaturated Fat: 0.2g | Monounsaturated Fat: 1g | Cholesterol: 11mg | Sodium: 3mg | Potassium: 9mg | Sugar: 0.3g | Vitamin A: 146IU | Vitamin C: 0.1mg | Calcium: 7mg | Iron: 0.01mg
Course: Dessert
Cuisine: French
Beyond the Ganache: Explore More Chocolate Delights
We hope you thoroughly enjoyed this comprehensive guide and professional chef-created recipe for mastering chocolate ganache. May it inspire countless decadent creations in your kitchen! Should your chocolate cravings persist, we invite you to peruse our extensive collection of chocolate dessert recipes, each crafted to delight. Or, if you’re ready to dive deeper into specific categories, explore our indulgent cake recipes, charming cupcake recipes, or refreshing ice cream recipes, many of which would be perfectly complemented by your freshly made ganache filling or topping!