
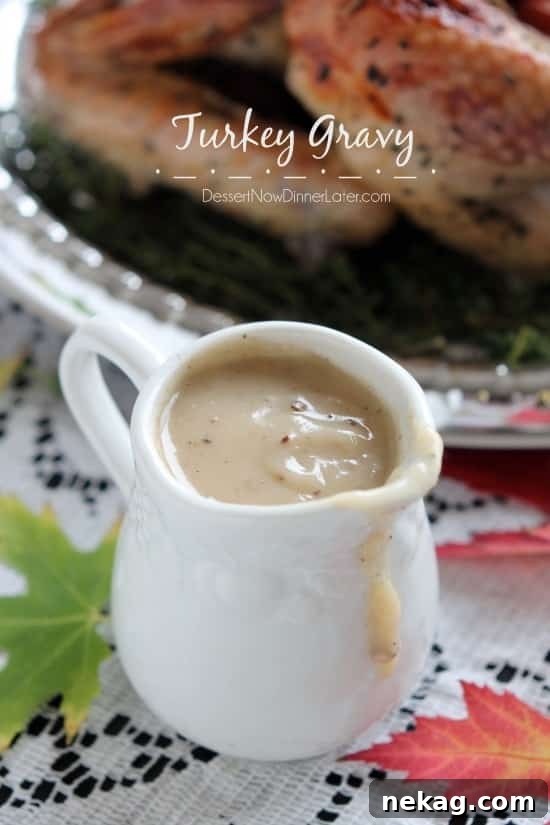
Prepare to transform your holiday table with the ultimate homemade Turkey Gravy! This isn’t just any gravy; it’s a luscious, flavorful masterpiece crafted from the rich, savory drippings of your roasted Thanksgiving turkey. Forget bland, store-bought alternatives – this recipe guides you through creating a velvety-smooth, perfectly seasoned gravy that will elevate every dish on your festive spread. From the succulent turkey itself to creamy mashed potatoes and savory stuffing, a generous drizzle of this exquisite gravy is truly the crowning glory of a holiday feast. It’s simpler than you might think, and the profound depth of flavor from using those precious turkey juices is absolutely unparalleled.
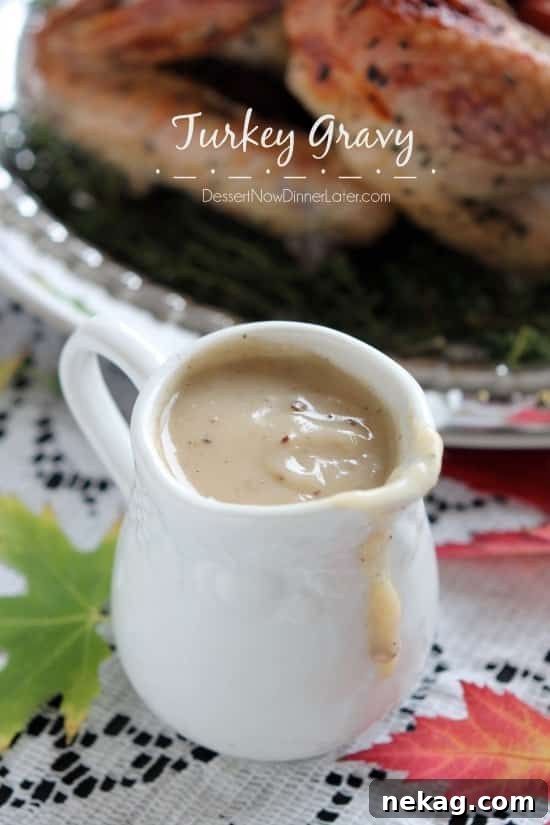
Many home cooks approach the idea of making gravy from scratch, especially from turkey drippings, with a touch of trepidation. The process can seem daunting, but fear not! This comprehensive guide is designed to demystify turkey gravy creation, ensuring your Thanksgiving dinner, or any roasted poultry meal, is accompanied by a truly exceptional condiment. The secret weapon? Those incredible, nutrient-rich turkey juices that collect at the bottom of your roasting pan. These drippings are packed with unparalleled savory depth, forming the essential foundation for a gravy that’s bursting with authentic turkey flavor. Utilizing these fresh, natural juices is not just a culinary choice; it’s a commitment to maximizing the deliciousness derived from your hard work in roasting the bird.
While every element of your holiday meal should shine, the beauty of a well-executed gravy lies in its ability to complement without overwhelming. The goal is to create a harmonious symphony of flavors on your plate. Your turkey gravy should be perfectly seasoned, offering a rich, savory counterpoint to the other dishes, yet it shouldn’t be so intensely flavored that it distracts from the star of the show – the turkey itself – or from the nuanced tastes of your various side dishes. Think of gravy as the unifying sauce, tying all the different textures and flavors together into a cohesive and unforgettable dining experience. It’s about balance, subtlety, and enhancing the natural deliciousness already present.
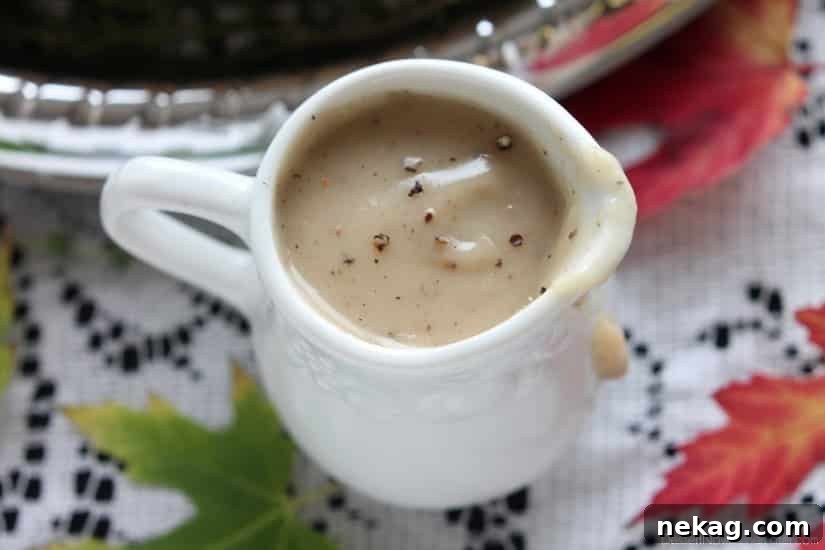
The Art of Collecting and Preparing Turkey Drippings
The journey to perfect gravy begins even before you start cooking the gravy itself. After your magnificent turkey emerges from the oven, allow it to rest. This crucial step not only ensures a juicier bird but also gives the precious drippings in the roasting pan time to settle. Once the turkey is off the pan, carefully pour all the accumulated juices into a heat-safe measuring cup or a fat separator. You’ll notice solid bits of roasted turkey or vegetables, along with a layer of fat floating on top. To achieve a silky-smooth gravy, you absolutely want to strain out any solids using a fine-mesh sieve. This simple step prevents a grainy or chunky texture.
After straining, allow the liquid to rest for another 10-15 minutes. As it cools slightly, the fat will naturally rise to the surface, forming a distinct layer. This separation is key to a rich, yet not overly greasy, gravy. Using a spoon or a fat separator, carefully skim off the rendered fat, reserving as much of the savory liquid (which is essentially a concentrated turkey stock) as possible. You can discard most of the fat, but often a small amount of residual fat is actually beneficial for starting your roux, adding to the richness and depth of flavor. Aim for clean, flavorful liquid as your base – this is the golden essence of your turkey gravy!
Crafting the Perfect Turkey Gravy: A Step-by-Step Guide
This recipe harnesses the unparalleled flavor of those turkey drippings, blending them with a simple roux and a touch of additional stock or broth to achieve the ideal consistency and volume. Seasoned with just salt and pepper, the magic truly comes from the turkey’s natural essence, enhanced by the richness of butter in the roux. It’s a classic combination that yields a gravy so utterly delicious, it feels like a splurge – and for Thanksgiving, a once-a-year celebration, a little indulgence is exactly what’s called for. This isn’t about fancy ingredients or complex techniques; it’s about honoring the natural flavors and elevating them to their fullest potential. With just a few staple ingredients and a straightforward method, you’ll create a gravy that will be remembered long after the last bite.
Ingredients for Classic Turkey Gravy:
- ½ cup (1 stick) unsalted butter
- ⅓ cup all-purpose flour
- 4 cups turkey drippings (strained, fat skimmed), supplemented with turkey or chicken stock/broth if needed to reach 4 cups total liquid
- Salt and freshly ground black pepper, to taste
Instructions for Classic Turkey Gravy:
- **Prepare Drippings:** After roasting your turkey, carefully pour all the pan drippings into a heatproof measuring cup or fat separator. Allow the liquid to rest for about 10-15 minutes until the fat separates and rises to the top. Using a spoon or fat separator, carefully skim off and discard the layer of fat. Strain the remaining savory liquid through a fine-mesh sieve to remove any small solids, ensuring a smooth gravy. If you have less than 4 cups of liquid, supplement with turkey or chicken stock/broth until you reach the 4-cup mark.
- **Make the Roux:** In a medium saucepan, melt the ½ cup of butter over medium heat. Once the butter is fully melted and slightly shimmering, gradually whisk in the ⅓ cup of all-purpose flour. Continue to whisk constantly for about 1-2 minutes, cooking the flour mixture (the roux) until it forms a pale, nutty-smelling paste and begins to turn a light golden color. Cooking the roux properly is essential for removing the raw flour taste and creating a stable thickening agent.
- **Thicken the Gravy:** Slowly and gradually pour the prepared turkey drippings into the saucepan with the roux, whisking continuously to prevent lumps. Start with a small amount of liquid, whisking it thoroughly into the roux to create a thick paste, then slowly add the rest of the liquid. Keep whisking diligently until the gravy begins to thicken and coats the back of a spoon. Bring the gravy to a gentle simmer, allowing it to cook for another 2-3 minutes to reach your desired consistency.
- **Season to Perfection:** Remove the saucepan from the heat. Taste the gravy and season generously with salt and freshly ground black pepper. Remember that the turkey drippings already contain some seasoning, so taste as you go. You can always add more, but you can’t take it away! Adjust seasonings until the gravy is perfectly balanced and flavorful. Serve hot.
Yields 8 (1/2-cup) servings
Notes and Troubleshooting
Gluten-Free Version: For a gluten-free alternative, you can easily make a cornstarch slurry. In a small bowl, combine 4 tablespoons of cornstarch with 4 tablespoons of COLD water, whisking until smooth and lump-free. Set this slurry aside. In a separate saucepan, heat 4 cups of your strained turkey drippings (or broth) until it comes to a boil. Once boiling, slowly pour in the cornstarch slurry while whisking constantly. Continue to whisk and simmer for 1-2 minutes until the gravy thickens to your desired consistency. Season with salt and pepper to taste. Cornstarch gravy tends to be a bit glossier than flour-based gravy.
Lumpy Gravy? If your gravy turns out lumpy, don’t despair! Simply pour it through a fine-mesh sieve or, for a truly silky texture, use an immersion blender or transfer it to a regular blender and blend until smooth. Return to the saucepan and reheat gently.
Too Thick? If your gravy becomes too thick, slowly whisk in a little more hot turkey or chicken stock/broth until it reaches your preferred consistency. Add it gradually to avoid over-thinning.
Too Thin? If your gravy is too thin, you can create a small slurry with 1 tablespoon of flour or cornstarch mixed with 1 tablespoon of cold water. Whisk this mixture into your simmering gravy and cook for another minute or two until it thickens. Repeat if necessary, but remember a little goes a long way!
Additions: For an extra layer of flavor, consider whisking in a splash of dry white wine or sherry with the drippings, or incorporating a sprig of fresh thyme or sage while simmering. Just remember to remove the herbs before serving.
Make-Ahead Tips and Storage
Thanksgiving preparation can be hectic, but thankfully, turkey gravy can be made ahead of time to ease the pressure. You can prepare the gravy up to 2-3 days in advance. Simply follow the recipe through step 3, cool it completely, and then store it in an airtight container in the refrigerator. When you’re ready to serve, gently reheat the gravy on the stovetop over medium-low heat, whisking frequently. You might need to add a splash of turkey or chicken stock/broth to thin it out to the desired consistency, as it tends to thicken as it cools. Taste and adjust seasonings before serving.
For longer storage, homemade turkey gravy freezes beautifully! Once completely cooled, transfer the gravy to freezer-safe containers or heavy-duty freezer bags, leaving a little headspace for expansion. It can be frozen for up to 3 months. To use, thaw the gravy overnight in the refrigerator, then reheat gently on the stovetop, whisking until smooth. As with refrigerated gravy, you may need to add a little extra stock to achieve the perfect texture after reheating.
Serving Suggestions: What Goes Best with Turkey Gravy?
While turkey gravy is, of course, a quintessential accompaniment to roasted turkey, its rich and savory flavor profile makes it incredibly versatile. Don’t limit its use to just the holiday bird! It’s a fantastic addition to almost any savory dish on your plate. Here are some classic and creative ways to enjoy your homemade turkey gravy:
- **Mashed Potatoes:** This is arguably the most iconic pairing. The creamy texture of mashed potatoes provides the perfect vehicle for soaking up every drop of rich gravy.
- **Stuffing/Dressing:** Whether it’s bread-based or cornbread dressing, gravy adds moisture and an incredible depth of flavor that binds the ingredients together.
- **Roasted Vegetables:** Drizzle over roasted Brussels sprouts, green beans, carrots, or asparagus for an extra layer of savory goodness.
- **Biscuits or Rolls:** A warm, fluffy biscuit or roll dipped in gravy is pure comfort food.
- **Leftover Turkey Sandwiches:** Elevate your day-after Thanksgiving sandwich by adding a generous helping of warmed gravy.
- **Meatloaf or Pot Roast:** When you’re not making turkey, this gravy can still be a delicious topping for other hearty main courses.
- **Poutine (American Style):** For a fun and indulgent twist, pour warm gravy over crispy french fries and cheese curds.
Sharing this recipe with a link is both encouraged and appreciated. Copying/pasting and/or screenshots of full recipes to any social media is strictly prohibited. Content and photographs are copyright protected.
Did you make this delicious Turkey Gravy?
We’d love to hear about it! Don’t forget to leave a rating below and share your experience. For more mouth-watering recipes and culinary inspiration, make sure to follow us on Pinterest and Instagram!