
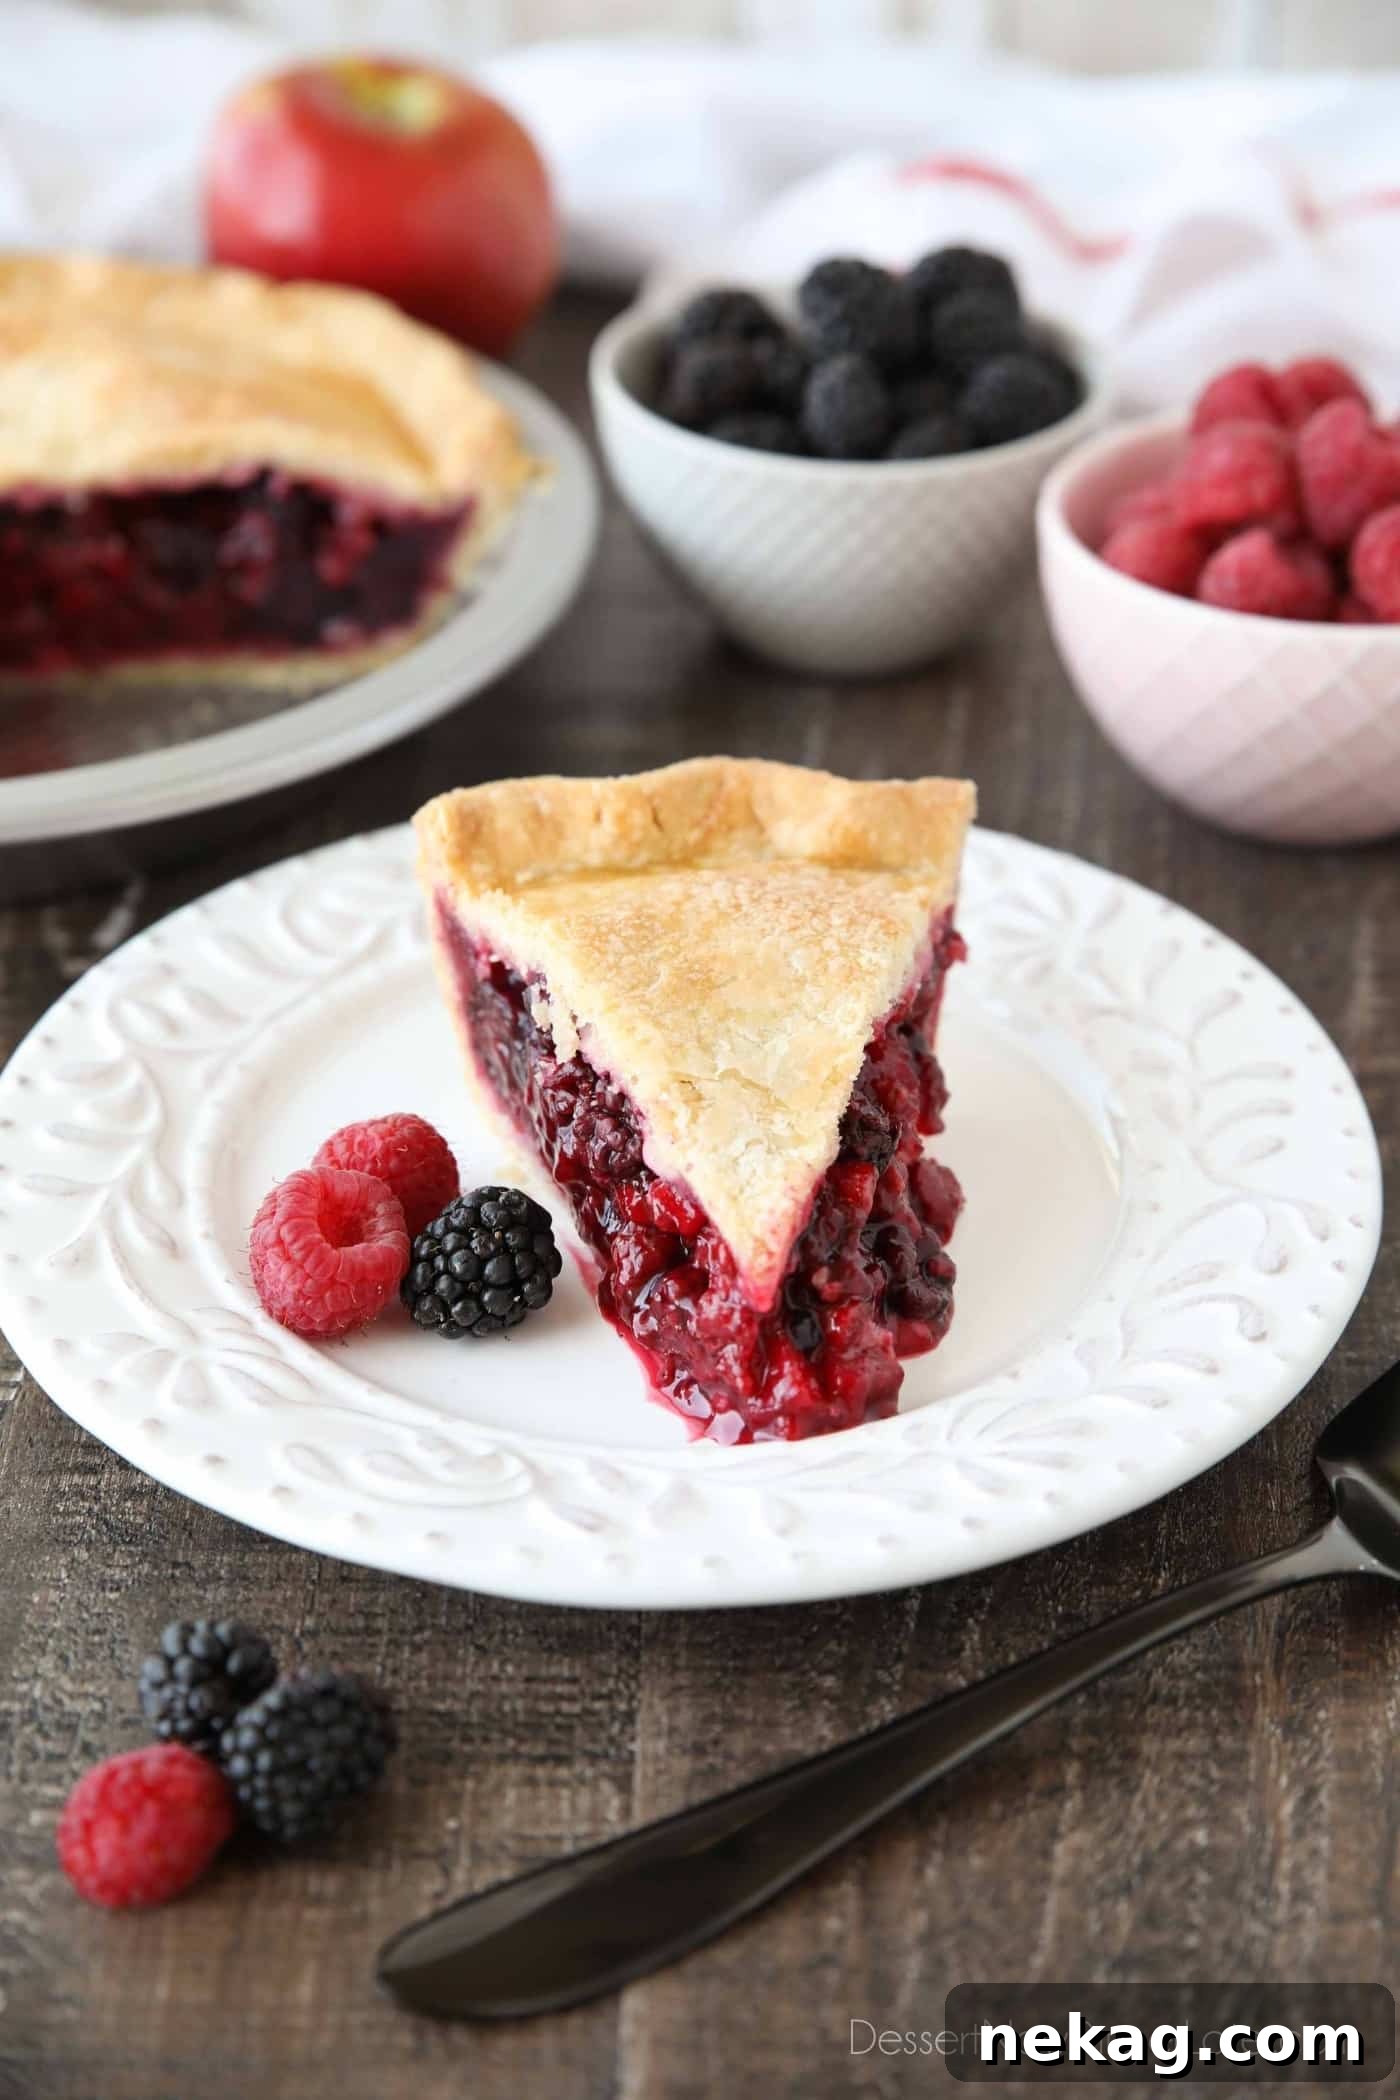
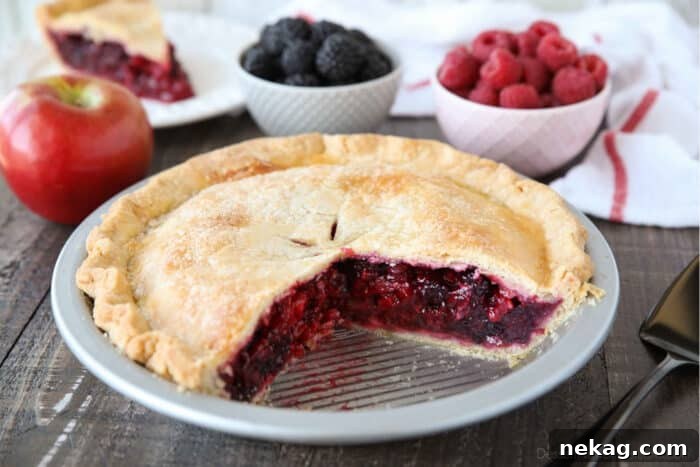
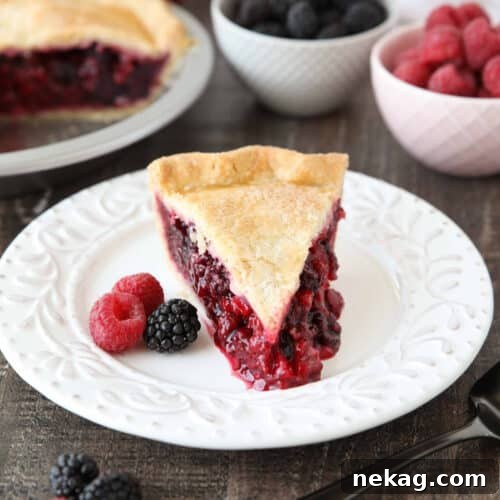
Welcome to the ultimate guide for recreating a beloved classic: the Homemade Razzleberry Pie! This exquisite dessert, inspired by the iconic Marie Callender’s Razzleberry Pie, is not just a copycat recipe – it’s an elevated version, crafted with love and fresh ingredients for a taste that’s truly unforgettable. Imagine a generous medley of sweet raspberries, succulent blackberries, and a secret ingredient that perfects the texture and flavor: crisp, tart apples, all encased in a golden, flaky pastry crust. Whether you choose fresh berries during peak season or conveniently frozen ones year-round, this recipe promises a delightful fruit pie experience that will impress family and friends alike.
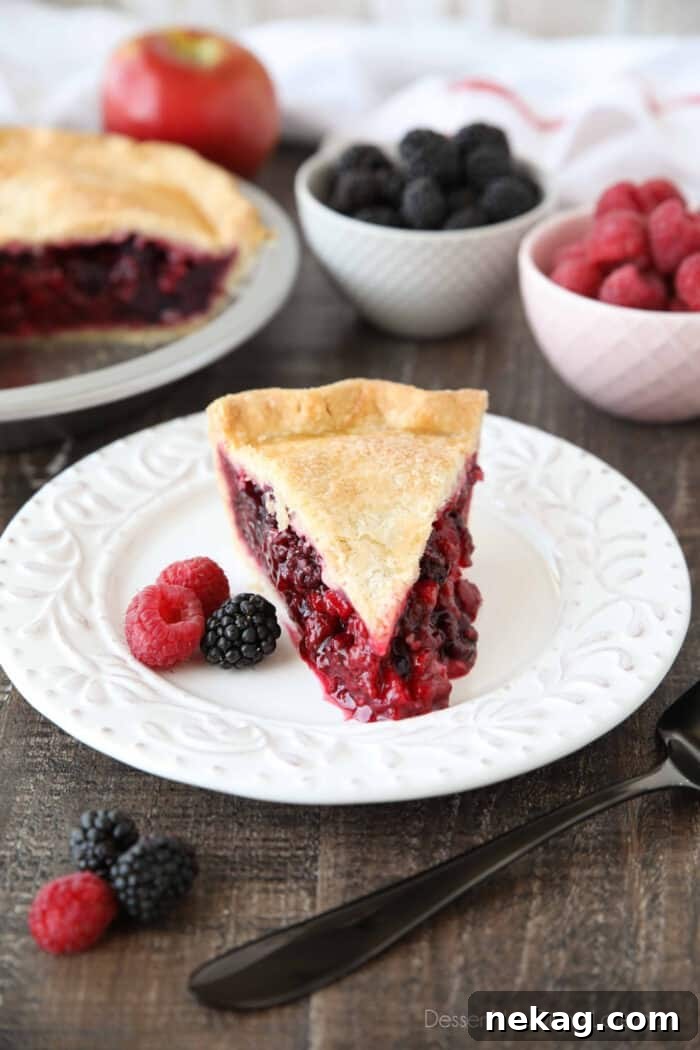
Many dessert enthusiasts mistakenly believe that Marie Callender’s Razzleberry Pie features a wide array of mixed berries, often confusing it with a Triple Berry Pie. However, the authentic Razzleberry blend is distinctly different. Upon closer inspection of the original ingredients list, you’ll discover a surprising absence of blueberries, strawberries, or other common berries. The true magic lies in a harmonious trio of red raspberries, juicy blackberries, and, unexpectedly, apples! This unique combination is what gives Razzleberry Pie its signature flavor profile and perfect consistency, a secret we’re thrilled to unveil and enhance in our homemade rendition.
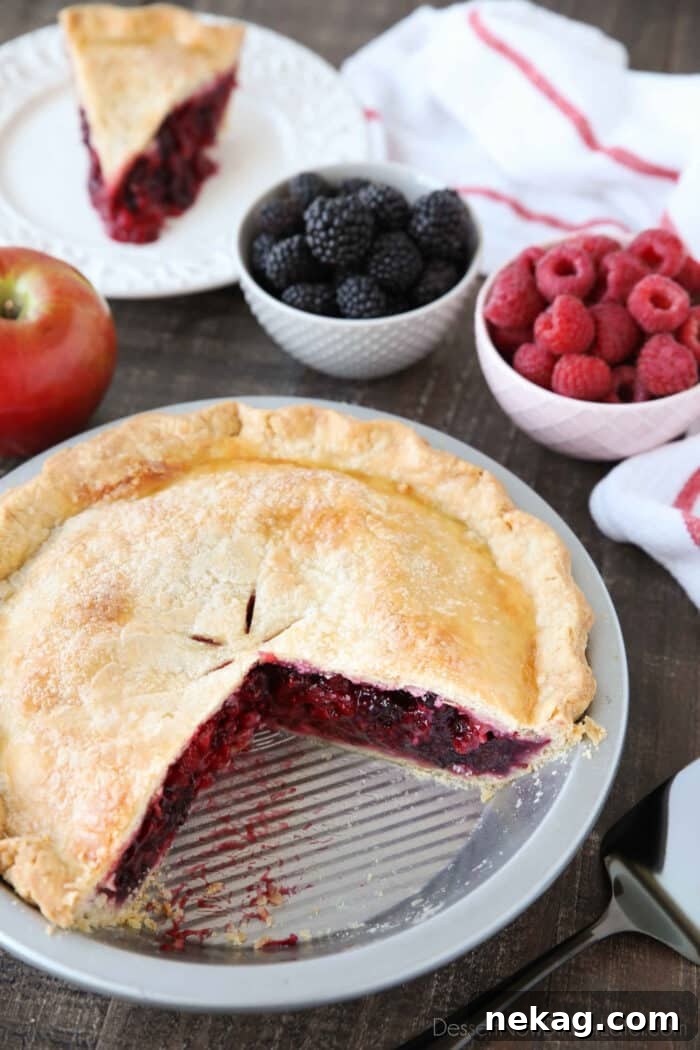
Understanding Razzleberry Pie: More Than Just Berries
“Razzleberry” isn’t a naturally occurring fruit; rather, it’s a delightful and catchy name coined by Marie Callender to describe their popular frozen pie flavor. At its heart, Razzleberry Pie is a vibrant fruit pie primarily showcasing the sweet-tart essence of red raspberries and the deep, rich flavor of blackberries. These two berries create a powerful fruity punch that is both refreshing and comforting. Our homemade version captures this essence perfectly, bringing together the best of both worlds – the convenience of a copycat recipe with the superior quality and freshness of a homemade dessert. It’s a celebration of these exquisite berries, designed to be even more luscious than the store-bought inspiration.
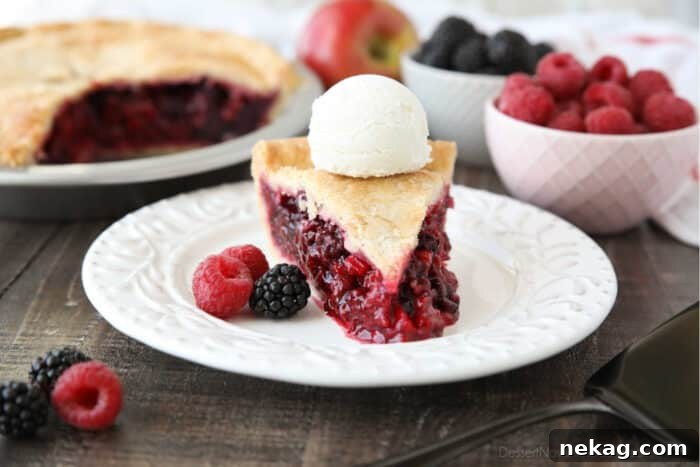
The Berry Debate: Fresh vs. Frozen for Your Pie
For any true berry aficionado, this Razzleberry Pie is a dream come true. One of the most wonderful aspects of baking fruit pies, especially those brimming with berries, is the flexibility to use either fresh or frozen fruit. Both options offer unique advantages and, with a few simple adjustments, yield an equally spectacular pie.
I frequently opt for frozen berries in my pies, and for good reason. They are incredibly convenient, readily available throughout the year, and require no prior preparation like washing or stemming. A significant benefit of frozen berries is that they are typically picked and flash-frozen at their peak ripeness. This process locks in their vibrant flavor and nutritional value, making them just as delicious and suitable for baking as fresh berries. When using frozen berries, expect them to release more liquid during the baking process compared to fresh fruit. To account for this extra moisture and ensure your pie filling sets beautifully, you’ll need a slightly increased amount of cornstarch – typically around 1/3 cup for this recipe.
Should you decide to indulge in the seasonal luxury of fresh raspberries and blackberries, your pie will be bursting with bright, immediate flavors. When working with fresh fruit, the liquid content is generally lower, which means you’ll need to reduce the amount of cornstarch. I recommend adjusting the cornstarch down to 4 tablespoons (1/4 cup) to achieve a perfectly set filling that isn’t overly congealed. This small modification prevents your fresh fruit pie from becoming too stiff, allowing the natural juiciness of the berries to shine through.
Regardless of your choice, remember that the quality of your berries profoundly impacts the final taste of your Razzleberry Pie. Select plump, vibrantly colored berries, whether fresh or frozen, to ensure a truly outstanding dessert.
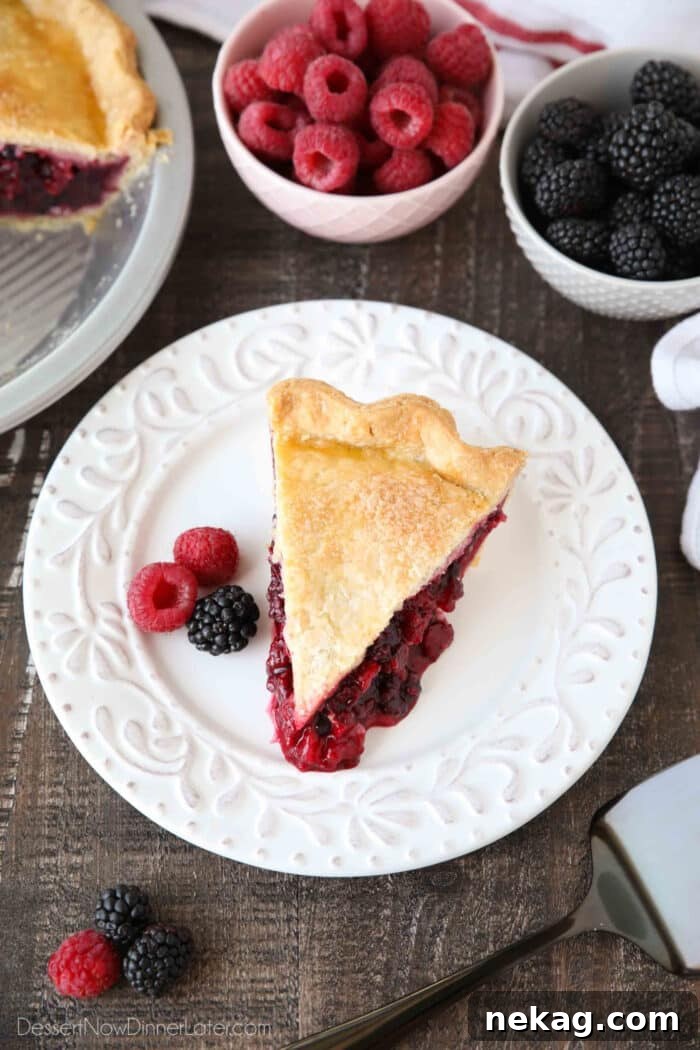
The Unexpected Hero: Why Apples are Essential in This Mixed Berry Pie
The inclusion of apples in a berry pie might seem unconventional at first glance, but in this Marie Callender’s copycat recipe, they play a crucial, unsung role. Beyond raspberries and blackberries, the humble apple is the secret ingredient that elevates this Razzleberry Pie from good to truly great.
So, why apples? The answer lies in their multifaceted contribution to both the flavor and structural integrity of the pie. Firstly, apples provide a subtle, natural sweetness that beautifully complements the tartness of the raspberries and blackberries, creating a more balanced and nuanced flavor profile. They prevent the pie from being overwhelmingly tart, adding a pleasant depth without overpowering the star berries. Secondly, apples are rich in natural pectin, a soluble fiber that acts as a fantastic thickening agent. This pectin helps to set the pie filling, ensuring it’s firm enough to slice cleanly without being runny, a common challenge with berry-heavy pies. This natural thickening capability means less reliance on cornstarch, contributing to a more natural fruit filling.
Rest assured, the berries remain the undeniable stars of this pie. The apples are meticulously prepared to blend seamlessly into the filling, providing support rather than stealing the spotlight. I prefer to dice the apple quite small, ensuring it melds perfectly with the berries, adding a delicate texture without being distinctly noticeable as an apple chunk. For an even more integrated texture, you could even shred the apple using a cheese grater, if you wish.
While you could certainly choose to omit the apple and simply increase the quantity of berries, we’ve found that the apple truly enhances the overall experience. For this recipe, I recommend using a Honeycrisp apple. Its delicate sweet-tart balance, crisp texture, and subtle flavor make it an ideal choice that harmonizes with the berries without competing. Other excellent baking apples like Pink Lady, Braeburn, Fuji, or Gala would also work wonderfully, each lending its unique character to the pie.
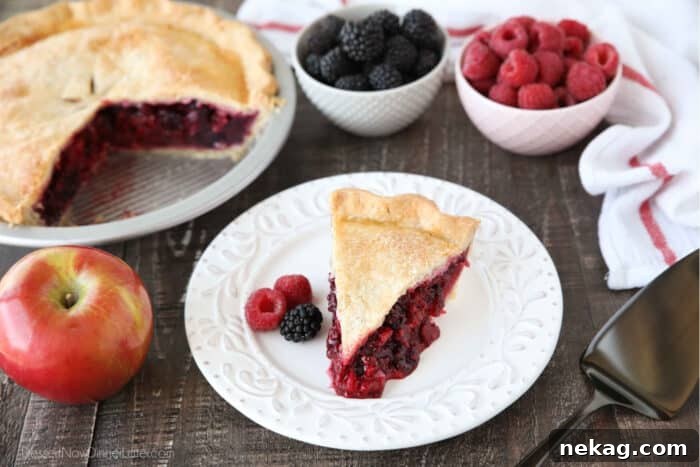
Essential Ingredients for Your Razzleberry Pie Filling
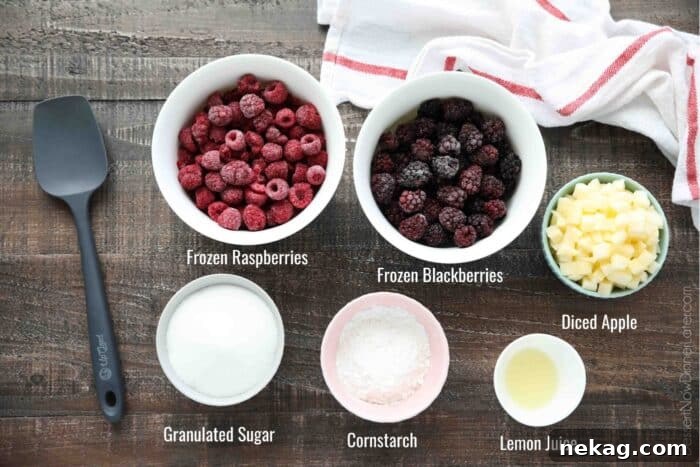
Crafting the perfect Razzleberry Pie filling requires a thoughtful selection of ingredients that balance sweetness, tartness, and ideal texture. Here’s what you’ll need to gather:
- Frozen Raspberries: Sweet and tart, these vibrant berries form the heart of the “razz” in Razzleberry.
- Frozen Blackberries: Deeply flavored and juicy, blackberries provide the “berry” richness and a beautiful dark hue.
- Apple: One large apple, cored, peeled, and diced small. As discussed, this is our secret weapon for structure and balanced sweetness.
- Granulated Sugar: To sweeten the berries and apples, achieving that perfect dessert balance.
- Cornstarch: The crucial thickening agent, ensuring your pie filling is firm and sliceable. Remember to adjust the amount if using fresh berries.
- Lemon Juice: A splash of fresh lemon juice brightens all the fruit flavors, adding a zesty counterpoint to the sweetness.
While the official ingredient list for Marie Callender’s frozen Razzleberry Pie might mention salt, I prefer to use lemon juice. Its acidity is incredibly effective at enhancing and “brightening” the natural fruit flavors, while also contributing to the overall structure and set of the filling. This makes for a more vibrant and appealing taste experience.
Crafting the Irresistible Razzleberry Filling
Preparing the Razzleberry pie filling is a straightforward process, but a few key steps ensure a perfectly coated, flavorful, and well-set result:
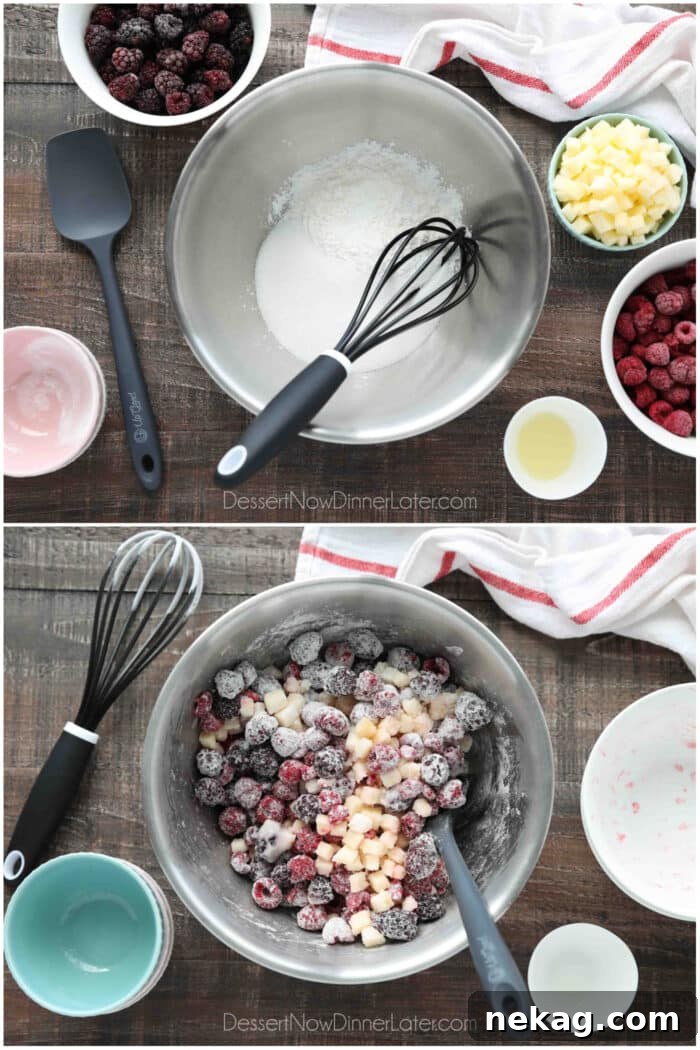
- Begin by thoroughly whisking together the granulated sugar and cornstarch in a large mixing bowl. This crucial step ensures that the cornstarch is evenly distributed and prevents it from clumping when it comes into contact with the wet fruit, leading to a smooth, consistent filling.
- Next, gently fold in the frozen raspberries, frozen blackberries, small-diced apple, and fresh lemon juice. Mix until all the fruit is evenly coated with the sugar and cornstarch mixture.
- Once combined, set aside the fruit mixture. This allows the frozen berries to begin macerating – thawing slightly and releasing their delicious juices. This process is vital as these juices will combine with the cornstarch to create the thick, luscious filling during baking. While the fruit macerates, you can efficiently prepare your pie crust, saving valuable time.
The Foundation: A Flaky, Buttery Pie Crust
A truly exceptional fruit pie begins with an equally exceptional crust. For this Razzleberry Pie, I highly recommend using my perfect pie crust recipe. This recipe yields enough dough for both a bottom and a top crust, providing the ideal framework for your delicious berry filling. The key to a flaky, tender crust lies in proper chilling, so ensure your dough has rested in the freezer for at least 15 minutes before you begin rolling. This firms up the butter, which is essential for creating those coveted flaky layers.
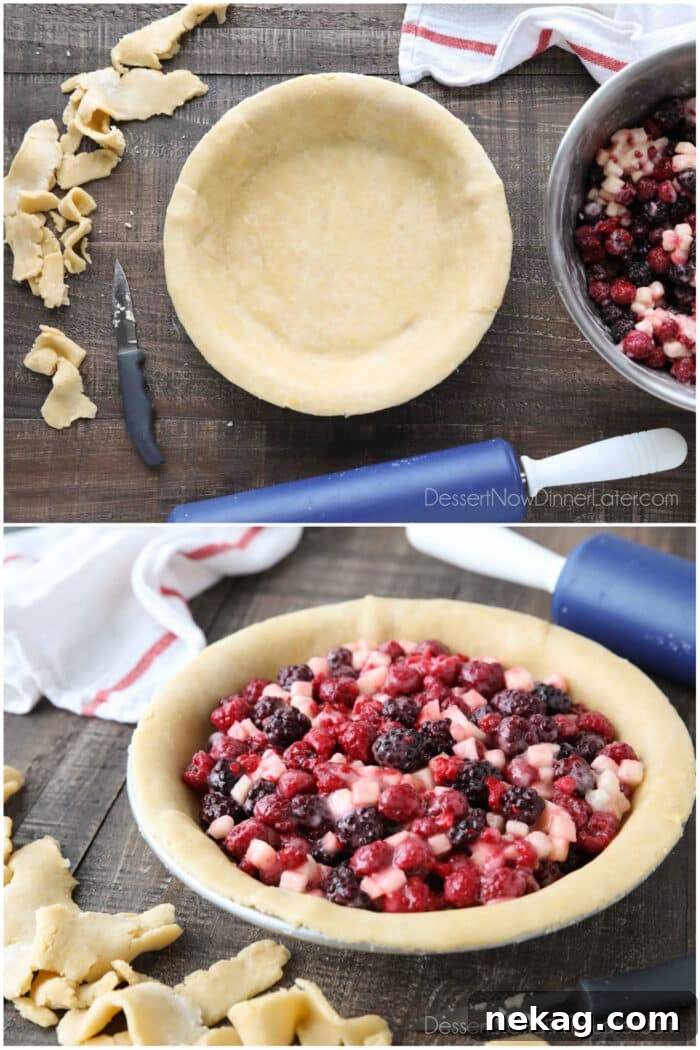
- Take one half of your chilled pie crust dough and place it on a lightly floured surface. Using a rolling pin, roll the dough into a uniform circle, approximately 1/8-inch thick. Precision here helps achieve even baking.
- Carefully lift the rolled crust and gently fit it into your 9-inch pie dish, pressing it lightly into the bottom and up the sides. Once in place, cut off any excess crust around the edges, leaving about a 1/2-inch overhang.
- Now, it’s time to introduce the star of the show! Empty the macerated berry pie filling, along with all the released juices, directly into the prepared bottom crust. Distribute the fruit evenly for consistent flavor in every slice.
Assembling Your Masterpiece: The Top Crust
With your bottom crust filled with the luscious Razzleberry mixture, the next step is to seal in all that deliciousness with a beautiful top crust. This stage allows for a touch of artistry, whether you prefer a classic crimped edge or an intricate lattice design.
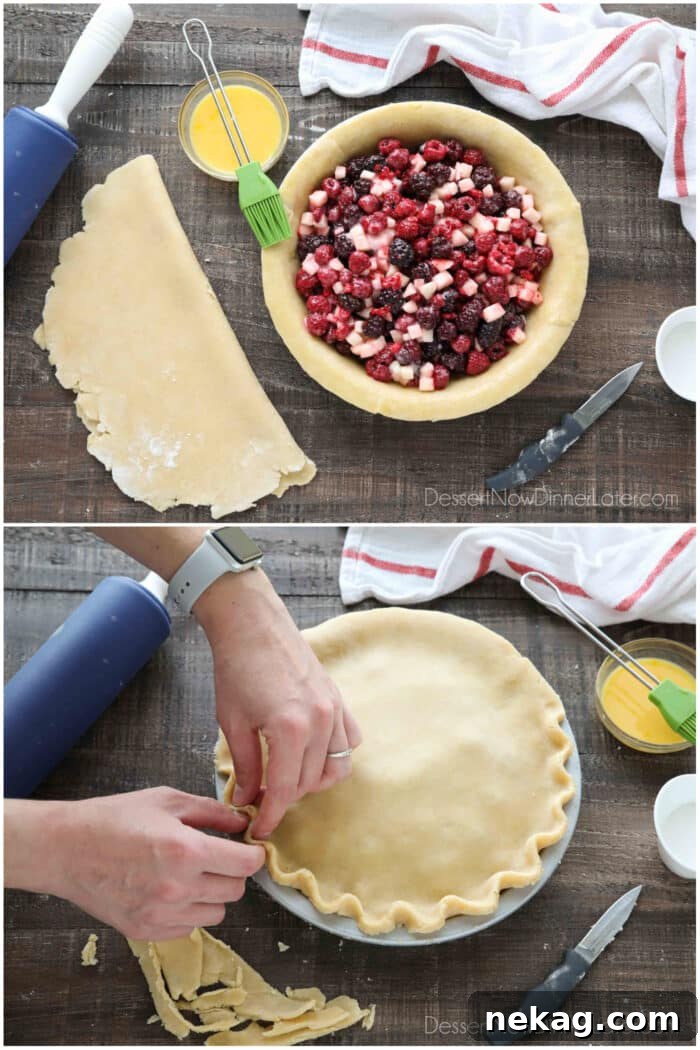
- First, lightly brush a whisked egg around the edges of the bottom crust that extends over the pie dish. This egg wash acts as a “glue” to help the top crust adhere securely.
- Retrieve the second half of your chilled pie dough. On a lightly floured surface, roll it into another 1/8-inch thick circle. Gently lift this top crust and carefully center it over the berry filling, placing it squarely on top of the bottom crust. Trim any excess crust, aiming for an even overhang that matches the bottom crust.
- To create a secure seal, firmly press the top crust edges together with the bottom crust edges using your fingers. This ensures the filling stays contained during baking. Once sealed, crimp the edges to create a decorative finish, either using a fork or by hand. Alternatively, for a truly impressive presentation, consider constructing a lattice crust, which not only looks stunning but also provides excellent ventilation for the filling.
Pre-Baking Prep: The Final Touches for a Perfect Crust
Before your Razzleberry Pie enters the oven, these final steps are crucial for achieving that irresistible golden-brown crust and ensuring proper baking of the filling.
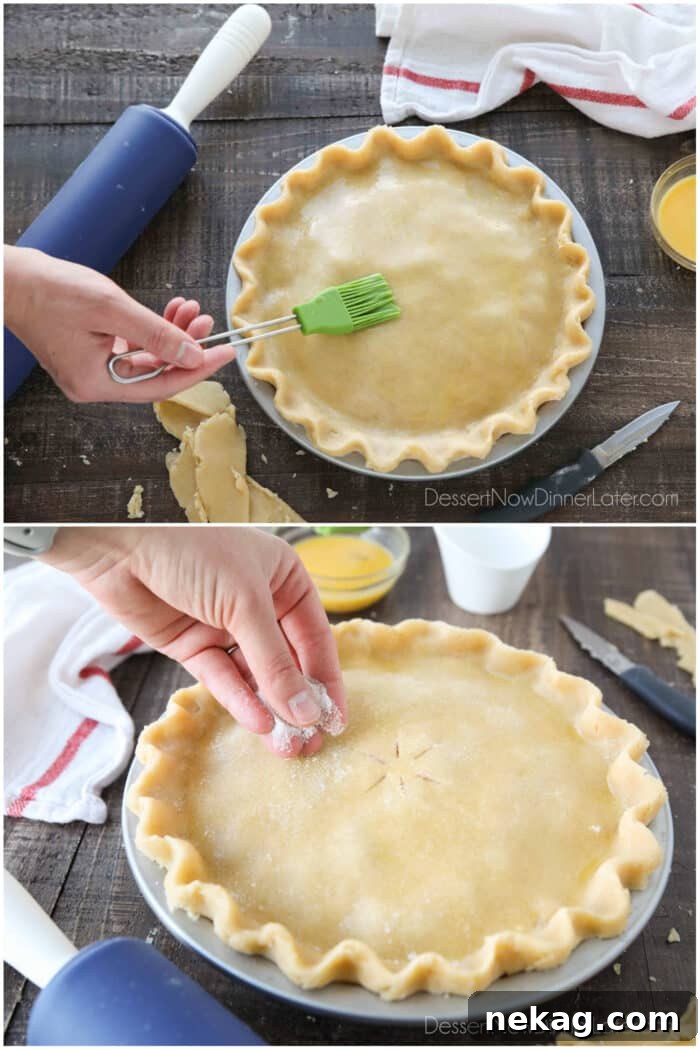
- Once your pie is assembled, brush the entire top surface of the pie crust with the remaining whisked egg. This egg wash creates a beautiful sheen and helps the crust brown evenly to a rich, golden hue.
- Using a sharp knife, carefully cut slits (typically 4-6, in a decorative pattern or simply radiating from the center) into the top crust. These ventilation slits are vital for allowing steam to escape during baking. Without them, the steam would build up and potentially cause the crust to crack or burst, leading to a less appealing pie.
- Finally, generously sprinkle the top of the pie with granulated sugar. This not only adds a delicate sparkle but also creates a wonderfully crisp, sweet crust topping that provides an extra layer of flavor and texture.
Baking Your Razzleberry Pie to Perfection
The baking process is where all your efforts come to fruition, transforming raw ingredients into a bubbling, golden masterpiece. Achieving a perfectly baked Razzleberry Pie requires patience and attention to detail, especially given the use of frozen fruit.
- Bake your Razzleberry Pie in a preheated oven at 350 degrees Fahrenheit. The baking time will typically range from 1 hour and 15 minutes to 1 hour and 30 minutes, or even slightly longer. The most important indicators of doneness are a deeply golden-brown crust on both top and bottom, and a filling that is actively bubbling in the very center of the pie.
It’s important to understand that when baking with frozen fruit, the crust, particularly the bottom crust, will naturally take longer to cook through. The cold, wet fruit extends the baking time needed for the dough to crisp up and become fully cooked. While it’s not necessary to completely thaw the fruit beforehand, being aware of this extended baking period is key to preventing a soggy bottom crust. If you’re using an opaque pie plate, like ceramic or metal, it can be challenging to see the color of the bottom crust. In such cases, the vigorous bubbling of the filling in the center becomes your most reliable sign that the pie is fully baked and the starches have properly thickened. Ensure your ventilation slits are cut generously enough to allow you to peek in and confirm this bubbling action.
PRO TIP: To prevent the edges of your beautiful crust from browning too quickly or even burning before the filling is fully cooked, I highly recommend using a crust shield or loosely covering the pie with aluminum foil for the entire baking duration. This simple trick allows the pie to bake thoroughly without compromising the visual appeal or texture of your crust.
Serving Suggestions and Storage Tips
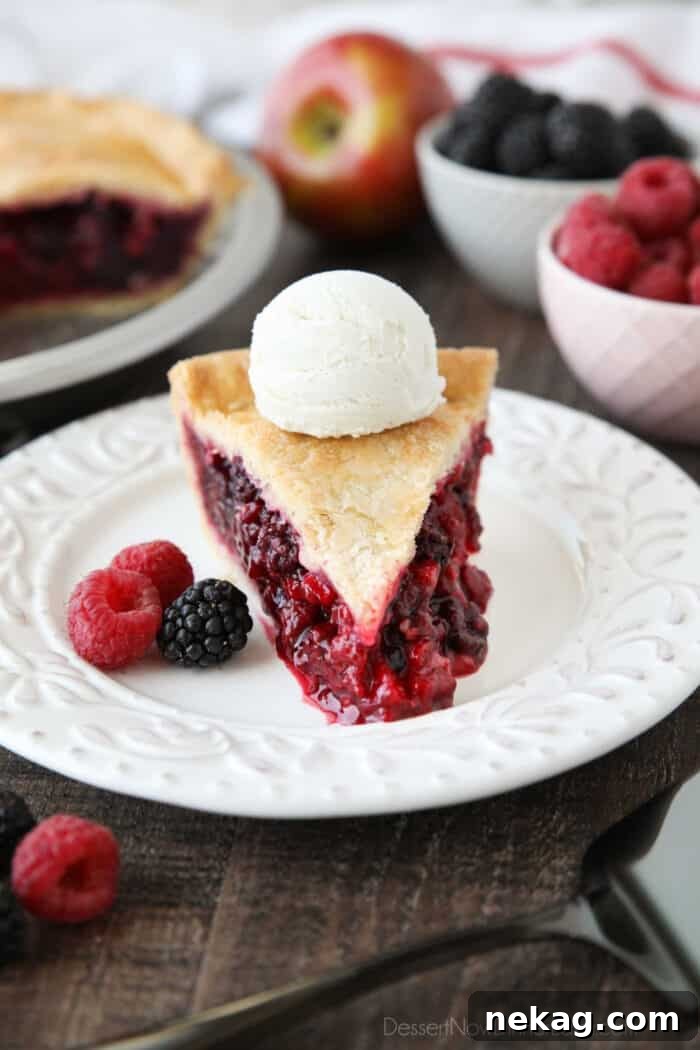
After the tempting aroma of your freshly baked Razzleberry Pie has filled your kitchen, the hardest part begins: waiting! It is absolutely essential to let the pie cool completely on a wire rack before attempting to slice into it. This cooling period is critical as it allows the filling to further set and solidify. Slicing too early will result in a messy, runny pie, no matter how perfectly it was baked. Patience will be rewarded with neat, beautiful slices that hold their shape.
When it comes to storing your delicious Razzleberry Pie, ensuring its freshness and longevity is simple. Once completely cooled, cover the pie tightly with foil or plastic wrap. It can be safely left at room temperature for up to 3 days, making it a perfect make-ahead dessert for gatherings. If you need to store it for a longer period, or if you reside in a particularly warm or humid climate, it’s best to refrigerate the pie. When refrigerated, it will maintain its quality for up to 5 days. Just remember to always keep it covered to prevent it from drying out or absorbing other odors from your fridge. Reheating a slice gently in the microwave or oven can bring back some of that fresh-baked warmth, making it just as enjoyable as the first slice.
Explore More Homemade Pie Recipes
If you’ve fallen in love with the art of pie-making through this Razzleberry Pie, you’re in for a treat! Our collection of homemade pie recipes offers a diverse range of flavors and styles to satisfy every craving. From classic fruit pies to creamy delights, there’s always a new pie adventure waiting:
- Blueberry Pie with Frozen Blueberries
- Strawberry Cream Pie
- Cherry Crumble Pie
- Raspberry Cream Pie
- Fresh Peach Pie
- Key Lime Pie
- Coconut Cream Pie with Pudding
- Blueberry Cream Cheese Pie
- No-Bake Peanut Butter Pie
- Dutch Apple Pie
- Lemon Cream Cheese Pie
- Homemade Apple Pie Recipe
- Coconut Key Lime Pie
- Cranberry Apple Pie
- Lemon Key Lime Pie
Homemade Razzleberry Pie
Pin Recipe
Rate This Recipe
Save Recipe
Ingredients
- 2 pie crusts, (for top and bottom of pie)
- 2 cups (280 g) frozen raspberries
- 2 cups (280 g) frozen blackberries
- 1 (116-140 g) large apple — cored, peeled, and diced small (about 1 1/4 to 1 1/2 cups)
- 1 cup (200 g) granulated sugar
- ⅓ cup (40 g) cornstarch
- 1 Tbsp lemon juice
Other ingredients:
- 1 egg, whisked (for brushing the crust)
- 1 tsp granulated sugar, for sprinkling on top
Equipment
- Rolling Pin
- 9-Inch Pie Pan USA Pan Bakeware
- 9-inch Standard Glass Pie Dish
- Silicone Spatula Set
- 4-Quart Glass Mixing Bowl
Instructions
- Prepare pie crust, divide in half, wrap and chill until ready to use.
- Preheat oven to 350 degrees Fahrenheit.
- In a large bowl, whisk together the sugar and cornstarch.
- Next fold in the frozen raspberries, frozen blackberries, diced apple, and lemon juice until evenly coated. Set aside to macerate (thaw and release juices) while you work on the pie crust.
- Roll one pie crust half into a circle about 1/8-inch thin. Gently lift and fit the pie crust into a standard 9-inch pie dish. Cut off excess crust.
- Empty berry pie filling and all juices inside of crust.
- Brush a whisked egg on the edges of the crust. Then roll the other pie crust into a circle about 1/8-inch thin and place it on top of the pie. Cut off excess crust.
- Seal the top crust to the bottom crust, by pressing the two together with your fingers. Then crimp the edges.
- Brush the top of the pie crust with the whisked egg. Cut slits for ventilation with a knife. Then sprinkle the top with granulated sugar.
- Cover the pie loosely with foil or a crust shield. Then bake at 350˚F for 1 hour and 15-30 minutes or until the filling bubbles in the center of the pie and the crust has browned on the top and bottom. (*SEE NOTES)
- Allow pie to cool completely to allow the filling to set, before cutting and serving. Store pie covered at room temperature up to 3 days or refrigerated up to 5 days. In warm climates, make sure to refrigerate the pie.
Notes
- IMPORTANT: If using a glass pie plate, be sure to use a towel to dry off any condensation on the bottom of the dish before placing it in the oven — or the wet glass may shatter and break.
- Use a crust shield or foil loosely covering the pie the full baking time, so the crust doesn’t burn while waiting for the filling to bubble in the center.
- Baking a pie with frozen fruit will take longer to bake the filling and crust. Make sure to cut slits large enough to see when the center filling bubbles. This will ensure a fully baked crust and filling that will set.
- FOR FRESH BERRIES – Use only 1/4 cup of cornstarch instead of 1/3 cup.
- FOR THE APPLE – I used Honeycrisp, but any apple great for baking would be fine. (Pink Lady, Braeburn, Fuji, Gala, etc.)
- NO APPLE – Use 2 1/2 cups of each berry instead.
Nutrition
Serving: 1 slice | Calories: 564kcal | Carbohydrates: 75.3g | Protein: 6.6g | Fat: 25.9g | Saturated Fat: 7.3g | Polyunsaturated Fat: 4g | Cholesterol: 30.8mg | Sodium: 306.9mg | Fiber: 5.3g | Sugar: 32.6g
Disclaimer: Nutritional values were calculated using a third-party tool and are provided as an estimation only.
Sharing this recipe with a link is both encouraged and appreciated. Copying/pasting and/or screenshots of full recipes to any social media is strictly prohibited. Content and photographs are copyright protected.
Did you make this?
Don’t forget to leave a rating below and make sure to follow on Pinterest and Instagram for more!