
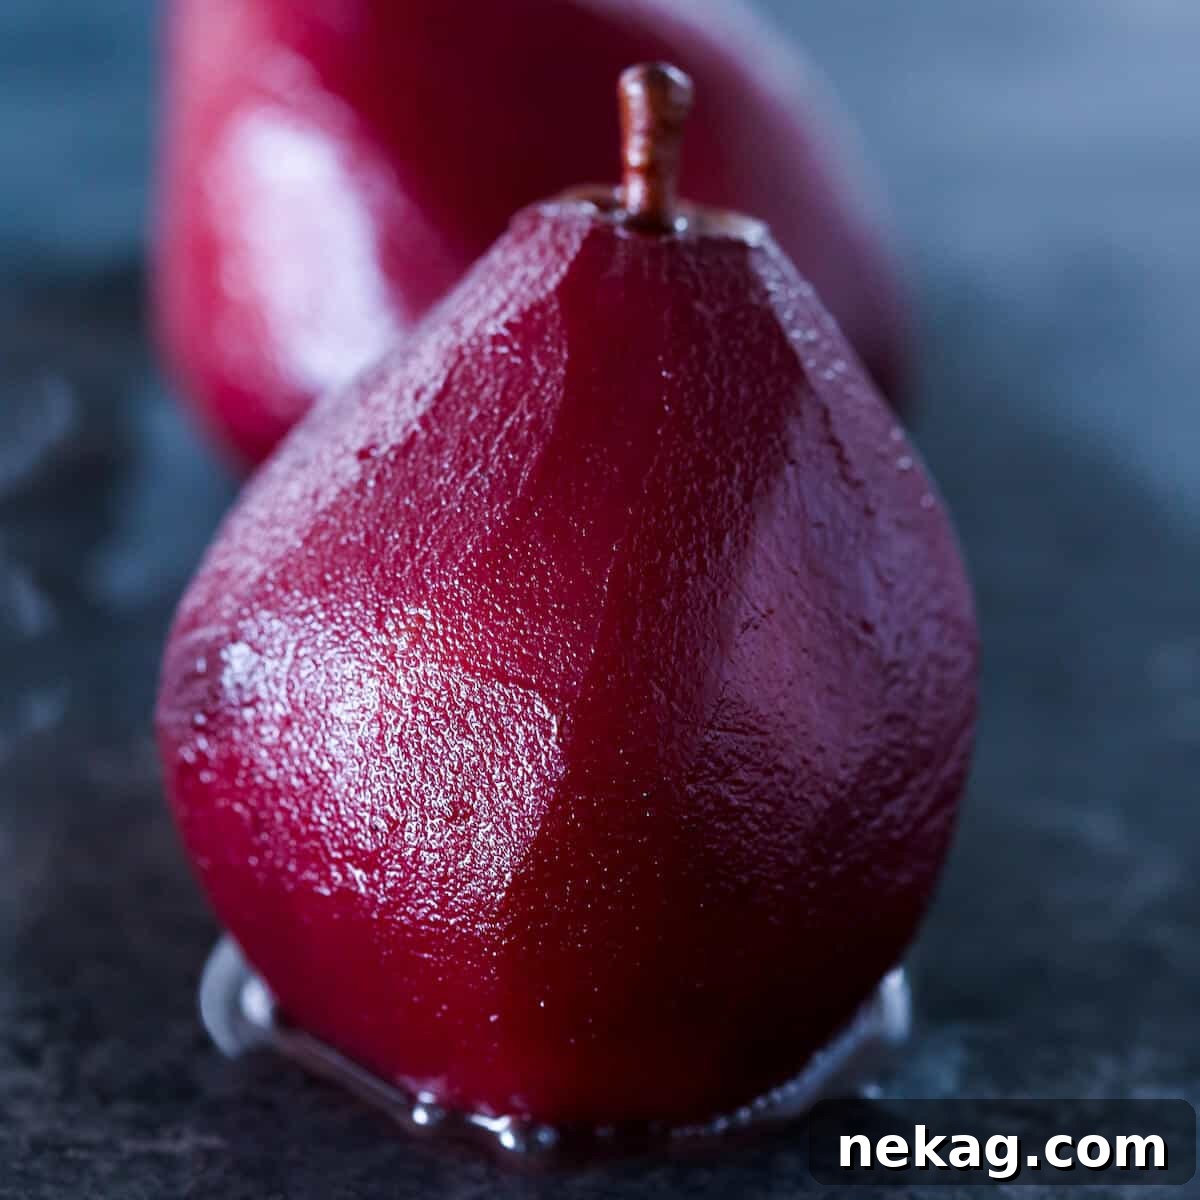
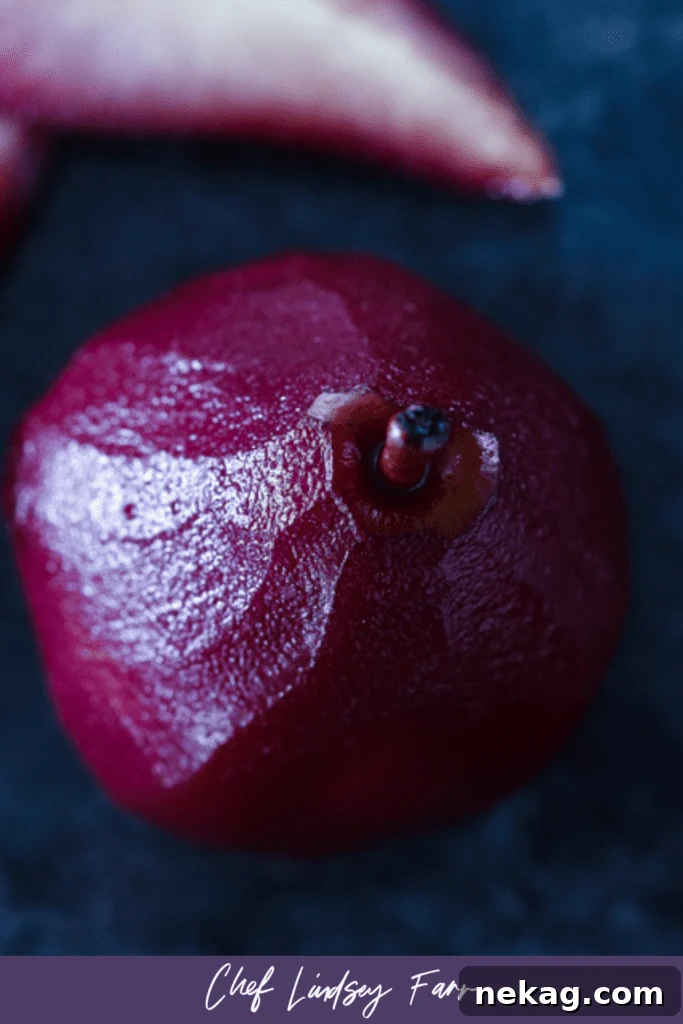
Welcome to the enchanting world of Red Wine Poached Pears, a dessert that effortlessly combines sophistication with rustic charm. These subtly sweet, vibrantly red pears are not just a treat for the palate but a feast for the eyes, offering an elegant finish to any meal. Simple to prepare yet profoundly impressive, they are a testament to the idea that the most delightful culinary creations often stem from humble ingredients transformed with a touch of magic.
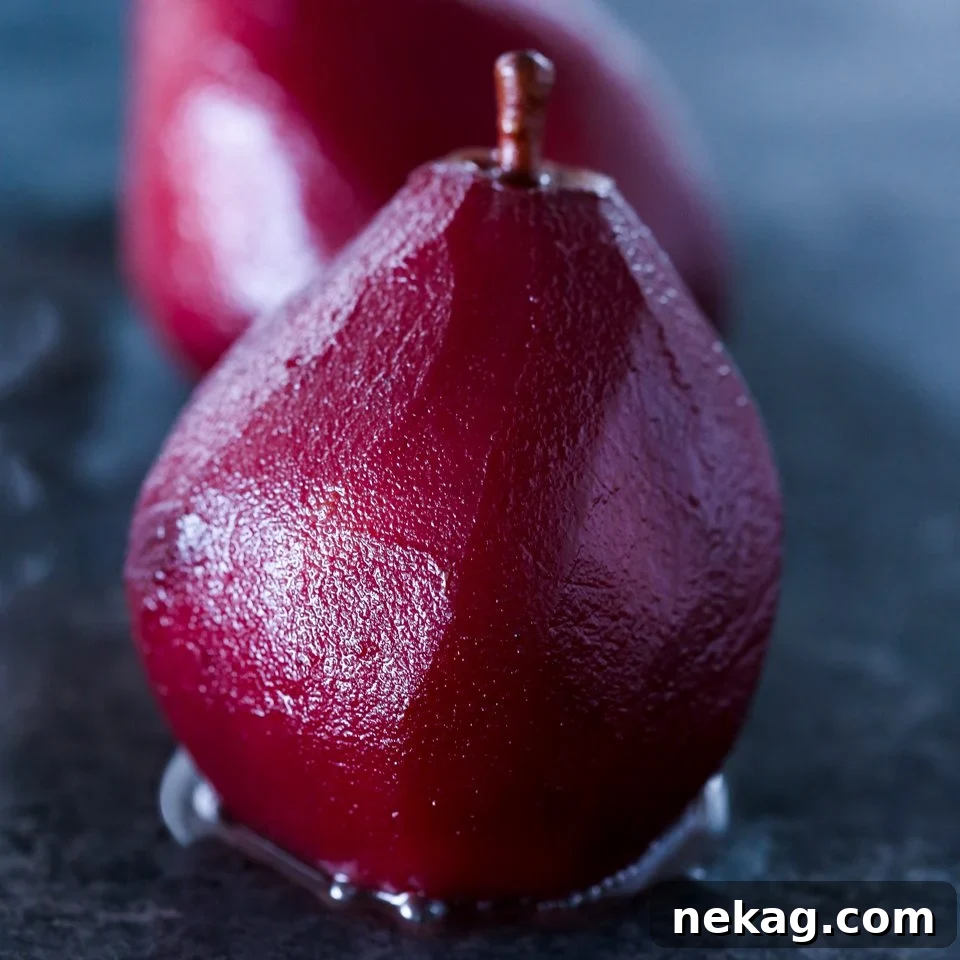
As a pastry chef, I’m frequently asked about my favorite dessert to create. It’s a question that always makes me pause, as my affections in the culinary world are ever-evolving. While a definitive “favorite” is elusive, I can certainly pinpoint my current obsession, and without a doubt, it is the humble yet magnificent Red Wine Poached Pear.
This year, I’ve found myself utterly captivated by their charm. My kitchens have been experimenting extensively, even developing pomegranate versions destined for restaurant dessert menus this winter. One iteration features them alongside a creamy buttermilk panna cotta, while another showcases them with a delicate mascarpone honey cloud and my homemade honey granola. This versatility hints at the incredible potential locked within these ruby-hued fruits, demonstrating that they are far more than just a simple dessert.
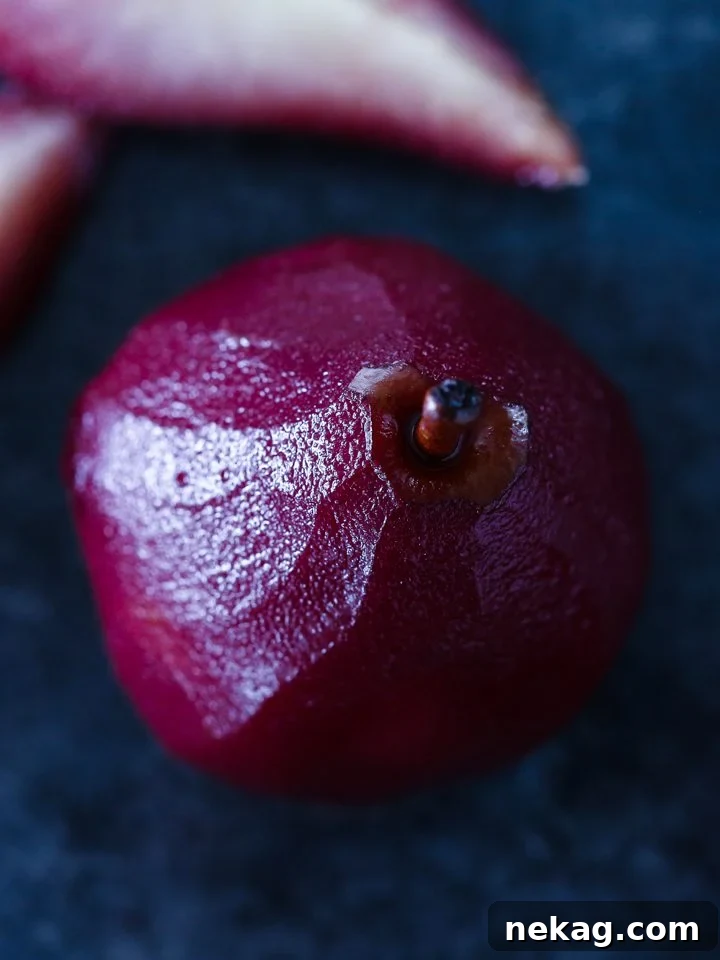
While red wine lends a spectacular color and depth of flavor, don’t feel limited. You can easily adapt this very same recipe using white wine for a lighter, brighter profile, or even explore the unique notes of pear wine for an intensified fruit essence. The beauty of poaching lies in its adaptability, allowing you to tailor the experience to your preferences and pantry.
Creative Ways to Serve Poached Pears
While red wine poached pears are undeniably exquisite on their own, perhaps simply adorned with a dollop of whipped cream or a reduction of their rich poaching liquid, their true magic lies in their extraordinary versatility. They can elevate a wide array of dishes, bridging the gap between sweet and savory with effortless grace. Here are some inspiring ways to incorporate them into your culinary repertoire:
- Elegant Breakfast & Brunch: Slice them thinly and arrange them over creamy Greek yogurt, perhaps with a drizzle of honey and a sprinkle of crunchy homemade honey granola for a breakfast that feels utterly luxurious yet is surprisingly wholesome.
- Sophisticated Salads: Transform a classic pear and Gorgonzola salad by substituting fresh pears with these wine-infused beauties. Their sweetness and slight tang perfectly complement the sharp, salty cheese and peppery arugula.
- Classic Dessert Pairings: Serve them simply with freshly whipped cream or a luscious reduction of the poaching liquid – a method I particularly adore in my red wine poached pear dessert. They also make a stunning topping for a rich buttermilk pie or a comforting pear upside-down cake.
- Showstopping Pavlovas: Create an unforgettable gluten-free dessert by mounding whole or sliced poached pears atop a crisp pavlova shell. Drizzled with their vibrant syrup, as seen in this poached pear pavlova recipe, it’s a guaranteed showstopper.
- Baking & Tarts: Integrate them into baked goods. They are magnificent in a hazelnut pear tart, or you can use them as a delightful substitute for cherries in a cherry almond tart. Don’t hesitate to be creative with your slicing and arrangement to achieve an artful presentation.
- Cheese Boards: Add a touch of gourmet flair to your next cheese board. The sweet and tangy notes of the poached pears pair exceptionally well with a variety of cheeses, from pungent blues to creamy Bries and sharp cheddars.
- Accompaniment to Meats: Unexpected but delicious, poached pears can complement savory dishes, particularly roasted pork or duck, offering a sweet counterpoint to rich flavors.
Expert Tips for Perfect Red Wine Poached Pears
Achieving perfectly tender, beautifully colored, and exquisitely flavored red wine poached pears is simpler than you might think, especially with a few professional tips up your sleeve. These insights will help you avoid common pitfalls and ensure your pears are a culinary triumph every time:
- Choose the Right Pear Variety: This is perhaps the most crucial step. Not all pears are created equal when it comes to poaching! I highly recommend D’anjou, Bartlett, or Comice pears. These varieties possess a subtle sweetness and a wonderfully crisp, yet tender, texture that holds up beautifully during the poaching process. Their mild flavor also acts as a perfect canvas, allowing the rich notes of red wine and vanilla to truly shine. Avoid overly soft or mealy varieties.
- Select the Ideal Ripeness: Timing is everything. Pears that are too ripe will become mushy and lose their structural integrity when poached, dissolving into a sad purée rather than retaining their elegant shape. You should be able to peel the pears with ease, but they should still offer a slight resistance and not squish under your fingers. Conversely, if your pears are so hard you could dent a wall with them, they are significantly under-ripe. Sadly, no amount of poaching will render them tender and succulent; they will remain hard and unpleasant. Trust me, I’ve tried when developing recipes out of season – you truly can be too far ahead!
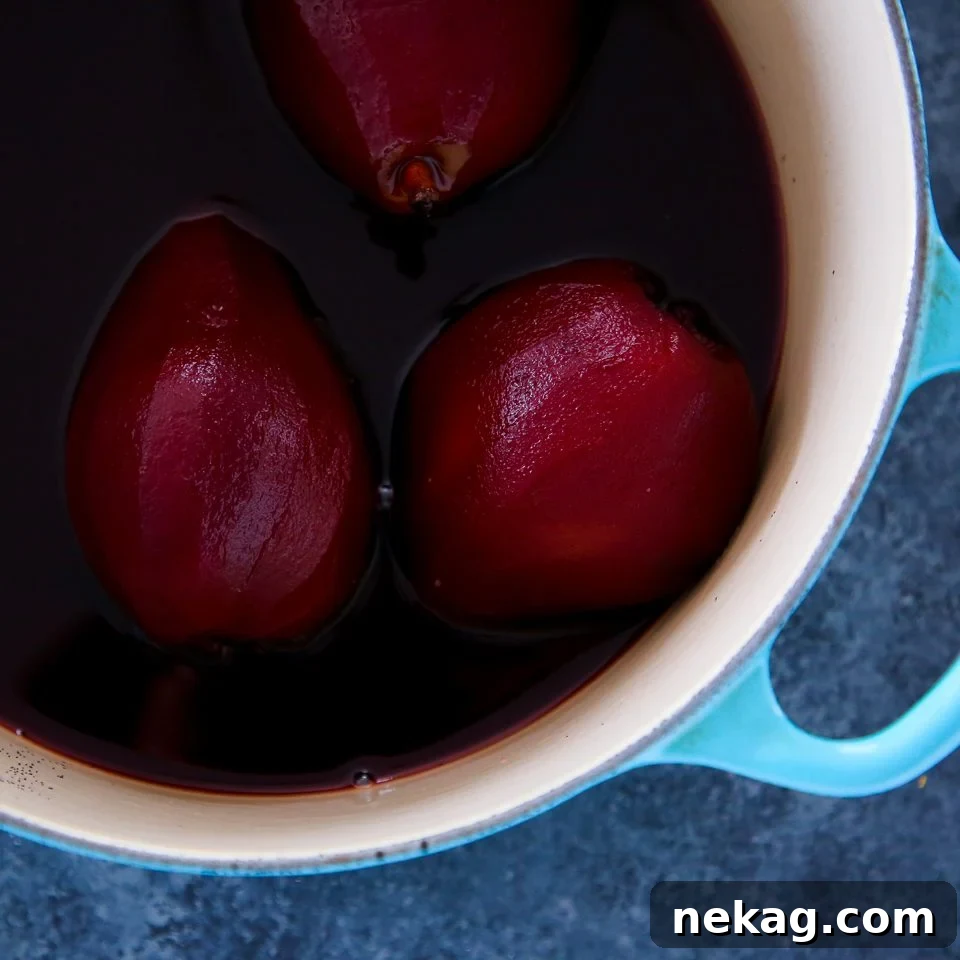
- Proper Cooling is Key: This step is often overlooked but is vital for both texture and presentation. Once tender, immediately remove the poached pears from the hot liquid. Transfer them to a baking sheet or a shallow dish and place them in the refrigerator. Cooling them separately stops the cooking process, preventing them from becoming overcooked and mushy. Cool the poaching liquid separately as well.
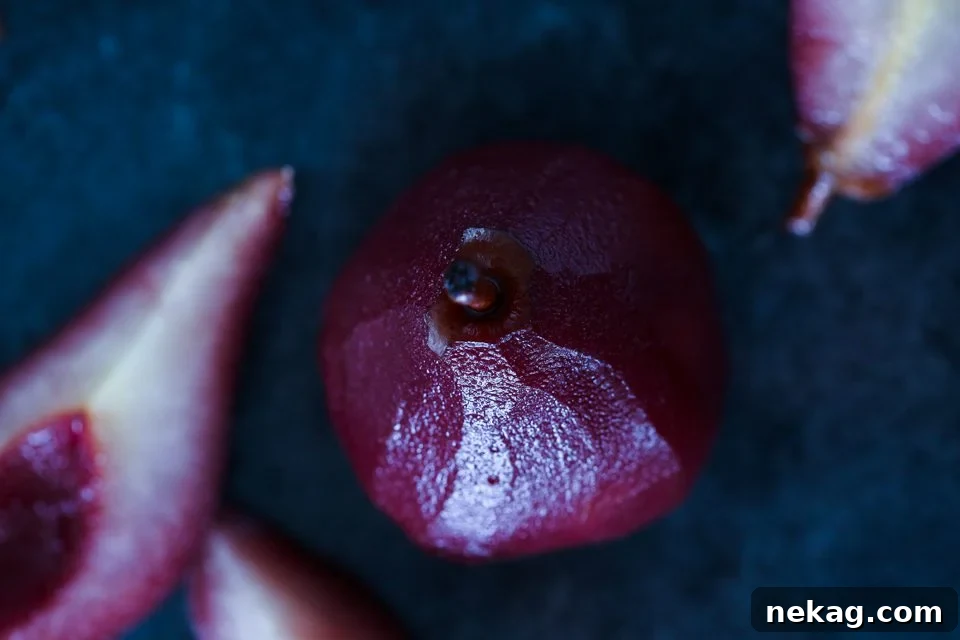
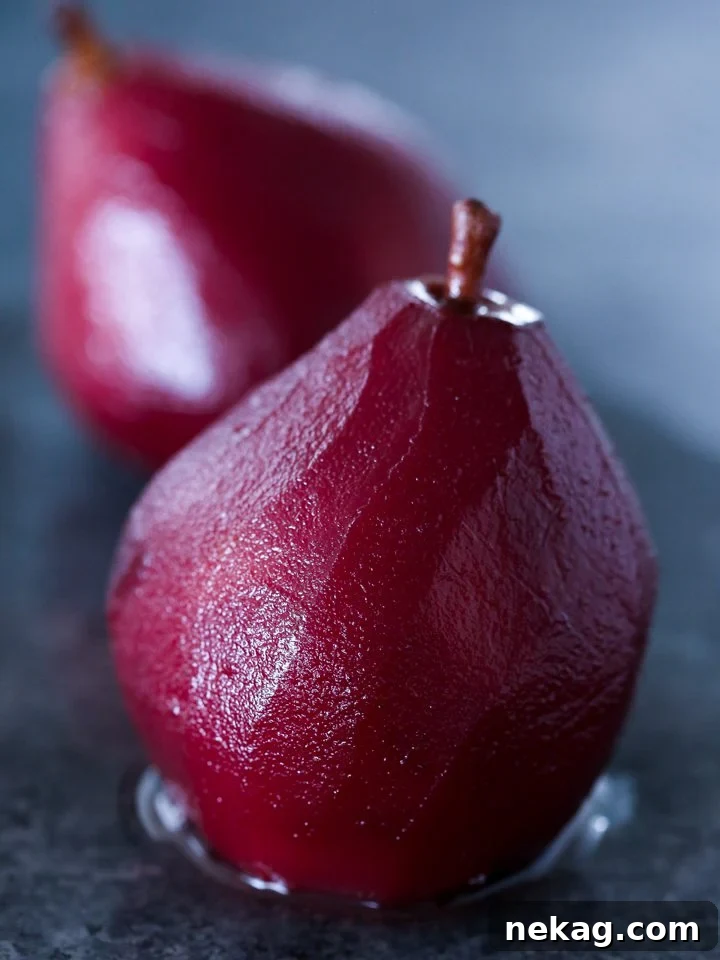
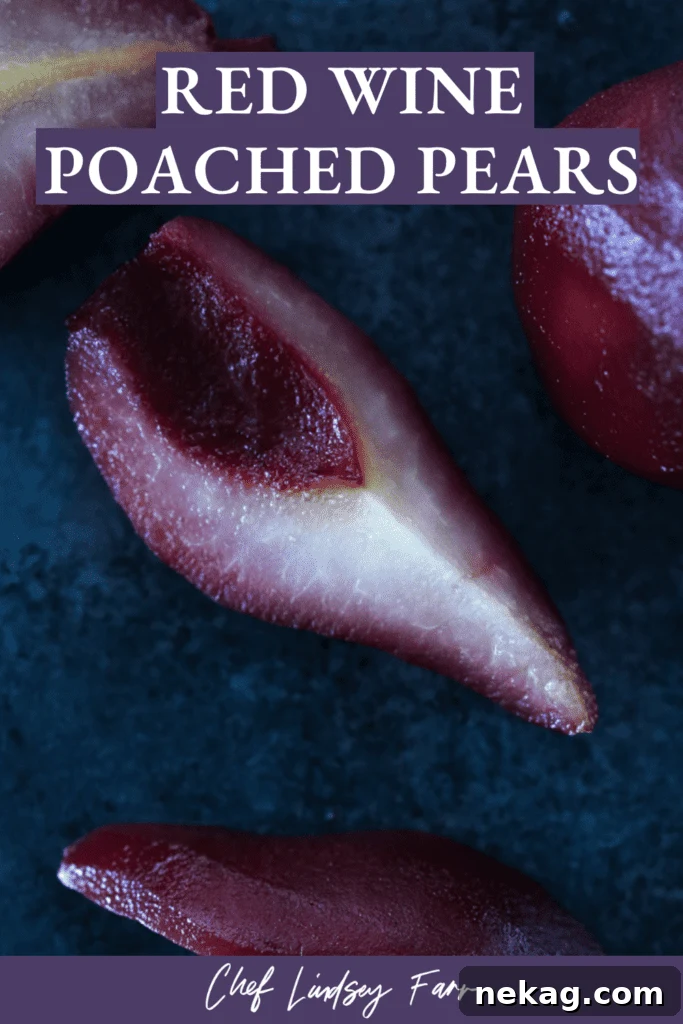
- Optimal Storage for Flavor and Color: Once both the pears and the liquid have completely cooled, it’s time for the magic to happen. Return the cooled pears to their poaching liquid for storage. This method serves multiple purposes: it prolongs their freshness, allows the flavors to permeate even deeper into the fruit, and, most excitingly, enables that brilliant red color to fully penetrate to the very core of the pear. The longer they sit (within reason, usually 2-4 days are ideal), the deeper and more uniform the color becomes. This is how you achieve that truly “sexy dessert” aesthetic!
- Don’t Waste the Leftover Poaching Liquid!: As a pastry chef, my instinct is always, “Utilize everything!” The leftover red wine poaching liquid is a culinary goldmine. My absolute favorite thing to do with it is to reduce it down into a rich, flavorful syrup. Simply simmer it gently until it thickens to a desired consistency. This reduction makes an incredible sauce to drizzle over the poached pears themselves, ice cream, yogurt, or even savory dishes. It’s a little professional secret that elevates the entire experience. You can also use it in cocktails, as a glaze for meats, or even as a base for a vinaigrette.
- Flavor Enhancements: While the recipe provides a classic base, feel free to customize. Consider adding spices like a cinnamon stick, a few star anise pods, whole cloves, or strips of orange zest to the poaching liquid. These aromatics will infuse the pears with even more complexity and warmth.
Red Wine Poached Pears
Chef Lindsey
10 mins
2 hrs
2 hrs
10 mins
10
people
Comment
Print Recipe
Ingredients
-
1-10
pears
that are ripe but still firm, I prefer D’anjou, Bartlett, or Comice -
1
Bottle
Red Wine of choice
pinot noir, malbec, chianti, or whatever you have on hand -
175
g
Sugar
-
3
cups
Water -
½
Vanilla bean
spent or freshly split and scraped -
30
g
Lemon Juice
Instructions
-
Combine the red wine, sugar, water, vanilla bean (whole or split and scraped), and lemon juice in a pot. Choose a pot that is deep enough to fully submerge all the pears but doesn’t have an excessively wide base; you want the liquid to comfortably cover the pears.
-
Bring the liquid to a gentle boil over medium-high heat, stirring occasionally to ensure the sugar fully dissolves. Once dissolved, you can reduce the heat to a simmer, or if preparing ahead, cool the liquid and reheat to a simmer just before adding the pears.
-
Carefully peel the pears, leaving them whole. Using a melon baller or a small rounded teaspoon, gently core the pears from the bottom, being careful not to go all the way through to the stem end. This creates a neat cavity and helps the poaching liquid penetrate.
-
Place the prepared pears into the warmed poaching liquid. Ensure they are mostly submerged; if not, you can use a parchment paper lid (cut to fit inside the pot) to keep them immersed. Simmer, uncovered, until the pears are tender. This typically takes approximately 1 to 2 hours, depending on the ripeness and variety of your pears.
-
To test for doneness, gently slide a sharp paring knife or a cake tester into the stem end of a pear. It should glide easily through the flesh with minimal resistance when pulled out. If it feels firm, continue simmering and check again in 15-minute intervals.
-
Once tender, carefully remove the pears from the hot poaching liquid and transfer them to a baking sheet or a shallow dish. Allow both the pears and the poaching liquid to cool completely and separately. This stops the cooking process and prevents the pears from becoming mushy.
-
Once everything is cool, return the pears to the poaching liquid for storage. They are delightful and ready to serve immediately, but for that stunning, deep red color to fully penetrate to the core of the pear, they will need to sit in the liquid for 2 to 4 days. The longer they steep, the more vibrant and uniform their color will become. Store in the refrigerator.
Video
Notes
Nutrition
Calories:
233
kcal
|
Carbohydrates:
47
g
|
Protein:
1
g
|
Fat:
1
g
|
Saturated Fat:
1
g
|
Polyunsaturated Fat:
1
g
|
Monounsaturated Fat:
1
g
|
Sodium:
9
mg
|
Potassium:
305
mg
|
Fiber:
6
g
|
Sugar:
35
g
|
Vitamin A:
46
IU
|
Vitamin C:
9
mg
|
Calcium:
25
mg
|
Iron:
1
mg
Dessert, Side Dish
American, French
233
Like this? Leave a comment below!
In conclusion, Red Wine Poached Pears are more than just a recipe; they are an invitation to create something truly beautiful and delicious with minimal effort. Their elegant appearance, delicate texture, and rich, infused flavors make them a standout dessert that can adapt to countless culinary scenarios. Whether you’re a seasoned pastry chef or a home cook looking to impress, this dish offers a rewarding experience from start to finish. So, next time you’re contemplating a dessert that’s both simple and spectacular, let these ruby-red gems be your guide. They might just become your new favorite obsession too!