The Best Salted Caramel Sauce: Thick, Rich, and Easy in Under 15 Minutes
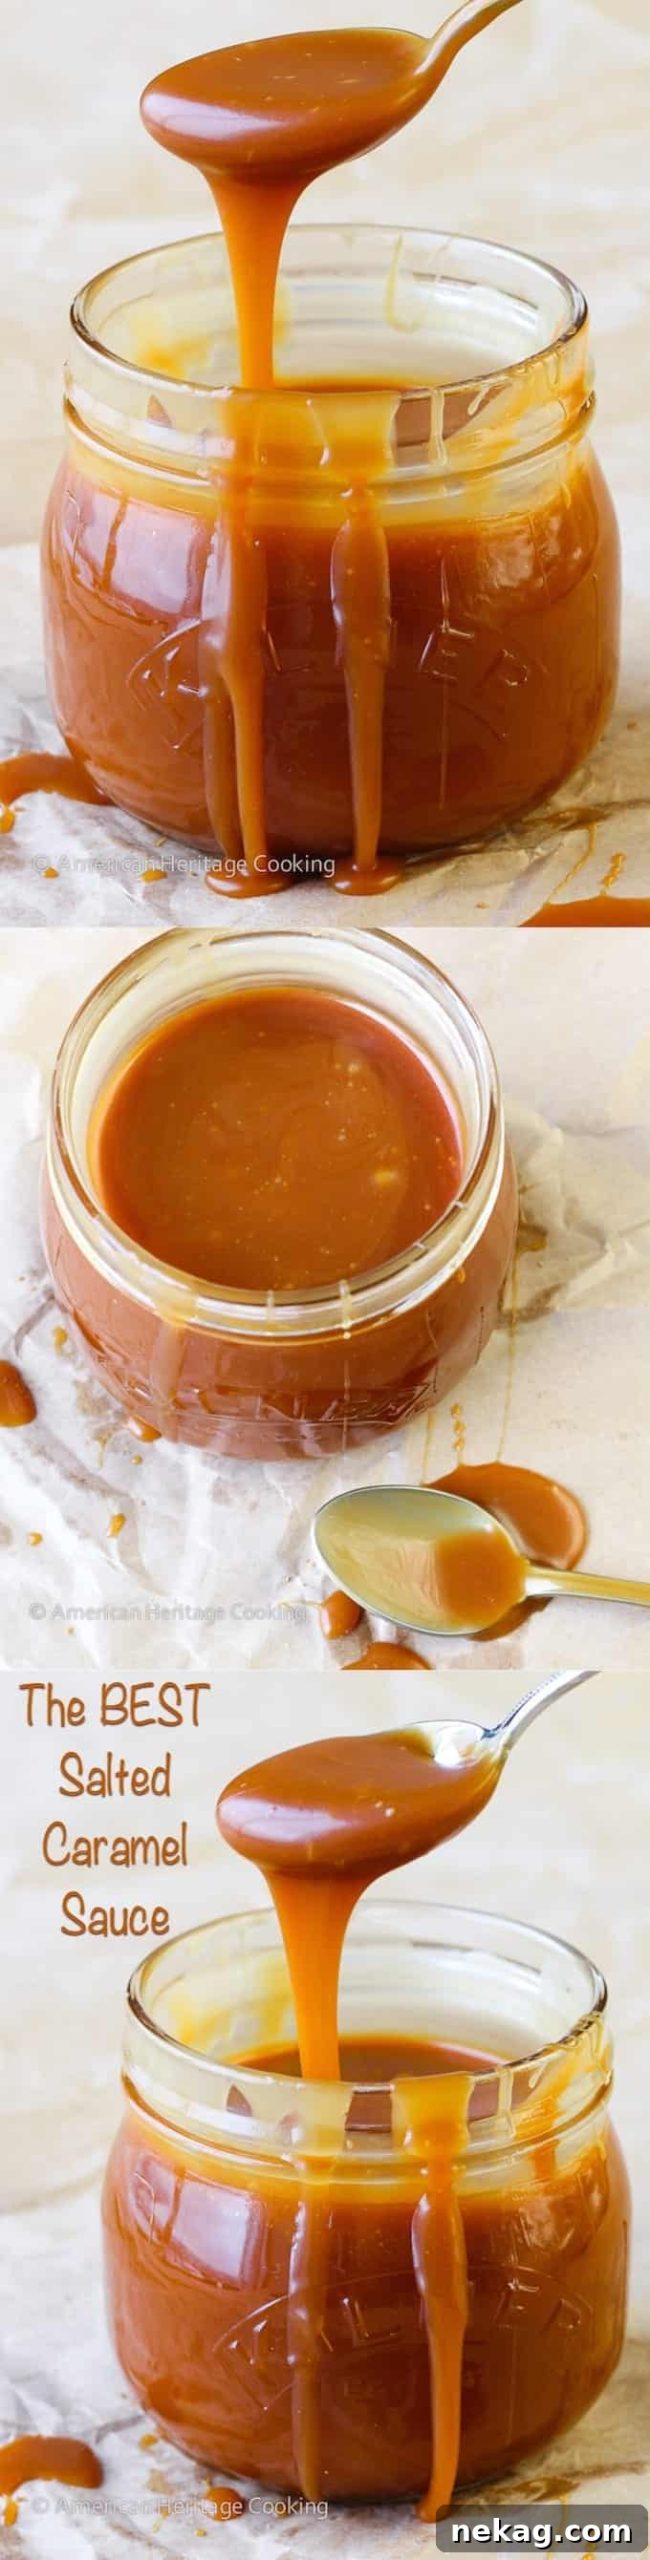
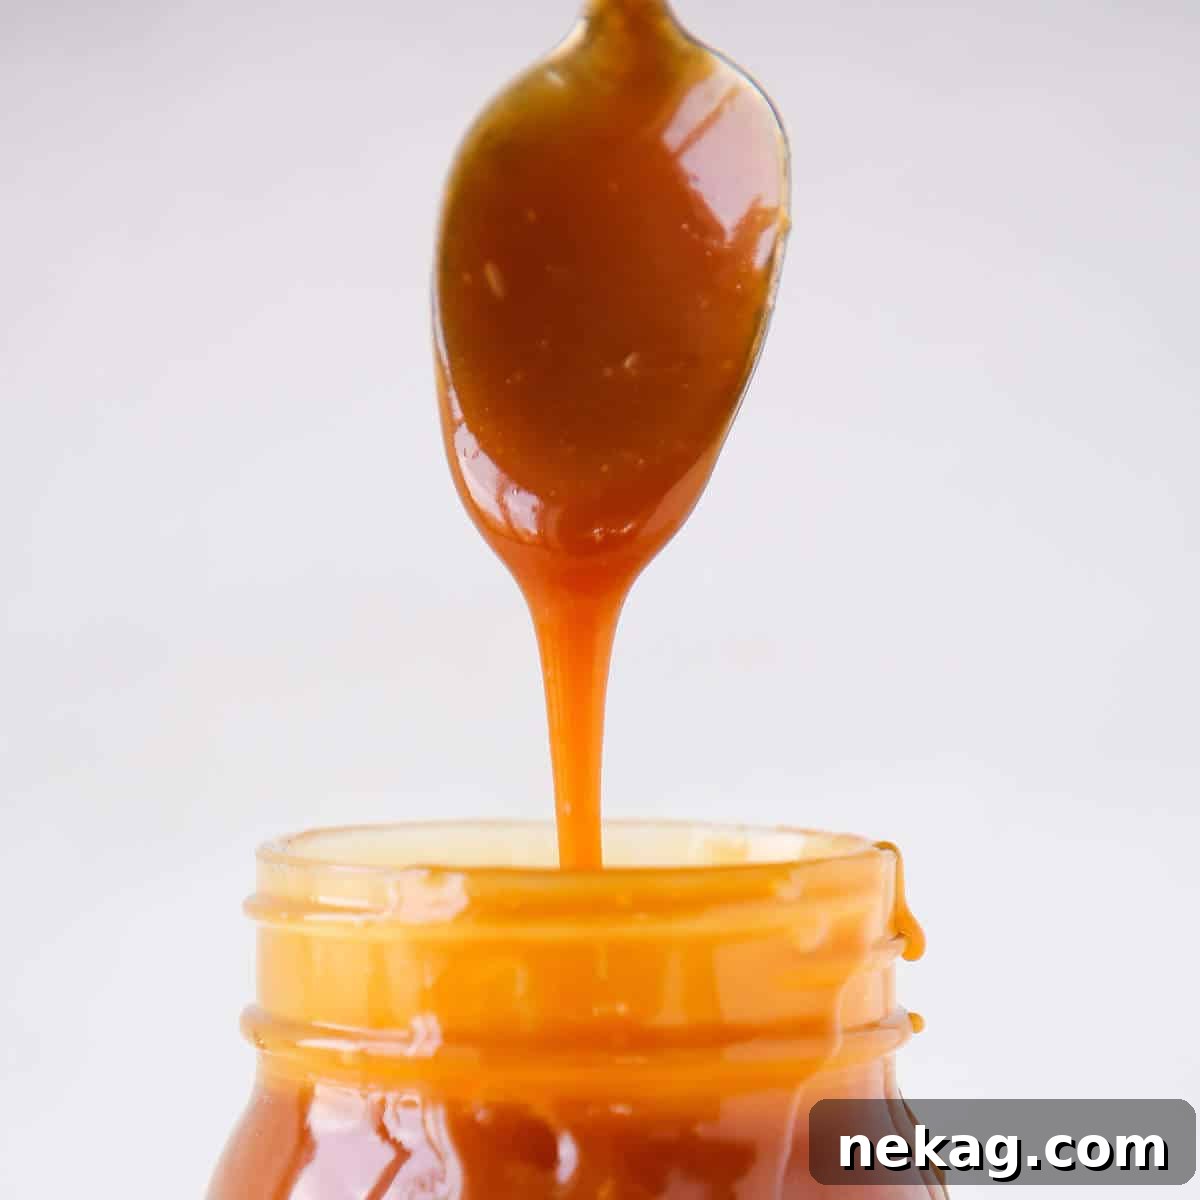
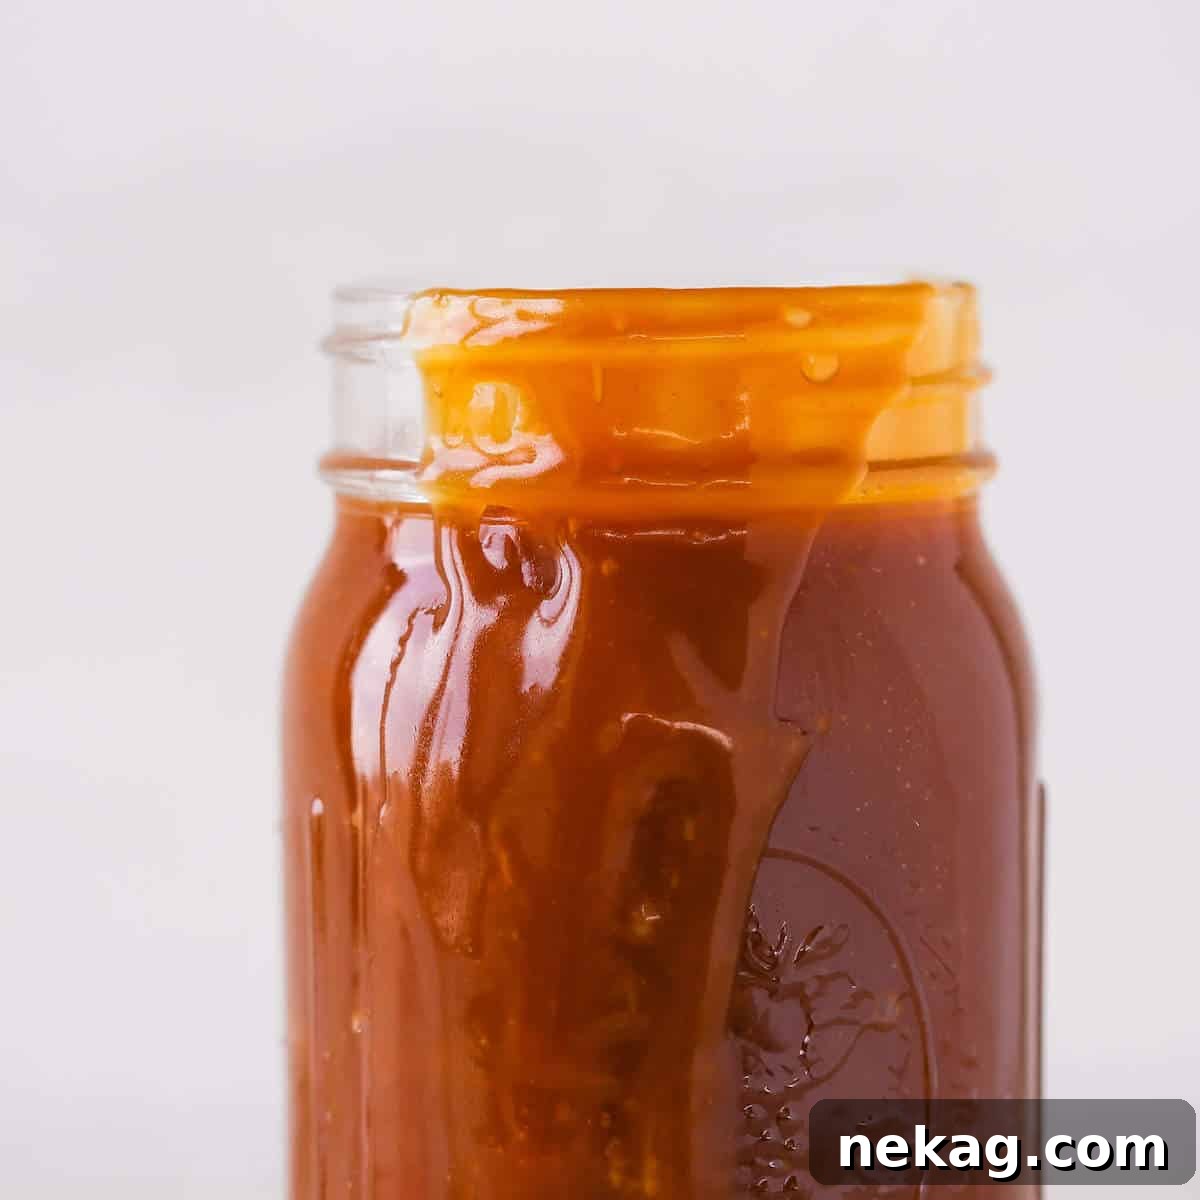
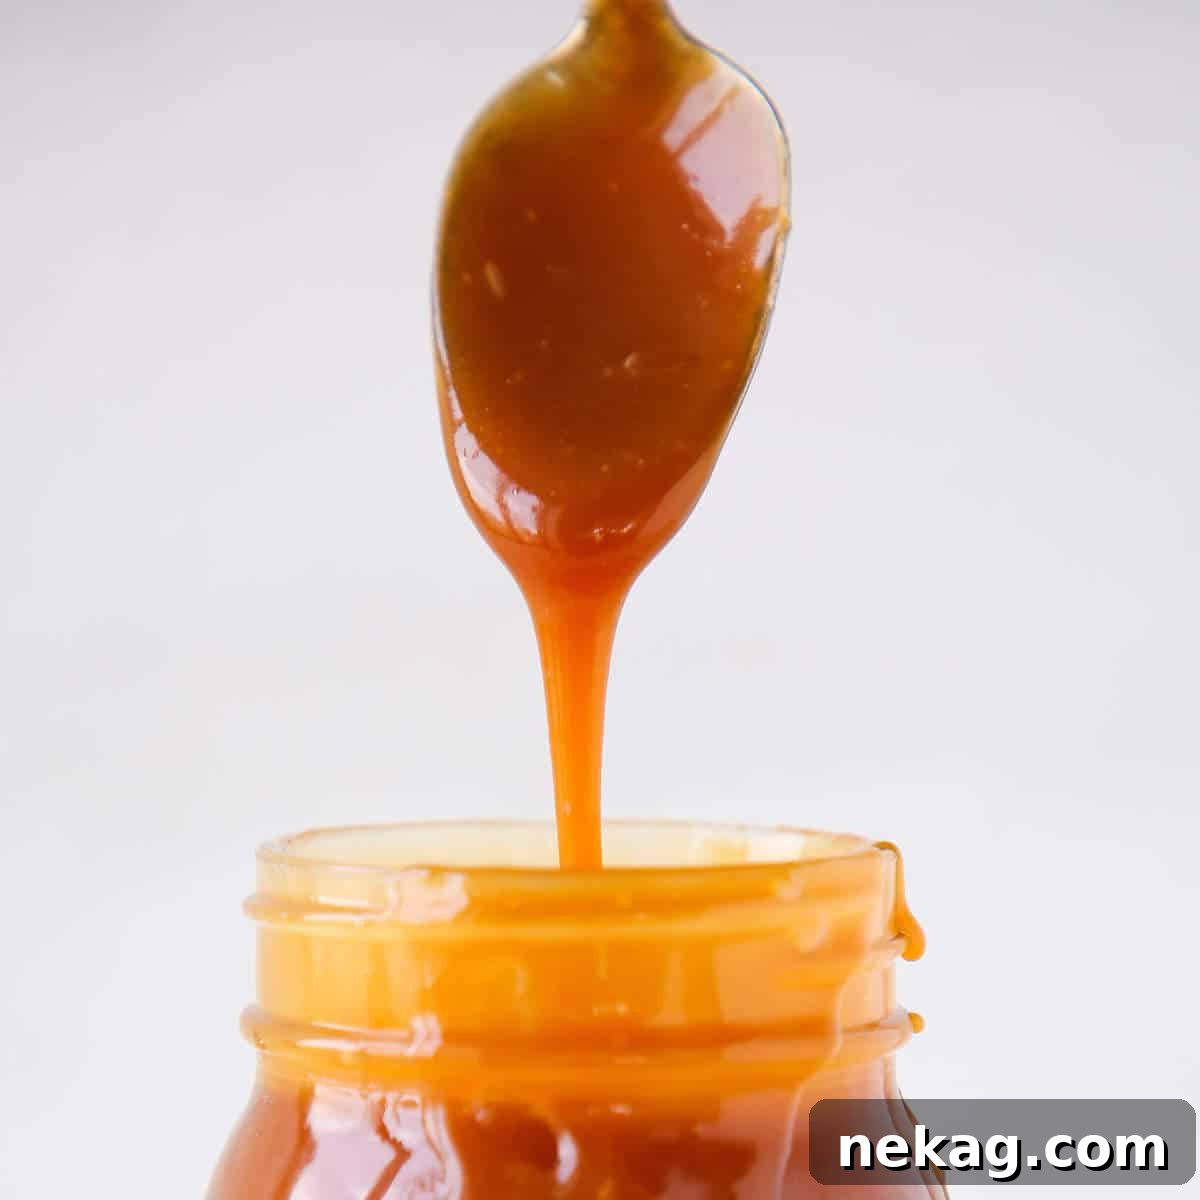
Unlock the secret to a perfectly thick, utterly delicious, and incredibly easy Salted Caramel Sauce that comes together in under 15 minutes! With just 5 simple ingredients, you’ll create the finest caramel sauce you’ve ever tasted. This versatile recipe is ideal for elevating your bars, tarts, and cakes, or simply as an irresistible topping for any dessert.
Quick Recipe Overview
Get a brief summary of this fantastic recipe. For complete instructions and details, jump directly to the full recipe card below.
Jump to Recipe
Prep Time
2 minutes
Cook Time
13 minutes
Total Time
15 minutes
Servings
18 people
Difficulty
Moderate
Calories *
121 kcal per serving
Technique
Dry caramel: caramelize sugar, add cream and butter, cool and store.
Flavor Profile
Rich salted vanilla caramel sauce.
* Based on nutrition panel
Your caramel is the first one I ever made. (Years ago, before you went to culinary school!) I used the “wet” method. Was it scary at first… sure, a lot of things worth doing are. Anyway, it’s well worth the time making your own caramel. And just in time for the holidays. It makes a great gift as well. ⭐⭐⭐⭐⭐
Nikky P
Master the art of creating a truly versatile salted caramel sauce using the classic dry caramel method. This technique yields a wonderfully thick sauce, making it the perfect choice for incorporating into your favorite baked goods, such as these caramel chocolate chip blondies, or enriching buttercreams like this caramel Swiss meringue buttercream, and even custards like crème caramel. Of course, it also shines as a luxurious topping for almost any dessert!
As a professional chef, I’m sharing all my invaluable tips and tricks to ensure you achieve flawless caramel every single time. Moreover, I’ll equip you with the knowledge to troubleshoot and fix common issues, because even experienced cooks have “bad caramel days.” Don’t let the process intimidate you; with a little guidance, you’ll be making spectacular homemade caramel like a pro.
Table of Contents
- Why This is The Ultimate Salted Caramel Recipe
- Essential Professional Tips for Crafting Caramel Sauce
- Key Ingredients for Perfect Caramel
- Exciting Caramel Sauce Variations
- Creative Ways to Use Your Homemade Caramel Sauce
- Step-by-Step: Homemade Salted Caramel Sauce (Dry Method)
- Exploring the Wet Caramel Method
- Chef Lindsey’s Expert Recipe Tip
- Frequently Asked Questions About Caramel
- Complete Salted Caramel Sauce Recipe Card
- Before You Go: Explore More Chef-Developed Recipes
Why This is The Ultimate Salted Caramel Recipe
- Achieves a Luxurious Thick and Pourable Consistency: Unlike thin, runny store-bought versions, this recipe creates a beautifully thick caramel sauce. This makes it incredibly versatile – perfect not just for drizzling over ice cream or cakes, but also robust enough to be baked directly into various recipes without altering their texture or causing sogginess. Its rich body ensures it holds up beautifully in any application.
- A Recipe Developed in a Professional Kitchen: This isn’t just a home cook’s experiment; this is the very same recipe Chef Lindsey perfected and utilized in high-volume, professional restaurant settings. Its reliability, consistent results, and adaptability mean it can be scaled up for larger batches with confidence, making it a truly foolproof formula born from culinary expertise.
- Exquisitely Balanced Flavors: Many caramel recipes rely heavily on excessive butter or cream, resulting in a sauce that can be overwhelmingly rich. Our recipe achieves a harmonious balance, where the distinct notes of salt, deep caramelized sugar, and creamy dairy converge perfectly. The result is a complex, satisfying flavor profile that is indulgent without being cloying, allowing each component to shine.
Essential Professional Tips for Crafting Caramel Sauce
Making caramel can seem daunting, but with these pro tips, you’ll feel confident and achieve delicious results every time.
- The Golden Rule: You Are in Control. Remember that you are the master of your stove’s heat. This means you dictate how quickly or slowly your sugar caramelizes. Don’t rush it; a steady, controlled heat is your best friend. Adjust the flame as needed to maintain a consistent process.
- Embrace Uneven Caramelization: It’s absolutely normal for sugar to caramelize at different rates across the bottom of your pot. Don’t panic if you see dark amber spots alongside unmelted granules. This happens every time! Simply use a wooden spoon to gently stir or swirl the unmelted sugar crystals into the already melted, darker pockets. This action not only helps dissolve the remaining granules but also slightly cools the hotter spots, evening out the cooking process.
- Pre-Heat Your Dairy Mixture: Always bring your butter, heavy cream, vanilla, and salt mixture to a gentle boil *before* adding it to your hot caramel. This crucial step ensures that the warm cream doesn’t drastically lower the temperature of the scorching hot sugar, preventing the caramel from seizing into a hard, unmanageable lump. A smooth, pourable sauce starts with warm ingredients.
- Respect the Heat, Don’t Fear the Caramel: Caramel gets extremely hot (around 340°F or 170°C), so take necessary safety precautions like wearing oven mitts and using a long-handled whisk. However, avoid fear, as it can lead to erratic movements. Move calmly and deliberately. The worst-case scenario is that your sugar gets too dark and you need to start over – it’s a learning experience, not a disaster!
- Whisk Vigorously When Adding Liquids: When it’s time to incorporate your hot cream and butter mixture, pour it slowly into the caramelized sugar while continuously whisking. This controlled addition minimizes aggressive bubbling and helps calm the caramel, ensuring a smooth emulsification. Always use the longest-handled whisk you own for maximum safety and leverage.
- Transfer to Stop Cooking: Immediately after incorporating your cream/butter mixture, pour the hot caramel into a separate heat-proof glass, ceramic, or metal bowl. Leaving it in the hot pot, especially a heavy-bottomed one, will allow residual heat to continue cooking the caramel, potentially making it too dark or even burnt, particularly in larger batches.
- Practice Makes Perfect (and Helps You Learn Your “Sweet Spot”): Determining the “just right” color for caramel is an acquired skill. Sometimes, you won’t know what “too dark” looks like until you’ve taken it there. This experience is invaluable! Next time, you’ll know to add your cream/butter mixture a bit earlier. This hands-on learning is how professional cooks truly master caramelization, akin to Goldie Locks finding the perfect porridge – not too light, not too dark, but just right.
Key Ingredients for Perfect Salted Caramel Sauce
Crafting this exquisite salted caramel sauce requires just a handful of quality ingredients. Here’s what you’ll need and why each component is essential:
- Unsalted Butter: We specify unsalted butter for precise control over the salt content in the final sauce. While you *could* use salted butter and adjust, starting with unsalted butter allows you to perfectly balance the saltiness, enhancing the rich caramel flavor rather than overwhelming it. Cut into pieces, it melts more evenly into the hot cream.
- Heavy Cream: This is crucial for achieving the caramel’s characteristic smooth, luxurious texture and rich mouthfeel. The heavy cream emulsifies with the caramelized sugar and butter, transforming it from a thick syrup into a pourable sauce. Its high-fat content also contributes significantly to the overall decadent flavor.
- Vanilla Extract: A touch of high-quality vanilla extract deepens the flavor profile, adding warmth and complexity. While optional for a pure salted caramel, vanilla enhances the sauce beautifully. For an even more intense flavor, consider using vanilla bean paste or the seeds from half a vanilla bean.
- Kosher Salt: The “salted” in salted caramel is key! Many recipes suggest fleur de sel, and while flaky sea salt offers a lovely textural contrast, I find it can be challenging to ensure it fully dissolves for a smooth sauce. Furthermore, some sea salts can have an overpowering “briny” flavor. Kosher salt, or even fine table salt, dissolves more readily and provides a clean, balanced salinity that perfectly complements the sweetness of the caramel, allowing the rich sugar notes to shine.
- Granulated Sugar: The foundation of all caramel, plain white granulated sugar is all you need. Its simple composition allows it to caramelize cleanly, developing deep, complex flavors as it transforms with heat. Avoid using brown sugar for this recipe, as its molasses content can interfere with the pure caramelization process.
For precise measurements and quantities, please refer to the complete recipe card located at the bottom of this page.
Exciting Caramel Sauce Variations
Once you’ve mastered the basic salted caramel sauce, the possibilities for customization are endless. Here are a few ideas to inspire your culinary creativity:
- Adjust the Consistency for Your Needs: If you prefer a looser, more pourable sauce than our standard thick version, simply incorporate an additional ¼ cup of heavy cream into the recipe. This will create a slightly thinner consistency perfect for drizzling without compromising flavor. We recommend not exceeding this additional amount to maintain the sauce’s integrity.
- Experiment with Flavor Profiles for a Bright Caramel Gastrique: For a vibrant, tangy twist, consider substituting some of the heavy cream with fruit juices like lemon juice, orange juice, or even apple cider. This creates a “gastrique-style” caramel sauce that offers a delightful tartness, beautifully balancing the sweetness. Finish with a small knob of butter for added silkiness and a well-rounded flavor. Remember to reduce the amount of added salt if you’re replacing dairy with acidic juices, as the acid itself can enhance flavors.
- Infuse Your Caramel with Aromatic Spices: This method is perfect for adding subtle or bold spice notes to your caramel. After making the basic sauce, add whole cinnamon sticks, spent vanilla bean pods (don’t waste those flavorful empty pods!), star anise, or other complementary spices. Gently reheat the sauce with the spices, then remove from heat and cover the pot to allow the flavors to infuse. Taste periodically until the desired flavor strength is achieved, as some spices can be quite potent. Remove solid spices before storing.
Creative Ways to Use Your Homemade Salted Caramel Sauce
Once you’ve made a batch of this luscious salted caramel sauce, you’ll find countless ways to incorporate it into your culinary creations. Its rich flavor and ideal consistency make it incredibly versatile:
- Bake It Into Cookies, Cakes & More!: The impressive thickness of this sauce makes it absolutely perfect for baking. It won’t thin out your batter or dough, ensuring your baked goods maintain their intended texture. Try baking it into these delightful chocolate caramel cupcakes, gooey caramelitas, satisfying caramel butter bars, elegant caramel apple tart, or chewy caramel chocolate chip blondies. It adds bursts of concentrated caramel flavor throughout your treats.
- A Decadent Topping for Any Dessert: Elevate almost any sweet treat with a generous drizzle of this rich salted caramel sauce. It’s truly transformative! Pour it over this comforting caramel molasses pound cake for an extra layer of indulgence. Drizzle it over a slice of decadent chocolate cheesecake, a silky buttermilk panna cotta, or use it to add a sophisticated flair to a simple vanilla cake. It’s also heavenly over ice cream, brownies, or fresh fruit.
- Infuse Buttercreams and Custards with Caramel Flavor: Go beyond just topping and actively incorporate this delicious sauce to transform the flavor profile of your frostings and fillings. Use it to create a luxurious caramel Swiss meringue buttercream or a simple, flavorful caramel buttercream for caramel apple cupcakes. Expand your horizons further by adding it to caramel pastry cream or a comforting caramel pudding for an unforgettable depth of flavor.
- The Perfect Filling or Swirl Element: Its thickness makes it an ideal filling or swirl component. Fill fluffy caramel cupcakes with a hidden center of sweet, salty caramel. Swirl it through homemade ice cream, like this incredible chocolate caramel ice cream, for ribbons of chewy delight. For a quick and impressive dessert, use it as the base for salted caramel tartlets, filling them with the rich sauce and topping with nuts or chocolate.
Step-by-Step: Homemade Salted Caramel Sauce (Dry Method)
The dry caramel method is revered for producing a caramel with a deep, complex flavor. This technique involves melting sugar without the addition of water, allowing for intense flavor development. Further details and precise measurements can be found in the recipe card below.
Step 1: Prepare Your Dairy Mixture. In a small saucepan, combine the heavy cream, unsalted butter (cut into pieces), vanilla extract, and kosher salt. Heat this mixture over medium heat until it just begins to boil. Immediately remove it from the heat and set it aside. Keeping it warm ensures it won’t seize the caramel later.
Step 2: Begin Caramelizing the Sugar. Choose a heavy-bottomed pot with high sides to prevent boil-overs. Place it over medium-high heat. Start by sprinkling a thin, even layer of granulated sugar over the bottom of the pot. As this first layer begins to melt and turn amber, gradually sprinkle in more sugar. Continue this process until all the sugar is in the pot. As more sugar melts, use a wooden spoon to gently stir and break up any sugar clumps that form, ensuring even melting.
Troubleshooting Tip: If, despite your best efforts, you find stubborn undissolved sugar pieces when your caramel reaches a dark amber color, do not despair! Simply strain the finished caramel sauce through a fine-mesh sieve into your heat-proof bowl. Even in professional kitchens, small mishaps can occur; it’s easy to fix!
Step 3: Achieve the Perfect Amber Color. Continue to gently stir the melting sugar, ensuring you distribute it into any hotter areas of the pot. Use the already melted, liquid sugar to help dissolve the remaining granules. Once all the sugar has fully melted and transformed into a liquid, stop stirring. Instead, gently swirl the pot frequently until the caramel achieves a deep, dark amber color.
Visual Cue for Color: If you’re struggling to accurately gauge the caramel’s color, carefully tilt the pot towards you. This creates a thinner layer of caramel at the bottom, making it easier to discern its true hue. A medium amber is perfectly acceptable, but for a truly rich, deep flavor, aim for a dark amber. This is typically when the caramel just starts to emit a very faint wisp of smoke, right before it begins to smell burnt.
Step 4: Incorporate the Dairy Mixture. Carefully remove the pot from the heat and place it on a heat-safe trivet or a folded towel on your countertop. While continuously whisking, slowly and steadily pour your warm cream and butter mixture into the hot caramel. Be prepared for aggressive bubbling and steam – this is normal! Pouring slowly helps manage the reaction, and continuous whisking helps to calm the caramel and prevent it from seizing or becoming lumpy. Use a long-handled whisk for safety.
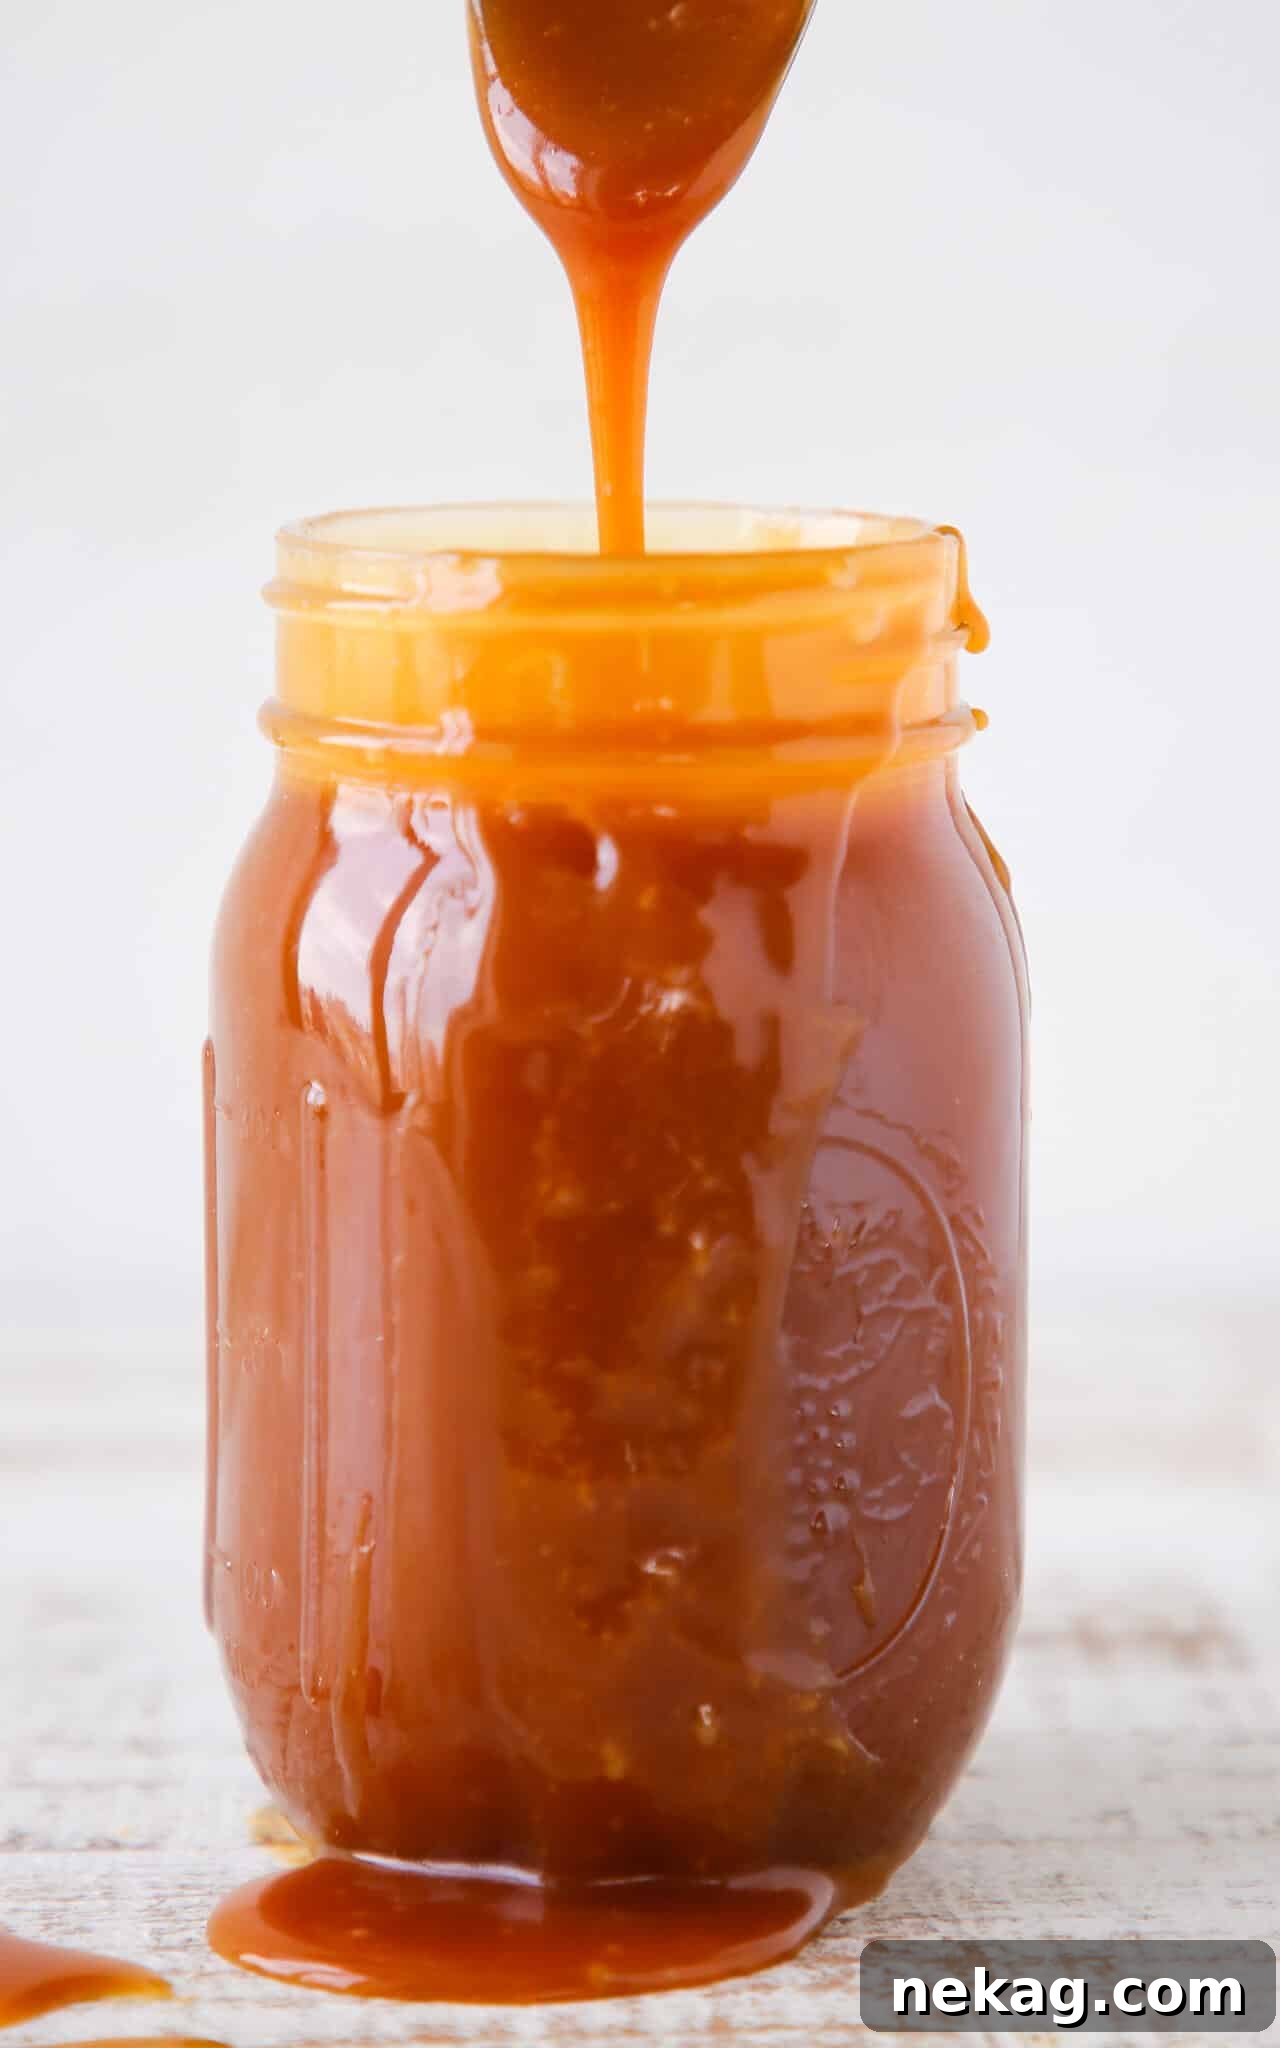
Step 5: Cool and Store. Once all the dairy liquid has been smoothly incorporated and whisked in, immediately pour the hot caramel sauce into a clean, heat-safe bowl (glass, ceramic, Pyrex, or metal are all suitable options). This stops the cooking process and prevents the caramel from darkening further. Allow the sauce to cool completely to room temperature. Once cooled, transfer it to your chosen airtight storage container. It will thicken as it cools.
Exploring the Wet Caramel Method
The wet caramel method involves adding water (and sometimes corn syrup) to the sugar before heating, which helps prevent crystallization. This can be a more forgiving method for beginners or when making larger batches. You can adapt this recipe by adding ¼ cup water and ¼ cup light corn syrup to the granulated sugar. The corn syrup is optional but highly recommended as a crystallization inhibitor.
- Step 1: Prepare Your Dairy Mixture. Similar to the dry method, combine cream, butter, vanilla, and salt in a small pot. Bring it just to a boil over medium heat and set aside to keep warm.
- Step 2: Prepare Sugar with Water. Pour the granulated sugar into a heavy-bottomed pot with high sides. Shake the pot to distribute the sugar in an even layer. Carefully pour the water around the edges of the sugar, then stir gently to hydrate all the sugar. Ensure no sugar crystals cling to the sides of the pot; if they do, use a clean pastry brush dipped in water to wash them down. Don’t worry about the amount of water; it will all evaporate during cooking.
- Step 3: Add Corn Syrup and Boil. If using, pour the light corn syrup into the sugar-water mixture. Turn the burner to medium-high heat. Allow the sugar solution to come to a full boil without stirring. Once boiling, you can gently swirl the pot occasionally to redistribute the liquid and manage hot spots, but absolutely avoid stirring with an implement, as this can induce crystallization.
- Step 4: Caramelize to Amber. Continue cooking and occasionally swirling the pot until the sugar syrup transforms into a dark amber color. The water will evaporate, and the sugar will begin to caramelize more rapidly towards the end.
- Step 5: Incorporate the Dairy. Remove the pot from the heat and place it on a trivet or folded towel. Slowly pour in your pre-warmed cream and butter mixture while constantly whisking. The mixture will bubble and steam intensely, but continuous whisking will help it emulsify smoothly. Use a long-handled whisk for safety.
- Step 6: Cool and Store. Once all the liquid is incorporated and whisked, pour the caramel into a heat-safe bowl to stop the cooking process. Allow it to cool completely to room temperature before transferring it to your desired storage container.
Chef Lindsey’s Expert Recipe Tip: Finding Your Perfect Caramel Flavor
The beauty of caramel lies in its spectrum of flavors, ranging from a delicate, light-colored caramel with subtle notes to the almost burnt, dark, and sultry caramel that I personally favor. My preference is to add the butter and cream when the sugar turns a deep, rich amber color, just as there’s the slightest hint of a smoky aroma when you carefully waft the vapors – a technique often taught in basic chemistry, useful even here! This yields a caramel with profound depth and a beautifully balanced bittersweet edge.
Frequently Asked Questions About Homemade Caramel
Once completely cooled, store your homemade salted caramel sauce in an airtight container. It can be kept at room temperature for up to one month, refrigerated for up to two months, or frozen indefinitely for the longest preservation. While it remains safe to eat when frozen, it will gradually lose some of its fresh taste over many months, so it’s best enjoyed within a few months. To thaw frozen caramel, simply let it sit at room temperature or in the fridge. For quicker use, gently microwave it at 50% power in 30-second intervals, stirring thoroughly with a silicone spatula between each interval until smooth.
Yes, you can certainly scale up this recipe to make a larger batch of caramel sauce. Your primary limitation will be the size of your pot. Always ensure your pot has high enough sides to account for the caramel bubbling up vigorously when the cream and butter are added; insufficient space can lead to dangerous overflows. When making large batches, I often recommend using the wet caramel method, as it tends to be more consistent and forgiving for increased quantities. Crucially, remember to account for “carryover cooking” with larger batches. The caramel will retain heat and continue to darken even after being removed from the stove. To mitigate this, consider pouring the hot caramel into a wider, flatter container, like a baking dish. This increases the surface area, allowing it to cool much faster and halt the cooking process more effectively.
The fundamental distinction between the wet and dry caramel methods lies in the initial preparation of the sugar. In the wet method, water, and often light corn syrup or glucose, are added to the granulated sugar before heating and caramelization begin. This addition of liquid helps dissolve the sugar, making it less prone to crystallization. It’s imperative to gently swirl (never stir) a wet caramel once it starts boiling to prevent unwanted crystallization. The dry method, as taught in our main recipe, caramelizes sugar directly without water, allowing for a more intense, deep flavor development. The wet method often offers more control, especially for larger batches, and allows chefs to multitask in a professional kitchen while the sugar syrup cooks.
Butter plays several vital roles in caramel sauce. First, it helps loosen the texture, contributing to a smoother, more pourable consistency. Second, it enriches the flavor, adding a creamy, savory depth that beautifully complements the sweet caramelized sugar. Lastly, the fat in the butter contributes to an incredibly silky and luxurious mouthfeel, making the caramel truly decadent.
Grainy caramel sauce can stem from a few common issues. It often occurs if the sugar mixture seized or crystalized during the caramelization process, forming tiny sugar granules. This can happen if sugar crystals are splashed onto the sides of the pot and fall back into the syrup, or if the sugar wasn’t cooked long enough, resulting in a caramel that was too light in color and underdeveloped. Additionally, adding a cold butter/cream mixture to hot sugar syrup can cause the sugar to seize and become grainy. Ensuring your dairy mixture is warm before adding it is crucial for preventing this.
While a candy thermometer can indicate when you’ve reached the caramel stage by temperature, it is not strictly necessary for making caramel sauce. Professional chefs, and many experienced home cooks, primarily rely on visual cues, specifically the color of the cooking sugar. The changing hue of the caramel from clear to pale yellow, then golden, and finally to deep amber, provides all the information you need to know about its development and readiness. Relying on sight allows for greater precision in achieving your desired flavor profile, from light and sweet to deep and bittersweet.
If you tried this recipe and loved it, please take a moment to leave a 🌟 star rating and share your experience in the comments section below. Your feedback truly makes my day!
Salted Caramel Sauce
Chef Lindsey
2 mins
13 mins
15 mins
18 people
Comment
Print Recipe
Ingredients
- 4 tablespoons unsalted butter cut into pieces
- ¾ cup heavy cream
- ½ teaspoon vanilla extract
- ¼ tablespoon kosher salt
- 1 ½ cups granulated sugar
Instructions
Dry Caramel Method
-
In a small pot, combine cream, butter, vanilla, and salt. Bring just to a boil over medium heat and set aside.
-
Heat a heavy-bottomed pot with high sides over medium-high heat. Begin by sprinkling the granulated sugar over the bottom in a thin layer. When that starts to melt, sprinkle some more. Continue until all the sugar is in the pot. As parts begin to melt, gently stir with a wooden spoon and break up any clumps.
-
Continue to stir to distribute the sugar into any hot spots and use the already melted sugar to melt the rest. Once all the sugar has melted, stop stirring and swirl the pot until a dark amber color is achieved.
-
If you have difficulty judging the color, tilt the pot towards you to see a thinner layer of caramel. A medium amber is fine, but for a rich flavor, aim for a deep amber, right when it just starts to smoke but before it smells burnt.
-
Remove from the heat and place on a trivet or folded towel. Slowly pour in your warm cream/butter mixture while constantly whisking. Avoid adding the cream too fast to prevent aggressive bubbling. Keep whisking to calm the caramel.
-
Once all the liquid is incorporated, pour the caramel into a heat-safe bowl (glass, ceramic, pyrex, metal are all fine). Allow to cool completely to room temperature, then pour into your chosen storage container.
Wet Caramel Method
-
You can make this recipe using the wet caramel method by adding ¼ cup water and ¼ cup light corn syrup to the sugar. The corn syrup is optional but highly recommended to help avoid crystallization.
-
In a small pot, combine cream, butter, vanilla, and salt. Bring just to a boil and set aside to keep warm.
-
Pour the sugar into a heavy-bottomed pot with high sides. Shake to distribute it in an even layer. Pour the water around the edges and stir to hydrate the sugar. Stir carefully so no sugar gets on the pot’s sides. If it does, use a clean pastry brush (or folded paper towel) dipped in water to wash the sugar off. The water will evaporate.
-
If using, pour the corn syrup into the sugar-water mixture and turn the burner to medium-high. Allow the sugar to come to a full boil without stirring. Gently swirl the pot occasionally to redistribute the caramel and control hot spots, but do not stir with an implement.
-
Continue to cook and occasionally swirl until a dark amber color is achieved.
-
Remove from the heat and place on a trivet or folded towel. Slowly pour in your cream/butter mixture while constantly whisking. Be mindful of aggressive bubbling; keep whisking to calm the caramel.
-
Once all the liquid is incorporated, pour into a heat-safe bowl. Allow to cool completely to room temperature, then pour into your chosen storage container.
Video
Notes
Flavor Tips – For a deep, rich caramel that isn’t overly sweet, take the sugar syrup to a very dark amber color. It will just begin to emit a faint smoke.
Variations – For the wet caramel method, add ¼ cup water and ¼ cup light corn syrup to the sugar. Corn syrup helps prevent crystallization.
Storage – Cool completely. Store in an airtight container at room temperature for up to 1 month, refrigerated for up to 2 months, or frozen indefinitely.
Nutrition
Carbohydrates: 17g |
Protein: 0.3g |
Fat: 6g |
Saturated Fat: 4g |
Polyunsaturated Fat: 0.3g |
Monounsaturated Fat: 2g |
Trans Fat: 0.1g |
Cholesterol: 18mg |
Sodium: 100mg |
Potassium: 11mg |
Sugar: 17g |
Vitamin A: 224IU |
Vitamin C: 0.1mg |
Calcium: 8mg |
Iron: 0.02mg
Candy & Chocolate, Dessert
French
121
Like this? Leave a comment below!
Before You Go: Explore More Chef-Developed Recipes
We sincerely hope you enjoyed creating this professional chef-tested salted caramel sauce recipe and that it becomes a cherished addition to your culinary repertoire. Don’t stop here! Be sure to explore our other delicious, chef-developed dessert topping and sauce recipes to discover more ways to elevate your sweet treats and impress your guests.