
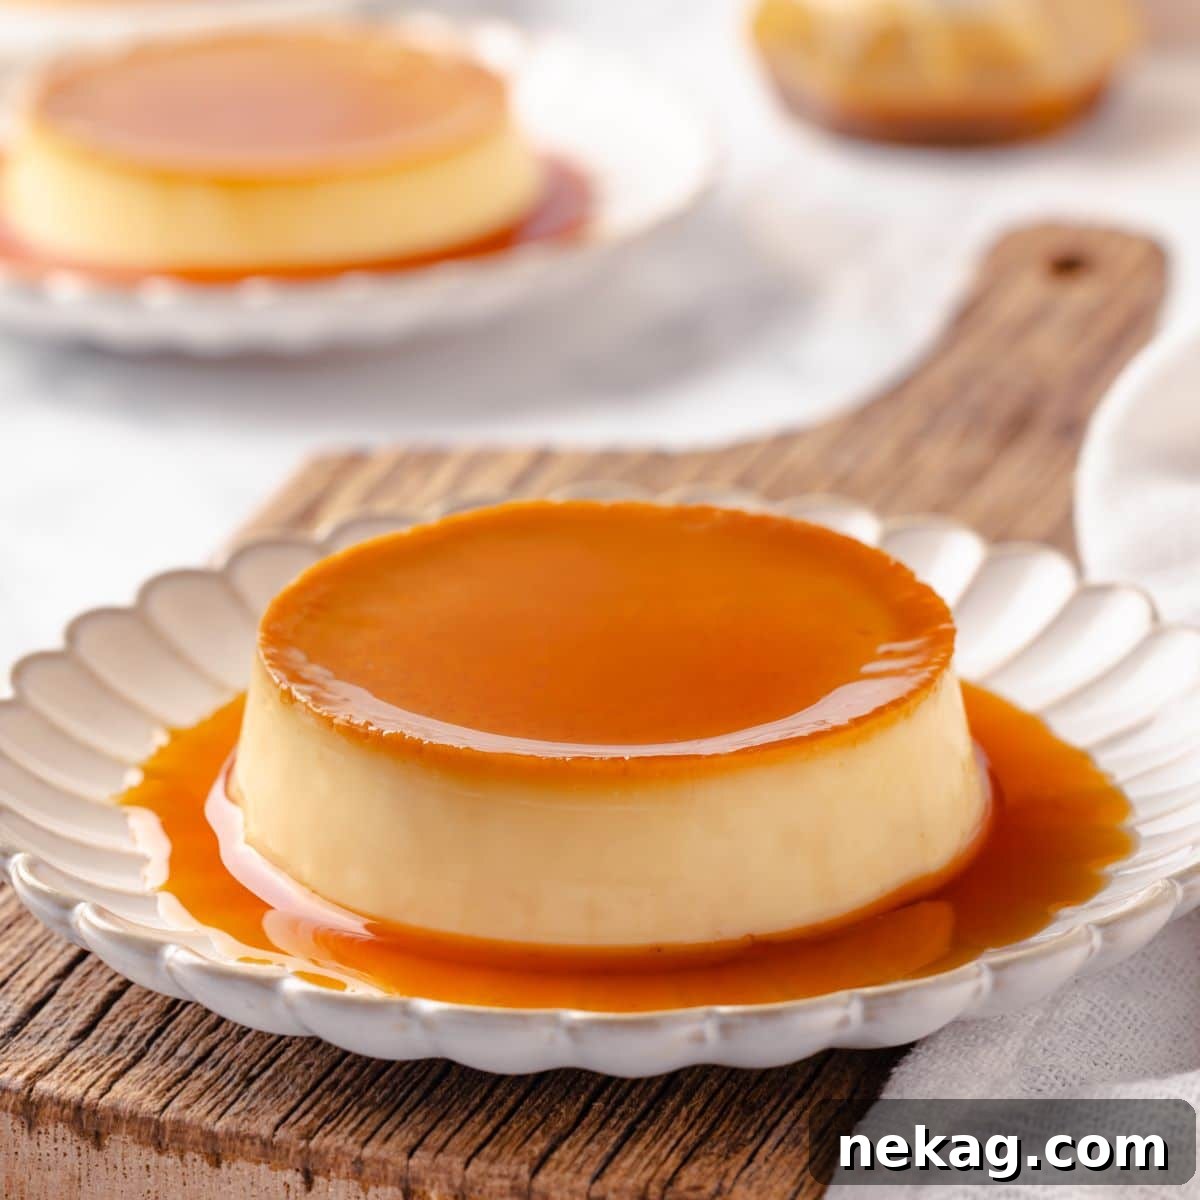
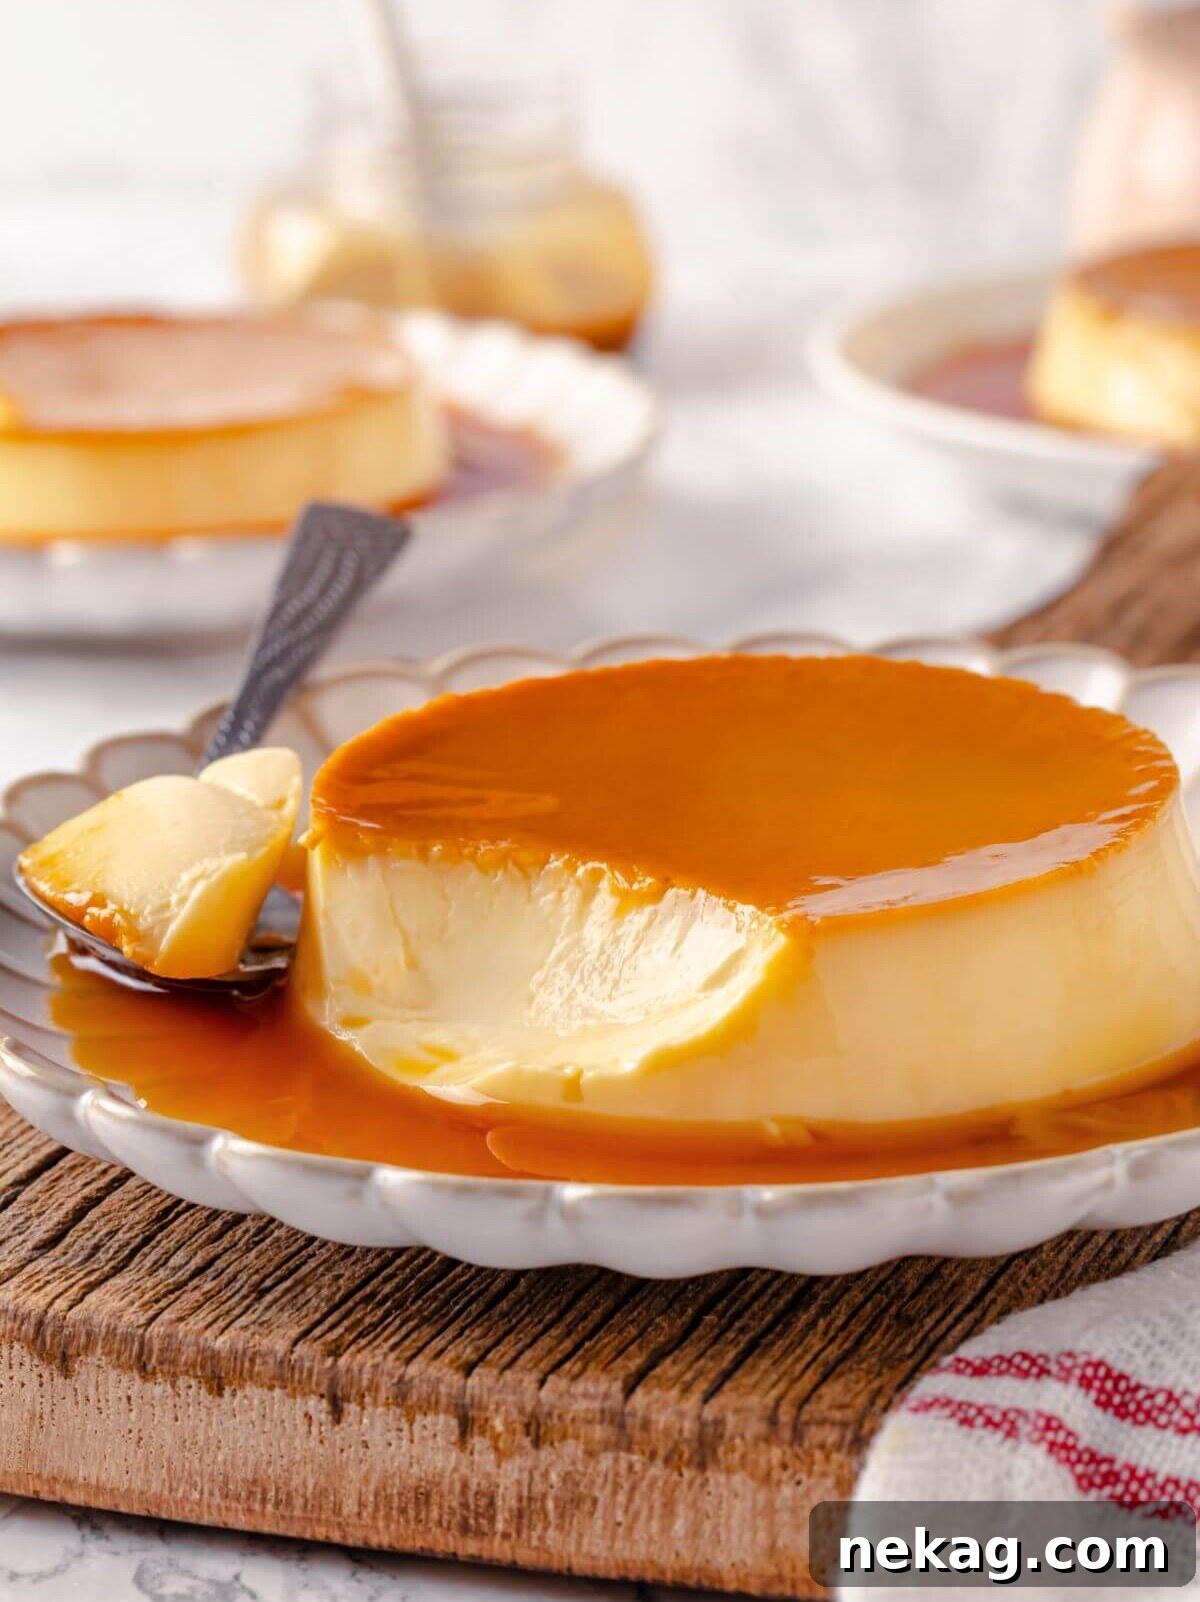
Indulge in the timeless elegance of French Crème Caramel, a dessert that effortlessly combines simplicity with sophistication. This exquisite treat features a delicate, silky vanilla custard crowned with a glistening layer of amber caramel, melting in your mouth with every bite. Crafted from basic pantry ingredients, this impressive dessert is surprisingly easy to master, making it a perfect choice for any occasion.
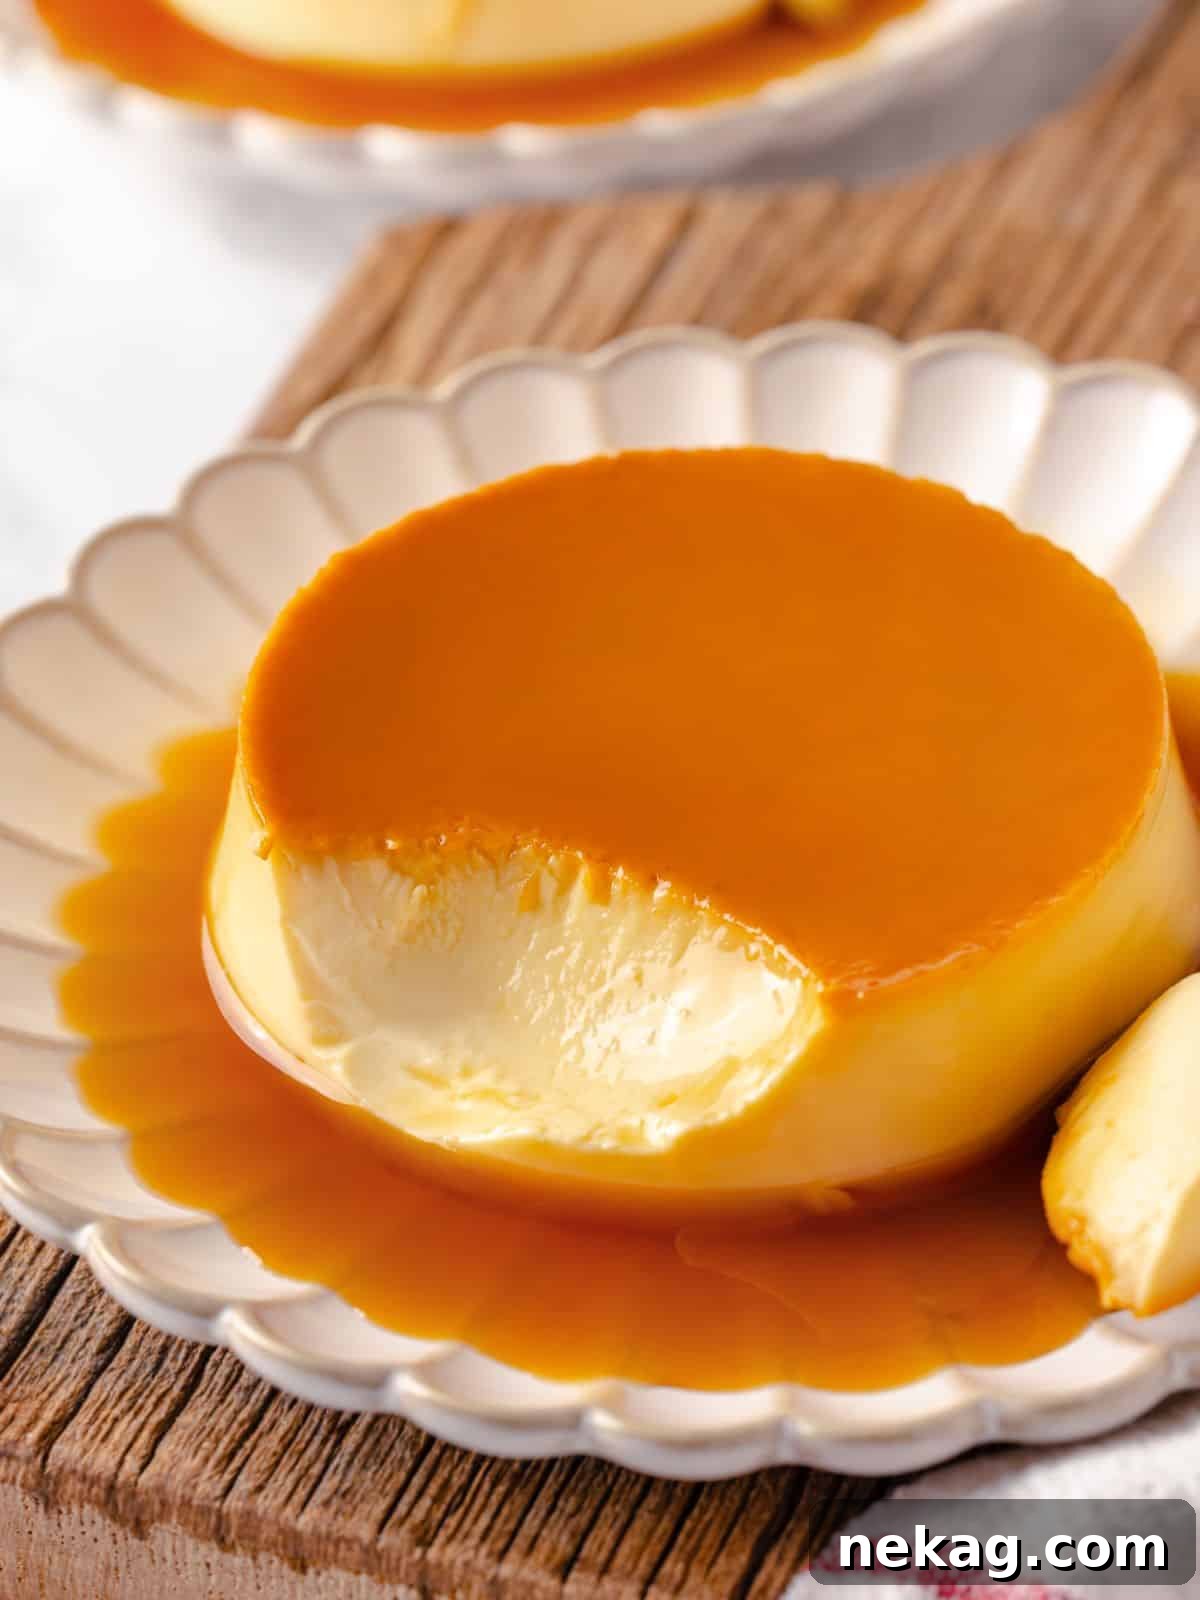
Crème caramel is often perceived as a challenging dessert, reserved for professional pastry chefs. However, this perception couldn’t be further from the truth. In reality, preparing a flawless crème caramel is both straightforward and immensely rewarding. The magic begins with creating a rich, amber caramel, which forms the base of individual ramekins. This is then gently topped with a luxurious, creamy vanilla custard. After baking in a water bath to achieve its signature smooth texture, the custards are chilled, allowing the caramel to liquefy into a luscious sauce. When it’s time to serve, a simple inversion reveals a stunning dessert: a perfectly set custard bathed in its shimmering caramel counterpart. It’s an ideal choice for elevating a dinner party, a delightful weeknight treat, or a romantic date night dessert.
Custards hold a special place in the world of desserts due to their incredible versatility and the endless possibilities for flavor customization. They fall into three main categories: baked, stirred, and frozen. If you’re a true caramel enthusiast, explore other delightful options such as our caramel pastry cream, the rich and smooth caramel pudding (a classic stirred custard), or our innovative bourbon cherry caramel ice cream (a frozen custard delight).
Why You Will Love This Crème Caramel Recipe
- Effortless Make-Ahead Elegance: One of the most appealing aspects of crème caramel is its requirement for refrigeration. This isn’t just a suggestion; it’s essential for the caramel to properly liquefy and for the flavors to meld beautifully. This inherent “make-ahead” quality makes it an absolute lifesaver when planning for dinner parties or special events. You can prepare it several days in advance, allowing you to focus on other tasks closer to your gathering, without compromising on freshness or taste.
- Luxuriously Silky and Rich Texture: The secret to our crème caramel’s unparalleled texture lies in its carefully balanced crème base. By combining whole milk, heavy cream, whole eggs, and additional egg yolks, we achieve a custard that is not only incredibly rich but also boasts an exquisitely silky smooth consistency. The extra yolks contribute to a more profound flavor profile and a denser, more satisfying mouthfeel, distinguishing it from simpler custards.
- Crafted with Everyday Pantry Staples: Despite its gourmet appearance and sophisticated taste, this crème caramel recipe calls for only seven common ingredients that are likely already in your kitchen. This accessibility means you don’t need a special shopping trip to create this magnificent dessert, empowering you to whip up a batch whenever a craving strikes or an unexpected guest arrives.
Table of Contents
- Why You Will Love This Crème Caramel
- Key Ingredients for Crème Caramel
- Crème Caramel VS Crème Brûlée: A Detailed Comparison
- Creative Variations for Your Crème Caramel
- Professional Tips for Perfect Crème Caramel
- How to Make Homemade Crème Caramel: Step-by-Step Guide
- Chef Lindsey’s Expert Tip
- Crème Caramel Recipe FAQs
- Recommended Caramel Recipes
- Classic Crème Caramel Recipe
- Before You Go: Explore More Custard Delights
Key Ingredients for Crème Caramel
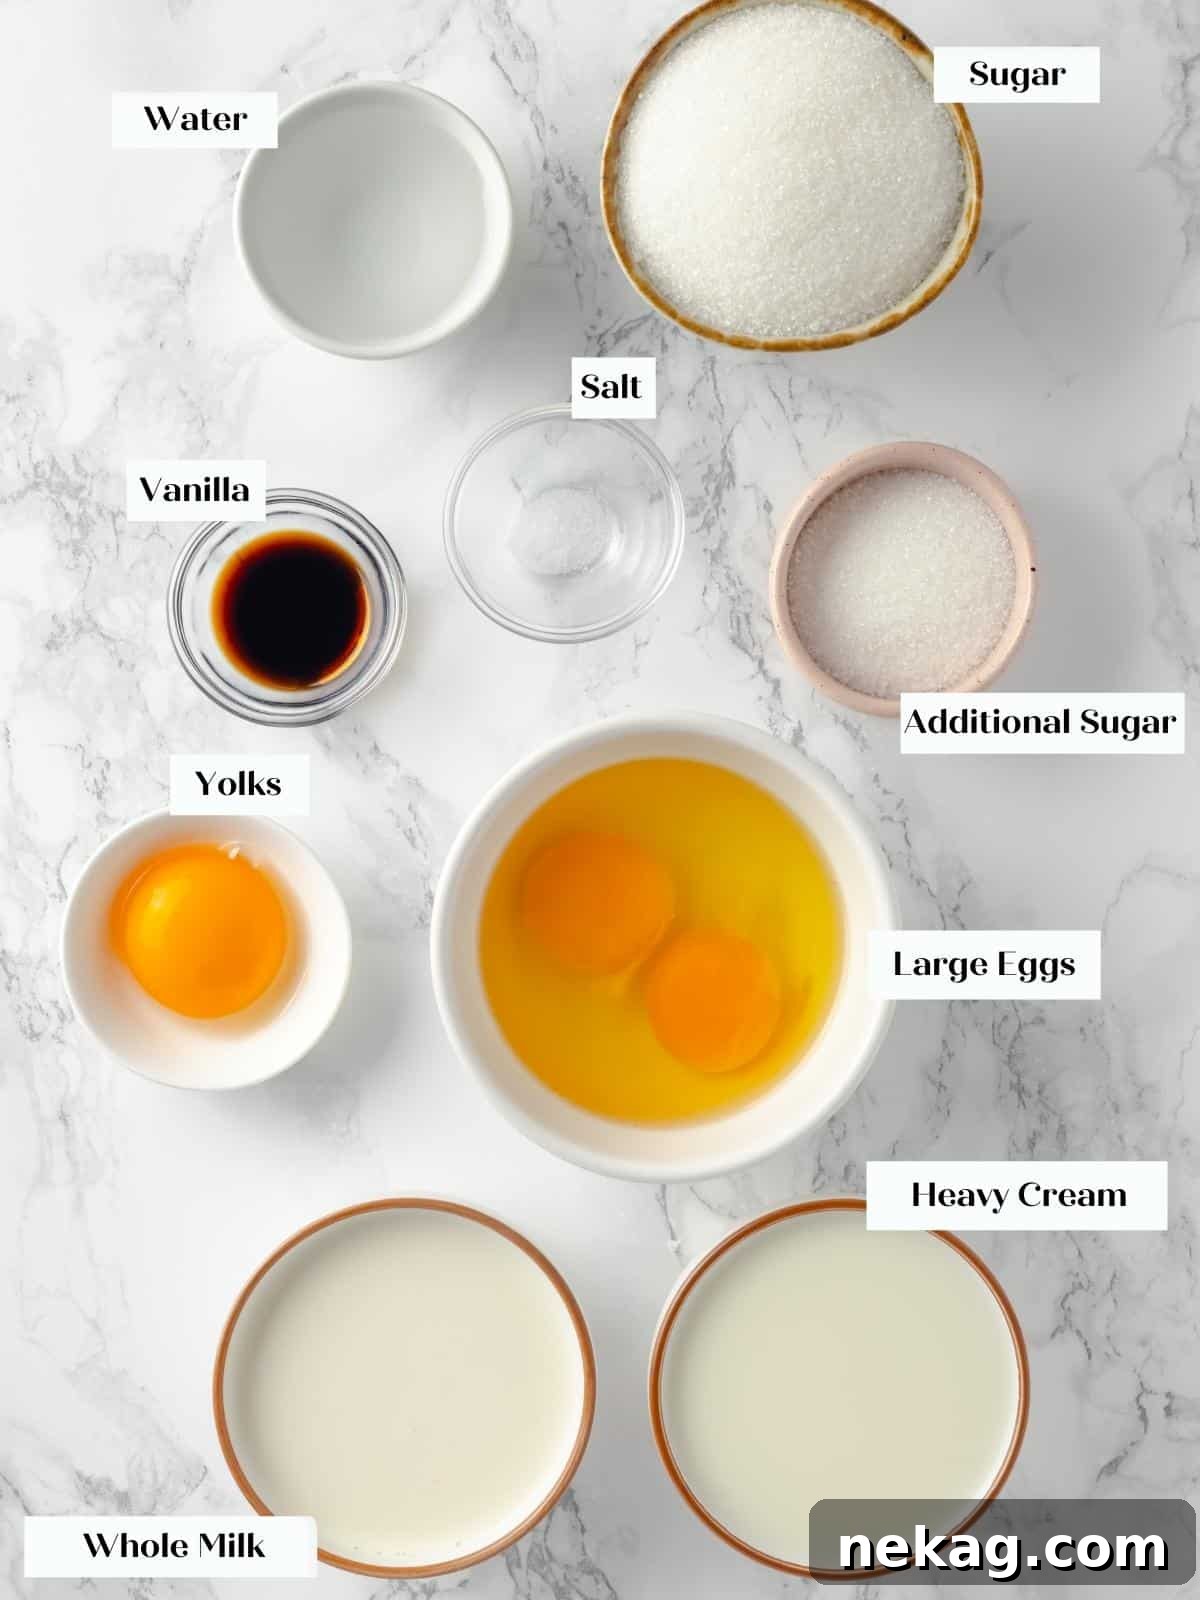
- Granulated Sugar: This is the star of the show for both sweetness and, crucially, for creating the signature caramel. Beyond its role in flavor, sugar acts as a protective agent for the eggs and yolks in the custard, preventing them from curdling when subjected to heat.
- Water (Optional): The inclusion of water depends on your preferred method for making caramel. For a “dry caramel,” no water is needed, relying solely on melting sugar. A “wet caramel,” however, incorporates water to dissolve the sugar crystals, which can help prevent crystallization and offer more control, especially for beginners or larger batches.
- Whole Milk: We recommend using whole milk (or at least 2% milk) to ensure a rich, full-bodied flavor and optimal fat content in your custard. The fat contributes significantly to the custard’s smooth texture and luxurious mouthfeel. While nonfat milk can be used, it will result in a lighter, less indulgent custard.
- Heavy Cream: A generous amount of heavy cream is essential for achieving the unparalleled richness and velvety thickness of a classic crème caramel. Its high fat content provides natural sweetness and contributes to an incredibly smooth, melt-in-your-mouth texture that defines this dessert.
- Kosher Salt: Just a pinch of kosher salt plays a vital role in balancing the sweetness of the sugar and enhancing the overall flavor profile of both the caramel and the custard. It prevents the dessert from tasting one-dimensional.
- Whole Eggs & Yolks: Eggs are the primary thickening agent in baked custards. Whisking them thoroughly with sugar before tempering helps to protect the proteins from heat shock, ensuring a smooth, cohesive custard. Egg yolks, in particular, contribute significantly more fat than whole eggs without the added moisture of whites, resulting in an exceptionally rich, thick, and creamy consistency. A careful balance is key, as too many yolks can sometimes impart an “eggy” flavor.
- Vanilla Bean Paste or Extract: For the most intense and well-rounded vanilla flavor, vanilla bean paste is highly recommended, as it contains visible specks of vanilla bean for an authentic touch. However, a good quality vanilla extract will still yield a truly delicious crème caramel. If using fresh vanilla beans, scrape the seeds and infuse them directly into the milk and cream as they heat.
Please refer to the detailed recipe card below for precise measurements and quantities for each ingredient.
Crème Caramel VS Crème Brûlée: A Detailed Comparison
While both crème caramel and crème brûlée are beloved French custards, their distinguishing characteristics primarily lie in the placement and preparation of their iconic caramel component. In a crème caramel, the caramel is created first, poured into the bottom of the ramekin, and then the liquid custard base is poured over it before baking. During the chilling process, this caramel layer gracefully liquefies, transforming into a rich, amber sauce that pools around the custard upon inversion. The crème caramel is designed to be unmolded, showcasing its glistening caramel top and delicate, firm custard. In contrast, crème brûlée features its caramelized sugar on top. After the custard is baked and chilled, a layer of granulated sugar is sprinkled over the surface and then torched until it forms a crisp, brittle, glass-like crust. This crust is meant to be cracked with a spoon, revealing the creamy custard beneath, and the dessert is typically served directly in its ramekin. Furthermore, crème caramel generally has a slightly firmer texture than crème brûlée because it needs to hold its shape when unmolded, whereas crème brûlée maintains its softer, more delicate consistency within its serving dish.
Creative Variations for Your Crème Caramel
- Infuse the Caramel with Spices: Elevate your caramel by infusing it with aromatic spices. This technique works exceptionally well with a wet caramel sauce. Once the sugar and water mixture begins to boil, add whole spices such as star anise, cardamom pods, cinnamon sticks, or even a few peppercorns. Allow them to simmer gently with the caramel as it cooks. Once your caramel reaches the desired amber hue, strain it through a fine-mesh sieve before dividing it among the ramekins to remove the solids, leaving behind a beautifully flavored caramel.
- Flavor the Crème Base: The custard base is a blank canvas for a myriad of flavors. Consider incorporating finely ground matcha powder for an earthy, vibrant dessert, or blend in mascarpone cheese for an extra layer of creaminess and tang. Melted chocolate or a swirl of vibrant lemon curd can also transform the custard into an entirely new indulgence. Ensure any additions are thoroughly mixed and strained for a smooth finish.
- Infuse the Crème Base with Aromatics: Just like the caramel, the milk and cream mixture can be infused to impart complex flavors. Gently heat the dairy with ingredients like Earl Grey tea leaves (for a floral note), toasted nuts (such as almonds or pistachios), fresh ginger slices, or even ripe banana chunks. Bring the mixture to a gentle boil, then cover it with plastic wrap and let it steep off the heat until your desired flavor intensity is achieved. Strain the dairy before proceeding with the custard preparation.
- Experiment with Different Sizes: Crème caramels can be adapted to various serving sizes. Create charming mini crème caramels using espresso cups or larger individual portions in wider ramekins. You can even attempt a grand, single-serving crème caramel in a small bundt pan for a show-stopping presentation. Remember to adjust the baking time accordingly, as smaller custards will cook faster and larger ones will require more time.
Professional Tips for Perfect Crème Caramel
- Preserve Vanilla Flavor: For the most vibrant and pronounced vanilla flavor in your crème caramel, always add the vanilla bean paste or extract *after* the tempering process, once the warm milk mixture has been incorporated into the eggs. High heat can cause the delicate aromatic compounds in vanilla to evaporate or diminish, so adding it later ensures its full fragrant impact on the finished custard.
- Mastering the Caramel: The caramel is the foundational element of this dessert and demands your complete focus. Whether you opt for a dry or wet caramel, it requires undivided attention. Caramel can transition from perfectly amber to unpleasantly burnt in a matter of seconds. Keep a close eye on it, monitoring its color constantly. If it crystallizes or burns, do not despair—it happens to even the most experienced chefs. Simply clean your pot and start fresh. Crystallized caramel will not liquefy correctly in the refrigerator, and burnt caramel will impart a bitter taste.
- Prevent Air Bubbles for a Silky Smooth Texture: When tempering the warm cream mixture into your whisked eggs, it’s crucial to minimize the introduction of air bubbles. Excess air will become trapped in the custard during baking, resulting in a grainy or uneven texture. To achieve the smoothest possible crème base, whisk gently but thoroughly. Using a “piano whisk” (a smaller, more flexible whisk with thinner tines) is often recommended over a large balloon whisk, as it incorporates less air while still ensuring proper mixing. After combining, a quick pass through a fine-mesh sieve will catch any lingering air bubbles or small bits of egg for an impeccably smooth custard.
- The Importance of a Water Bath (Bain-Marie): Baking crème caramel in a water bath is non-negotiable for its signature silky texture. The water bath provides gentle, even heat, preventing the edges of the custard from overcooking and becoming rubbery before the center sets. It also helps maintain a consistent temperature, which is crucial for preventing cracks on the custard’s surface. Ensure the water is hot (but not boiling) when added to the baking dish.
How to Make Homemade Crème Caramel: Step-by-Step Guide
Follow these detailed instructions to achieve a perfectly silky and utterly delicious crème caramel every single time. More precise measurements and ingredient quantities can be found in the comprehensive recipe card at the end of this guide.
Step 1: Prepare Your Oven and Ramekins
Preheat your oven to 325°F (160°C). Lightly spray your ramekins with a nonstick cooking spray, ensuring an easy release later. Place the prepared ramekins onto a sturdy, flat baking sheet. This ensures they remain level and stable during the caramel setting process and when transferring to the oven.
Step 2: Craft the Amber Caramel Base
In a heavy-bottomed saucepan, begin making your caramel. For a dry caramel, simply add the granulated sugar to the pan over medium heat. Allow it to melt gradually without stirring, gently swirling the pan occasionally to encourage even melting and prevent hot spots. Watch carefully as it transitions from clear to pale yellow, then to a rich, medium amber color. If you prefer a wet caramel, add the optional 3 tablespoons of water to the sugar at the start. Stir gently to incorporate the water, then stop stirring completely. Let the mixture simmer over medium heat until it caramelizes to a beautiful amber hue. The water will evaporate, leaving behind the melting sugar. The key is to achieve a consistent medium amber color – not too light (which lacks flavor) and not too dark (which will taste bitter).
Step 3: Distribute the Caramel Evenly
Once your caramel reaches that perfect medium amber, immediately and carefully pour it into the prepared ramekins, dividing it evenly. Swirl each ramekin gently to coat the bottom. Work quickly, as caramel sets fast. If the caramel becomes too stiff to pour or spread effectively, gently reheat the saucepan over low heat for a few seconds until it becomes fluid again, then continue filling the ramekins.
A dry caramel often works best on gas stovetops, offering quick color development. For induction cooktops, a wet caramel can be more forgiving, providing a slightly slower, more controlled caramelization. If you’re preparing a larger batch of crème caramel, using a wet caramel is generally recommended to better manage the process. Should you notice any undissolved sugar crystals in your caramel after it reaches its amber stage, simply pour the hot caramel through a fine metal sieve directly into your ramekins. This quick fix will ensure a perfectly smooth caramel layer without anyone being the wiser.
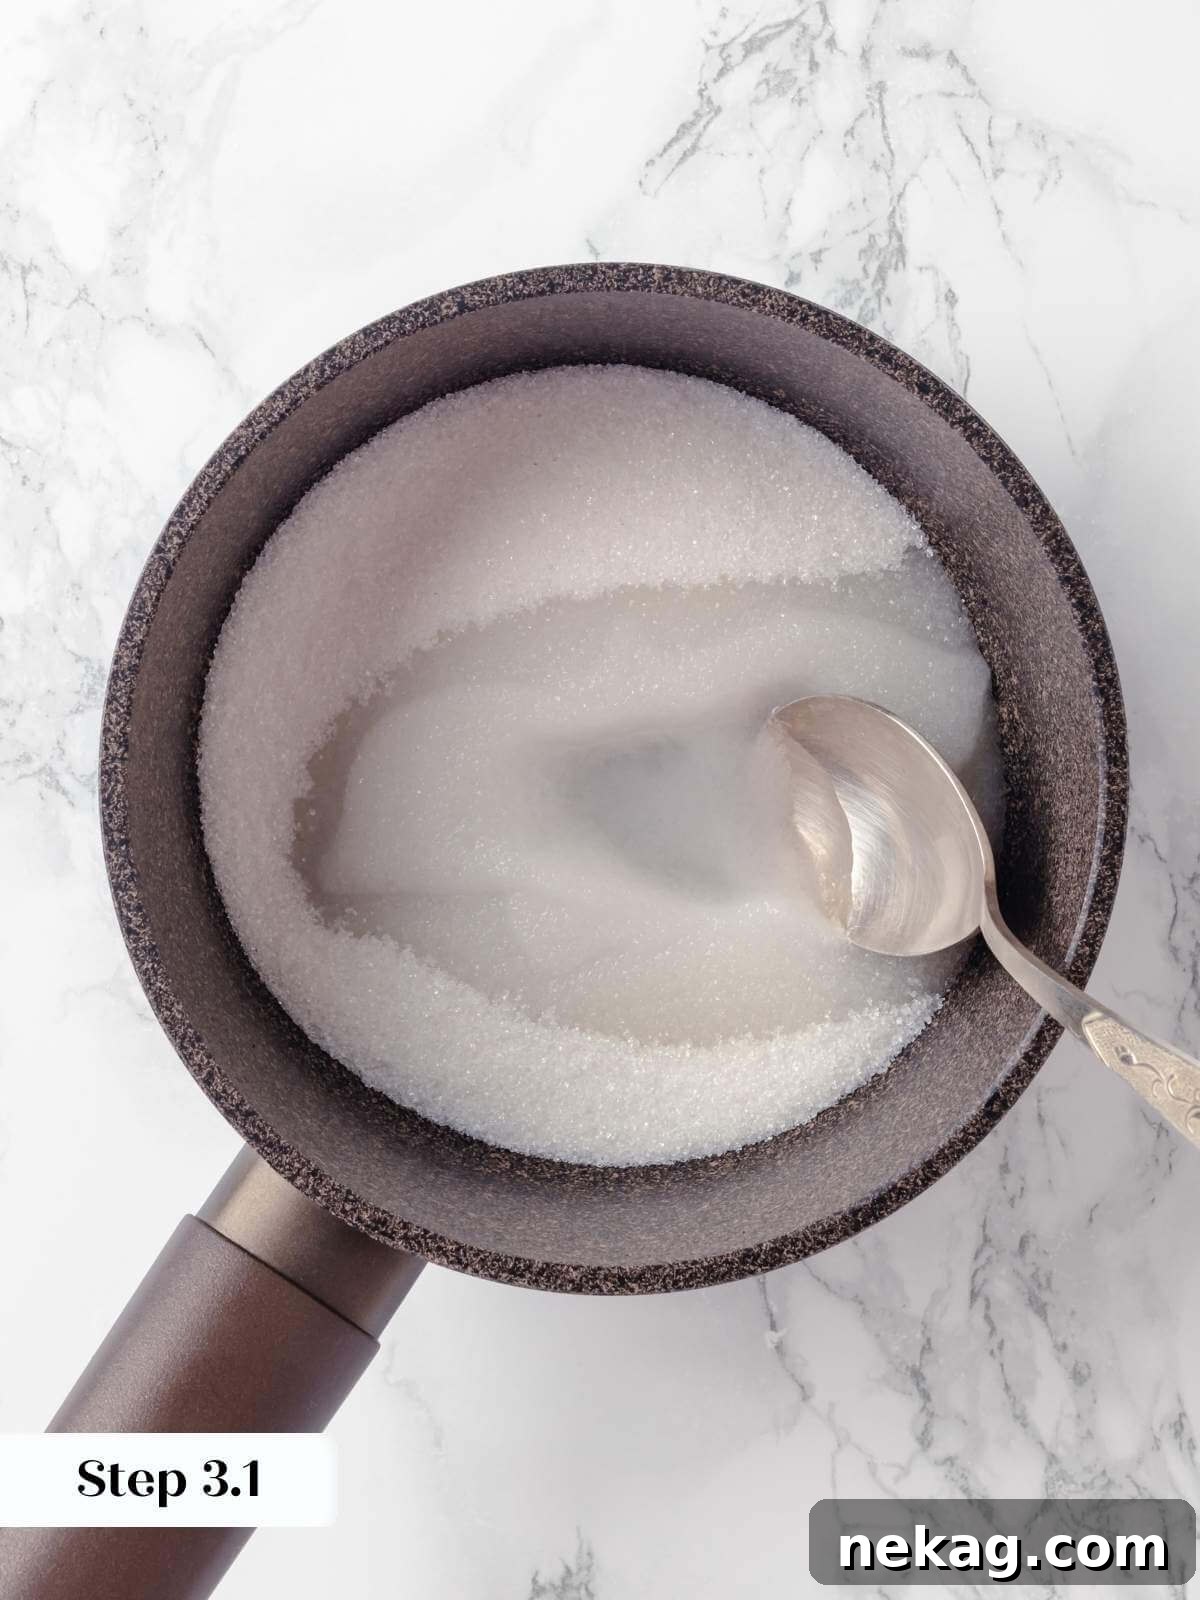
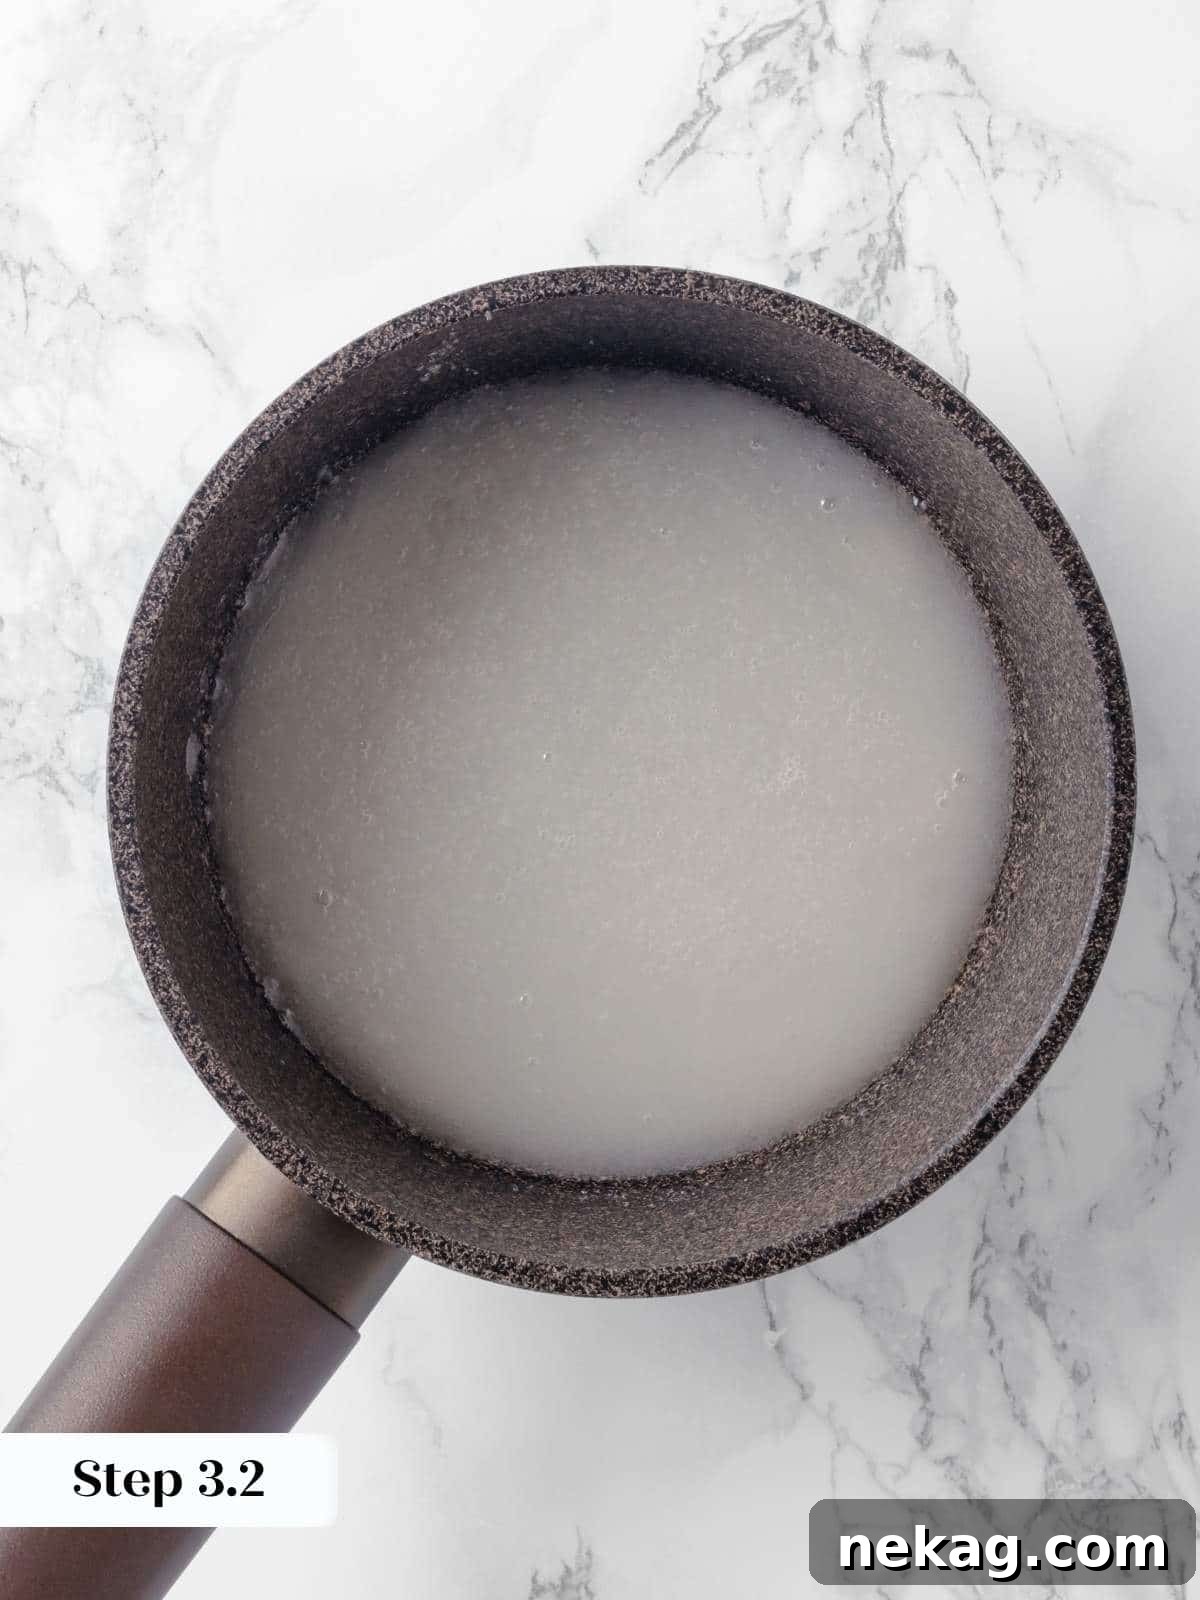
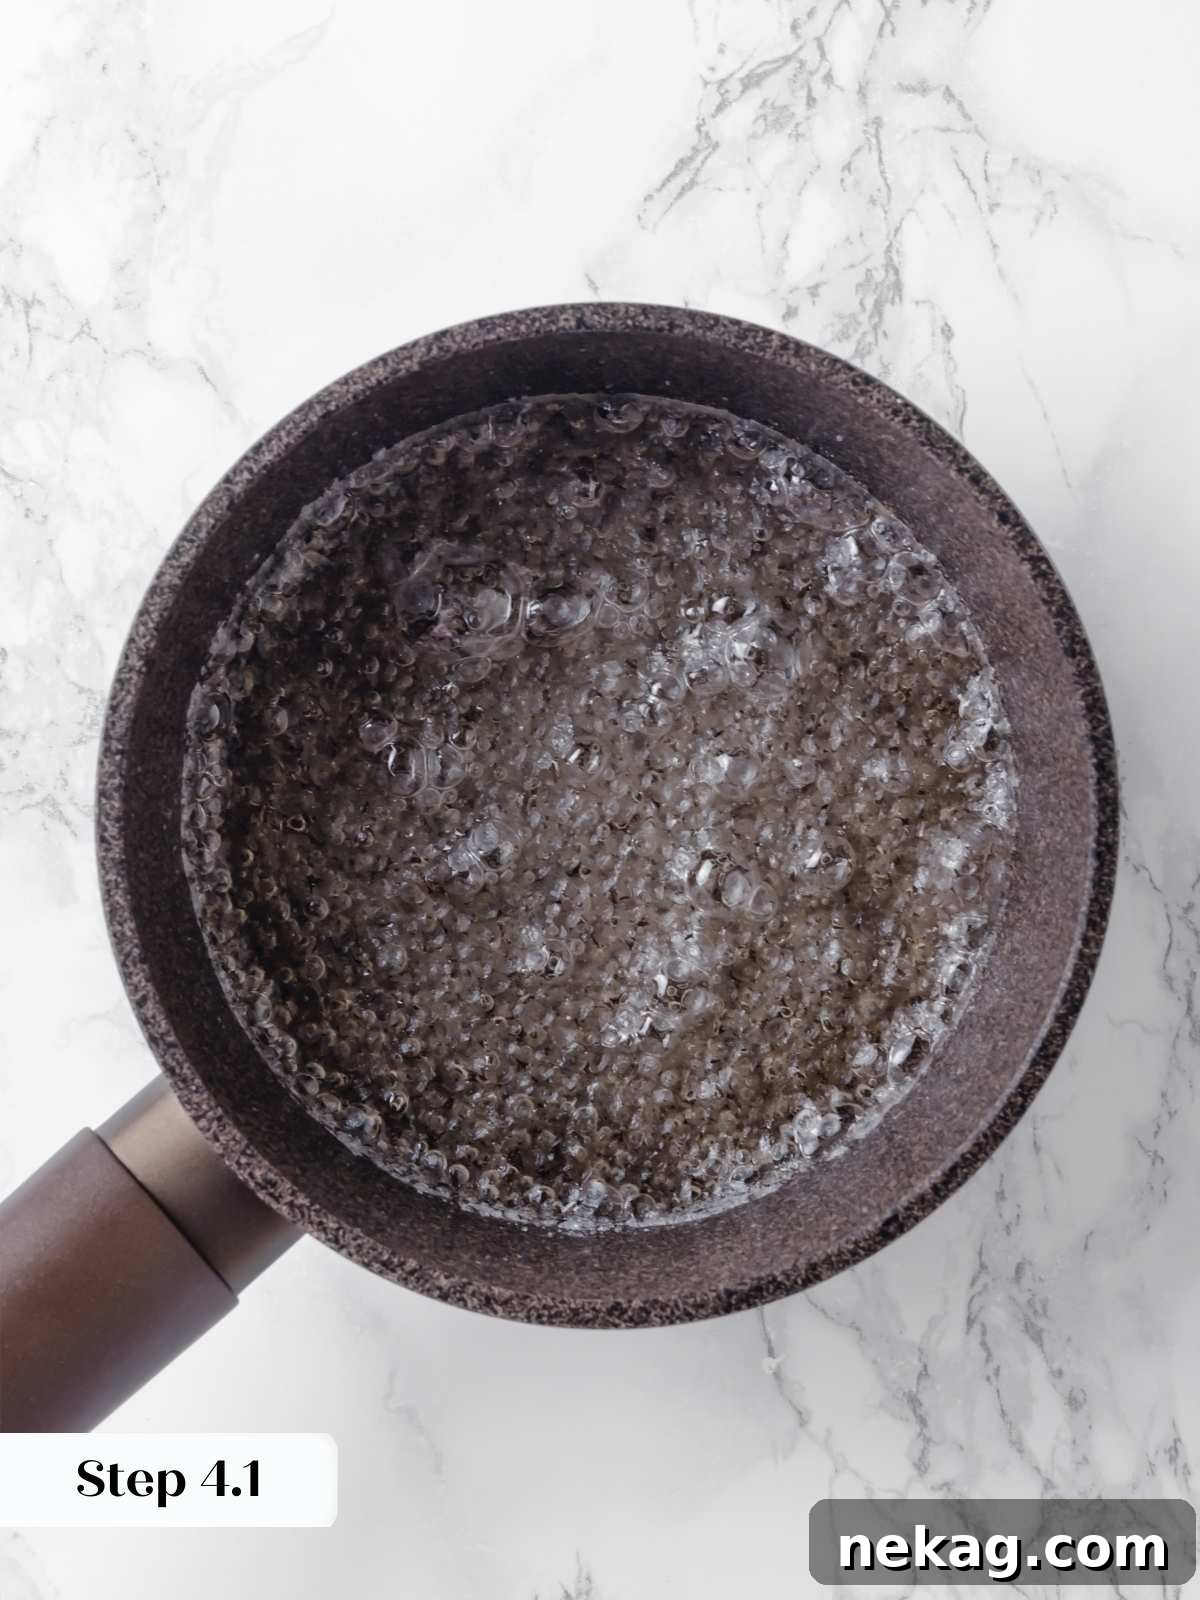
Step 4: Chill the Caramel
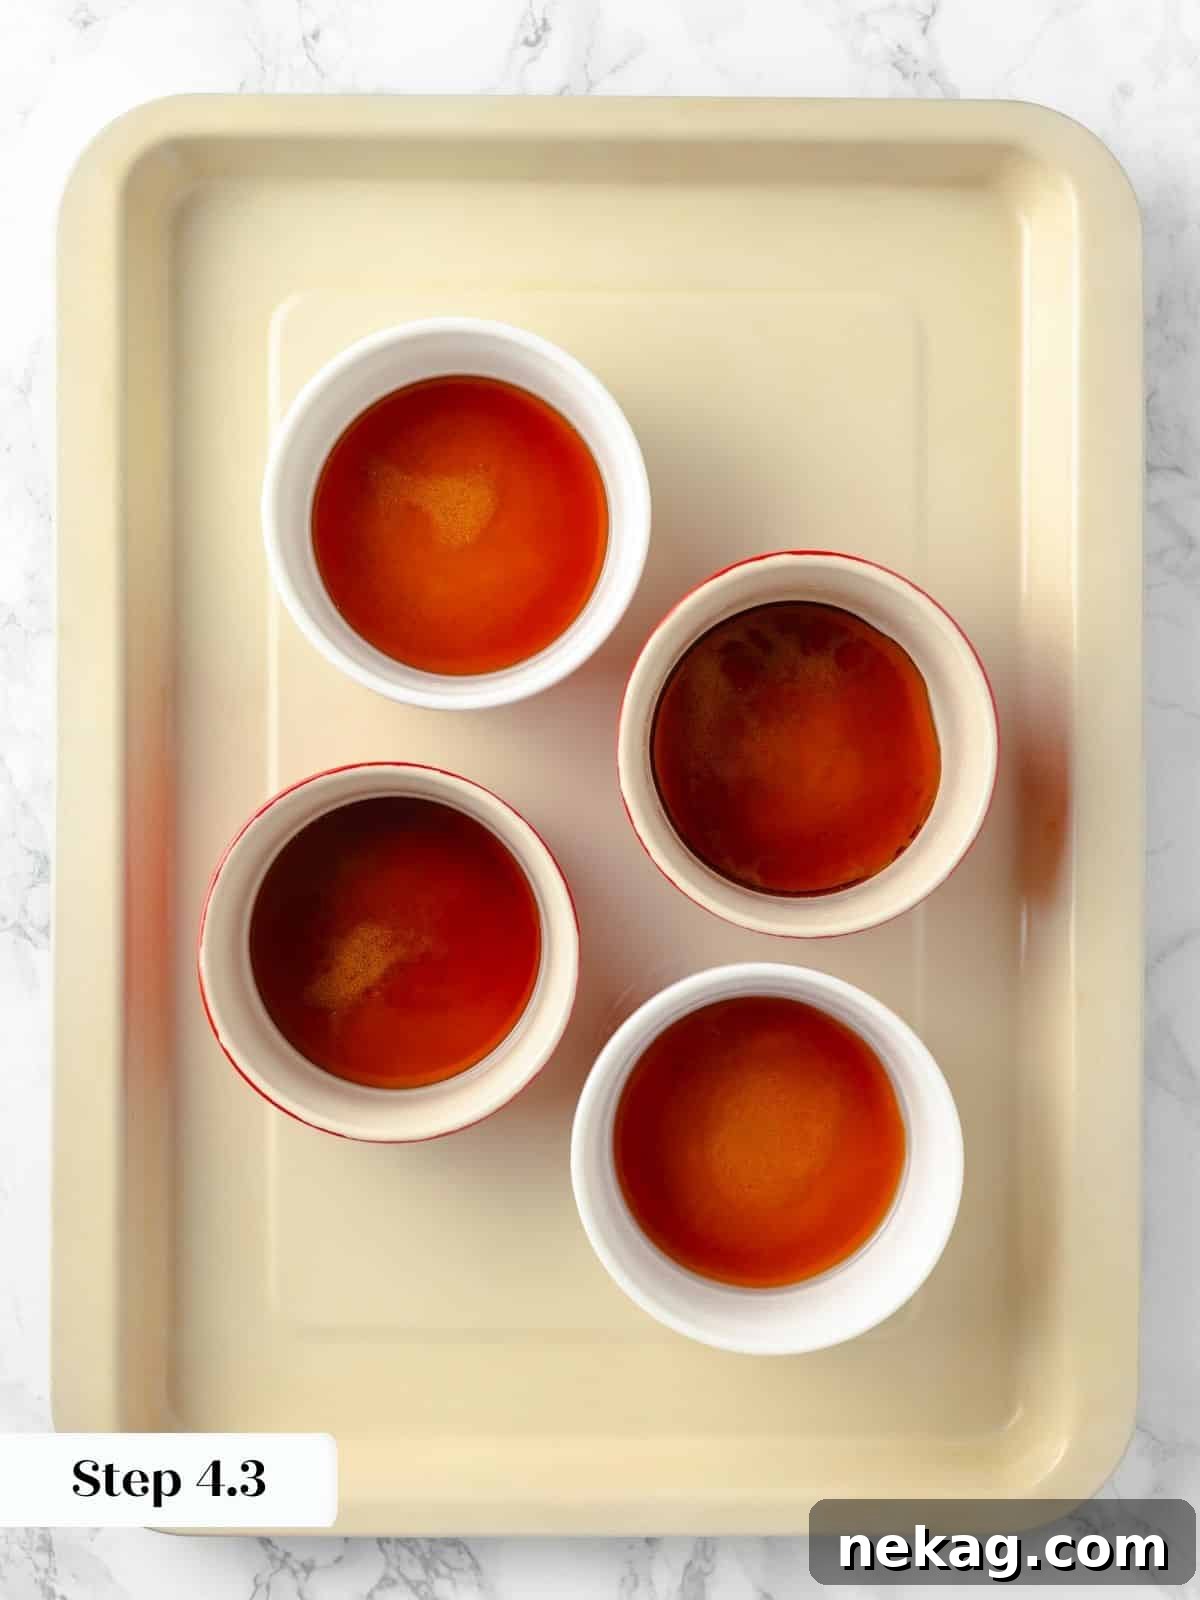
Transfer the baking sheet with the caramel-filled ramekins to the refrigerator. Allow the caramel to set completely. This process typically takes less time than it will take you to prepare the custard mixture, making it an efficient step.
It is crucial to allow the caramel to fully set and cool. Pouring warm custard directly onto warm caramel can sometimes cause a thin “skin” or separation layer to form between the two, which can affect the final texture and appearance of your crème caramel.
Step 5: Prepare the Custard Base
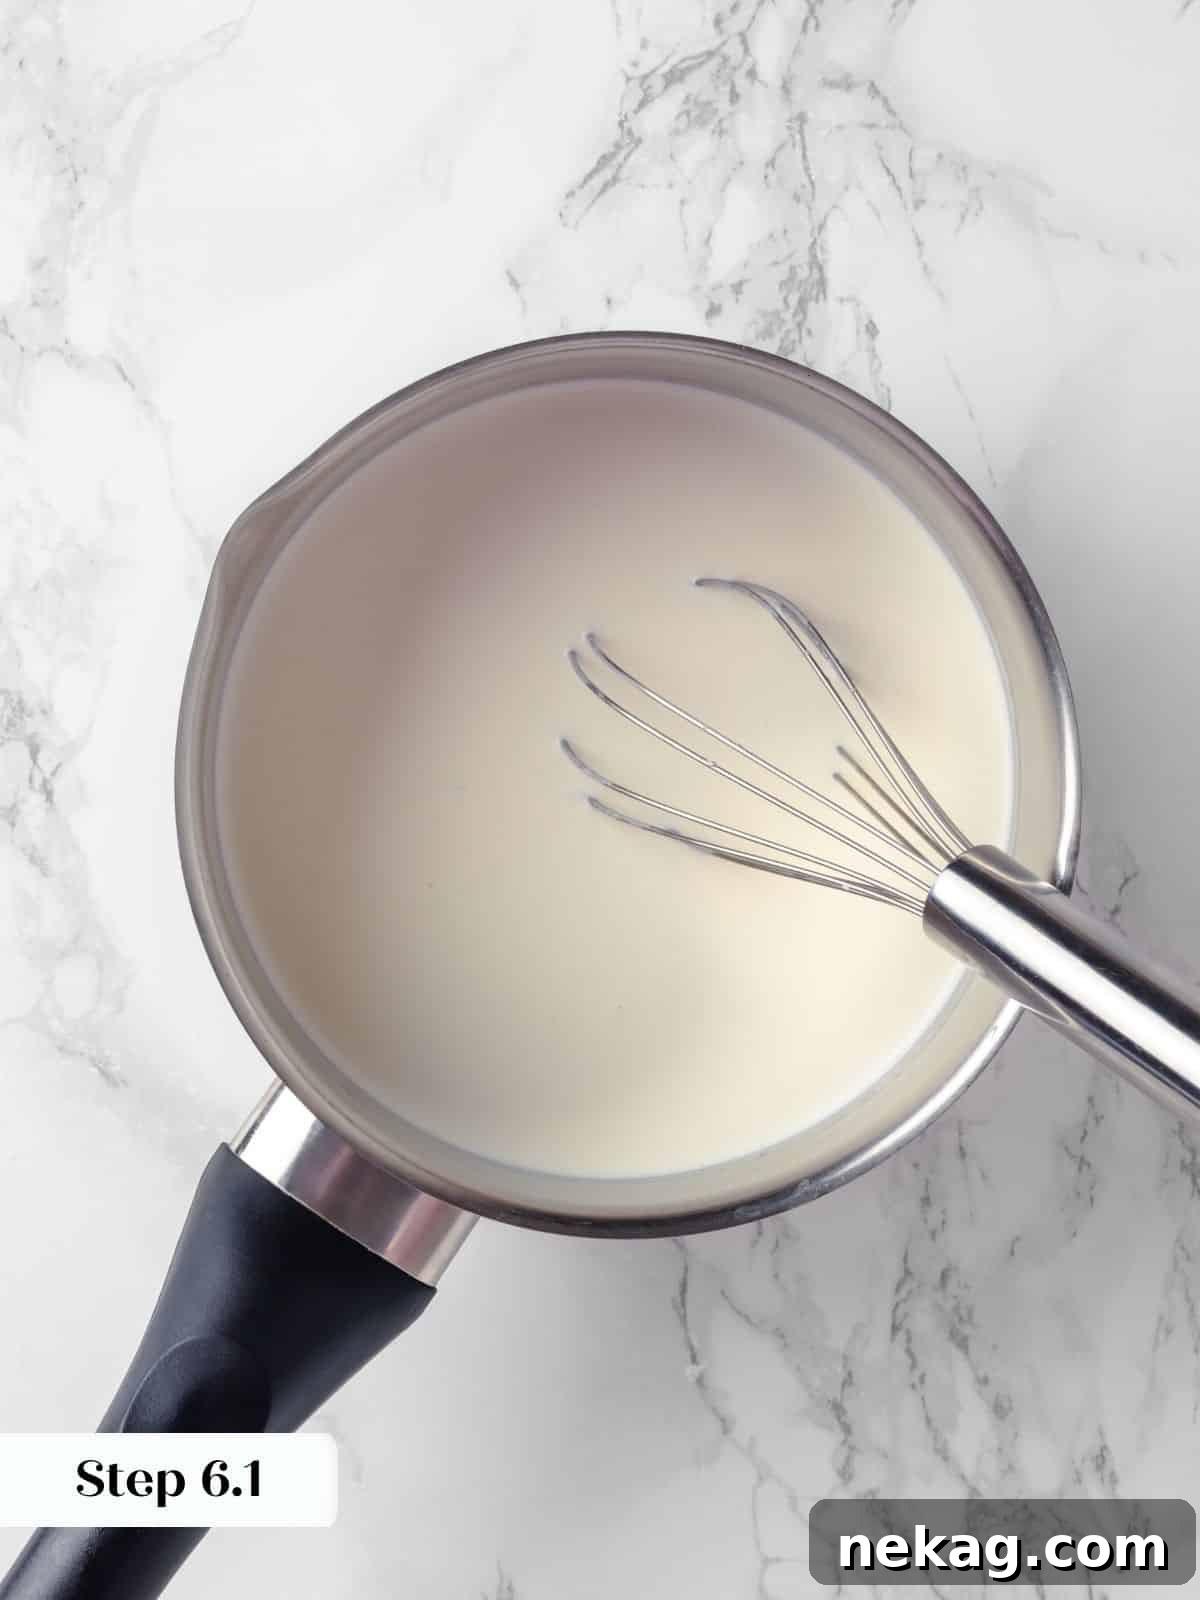
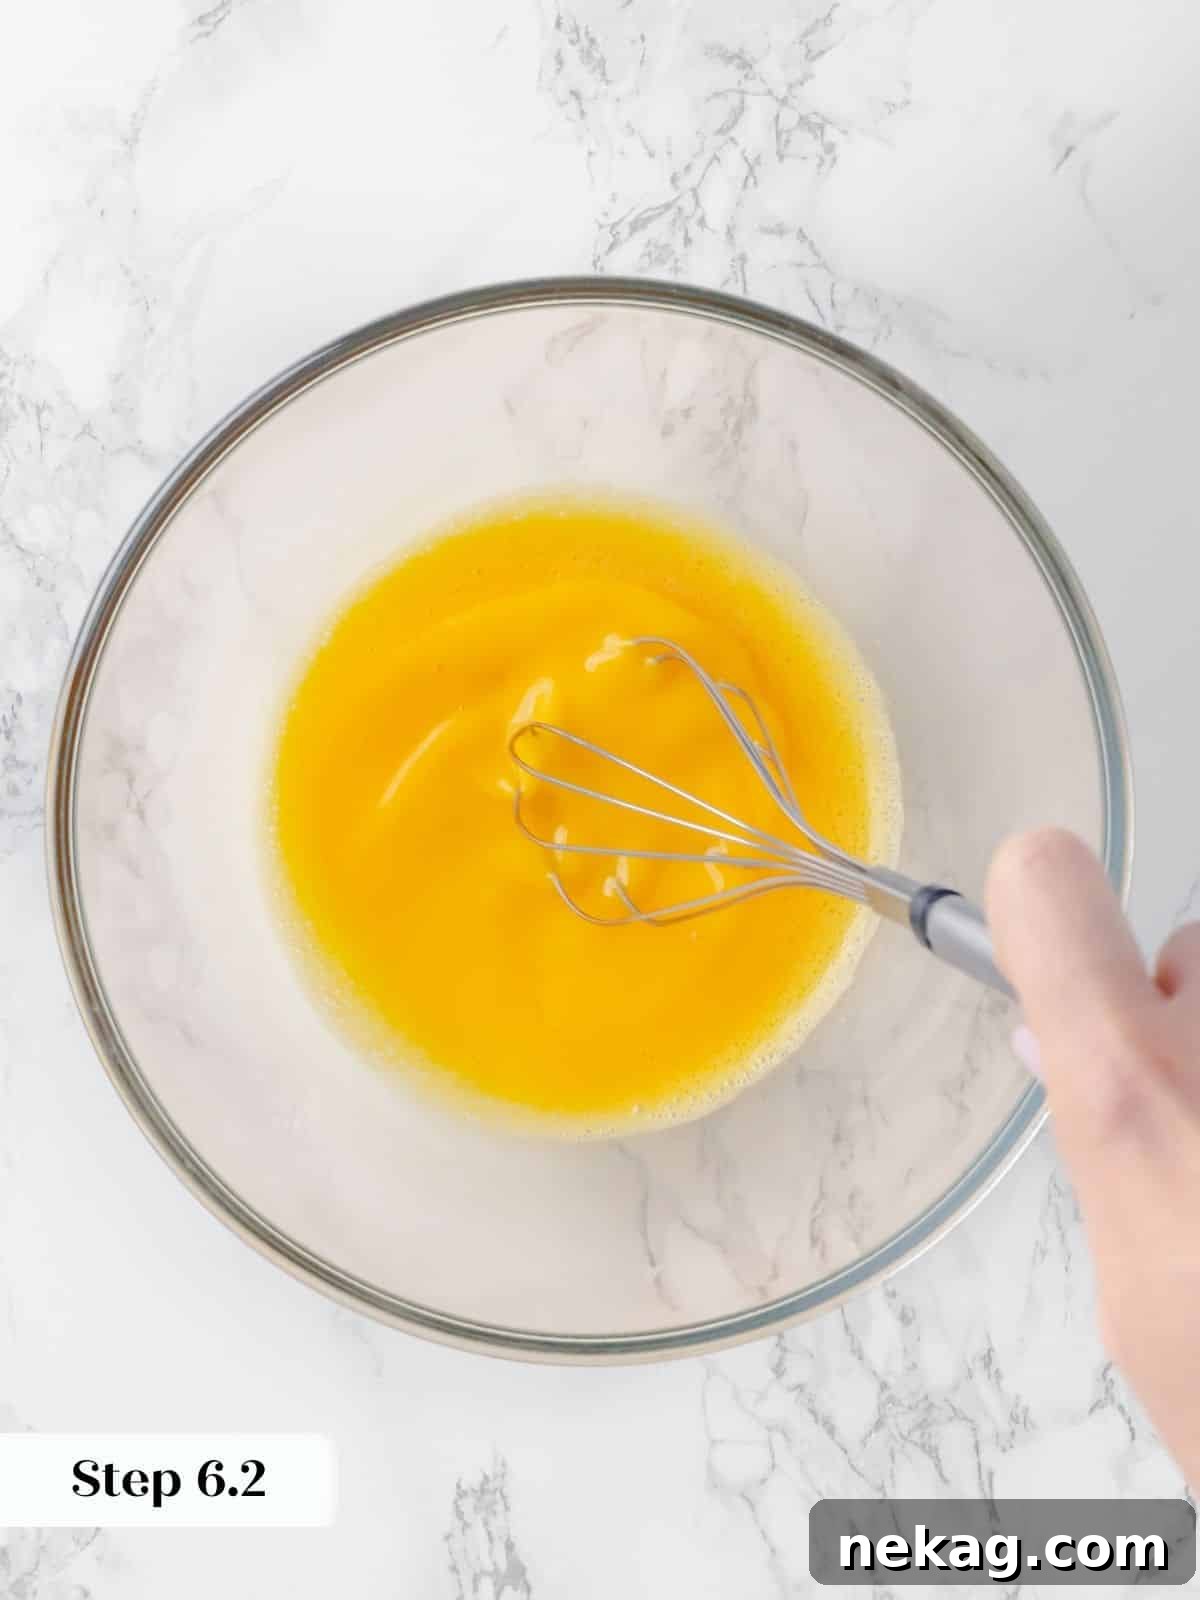
In a small saucepan, combine the whole milk, heavy cream, kosher salt, and the remaining granulated sugar. Heat this mixture over medium heat, stirring occasionally, until it just comes to a gentle boil. Meanwhile, in a separate mixing bowl, whisk together the whole eggs and egg yolks. Whisk vigorously until the eggs lighten in color and slightly increase in volume, becoming pale yellow and frothy. This aeration is important for a smooth custard.
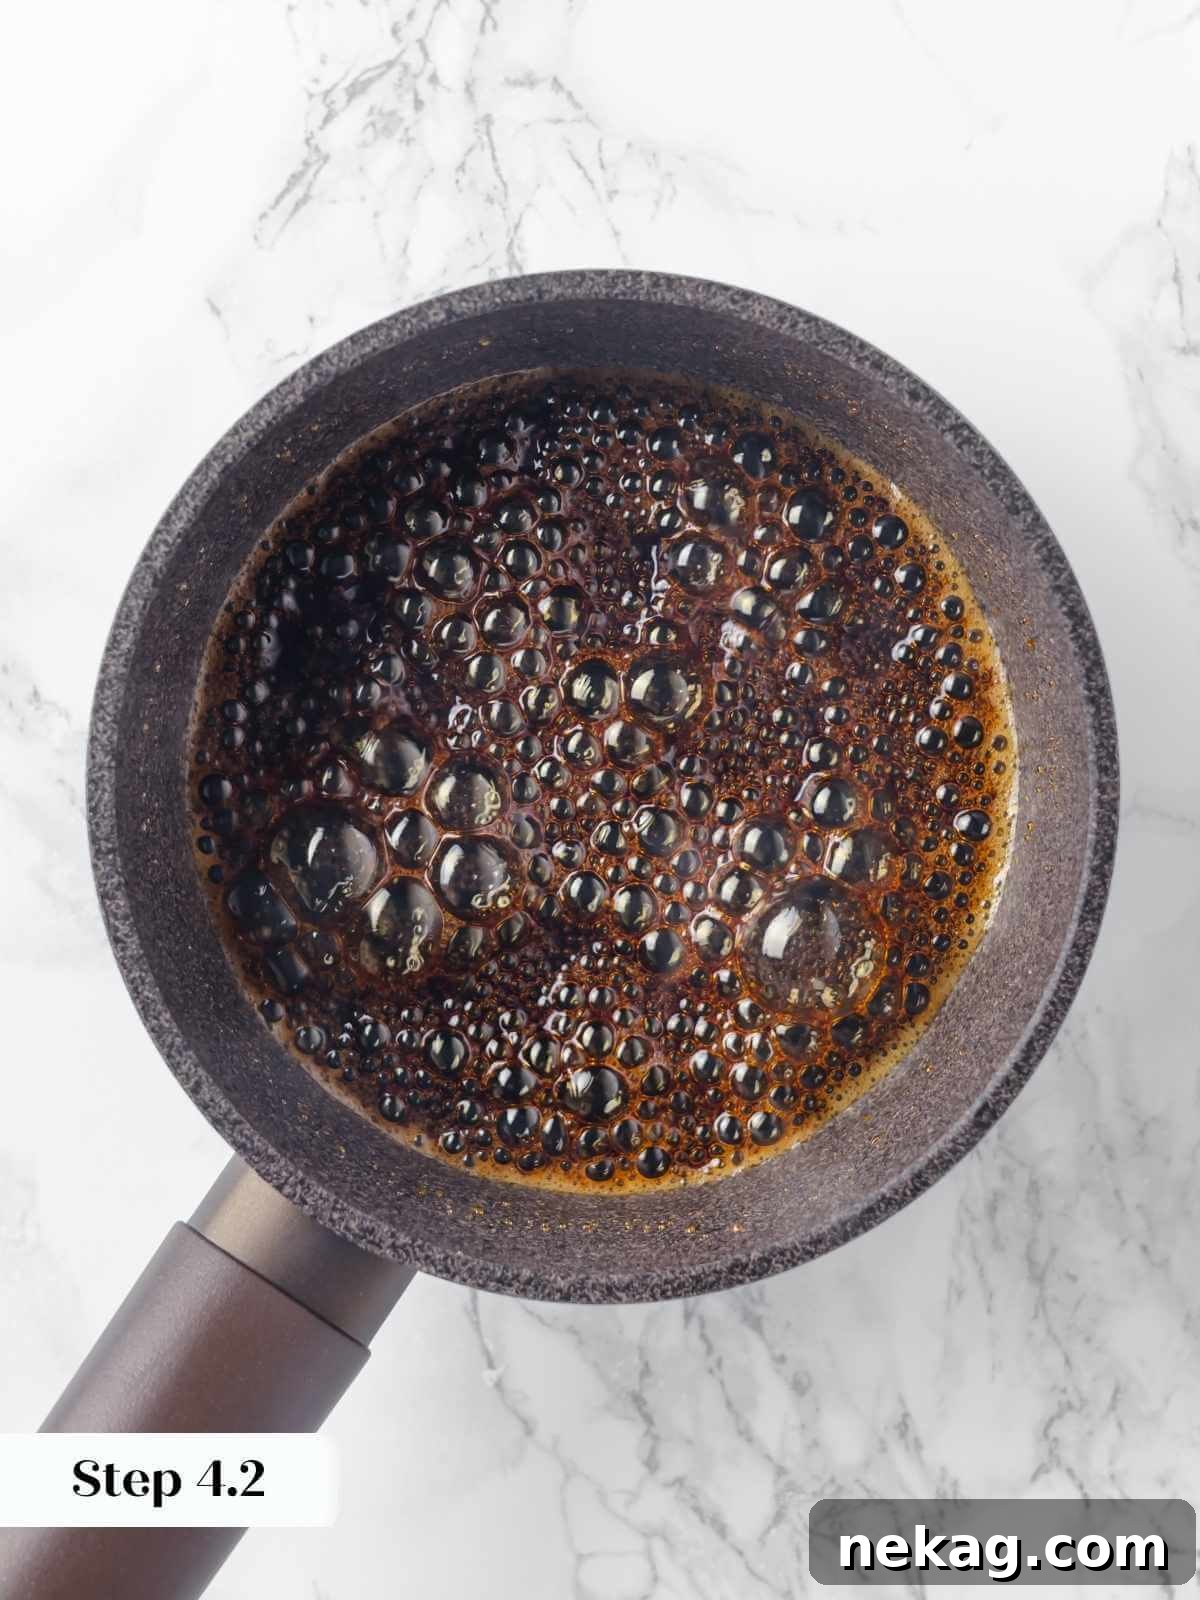
Step 6: Temper the Eggs and Add Vanilla
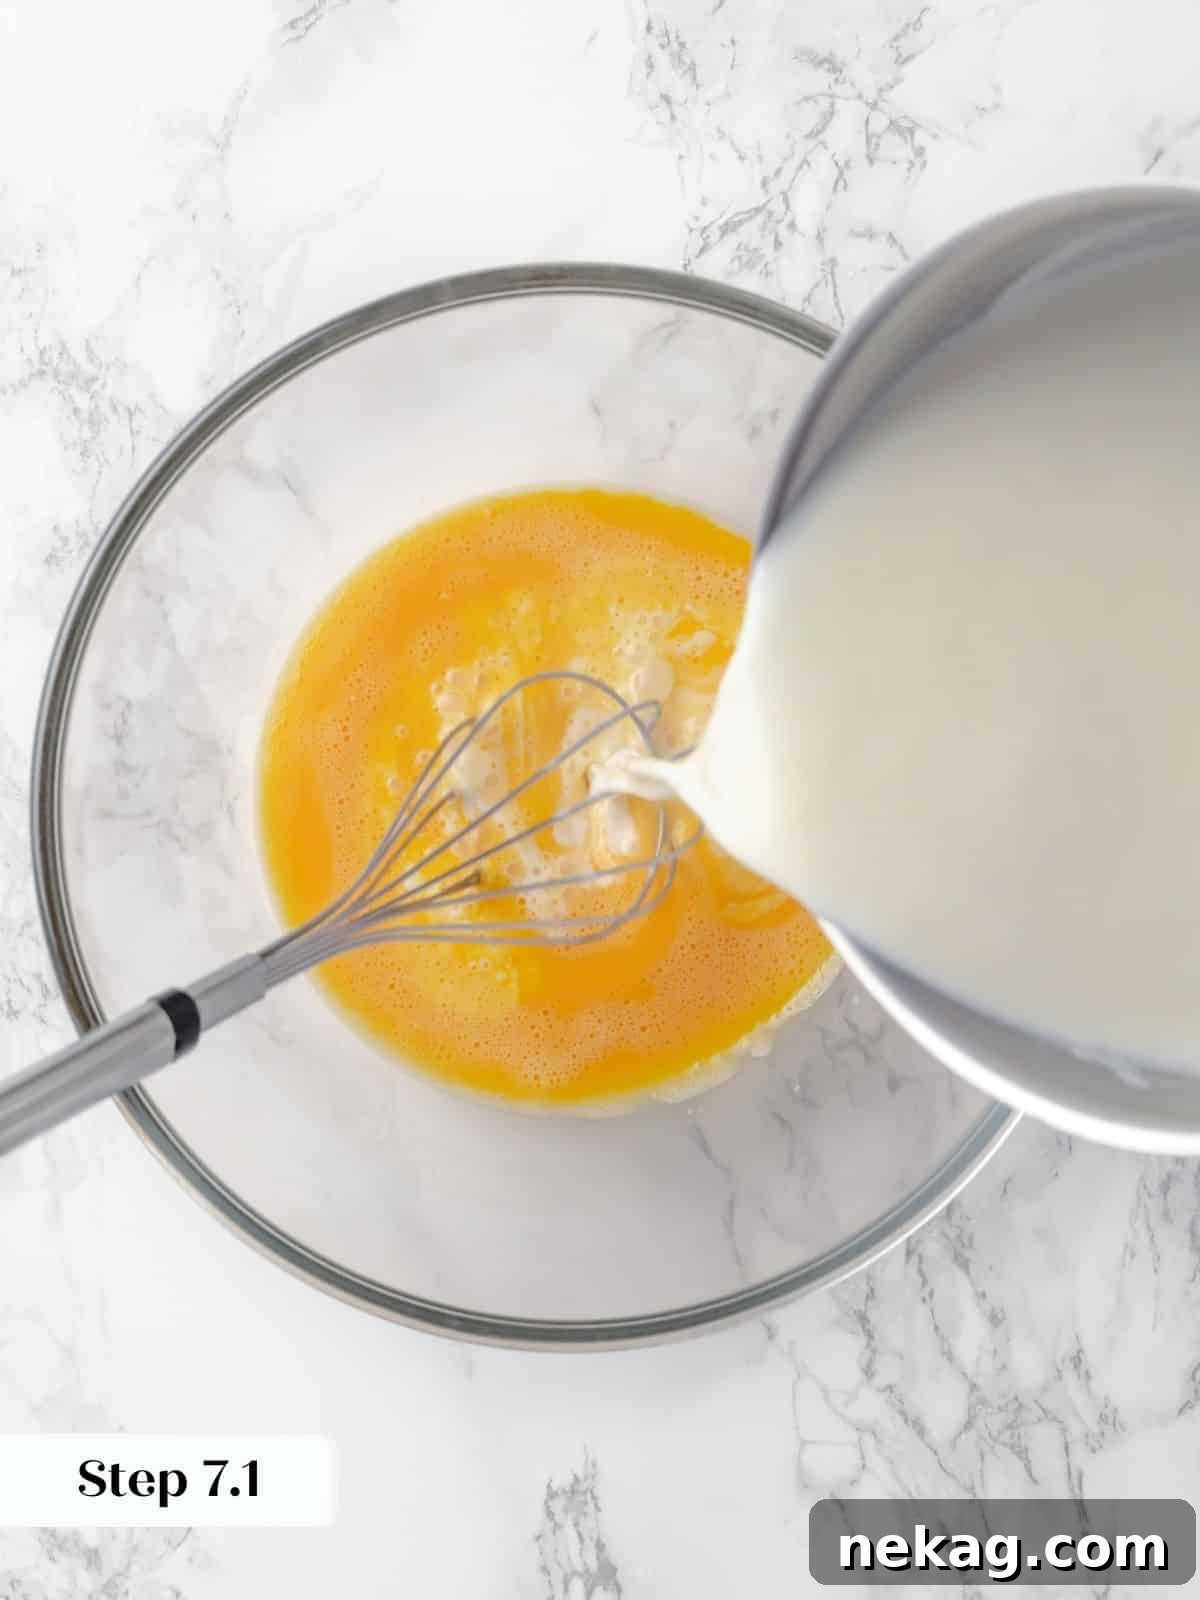
Once the milk mixture reaches a boil, it’s time to temper the eggs. Slowly and steadily pour the hot milk mixture into your whisked eggs and yolks, whisking continuously the entire time. This gradual addition raises the temperature of the eggs slowly, preventing them from scrambling and ensuring a smooth, emulsified custard base.
For added stability while tempering, place your bowl of whisked eggs on a damp kitchen towel. This will prevent the bowl from sliding around as you pour in the hot milk mixture and whisk simultaneously, making the process much easier and safer.
Step 7: Finalize the Custard and Prepare for Baking
Stir in the vanilla bean paste or vanilla extract until thoroughly combined. For an impeccably smooth custard, pour the entire mixture through a fine-mesh sieve into a clean bowl or directly into a pouring spout measuring cup. This step catches any small bits of cooked egg or residual air bubbles. Carefully divide the custard mixture among the chilled ramekins, filling them almost to the top. Arrange the filled ramekins in a large, deep baking dish or roasting pan. This pan will serve as your water bath.
If you observe any persistent air bubbles on the surface of your filled crème caramels, it’s important to remove them. You can gently skim them off with a spoon, carefully dab them with a piece of plastic wrap, or, if you have one, use a kitchen torch on a very low flame from a distance to pop them. These bubbles will not disappear on their own during baking and will result in an undesirable, grainy texture on the top of your custard.
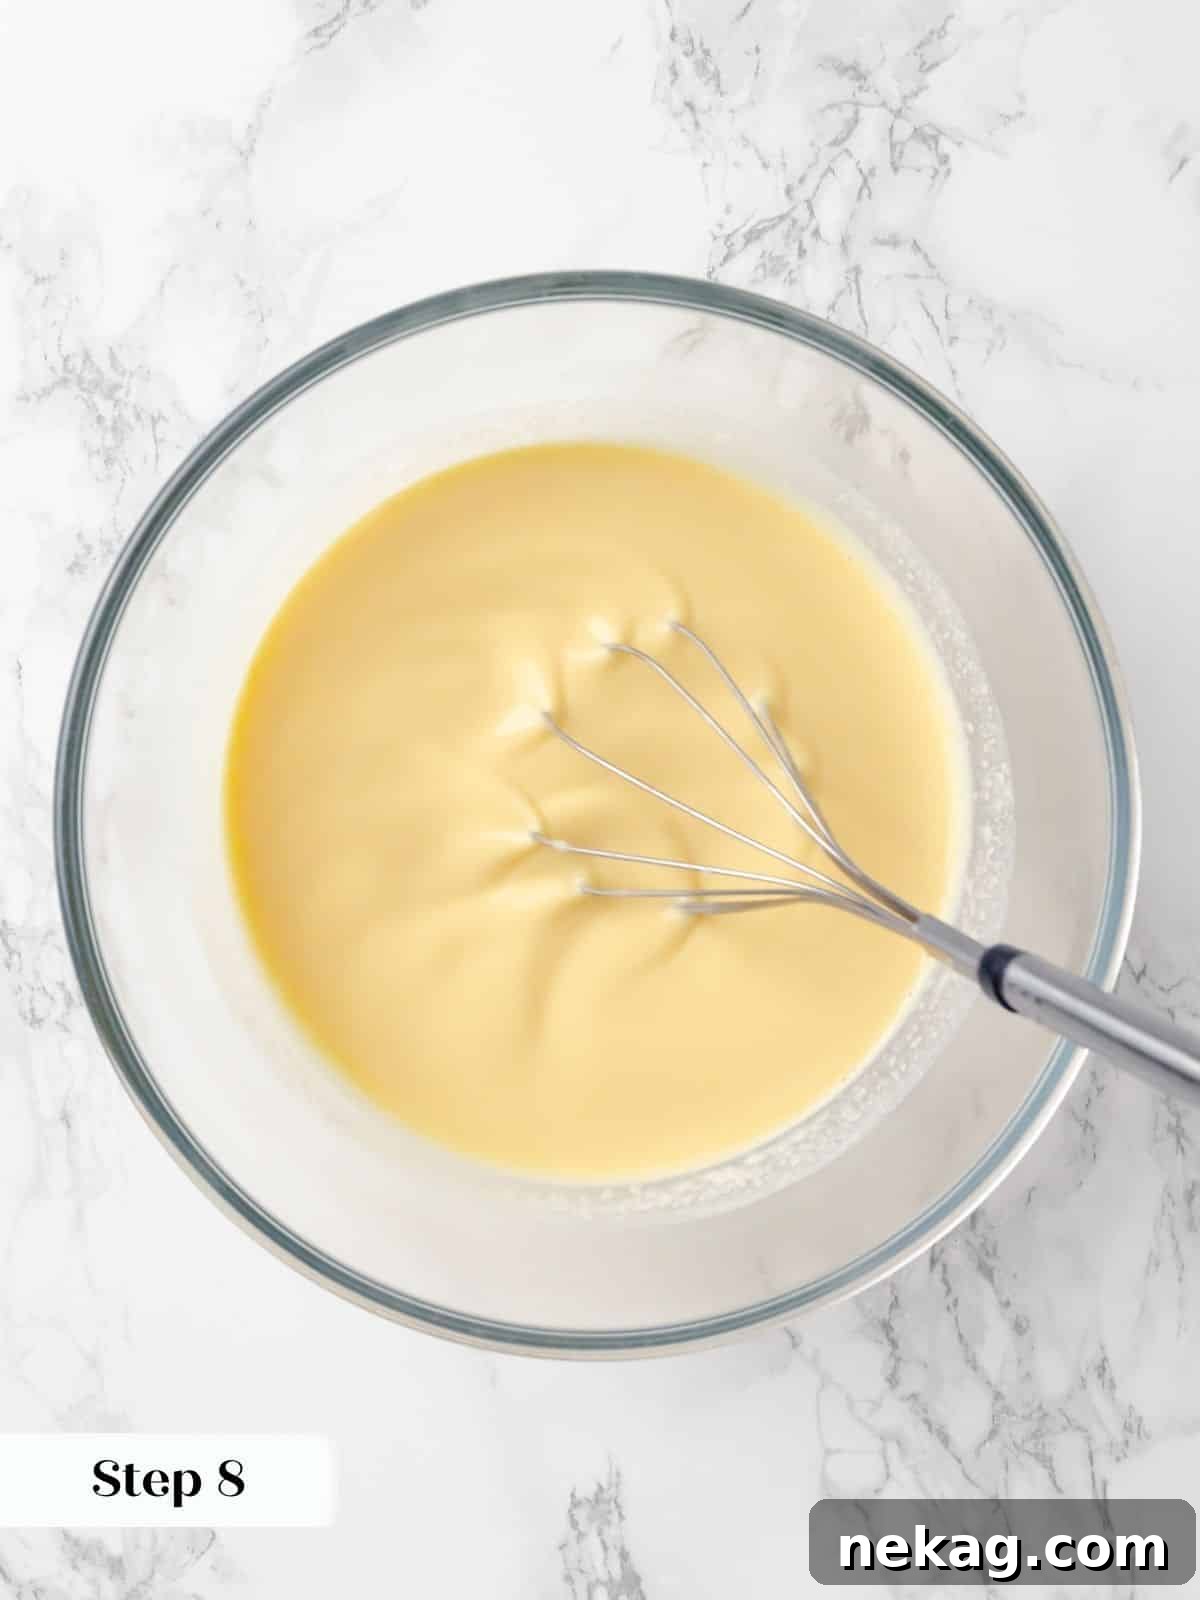
Step 8: Bake in a Water Bath (Bain-Marie)
Carefully cover the entire large baking dish (containing the ramekins) with aluminum foil. Create a small vent by pulling back one corner of the foil slightly so you can peek inside. Transfer the setup to the middle rack of your preheated oven. Once inside, very carefully pour hot (but not boiling) water into the large baking dish, ensuring it comes halfway up the sides of the ramekins. Exercise extreme caution to avoid splashing any water into the custards themselves. Once the water bath is filled, gently pull the foil back over the vented corner and close the oven door.
Step 9: Monitor Baking and Cool
Bake for approximately 30-45 minutes. The baking time can vary depending on your oven and the size of your ramekins. The custards are done when they are completely set but still slightly jiggly in the very center, much like firm jello. When lightly shaken, you should see no liquid movement in the centers. Avoid overbaking, as this can lead to a rubbery texture or cracks on the surface. Once baked, carefully remove the ramekins from the hot water bath. Use a combination of kitchen tongs, a sturdy spatula, and a thick towel for safe handling. Place them on a wire rack to cool completely at room temperature. This gradual cooling is important for the custard’s texture.
Step 10: Refrigerate for Optimal Results
Once cooled to room temperature, cover each ramekin (or the entire baking sheet) with plastic wrap or individual lids. Transfer them to the refrigerator and chill for at least overnight, and ideally for 2-3 days for the best results. They can be stored in the refrigerator for up to 8 days. The extended chilling time is crucial for the caramel to fully liquefy and for the flavors to deepen, creating the signature luscious sauce.
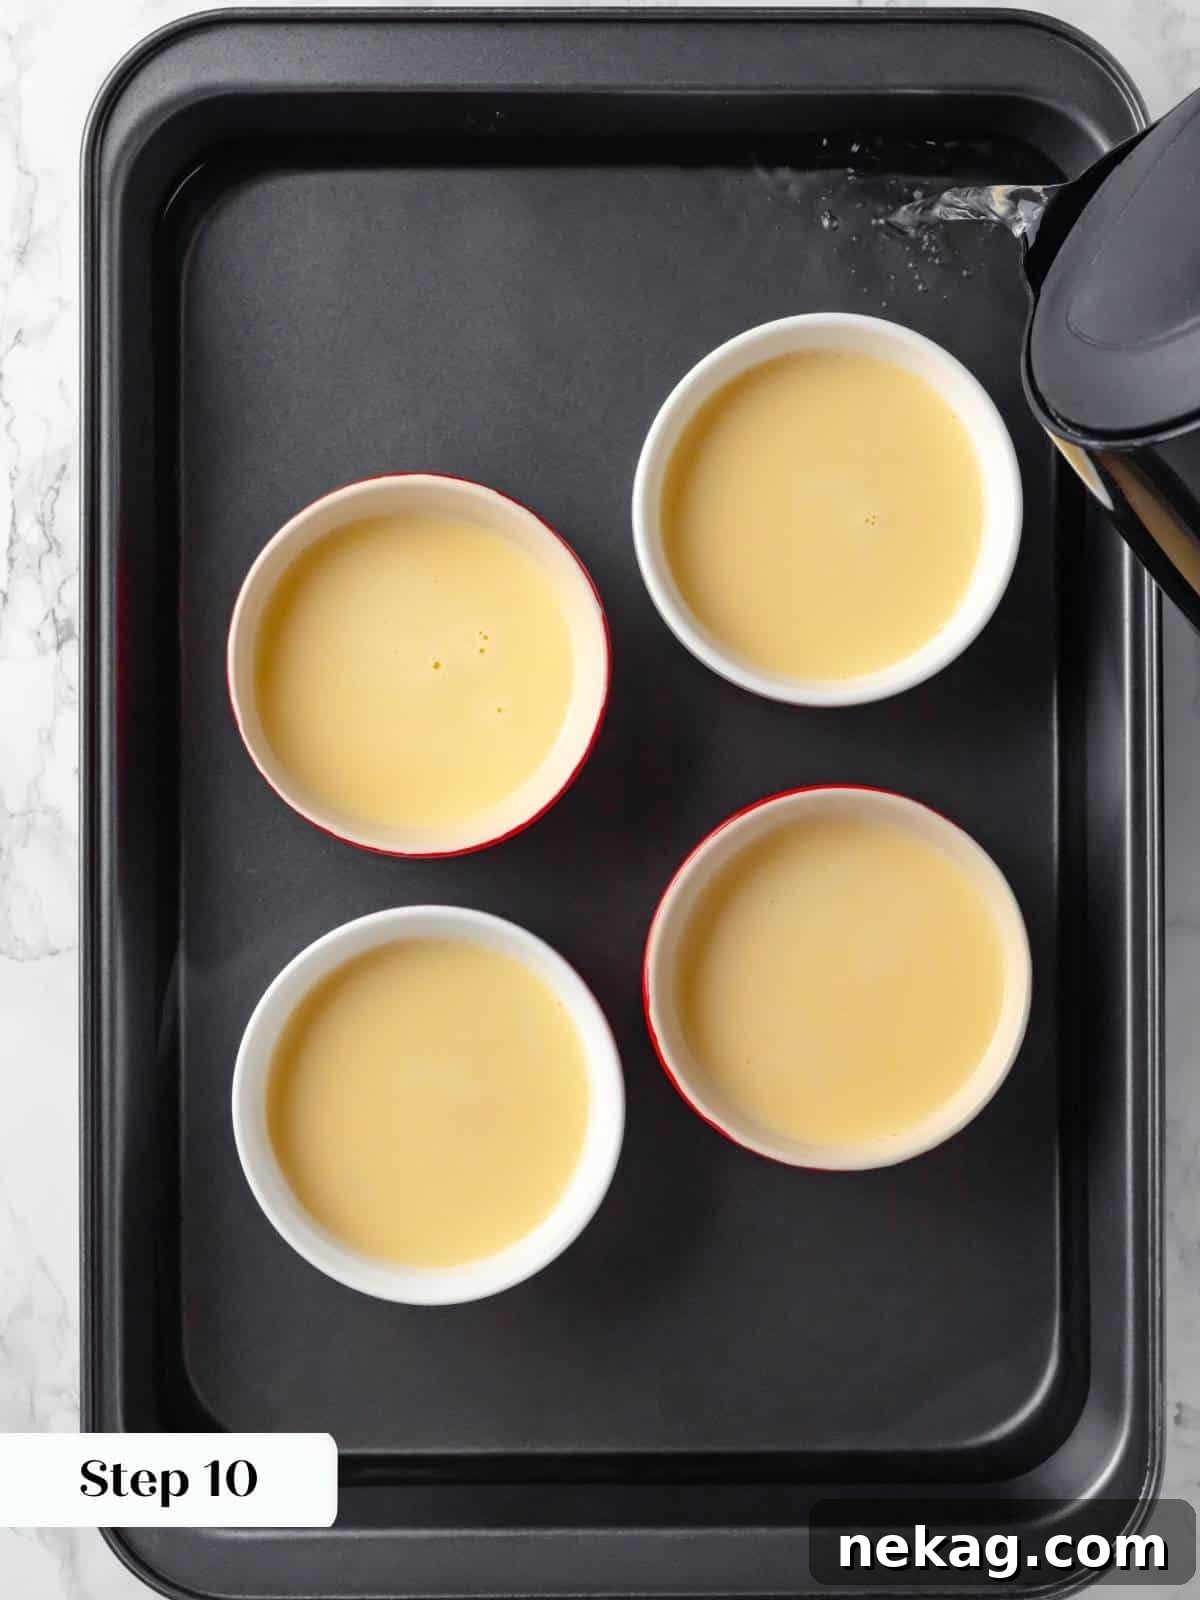
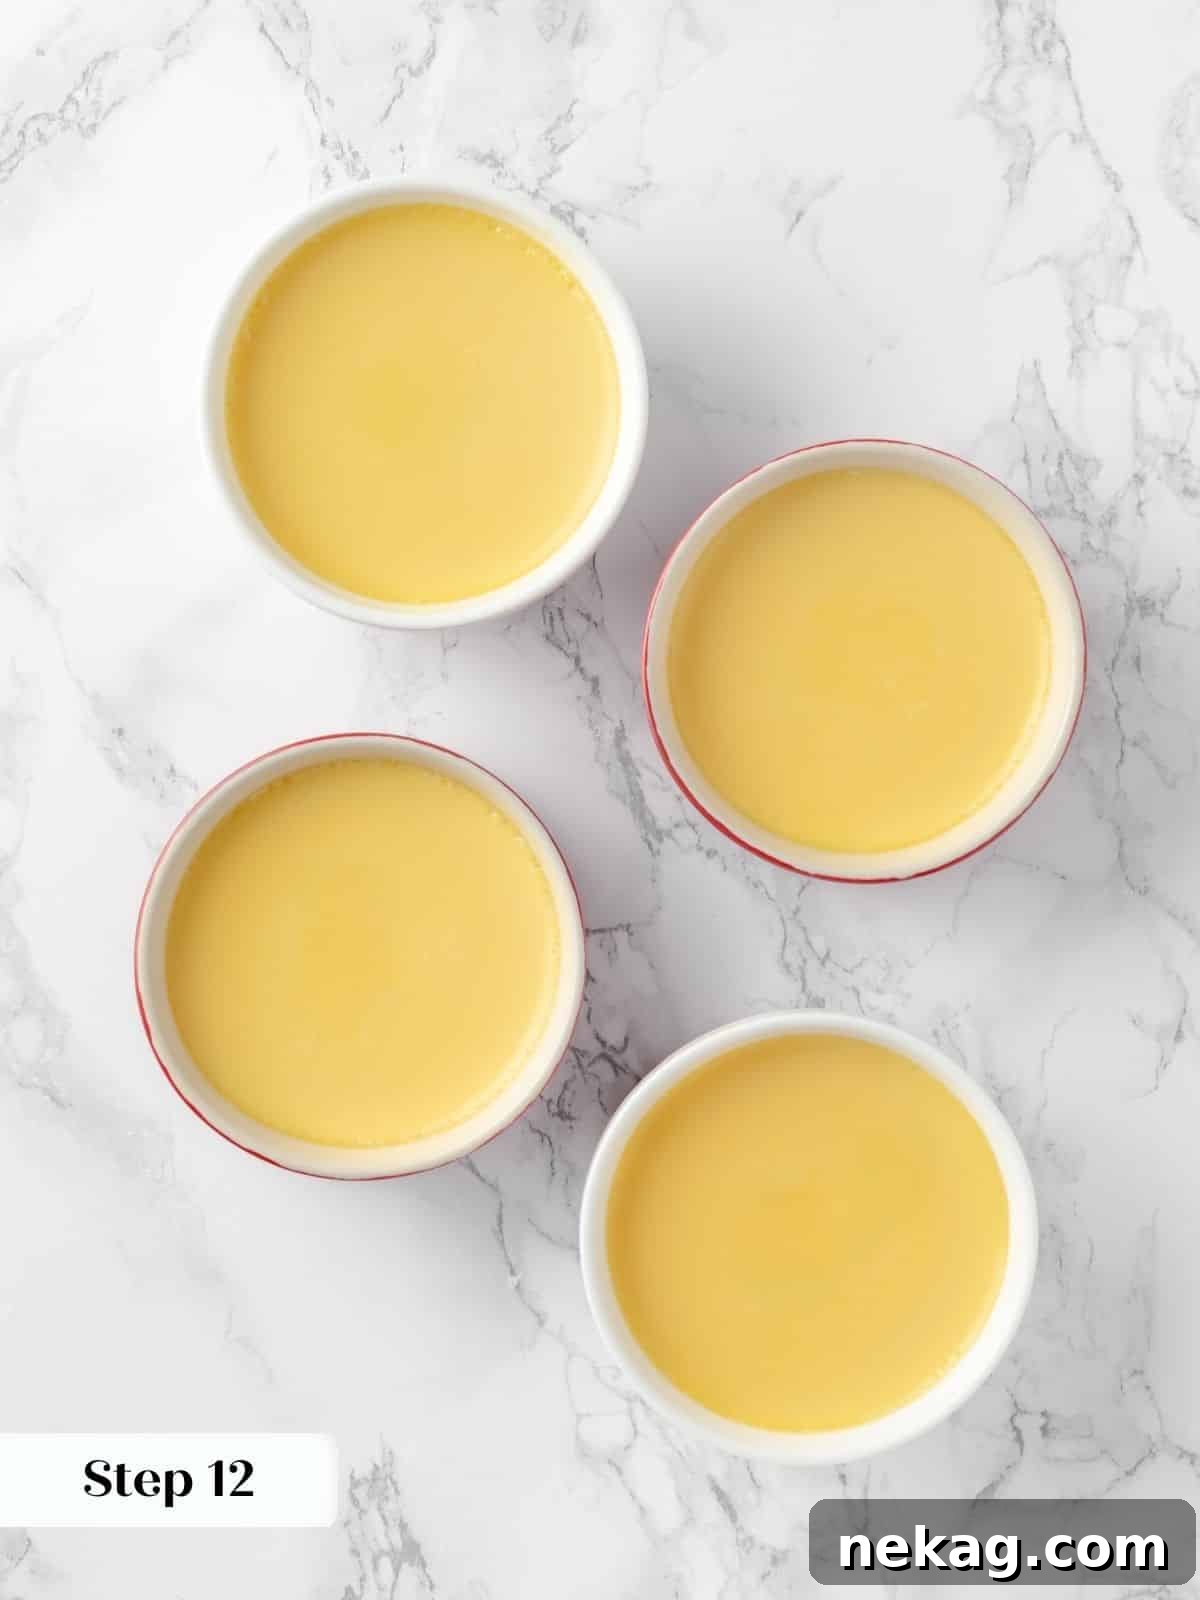
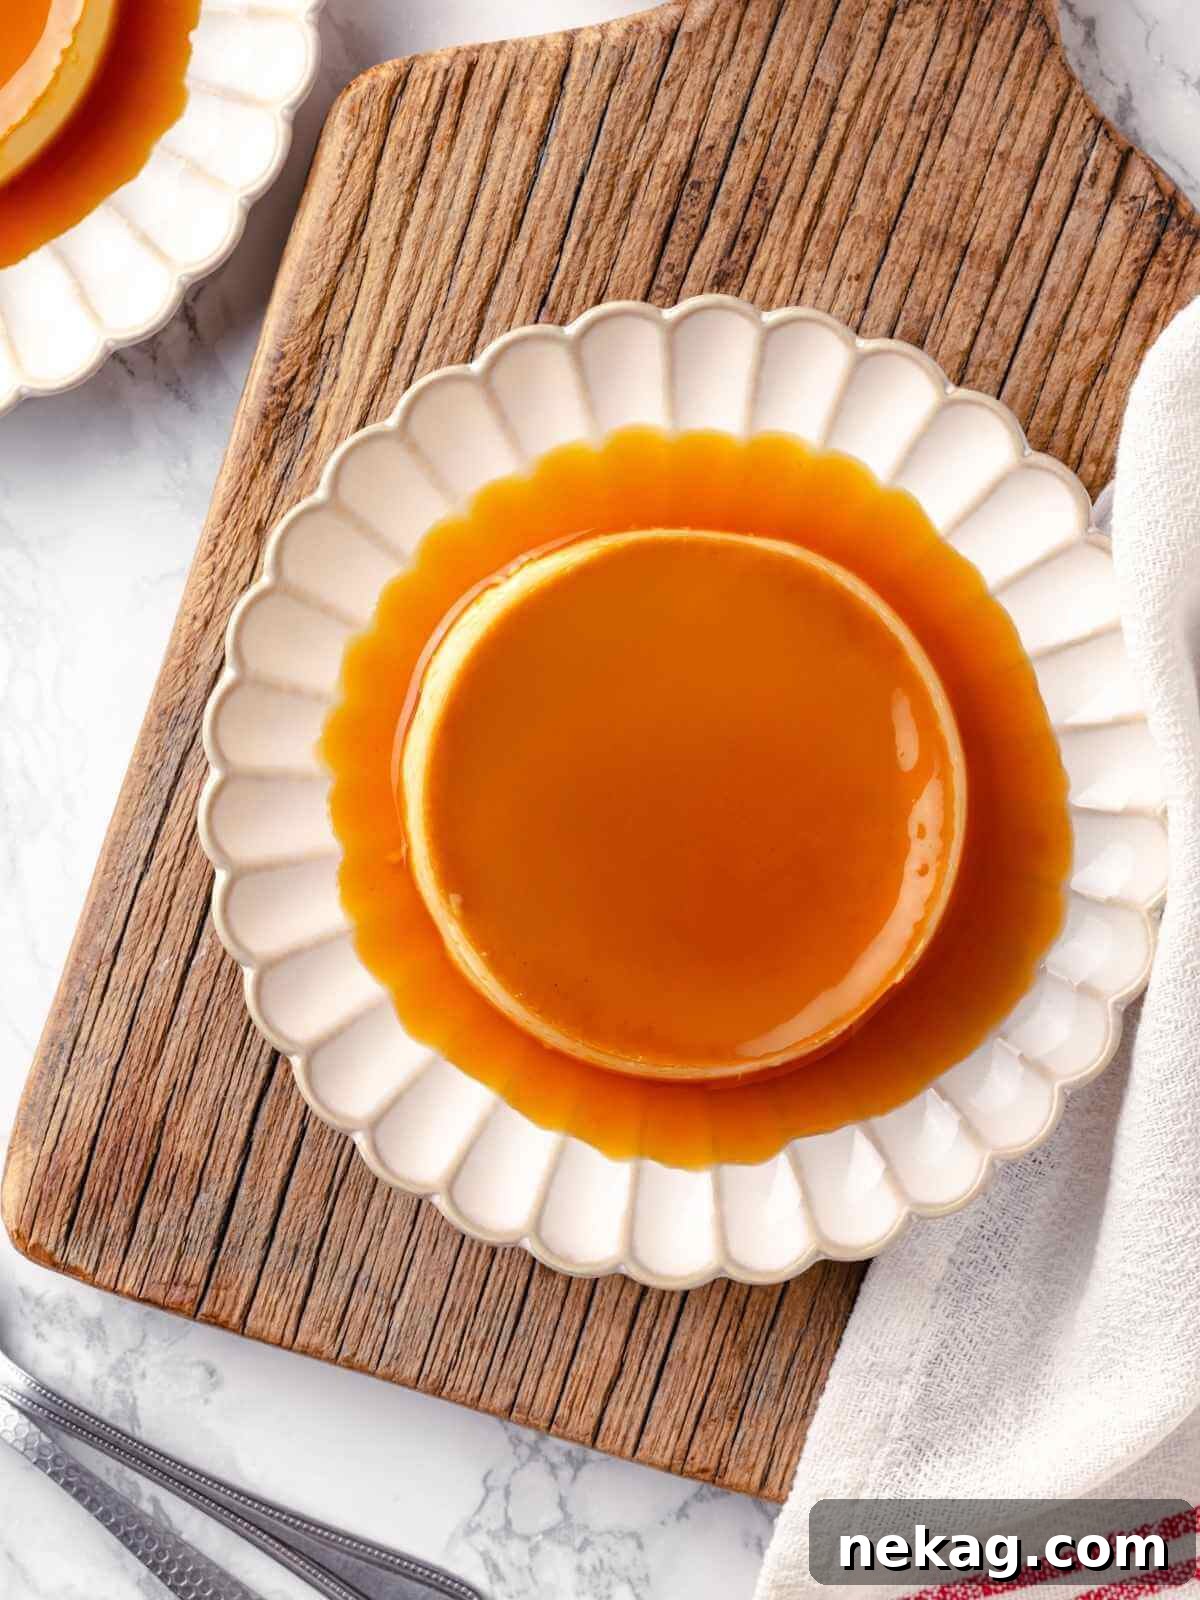
Chef Lindsey’s Expert Tip: The Sweet Spot of Refrigeration
The magic of crème caramel truly unfolds during its refrigeration period. It’s the combination of the cold custard and the cool environment that gradually softens and liquefies the firm caramel layer, transforming it into that beautiful, pourable sauce. If the crème caramel is unmolded too soon after baking, the custard might be set, but the caramel will likely still be too thick or solid. From my years of experience with countless variations on restaurant menus, I’ve found that a full 3 days of refrigeration hits the absolute sweet spot. This extended chilling time allows the caramel to fully develop its liquid consistency and ensures the flavors are perfectly melded and mature. Beyond this period (e.g., after 8 days), the custard can begin to slowly break down into the caramel, leading to small, undesirable bits of custard floating in the sauce. Patience in chilling is truly a virtue for the ultimate crème caramel experience!
Crème Caramel Recipe FAQs
Baked crème caramels should be stored tightly covered or well-wrapped in the refrigerator. They will maintain their quality and deliciousness for up to 8 days. Beyond this timeframe, the caramel may start to interact with the custard’s proteins, causing small pieces of custard to separate and float in the sauce, which affects its texture.
Unfortunately, crème caramels do not freeze well. The delicate structure of the custard is prone to breaking down during the freezing and defrosting process, leading to a separated, watery, and undesirable texture. It is best enjoyed fresh from the refrigerator within its recommended storage period.
Preventing caramel crystallization requires a few key steps. First, always start with a meticulously clean, heavy-bottomed pot. Even minute debris or grease can act as a nucleation point for crystals. Second, if you are making a wet caramel (with water), resist the urge to stir it once the sugar has dissolved and the mixture begins to boil. Agitation can promote crystallization, and once it starts, it can rapidly spread. If you find your caramel has crystallized despite your best efforts, it’s best to take a deep breath and start over. Crystallized caramel will not properly liquefy in the fridge and will result in a grainy, unappealing texture.
Yes, this crème caramel recipe scales up very well! If you have enough ramekins and a sufficiently large roasting pan to accommodate them comfortably in a water bath, you can easily make a larger batch for entertaining or for more servings.
Crème caramel is a complete dessert on its own, its delicate flavors and textures requiring no accompaniment. However, for a touch of added flair, you could serve it alongside a vibrant easy blueberry sauce, a dollop of quick strawberry jam, a drizzle of rich chocolate fudge sauce, or with seasonal roasted stone fruit like peaches or apricots for a delightful contrast.
To unmold your crème caramel, first run a thin knife or offset spatula around the edge of the custard, gently separating it from the ramekin. Then, place a serving plate upside down over the ramekin. In one swift, confident motion, invert the ramekin and plate together. The crème caramel should slide out, with the liquid caramel cascading over the custard. If it resists, dip the bottom of the ramekin in a shallow bowl of hot water for a few seconds to help loosen the caramel.
Recommended Caramel Recipes
Custard Recipes
Caramel Pastry Cream
Date Night
Caramel Pudding
Date Night
Salted Caramel Sauce
Date Night
Caramel Apple Tart
If you tried this recipe and loved it, please consider leaving a 🌟 star rating and share your experience in the comments below. We cherish your feedback and it truly brightens our day!
Classic French Crème Caramel
Chef Lindsey
15
30-45
12+
12 45
4 (3 oz Crème Caramels)
Ingredients
For the Caramel:
- ¾ cup granulated sugar
- 3 tablespoons water (optional, for wet caramel)
For the Custard:
- ¾ cup whole milk
- ⅔ cup heavy cream
- ⅛ teaspoon kosher salt
- 2 tablespoons granulated sugar
- 2 large eggs
- 1 egg yolk
- 1 teaspoon vanilla bean paste (or vanilla extract)
Instructions
- Preheat the oven to 325°F (160°C).
- Lightly spray ramekins with nonstick cooking spray and place them on a flat baking sheet to ensure stability.
- In a heavy-bottomed saucepan, prepare your caramel. For dry caramel, melt sugar over medium heat, swirling occasionally, until it reaches a medium amber. For wet caramel, add 3 tablespoons of water to the sugar, stir initially, then do not stir as it caramelizes over medium heat to a medium amber.
- Swirl the caramel as it cooks to ensure even coloring. Once it reaches a medium amber, immediately divide it among the prepared ramekins. If the caramel cools and hardens too much to pour, gently reheat it until it becomes fluid again.
- Place the baking sheet with the caramel-filled ramekins in the refrigerator until the caramel is completely set and cool. This prevents a skin from forming between the caramel and custard.
- In a small saucepan, heat milk, cream, salt, and the custard sugar until it just comes to a boil. Simultaneously, in a separate bowl, whisk together the eggs and egg yolks until they are lightened and slightly increased in volume.
- Once the milk mixture boils, slowly and steadily pour it into the whisked eggs and yolks while continuously whisking to temper the eggs.
- Add the vanilla bean paste or vanilla extract and whisk to combine. Pour the entire custard mixture through a fine-mesh sieve to remove any impurities or air bubbles. Divide the strained custard among the caramel-lined ramekins. Place these filled ramekins into a large, deep baking dish or roasting pan.
- Carefully cover the large baking dish with aluminum foil, leaving one corner slightly pulled back for venting.
- Transfer the dish to the middle rack of the preheated oven. Carefully pour hot (but not boiling) water into the large dish, ensuring it comes halfway up the sides of the ramekins. Be cautious not to splash water into the custards. Replace the foil over the vented corner and close the oven.
- Bake for approximately 30-45 minutes, or until the custards are fully set but still have a slight jiggle in the center when gently shaken. The surface should not be cracked.
- Using kitchen tongs, a spatula, and a towel for safety, carefully remove the ramekins from the hot water bath. Place them on a baking sheet or wire rack to cool completely to room temperature.
- Once cooled, cover the ramekins individually or collectively and refrigerate for at least overnight, and ideally for 2-3 days, up to 8 days, for the caramel to fully liquefy and flavors to meld.
Notes
Presentation: For the most liquid and flavorful caramel, serve the crème caramel at least 2 days after baking; 3 days is optimal.
Variations: Once you’ve mastered the basic custard, get creative! Infuse flavors inspired by other desserts like Key Lime Crème Caramel, Tiramisu Crème Caramel, Pumpkin Pie Crème Caramel, or Banana Crème Caramel.
Technique: If a crème caramel is difficult to unmold, briefly dip the bottom of the ramekin into hot water for a few seconds. This gently warms the caramel, making it easier to release the custard.
Storage: Store cooked and thoroughly cooled crème caramels, well-wrapped, in the refrigerator for up to 8 days.
Nutrition
|
Calories: 381kcal
|
Carbohydrates: 48g
|
Protein: 6g
|
Fat: 19g
|
Saturated Fat: 11g
|
Polyunsaturated Fat: 1g
|
Monounsaturated Fat: 5g
|
Trans Fat: 0.01g
|
Cholesterol: 181mg
|
Sodium: 135mg
|
Potassium: 142mg
|
Sugar: 48g
|
Vitamin A: 841IU
|
Vitamin C: 0.2mg
|
Calcium: 101mg
|
Iron: 1mg
Dessert
French
381
Enjoyed this recipe? Share your thoughts below!
Before You Go: Explore More Custard Delights
We sincerely hope you’ve enjoyed mastering this professional chef-tested crème caramel recipe. Its classic appeal and delightful taste are truly unmatched. If you’re eager to delve deeper into the wonderful world of custards, we invite you to explore our other delicious, chef-developed custard recipes. Indulge in the delicate perfection of our Vanilla Bean Crème Brûlée, savor the slightly tangy charm of our Old-Fashioned Buttermilk Pie, or treat yourself to the rich decadence of our Chocolate Chip Cheesecake. Happy baking!