
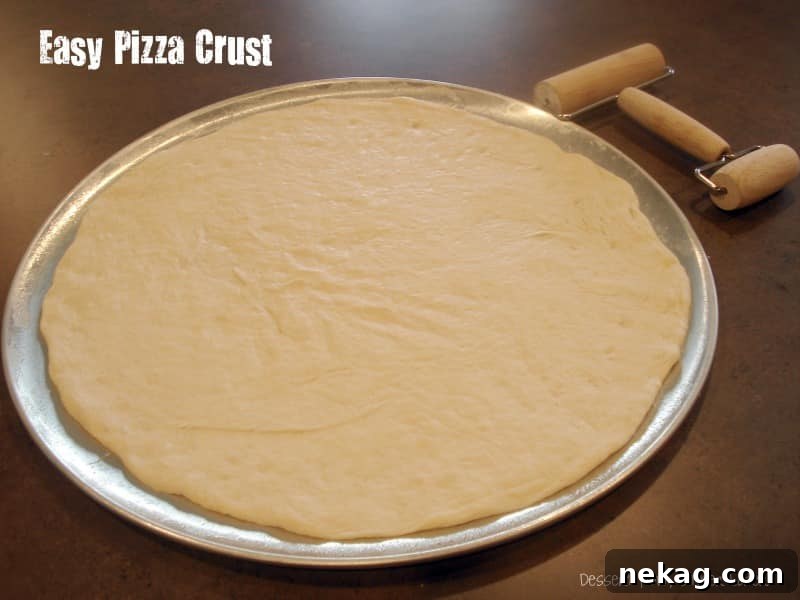
Master the Art of Homemade Pizza: The Easiest Pizza Crust Recipe You’ll Ever Make
There’s nothing quite like the aroma of freshly baked pizza filling your kitchen, and with this incredibly easy pizza crust recipe, that dream becomes a delicious reality. Forget store-bought frozen pizzas or expensive delivery; crafting your own masterpiece from scratch is simpler and more rewarding than you might think. This isn’t just any pizza dough recipe; it’s a versatile, foolproof yeast dough that will become your new go-to for countless culinary creations beyond just pizza.
This foundational recipe is designed to yield one perfect 14-inch thin and delightfully crispy pizza crust. However, if your heart desires a thicker, softer, or even a deep-dish pan-style crust, simply adjust the quantities. By increasing the recipe by 1.5 times, you can achieve that wonderfully fluffy, bread-like texture that many adore. The beauty of homemade pizza lies in its endless customization, and it all starts with the perfect base.
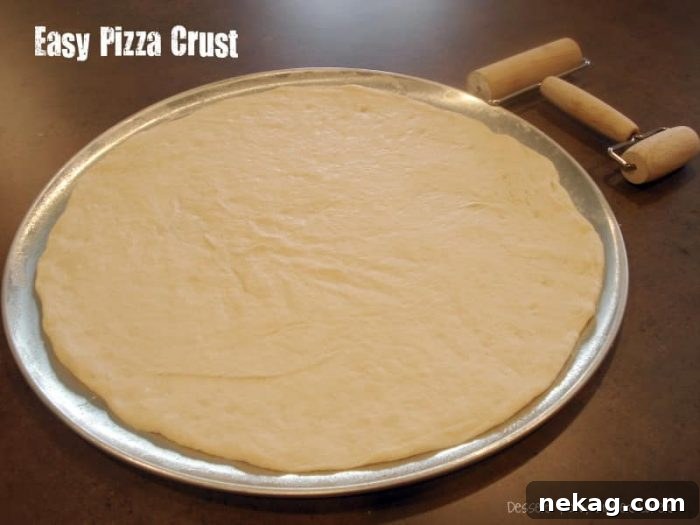
Creating homemade pizza dough can seem intimidating, especially when dealing with yeast, but this recipe simplifies the process, making it accessible for even beginner bakers. The key to success lies in understanding a few basic principles and giving your dough the love and attention it deserves. Once you master this base, your culinary adventures will expand dramatically.
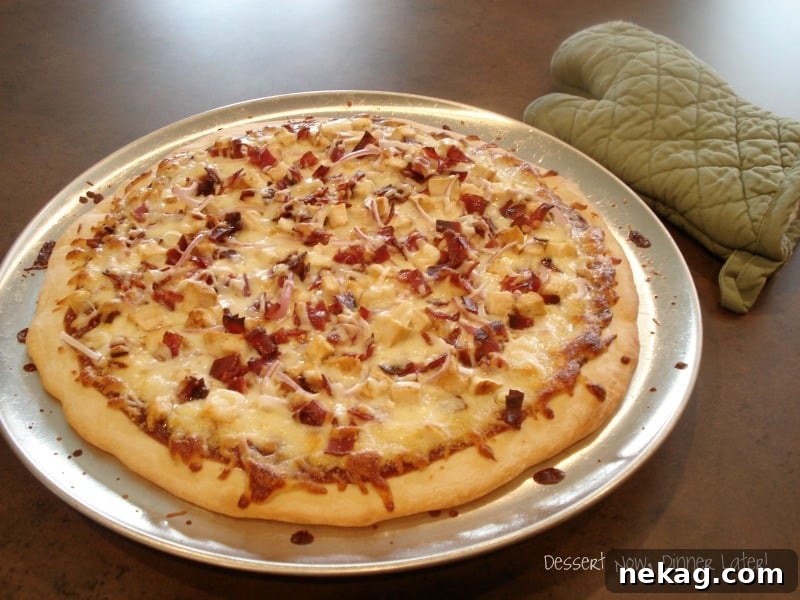
When you pre-bake the crust, don’t be alarmed if it puffs up a bit and feels dry to the touch. This is exactly what you want! This initial bake helps create a sturdy foundation, preventing your crust from becoming soggy under the weight of sauces and toppings, and ensures a beautifully crisp finish.
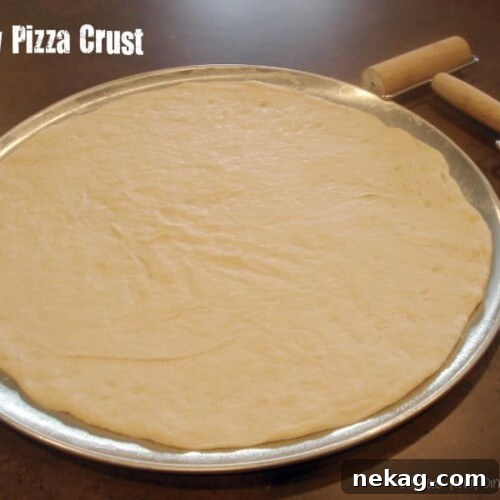
Easy Pizza Crust
Amber Brady
Pin
Rate
Save
8 Servings
Ingredients
- ¾ cup (177 ml) warm water (about 105-115°F or 40-46°C, crucial for activating yeast)
- ½ Tbsp instant yeast (active dry yeast can also be used, but instant is quicker)
- 1 Tbsp granulated sugar (feeds the yeast, aiding its activation)
- ½ Tbsp extra virgin olive oil (adds flavor and tenderizes the dough)
- ¼ tsp salt (enhances flavor and controls yeast activity)
- 1 ½ cups (180 g) all-purpose flour, (stir, spoon & level for accurate measurement)
Instructions
-
In a medium-sized mixing bowl, combine the warm water and granulated sugar. Stir gently until the sugar dissolves. Sprinkle the instant yeast over the water-sugar mixture. Let this sit undisturbed for about 5 minutes. You’ll know the yeast is active and healthy when a foamy, bubbly layer forms on the surface, indicating the yeast is alive and ready to work its magic.
-
To the activated yeast mixture, add the extra virgin olive oil and salt. Gradually incorporate the all-purpose flour, stirring with a sturdy spoon. Continue stirring vigorously, about 50 good stirs, until the dough comes together, forms a ball, and starts pulling away cleanly from the sides of the bowl. If the dough feels too sticky, sprinkle in a tiny bit more flour, a tablespoon at a time, until it reaches a manageable consistency that’s soft but not tacky. Remove the dough from the bowl, lightly spray the inside of the bowl with a non-stick pan coating or a thin layer of olive oil, and return the dough to the bowl. Cover the bowl with a clean kitchen towel and allow the dough to rise in a warm place for approximately 30 minutes, or until it has noticeably doubled in size. This first rise develops flavor and texture.
-
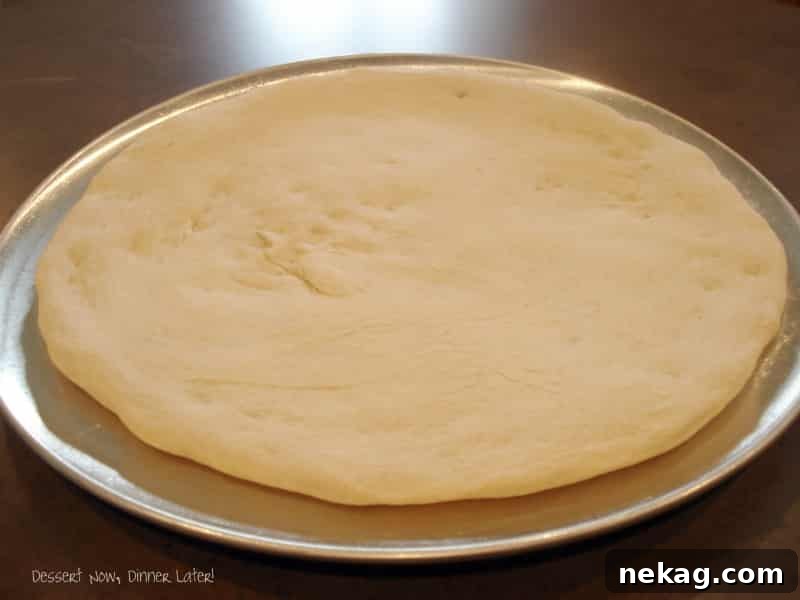
Once the dough has completed its initial rise and has roughly doubled in volume, gently punch it down to release the air. Transfer the dough to a lightly floured surface or directly onto a prepared pizza tray. Grease your pizza tray with cooking spray or a brush of olive oil to prevent sticking. Using your hands or a rolling pin, gently stretch and roll the dough out to your desired thickness and shape (for a 14-inch thin crust, aim for an even, thin layer). Cover the rolled-out dough with the towel again and let it rest for another 10-15 minutes. This second, shorter rest allows the gluten to relax, making the crust more tender and easier to digest. Remember, the longer you allow it to rest, the softer your final crust will be.
-
While the dough is resting for its second time, preheat your oven to a high temperature of 425˚F (220˚C). Once the oven is fully preheated, bake the crust alone for 5 minutes. This crucial step, known as pre-baking or par-baking, creates a dry, semi-cooked layer over the top of the dough, preventing your crust from becoming soggy once the sauce and toppings are added. It also helps achieve that desirable crispy texture.
-
After the initial 5-minute pre-bake, carefully remove the crust from the oven. Now comes the fun part: personalize your pizza! Spread your favorite pizza sauce evenly over the crust, leaving a small border for the edges. Generously sprinkle with your preferred cheese (mozzarella is classic!) and arrange your desired toppings. From pepperoni and mushrooms to fresh veggies and gourmet cheeses, the possibilities are endless.
-
Return the topped pizza to the preheated oven for an additional 11-12 minutes. Keep a close eye on it during the last few minutes. The pizza is ready when the crust is beautifully browned and golden, and the cheese is melted, bubbly, and slightly caramelized. Carefully remove your masterpiece from the oven, let it cool for a few minutes before slicing, and then serve immediately. Enjoy the taste of truly homemade pizza!
Notes
For a Thicker, Softer Pan Crust: If you prefer a thicker, softer, or pan-style pizza, simply increase the recipe by 1.5 times. This means using 1⅛ cups warm water, ¾ Tbsp instant yeast, 1½ Tbsp granulated sugar, ¾ Tbsp olive oil, ⅜ tsp salt, and 2¼ cups all-purpose flour. After the second rise, instead of rolling it thin, press the dough gently into a greased 14-inch pizza pan, allowing it to be thicker. The baking time might slightly increase; watch for golden brown edges and bubbly cheese.
Flour Measurement: Always use the “stir, spoon & level” method for flour. Stir the flour in its container, then spoon it lightly into your measuring cup, and finally, level off the top with a straight edge (like the back of a knife). This prevents over-measuring, which can lead to a dry, dense crust.
Warm Water Temperature: The temperature of your warm water is critical. Too hot, and it will kill the yeast; too cold, and it won’t activate properly. Aim for water that feels like a warm bath (105-115°F or 40-46°C). A kitchen thermometer is ideal for accuracy.
Storage: Leftover dough (before rising) can be stored in an airtight container in the refrigerator for up to 2-3 days. Bring it to room temperature before rolling and baking. Par-baked crusts can also be frozen for up to a month; simply wrap them tightly in plastic wrap and foil.
Disclaimer: Nutritional values were calculated using a third-party tool and are provided as an estimation only.
Per serving (estimated for 1/8 of a thin crust): Calories: 120, Fat: 2g, Saturated Fat: 0.3g, Cholesterol: 0mg, Sodium: 75mg, Carbohydrates: 22g, Fiber: 1g, Sugar: 2g, Protein: 3g.
Sharing this recipe with a link is both encouraged and appreciated. Copying/pasting and/or screenshots of full recipes to any social media is strictly prohibited. Content and photographs are copyright protected.
Did you make this?
Don’t forget to leave a rating below and make sure to follow on Pinterest and Instagram for more delicious recipes!
The Joys of Crafting Your Own Pizza at Home
There’s an unparalleled satisfaction that comes with creating something delicious from scratch, and homemade pizza is no exception. Beyond the incredible taste, making your own pizza dough offers numerous benefits. You have complete control over the ingredients, allowing you to choose organic, whole-wheat, or gluten-free flours if you wish. It’s often more cost-effective than ordering takeout, especially for feeding a family or hosting a party. Plus, it’s a fantastic activity to do with kids, teaching them valuable cooking skills and encouraging adventurous eating.
This easy pizza crust recipe is designed to be a gateway to a world of culinary creativity. Once you’re comfortable with the basic dough, you can start experimenting with different herbs mixed into the dough itself (think garlic powder, dried oregano, or Italian seasoning) or brushing the crust with garlic butter before baking for an extra layer of flavor. The possibilities are truly limitless.
Why This Recipe Stands Out for the Best Pizza Dough
- Simplicity: It uses common pantry ingredients and straightforward steps, making it ideal for beginners.
- Versatility: Easily adaptable for thin & crispy or thick & soft crusts, accommodating all preferences.
- Flavor & Texture: The combination of ingredients results in a dough that’s both flavorful and has a wonderful chew, developing a golden crust when baked.
- Quick Rise Time: Instant yeast and strategic resting periods get you to pizza night faster without compromising quality.
Tips for Perfect Pizza Every Time
Achieving pizzeria-quality pizza at home is within reach with a few expert tips:
- Hot Oven is Key: Pizza needs high heat to cook quickly and achieve a crispy crust with properly melted cheese. Don’t be shy with your oven temperature. If your oven goes higher than 425°F, use it!
- Pizza Stone or Steel: Investing in a pizza stone or steel can dramatically improve your crust. Preheat it in the oven for at least 30-60 minutes before baking to ensure it’s scorching hot. This mimics a brick oven and gives you a beautifully crisp bottom.
- Don’t Overload: While it’s tempting to pile on all your favorite toppings, too many can weigh down the crust, making it soggy. Less is often more for a balanced and perfectly cooked pizza.
- Warm Plate: Serve your pizza on warm plates to keep it hot longer, enhancing the dining experience.
- Fresh Ingredients: High-quality ingredients make a noticeable difference. Use good quality olive oil, fresh mozzarella, and ripe vegetables for the best flavor.
Creative Topping Combinations to Try
Once you have your perfect homemade pizza crust, the world of toppings awaits! Here are some ideas to spark your imagination:
- Classic Margherita: San Marzano tomato sauce, fresh mozzarella, basil, and a drizzle of olive oil. Simple, elegant, and timeless.
- Spicy Pepperoni & Honey: Classic pepperoni with a surprising drizzle of hot honey after baking for a sweet and spicy kick.
- BBQ Chicken: Shredded chicken tossed in BBQ sauce, red onion, smoked gouda, and cilantro.
- Mediterranean Delight: Hummus as a base, topped with feta cheese, Kalamata olives, cherry tomatoes, and fresh oregano.
- Veggie Extravaganza: Bell peppers, red onion, mushrooms, black olives, and spinach on a marinara base.
- Breakfast Pizza: Scrambled eggs, crumbled sausage or bacon, cheddar cheese, and a dash of hot sauce for a unique morning treat.
Remember, the best pizza is the one you love to eat. Don’t be afraid to experiment with your favorite flavors and create signature pizzas that reflect your personal taste.
Troubleshooting Common Pizza Dough Issues
- Dough Didn’t Rise: This is usually due to inactive yeast or water that was too hot or too cold. Ensure your yeast is fresh and your water temperature is correct.
- Dough is Too Sticky: Gradually add a tablespoon of flour at a time until the dough is manageable but still soft. Avoid adding too much flour, as this can lead to a dry crust.
- Dough is Too Dry: If your dough is crumbly and doesn’t come together, you might need to add a teaspoon of warm water at a time until it reaches the right consistency.
- Soggy Crust: This can be remedied by pre-baking the crust, not overloading toppings, and using a very hot oven, possibly with a pizza stone.
- Crust is Too Hard: Over-kneading can lead to a tough crust. Stick to the suggested mixing times. Also, make sure not to overbake your pizza.
Final Thoughts on Your Homemade Pizza Journey
Making your own pizza from scratch is a rewarding culinary journey that promises delicious results. This easy pizza crust recipe empowers you to create mouth-watering pizzas that rival your favorite pizzerias, all from the comfort of your own home. With its simple ingredients and clear instructions, you’re well on your way to becoming a pizza-making pro. So gather your ingredients, fire up your oven, and prepare to impress yourself and your loved ones with the incredible taste of homemade pizza!
We hope you enjoy this recipe and make it a regular part of your meal rotation. Happy baking!