
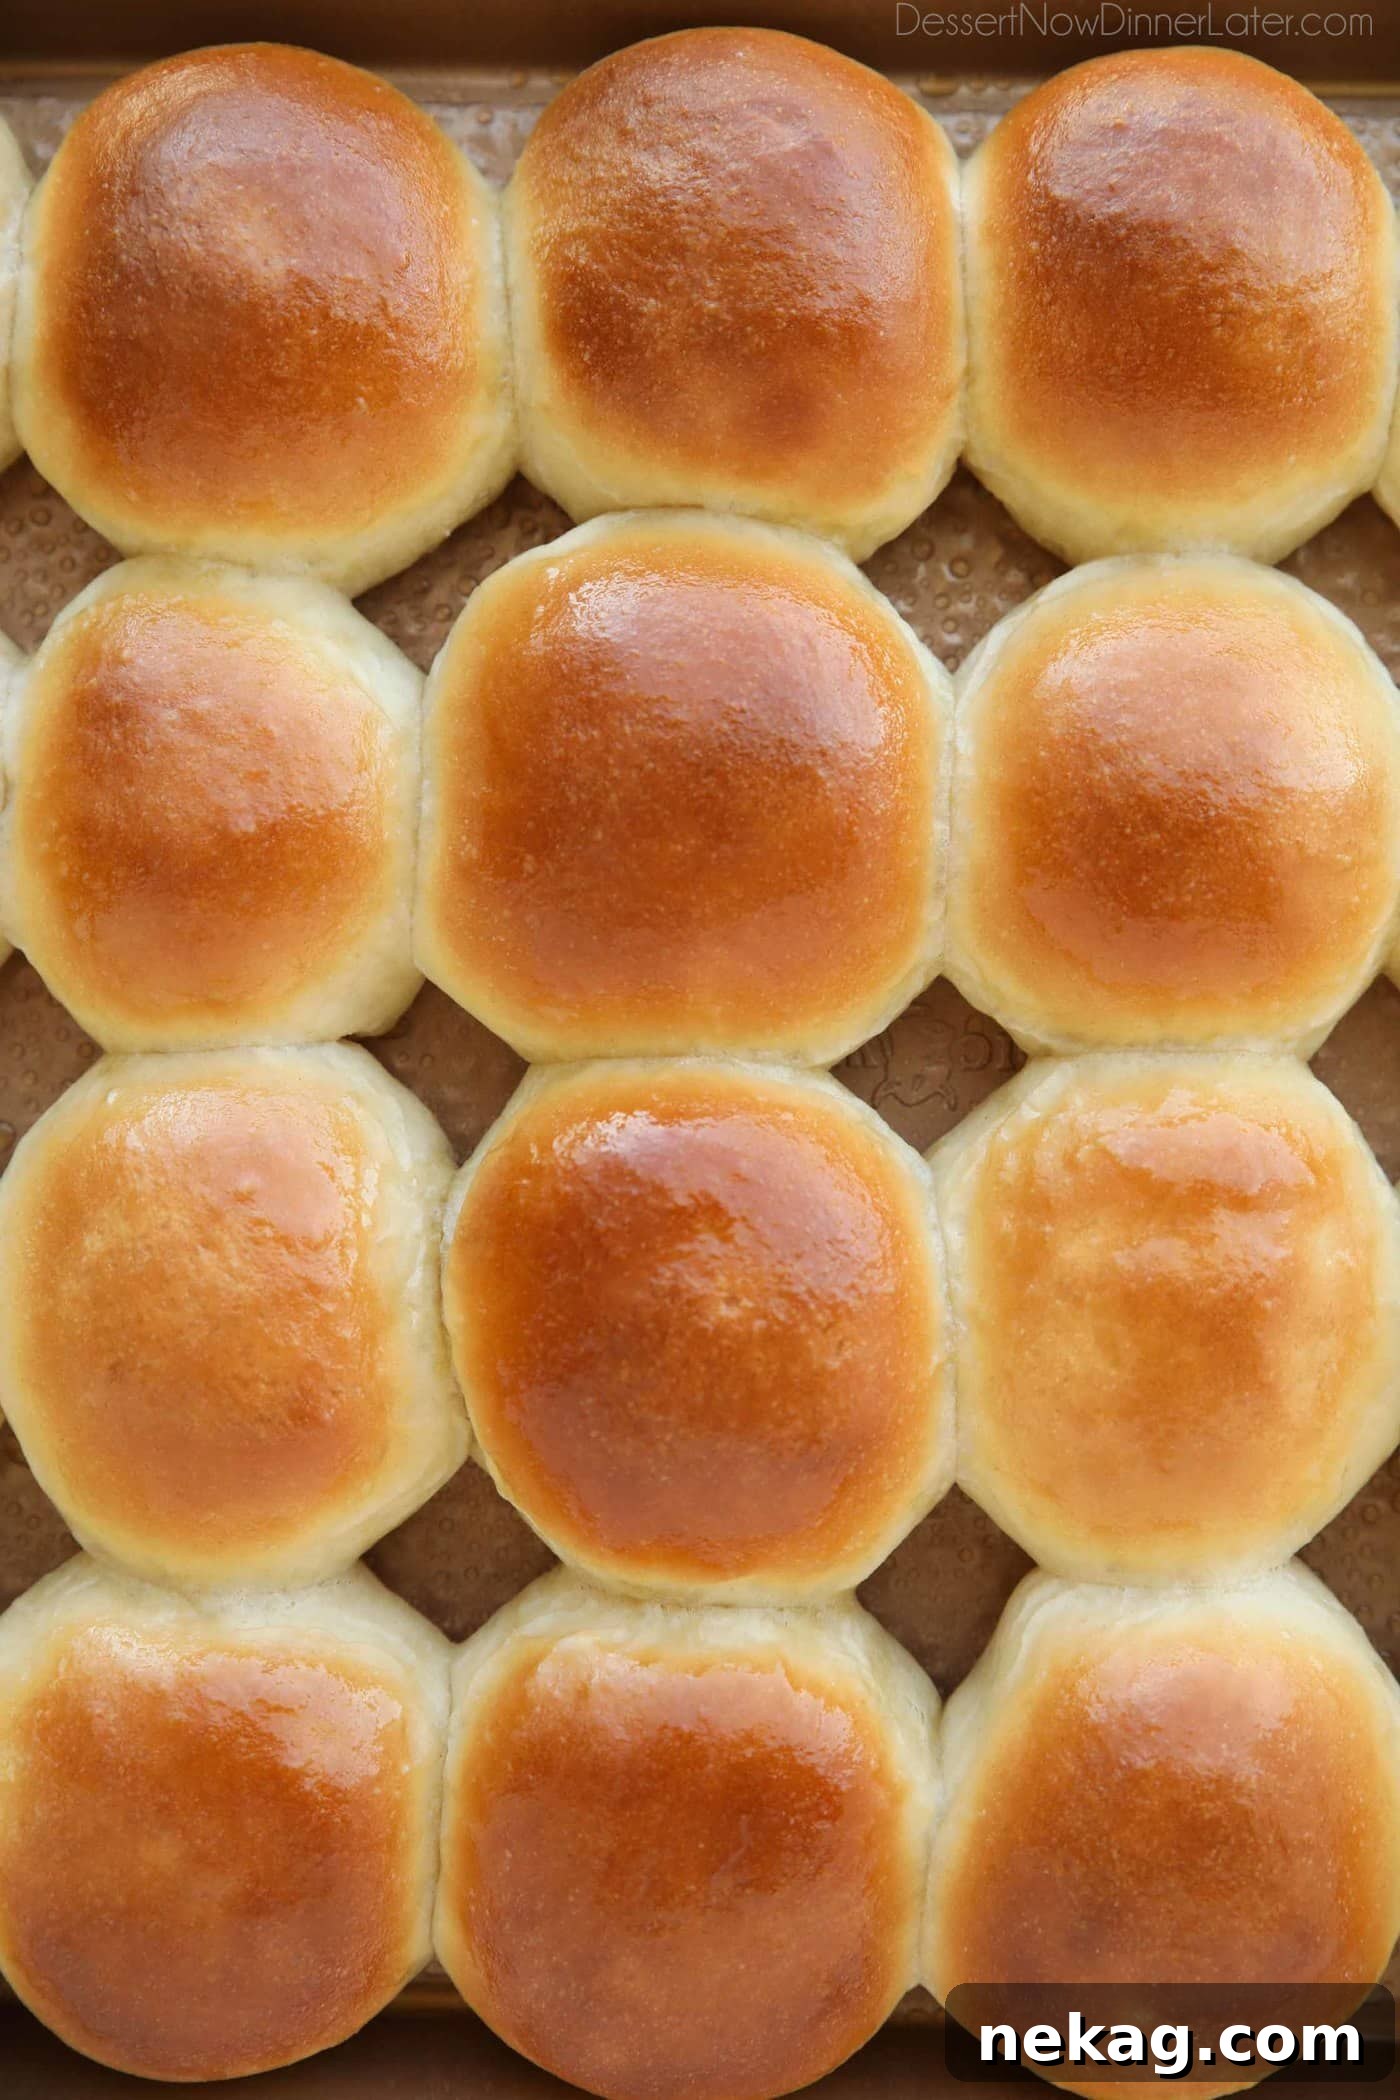
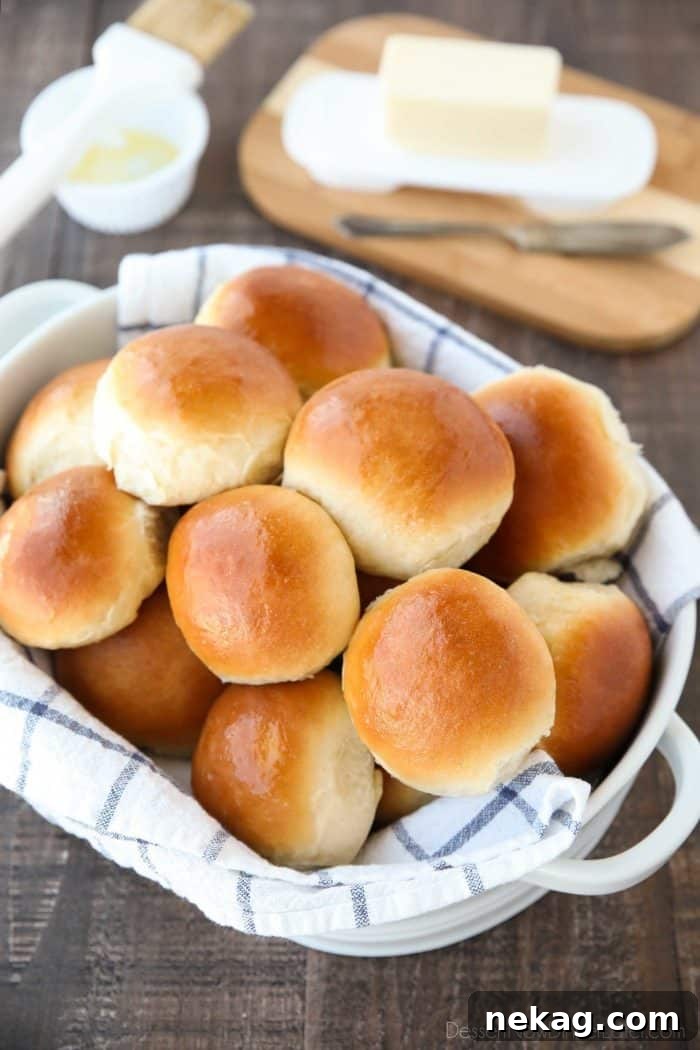
There’s nothing quite like the aroma of freshly baked bread filling your kitchen, especially when it’s these classic homemade dinner rolls. Incredibly soft, wonderfully fluffy, delightfully light, and perfectly buttery, they are the quintessential bread for elevating any meal or special holiday gathering. Forget store-bought options; once you experience the warmth and tenderness of these rolls, you’ll never look back.

The journey to crafting the perfect dinner roll begins with a proven recipe and a few key techniques. While I’ve always cherished my 100% whole wheat rolls recipe for its wholesome goodness, I’ve refined and adapted it to create these utterly divine classic white dinner rolls. They strike the perfect balance between richness and lightness, making them an instant family favorite.
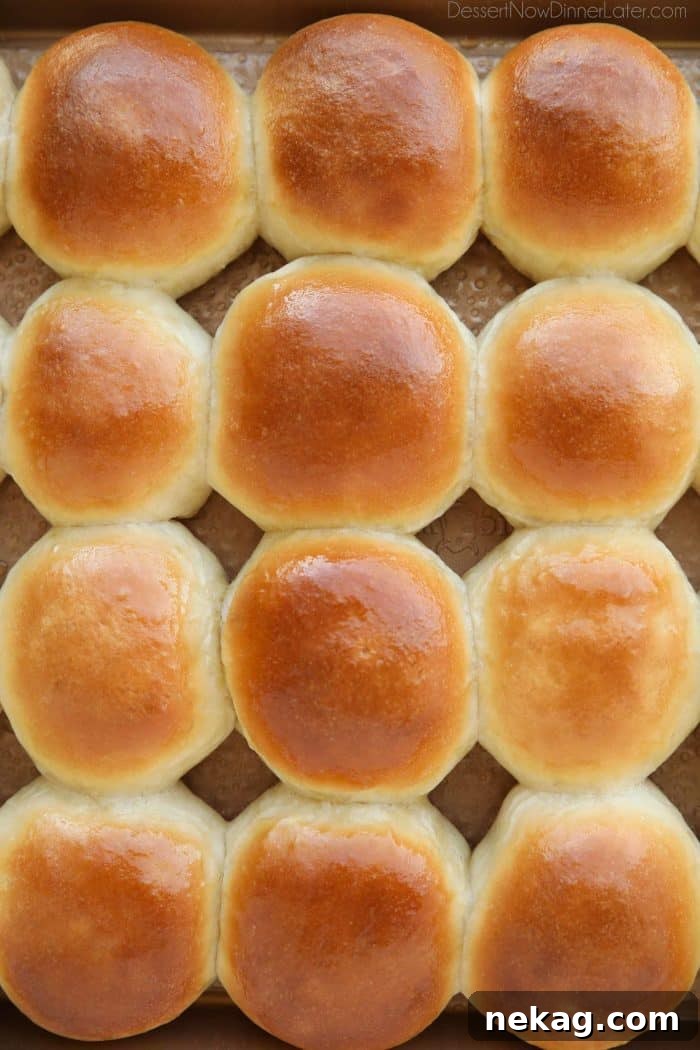
The Secret to Soft and Fluffy Dinner Rolls
Achieving that coveted soft and fluffy texture in homemade bread doesn’t require any mysterious additives or complicated processes. It primarily relies on three cornerstone ingredients, each playing a crucial role in enriching the dough and enhancing its structure: eggs, milk, and butter. This dinner roll recipe proudly incorporates all three, ensuring an unparalleled texture and flavor profile.
- Eggs: More than just a binder, eggs serve as a natural leavening agent, contributing to a higher rise in your bread. The fats found in the egg yolk are particularly important for tenderizing the crumb, resulting in a lighter, more delicate texture. They also add a subtle richness and a beautiful golden hue to the finished rolls.
- Milk: Opting for milk instead of water in your bread dough yields a richer flavor and a remarkably velvety texture. The lactose (sugar) and butterfat present in milk contribute to a softer crust that browns beautifully and more quickly. Beyond texture and appearance, milk also helps to extend the shelf life of your homemade bread, keeping it fresh for longer.
- Butter: Perhaps the most indulgent of the three, butter is essential for both flavor and texture. It infuses the rolls with a rich, irresistible taste and significantly improves their tenderness. Like milk, butter also enhances the keeping quality of the bread, preventing it from drying out too quickly.
While commercial bakeries often rely on “conditioners” and chemical preservatives to maintain softness and prolong shelf life, homemade bread, particularly these enriched dinner rolls, achieves superior taste and texture through natural ingredients. Although homemade bread may not stay impossibly soft for as long as its chemical-laden counterparts, the depth of flavor and satisfying texture are incomparable. These three ingredients guarantee that your rolls will be far from heavy or dense, offering a truly wholesome and satisfying experience.
Mastering the Dough: Kneading Techniques
Kneading is a fundamental step in bread making, developing the gluten in the flour which gives bread its structure and elasticity. The dough for these enriched dinner rolls, with its generous amounts of butter and eggs, is naturally stickier than leaner bread doughs. This stickiness is desirable for tenderness, but it can make kneading a bit challenging.
Kneading Dough by Hand
If you’re kneading by hand, the biggest temptation is to add too much flour to combat stickiness. Resist this urge! Excessive flour will result in heavy, dense rolls. A useful technique is to initially incorporate only about half of the total flour into the wet ingredients in a large bowl, stirring until a thick batter forms. Then, transfer this mixture to a lightly floured work surface and gradually knead in the remaining flour until the dough comes together. Remember, it should remain slightly tacky.
Here’s a step-by-step guide for hand kneading:
- Fold and Press: Grab the side of the dough furthest away from you and fold it in half towards you. Using the heels of your hands, firmly press the dough down and away from your body.
- Turn and Repeat: Give the dough a quarter turn and repeat the folding and pressing motion. Continue this rhythm for approximately 10 minutes.
- Manage Stickiness: Use a dough or bench scraper to lift the dough if it begins to stick excessively to your counter. If absolutely necessary, very lightly sprinkle your work surface with a minimal amount of additional flour.
- Check for Readiness: Knead until the dough becomes smooth, silky, and elastic. When gently poked, it should spring back slowly. It should still be slightly tacky to the touch, not dry or stiff.
Kneading Dough with a Stand Mixer
For convenience and efficiency, kneading dough with a machine is often ideal. A stand mixer equipped with a dough hook can cut the kneading time in half, typically requiring only about five minutes to achieve the desired texture. I highly recommend a Bosch Mixer for its exceptional power and effective dough hook design, which ensures the dough is thoroughly mixed and kneaded, even at the bottom of the bowl. My family has been loyal to Bosch mixers for decades, a testament to their durability and performance, especially for frequent bread bakers. Investing in a good stand mixer is truly worthwhile if you enjoy baking bread regularly.
Perfecting the Rise: Proofing Your Dough
Proofing, or allowing the dough to rise, is a critical stage in bread making that allows the yeast to work its magic, creating air pockets and giving the rolls their light texture. While making homemade bread can be a time-consuming process, the effort is undeniably rewarding. Here are some effective strategies to speed up the dough rising process without compromising quality:
- Choose the Right Yeast: Using a rapid-rise yeast (often labeled as “instant yeast” or “quick-rise yeast”) is key. These yeasts have smaller granules, which allows them to activate and work faster than traditional active dry yeast, reducing proofing time significantly.
- Create a Warm, Moist Environment: Yeast thrives in warmth and humidity. A warm, moist environment helps the dough rise more quickly and efficiently.
- Using a Microwave: Place a glass of water in your microwave and heat it on high for about 2 minutes to create steam. Leave the water in the microwave, then add your bowl of dough (covered with plastic wrap) and proof for 30-45 minutes. The residual warmth and humidity will accelerate the rise.
- Using an Oven: Heat a large, oven-safe bowl of water at the lowest temperature setting of your oven for 2 minutes. Turn the oven off, leave the water bowl inside, and then place your oven-safe bowl of covered dough inside to proof for 30-45 minutes.
- Harness Oven Heat for the Second Rise: Once your dinner rolls are shaped and placed on the baking sheet, they won’t fit into the microwave, and your oven will need to preheat. For the second proofing, turn your oven on to the baking temperature for your rolls. Gently cover the shaped rolls with a kitchen towel or lightly greased plastic wrap and place them on the counter space right next to, but not on, the preheated oven. If your oven has a heat vent, position the rolls closest to that side. The ambient heat emanating from the oven will provide a gentle warmth that significantly speeds up the final rising process.
How to Shape Dinner Rolls for Success
Achieving uniform, beautifully rounded dinner rolls is an art, but it’s easily mastered with a simple technique. The best way to ensure consistent size is to weigh each portion of dough, typically around 2 to 2.25 ounces (about 56-64 grams) per roll. While I don’t always weigh them, I typically flatten the risen dough and divide it as evenly as possible with a dough cutter. This recipe yields approximately 24 delightful dinner rolls.
In professional bakeries, specialized machines divide and perfectly roll dough, but you can achieve excellent results by hand with a much simpler method than traditional rolling. My favorite method for shaping dinner rolls by hand involves a gentle cupping motion:
- The Cupping Method: Take a piece of dough in the palm of your hand. Cup your hand around the dough and gently push it through the opening formed by your thumb and pointer finger. This action creates natural tension on the surface of the dough, forming a neat, round ball. (For a visual guide, refer to the photo tutorial in this post).
- Seal and Place: Once shaped, pinch the ends of the dough together to seal the seam. Place the rolls seam-side down onto a lightly greased baking sheet, ensuring they are spaced about an inch apart to allow for expansion during the second rise and baking. A standard 12×18-inch pan works perfectly for a batch of 24 rolls.

Baking and Finishing Your Perfect Rolls
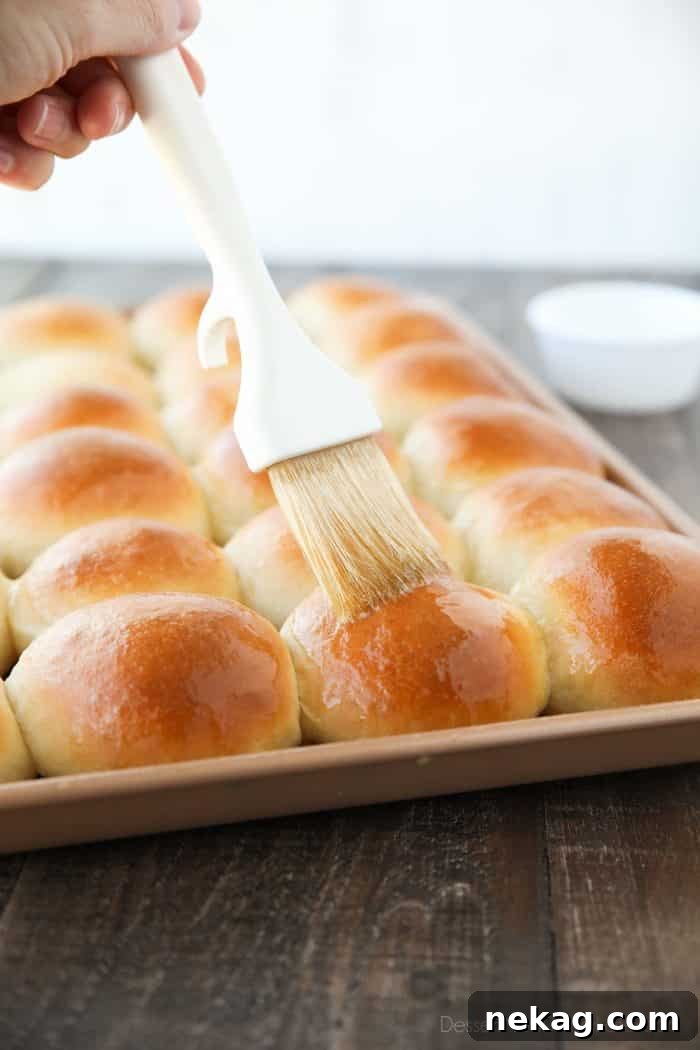
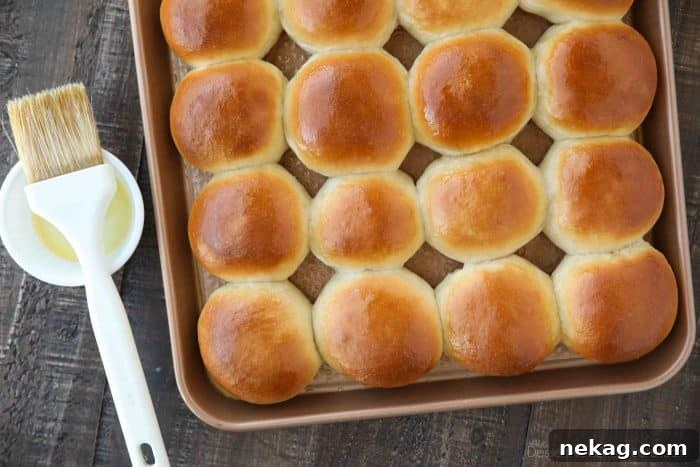
These classic dinner rolls bake up beautifully in just 15-20 minutes. Due to the milk in the dough, they tend to brown more quickly than rolls made with water, so keep a close eye on them during the last few minutes of baking. Their rich golden-brown exterior is part of their charm! Once they emerge from the oven, hot and inviting, immediately brush them with a generous amount of melted butter. This not only adds an extra layer of flavor and gloss but also helps keep the crust tender. They are truly a sight to behold and an absolute delight to taste, perfect for any family dinner or making your holiday table extra special.

Dinner Rolls
Created by: Amber Brady
Prep Time: 15 mins
Cook Time: 15 mins
Resting Time: 1 hr
Total Time: 1 hr 30 mins
This classic homemade dinner rolls recipe is soft, fluffy, light, and buttery. The perfect bread for any meal or holiday feast.
Print Recipe |
Pin Recipe
Yields: 24 dinner rolls
Ingredients
- ½ cup (118 ml) warm water (110˚F)
- 2 Tbsp yeast (quick rise or instant dry yeast)
- 6 Tbsp (85 g) butter, softened
- ⅓ cup (68 g) granulated sugar
- 2 large eggs
- 1 cup (237 ml) warm milk (110˚F)
- 2 tsp salt
- 5 – 5 ½ cups (600 – 660 g) all-purpose flour (stir, spoon & level)
- 2 Tbsp (28 g) melted butter, for brushing rolls
Equipment
- Mini Rolling Pin (Optional, as per shaping method)
- Norpro Stainless Steel Scraper/Chopper
- Aluminum Half Sheet Tray (2 Pack)
- Stand Mixer with Dough Hook (recommended) or large mixing bowl for hand kneading
Instructions
- In a small bowl, stir the yeast into the warm water until dissolved. Set aside for 5-10 minutes to activate.
- In the bowl of a stand mixer fitted with the paddle attachment (or a large mixing bowl), cream together the softened butter and granulated sugar until light and fluffy. Add the eggs, mixing well and scraping down the sides of the bowl as needed.
- Pour in the warm milk, salt, and the activated yeast mixture. Mix until just combined.
- Gradually add 5 cups of the all-purpose flour to the wet mixture. If using a stand mixer, switch to the dough hook attachment and knead for 5 minutes on medium-low speed, until a soft dough is formed. The dough will be sticky but should pull away from the sides of the bowl. If kneading by hand, incorporate the remaining flour on a lightly floured surface as described in the kneading section above, kneading for about 10 minutes until smooth and elastic. Add up to ½ cup additional flour, 1 tablespoon at a time, only if the dough is excessively sticky and unmanageable.
- Lightly grease a large clean bowl with cooking spray. Scrape the dough out of the mixing bowl and transfer it to the greased bowl. Lightly spray the top of the dough with cooking spray and cover tightly with plastic wrap. Let the dough rise in a warm place for 30-45 minutes, or until doubled in size. (See “Perfecting the Rise” section for tips on speeding up this process.)
- Once risen, turn the dough out onto a lightly floured surface. Gently flatten the dough to release some air. Using a dough cutter or bench scraper, divide the dough into 24 equal pieces. For best uniformity, weigh each piece to approximately 2-2.25 oz (56-64g).
- To shape the rolls, use the cupping method: Take one piece of dough and cup your hand around it, gently pushing the dough through your thumb and pointer fingers to create a smooth, round ball. Pinch the ends together to seal the seam. Place the shaped rolls seam-side down onto a lightly greased 12×18-inch baking sheet, spaced about an inch apart.
- Cover the shaped rolls loosely with lightly greased plastic wrap and let them rise for another 30-45 minutes in a warm place, or until noticeably puffy. (Utilize the oven heat trick mentioned in the “Perfecting the Rise” section for the second rise).
- Preheat your oven to 350 degrees Fahrenheit (175°C).
- Bake the rolls for 15-20 minutes, or until they are golden brown on top and baked through. Due to the milk, they will brown fairly quickly.
- Immediately remove the hot rolls from the oven and brush generously with the 2 tablespoons of melted butter. Serve warm and enjoy!
Notes
- These dinner rolls are best enjoyed the day they are made. Store any leftovers in a zip-top bag at room temperature for up to 2-3 days.
- To Reheat Rolls: For warm, soft rolls later, wrap them loosely in aluminum foil and place in a preheated 350°F (175°C) oven for 5-7 minutes. This helps restore their freshness without drying them out.
- Make Ahead Tip: You can prepare the dough up to the first rise, then punch it down, cover tightly, and refrigerate overnight. On baking day, let it come to room temperature for about 30-60 minutes, then proceed with shaping and the second rise.
- Freezing Dough: You can also freeze the shaped, unbaked rolls. Place them on a baking sheet and freeze until solid, then transfer to a freezer-safe bag. When ready to bake, thaw them overnight in the refrigerator, then let rise at room temperature until doubled before baking.
Disclaimer: Nutritional values were calculated using a third-party tool and are provided as an estimation only.
Sharing this recipe with a link is both encouraged and appreciated. Copying/pasting and/or screenshots of full recipes to any social media is strictly prohibited. Content and photographs are copyright protected.
Storage and Reheating Tips for Freshness
While these homemade dinner rolls are absolutely irresistible fresh from the oven, you can certainly enjoy them for days to come with proper storage and reheating techniques. To maintain their deliciousness:
- Storing Leftovers: Once completely cooled, place any leftover rolls in an airtight container or a zip-top bag at room temperature. They will remain wonderfully soft for up to 2-3 days. Avoid refrigerating bread unless you plan to freeze it, as refrigeration can often make bread stale faster.
- Reheating for Freshness: The best way to revive day-old rolls and bring back that fresh-baked warmth is to reheat them. Simply wrap the rolls loosely in aluminum foil and place them in a preheated 350°F (175°C) oven for 5-7 minutes. The foil will help trap moisture, ensuring they become warm and tender again without drying out. A quick brush with a tiny bit more melted butter after reheating is also a delightful touch!
- Make Ahead Option (Dough): If you want to prepare ahead for a special occasion, you can make the dough through the first rise. After the first rise, gently punch down the dough, cover it tightly with plastic wrap, and refrigerate it overnight (up to 24 hours). On baking day, remove the dough from the refrigerator, let it come to room temperature for about 30-60 minutes, then proceed with shaping and the second rise as directed.
- Freezing for Long-Term Storage: For longer storage, you can freeze the baked rolls or even the shaped, unbaked dough.
- Baked Rolls: Once the rolls are completely cool, place them in a single layer on a baking sheet and freeze until solid. Then transfer them to a freezer-safe bag or container. They can be frozen for up to 2-3 months. To reheat, thaw at room temperature or rewarm in foil in a 300°F (150°C) oven until soft and heated through.
- Unbaked Rolls: Shape the rolls as directed, then place them on a baking sheet and freeze until solid. Once frozen, transfer them to a freezer-safe bag. When ready to bake, thaw the frozen rolls overnight in the refrigerator. On baking day, let them rise at room temperature until doubled (this might take longer than usual) before baking as instructed.
Frequently Asked Questions About Dinner Rolls
Here are answers to some common questions that arise when baking homemade dinner rolls:
- Q: Why aren’t my dinner rolls soft and fluffy?
A: The most common reasons include adding too much flour during kneading, not kneading enough to develop gluten, or insufficient proofing (not allowing the dough to rise enough). Ensure you’re using warm milk and water at the correct temperature for yeast activation, and follow the tips for enriched dough (eggs, milk, butter) and proper kneading/proofing.
- Q: Can I use active dry yeast instead of instant yeast?
A: Yes, you can. If using active dry yeast, you will need to “proof” it first. Dissolve it in the warm water (110°F/43°C) with a pinch of sugar and let it sit for 5-10 minutes until foamy. This confirms the yeast is active. The rise times might also be slightly longer.
- Q: What is the ideal temperature for warm water/milk?
A: For optimal yeast activation, the liquid temperature should be around 105-115°F (40-46°C). If it’s too cold, the yeast won’t activate. If it’s too hot, it will kill the yeast.
- Q: Why do my rolls brown so quickly?
A: The milk and sugar in this enriched dough contribute to quicker browning. This is normal and desirable for a golden crust. If they’re browning too fast before cooking through, you can loosely tent them with aluminum foil during the last part of baking.
- Q: Can I make this recipe vegan?
A: To make this recipe vegan, you would need to substitute the butter with a plant-based butter alternative, the milk with a non-dairy milk (like almond or soy milk), and the eggs with an egg substitute (e.g., flax egg or commercial egg replacer). However, the texture and richness may vary significantly as eggs, milk, and butter play specific roles in the original recipe’s fluffiness.
- Q: How do I know if my dough has risen enough?
A: For the first rise, the dough should roughly double in size. For the second rise (after shaping), the rolls should look noticeably puffy and increased in volume. You can also perform the “poke test”: gently press two fingers into the dough; if the indentation slowly springs back halfway, it’s ready. If it springs back completely, it needs more time. If it collapses, it might be over-proofed.
Did you make these incredible dinner rolls?
We’d love to hear about your baking success! Don’t forget to leave a rating below and share your creations. Make sure to follow us on Pinterest and Instagram for more delicious recipes and baking inspiration!