
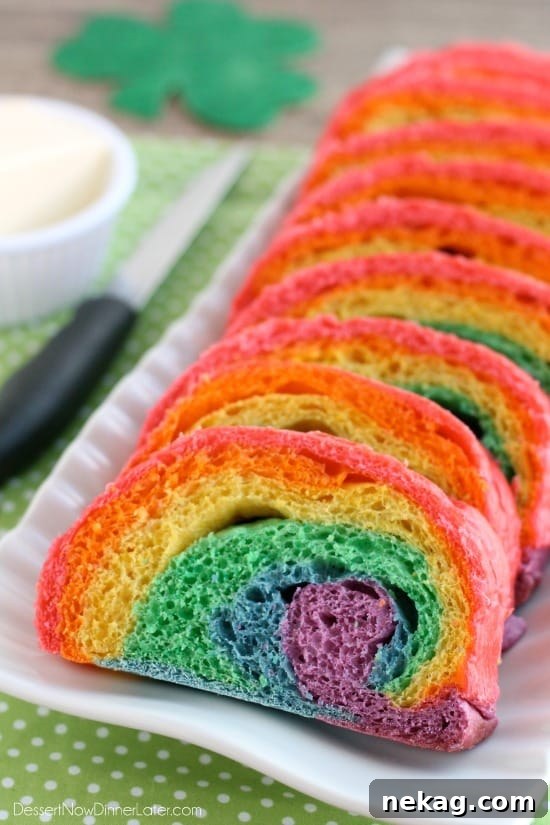
This vibrant Rainbow Bread recipe transforms Rhodes frozen dough into a stunning loaf with six brilliant colors, perfect for any celebration. It’s an unforgettable treat, whether served with butter for dinner or transformed into a magical French toast breakfast, especially for St. Patrick’s Day!
*This post is proudly brought to you by Rhodes Bake-N-Serv. We appreciate you supporting the brands that make delicious recipes like this possible.
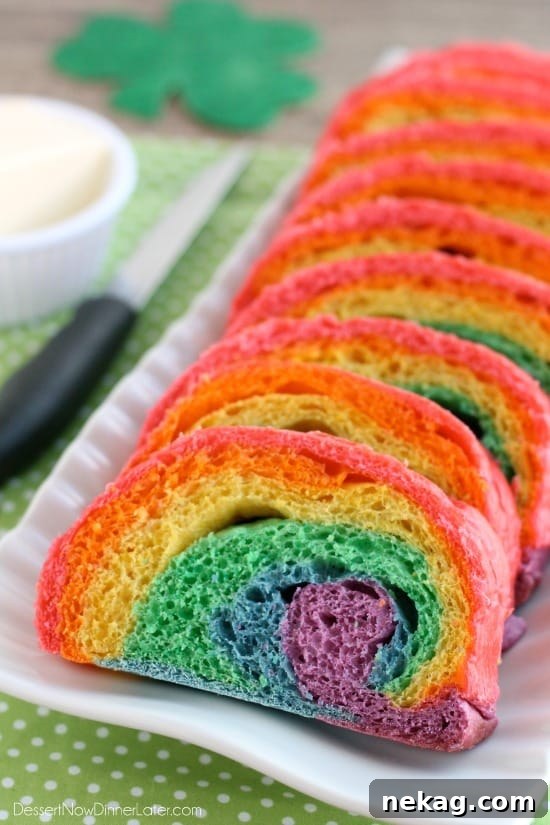
Unicorn-Approved Rainbow Bread: A Colorful Culinary Adventure
Prepare to amaze your family and friends with this incredibly cute and surprisingly simple Rainbow Bread recipe! Starting with convenient frozen dough, you can skip the stress of proofing from scratch and dive straight into the fun part: adding a spectacular spectrum of colors. All you need besides the dough are a few drops of food coloring and your own two hands to create a masterpiece that looks as good as it tastes. This vibrant loaf is more than just bread; it’s an experience, a delightful burst of color that brightens any table.
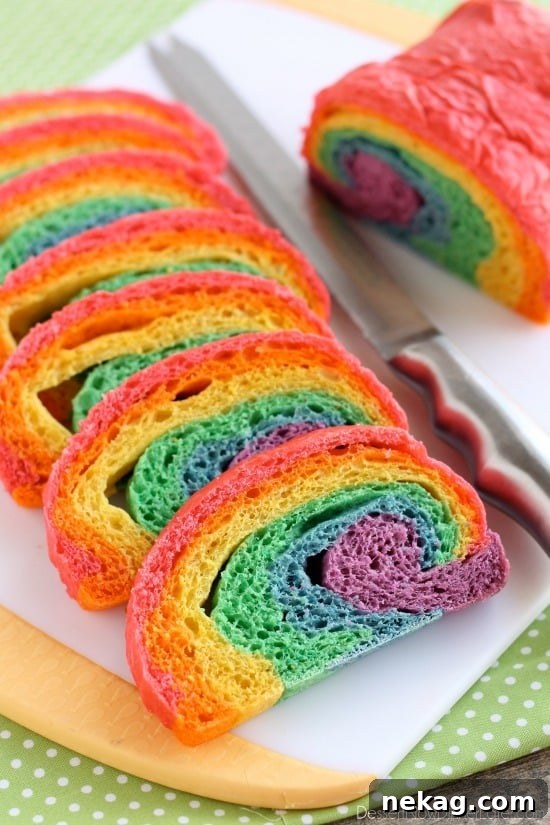
Why You’ll Love This Eye-Catching Rainbow Loaf
This Rainbow Bread isn’t just pretty; it’s a fantastic way to bring joy and color into your kitchen. Imagine the smiles when your kids see this magical loaf! It’s particularly popular for festive occasions like St. Patrick’s Day, but truly, any day can be a rainbow day. Whether slathered with butter for a whimsical dinner side or transformed into the most epic French toast breakfast, this bread promises to make you the coolest chef on the block. The sheer delight on my children’s faces when they first saw the finished loaf was priceless – they simply couldn’t wait to dig in! While it won’t taste like Skittles (oh, how I wish!), its visual appeal more than makes up for it.
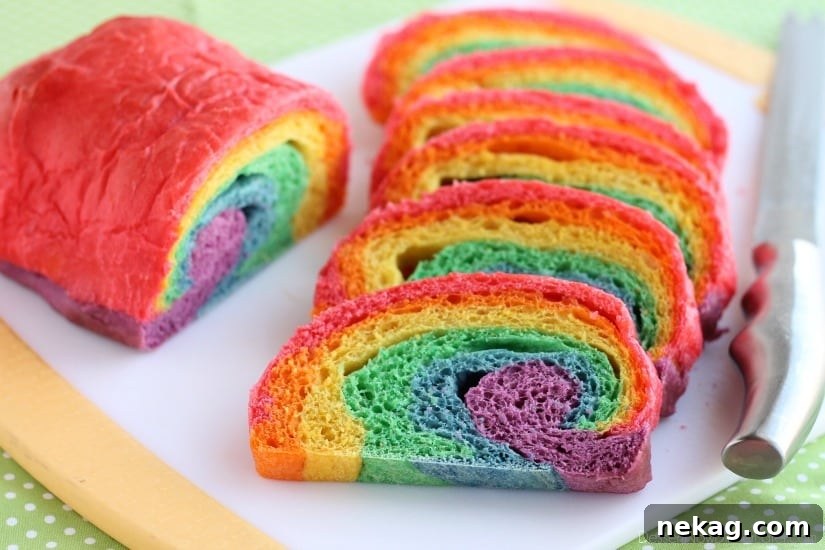
While the process of kneading in all those vibrant colors might be a bit time-consuming, the result is absolutely worth the effort. Think of it as a fun, therapeutic activity! To make your life easier, consider preparing this delightful bread the day before your big event, like St. Patrick’s Day. That way, you’ll be golden and ready to impress!
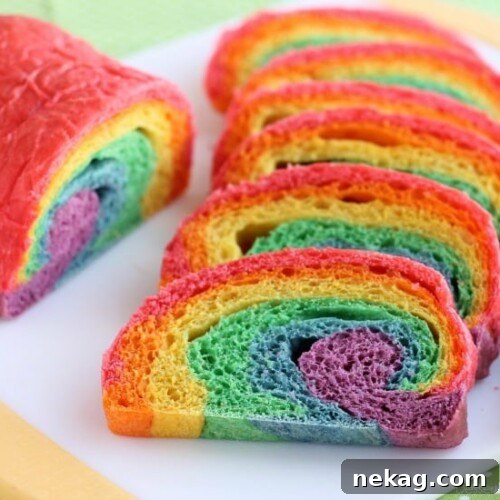
Rainbow Bread: A Step-by-Step Guide
Amber Brady
1 hour
25 minutes
1 hour
25 minutes
Pin Recipe
12
servings
Ingredients
-
2
loaves Rhodes White Bread, thawed - Food Coloring: red, orange, yellow, green, blue and purple (gel food coloring recommended for best results)
Instructions
-
Prepare the Dough: Start by cutting each thawed Rhodes White Bread loaf into three equal sections, giving you a total of six pieces of dough. To protect your hands from staining with the vibrant food colors, wearing plastic gloves is highly recommended. If you don’t have gloves, generously apply baking spray to your hands to minimize stickiness, and work on a silicone mat to shield your countertop. Keep the uncolored dough pieces covered with plastic wrap while you work on each section to prevent them from drying out.
-
Color Each Section: For each dough piece, roll it into a rope shape, then fold the ends towards the center to create a round ball. Dab liberal amounts of your chosen food coloring all over the surface of the dough. Fold the dough over the food coloring, encasing it within. Now, begin to knead the dough, rolling it back into a rope, folding, and kneading repeatedly until the color is fully incorporated and the dough achieves a bright, solid hue. This process can take about 10 minutes per color, so prepare for a good arm workout! (Approximately 1 hour total for all six colors). Remember to wash your hands thoroughly between colors to avoid mixing. A solution of watered-down bleach can help remove stubborn stains from your hands once you’re done. For a visual guide, consider visiting the Rhodes Bake-N-Serv Blog for a photo tutorial.
-
Roll Out the Colors: Once all six dough pieces are brilliantly colored and have rested for at least 10 minutes (to relax the gluten), it’s time to roll them into rectangles. Work systematically through the rainbow order: red, then orange, yellow, green, blue, and finally purple. Aim for roughly similar sizes for each rectangle to ensure even layering.
-
Layer the Dough: Carefully stack each colored rectangle on top of the previous one, maintaining the rainbow order. Roll out each piece individually on a lightly floured countertop (if needed to prevent sticking) before placing it on the stack. Take your time to align the edges as neatly as possible to create a uniform, layered block of dough.
-
Form the Loaves: Once all layers are stacked, gently press them together. Now, cut the large layered rectangle in half, lengthwise. Take each half and carefully roll it into a tight log, ensuring the red layer ends up on the outside of the loaf. Place each rainbow loaf into a greased loaf pan. Cover the pans loosely with plastic wrap and let the dough rise in a warm spot for about 1 hour, or until they have doubled in size. This second rise is crucial for a light and airy texture.
-
Bake to Perfection: Preheat your oven to 350 degrees Fahrenheit (175°C). Bake the risen rainbow loaves for 25 to 30 minutes, or until they are golden brown on top and baked through. A good way to check for doneness is to lightly tap the bottom of the loaf; it should sound hollow. Once baked, immediately flip the bread out of the pans onto a wire cooling rack. Allow the bread to cool completely before attempting to slice it. Slicing too early can result in a gummy texture and make it harder to get clean, colorful slices.
-
Serve and Enjoy: Once cooled, slice into your spectacular Rainbow Bread! Serve it with a generous spread of butter for a whimsical dinner side, or use it to create an unforgettable, colorful French toast breakfast. Your culinary creation is ready to be admired and devoured!
Notes
Choosing Food Coloring: Gel food colorings are highly recommended over liquid drops. They offer more vibrant, concentrated colors without adding excess moisture to your dough, ensuring a brighter rainbow and a better texture.
Preventing Sticking: When kneading, a little bit of vegetable oil or baking spray on your hands and a silicone mat or lightly floured surface will make the process much smoother and less messy.
Resting Time is Key: Don’t rush the resting or rising times. These periods allow the gluten to relax, making the dough easier to work with and ensuring a light, fluffy final product.
Sharing this recipe with a link is both encouraged and appreciated. Copying/pasting and/or screenshots of full recipes to any social media is strictly prohibited. Content and photographs are copyright protected.
Did you make this?
Don’t forget to leave a rating below and make sure to follow on Pinterest and Instagram for more!
Tips for Achieving the Perfect Rainbow Bread
- Gloves are Your Best Friend: Seriously, wear gloves! Unless you enjoy rainbow-colored hands for a day or two, gloves will save you a lot of scrubbing.
- Gel Food Coloring for Intensity: As mentioned in the notes, gel food coloring provides much more vivid and concentrated color compared to liquid drops. A little goes a long way, but don’t be shy if you want really bold hues.
- Kneading Technique: The “roll into a rope, fold, dab, knead” method is effective for incorporating color evenly. Don’t worry if it looks streaky at first; continued kneading will smooth out the color.
- Keep Dough Covered: Any dough not being actively worked on should be covered tightly with plastic wrap to prevent a dry skin from forming, which can make the dough tough and harder to color or shape.
- Patience During Rising: Dough rising can be affected by ambient temperature and humidity. If your kitchen is cool, it might take a bit longer for the dough to double in size. A warm, draft-free spot (like a slightly warmed oven that’s turned off) can help.
- Cool Completely Before Slicing: This cannot be stressed enough! Warm bread is soft and can easily tear, especially when slicing through multiple colorful layers. Letting it cool completely ensures clean, beautiful slices.
Creative Ways to Serve Your Colorful Loaf
This Rainbow Bread is incredibly versatile and can be enjoyed in many ways beyond just butter and French toast:
- Kid’s Sandwiches: Turn ordinary sandwiches into extraordinary ones. Imagine a PB&J on rainbow bread!
- Breakfast Toast: Spread with cream cheese, jam, or even a colorful fruit spread for a fun morning treat.
- Dessert Bread Pudding: Use stale rainbow bread for a magically colorful bread pudding.
- Holiday Brunch Centerpiece: It’s not just for St. Patrick’s Day! Think Easter, birthdays, or any gathering where you want to add a pop of color.
- Savory Pairings: While sweet applications are obvious, try it lightly toasted with avocado and a sprinkle of everything bagel seasoning for a unique twist.
Frequently Asked Questions About Rainbow Bread
Can I use homemade bread dough instead of frozen?
Absolutely! If you have a favorite white bread dough recipe, feel free to use it. Just ensure the dough is ready for kneading and has gone through its first rise before you begin the coloring process. The main benefit of Rhodes frozen dough is convenience, but homemade works perfectly.
What kind of food coloring is best?
Gel food coloring is strongly recommended. It’s more concentrated, produces brighter colors, and doesn’t add extra liquid to the dough, which can alter its consistency. You can find gel food coloring at most craft stores or baking supply shops.
How long does Rainbow Bread last?
Like most homemade breads, Rainbow Bread is best enjoyed within 2-3 days when stored at room temperature in an airtight container or bread bag. For longer storage, you can slice the cooled bread and freeze it for up to 2-3 months. Thaw slices as needed for quick toast or French toast.
My colors are not as vibrant as I hoped. What went wrong?
This usually comes down to the type and amount of food coloring used. Make sure you’re using gel food coloring and don’t be afraid to use a generous amount to achieve truly saturated colors. Sometimes, if the dough is over-kneaded or if the colors blend too much, they might become slightly muted.
The dough is sticky/hard to work with. Any tips?
If the dough feels too sticky, lightly dust your hands or work surface with flour, or apply a little baking spray to your hands. If it’s too stiff, it might be cold. Let it rest for a few more minutes at room temperature to soften slightly before continuing to knead.
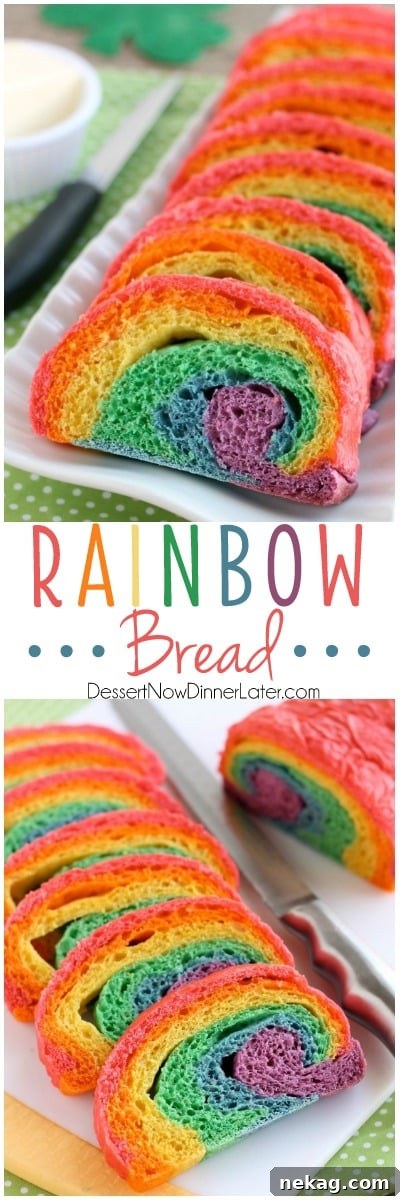
Create Your Own Culinary Rainbow!
There’s something truly magical about transforming simple frozen dough into a kaleidoscope of colors. This Rainbow Bread isn’t just a recipe; it’s a testament to the fun and creativity that can be found in your kitchen. Whether you’re celebrating a holiday, hosting a brunch, or simply want to bring a little extra cheer to your family’s day, this colorful loaf is guaranteed to be a hit. So grab your food coloring, roll up your sleeves, and get ready to bake a rainbow that everyone will talk about!