
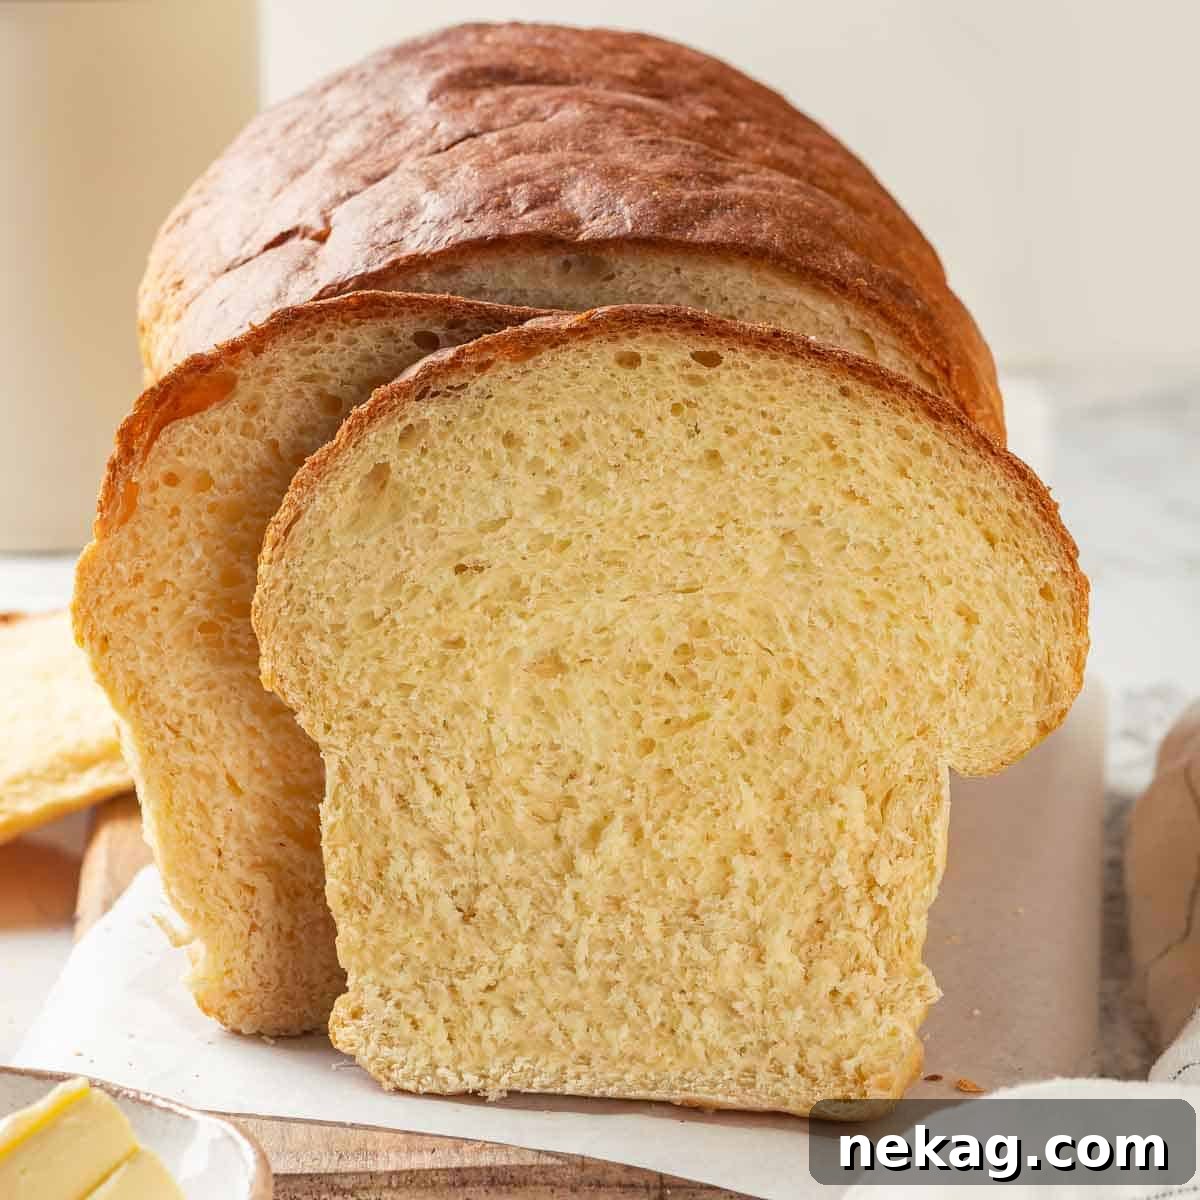
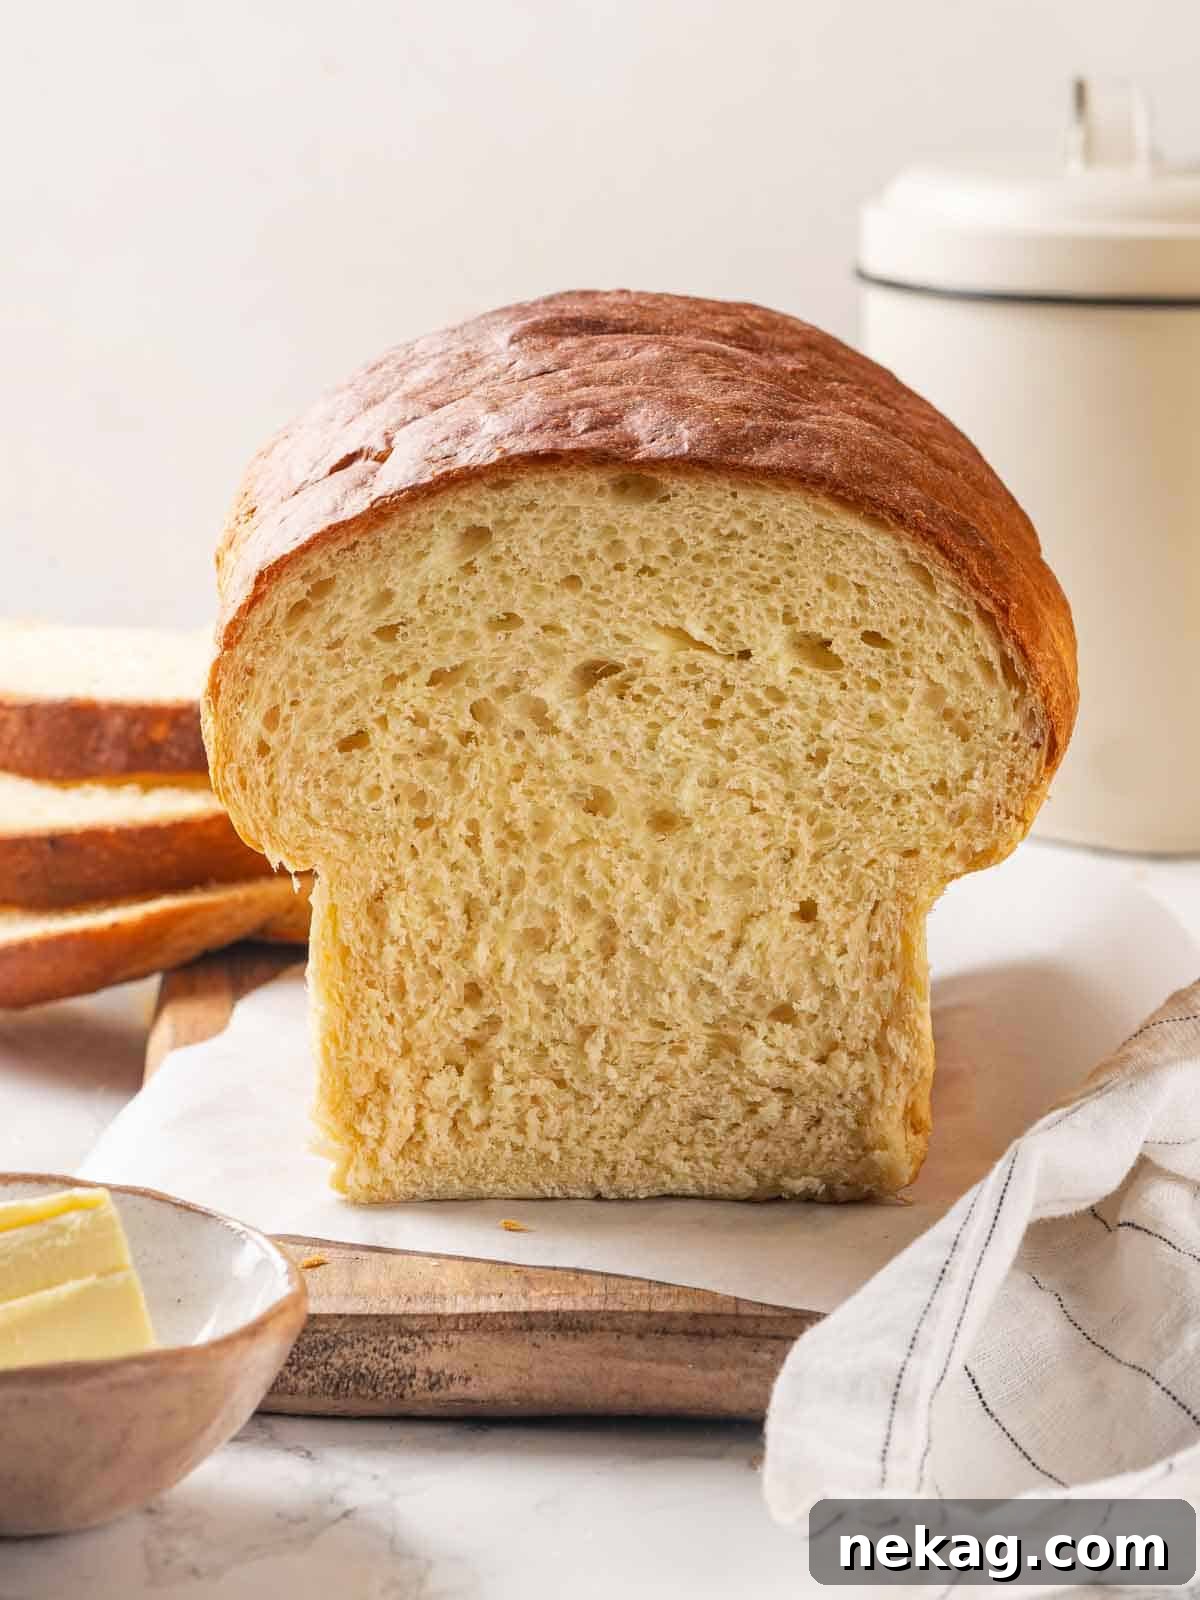
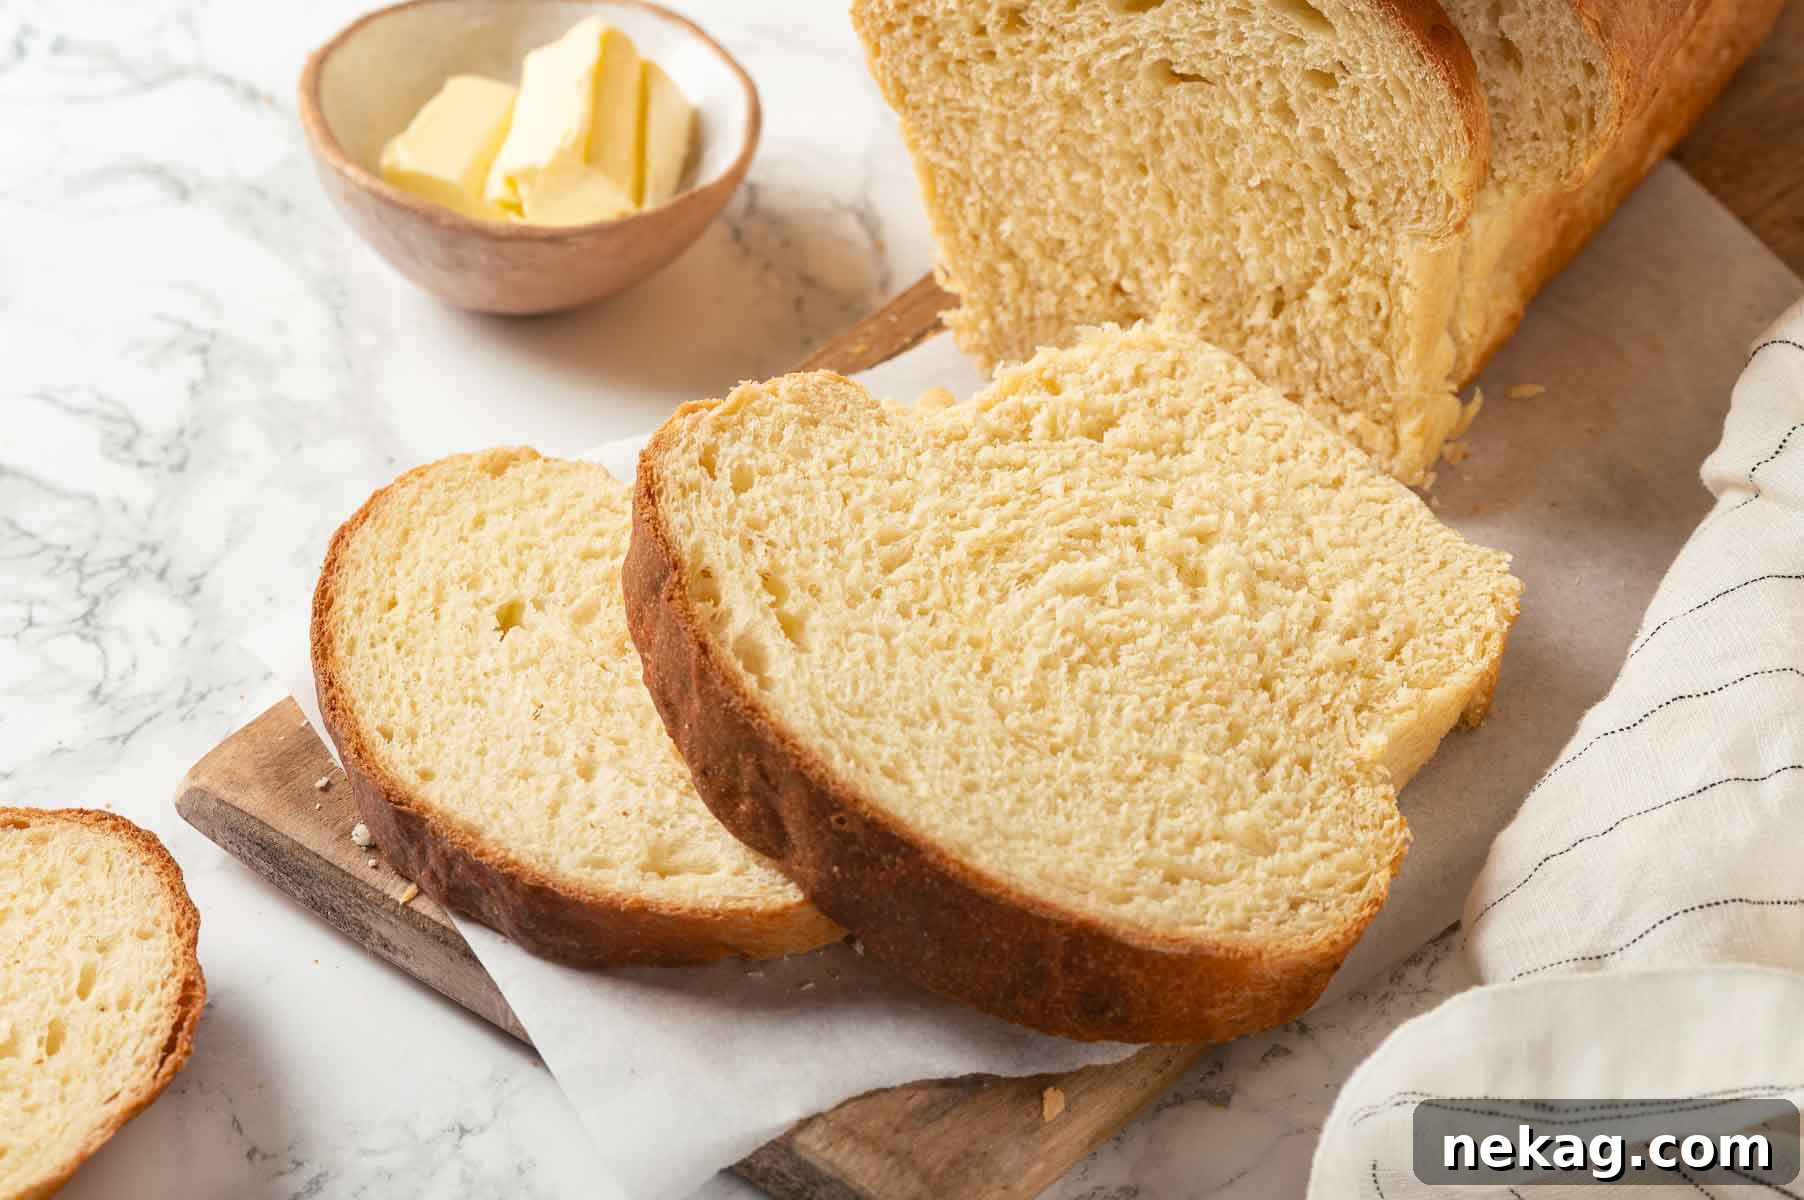
Discover the ultimate recipe for unbelievably soft, fluffy, and flavorful homemade potato bread that boasts a perfectly golden, crispy crust. Crafted with real mashed potatoes, rich butter, and fresh eggs, this bread is an instant classic, making it the ideal choice for delectable sandwiches or as a comforting side to any meal.
A Quick Look At The Recipe
This is a brief summary of the recipe. Jump to the full recipe details below.
Jump to Recipe
Prep Time
30 minutes
Cook Time
30 minutes
Proof
1 hour 30 minutes
Total Time
3 hours
Servings
12 people
Difficulty
Moderate (simple steps for stunning results!)
Calories *
251 kcal per serving
Technique
Combine mashed potatoes, eggs, and yeast, gradually add flour, proof, shape, and bake to perfection.
Flavor Profile
Rich, subtly sweet, and wonderfully soft with a melt-in-your-mouth crumb and a buttery, irresistible crust.
* Based on nutrition panel
Summarize & Save this content on
google ai
perplexity
grok
Featured Comment
⭐⭐⭐⭐⭐”Adding potatoes to bread, at first, I wasn’t sure if I would like it, but my husband told me to try it, and I must say, this bread is unreal! I have used it for egg in bread, French toast, and for sandwiches. I have completely converted to potato bread.” –Mara
Why You Will Love This Irresistible Potato Bread Recipe:
- Perfect for Bakers of All Levels: This recipe, adapted from my popular potato dinner rolls, is truly foolproof. I’ve successfully guided countless beginners through the process, and its reliability makes it an excellent starting point for anyone looking to master yeasted bread. The forgiving nature of potato dough makes it a joy to work with, even if you’re new to baking.
- Remarkably Light, Airy, and Flavorful: The secret to this bread’s exceptional texture lies in the addition of mashed potatoes. The starch from the potatoes creates a delicate crumb with beautiful, airy pockets, while also keeping the bread incredibly moist. A touch of sugar not only enhances the flavor but also provides essential fuel for the yeast, ensuring a lively rise and a stunning, caramelized crust—much like the rich color found in my beloved old-fashioned raisin bread.
- A Wholesome Twist on Classic Sandwich Bread: Elevate your everyday sandwich with this enriched potato bread. Beyond its superior taste and texture, potatoes infuse the loaf with beneficial fiber, vitamins, and minerals, making it a healthier alternative to traditional white bread. It’s a delightful way to add more nourishment to your diet, similar to the benefits found in my whole wheat sandwich bread, but with a unique, comforting flavor.
Table of Contents
- Why You Will Love This Irresistible Potato Bread Recipe:
- Essential Ingredients & Smart Substitutions
- Exciting Variations to Try
- Expert Tips for Perfect Potato Bread
- How to Make Homemade Potato Bread: Step-by-Step Guide
- Chef Lindsey’s Recipe Tip for Dough Consistency
- Frequently Asked Questions About Potato Bread
- Recommended Yeasted Bread Recipes
- Potato Bread Recipe Card
- Before You Go
Step aside, plain white bread! This exceptional homemade potato bread is here to transform your baking experience. Infused with real mashed potatoes, generous amounts of butter, and fresh eggs, it yields an incredibly flavorful loaf with a wonderfully soft and tender crumb. The dough itself is a dream to work with – a truly magnificent, soft mixture that’s a breeze to shape, proof, and bake to golden perfection. Once you try this enriched potato bread, you’ll understand why it’s poised to become a staple in your kitchen.
The world of bread-making is vast and full of exciting possibilities beyond this incredible potato loaf. Unleash your creativity by exploring various flavors and techniques! You might begin with the comforting aroma of my pumpkin spice dinner rolls, then embark on a sourdough adventure with my foundational sourdough starter recipe. Once your starter is thriving, dive into savory options like rosemary sourdough rolls or embrace a sweet and nutty profile with cherry pecan sourdough. Here at Chef Lindsey Farr, your journey into the endless options of delicious homemade bread is just beginning!
Essential Ingredients & Smart Substitutions
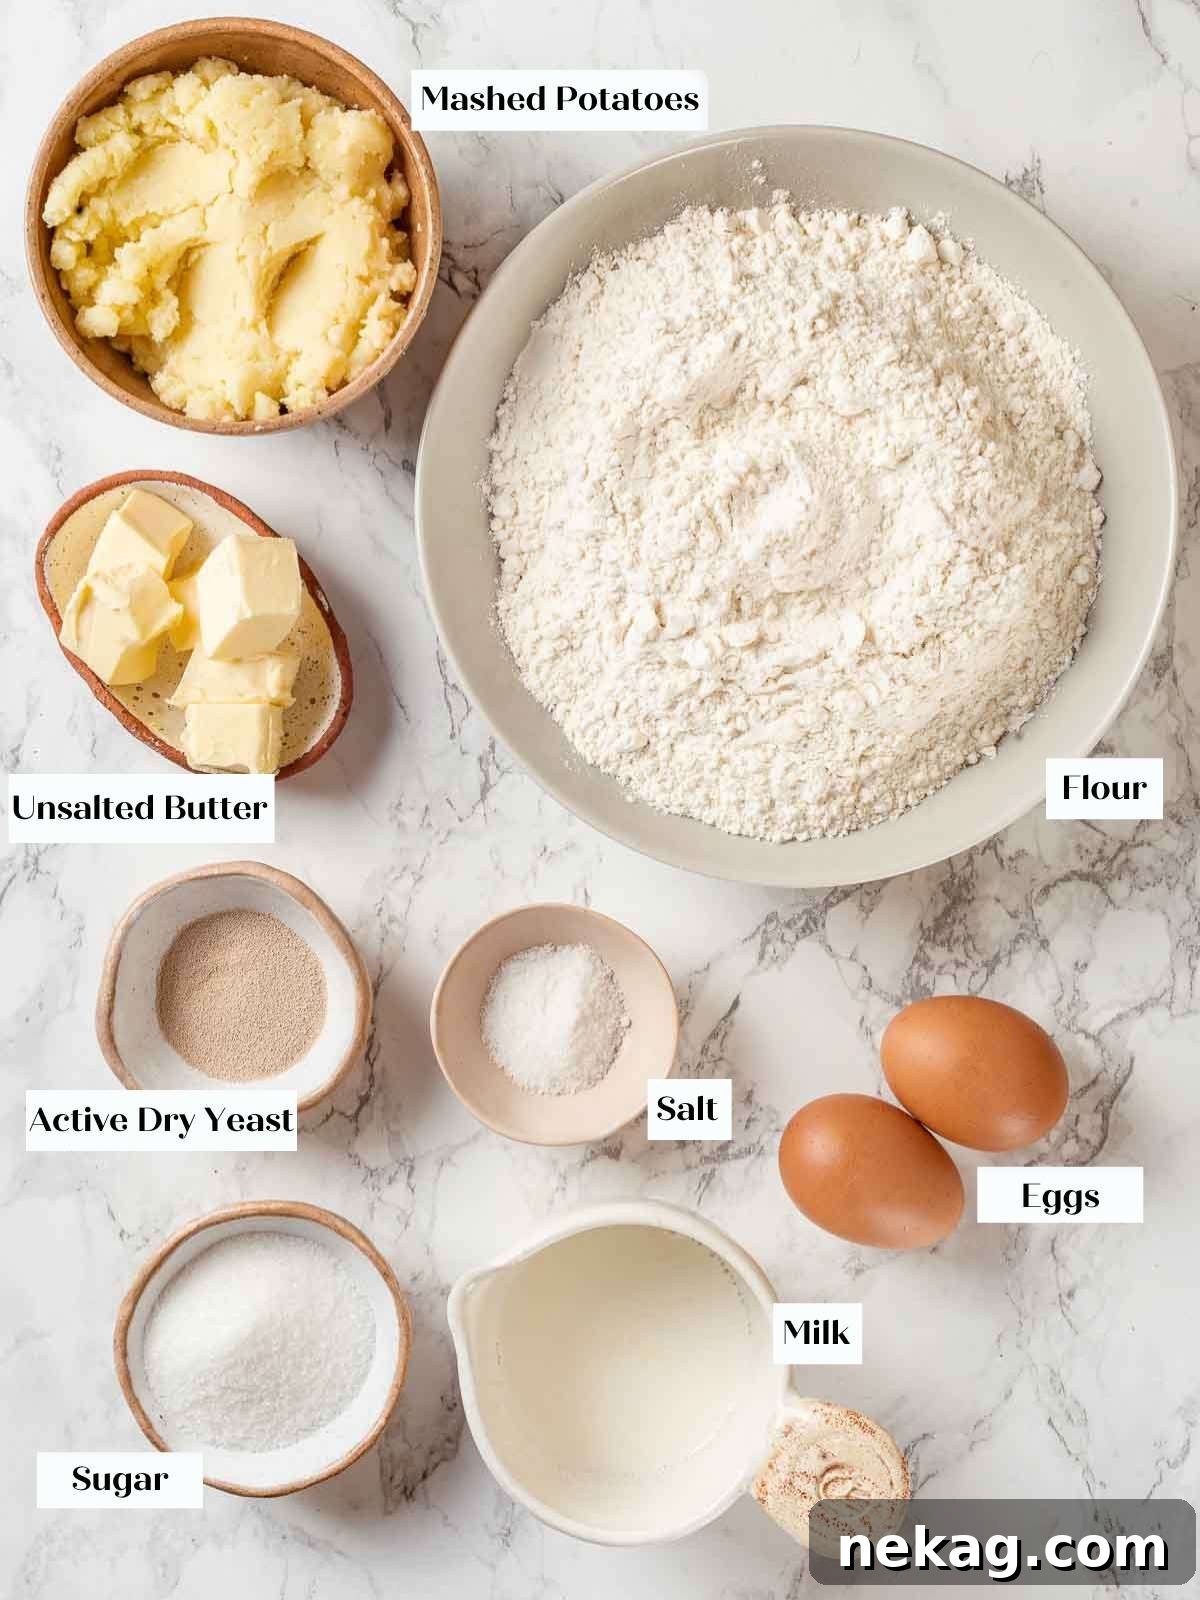
- All-purpose Flour: This versatile flour is my top choice for most bread recipes due to its balanced gluten content. It provides enough structure for a strong, elastic dough while ensuring the final bread remains wonderfully tender and soft. You could experiment with bread flour for a chewier texture, but all-purpose offers the perfect balance for this particular loaf.
- Kosher Salt: Essential for enhancing flavor and regulating yeast activity. Always use kosher salt for consistent seasoning in baking.
- Granulated Sugar: Beyond adding a subtle sweetness and contributing to the beautiful caramelization of the crust, sugar plays a vital role in feeding the active dry yeast. This ensures a robust fermentation process, resulting in a light and airy loaf.
- Whole Egg: Eggs are a powerhouse ingredient in enriched bread doughs. They contribute rich flavor, essential moisture, and vital fat from the yolk, which keeps the potato bread incredibly tender and prevents it from drying out.
- Whole Milk: I opt for whole milk in my yeasted bread recipes for its superior flavor and higher fat content. The added fat contributes to a more tender and moist crumb, while its lower water content compared to skim milk helps create a richer dough. If you prefer, you can substitute with any of your favorite milk alternatives, though the richness may vary slightly.
- Active Dry Yeast: These industrious microorganisms are responsible for the magical rise of your bread. Active dry yeast requires a brief hydration period (blooming) before being incorporated into the dough, which kickstarts fermentation and gluten development efficiently. If you have fresh yeast, use double the weight; for instant yeast, use half the weight. Both can be added directly to the dough, but blooming ensures their vitality.
- Mashed Potatoes: The star ingredient! Using real mashed potatoes imparts a unique softness, moisture, and subtle earthy flavor to the bread. You can easily use leftover mashed potatoes (ensure they are unseasoned to control salt levels) or prepare them fresh for this recipe. Just like with my potato rolls, you can leave the peel on for a rustic appearance and added fiber, but make sure to mash them very finely to avoid any lumps in your smooth dough.
- Unsalted Butter: Butter adds incredible richness, tenderness, and flavor to this potato bread. By using unsalted butter, you have complete control over the overall saltiness of your dough, ensuring a perfectly balanced taste.
See the recipe card for full information on ingredients and quantities.
Exciting Variations to Try
- Infuse with Aromatic Herbs: Personalize your potato bread by incorporating your favorite fresh or dried herbs. A few teaspoons of finely chopped rosemary, thyme, chives, or oregano will add a wonderful depth of flavor. Fresh herbs offer the most vibrant taste, but dried herbs are a convenient alternative. Imagine a loaf with a hint of rosemary, perfect for dipping in olive oil!
- Craft a Cheesy Potato Loaf: For a savory delight, introduce some cheese into your dough. Once the butter has been fully incorporated and the dough is well-developed, fold in a cup of shredded cheddar, Swiss, or Parmesan cheese. The cheese will melt beautifully during baking, creating pockets of savory goodness throughout the loaf.
- Adjust the Size for Any Occasion: This versatile dough can be shaped in various ways. For smaller loaves, divide the dough in half and bake two smaller loaves for approximately 20-25 minutes. Alternatively, transform it into dinner rolls or hamburger buns. Divide the dough into 14 equal pieces for perfectly sized rolls, or 7 larger pieces for homemade hamburger buns that will elevate any burger night.
- Discover the Richness of Brown Butter: For an extra layer of nutty, complex flavor, consider browning your butter before adding it to the dough. Melt the unsalted butter in a saucepan over medium heat, stirring frequently until it turns a rich golden-brown and smells nutty. Immediately remove it from the heat and cool completely before incorporating it into the dough. This technique, similar to what I use in my pumpkin herb dinner rolls, yields an incredibly fragrant and flavorful brown butter potato loaf.
Expert Tips for Perfect Potato Bread Every Time
- Choose a Metal Loaf Pan for Optimal Baking: While ceramic or glass loaf pans can be used, a metal loaf pan is highly recommended for baking this potato bread. Metal pans conduct heat more efficiently and evenly, ensuring the bread bakes faster and browns beautifully without becoming underbaked in the center or excessively dark on top. This leads to a more consistent and appealing crust.
- Utilize Unsalted, Chilled Mashed Potatoes for Superior Flavor: For the most balanced flavor profile, always use unsalted mashed potatoes. If you’re using leftover mashed potatoes, ensure they haven’t been heavily seasoned with salt, as this can lead to an overly salty final bread. Preparing your mashed potatoes a day or two in advance and chilling them simplifies the baking day, allowing you to focus solely on the dough. Cold mashed potatoes also help keep the dough temperature regulated during mixing.
- Commit to Adequate Gluten Development: This is an enriched dough, meaning it contains fats (from butter and eggs) that can slow down gluten formation. Therefore, don’t rush the mixing process! Allow your stand mixer to work the dough for the full recommended time. This extended mixing period is crucial for developing a strong gluten network, which is what gives the potato bread its characteristic structure, elasticity, and airy crumb. Trust the process – your stand mixer is up to the task, and the reward will be a beautifully textured loaf.
How to Make Homemade Potato Bread: Step-by-Step Guide
Follow these detailed instructions to create a flawless loaf of homemade potato bread every single time! You’ll find further precise details and measurements in the comprehensive recipe card located below.
Preparing the Mashed Potatoes:
Step 1: Begin by thoroughly washing your potatoes. You can leave them whole or chop them into smaller pieces for faster cooking.
Step 2: Place the washed potatoes in a pot and add just enough water to barely cover them. This technique prevents the potatoes from becoming waterlogged, ensuring they retain their optimal texture and starch content for the bread.
Step 3: Bring the water to a boil and cook the potatoes until they are fork-tender. Once cooked, drain the liquid completely and mash the potatoes immediately while they are still warm. Warm potatoes are easier to mash to a smooth consistency.
Step 4: Allow the mashed potatoes to cool completely at room temperature. Once cooled, wrap them well (to prevent drying out) and store them in the refrigerator until ready to use. This chilling step is important for dough consistency.
Pro Tip: You can prepare the mashed potatoes several days in advance, storing them in the fridge. This makes the bread-making process even quicker and more convenient on baking day!
Crafting the Perfect Dough:
Step 5: In a small, clean bowl, place your active dry yeast. Set this aside temporarily.
Step 6: Gently warm the whole milk in a small saucepan over low heat or in the microwave. Once warm, add a small amount of cold milk to bring the temperature down to the ideal range for yeast activation: 100-110°F (38-43°C). Use a thermometer for accuracy.
Smart Tip: By warming slightly more milk than needed and then cooling it with a splash of cold milk, you can easily achieve the perfect temperature without risking overheating the yeast, which would deactivate it.
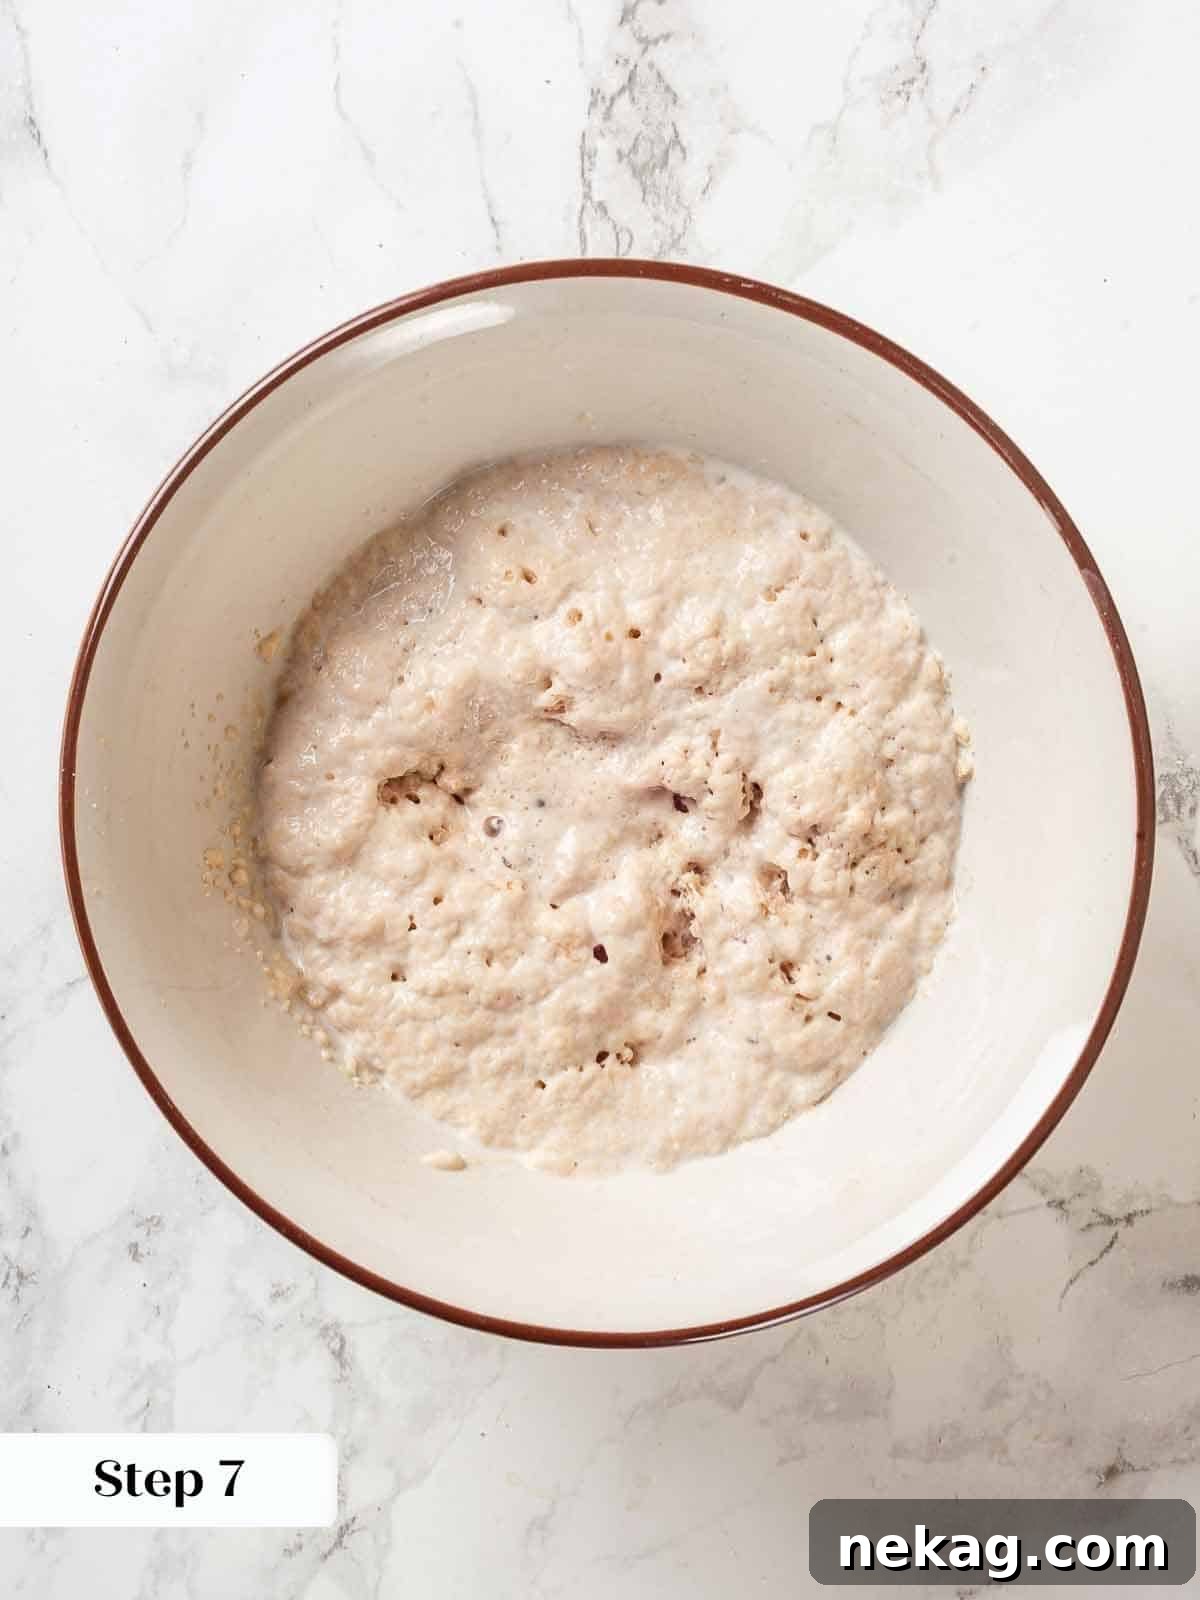
Step 7: Measure exactly ¼ cup of the perfectly warmed milk into the bowl containing the active dry yeast. Stir the mixture gently and allow the yeast to “bloom” for approximately 10 minutes. You’ll know it’s active when it becomes foamy and bubbly on the surface.
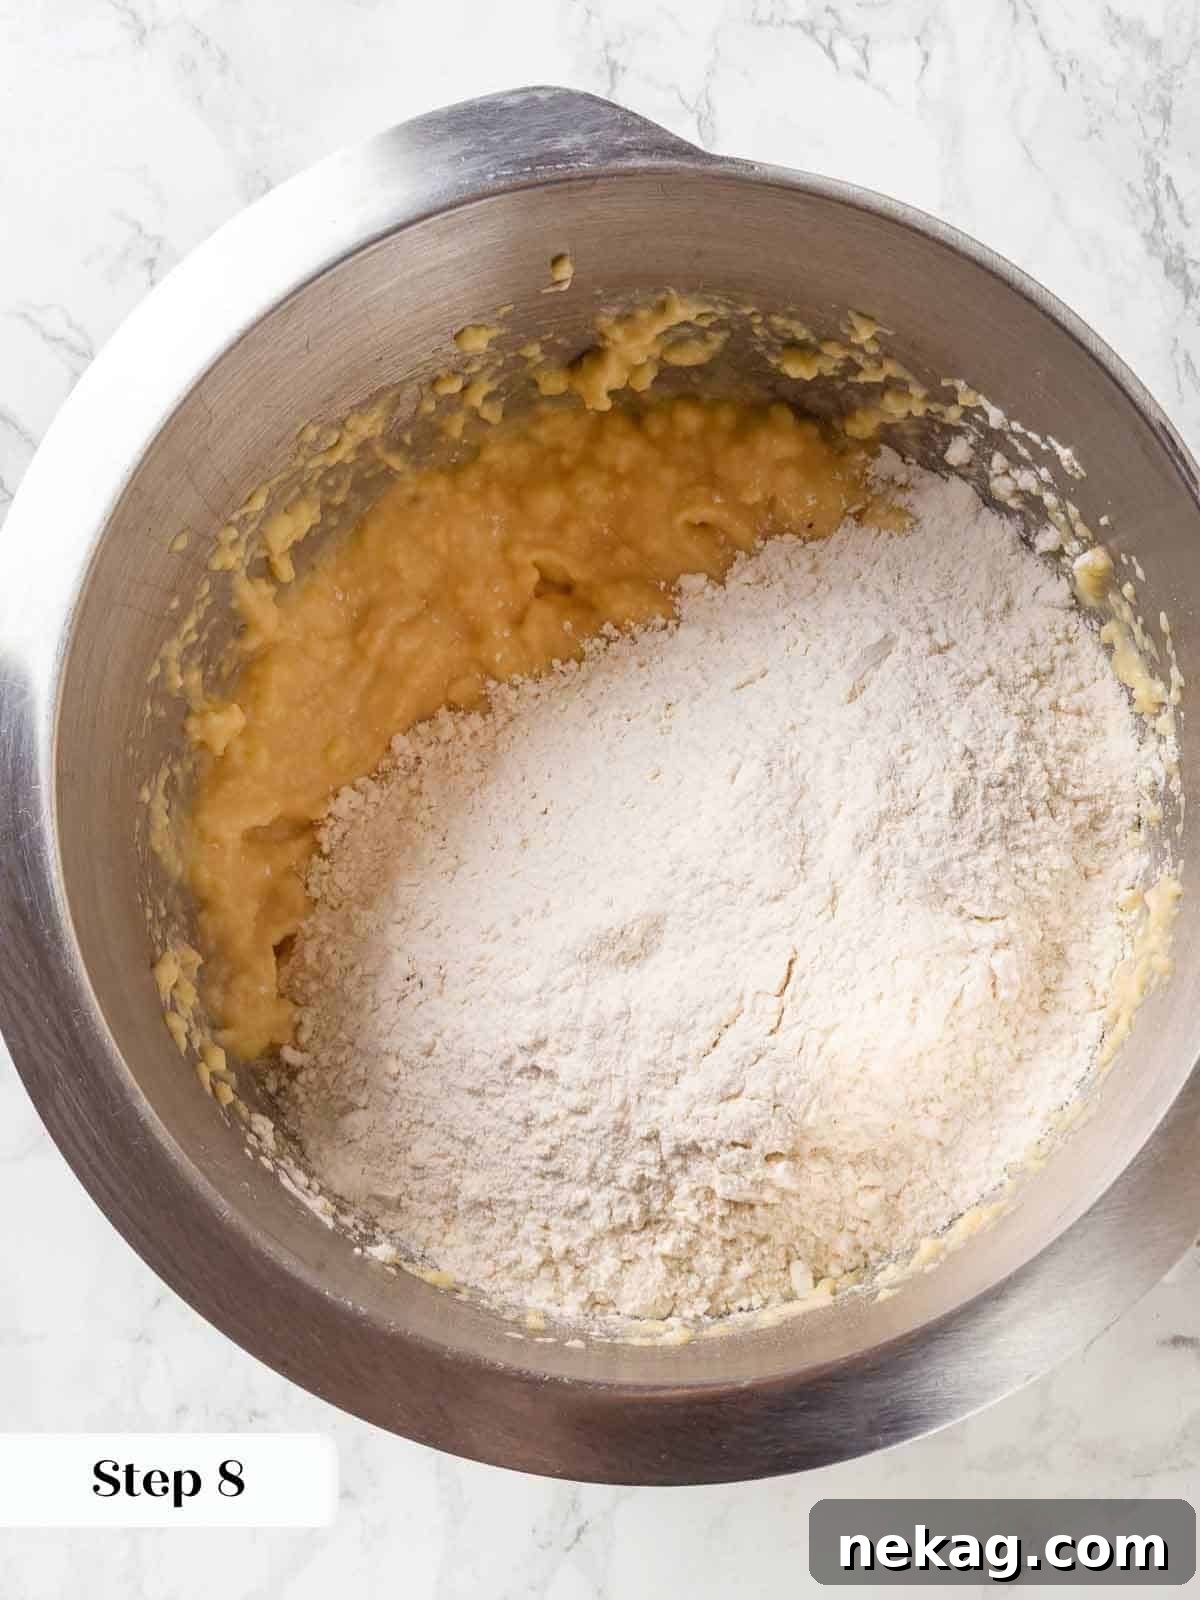
Step 8: While your yeast is blooming, combine the all-purpose flour, kosher salt, and granulated sugar in a separate medium-sized mixing bowl. Whisk them together thoroughly and set aside.
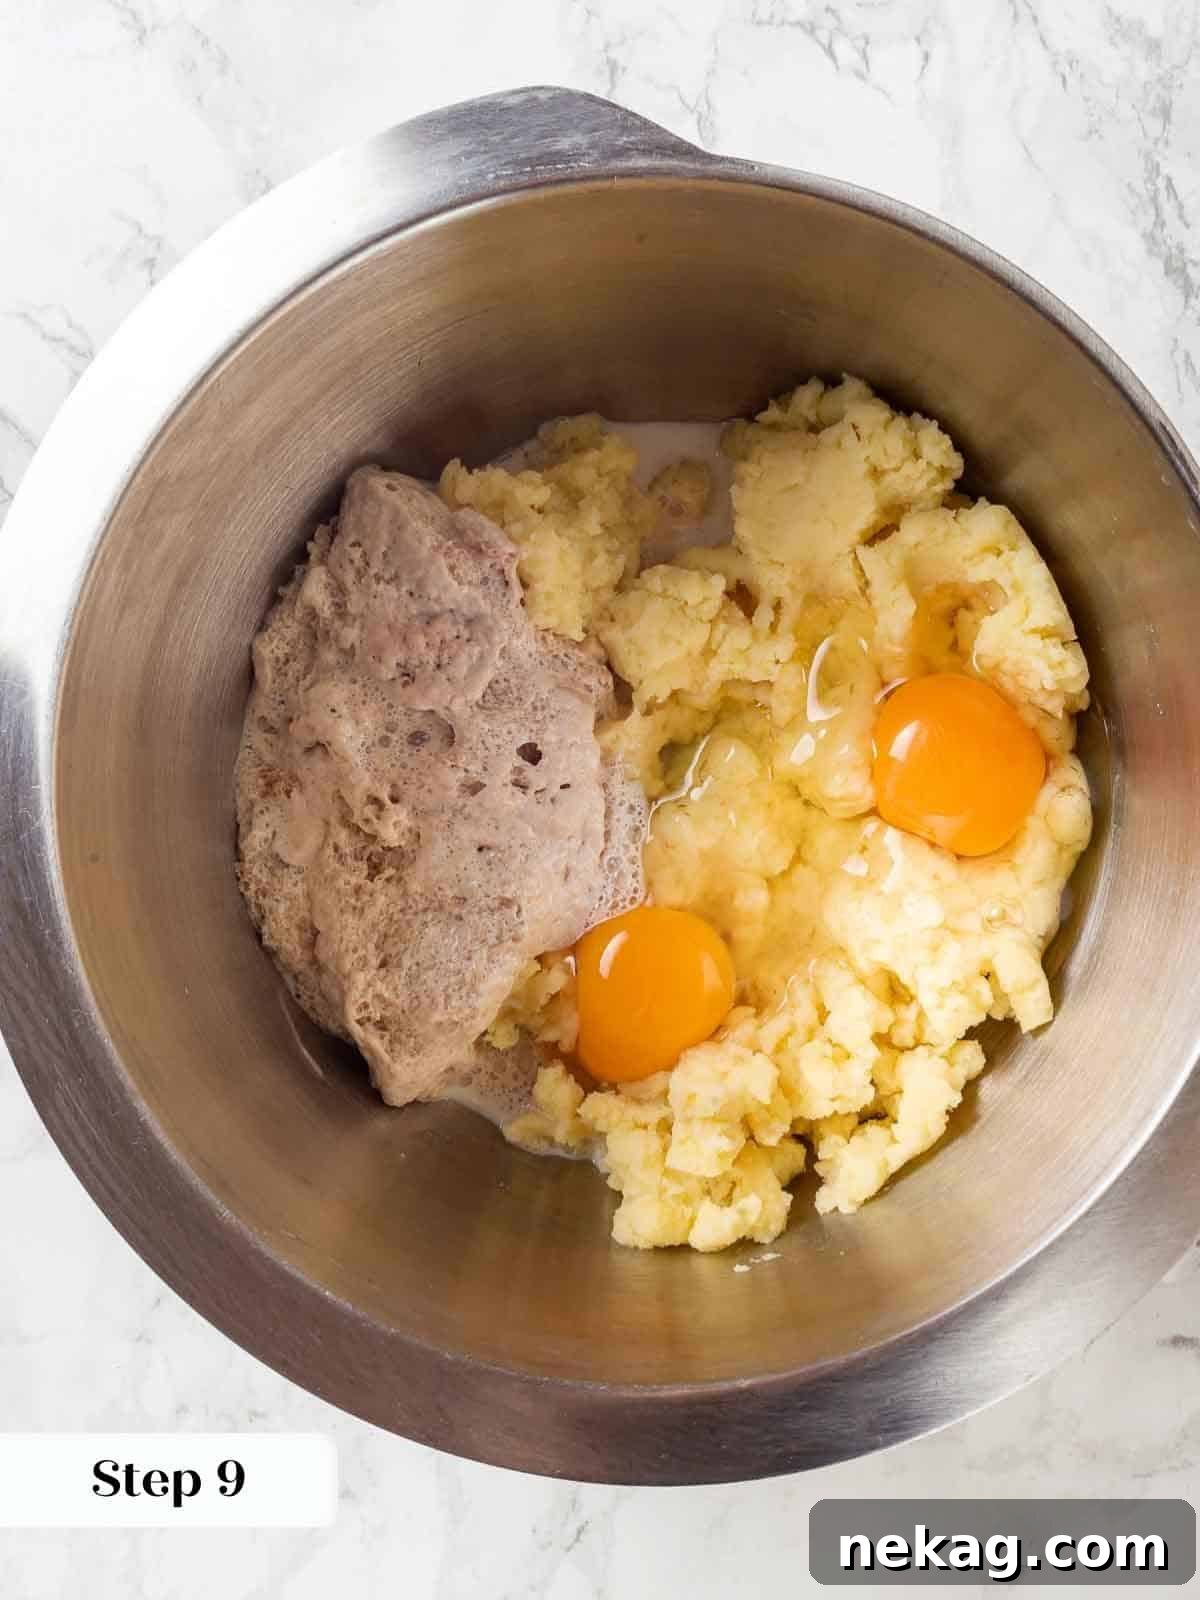
Step 9: In the bowl of your stand mixer, add the two large eggs and the thoroughly cooled mashed potatoes. Once the bloomed yeast is visibly bubbly and active, add the entire yeast mixture to the stand mixer bowl as well.
Step 10: Attach the paddle attachment to your stand mixer. Mix the ingredients on low speed for a few minutes until they combine into a smooth, homogenous paste. This ensures the wet ingredients are well-integrated before adding the dry.
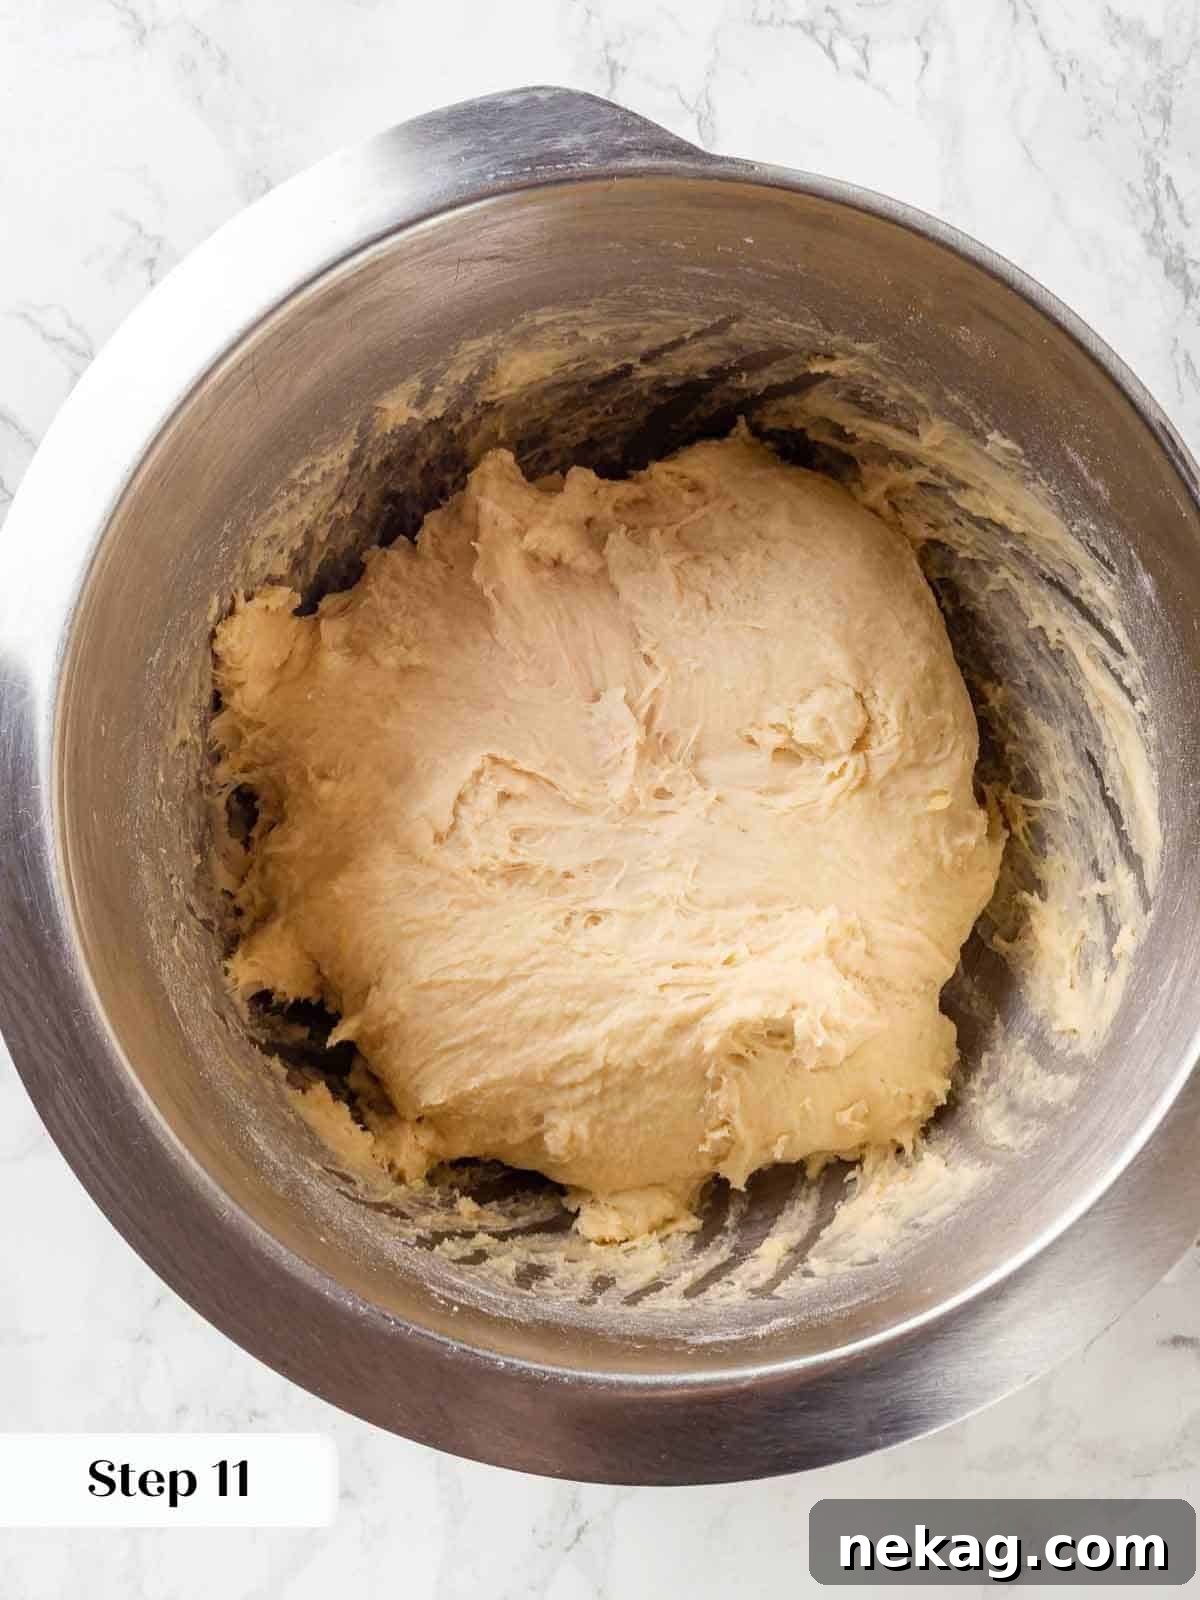
Step 11: Add all of your reserved dry ingredients to the mixer bowl. Switch from the paddle attachment to the dough hook attachment. Mix on low speed for a full 15 minutes. During this time, the dough will transform into a smooth yet thick consistency, and the gluten structure will begin to properly develop. Resist the urge to add more flour unless the dough is excessively wet.
Crucial Step: Setting a timer for these 15 minutes is vital! This initial mixing time is essential for developing the gluten network before the butter is introduced, ensuring a strong and elastic dough.
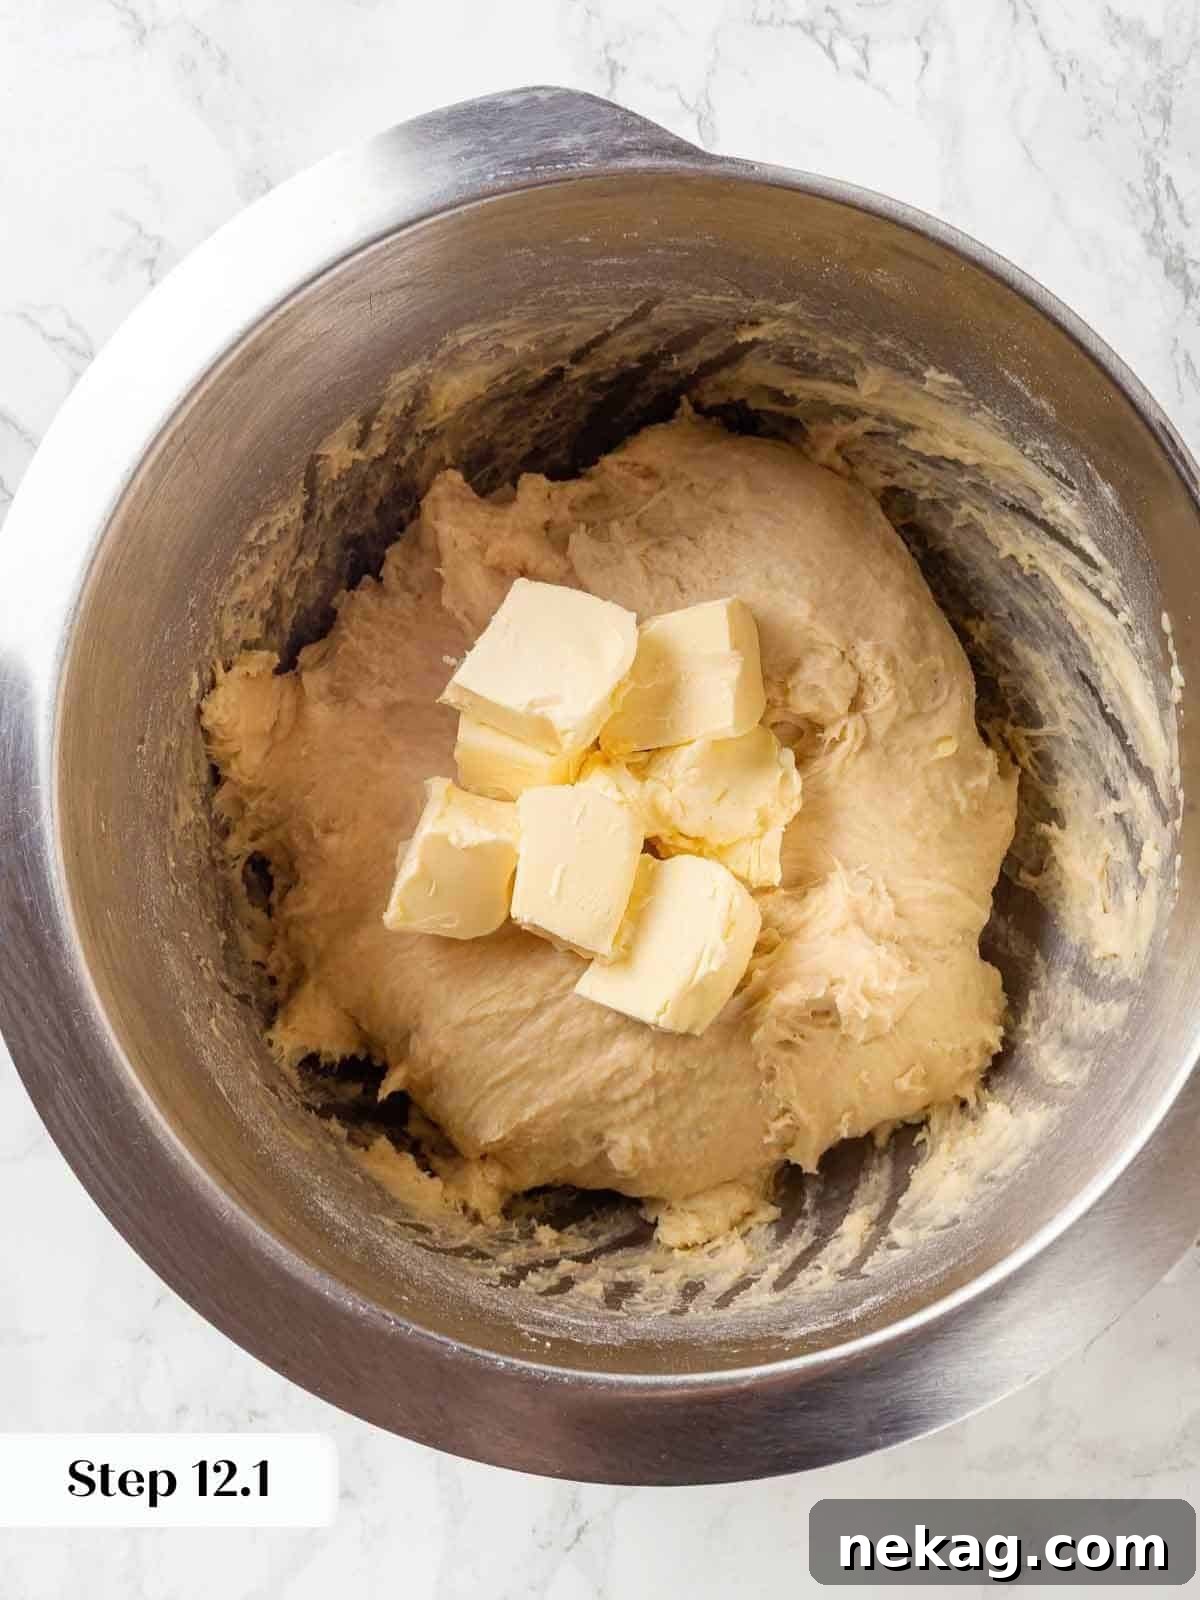
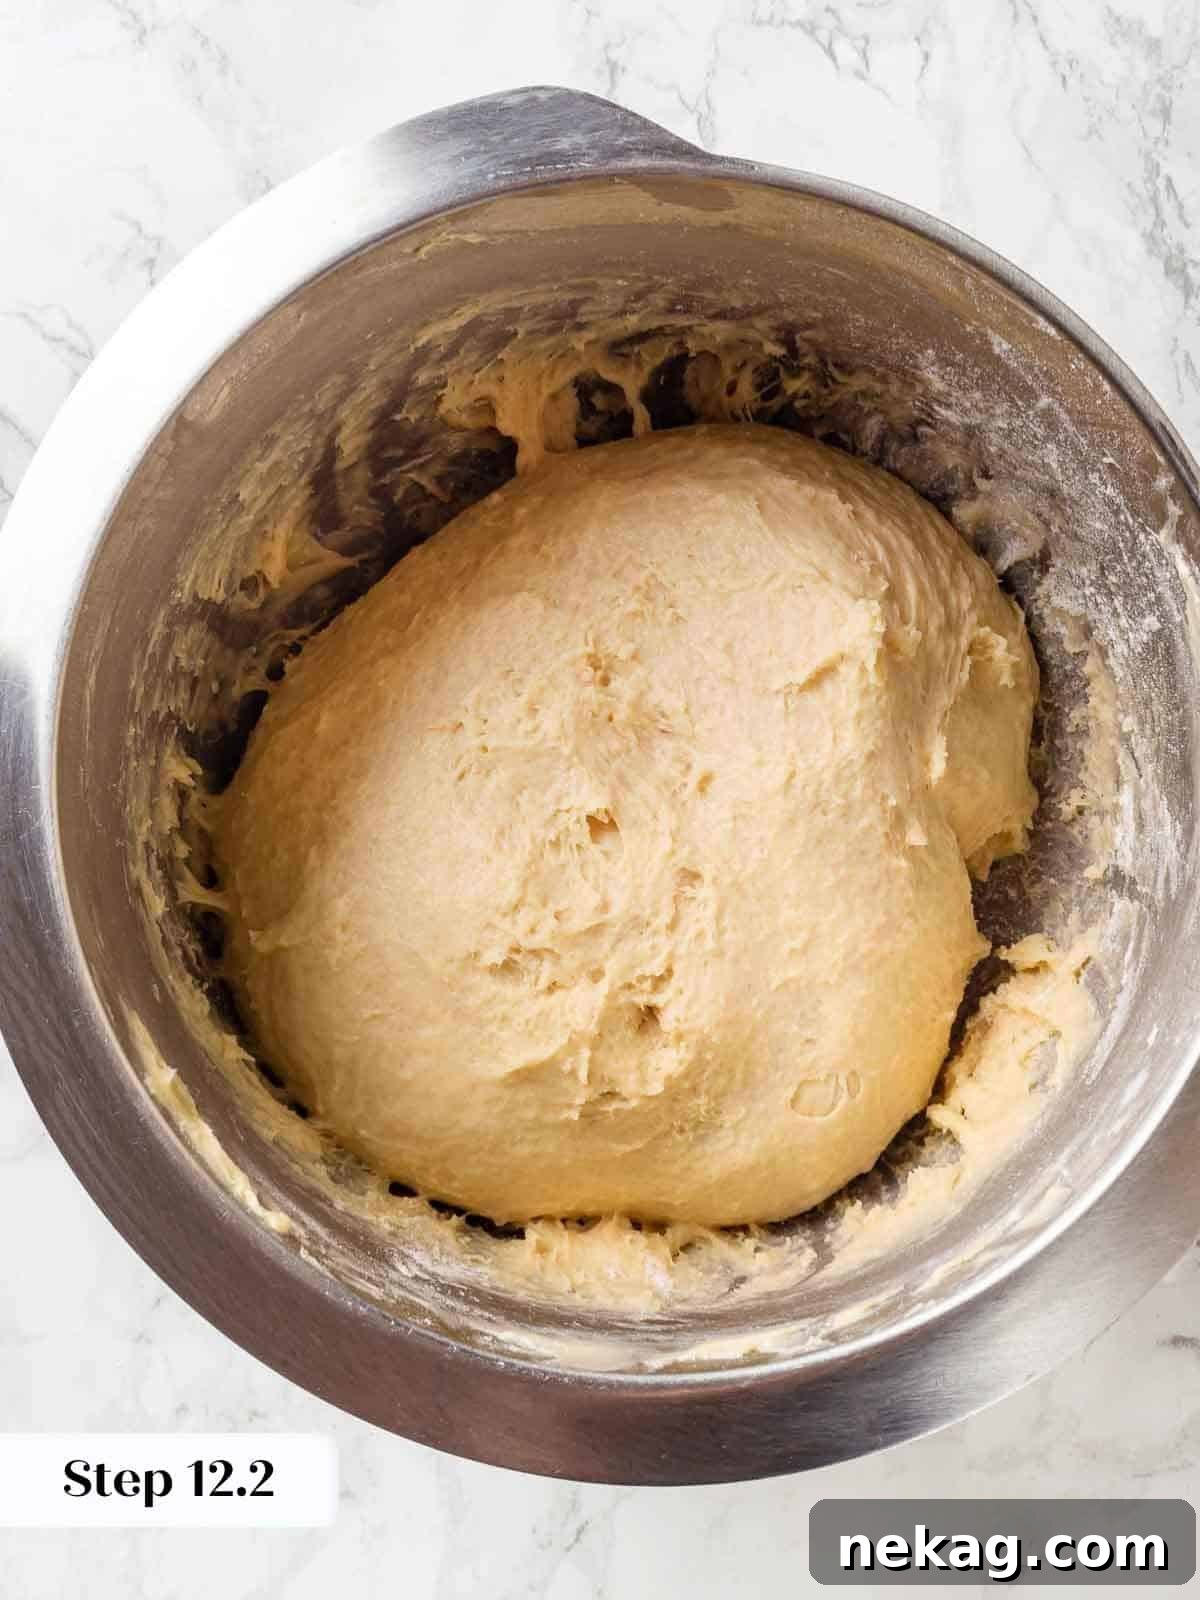
Step 12: Once the initial 15 minutes of mixing are complete, add all the cubed, unsalted butter to the dough at once. Continue mixing on medium speed for another 10 minutes. The dough will become incredibly smooth, elastic, and glossy as the butter is fully incorporated and the gluten continues to develop. Be patient and let your mixer do the work!
Chef’s Insight: This recipe was originally designed for a bustling restaurant kitchen, where a powerful commercial mixer handled it effortlessly. Home stand mixers are perfectly capable, but don’t hesitate to give yours a brief rest if it seems to be straining!
Proofing and Shaping Your Loaf:
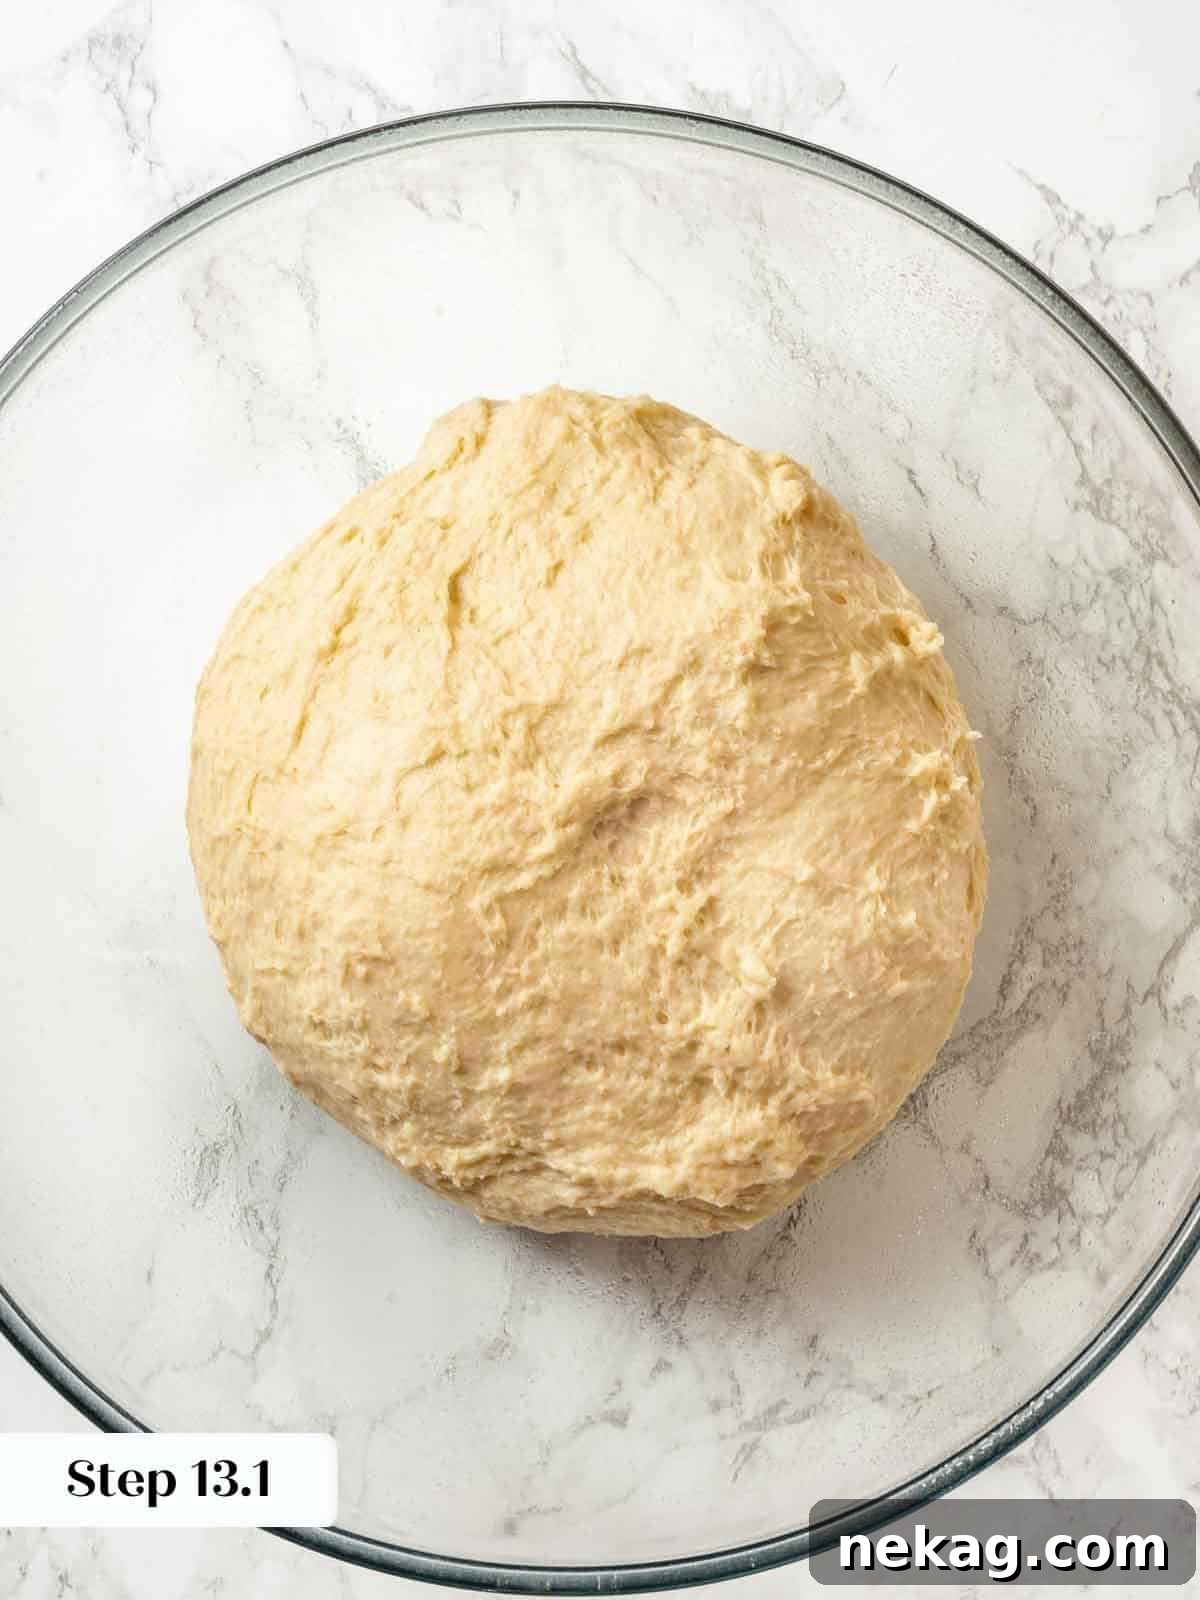
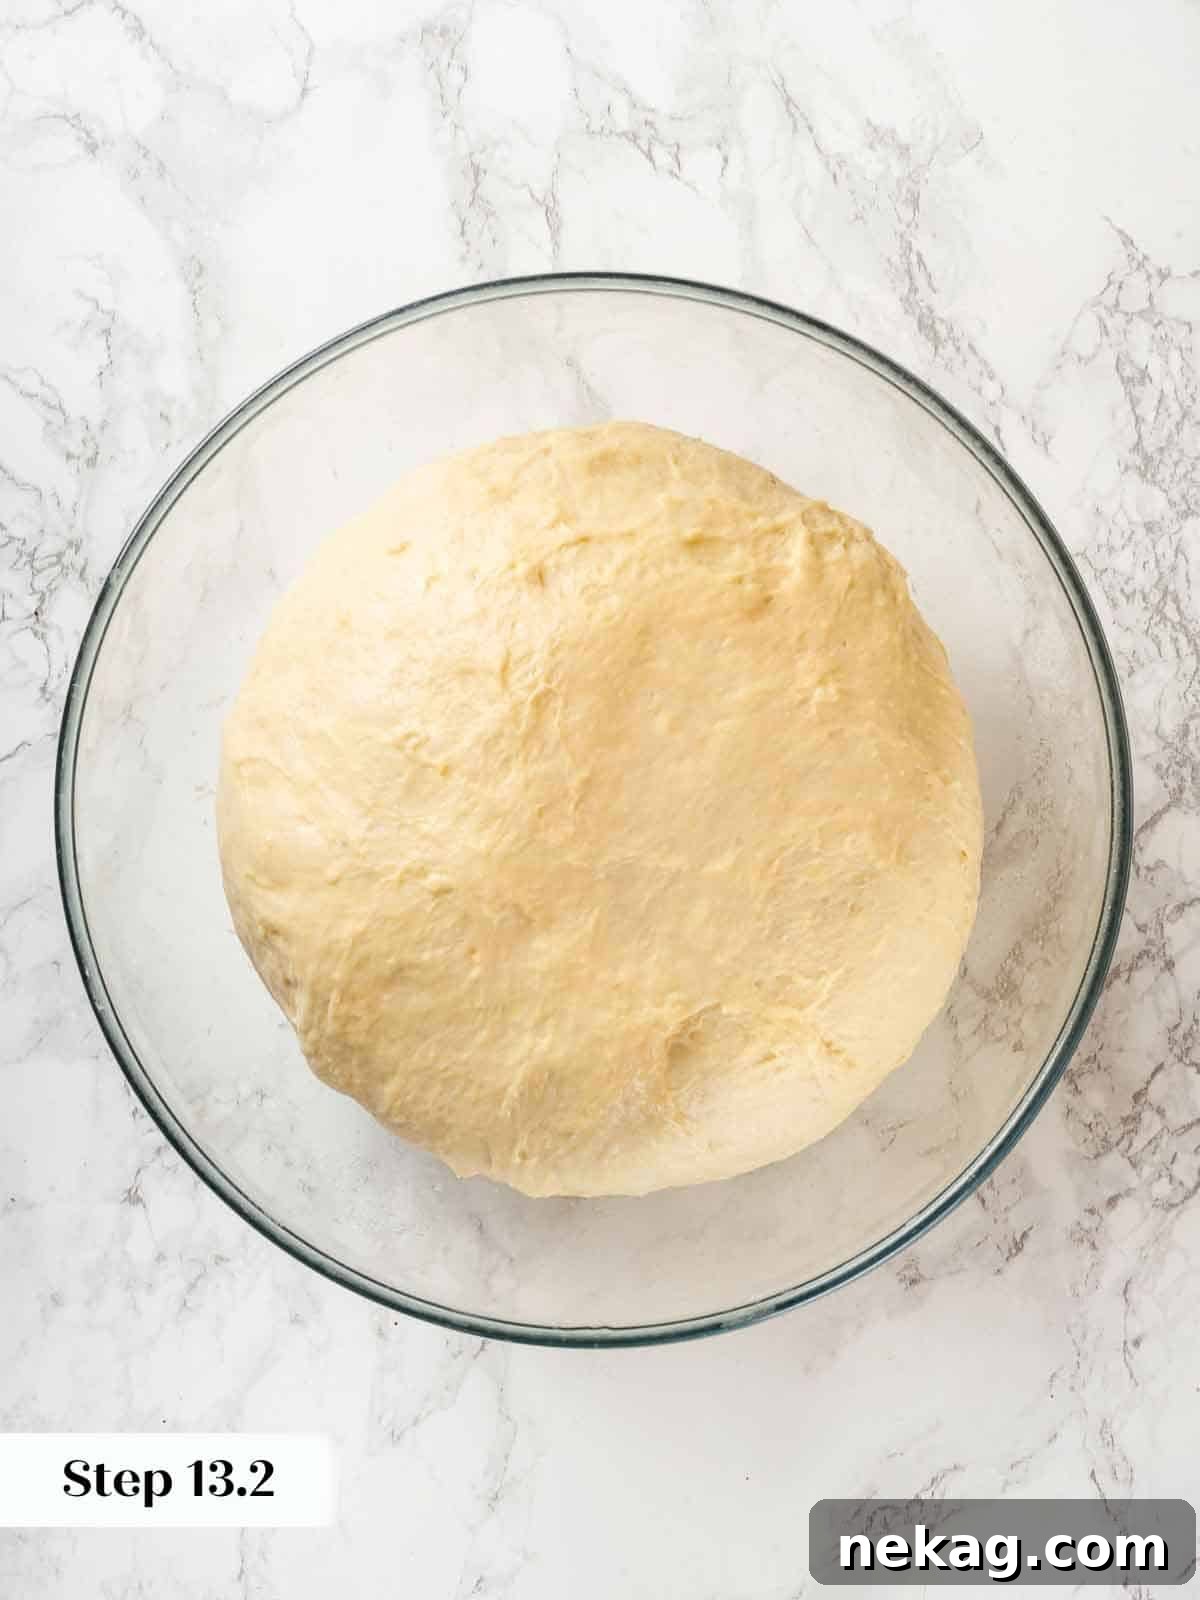
Step 13: Carefully transfer the dough from the mixer bowl into a large, lightly oiled bowl. Cover the bowl tightly with plastic wrap. For this potato bread, especially with active dry yeast, I prefer a bulk proof. If your kitchen is cool, you can create a warm environment by preheating your oven to 100°F (38°C), turning it off, and then placing the covered dough bowl inside. My dough, which started quite cold, doubled in size beautifully within approximately an hour using this method.
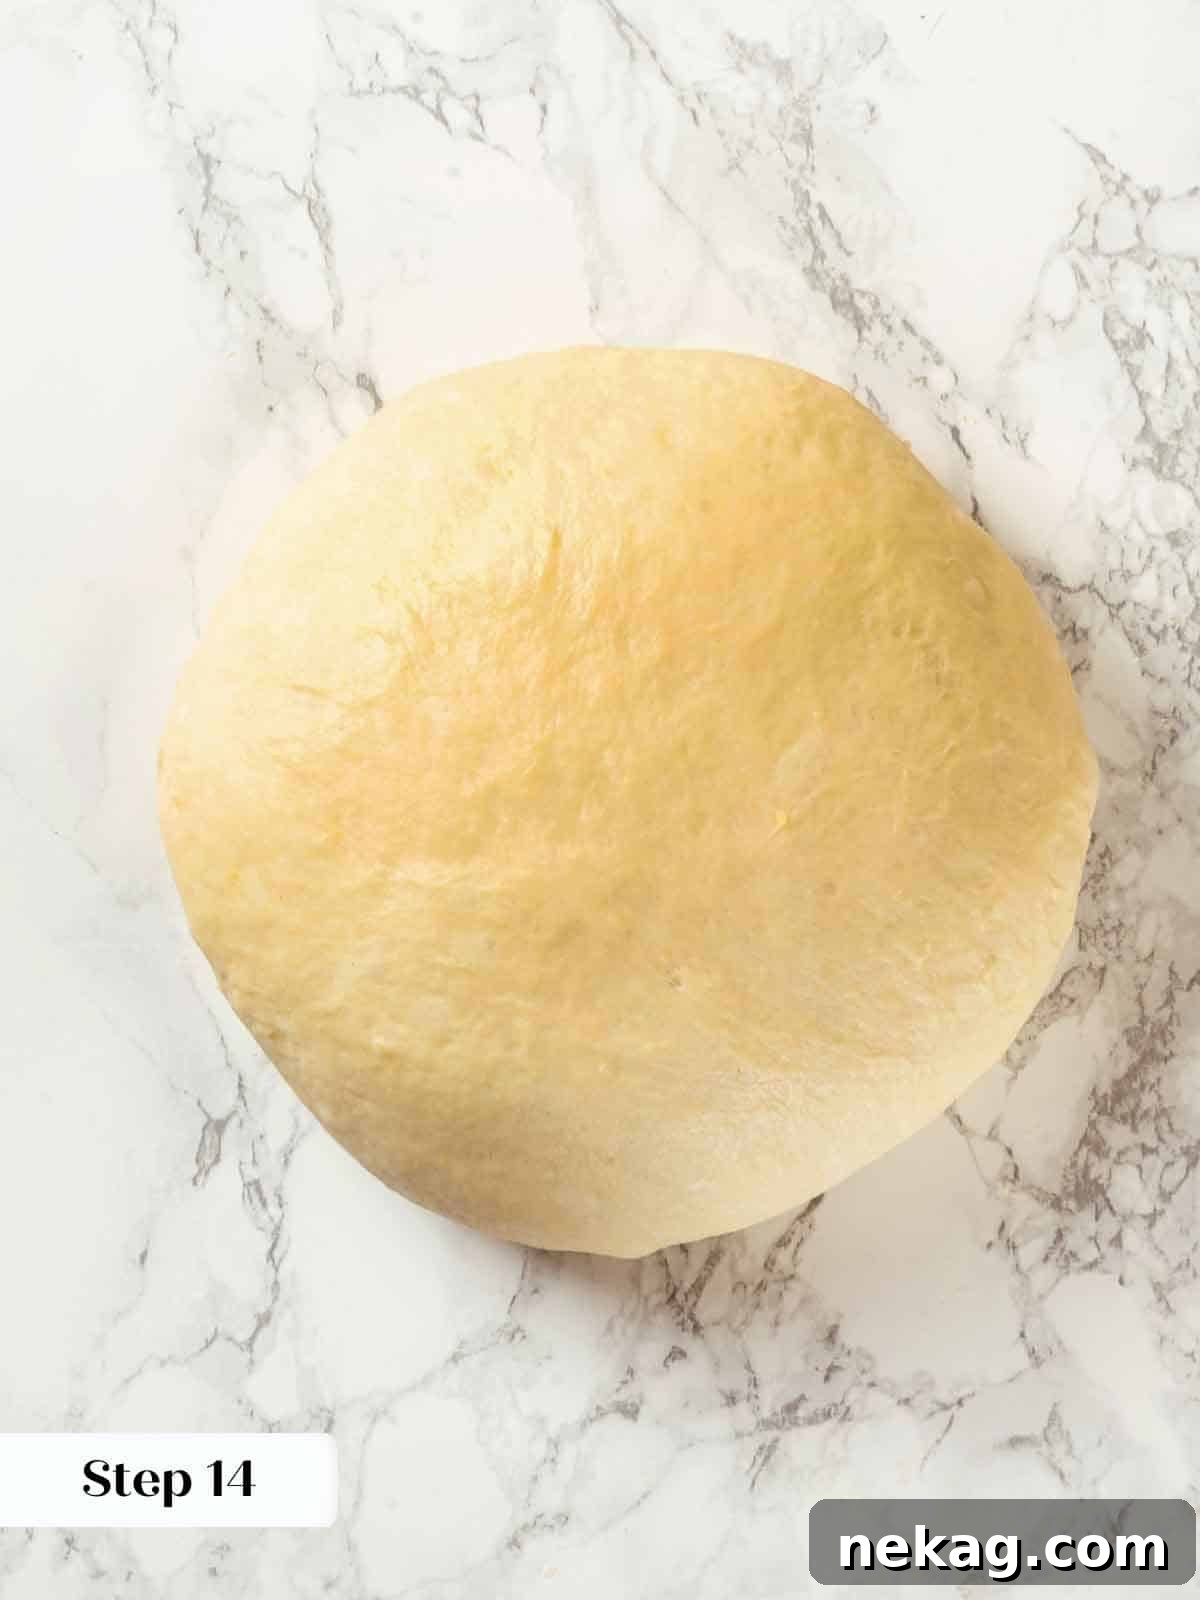
Step 14: Once the dough has doubled, gently turn it out onto a clean, unfloured surface. Carefully pre-shape the dough into a round ball. Allow it to “bench rest” for 10 minutes; this helps the gluten relax, making the dough easier to handle for final shaping.
Shaping Tip: Depending on the dough’s stickiness and your work surface, a very light mist of nonstick spray might be helpful for your hands or the surface. Avoid using bench flour with this dough, as it can make it more challenging to achieve a tight, smooth shape.
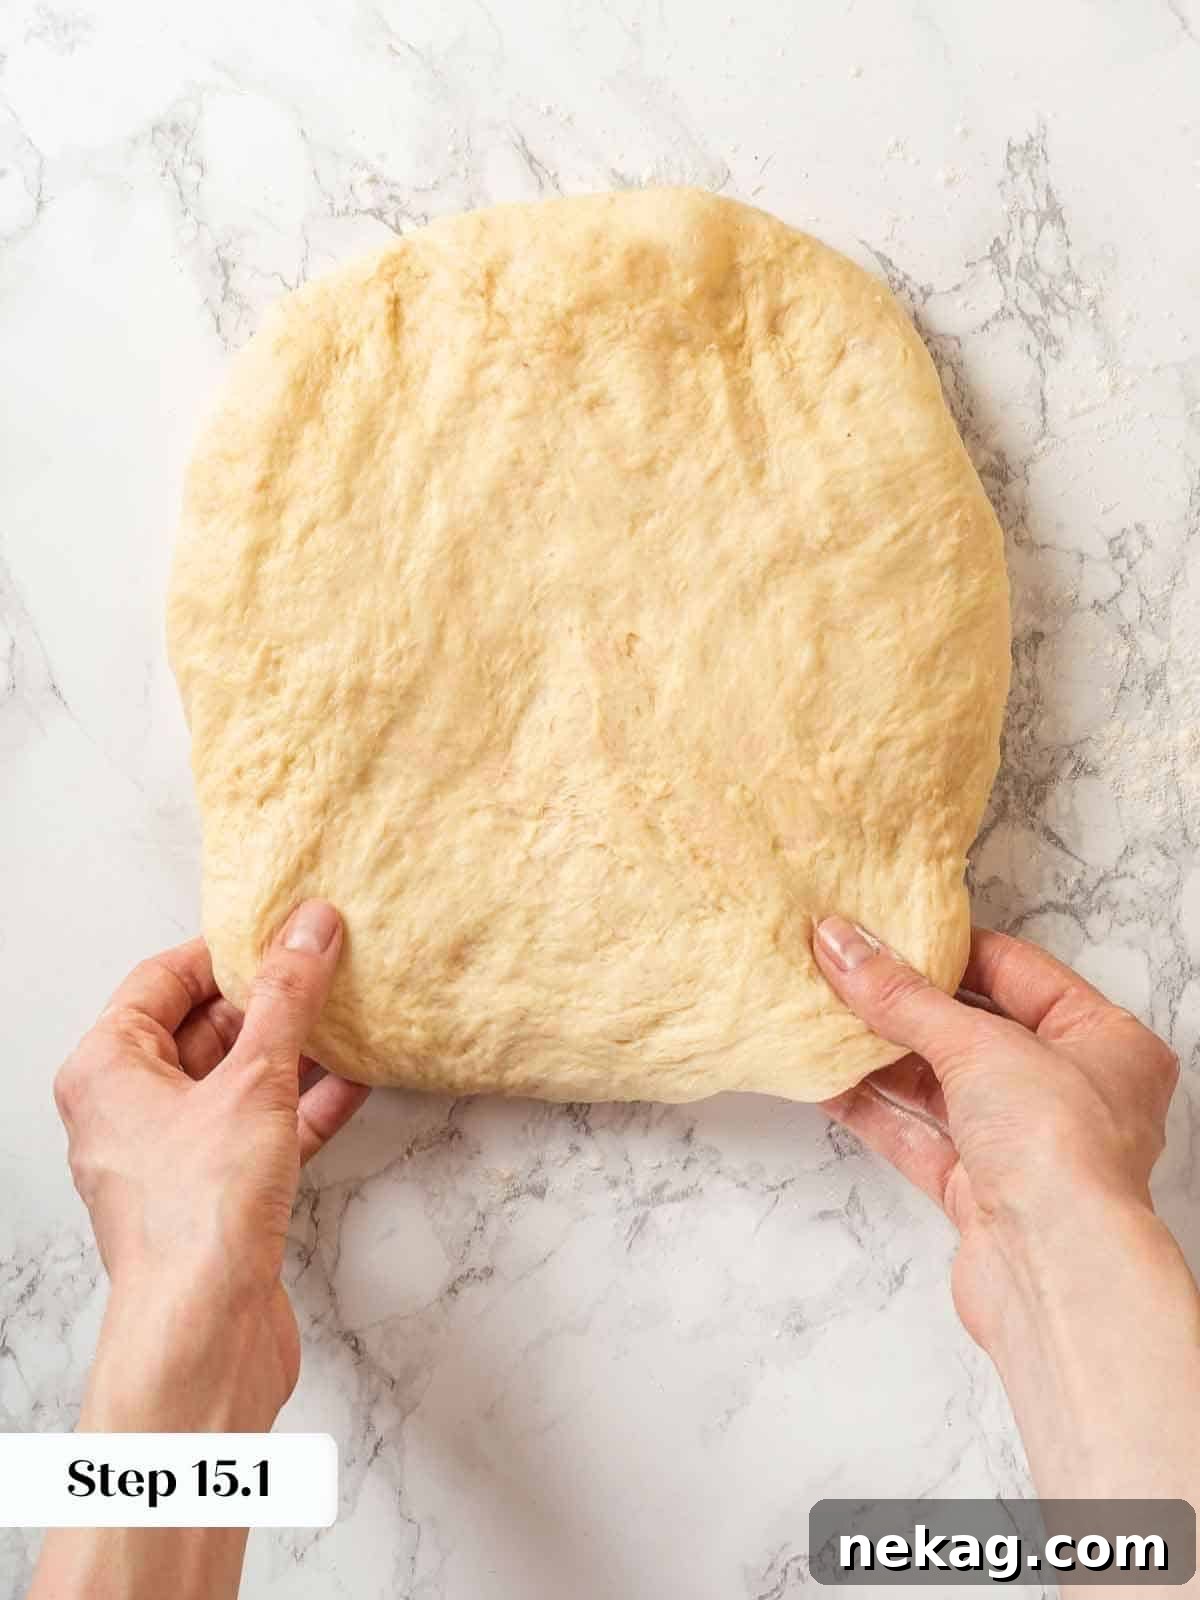
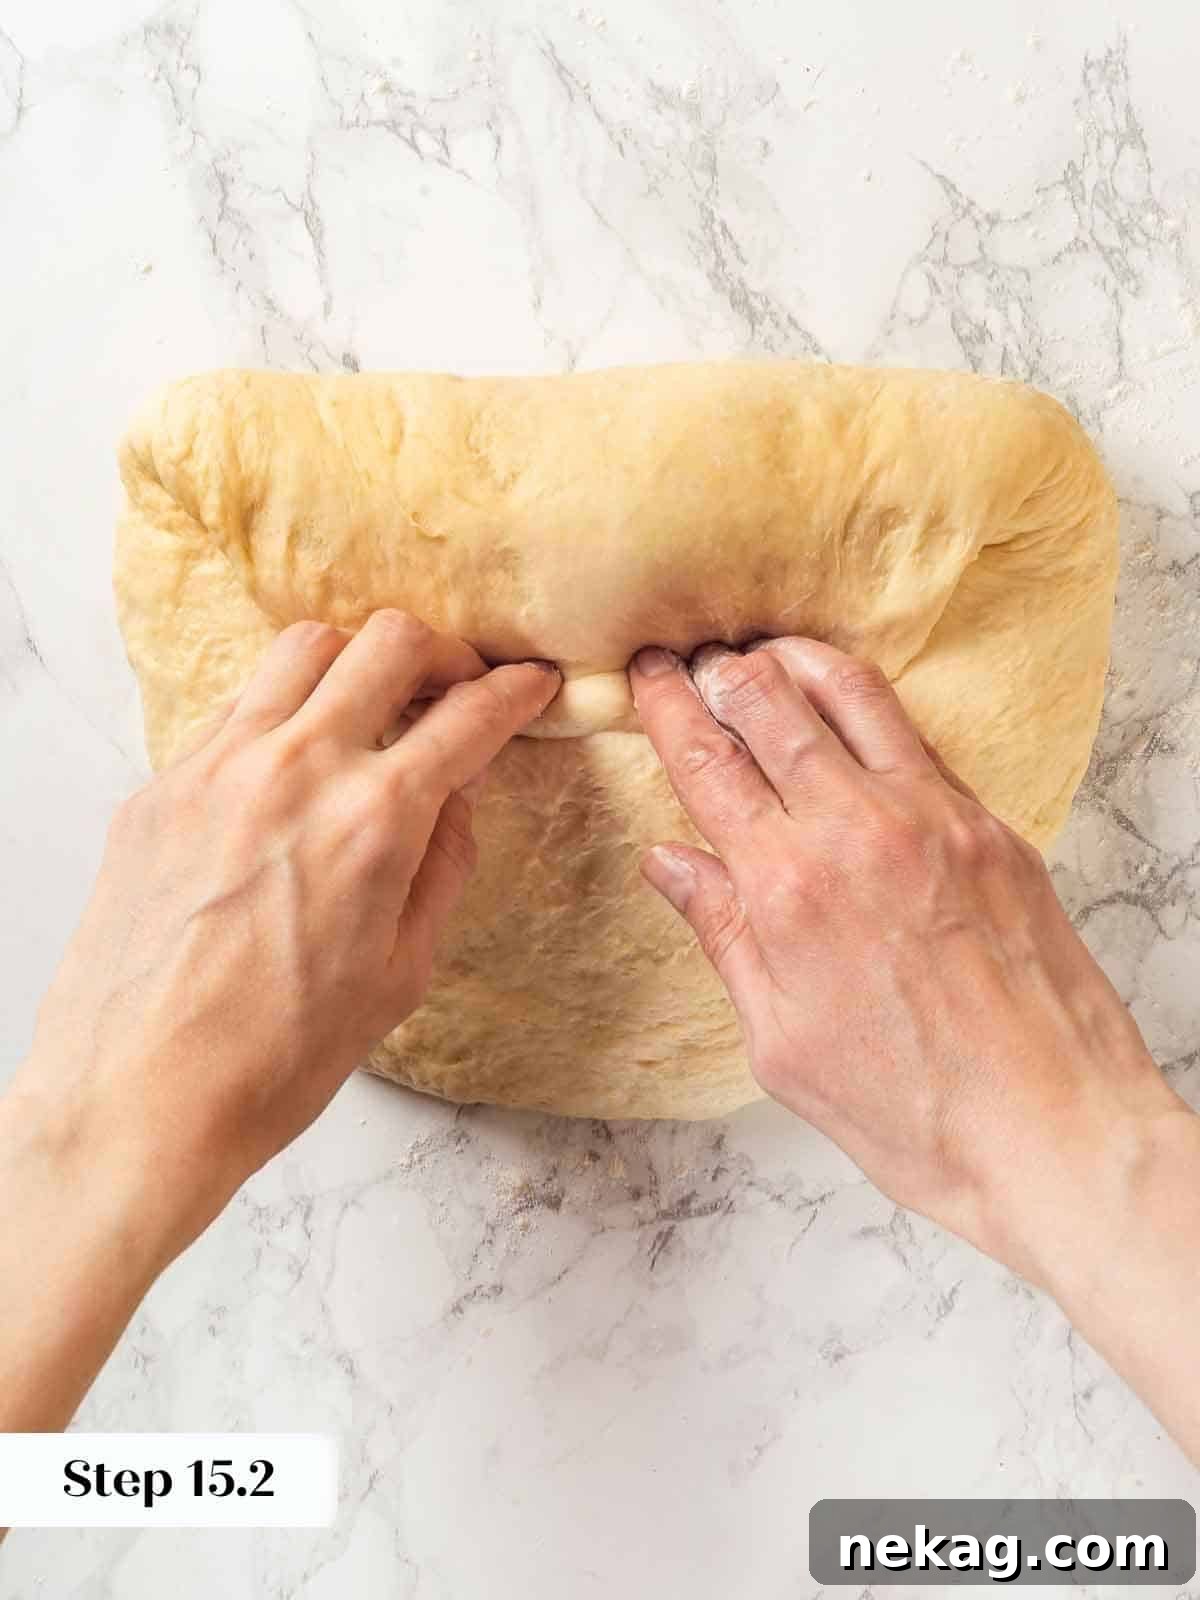
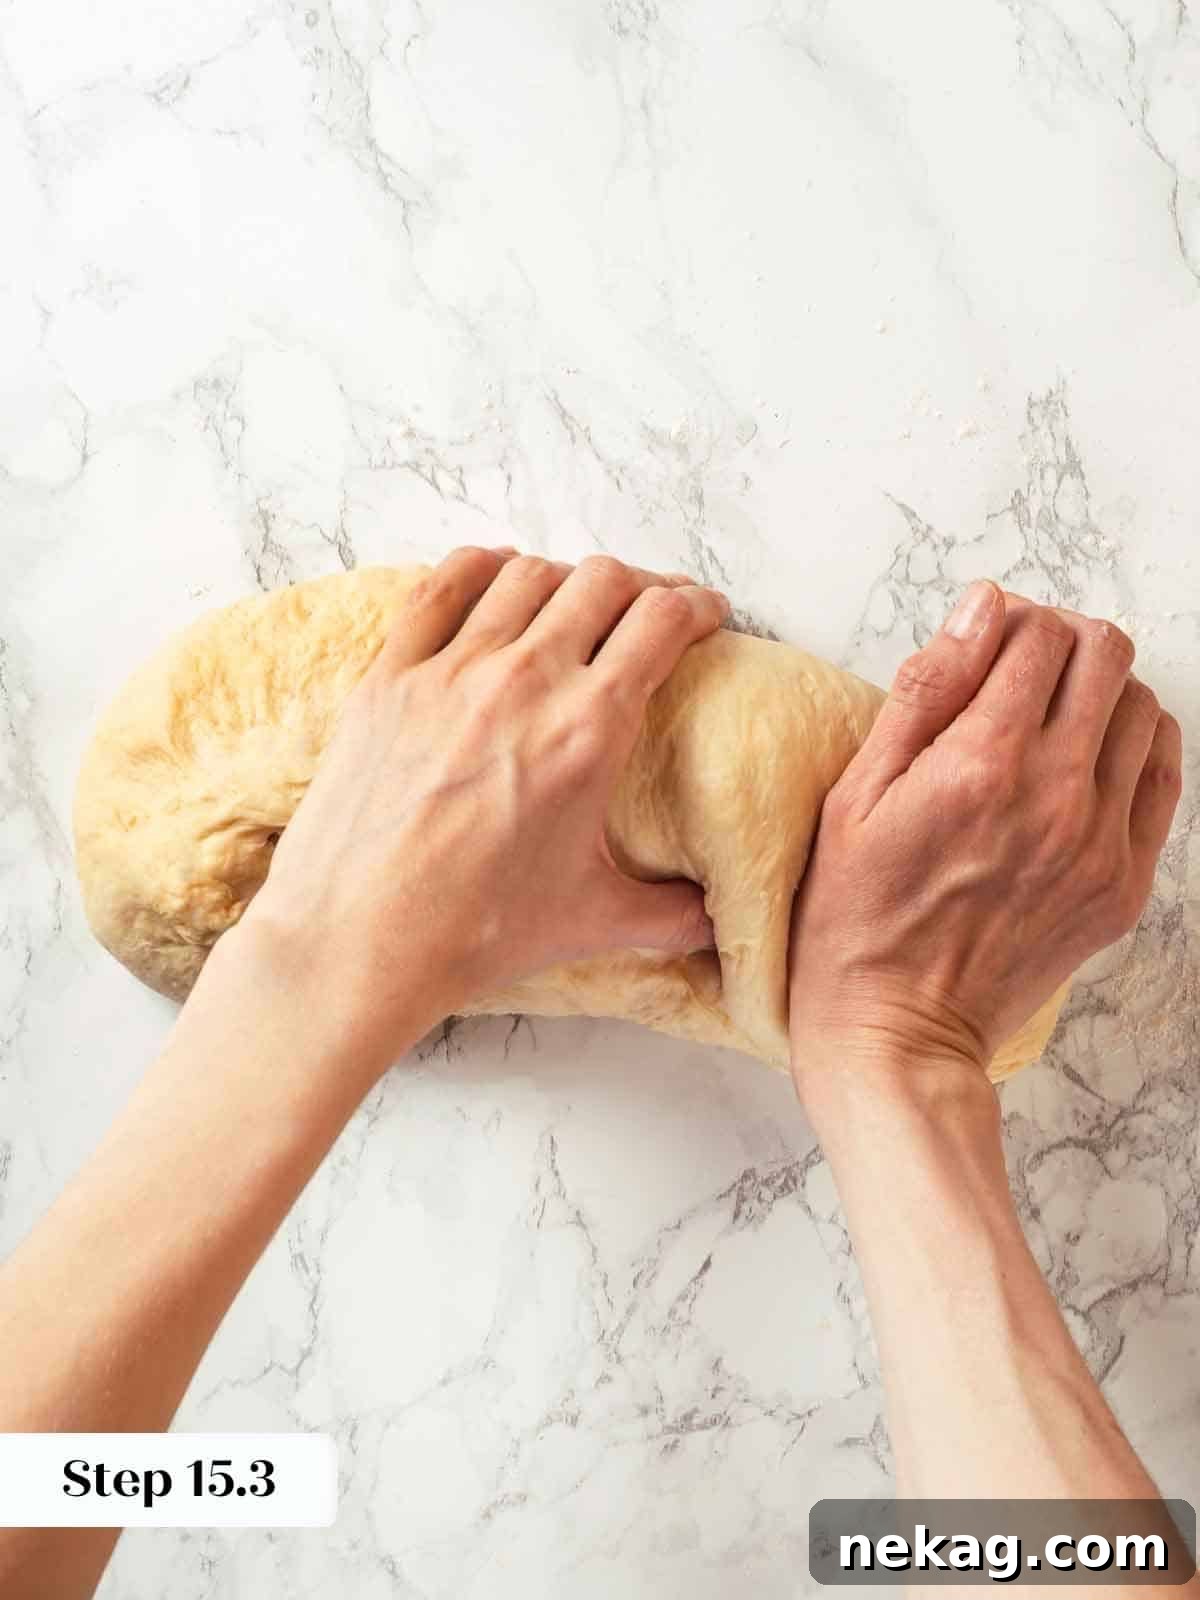
Step 15: For the final shape, gently pull the dough into a rectangular form. Fold the top half of the dough down towards the center. Rotate the dough 180 degrees, then fold the other side down, pressing gently to seal. Now, perform two “thumb folds”: starting from the right side of the dough log, roll the dough around your left thumb, then use the heel of your right hand to press and seal the seam as you move across to the left. This technique creates tension and a tight seam, which is crucial for a well-structured loaf.
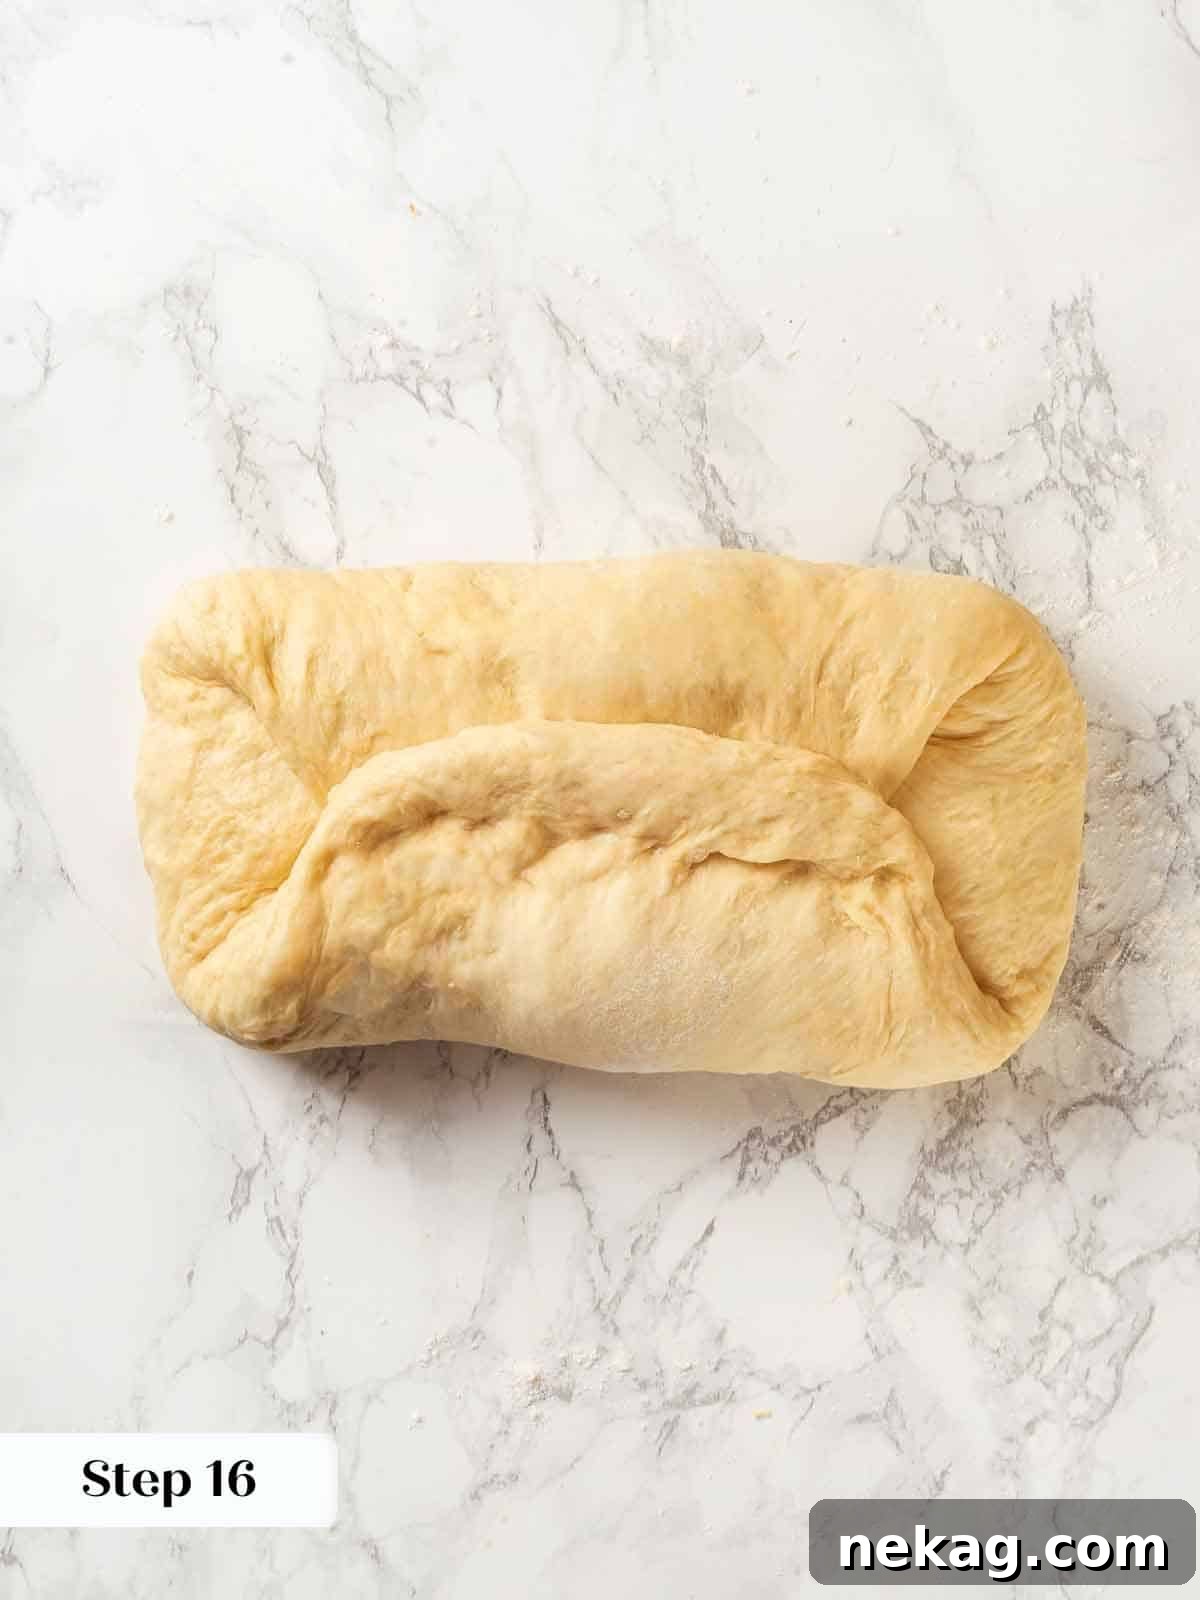
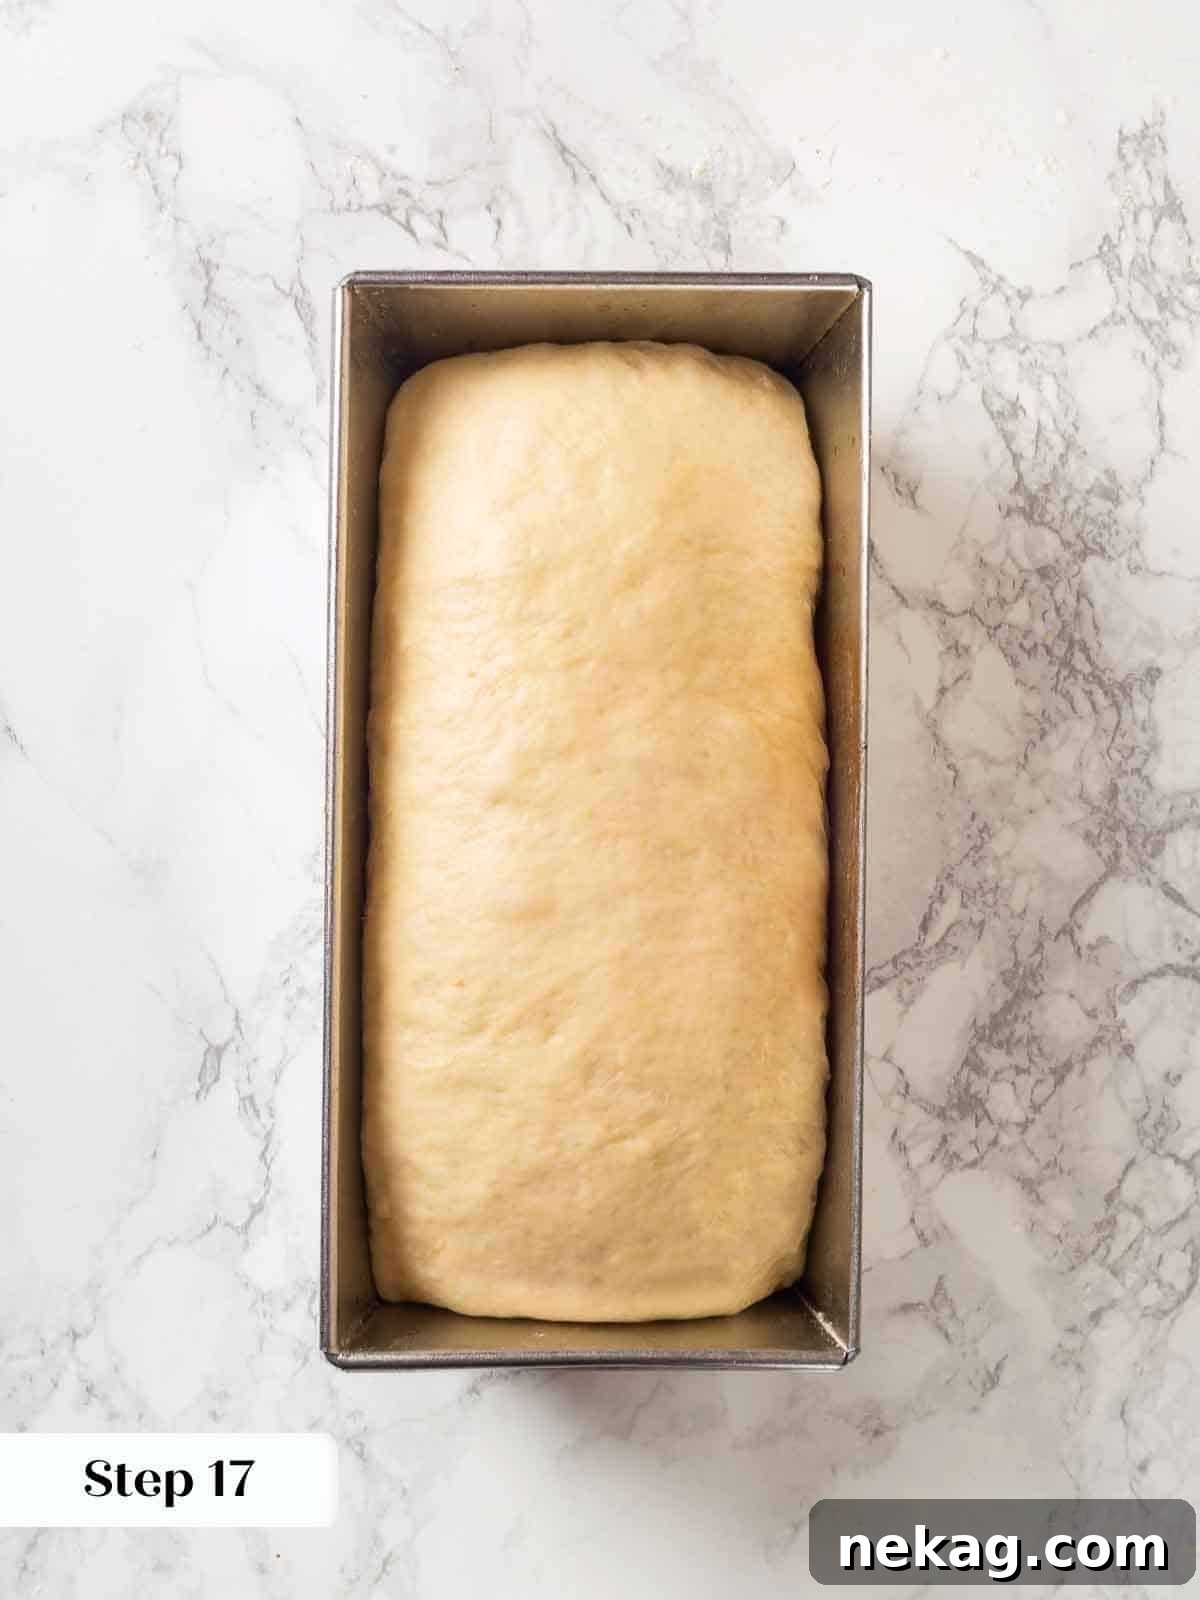
Step 16: Repeat the thumb fold process once more. This dough is quite elastic, so you can gently scrunch the log shorter as you perform the second fold if it becomes too long for your loaf pan. The goal is to create a snug fit in the pan.
Handle with Care: If you find the dough is sticking to your hands during shaping, lightly spray your palms with a little nonstick cooking spray or olive oil. This prevents tearing and keeps the dough smooth.
Step 17: Carefully place the shaped dough into a 9×5 inch loaf pan, ensuring the seam side is facing down. Make sure the loaf pan has been thoroughly sprayed with nonstick cooking spray or generously buttered to prevent sticking.
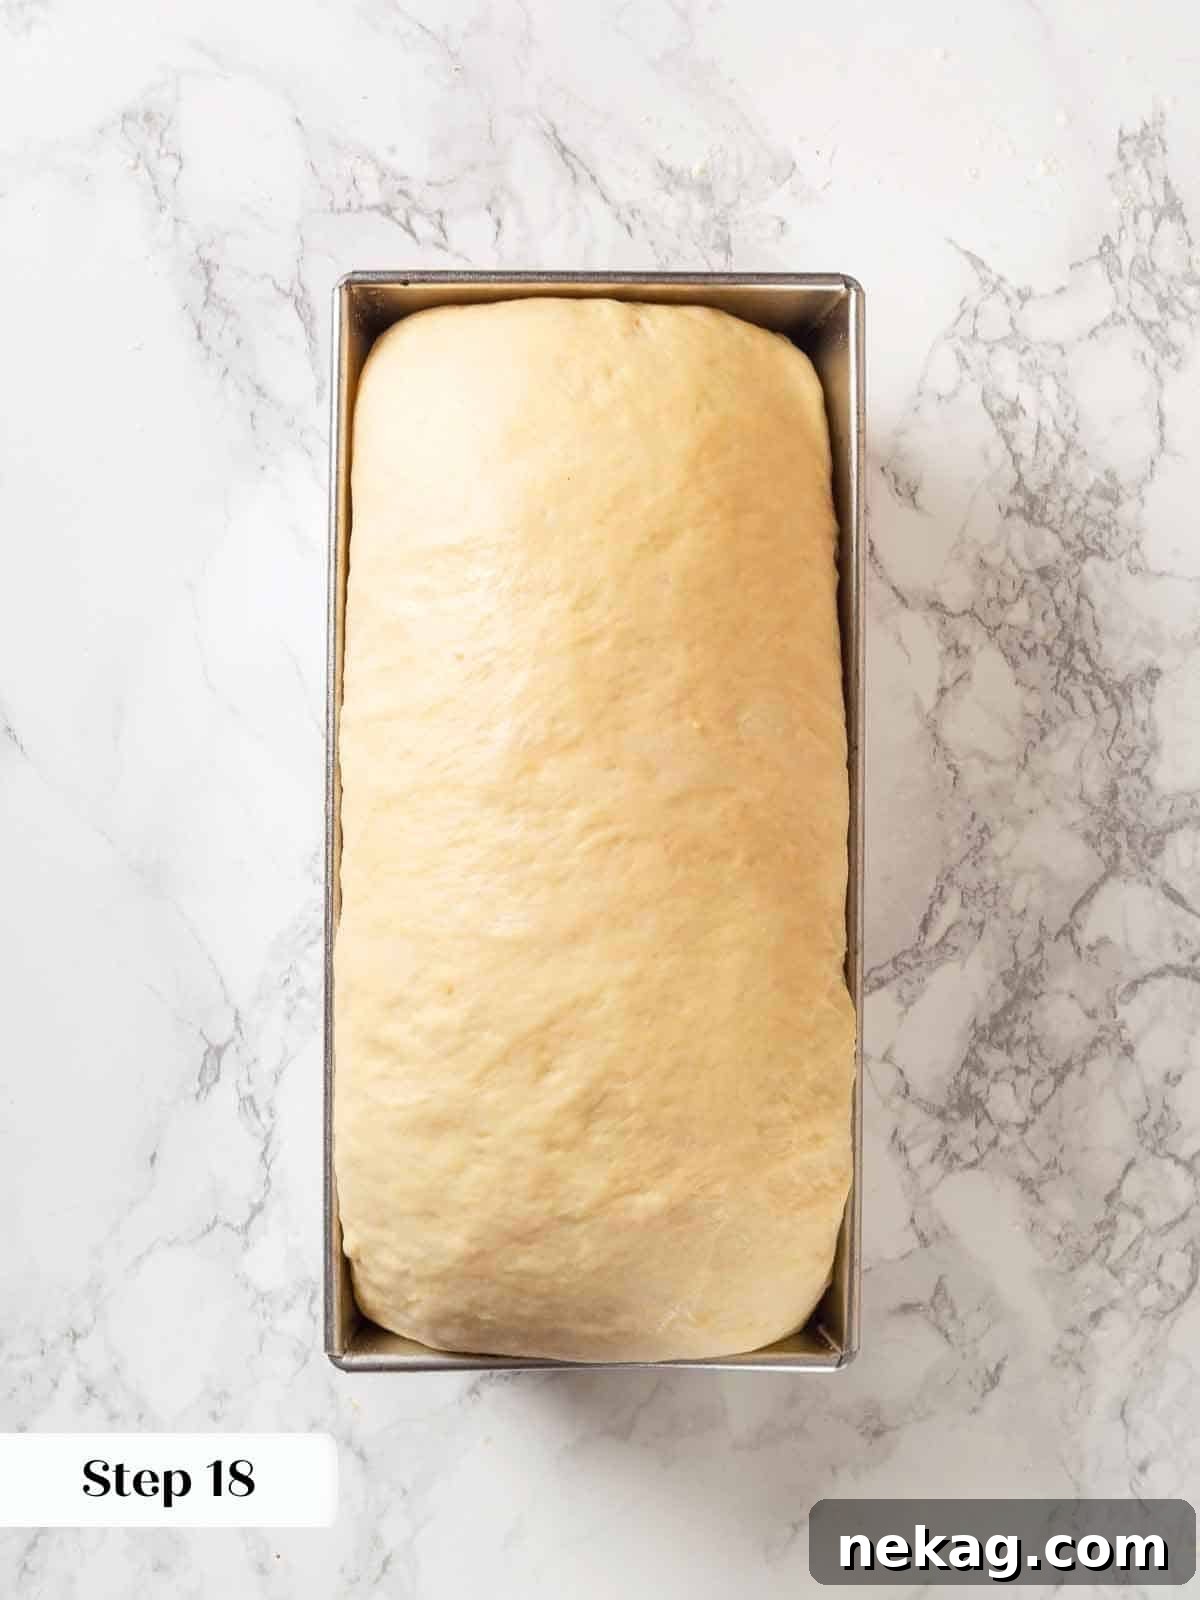
Step 18: Cover the loaf pan loosely with plastic wrap and place it in a warm environment for its final proof. Allow the dough to rise until it has crested gracefully above the rim of the pan and feels wonderfully light and airy to the touch. This indicates it’s ready for baking.
Observation is Key: My dough often rises beautifully in about 30 minutes in a warm spot. Once it’s nearly doubled and rising above the pan, I carefully loosen the plastic wrap, remove it from the warm oven, and let it finish proofing at room temperature for another 15 minutes while my oven preheats. This prevents over-proofing in a too-warm environment.
Time to Bake Your Golden Loaf:
Step 19: Preheat your oven to 350°F (175°C) if using a convection setting, or 375°F (190°C) for a conventional oven (without a fan). Ensure the oven is fully preheated before placing the bread inside.
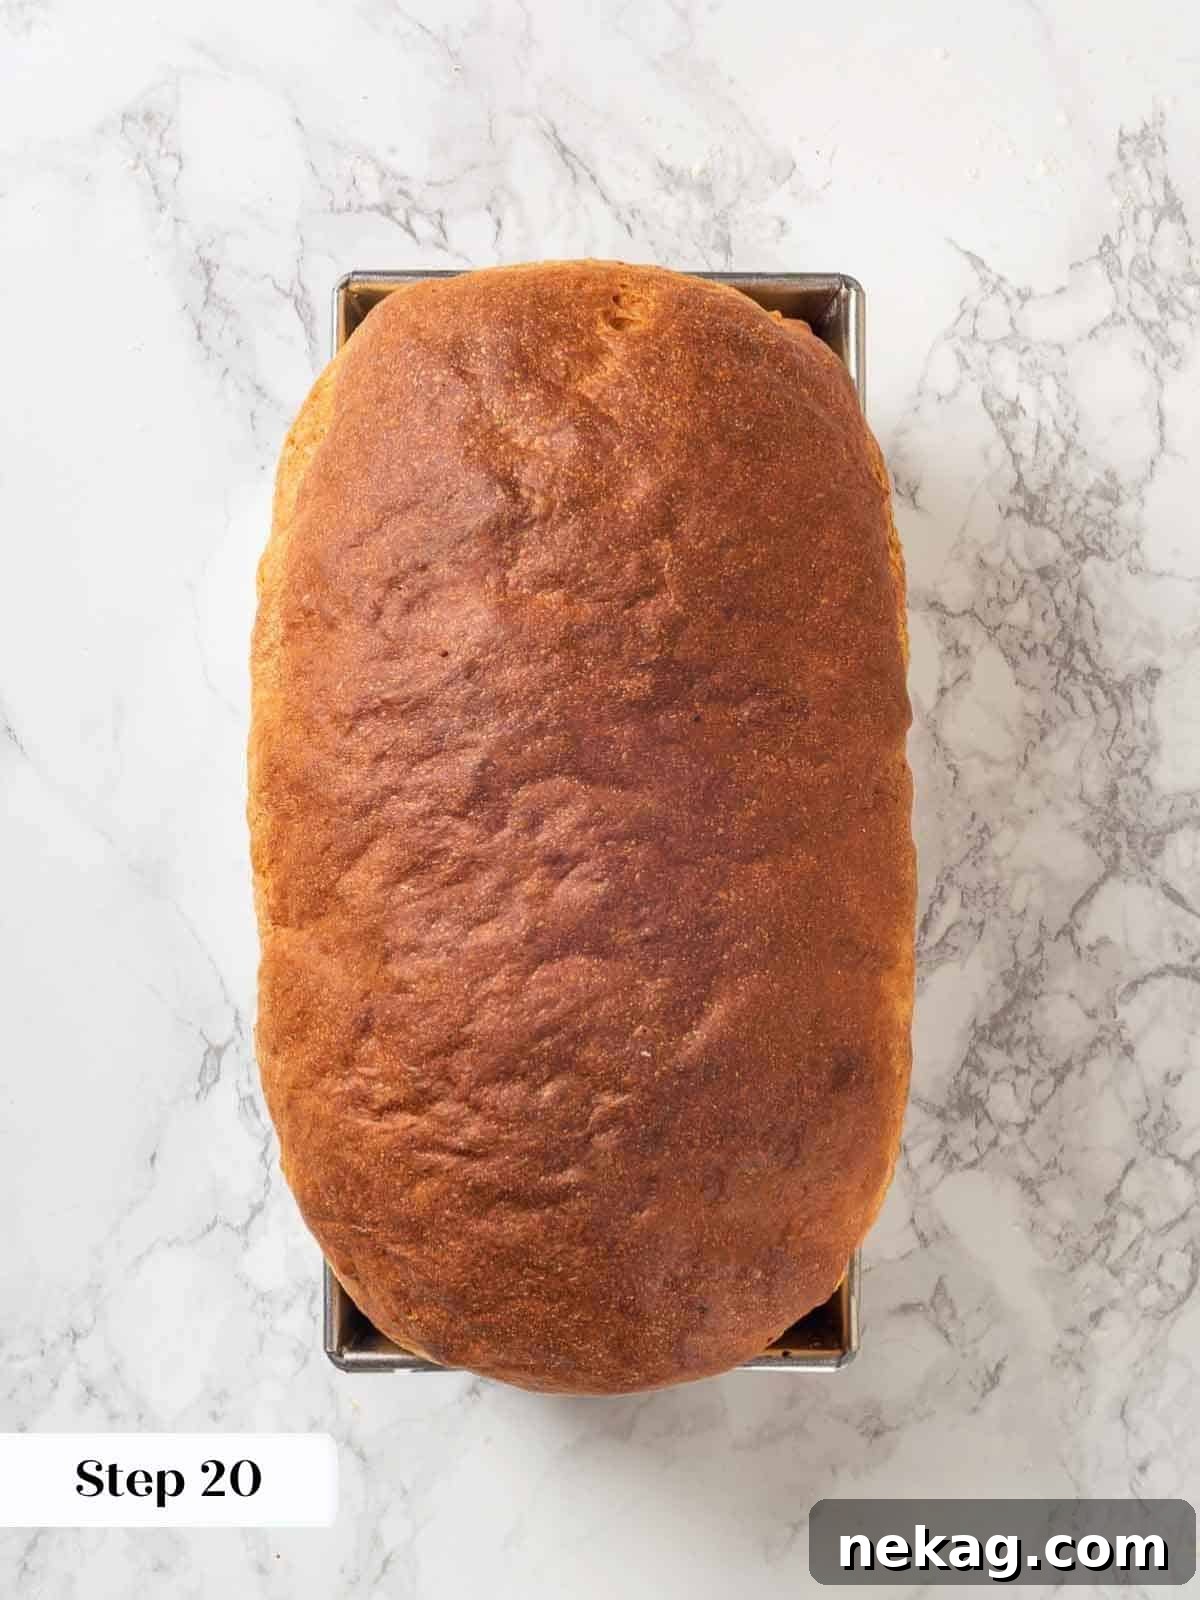
Step 20: Gently remove the plastic wrap from the proofed dough. Place the loaf pan into the preheated oven and bake for 30-35 minutes. To confirm doneness, insert an instant-read thermometer into the center of the loaf; it should register an internal temperature of 185°F (85°C).
Finishing Touch: For an irresistibly shiny, golden-brown crust, lightly brush the top of the hot loaf with melted butter immediately after removing it from the oven.
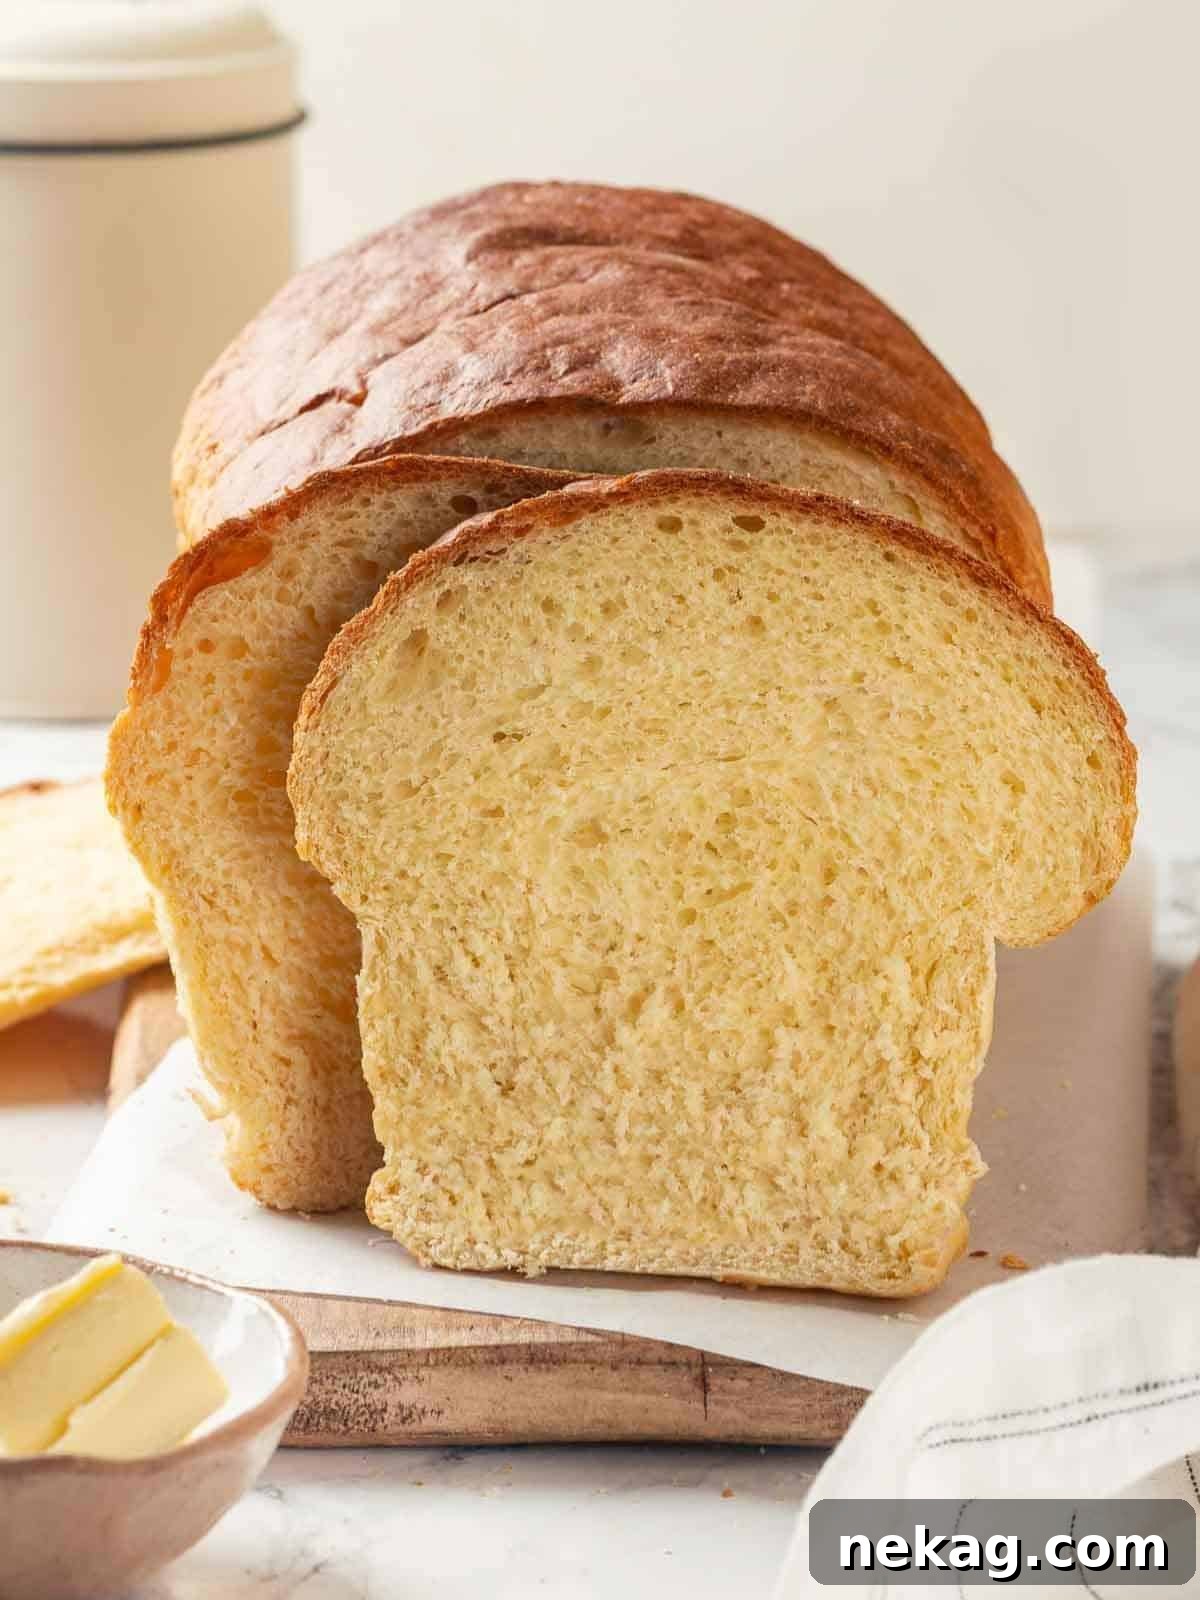
Step 21: As soon as the bread comes out of the oven, turn it out onto a wire cooling rack. It’s crucial to let the bread cool completely before slicing and serving. This allows the internal structure to set properly and prevents a gummy texture. Exercise great willpower to resist sneaking a piece, especially if a curious toddler is nearby!
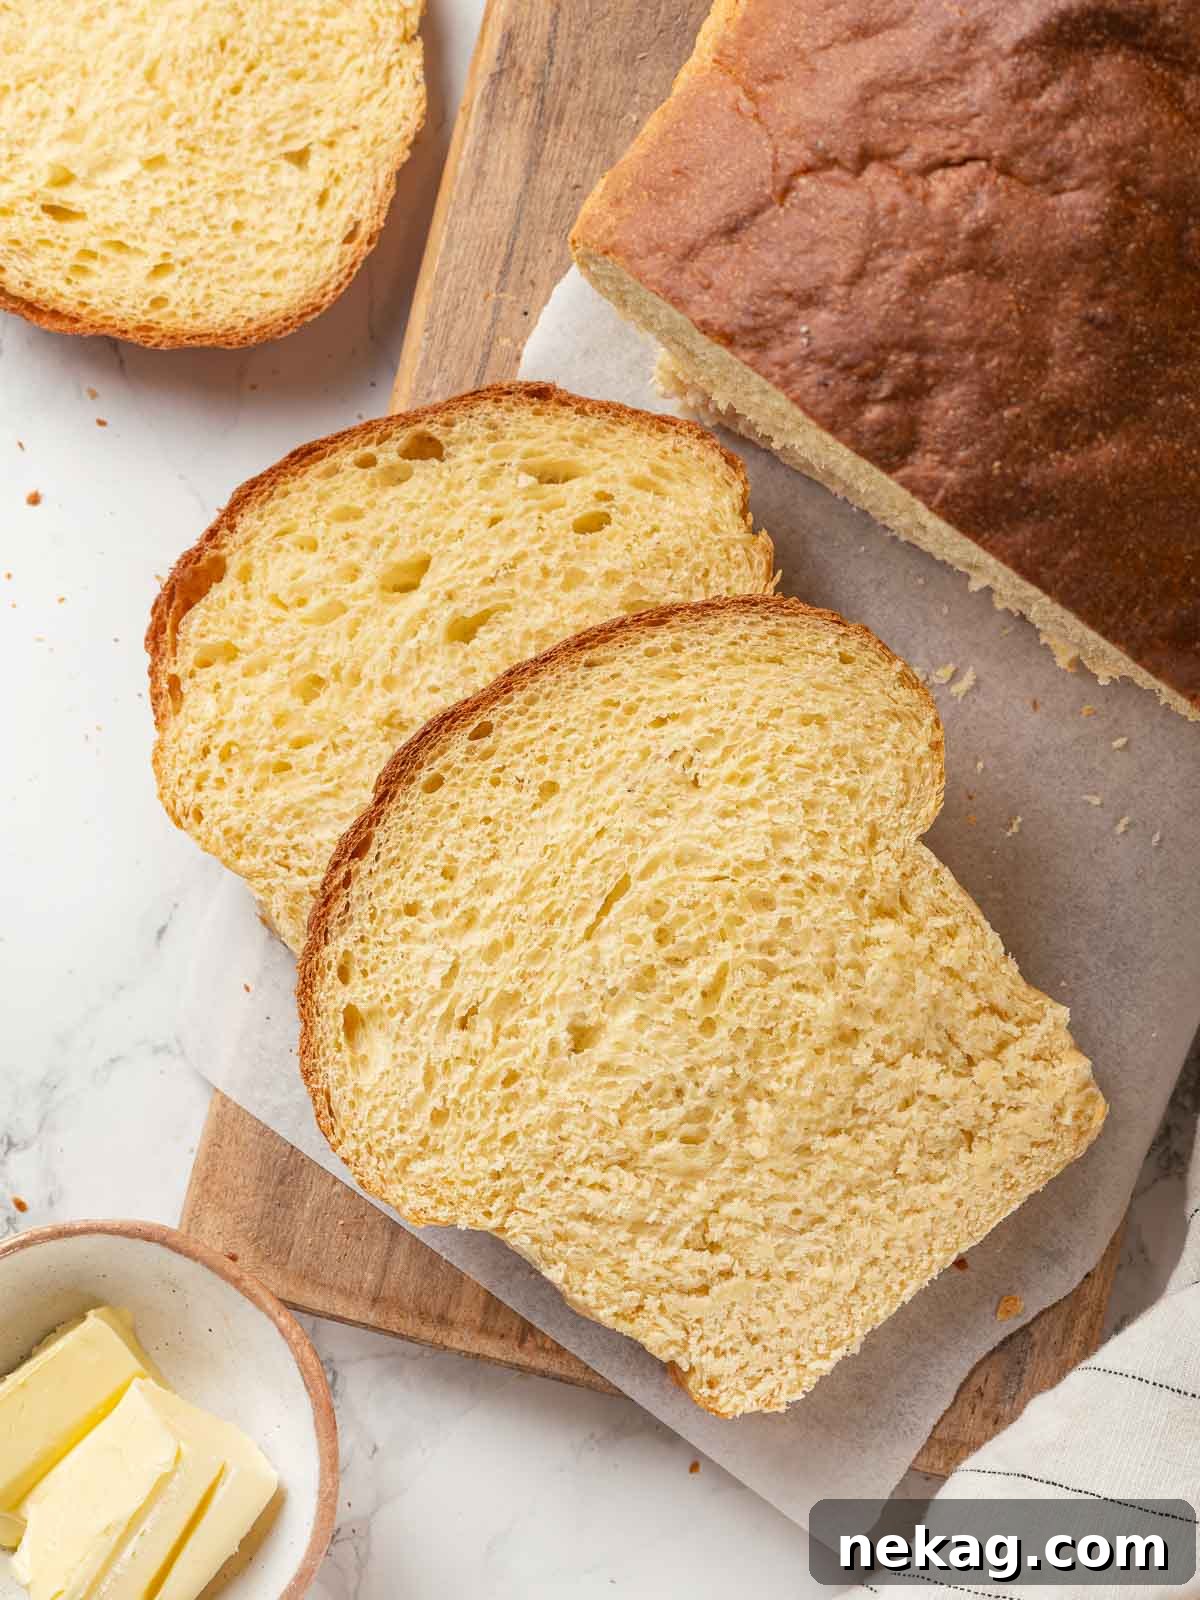
Step 22: Once fully cooled, slice your magnificent potato bread and serve. This bread is incredibly versatile; I particularly enjoy using it to create robust pesto chicken salad sandwiches. The soft, tender slices complement creamy fillings perfectly, making for truly “bomb” results!
Chef Lindsey’s Recipe Tip for Dough Consistency
The unique nature of mashed potatoes means they can vary in moisture content, and the humidity in your kitchen can also play a role, both dramatically affecting the stickiness of your dough. While this truly is a foolproof dough designed for success, the potatoes introduce a natural variability. If you find your dough to be exceptionally sticky after the initial mixing (before adding the butter), you can carefully add a very small amount of all-purpose flour, a tablespoon at a time, until it’s more manageable. However, for the very best flavor, a wonderfully tender crumb, and an authentic texture, it’s often best to embrace a slightly sticky dough. Resist the urge to add too much extra flour, as this can make the bread dense and dry. A little stickiness is usually a sign of a perfectly hydrated and flavorful dough.
Frequently Asked Questions About Potato Bread
To maintain its freshness, store your potato bread well-wrapped in plastic film or an airtight container at room temperature for up to 5 days. For longer storage, it freezes beautifully for up to 2 months. As this bread contains no artificial preservatives, its peak texture and flavor are best enjoyed within the first 2-3 days. For convenient snacking and defrosting, consider pre-slicing the loaf before freezing.
For the most optimal results, I recommend using starchy potato varieties such as Russet, Yukon Gold, or Idaho potatoes. These types of potatoes have a higher starch content, which contributes significantly to creating a lighter, more tender, and wonderfully airy bread crumb. Their texture also makes them ideal for mashing smoothly.
While it is technically possible to use instant mashed potatoes, I strongly advise against it for this recipe. Instant potatoes are often pre-seasoned, which can lead to an overly salted bread. More importantly, they tend to absorb and retain more moisture than freshly mashed potatoes, potentially making your dough excessively sticky and difficult to work with, compromising the final texture.
Absolutely! You can certainly knead potato bread dough by hand. Start the initial mixing in a bowl until the ingredients are well combined and the dough becomes less sticky. Then, transfer it to a lightly floured surface for hand kneading. To speed up the gluten development and reduce kneading time, you can also “autolyse” the dough: after initially mixing the flour and water/milk, let it rest, covered, for 20-30 minutes. This allows the gluten to start developing on its own. Following the autolyse with a series of gentle stretch-and-folds can further enhance gluten structure.
Leftover potato bread is a treasure! My go-to recommendation is always French toast – the rich, soft slices absorb the custard beautifully. It also makes an exceptional grilled cheese sandwich, yielding a crispy exterior and a tender, flavorful interior. For a sweet treat, try transforming it into my comforting easy bread pudding. The possibilities are truly delightful!
Thick slices of potato bread are an exquisite accompaniment to hearty, rich dishes such as a savory rosemary lamb stew or my robust Dutch oven beef stew. Its soft texture also makes it ideal for lighter meals like a fresh salad for lunch, or as the foundation for satisfying sandwiches like tuna melts or creamy deviled egg salad sandwiches. And for a truly indulgent ending, a generous slice of Guinness chocolate cake for dessert is always a welcome treat!
More Recommended Yeasted Bread Recipes You’ll Love
Dinner Roll Recipes
Irresistible Potato Rolls
Sourdough Bread Recipes
Sweet Sourdough Raisin Bread
Yeasted Bread Recipes
The Best Traditional Stollen Recipe
Yeasted Bread Recipes
Hearty 100% Whole Wheat Bread
If you tried this wonderful potato bread recipe and loved it, please take a moment to leave a 🌟 star rating and share your experience in the comments below. Your feedback truly brightens my day!
Ultimate Homemade Potato Bread
Comment
Print Recipe
Ingredients (US Customary, 1x Servings)
- 3 ¾ cups all-purpose flour
- 1 ½ teaspoons kosher salt
- 3 tablespoons granulated sugar
- 2 large eggs
- ¼ cup whole milk
- 2 ½ teaspoons active dry yeast 1 package
- 1 ¾ cups mashed potatoes cooled
- 6 tablespoons unsalted butter cubed
Instructions
Make the potatoes:
-
Place your washed potatoes in a pot. They can be whole or chopped.
-
Just cover the potatoes in water. This will help prevent the potatoes from absorbing too much moisture.
-
Bring to a boil and cook until fork tender. Drain the liquid and mash the potatoes while still warm.
-
Cool the potatoes at room temperature and place them well-wrapped in the fridge.
Make the dough:
-
In a small bowl, add active dry yeast. Set aside.
-
Warm milk in a small saucepan or microwave. Add a little cold milk to the warm milk until it reaches 100-110°F.
-
Measure a ¼ cup of the milk into the bowl with the yeast. Stir the yeast mixture gently and allow it to bloom for 10 minutes before adding it to the dough.
-
While you wait for the yeast to bloom, combine the all-purpose flour, salt, and sugar in a medium mixing bowl and set aside.
-
In the bowl of a stand mixer, add the eggs and the cooled mashed potatoes. Once the yeast is bubbly, add the yeast as well.
-
Mix on low with the paddle attachment to create a smooth paste.
-
Add all the dry ingredients, switch to the dough hook attachment, and then mix on low for 15 minutes until a smooth but thick dough forms.
-
Add the butter all at once and mix on medium for 10 minutes—or as long as your stand mixer can handle!
Proof and shape:
-
Turn out the dough into a lightly oiled large bowl and cover with plastic wrap. Unlike the potato rolls, I bulk-proof this bread, especially with dry active yeast. My dough was absurdly cold, so I preheated my oven to 100°F, turned it off and then popped my dough bowl in. It warmed and doubled in about an hour.
-
Turn dough out onto an unfloured surface and pre-shape into a round. Bench rest for 10 minutes.
-
Final shape into a loaf by pulling it into a rectangular shape. Fold the top half of the dough down toward the center, rotate 180°, then fold the other side down, pressing. Perform 2 thumb folds by rolling the dough around the thumb of your left and then sealing the dough with the heel of the right hand. Start on the right side of the log and move across to the left.
-
Repeat once more. This dough stretches fairly easily, so you can scrunch the log shorter while performing the second thumb fold to keep it from getting too long for your pan.
-
Place seam side down in a 9×5 inch loaf pan sprayed with nonstick cooking spray or buttered.
-
Cover with plastic wrap and place in a warm spot. Let it proof until the dough has risen above the pan and feels light and airy.
Time to bake:
-
Preheat the oven to 350°F convection or 375°F conventional (no fan).
-
Remove plastic from the surface and bake for 30-35 minutes or until the internal temperature reaches 185°F.
-
Turn out onto a wire cooling rack immediately and let cool completely before serving. Try not to let your toddler sneak a piece!
-
Slice and serve. I used it to make pesto chicken salad sandwiches. They were pretty bomb!
Notes
Presentation – For an extra shiny, golden-brown crust, lightly brush the freshly baked potato bread with a small amount of melted butter as soon as it comes out of the oven.
Technique – When boiling your potatoes for this recipe, remember not to salt the water. Combining salted boiling water with already-salted dough can result in an overly salted and unbalanced loaf.
Variations – When it comes to preparing mashed potatoes for bread, there’s often a debate about leaving the skin on or peeling. The wonderful thing about this potato bread is that you can use either for a delicious result. Keeping the skin on adds a rustic texture and extra fiber.
Storage –Store your freshly baked potato bread well-wrapped in an airtight container at room temperature for up to 5 days, or freeze it for up to 2 months. As there are no artificial preservatives, the bread will offer its best texture and flavor if enjoyed within 2-3 days of baking.
Nutrition
Before You Go: Explore More Delicious Potato Recipes!
I sincerely hope you enjoyed creating and savoring this professional chef-tested potato bread recipe. It’s a staple in my kitchen, and I’m confident it will become one in yours too! Don’t stop your culinary journey here; be sure to explore our other delicious, chef-developed side dish recipes that celebrate the humble yet versatile potato. From the rich and creamy layers of scalloped potatoes, to the decadent indulgence of loaded mashed potatoes, or the aromatic simplicity of easy roasted rosemary potatoes – there’s a perfect potato dish for every occasion waiting for you!