
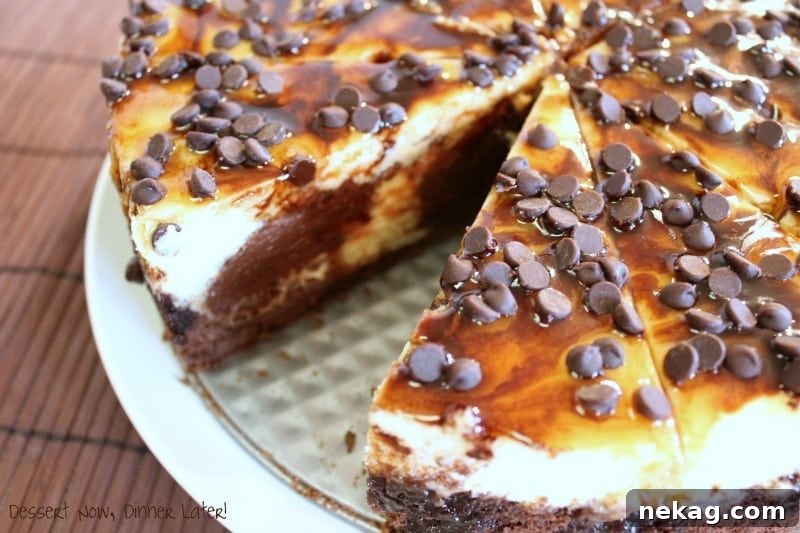
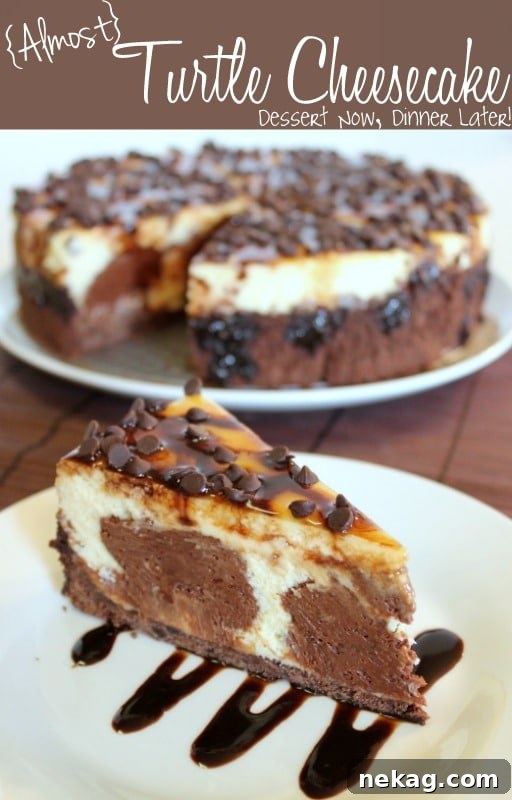
Embark on a culinary journey to dessert perfection with our spectacular {Almost} Turtle Cheesecake. If the name piques your curiosity, let’s unravel the delicious mystery right away. This cheesecake captures all the beloved elements of a classic Turtle dessert: the deep, rich notes of chocolate and the buttery, sweet embrace of caramel. However, it thoughtfully omits one traditional component – the nuts. This intentional exclusion makes it “almost” a Turtle Cheesecake, delivering an equally decadent experience for those who prefer their desserts nut-free, or simply desire to savor the pure harmony of chocolate and caramel. It’s a luscious creation that promises to delight every palate with its smooth texture and harmonious flavors.
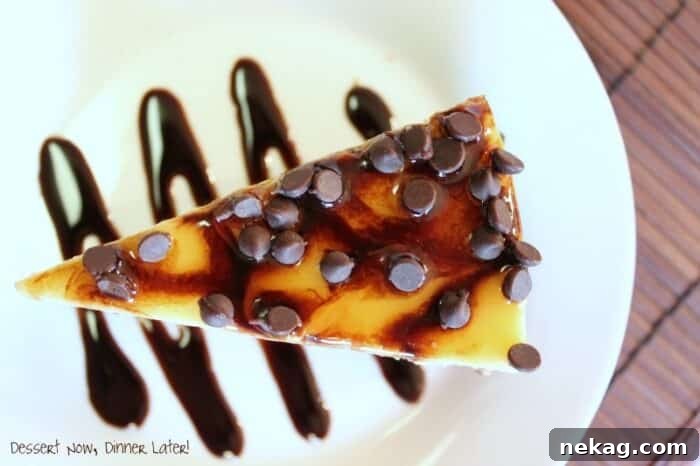
The inspiration for this particular masterpiece came from my brother’s birthday. He specifically requested a cheesecake, and I always welcome the opportunity to craft a truly perfect cheesecake – one with a flawless, crack-free top. Achieving this level of perfection is a rewarding challenge, and I’ve honed a specific technique that ensures a beautifully smooth surface every time. You’ll find my detailed method integrated into the instructions section below, providing step-by-step guidance to help you create your own magnificent, unblemished cheesecake. Since my brother isn’t a fan of nuts, I purposely left them out. But for those who adore the crunchy texture and earthy flavor of pecans, feel free to generously sprinkle them over the top of this cheesecake before serving. This simple addition will transform it into a full-fledged Turtle Cheesecake, catering to all preferences.
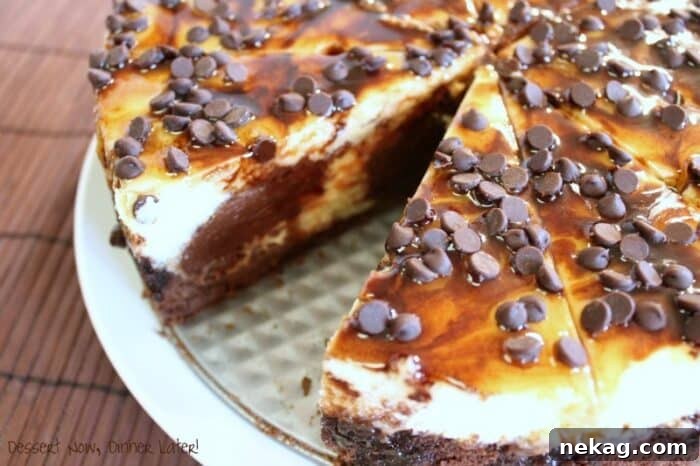
What truly sets this baked cheesecake apart is the innovative inclusion of sweetened condensed milk in the batter. I must admit, it was my first time incorporating this ingredient into a baked cheesecake recipe, and the result was nothing short of extraordinary! The batter itself was incredibly delicious – a testament to the magic of sweetened condensed milk. Who can resist a sneaky taste straight from the can, or a spoonful of freshly mixed batter? I’m certainly a self-proclaimed bowl-licker, and this batter was no exception! I suspect that the sweetened condensed milk might contribute to a slightly faster baking time, but regardless, it imparts an unparalleled richness and creamy texture to the cheesecake. This is truly a decadently delicious dessert that you and your loved ones are absolutely going to adore. Its smooth, velvety consistency and deep flavor profile make it an unforgettable treat for any occasion.
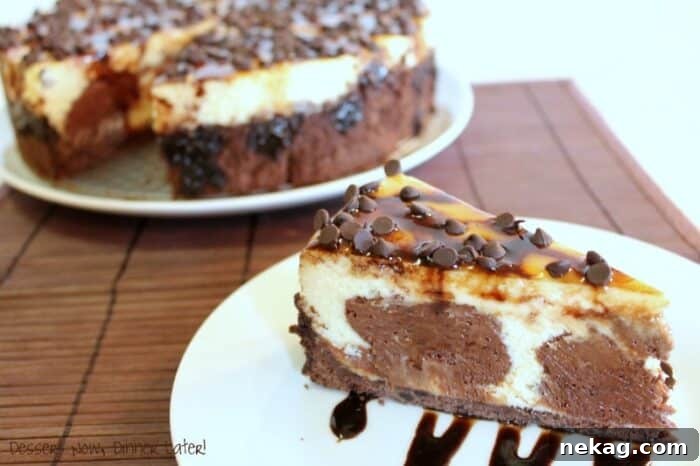
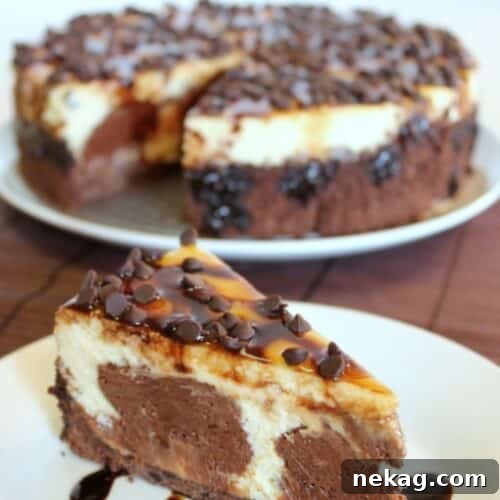
Decadent {Almost} Turtle Cheesecake: Chocolate & Caramel Bliss
Amber Brady
This recipe for {Almost} Turtle Cheesecake combines the classic flavors of chocolate and caramel in a rich, creamy cheesecake, perfect for any special occasion. It’s designed to yield a beautiful, crack-free top, ensuring a stunning presentation every time. The inclusion of sweetened condensed milk creates an incredibly smooth and flavorful batter that bakes to perfection.
Pin Recipe
Jump to Comments
Save to Recipe Box
16
Servings
Ingredients
For the Crust:
-
1 ¾ cups
(217 g)
Chocolate Graham Crackers, finely crushed (about 14 crackers or 1 ½ sleeves of chocolate grahams) -
⅓ cup
(75 g)
unsalted butter, melted
For the Cheesecake Filling:
-
24 oz
(678 g)
block-style cream cheese, softened at room temperature (three 8oz packages are ideal for creamy texture) -
14 oz
(396 g)
can sweetened condensed milk -
½ cup
(100 g)
granulated sugar -
3
large eggs, at room temperature -
3 Tbsp
fresh lime juice, adds a subtle brightness to balance the richness -
1 Tbsp
vanilla extract, pure vanilla extract for best flavor -
1 ½ cups
(255 g)
semi-sweet chocolate morsels/chips, (9oz) for melting into a chocolate swirl
For the Topping:
-
2 Tbsp
chocolate syrup or ice cream topping -
2 Tbsp
caramel syrup or ice cream topping -
¼ cup
(43 g)
MINI semi-sweet chocolate morsels/chips -
Optional: ½ cup (28g) coarsely chopped pecans, (Adding these transforms it into a classic Turtle Cheesecake; omit for an Almost Turtle Cheesecake.)
Instructions
-
1. Prepare for Baking: Preheat your oven to 300˚F (150˚C). Lightly grease a 9-inch springform pan. To prevent any water from seeping in during the water bath, thoroughly cover the bottom and extend foil up the sides of the pan with heavy-duty aluminum foil. Ensure there are no gaps for water to penetrate.
-
2. Create the Crust: In a medium bowl, combine the finely crushed chocolate graham cracker crumbs with the melted butter. Mix until the crumbs are evenly moistened. Press this mixture firmly and evenly onto the bottom of the prepared springform pan and about 1 inch up the sides. This creates a sturdy and flavorful base for your cheesecake. Bake the crust for 10 minutes to set it, then remove it from the oven and set aside while you prepare the filling.
-
3. Prepare the Cheesecake Batter: In a large mixer bowl, beat the softened block-style cream cheese and sweetened condensed milk together on medium speed until the mixture is perfectly smooth and free of lumps. It’s crucial that your cream cheese is at room temperature to achieve this silky texture. Next, add the granulated sugar, room-temperature eggs, fresh lime juice, and pure vanilla extract. Continue to beat on low speed just until all ingredients are thoroughly combined. Be careful not to overmix, as too much air can cause cracks during baking.
-
4. Melt the Chocolate: Place 1½ cups of semi-sweet chocolate morsels in a medium, uncovered microwave-safe bowl. Microwave on HIGH (100% power) for 1 minute. Remove and stir well. The morsels may still retain some of their original shape even when melted. If needed, microwave in additional 10- to 15-second intervals, stirring after each, until the chocolate is completely smooth and melted. Avoid overheating to prevent scorching.
-
5. Create the Chocolate Swirl: Stir approximately 2 cups of the plain cheesecake batter into the melted chocolate morsels. Mix thoroughly until you have a rich, consistent chocolate cheesecake batter. This chocolate portion will be notably thicker than the plain batter. Now, alternately spoon dollops of the plain (yellow) cheesecake batter and the chocolate batter into the crust, beginning and ending with the plain batter. Use a knife or skewer to gently swirl the two batters together for a beautiful marbled effect, being careful not to overmix.
-
6. Bake with a Water Bath (Crucial for No Cracks): Place the foil-wrapped springform pan, containing your cheesecake, in the center of a large, rimmed baking sheet. Carefully transfer the baking sheet into the preheated oven. Once inside, fill the baking sheet with hot water, creating a water bath around the cheesecake. The water level should come about halfway up the sides of the springform pan. This water bath provides a moist, even baking environment, preventing cracks and ensuring a creamy texture. Close the oven door and bake for 70 to 75 minutes, or until the edges of the cheesecake are set but the center still has a slight jiggle (it will continue to set as it cools). Once baked, turn off the oven but keep the door completely closed. Allow the cheesecake to rest in the cooling oven for an additional 2-3 hours. This slow, gradual cooling is vital for preventing temperature shock, which often leads to cracks.
-
7. Cool and Garnish: Remove the cheesecake from the oven after its long rest. Allow it to finish cooling completely at room temperature. Once entirely cool, gently run a thin, warm knife around the edge of the cheesecake to loosen it from the pan. This step is important before chilling to prevent the cheesecake from sticking and tearing when the springform sides are removed. Drizzle generously with chocolate and caramel syrups over the top, creating an appealing visual and flavor contrast. Finally, sprinkle with the mini semi-sweet chocolate morsels. If you choose to add nuts, sprinkle the coarsely chopped pecans at this stage.
-
8. Chill and Serve: Refrigerate the cheesecake for several hours, or ideally, overnight. Chilling allows the cheesecake to firm up completely, enhancing its texture and making it much easier to slice. When ready to serve, carefully remove the sides of the springform pan. For clean, neat slices, use a hot knife – run the knife under hot water, wipe it dry, and then make each cut. Repeat this process for every slice. Enjoy this magnificent dessert!
Notes
Pro Tips for a Perfect Cheesecake:
- Room Temperature Ingredients: Ensure cream cheese and eggs are at room temperature. This is vital for a smooth batter without lumps and for proper emulsification, which prevents cracking.
- No Overmixing: Mix the cheesecake batter just until combined. Overmixing incorporates too much air, which can cause the cheesecake to puff up and then crack as it cools.
- Water Bath Explained: The water bath creates a humid baking environment and regulates the temperature around the cheesecake, allowing it to bake gently and evenly. This gradual baking is the secret to a silky smooth texture and a crack-free surface. Make sure your foil wrap is secure to prevent water from reaching the crust.
- Slow Cooling Process: Do not remove the cheesecake from the oven immediately after baking. The gradual cooling process within the turned-off oven is just as important as the water bath for preventing cracks.
- Chilling is Key: Cheesecake needs ample time to chill and set. Rushing this step will result in a soft, potentially messy texture. Overnight chilling is always recommended for the best results.
- Clean Slices: A hot, clean knife is your best friend for serving cheesecake. The warmth helps the blade glide through the dense dessert without sticking or dragging.
- Storage: Store leftover cheesecake covered in the refrigerator for up to 5-7 days. It can also be frozen for up to 1-2 months; wrap individual slices or the entire cheesecake tightly in plastic wrap, then in foil. Thaw in the refrigerator before serving.
Disclaimer: Nutritional values were calculated using a third-party tool and are provided as an estimation only. For precise dietary information, please consult a professional.
Sharing this recipe with a link is both encouraged and appreciated. Copying/pasting and/or screenshots of full recipes to any social media is strictly prohibited. Content and photographs are copyright protected.
Did you make this?
Don’t forget to leave a rating below and make sure to follow on Pinterest and Instagram for more delicious recipes and baking inspiration!