
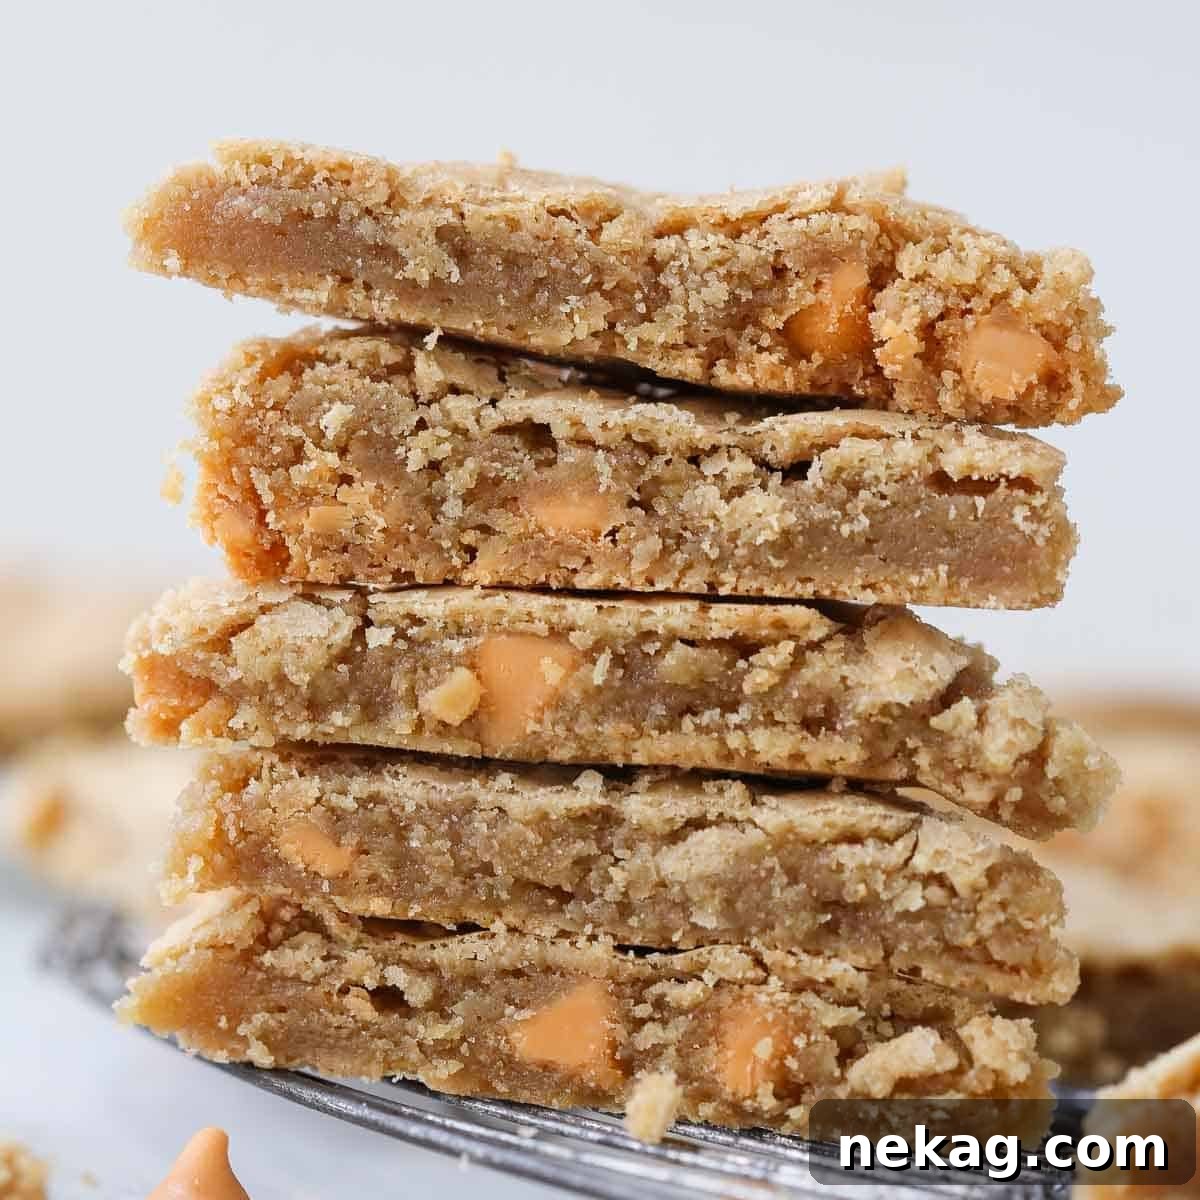
This easy Blondies Recipe is made effortlessly in just one bowl, coming together in under 30 minutes! Prepare to indulge in perfectly chewy blondies that deliver an irresistibly rich butterscotch flavor, making them an instant classic in your baking repertoire.
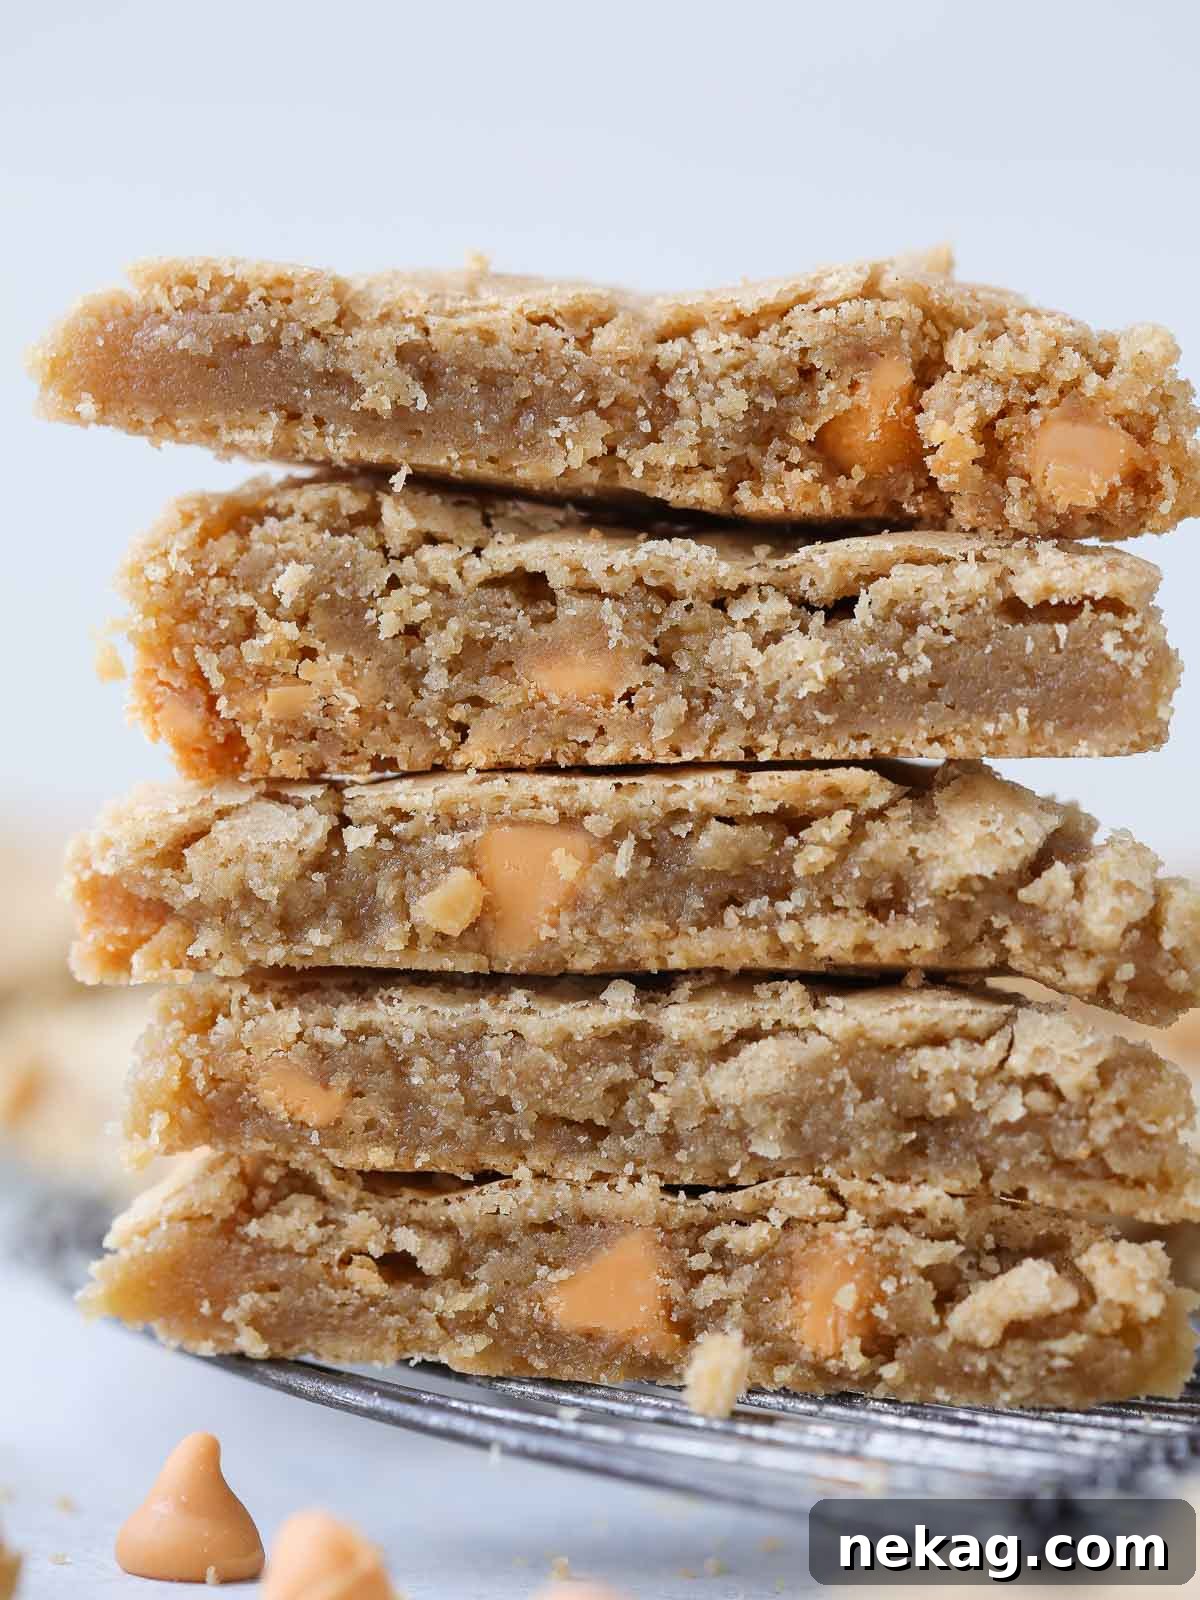
These truly exceptional chewy blondies are a masterclass in flavor, perfectly balanced with the warmth of butter, the deep sweetness of brown sugar, and a hint of fragrant vanilla. They are wonderfully thick, bursting with rich taste, and incredibly convenient to make—all in a single bowl! That’s right – a delightful blondies recipe that is not only quick to prepare but also guarantees an even quicker cleanup. This timeless recipe has been a staple throughout my culinary career, proving its enduring appeal and delicious consistency over the years.
Whether you prefer them frosted, loaded with your favorite mix-ins, or simply “naked” in their perfect form, these classic blondies are incredibly versatile. If you’re seeking a truly show-stopping dessert bar, consider transforming these blondies into cashew caramel pretzel blondies or decadent maple pecan caramel blondies – or why not try both for an unforgettable treat? For more one-bowl baking adventures, be sure to explore my one-bowl brownies or my easy chocolate cake. And if you crave something bright and fresh, yet just as simple to create, my perfectly zesty lemon blondies are a must-try.
Table of Contents
- Why These are the Best Classic Blondies
- Professional Tips for Making Classic Blondies
- Ingredients & Substitutions for Perfect Blondies
- Exciting Blondie Variations
- How to Make Perfect Chewy Blondies (Step-by-Step)
- Chef Lindsey’s Expert Baking Tip
- Frequently Asked Questions About Blondies
- Classic Chewy Blondies Recipe
- Before You Go: More Delicious Recipes
Why This is the Best Classic Blondies Recipe You’ll Ever Make
If you’re searching for a blondie recipe that consistently delivers incredible flavor and texture, look no further. This recipe stands out for several compelling reasons:
- The Magic of Brown Sugar: Our recipe strategically combines both light and dark brown sugar to achieve that iconic, irresistible butterscotch flavor profile. The molasses content in brown sugar not only imparts a rich, deep caramel note but also contributes significantly to the blondies’ wonderfully moist and chewy texture. This dual-sugar approach ensures a complex sweetness that’s simply divine.
- Effortless One-Bowl Preparation: For home bakers who cherish simplicity and hate doing dishes, this one-bowl method is a dream come true. You can whip up a batch of pastry chef-quality blondies without accumulating a pile of dirty dishes. This streamlines the baking process, making it enjoyable and accessible even on busy weeknights.
- Unmatched Versatility & Scalability: This robust recipe has been tried and tested in various culinary settings, from delicate petit fours in high-end restaurants to featured items in popular bakeries like Les Filles. Its inherent stability means you can easily scale it up for large gatherings or scale it down for a small, intimate treat, always achieving consistent and delicious results.
- Simple, Accessible Ingredients: Say goodbye to specialty store runs! This recipe relies on common pantry staples that you likely already have on hand. This makes it the perfect solution for satisfying those sudden mid-week cravings or whipping up a last-minute dessert without any hassle.
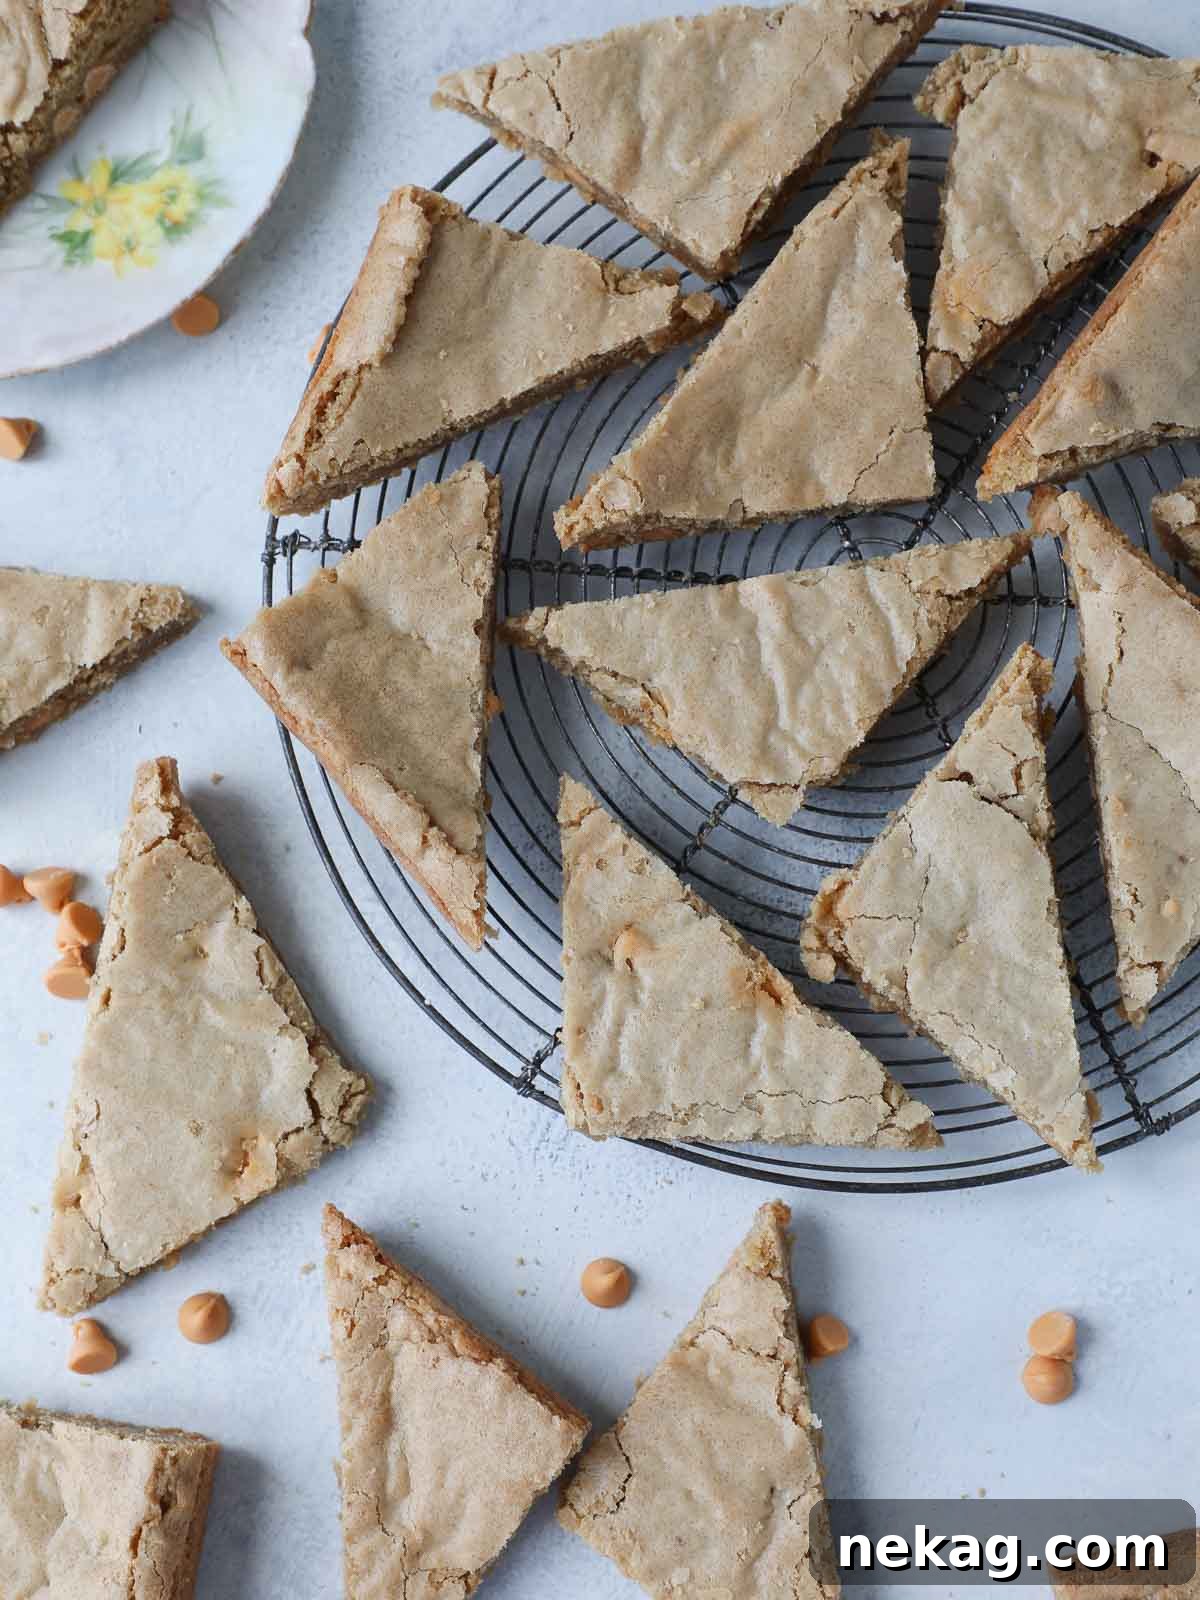
Professional Tips for Achieving Perfect Classic Chewy Blondies
Even though this is an easy one-bowl recipe, a few professional insights can elevate your blondies from great to absolutely extraordinary. Follow these tips for consistently perfect results:
- Prepare Dry Ingredients Separately: Before combining, whisk together your all-purpose flour, baking powder, baking soda, and kosher salt in a separate medium bowl. This crucial step ensures that all the leavening agents and salt are evenly distributed throughout the mixture. Without this, you risk encountering unpleasant clumps of baking soda or uneven pockets of leavening, which can lead to an inconsistent texture and rise in your finished blondies.
- Transition from Whisk to Rubber Spatula for Dry Ingredients: Once your wet ingredients are combined, switch from a whisk to a rubber spatula when incorporating the dry ingredients. This simple change is vital for preventing over-mixing the batter. Excessive mixing develops the gluten in the flour too much, which can lead to a tough, dense, and cake-like blondie rather than the desired soft, chewy texture. Mix just until no streaks of flour remain.
- Choose a Metal Baking Pan for Superior Texture: While ceramic or glass pans can certainly produce a beautiful blondie, a metal baking pan will often yield a superior texture. Metal pans absorb and distribute heat more quickly and evenly in the oven. This rapid heat transfer promotes a more powerful and consistent rise, contributing to the blondies’ characteristic chewy edges and perfectly cooked center. For the ultimate chewy experience, a metal pan is highly recommended.
Key Ingredients & Smart Substitutions for Your Blondies
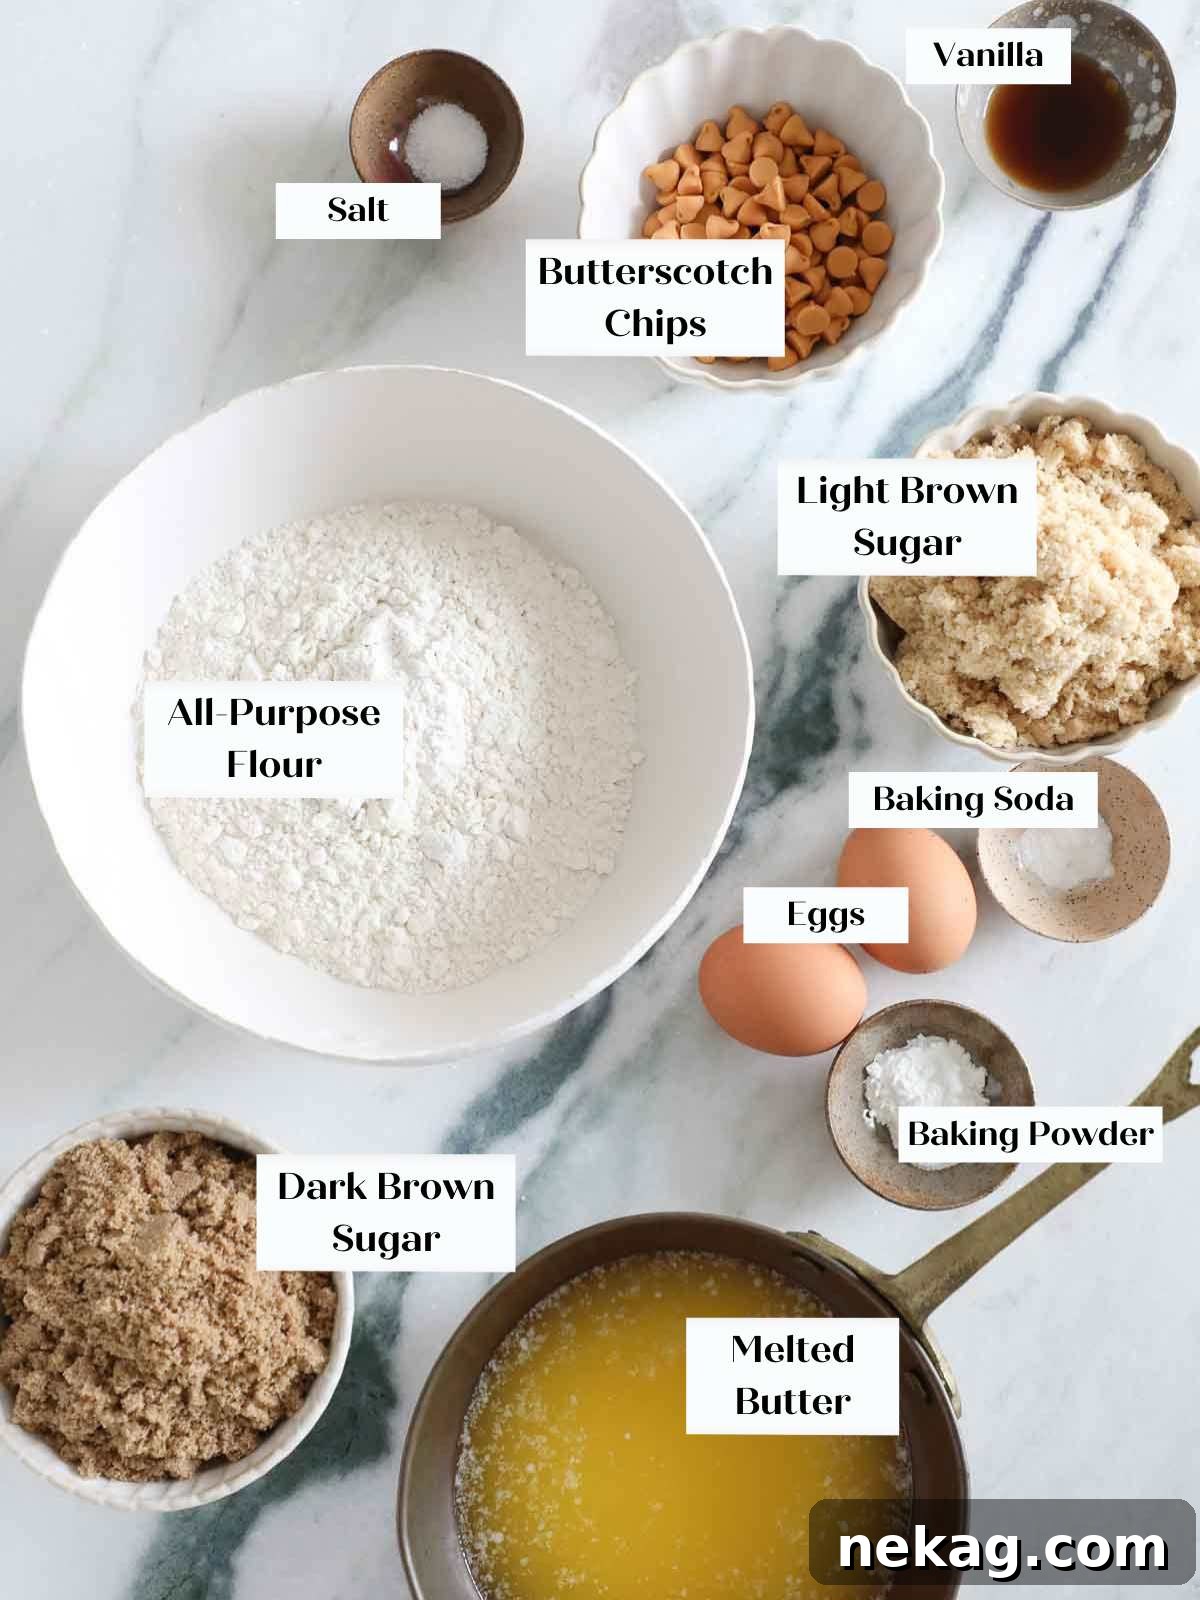
Each ingredient plays a vital role in creating the perfect chewy blondie. Here’s a breakdown and some helpful substitution tips:
- All-Purpose Flour: This type of flour contains just the right amount of gluten, providing structure and that essential chewy texture without making the blondies tough. For a gluten-free alternative, a high-quality 1:1 gluten-free all-purpose flour blend can be used successfully, but results may vary slightly.
- Baking Powder: As a double-acting leavening agent, baking powder begins to react when moistened (with the acid from the brown sugar molasses) and then again when heated in the oven. This dual action ensures a stable and even rise, contributing to the blondies’ light yet dense crumb.
- Baking Soda: This powerful leavening agent reacts primarily with an acid. In this recipe, the molasses present in the brown sugars acts as the acid, giving the blondies an initial, quick lift during the early stages of baking. Together with baking powder, it creates the ideal airy texture.
- Kosher Salt: More than just a seasoning, kosher salt is a flavor enhancer. Its perfect salinity cuts through the sweetness, accentuating the rich butterscotch notes and creating a more balanced and complex flavor profile without making the blondies taste salty.
- Large Eggs: Eggs are crucial for both structure and richness. They contribute fat and moisture, emulsifying the batter to create a thick, cohesive consistency. The proteins in the eggs also help bind the ingredients, resulting in that signature thick and chewy texture. There’s no need for an extra egg yolk; two large eggs provide all the chewiness you need!
- Vanilla Extract: High-quality vanilla extract is indispensable in this recipe. It doesn’t just add a sweet aroma; it significantly enhances and deepens the natural butterscotch flavor of the blondies, adding a warm, complex note.
- Unsalted Butter: The butter in this recipe must be melted and ideally hot. Hot melted butter helps to thoroughly dissolve the sugars, creating a smooth, glossy batter that spreads beautifully. This also contributes to the fudgy, dense texture, much like in my fudgy brownies recipe. Using unsalted butter allows for precise control over the overall saltiness of the final product.
- Dark and Light Brown Sugar: This combination is the secret to the blondies’ signature flavor and texture. Dark brown sugar brings a more intense molasses flavor and extra moisture, while light brown sugar offers a milder, sweeter note. Together, they create a balanced sweetness and a remarkably rich butterscotch depth with an incredibly chewy interior. You can use all dark or all light brown sugar if that’s what you have, but the combined effect is truly superior.
- Butterscotch Chips: While optional, adding butterscotch chips amplifies the delightful butterscotch flavor, creating pockets of melty, sweet goodness throughout the blondie. You can also experiment with other chips like chocolate, white chocolate, or peanut butter chips.
Refer to the full recipe card below for precise measurements and quantities.
Exciting Blondie Variations to Ignite Your Creativity
These classic chewy blondies are a fantastic canvas for endless flavor combinations. Feel free to get creative and customize them to your heart’s content!
- Add a Delightful Swirl: Elevate your blondies by swirling in some extra goodness. Try a luxurious salted caramel sauce for a decadent treat, creamy peanut butter for a nutty twist, a vibrant easy strawberry jam for a fruity burst, or rich Nutella for a chocolate-hazelnut delight. Not only do these swirls create beautiful marbled designs, but the flavor combinations are truly boundless and incredibly delicious!
- Mix in Your Favorite Candy & Chips: Transform these blondies with a generous addition of your favorite candies or baking chips. Experiment with chopped Snickers bars, crunchy Heath Bars, creamy white chocolate chips, rich peanut butter chips, colorful M&Ms, or any other candy bar that catches your eye. For best results, mix them into the batter just before the dry ingredients are fully incorporated. Don’t forget to sprinkle a few extra on top before baking for an appealing finish!
- Top with Creamy Frostings or Luscious Sauces: Once cooled, these blondies are perfect for topping. Take inspiration from my maple pecan caramel blondie or Reese’s peanut butter blondies. Crown your blondies with a smooth ermine frosting, classic American buttercream, decadent chocolate buttercream, or a simple dusting of powdered sugar. A drizzle of chocolate ganache or a warm fruit compote also makes for an exquisite presentation.
- Embrace Dried Fruits and Nuts: For a sophisticated twist, incorporate a variety of nuts and dried fruits. This blondie recipe pairs beautifully with toasted pecans, walnuts, cashews, or macadamia nuts – toasting them beforehand enhances their flavor and crunch. Complement these with dried cherries, cranberries, or blueberries for a delightful chewiness and a hint of tartness. These additions provide wonderful texture and depth of flavor.
How to Make Perfect Chewy Blondies (Step-by-Step Guide)
Follow these detailed instructions to create the perfect classic chewy blondies every single time. More precise measurements and ingredient quantities can be found in the comprehensive recipe card below.
Making the Blondie Batter:
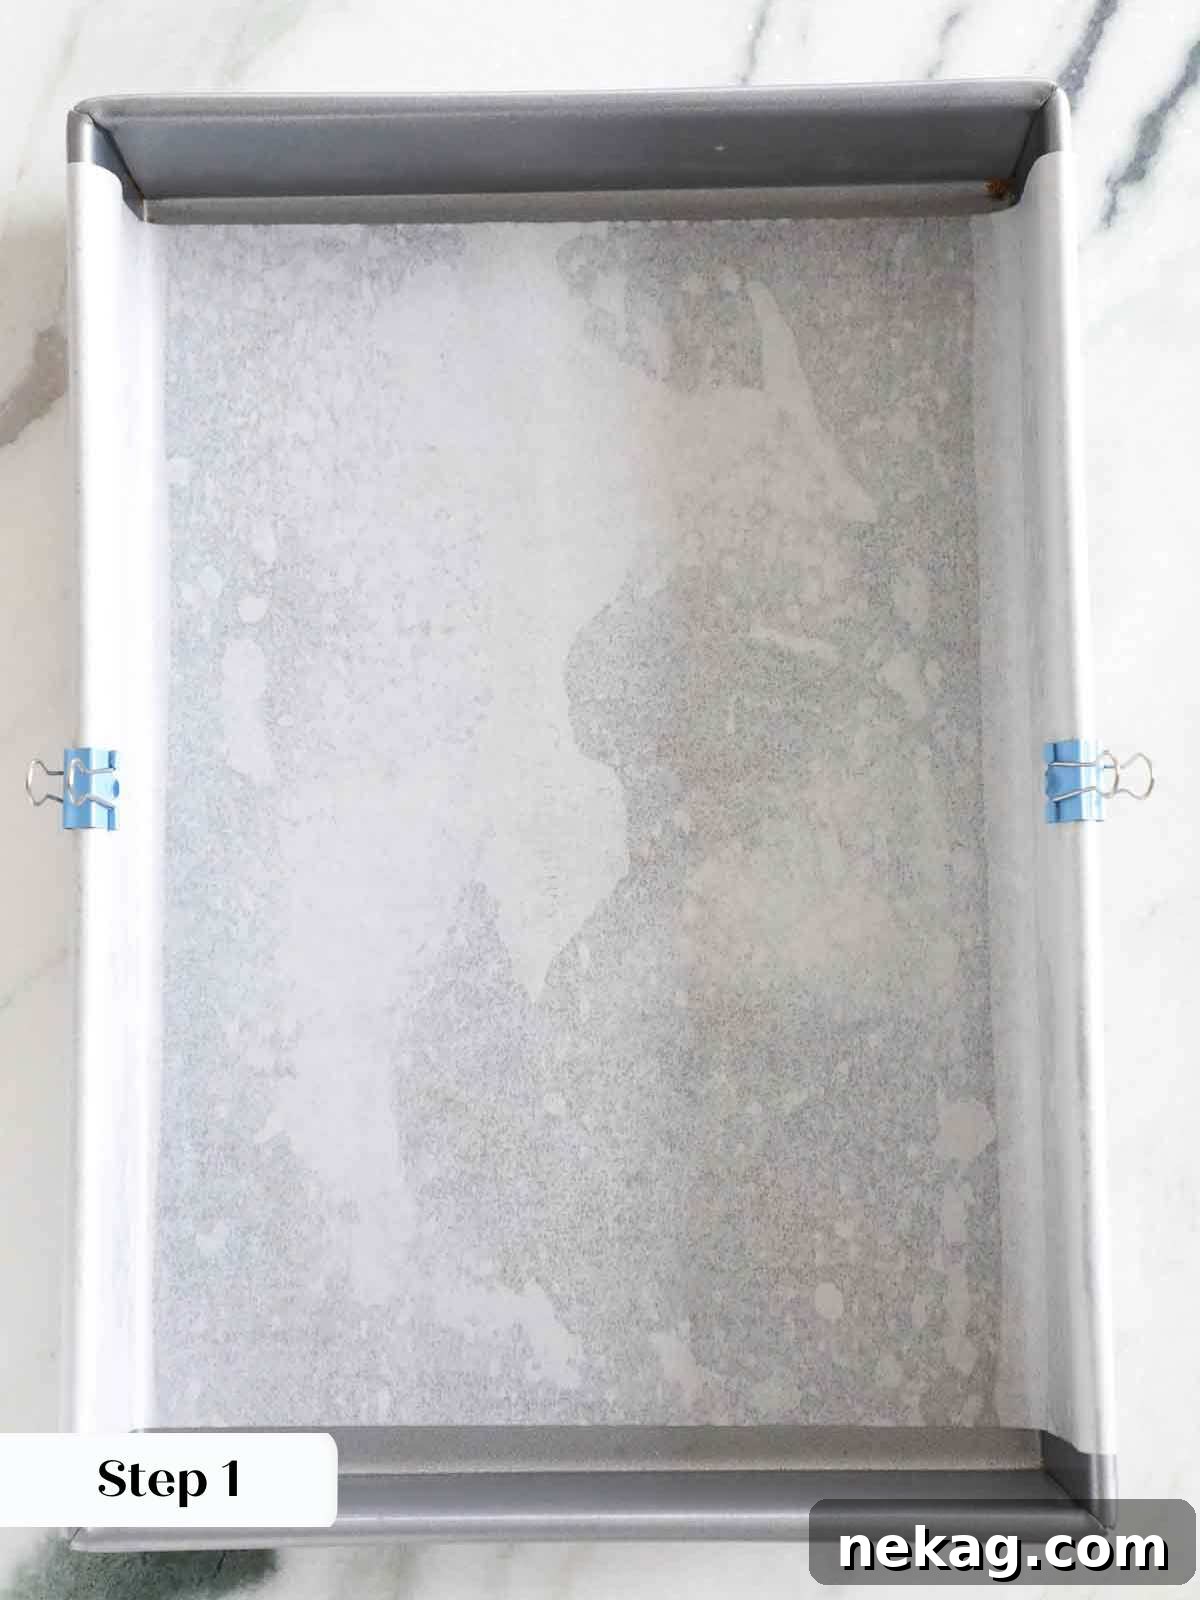
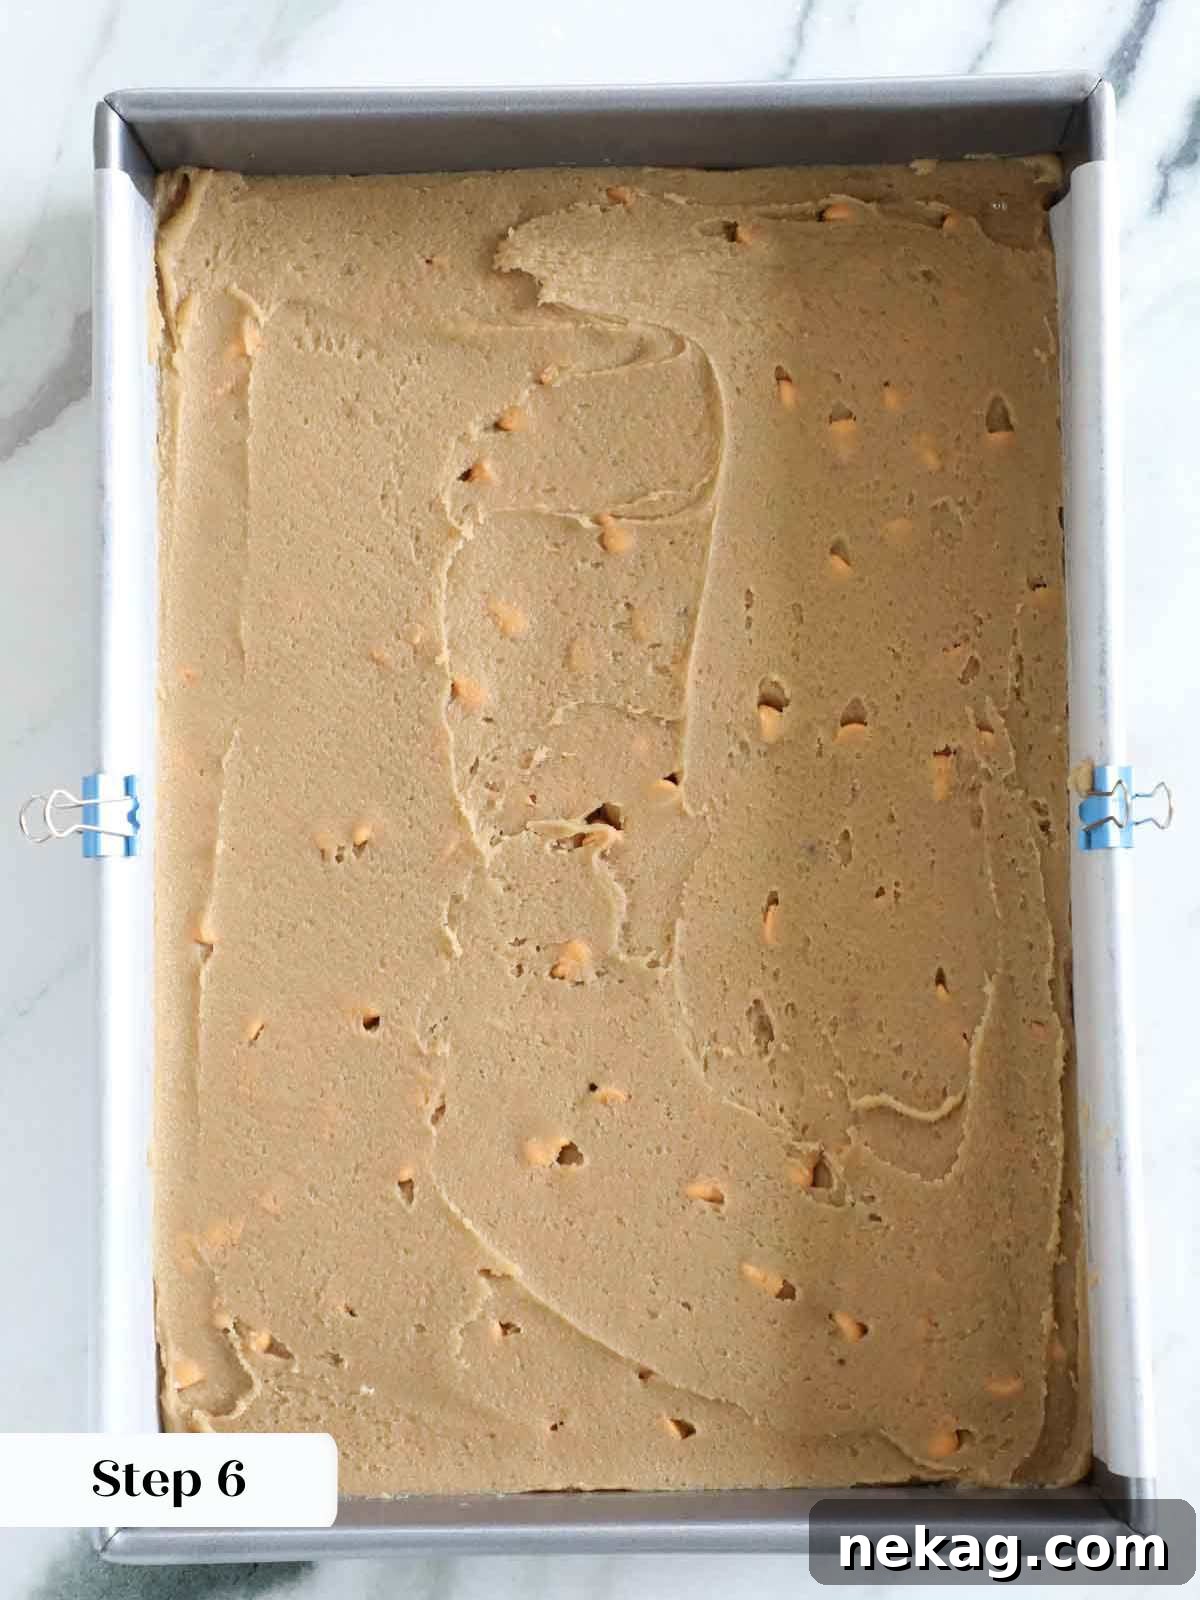
Step 1: Prepare Your Baking Pan and Preheat Oven. Begin by lining a 9×13 inch baking dish with parchment paper, creating a “sling” by letting it overhang on two sides for easy removal. Preheat your oven to 350°F (175°C) for conventional baking, or 325°F (160°C) if using a convection oven (with a fan). A quick spray of cooking oil before laying the parchment paper helps it adhere. For extra security, you can secure the overhanging sides with metal binder clips, as shown in image 1.
Step 2: Melt Butter & Combine Dry Ingredients. Melt the unsalted butter in a large, heat-safe mixing bowl either in the microwave or in a small pot on the stovetop until completely liquid and slightly hot. Ensure the butter is thoroughly melted, as its warmth aids in dissolving the sugar. While the butter melts, in a separate medium bowl, whisk together the all-purpose flour, baking powder, baking soda, and kosher salt. This ensures all leavening agents are evenly distributed, preventing any pockets of unmixed ingredients in your final blondies.
Pro Tip for Even Texture: Mixing your dry ingredients (flour, baking powder, baking soda, and kosher salt) in a separate bowl first is a small but crucial step. It helps to evenly distribute the leavening agents throughout the batter, greatly reducing the chance of encountering any baking soda pockets or an uneven rise in your delicious final product. Don’t skip this for the best blondie texture!
Step 3: Combine Melted Butter and Brown Sugars. To the large bowl containing the melted butter, add both the dark brown sugar and the light brown sugar. Whisk vigorously until the sugars are completely dissolved into the butter and the mixture is smooth and glossy. This step is key for creating that rich butterscotch flavor and a cohesive, chewy texture. Continue whisking until no sugar granules are visible and the mixture is well-combined.
Step 4: Incorporate Eggs and Vanilla Extract. Next, whisk in the large eggs one at a time, ensuring each egg is fully incorporated before adding the next. Then, add the vanilla extract. Continue whisking until the mixture is uniform and no streaks of egg yolk or white are visible. This process creates a stable emulsion, contributing to the blondies’ thick and chewy consistency.
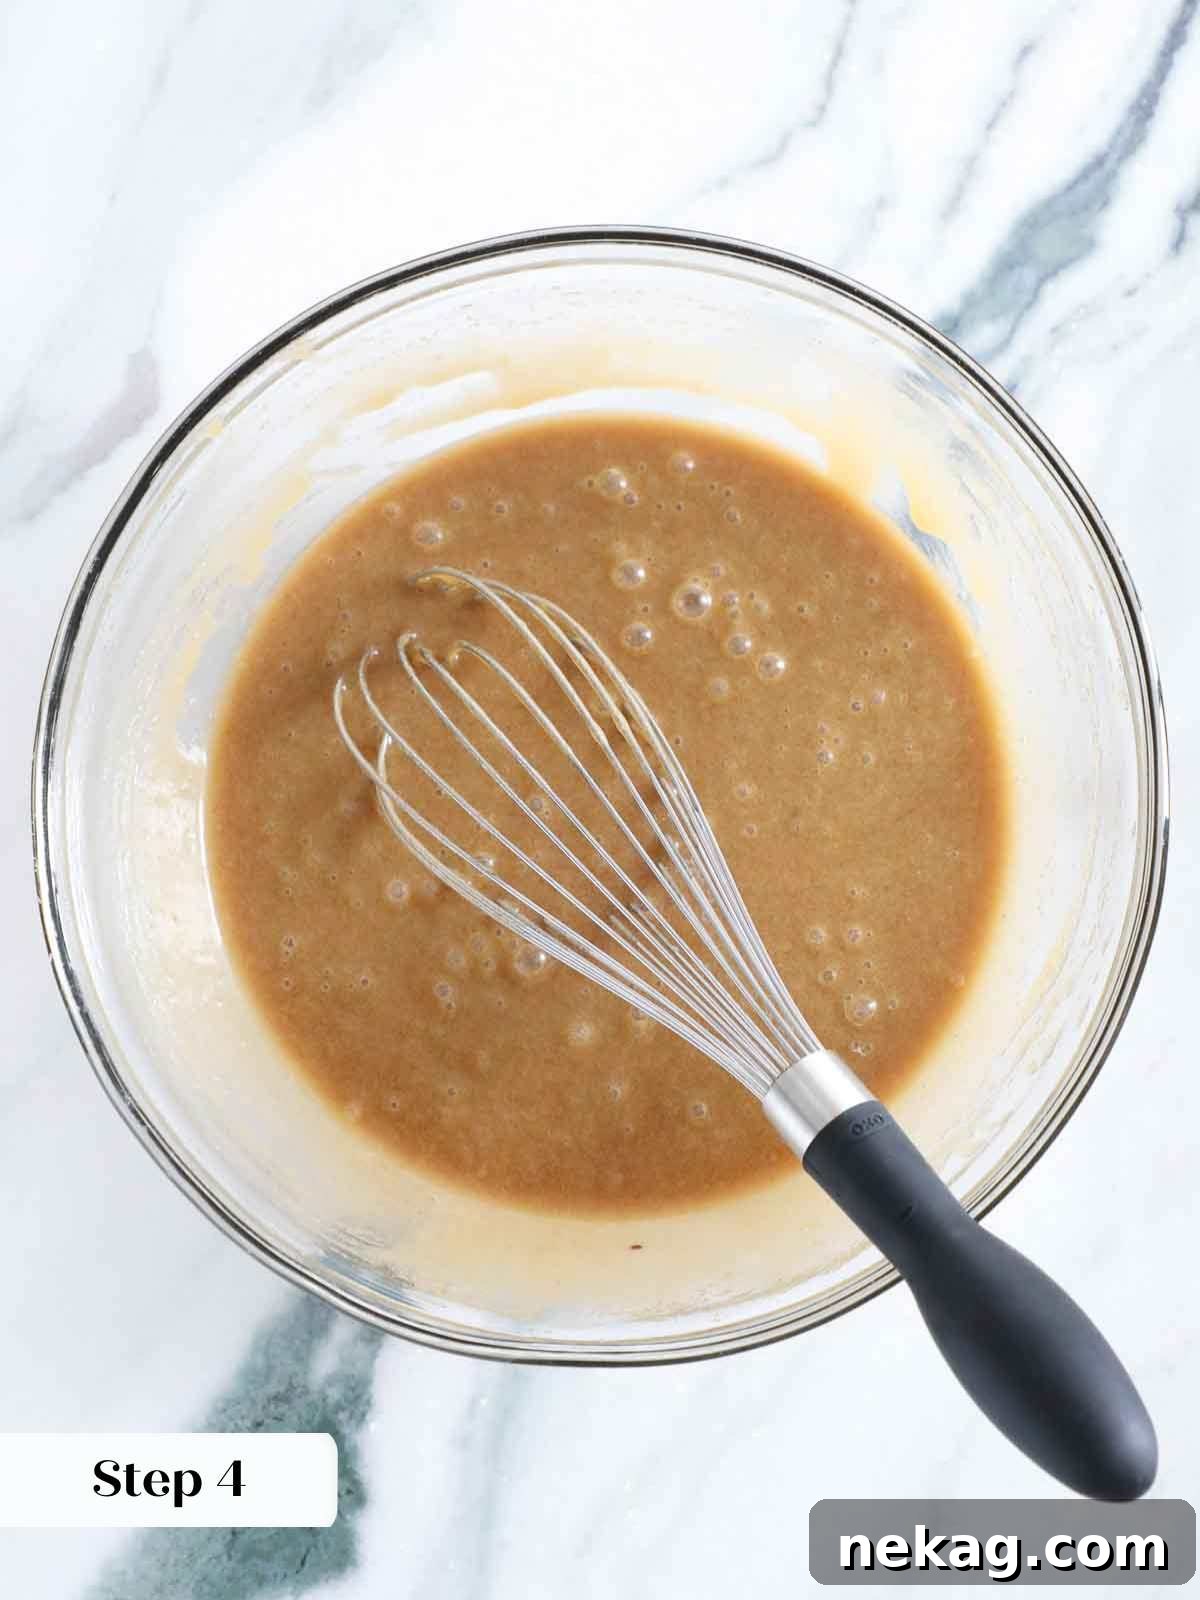
Baking Stability Tip: For easier mixing and to keep your bowl from sliding around on the counter, place a damp kitchen towel underneath your mixing bowl. This simple trick provides excellent stability, making the whisking process much more manageable and efficient.
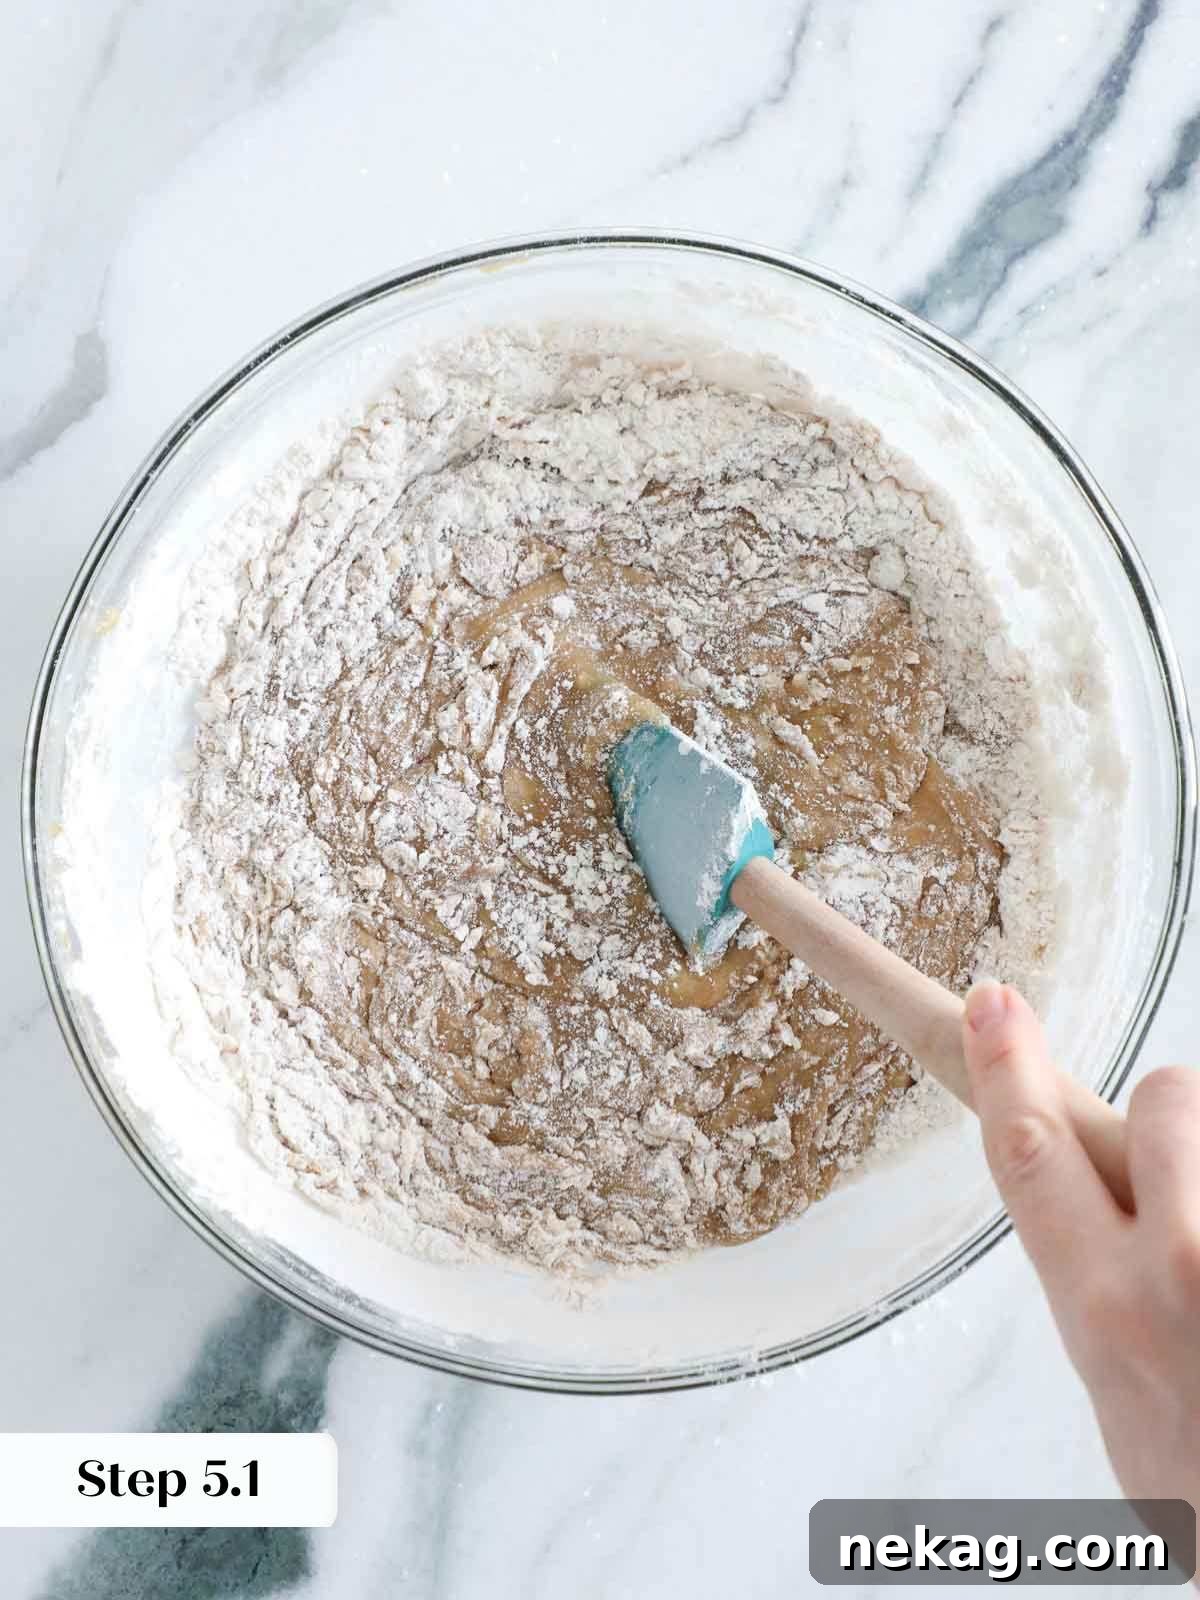
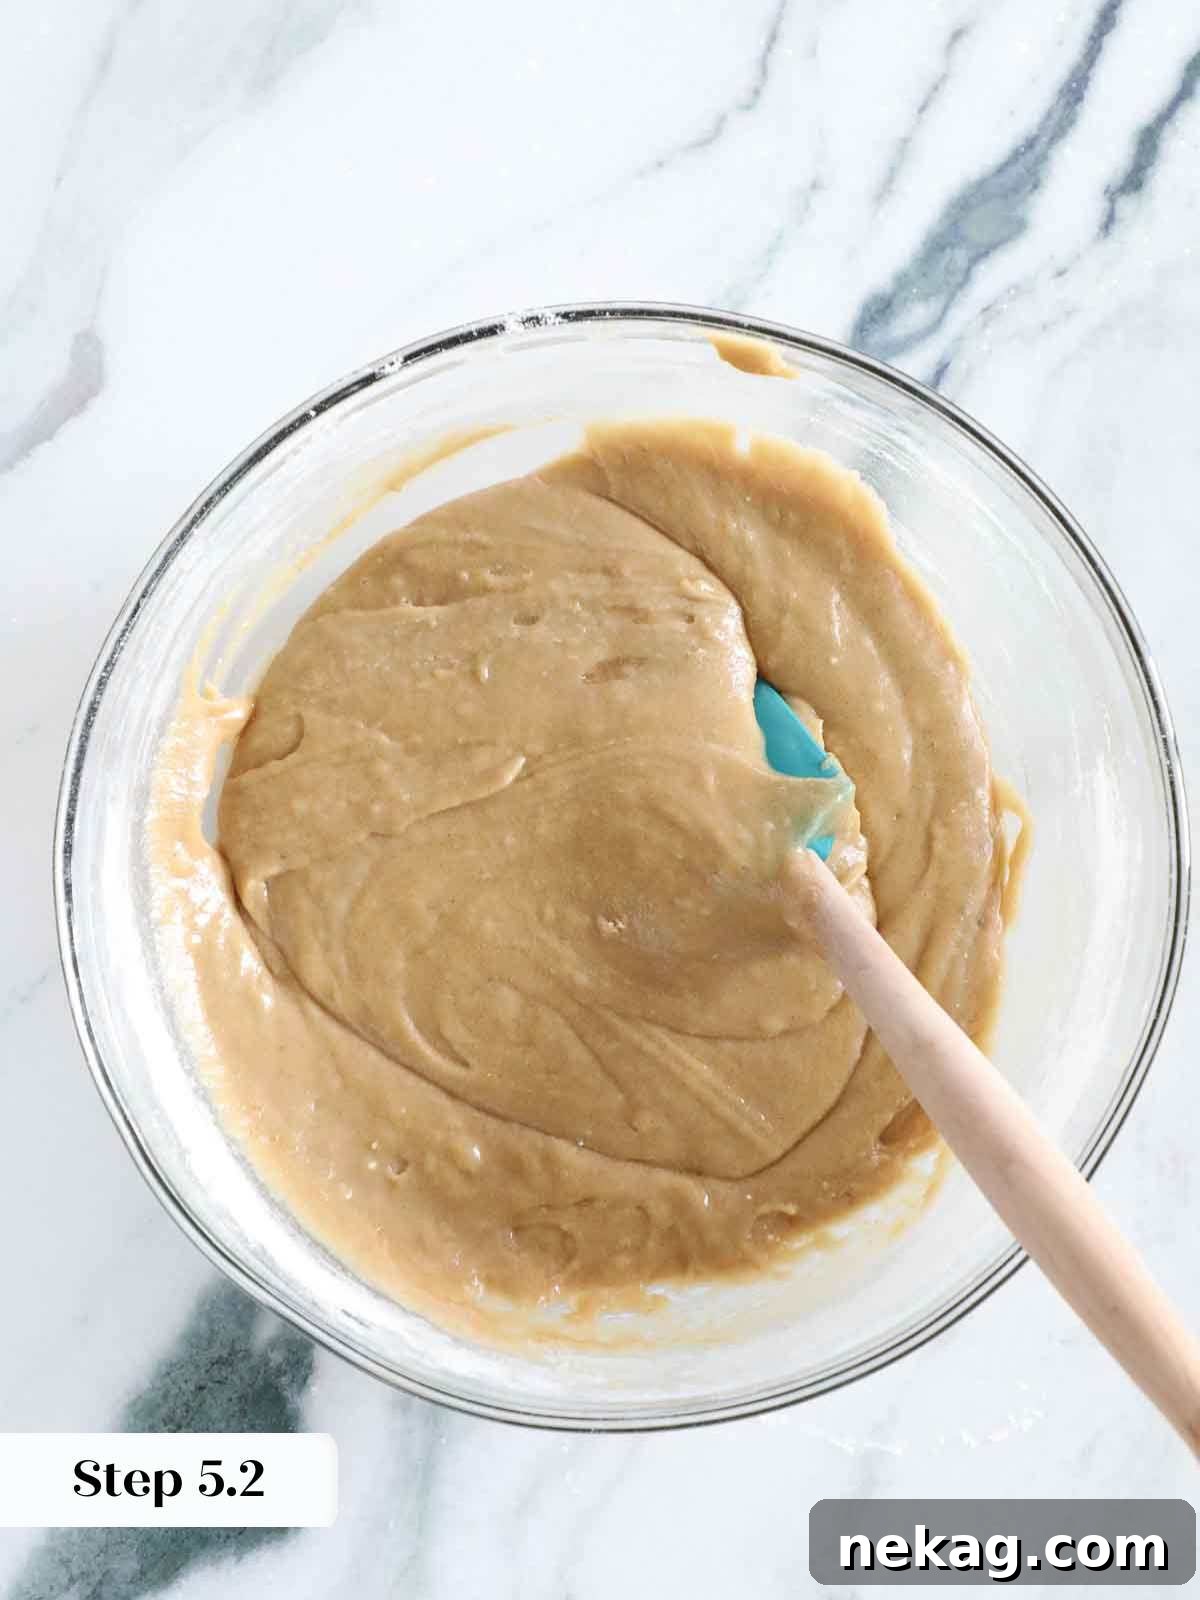
Step 5: Add Dry Ingredients and Mix-ins. Gradually add the whisked dry ingredients (flour, baking powder, baking soda, and kosher salt) to the wet mixture. Switch to a rubber spatula and gently stir until a cohesive batter just begins to form. Be careful not to overmix! Once the dry ingredients are almost fully incorporated but a few streaks of flour remain, fold in your butterscotch chips (or any other desired mix-ins). Stop mixing as soon as the flour streaks disappear and the chips are evenly distributed.
Step 6: Transfer Batter to Prepared Pan. Carefully pour the thick blondie batter into your previously prepared 9×13 inch baking pan. Using an off-set spatula or the back of a spoon, gently spread the batter evenly across the pan. Ensure the surface is as level as possible to promote uniform baking and a consistent texture throughout the blondies.
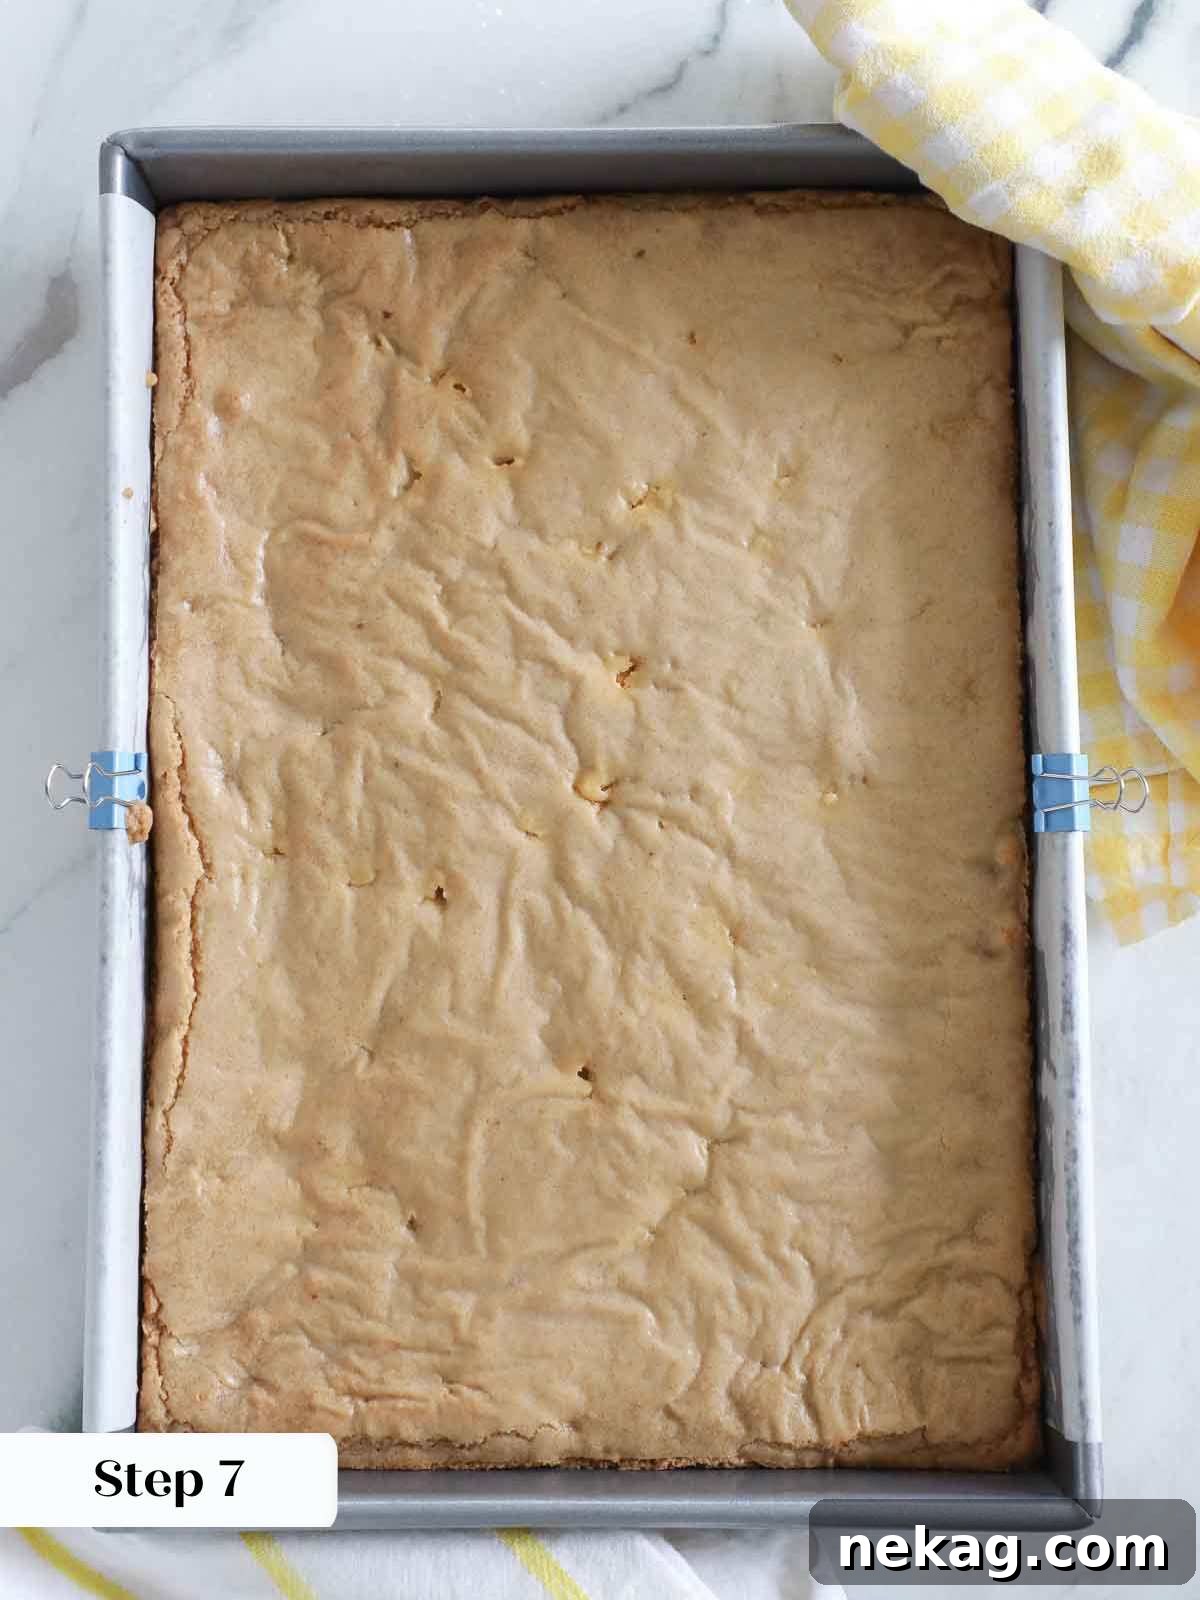
Step 7: Bake Until Golden and Cool Completely. Place the pan in your preheated oven and bake for approximately 18-20 minutes. The blondies are ready when they are fully puffed, the edges are golden brown, and the top appears completely matte, losing its shiny appearance. It’s normal for the blondie to deflate slightly as it cools—this indicates its perfect chewiness. Once removed from the oven, allow the blondies to cool completely at room temperature in the pan before attempting to slice them. Cooling ensures they set properly for clean, defined cuts and the best possible chewy texture.
Chef Lindsey’s Expert Baking Tip: Preserve That Perfect Chew!
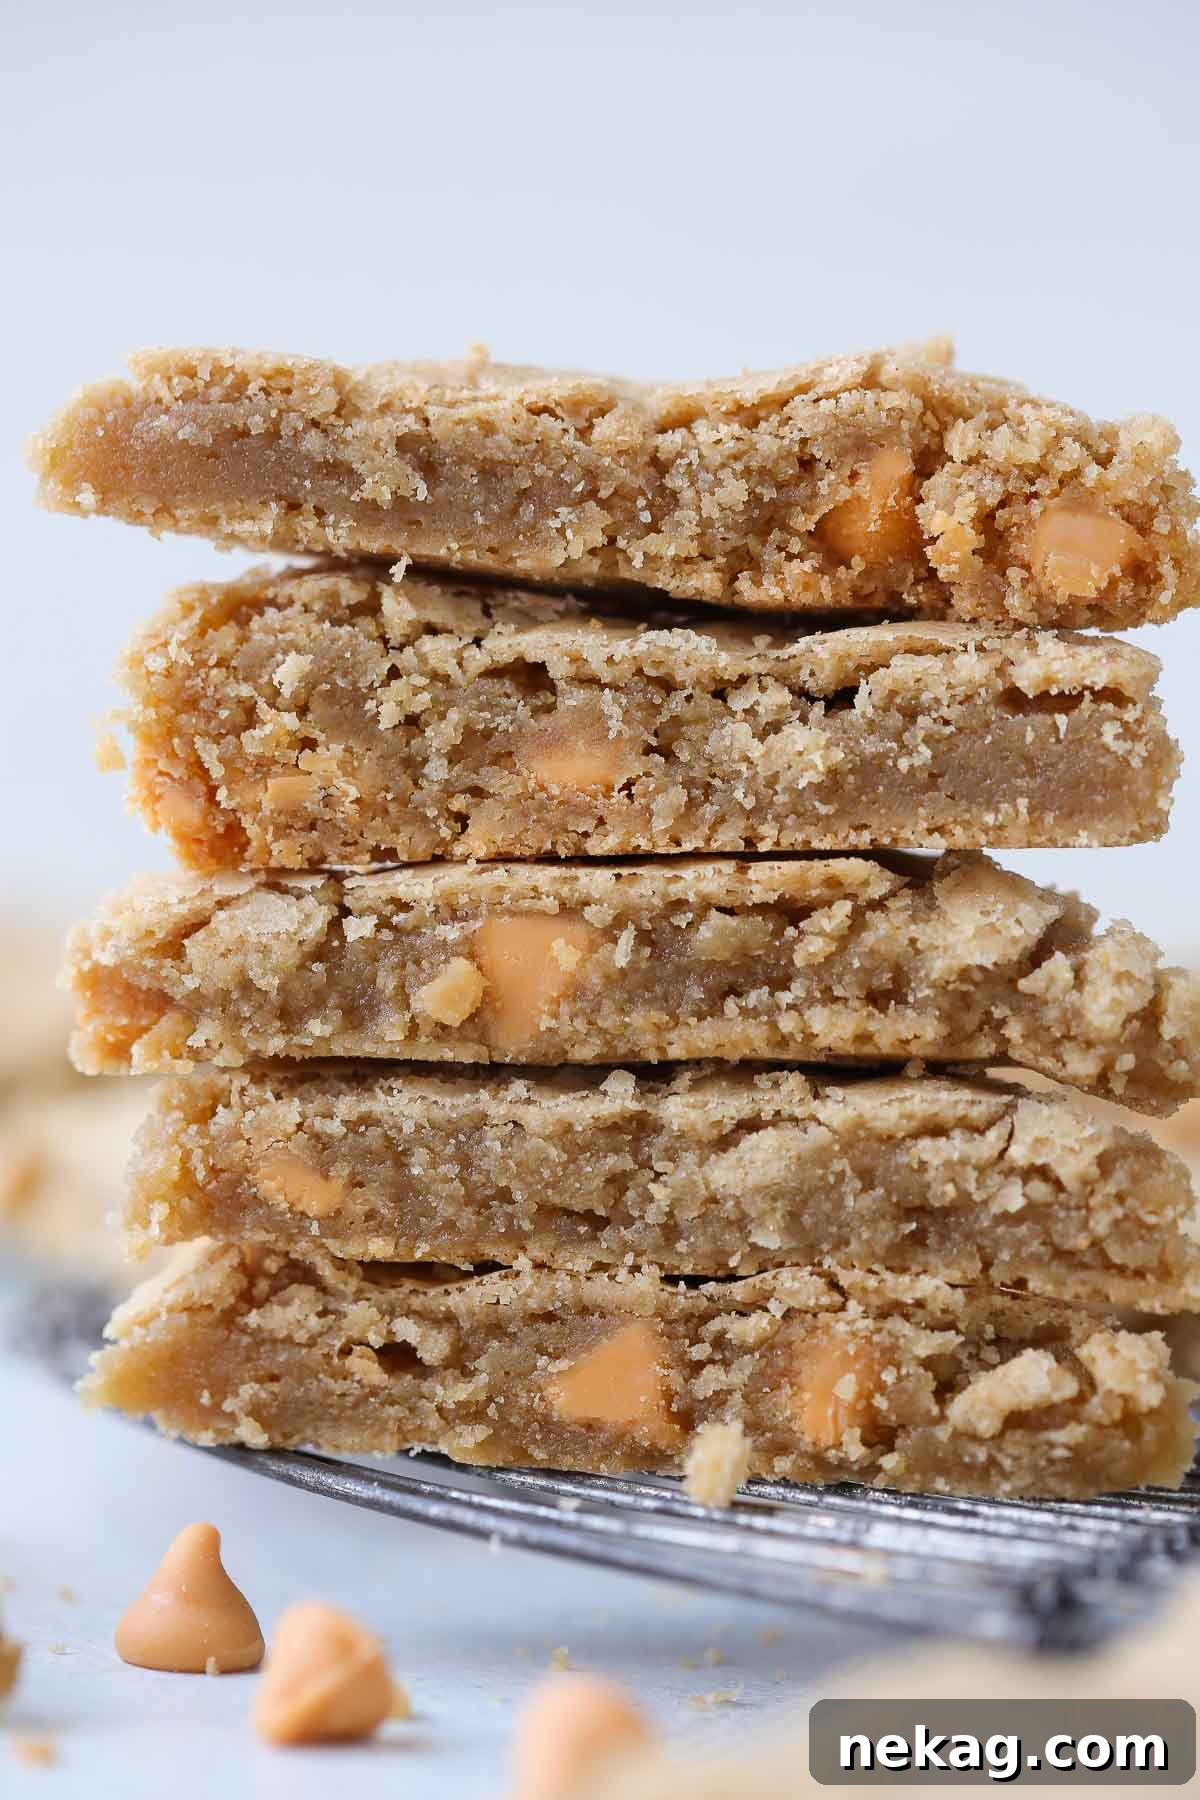
To ensure your blondies are as tender and chewy as possible, always add your butterscotch chips or any other mix-ins of choice before the flour is completely mixed into the batter. This specific timing prevents the gluten from over-developing, which can lead to a tough, bready texture. By folding in your additions at this stage, you guarantee the most delicate and delicious blondie every time!
Frequently Asked Questions About These Chewy Blondies
To maintain their delicious chewiness and flavor, store your classic blondies in an airtight container or tightly wrapped with plastic wrap at room temperature for up to 3 days. For extended freshness, they can be stored in the refrigerator for up to 2 weeks. If you wish to keep them longer, blondies freeze exceptionally well for up to 3 months. When freezing, wrap individual portions tightly in plastic wrap, then place them in a freezer-safe bag or container.
Unlike some cookie doughs, chilling blondie batter is generally not recommended for this recipe. The batter is designed to be thick but spreadable at room temperature. Chilling it would make it much harder to spread evenly into the pan, potentially leading to uneven baking and a less uniform texture in your finished blondies. For the best results, bake immediately after mixing.
Absolutely! This recipe is incredibly adaptable and multiplies beautifully. If you have larger mixing bowls and baking pans, you can easily double or even triple the recipe to feed a crowd. The only “limitation” will be your whisking strength if doing it by hand! When scaling up, ensure you have adequately sized equipment and be prepared for potentially slightly longer baking times, though the visual cues for doneness (golden edges, matte top) remain the same.
These versatile blondies pair perfectly with an array of flavors and accompaniments! For a classic dessert, serve them warm with a scoop of creamy chocolate ice cream or elegant vanilla bean ice cream, drizzled with luscious hot fudge or rich homemade caramel sauce. They are also fantastic on their own with a cup of coffee or tea, or elevated with a dollop of fresh whipped cream and some seasonal berries for a touch of freshness. Don’t be afraid to experiment with your favorite dessert toppings!
If you tried this recipe and absolutely loved it, please take a moment to leave a 🌟 star rating and share your experience in the comments section below. I genuinely love hearing from you; your feedback and comments truly make my day!
Classic Chewy Blondies
Chef Lindsey
15
20
35
20 Bars
Print Recipe
Ingredients
- 2 ¼ cups all-purpose flour
- 1 teaspoon baking powder
- ¼ teaspoon baking soda
- ¼ teaspoon kosher salt
- 2 large eggs
- 1 ½ teaspoons vanilla extract
- 1 cup unsalted butter melted, 2 sticks
- 1 cup dark brown sugar packed
- 1 cup light brown sugar packed
- ½ cup butterscotch chips optional
9 x 13inch
rectangle
Instructions
-
Line a 9×13 inch baking dish with crisscrossed parchment paper, leaving an overhang to create a “sling” for easy removal. Preheat your oven to 350°F (175°C) conventional or 325°F (160°C) convection (with fan). For added security, you can spray the pan with a little cooking spray before lining and use metal binder clips to hold the parchment paper sides in place.
-
Melt the unsalted butter in a large, heat-safe mixing bowl in the microwave until completely liquid and slightly hot. Alternatively, you can do this in a small pot on the stovetop. While the butter is melting, in a separate medium bowl, whisk together the all-purpose flour, baking powder, baking soda, and kosher salt. This ensures all dry ingredients are thoroughly combined and evenly distributed.
-
To the large bowl containing the melted butter, add both the dark brown sugar and the light brown sugar. Whisk vigorously until the sugars are completely dissolved into the butter and the mixture is smooth and glossy. This step is crucial for developing the rich butterscotch flavor and ensuring a perfectly chewy texture.
-
Whisk in the large eggs one at a time, ensuring each egg is fully incorporated before adding the next. Then, whisk in the vanilla extract until the mixture is uniform and no streaks of egg remain. This creates a well-emulsified batter.
-
Add the whisked dry ingredients (flour, baking powder, baking soda, and kosher salt) to the wet mixture. Switch to a rubber spatula and stir gently until a cohesive batter forms and no streaks of flour are visible. Be careful not to overmix to keep your blondies tender. Gently fold in the butterscotch chips until evenly distributed.
-
Pour the prepared batter into your lined 9×13 inch baking pan. Using an off-set spatula or the back of a spoon, spread the batter evenly across the pan, ensuring a smooth and level surface for consistent baking.
-
Bake the blondies for 18-20 minutes. They are done when they are fully puffed, the edges are golden brown, and the top appears completely matte (no longer glossy). The blondie may start to deflate slightly as it cools, which is perfectly normal and indicates a delightful chewiness. Allow the blondies to cool completely in the pan at room temperature before slicing on a cutting board for clean, perfect bars.
Video
Notes
Presentation – While perfect on their own, these blondies can be dressed up with a drizzle of warm caramel sauce or a scoop of velvety creme anglaise for an elegant yet easy weeknight dessert.
Flavor Tips – For the most pronounced and well-rounded butterscotch flavor, invest in a high-quality vanilla extract. Its rich notes will truly shine through.
Storage – Store your cooled blondies in an airtight container at room temperature for up to three days. Alternatively, they can be kept in the refrigerator for up to two weeks. For longer storage, wrap them tightly and freeze for up to 3 months.
Nutrition Information (per serving, approximate)
Calories: 240 kcal | Carbohydrates: 36g | Protein: 2g | Fat: 10g | Saturated Fat: 6g | Polyunsaturated Fat: 0.5g | Monounsaturated Fat: 3g | Trans Fat: 0.4g | Cholesterol: 41mg | Sodium: 95mg | Potassium: 54mg | Fiber: 0.4g | Sugar: 25g | Vitamin A: 312IU | Calcium: 38mg | Iron: 1mg
Dessert
American
240
Enjoyed this recipe? Leave a comment below!
Before You Go: Explore More Delicious Dessert Recipes
Thank you for trying this professionally tested and chef-approved blondies recipe. I hope it brings a touch of warmth and sweetness to your kitchen! If you enjoyed these classic chewy blondies, I invite you to explore more of our delectable Brownies and Bars Recipes. For a delightful citrusy twist, head straight over to my bright and zesty Lemon Blondies. You might also fall in love with these comforting old-fashioned butterscotch brownies, which share a similar irresistible flavor profile. Happy baking!