
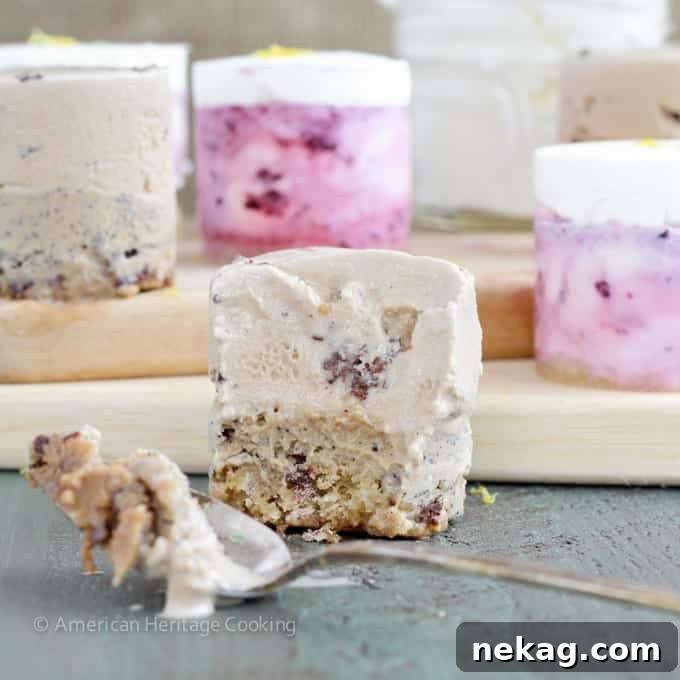
Welcome to the ultimate summer dessert sensation: **Ice Cream Cookie Stacks**! Imagine layers of rich, creamy ice cream perfectly nestled atop chewy, delightful cookies, creating a handheld treat that’s as impressive as it is delicious. This recipe transforms simple ingredients into an extraordinary dessert, perfect for beating the heat and dazzling your guests at any gathering.
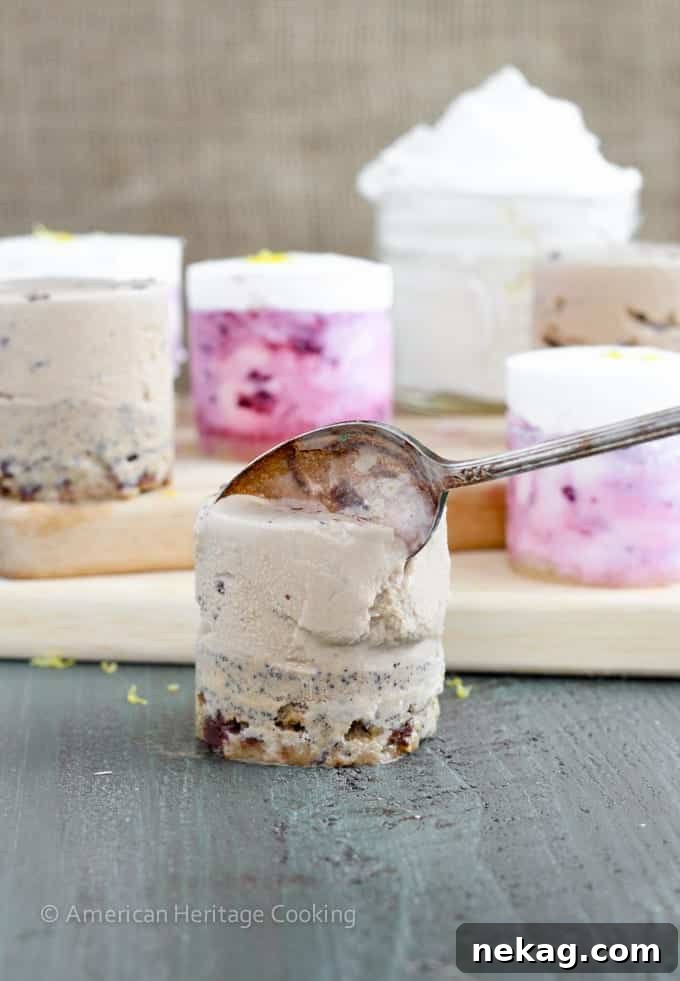
There’s something inherently magical about summer. Long days, warm evenings, the aroma of grilling, and the joyful laughter of friends and family. And what better way to enhance these cherished moments than with a sensational dessert? While classic ice cream sandwiches have their place, sometimes you crave something a little more elegant, a touch more gourmet, yet still wonderfully approachable. That’s where our Ice Cream Cookie Stacks shine, offering an elevated experience that combines the best of both worlds: the irresistible chewiness of a perfect cookie and the creamy indulgence of your favorite ice cream.
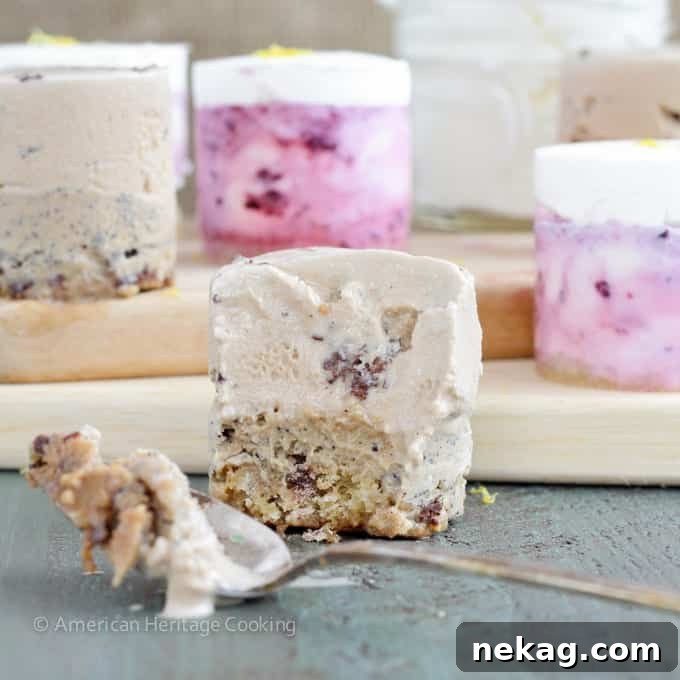
My journey with ice cream has become quite a mission, especially after concluding culinary school. That profound void left by the absence of daily sugar-filled experiments needed filling, and I decided the most responsible course of action was to explore the boundless world of ice cream. From bright, tangy Eureka Lemon Marionberry to rich Salted Caramel Chocolate Chip, and the utterly divine Double Peanut Butter Chip – a true gift for any peanut butter enthusiast – each scoop tells a story. But how do you take fantastic, mood-boosting ice cream and make it even better? The answer is simple, yet revolutionary: you add a cookie. And not just any cookie, but a foundation of pure chewy bliss.
Elevate Your Dessert Game with Ice Cream Cookie Stacks
While the traditional ice cream sandwich holds a nostalgic charm, these Ice Cream Cookie Stacks offer a sophisticated twist that’s surprisingly easy to achieve. We’re talking about perfectly cylindrical, multi-layered masterpieces that look like they came straight from a gourmet bakery. The beauty lies in their customizable nature: layers of complementary ice cream flavors, perhaps a dollop of homemade whipped cream, all stacked meticulously on a tender, chewy cookie base. It’s an experience, not just a dessert.
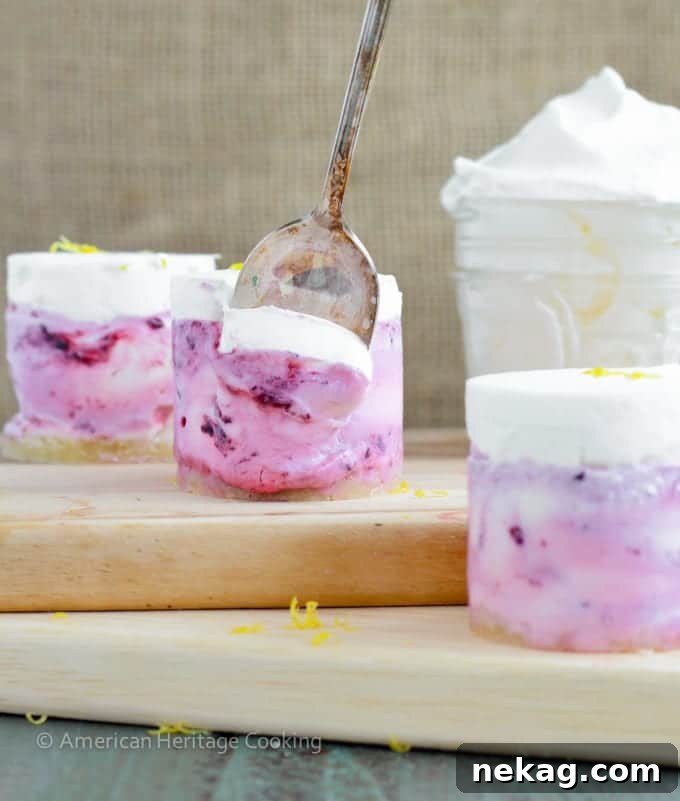
Do you ever walk into an ice cream parlor and feel the overwhelming desire to try every single flavor, wishing you could sample and then order them all? You’re not alone! I’ve solved that dilemma right here. With Ice Cream Cookie Stacks, you’re not limited to one flavor; you can artfully combine several, creating a symphony of tastes in every bite. It’s a delightful way to explore diverse palettes and indulge in a variety of cravings without having to commit to a single scoop.
The Art of Customization: Endless Flavor Possibilities
The beauty of these cookie stacks is the endless array of flavor combinations you can create. Don’t be afraid to get creative! Here are a few inspirations to get you started:
- For the ultimate indulgence, I layered rich Turkish Coffee ice cream with decadent Salted Caramel Chip, all resting on a classic chocolate chip cookie. This combination is pure heaven for coffee and caramel lovers.
- If you prefer something brighter and fruitier, try Eureka Lemon Marionberry ice cream paired with a light, zesty lemon whipped cream, crowning a soft, chewy sugar cookie. It’s like a burst of sunshine in every bite.
- Consider a peanut butter cookie with a scoop of chocolate ice cream and a layer of banana ice cream for a delightful twist on a classic PB&J.
- Imagine a robust oatmeal cookie paired with cinnamon ice cream and a swirl of apple butter—a perfect fall-inspired treat for any season!
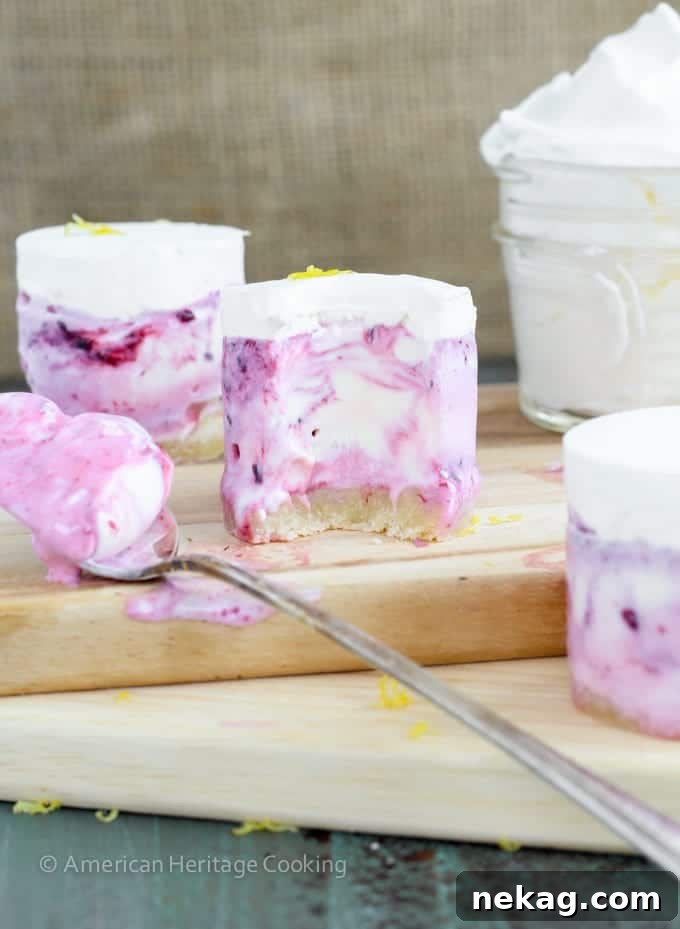
Choosing Your Ingredients for the Perfect Stack
The foundation of any great dessert lies in its ingredients. For Ice Cream Cookie Stacks, simplicity meets quality to create something truly spectacular.
The Cookies: Chewy is Key
The cookie base is crucial. You want a cookie that’s chewy enough to hold up to the ice cream without crumbling, but soft enough to bite through easily when frozen. Homemade cookies are always a fantastic choice, offering that unparalleled fresh-baked flavor and texture. My recipes for Killer Chocolate Chip Cookies, Chewy Sugar Cookies, or even Old-Fashioned Peanut Butter Cookies are ideal starting points. However, if time is of the essence, high-quality store-bought chewy cookies can also work wonders. Just ensure they are thick enough to support the layers of ice cream.
The Ice Cream: Quality and Variety
The star of the show! Opt for good quality ice cream as its flavor will truly shine. As mentioned, contrasting or complementary flavors work best. Consider textural elements too – some ice creams have chunks, swirls, or ripples that add another dimension. Before assembling, allow your ice cream to soften slightly at room temperature for about 10-15 minutes, making it easier to spread without melting completely.
Optional Layers and Toppings: The Whipped Cream Factor
A layer of fresh whipped cream can add a delightful lightness and creaminess to your stacks. You can flavor it with extracts (like vanilla, almond, or lemon), or even a touch of cocoa. Other toppings like chocolate ganache, caramel sauce, sprinkles, chopped nuts, or fresh berries can be added just before serving for an extra flourish.
Crafting Your Masterpiece: Step-by-Step Assembly Tips
Creating these elegant ice cream cookie stacks is simpler than you might imagine, especially with the right tools and techniques. The key to their perfectly cylindrical shape lies in the use of ring molds. I typically use 1 ¾ x 1 ¾ inch ring molds, which are perfect for individual servings and create a beautiful, uniform stack. If you don’t have ring molds, miniature cheesecake pans with removable bottoms are an excellent alternative. While mini muffin tins can be used in a pinch, they might make removal a bit trickier and won’t yield that perfect cylinder.
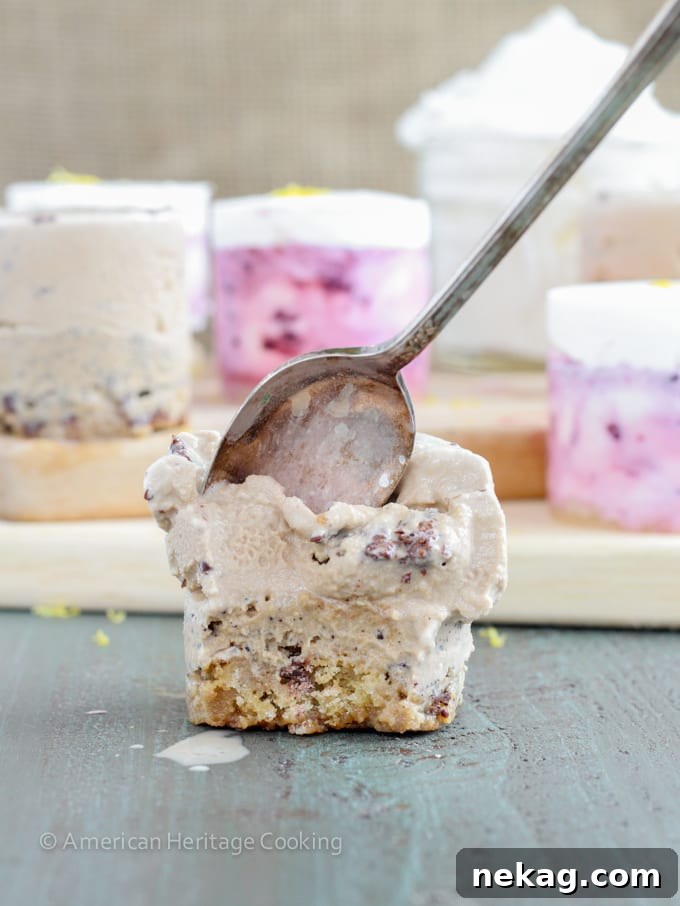
Preparation is Key: Baking and Cooling Your Cookies
Before you begin, ensure your chosen cookies are baked and completely cooled. It’s important that your cookies are slightly larger than the diameter of the mold you plan to use. This allows you to press the mold over the center, neatly trimming the cookie to fit snugly inside and creating a clean base. Leave the cookie inside the mold – this is your sturdy foundation.
Layering the Ice Cream: The Perfect Consistency
The trick to smooth, even ice cream layers is to work with slightly softened, but not melted, ice cream. If your ice cream is too hard, a quick 5-10 second burst in the microwave can help achieve the ideal scoopable consistency. Spoon a small amount of your first ice cream flavor into the mold, gently pressing it down with an offset spatula or the back of a spoon to create an even layer. Immediately transfer to the freezer to set firm. Once solid, repeat the process with your second flavor, if using. If you plan to add a layer of whipped cream, remember to leave a little space at the top of the mold for it.
Freezing for Success: The Overnight Rule
Patience is a virtue, especially when it comes to these stacks. I highly recommend freezing them overnight (without any whipped cream layer) to ensure they are rock-solid. This extended freezing time is crucial for easy removal from the molds without any smearing or deformation, guaranteeing a picture-perfect presentation.
The Grand Reveal: Removing from Molds
When you’re ready to serve, removing the stacks from their molds is surprisingly simple. Gently but firmly press the cookie base upwards through the mold, much like a push-pop. The frozen ice cream will slide out cleanly. Place your perfectly formed Ice Cream Cookie Stacks on a tray and return them to the freezer until it’s time to indulge.
Serving Your Sassy Stacks
When you pull out these sassy little Ice Cream Cookie Stacks at the end of a summer party, be prepared to be the talk of the town! They are not just desserts; they are conversation starters. Guests will be amazed by their elegant appearance and delightful taste. You can pick them up and bite directly into them for a fun, casual experience, or if you prefer a more civilized approach, grab a spoon. No judgment here – just pure, unadulterated enjoyment.
These stacks are also fantastic for make-ahead convenience. Prepare them days in advance, store them in an airtight container in the freezer, and simply pull them out when you’re ready to serve. This means less stress on party day and more time enjoying your guests!
Ice Cream Cookie Stacks
Comment
Print Recipe
Ingredients
- 2 pints Ice Cream slightly softened, your favorite flavors
- ½ cup Heavy Cream (for optional whipped cream)
- Cookies of your choosing Chewy cookies work best, such as Chocolate Chip, Sugar or Peanut Butter Cookies
- Ring molds (approximately 1.75 x 1.75 inches) or mini cheesecake pans with removable bottoms
Instructions
-
To create perfectly cylindrical stacks, use 1 ¾ x 1 ¾ inch ring molds. Alternatively, mini cheesecake pans with removable bottoms also work well. While mini muffin tins can be used, removal will be more challenging, and the shape won’t be as precise.
-
Bake your chosen cookies and allow them to cool completely. Ensure they are slightly larger than the mold you are using.
-
Place the ring mold over the center of a cooled cookie and press down gently, like a cookie cutter. The cookie should fit snugly inside the mold, forming your base.
-
Make sure your ice cream is slightly softened but not melted. If it’s too hard, microwave for 5-10 seconds to reach a spreadable consistency. Spoon a layer of your first ice cream flavor into the mold, pressing it down firmly with an offset spatula or the back of a spoon to create an even layer. Freeze until solid.
-
Repeat the previous step with your second ice cream flavor. If you plan to add a layer of whipped cream, leave a small space at the top of the mold. Freeze until solid.
-
For best results and easy removal, I recommend freezing the cookie stacks (without whipped cream) overnight. This ensures they are fully frozen and will slide out of the molds cleanly.
-
When ready to serve, gently but firmly push the cookie up through the mold, like a push-pop, to release the stack. Place the finished stacks on a tray and return them to the freezer until ready to serve. If adding whipped cream, do so just before serving.
Nutrition
There you have it – the ultimate guide to creating show-stopping Ice Cream Cookie Stacks. Whether you’re hosting a grand summer BBQ or simply looking for a delightful personal treat, these stacks are sure to impress. With their customizable flavors, satisfying textures, and elegant presentation, they offer a fresh take on classic indulgence. So grab your favorite cookies and ice cream, get creative, and prepare to stack your way to summer dessert perfection. Enjoy every glorious bite!