
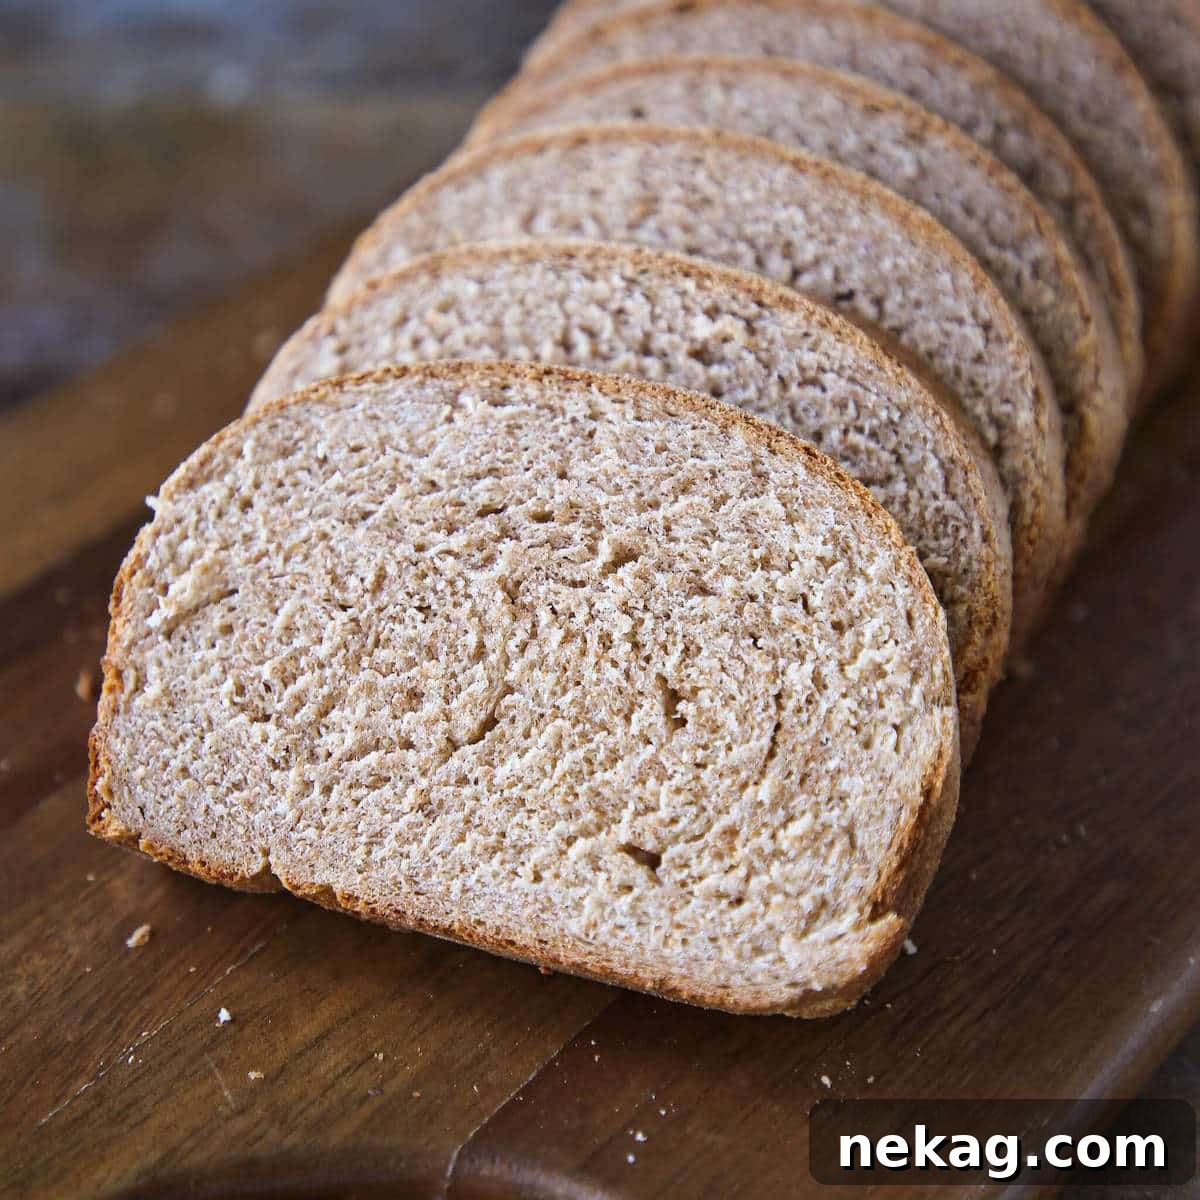
Bake the Best 100% Whole Wheat Bread: A Hearty & Wholesome Homemade Loaf
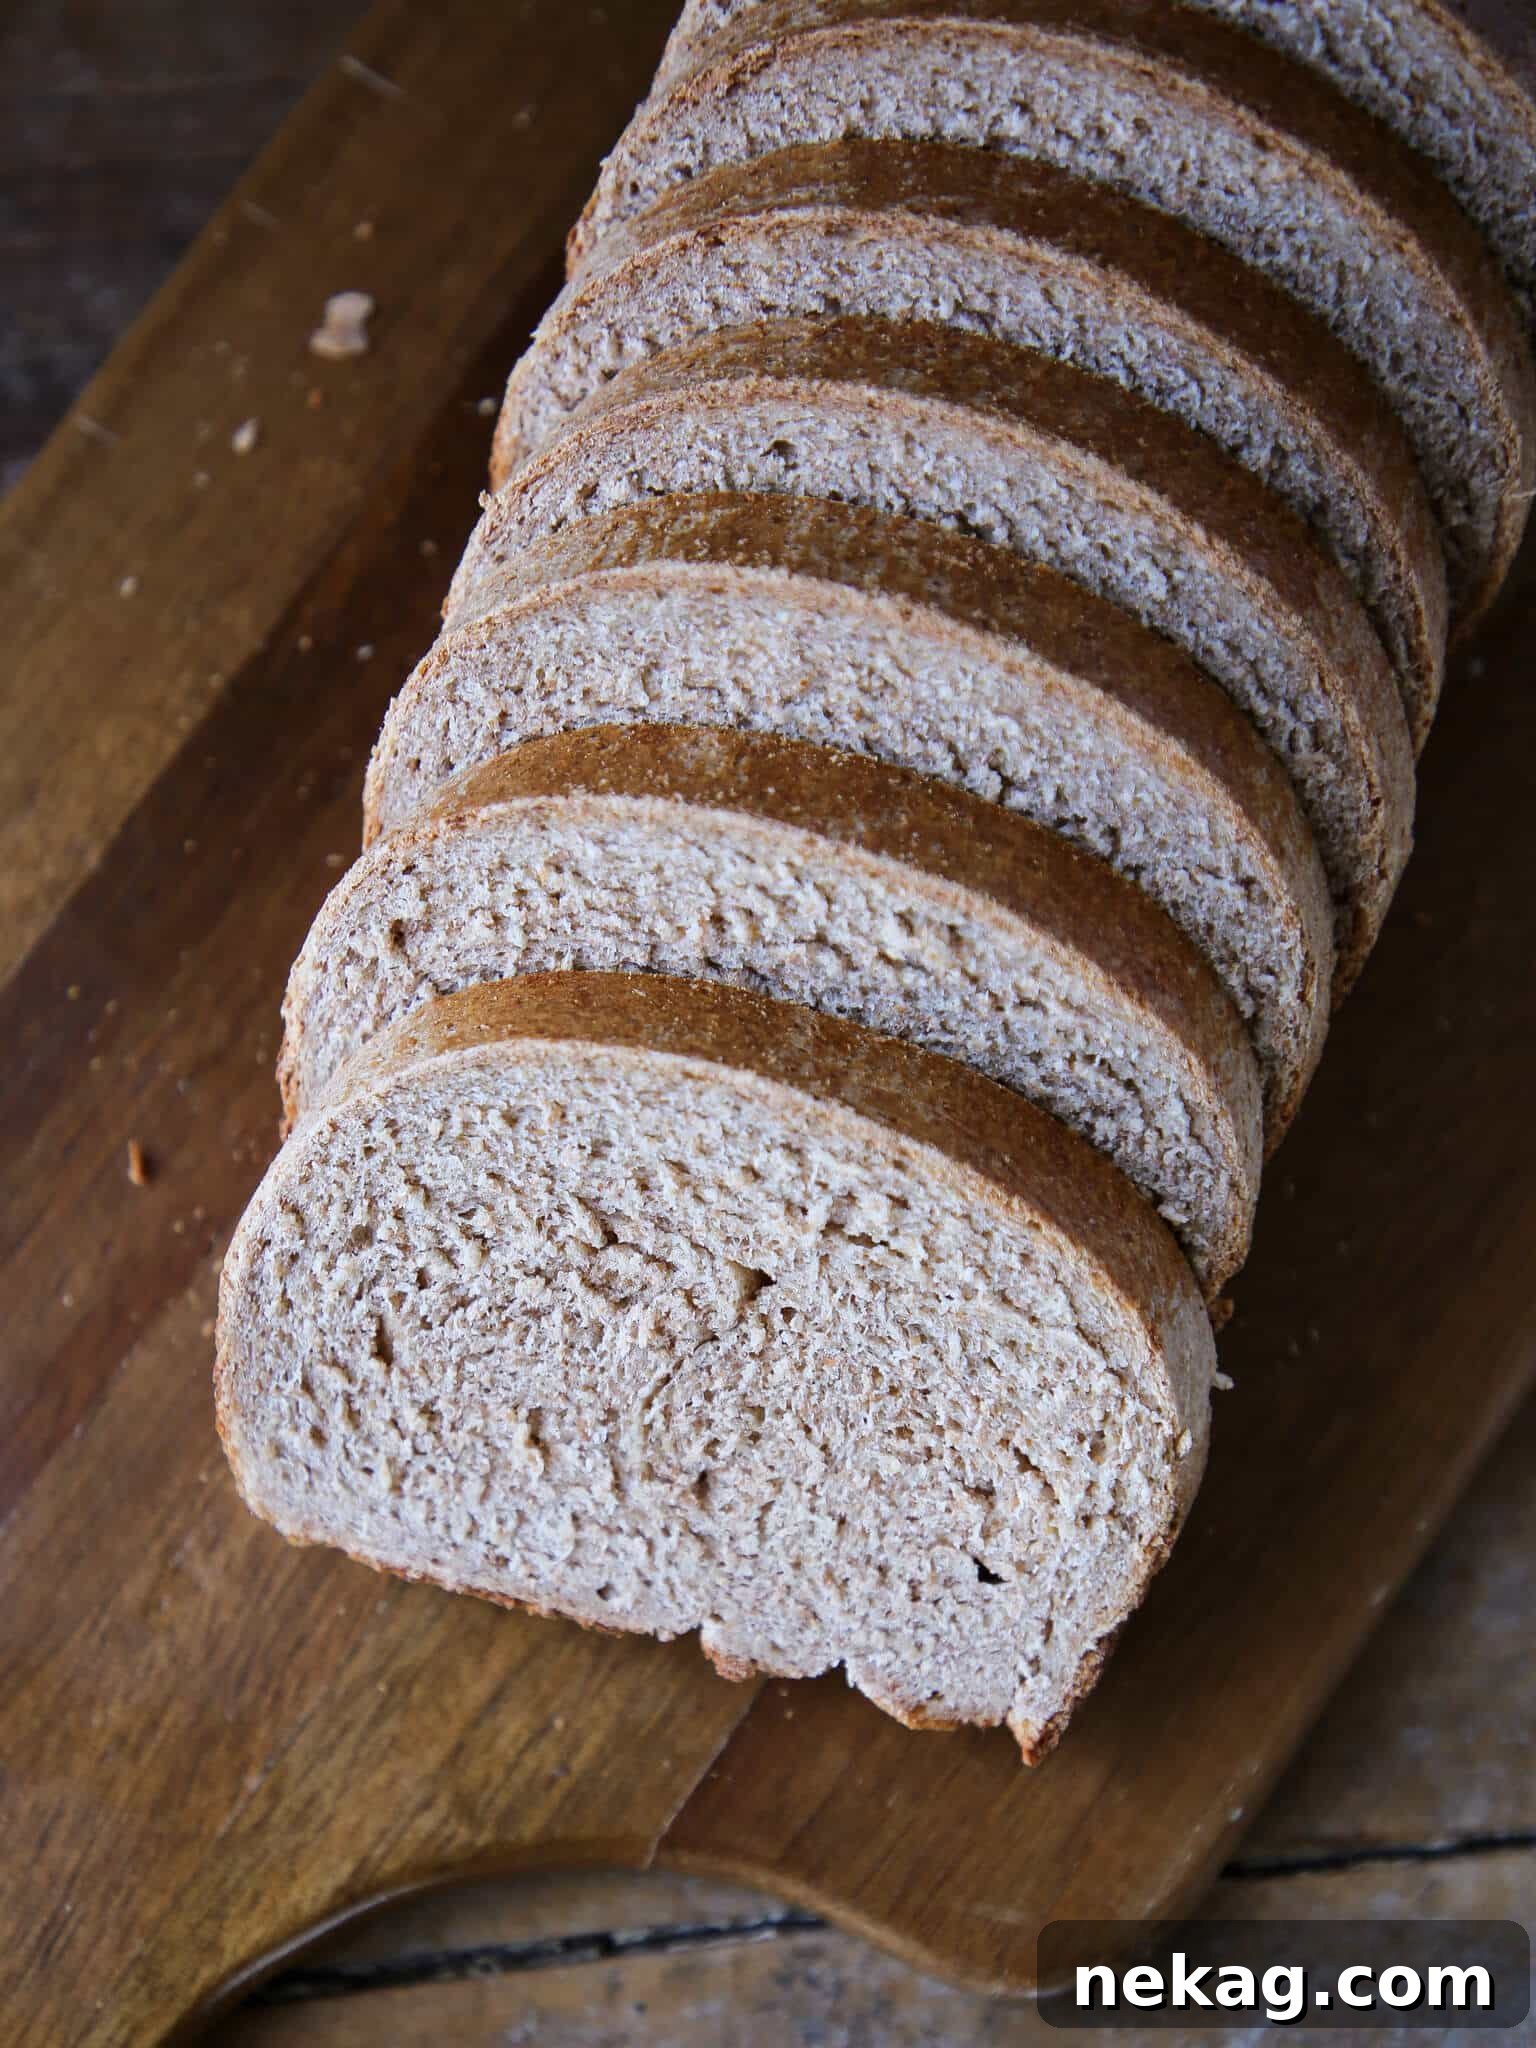
There’s nothing quite like the aroma of freshly baked bread filling your kitchen, and this traditional 100% Whole Wheat Bread recipe delivers that comforting experience with a nutritious twist. This old-fashioned loaf is wonderfully hearty, boasting a subtle sweetness and a perfectly chewy interior that makes it ideal for sandwiches, toast, or simply enjoying with butter. If you’re looking to embark on the rewarding journey of homemade bread baking, this accessible and reliable recipe is the perfect place to start. Forget bland, dry store-bought options; prepare to create a truly wholesome and delicious bread from scratch that your entire family will adore.
A Quick Look At The Recipe
This section provides a brief overview of the key timings and characteristics of our homemade whole wheat bread. For full, detailed instructions, you can jump directly to the complete recipe card.
Jump to Recipe
Prep Time
30 minutes
Cook Time
1 hour
Proof Time
2 hours
Total Time
3 hours 30 minutes
Servings
24 slices (2 loaves)
Difficulty
Moderate (beginner-friendly steps!)
Calories *
115 kcal per serving
Technique
Mixing, proofing, shaping, and baking until golden and hollow when tapped.
Flavor Profile
Hearty, subtly sweet, and wonderfully chewy with a distinct, wholesome wheat flavor.
* Based on estimated nutrition panel
What Our Bakers Are Saying
⭐⭐⭐⭐⭐ “I followed this recipe precisely, and the loaves turned out incredibly hearty and full of flavor with a fantastic chew. I particularly love that it’s 100% whole wheat yet remains soft enough for delicious sandwiches. One loaf went straight into the freezer, and the other vanished completely by the next day! This is definitely a keeper.” – Lauren
Why You’ll Fall in Love with This Homemade Whole Wheat Bread
Beyond the simple satisfaction of baking your own bread, this particular recipe for 100% whole wheat bread offers a myriad of reasons to make it a staple in your kitchen. From its perfectly balanced flavor to its delightful texture and undeniable health benefits, prepare to be captivated by every slice.
- Balanced, Irresistible Flavor. Unlike some whole wheat breads that can taste overly rustic or even bitter, our recipe achieves a beautiful harmony of flavors. The thoughtful addition of granulated sugar, milk, and shortening to the dough introduces a touch of richness and a delicate sweetness. This balance expertly mellows the robust intensity of the whole wheat flour, resulting in a bread that is deeply satisfying yet wonderfully palatable, even for those new to whole grains.
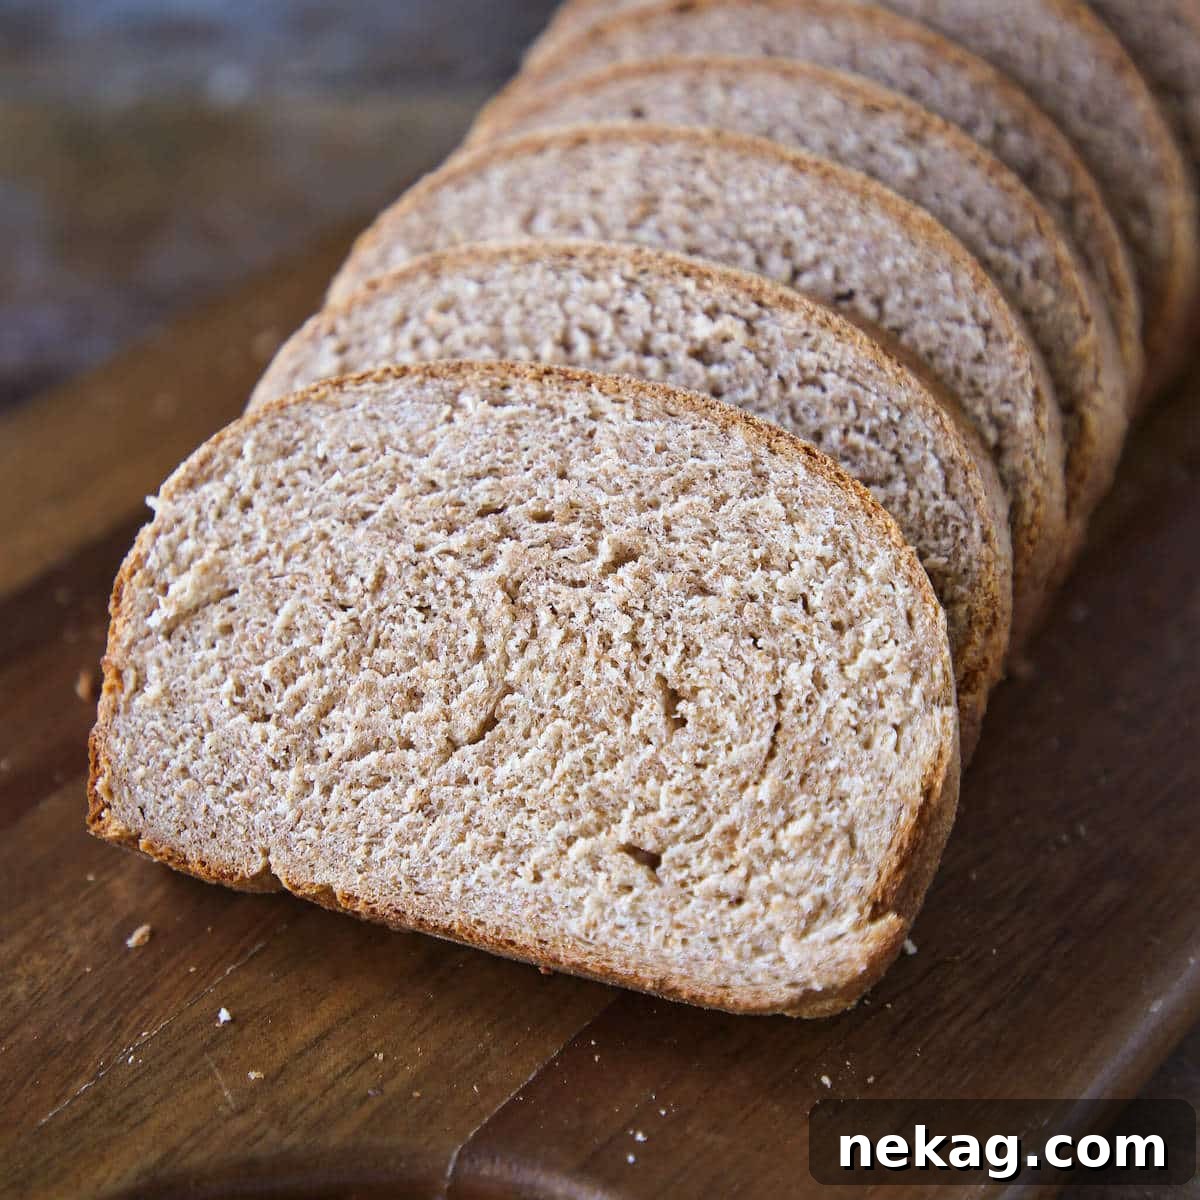
- Perfectly Soft Interior with a Crisp Crust. The ideal loaf of bread should offer a delightful contrast in textures, and this recipe delivers. The inclusion of milk and shortening contributes essential fats that are crucial for creating an incredibly soft, tender, and moist crumb on the inside. Simultaneously, the precise ratio of sugar and whole wheat flour works together to form a beautifully crisp and golden-brown crust. Each bite promises a satisfying crunch followed by a yielding, airy interior.
- Nutritious, Delicious, and Wholesomely Homemade. Embracing 100% whole wheat flour means you’re incorporating the full nutritional benefits of the grain, including fiber, vitamins, and minerals that are often stripped from refined flours. This not only adds a subtle, earthy, and slightly nutty flavor profile to your bread but also makes it a powerhouse of goodness. The greatest advantage of baking homemade bread is the complete control you have over the ingredients. You can ensure your family enjoys a bread free from unwanted preservatives, artificial flavors, and excessive sodium, making it a truly healthy choice you can feel good about.
A Timeless Recipe: The Legacy of 100% Whole Wheat Bread
This remarkable recipe is a cherished adaptation from the 1939 American Woman’s Cookbook, a testament to its enduring appeal and classic technique. Rooted in history, this whole wheat bread has stood the test of time, consistently delivering a perfect consistency that is neither overly dense nor too airy. Its characteristic crisp crust beautifully complements a moist and wonderfully chewy interior, offering a texture that is both satisfying and delightful. Following the wisdom of generations past, this recipe brings authentic, wholesome flavor to your modern table.
Beyond its classic appeal, whole wheat flour is incredibly versatile, making it a cornerstone in any baker’s pantry. Its rich, nutty notes can elevate a wide array of baked goods. For instance, you can transform it into deliciously healthy whole wheat pancakes or bake up a batch of my renowned banana bran muffins for a wholesome breakfast. For your lunch or dinner table, whole wheat flour shines in savory applications too. Try my tender whole wheat sandwich bread, fluffy honey whole wheat buttermilk rolls, or even this sophisticated whole wheat sourdough bread. The possibilities are truly endless when you start with this foundational ingredient.
Essential Ingredients for Your Whole Wheat Loaf & Smart Substitutions
Crafting the perfect loaf of 100% whole wheat bread begins with understanding the role of each ingredient. Here’s a breakdown of what you’ll need, along with helpful tips for substitutions to suit your pantry and preferences.
- 2% Milk & Water: This combination provides the necessary liquid for the dough. The milk adds richness and helps create a softer crumb, while water hydrates the flour and yeast. You can use full-fat milk for an even richer loaf, or a non-dairy milk alternative (like almond or soy milk) if preferred, though this may slightly alter the flavor and texture. Ensure liquids are scalded and cooled to the correct temperature for optimal yeast activity.
- Granulated Sugar: Sugar serves a dual purpose in this recipe. Firstly, it acts as a vital food source for the yeast, helping it to activate and produce carbon dioxide, which gives the bread its rise. Secondly, it helps to balance the natural sourness that can sometimes be present in 100% whole wheat breads, contributing to the bread’s delightful, subtle sweetness. If you prefer a less sweet loaf, you can reduce the amount by one or two tablespoons without significantly impacting the outcome, though the yeast might take slightly longer to activate.
- Shortening: Ingredients like Crisco or other vegetable shortenings are crucial for achieving a tender interior in your whole wheat bread. Shortening adds fat to the dough, which inhibits excessive gluten development, preventing the bread from becoming tough. This results in a wonderfully soft and melt-in-your-mouth crumb. If shortening isn’t available or preferred, you can easily substitute it with an equal amount of unsalted butter or coconut oil. Both will contribute fat and tenderness, with butter adding a richer flavor and coconut oil offering a subtle tropical hint.
- Kosher Salt: Salt is more than just a seasoning; it’s a critical component in bread making. It enhances the flavor of the bread, bringing out the nutty notes of the whole wheat. More importantly, salt helps to control the yeast activity, slowing down fermentation for a more even rise and improved crumb structure. Without salt, yeast can ferment too rapidly, leading to an inferior loaf. Ensure you use kosher salt for accurate measurement and optimal flavor.
- Dry Active Yeast: This recipe calls for dry active yeast, which requires an initial step of hydration and proofing in warm water. This process ensures the yeast is alive and active before it’s incorporated into the main dough, leading to a reliable rise. While it adds a quick extra step, it provides excellent control over the fermentation. If you need to substitute, you can use double the weight of fresh yeast or half the weight of instant yeast. When using fresh or instant yeast, you can often add it directly to the dry ingredients without prior proofing, though verifying its activity beforehand is always a good practice.
- Whole Wheat Flour: The star of our recipe! For the best results, I highly recommend using quality brands like King Arthur or Bob’s Red Mill Whole Wheat Flour. The flavor and texture of whole wheat flour can vary slightly between brands due to differences in their grinding processes. Experiment with different types to find your favorite. Whole wheat flour contains the entire wheat kernel (bran, germ, and endosperm), contributing to its distinctive hearty flavor and nutritional benefits.
Refer to the complete recipe card below for the precise measurements and quantities of each ingredient.
Creative Variations to Customize Your Whole Wheat Bread
One of the joys of homemade baking is the freedom to customize. This 100% whole wheat bread recipe provides a perfect base for countless delicious variations. Don’t be afraid to experiment and make it your own!
-
Experiment with Different Sweeteners. While granulated sugar offers a classic touch, a change in sweetener can profoundly alter the bread’s flavor profile.
- Try using light or dark brown sugar for a richer, more caramel-like sweetness and added moisture.
- Incorporate local honey, similar to our popular honey whole wheat buttermilk rolls, for a distinct floral note and natural sweetness.
- For a deeper, more robust flavor, substitute some of the sugar with molasses, as seen in this delightful raisin bread recipe.
- A touch of real maple syrup can impart a faint, delicate hint of maple, perfect for a breakfast loaf.
-
Introduce Flavorful Mix-ins. Elevate your bread with a variety of mix-ins, adding texture, flavor, and extra nutrients.
- Dried fruits like raisins, cranberries, chopped apricots, or dates can add bursts of sweetness and chewiness. Soak them briefly in warm water or rum before adding to plump them up.
- Fresh chopped herbs, such as rosemary, thyme, or sage, can transform your loaf into a savory companion for meals, much like these aromatic rosemary sourdough rolls made with my homemade sourdough starter recipe.
- For a more complex texture and flavor, combine a mix of nuts and dried fruit. Walnuts, pecans, and almonds pair wonderfully with cherries, like in this incredible cherry pecan sourdough bread!
- Consider adding grated cheese, like cheddar or Parmesan, for a savory, cheesy loaf.
-
Incorporate Seeds or Other Whole Grains. Boost the nutritional value and textural appeal by adding other grains or seeds.
- Flax seeds, sunflower seeds, pumpkin seeds, or sesame seeds can be added for a satisfying crunch and an extra dose of healthy fats and fiber. Caraway seeds, as found in a steakhouse-style pumpernickel bread, offer a unique aromatic quality.
- For a truly “multigrain” experience, fold in cooked grains like quinoa, millet, or oats. My multigrain bread recipe offers more inspiration for this approach.
- A small amount of bran or wheat germ can further enhance the whole grain character without significantly altering the dough’s structure.
Chef’s Professional Tips for Perfect Whole Wheat Bread
Achieving a consistently excellent loaf of whole wheat bread involves understanding a few key techniques. These professional tips will guide you toward baking success, ensuring your bread is always tender, flavorful, and perfectly risen.
- Avoid Overworking the Dough. While gluten development is crucial for bread structure, whole wheat flour behaves differently than white flour. The bran particles in whole wheat flour can act like tiny razor blades, severing gluten strands if the dough is mixed for too long. For this particular dough, we aim to develop sufficient gluten for structure while maintaining the integrity and nutrient properties of the whole wheat flour. Overmixing generates excessive heat and can lead to a tough, dense crumb. Mix just until the dough comes together and is elastic, but resist the urge to keep kneading extensively.
- Accuracy is Key: Scale Your Ingredients. This historic recipe, originally from an older cookbook, has been meticulously converted from volume measurements to metric for modern accuracy. While cups and spoons are provided, using a kitchen scale to weigh your ingredients, especially flour and water, will yield the most consistent and professional results. Flour can pack differently into a measuring cup, leading to significant variations. When measuring whole-wheat flour, do not sift it; simply spoon it into your measuring cup and level it off, or better yet, weigh it. Precision in baking is a baker’s best friend!
- Master Liquid Temperature Control: Boil and Cool Your Milk and Water. This critical step serves two important purposes. First, boiling the milk helps to destroy any microorganisms (like bacteria or enzymes) naturally present in the milk that could interfere with the yeast’s action or affect the dough’s texture and flavor negatively. Second, after boiling, it’s absolutely essential to allow the liquid mixture to cool down to the ideal temperature range of 100-110°F (38-43°C) before adding the yeast. Water that is too hot will kill the yeast, preventing your bread from rising. Conversely, water that is too cold will inhibit yeast activity, resulting in a sluggish or failed rise. A reliable thermometer is indispensable here for ensuring the perfect environment for your yeast to thrive.
- Understand Your Yeast. Dry active yeast needs warmth and a little sugar to “wake up.” If your yeast doesn’t become foamy and active after 5-10 minutes, it might be old or dead, and you should start with a fresh batch to avoid disappointment.
- Patience During Proofing. Bread making is an exercise in patience. Don’t rush the proofing stages. A warm, draft-free environment is crucial for optimal rise. If your kitchen is cool, consider using your oven’s “proof” setting or creating a warm spot (as detailed in the instructions) to encourage consistent fermentation.
How to Bake 100% Whole Wheat Bread: A Detailed Guide
Follow these comprehensive, step-by-step instructions to create perfect, wholesome whole wheat bread every single time. Detailed measurements can be found in the recipe card at the bottom of this page.
Phase 1: Mixing the Dough – The Foundation of Flavor and Texture
- Boil the Liquids: In a medium saucepan, combine the milk and water. Bring the mixture to a gentle boil over medium heat, stirring occasionally to prevent scorching the milk. Once boiled, carefully pour the hot liquid mixture into the bowl of your stand mixer (or a large heatproof mixing bowl if kneading by hand). This step helps to sanitize the milk and prevent unwanted bacteria from interfering with yeast activity.
- Infuse Sweetness and Fat: Add the shortening and granulated sugar to the hot liquid in the mixer bowl. Stir gently until the shortening has melted and the sugar has dissolved. Now, let this mixture cool down. It’s crucial that the liquid reaches a lukewarm temperature (between 100°F and 110°F or 38°C and 43°C). If you’re impatient, like me, you can place your mixer bowl in a larger bowl filled with cold (but not icy) water. Stir the mixture until a thermometer registers the ideal temperature. This ensures the liquids are warm enough to activate the yeast but not so hot that they kill it.
- Proof the Yeast: While the liquid cools, prepare your yeast. If using a yeast cake, dissolve it in a small amount of warm water (from the 1/2 cup total) with a pinch of sugar to soften. If using active dry yeast (as specified in this recipe), add ¼ cup of warm water (100°F – 110°F) to a small bowl, sprinkle the yeast over it, and stir to mix. Then, add 1 teaspoon of sugar. Let this mixture sit for about 10 minutes. If the mixture triples in volume and becomes foamy, your yeast is active and ready to use. If it doesn’t foam, your yeast may be inactive, and you’ll need to use a fresh batch.
-
Combine and Knead (Initial Mix): Once the milk mixture is at the correct temperature and the yeast is proofed, add the active yeast mixture and the whole wheat flour to your mixer bowl. Attach the dough hook. Mix at speed 2 (medium-low) for approximately two minutes. Continue mixing until the dough begins to cling to the hook and the sides of the bowl become relatively clean. This initial mixing stage brings all ingredients together and starts the gluten development process. Continue to knead on speed 2 for an additional two minutes.
Hand-Kneading Tip: If you are kneading by hand, Ruth Berolzheimer’s classic advice is invaluable: “Press the dough away with the palms of your hand. Stretch the dough from the edge, folding the back edge over to the center. Press the dough away with the palms of your hands, exerting sufficient force to cause the part folded over to adhere to the mass under it, and repeat folding. Turn the dough one-quarter around and repeat kneading. Continue turning, folding, and kneading until the dough is smooth and elastic and will not stick to an unfloured board.” This methodical approach ensures proper gluten development without overworking the dough.
Phase 2: Bulk Proofing – Allowing Your Dough to Rise and Develop Flavor
- Prepare the Proofing Bowl: Lightly grease a large mixing bowl with a neutral-flavored vegetable oil. A quick and efficient method is to pour a small amount of oil into your hands and then evenly spread it over the entire inside surface of the bowl. This prevents the dough from sticking during its rise.
- Coat the Dough: Carefully transfer the freshly kneaded dough into the lightly greased bowl. Turn the dough over once to ensure all sides are coated with a thin film of oil. This prevents the surface of the dough from drying out and forming a crust during proofing.
-
First Proof: Cover the bowl with a clean, damp kitchen towel or plastic wrap. Place the covered bowl in a warm, draft-free spot. An ideal temperature range for proofing whole wheat dough is 80°F – 85°F (27°C – 29°C). Let the dough rise for about one hour, or until it has noticeably tripled in size.
Creating a Warm Proofing Environment: If your kitchen is cool, you have a few options. Many modern ovens have a “proof” setting, which maintains a low, consistent temperature. Alternatively, you can preheat your oven to its lowest setting for 5-10 minutes, then turn it off and let it cool slightly until it’s comfortably warm to the touch. An oven thermometer will be extremely helpful here to ensure the temperature is just right – not too hot to kill the yeast, but warm enough to encourage activity.
- Degas and Round: After the first proof, gently perform one set of folds on the bread, or simply punch down the dough to release the accumulated gases. Then, gently reshape it back into a neat round. This step redistributes the yeast and nutrients, strengthening the gluten network.
-
Optional Second Proof: For an even finer texture and deeper flavor, allow the bread to rise for a second time. Cover it again with a damp towel or plastic wrap and return it to a warm spot for another hour, or until it has doubled in size.
The Benefit of a Second Rise: While optional, this second rising is highly recommended. As noted by Ruth Berolzheimer, “This second rising is… worthwhile because it improves both the texture and flavor of the bread.” It results in a more open crumb, a lighter texture, and a more developed, nuanced flavor profile.
Phase 3: Shaping the Loaves – Crafting the Perfect Form
-
Divide and Rest: Turn the proofed dough out onto a lightly oiled work surface. Gently divide the dough into two equal halves. For the most uniform loaves, use a kitchen scale to ensure precise division, though you can eyeball it if preferred. Preshape each half into a loose round, then cover them lightly and let them rest on the bench for 10 minutes. This resting period allows the gluten to relax, making the dough easier to shape.
Custom Loaf Sizes: For this particular batch, I opted for one large loaf and two smaller, “baby” loaves. To do this, I divided one of the halves into two smaller, equal portions. Feel free to adjust the size and number of loaves to fit your preferred pans or serving needs.
- Final Shaping: Take one preshaped round and gently flatten it into a rectangular shape. Fold the top half of the dough down towards the center, pressing firmly to seal. Rotate the dough 180 degrees, then fold the other side down to the center, pressing again to seal. Now, perform two “thumb folds”: roll the dough around the thumb of your left hand, creating tension on the surface, and then use the heel of your right hand to firmly seal the seam, working from the right side of the log to the left. This technique creates a tight, smooth surface and a strong seam, which is crucial for a well-structured loaf. Repeat for the second dough portion.
Phase 4: Final Rise and Baking to Golden Perfection
- Prepare for Final Rise: Place the shaped dough, seam-side down, into a well-greased loaf pan. Cover the pan loosely with plastic wrap or a clean kitchen towel. Allow the dough to rise in a warm, draft-free place until it has doubled in volume and almost reaches the top of the pan. During this final rise (known as proofing), preheat your oven to 400°F (200°C).
- Bake the Loaves: Once the oven is preheated and the loaves have finished their final rise, place the loaf pans into the hot oven. Bake at 400°F (200°C) for 15 minutes. After 15 minutes, reduce the oven temperature to 350°F (175°C) and continue baking for an additional 45 minutes. If you made mini loaves, they will likely be done sooner, typically requiring an additional 15 minutes at 350°F after the initial 400°F bake. The initial high heat creates a strong oven spring and a crisp crust, while the lower temperature ensures the interior bakes through evenly.
- Check for Doneness and Cool: Your loaves are perfectly baked when several indicators are met: the sides of the bread will have pulled away from the pan, the crust will be a rich, golden brown color, and when you firmly tap the top of a loaf, it will sound hollow. For absolute certainty, you can also insert a wooden skewer or toothpick into the center of the loaf; it should come out clean. Immediately remove the baked loaves from their pans and transfer them to a wire rack to cool completely. Cooling on a rack prevents the bottom crust from becoming soggy.
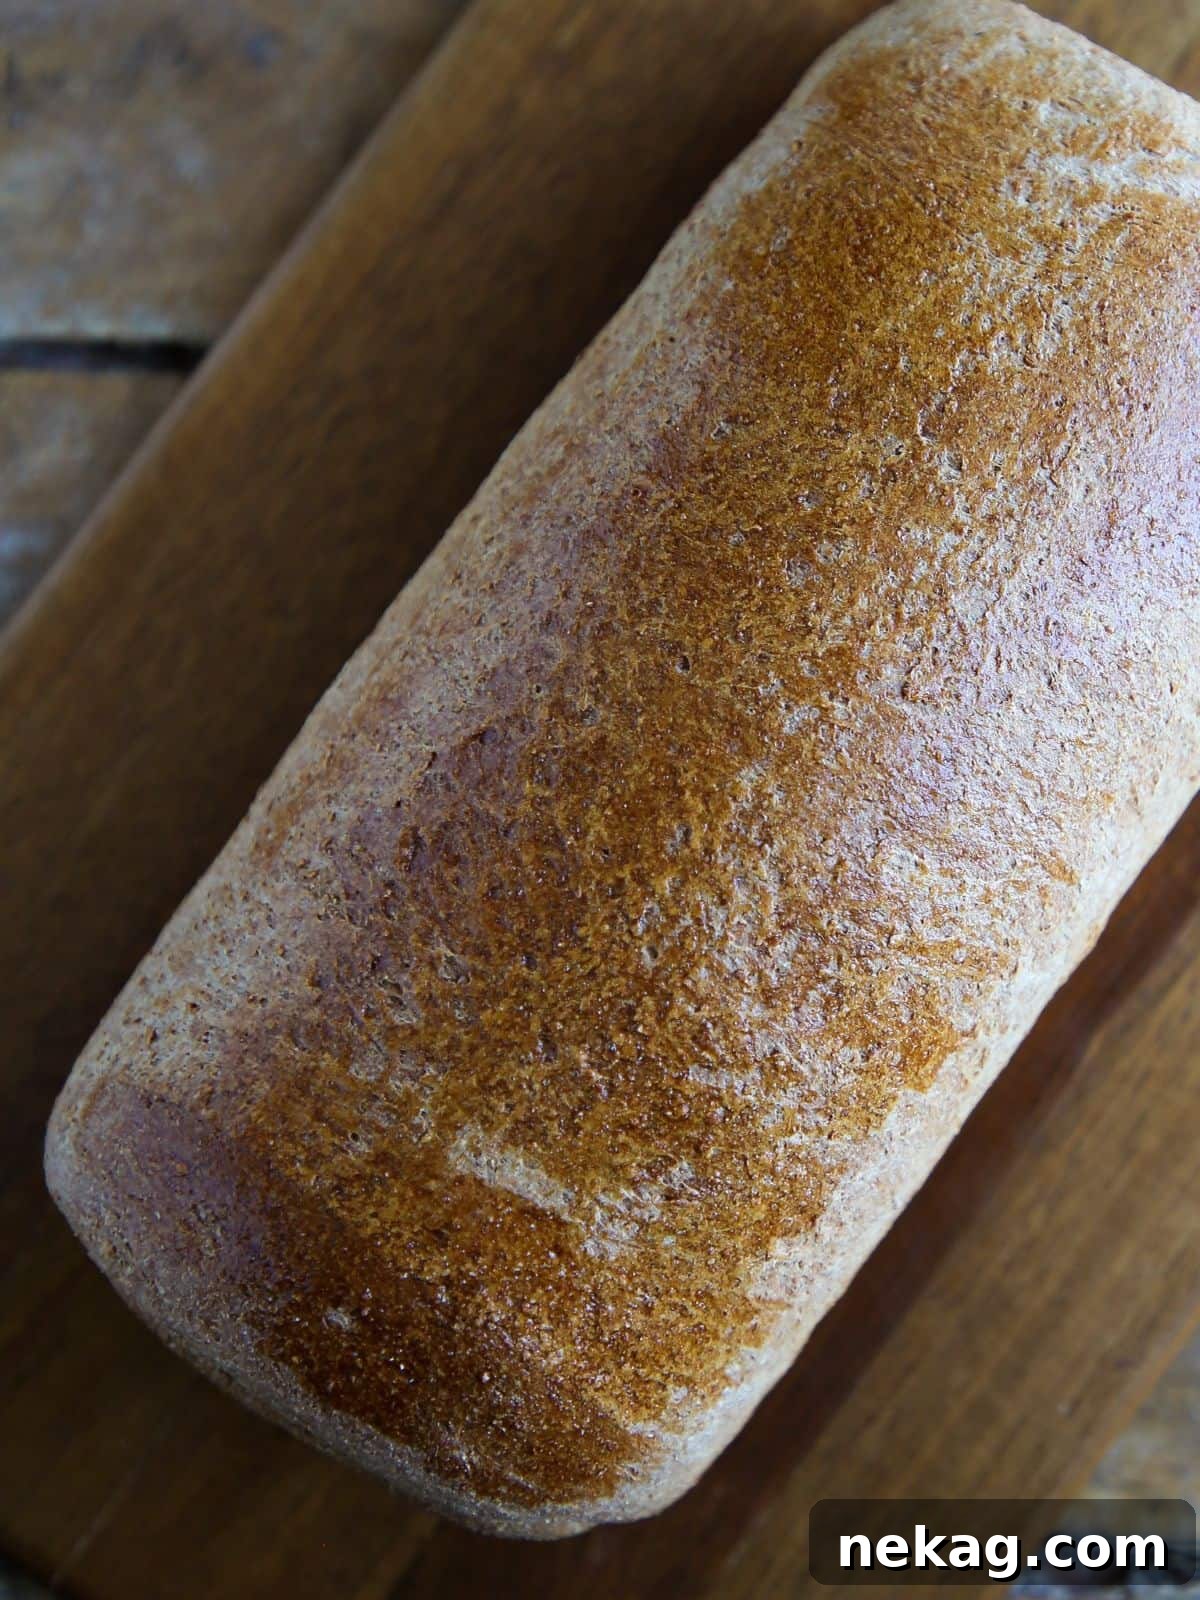
Chef Lindsey’s Expert Tip for Baking Success
For consistent and superior results when baking bread, always reach for metal loaf pans! Ceramic or glass loaf pans absorb and conduct heat differently than metal. Metal pans facilitate a more robust initial “oven spring,” which is the final burst of rising during the first few minutes of baking. They also distribute heat more evenly throughout the bread, ensuring uniform baking from crust to center. This leads to a perfectly golden crust and a consistently well-cooked interior.
Frequently Asked Questions About 100% Whole Wheat Bread
How should I store homemade 100% whole wheat bread to keep it fresh?
To maintain maximum freshness, ensure your whole wheat loaves are completely cooled before wrapping them. Once cool, wrap each loaf tightly in plastic wrap, aluminum foil, or place them in a zip-top bag. At room temperature, homemade whole wheat bread will stay fresh for up to 3 days. For longer storage, you can refrigerate it for up to a week. For the best long-term preservation of taste and texture, store uncut, well-wrapped loaves in the freezer for up to 2 months. Thaw at room temperature or gently reheat from frozen.
Is “100% whole wheat” the same as “100% whole grain”?
While often used interchangeably, these terms have distinct meanings. 100% whole wheat specifically refers to products made entirely from the wheat kernel, which includes the nutrient-rich bran, germ, and endosperm. “Whole grain,” however, is a much broader category. It encompasses any grain in its complete, unprocessed form, including not only wheat but also oats, brown rice, quinoa, barley, rye, corn, and many others. Therefore, all 100% whole wheat products are considered whole grain, but not all whole grain products are 100% whole wheat. Our recipe, by focusing on whole wheat flour, specifically harnesses the benefits of the entire wheat kernel.
What are some delicious ways to enjoy homemade whole wheat bread?
The versatility of this hearty bread is truly outstanding! While it’s absolutely perfect for crafting classic sandwiches, like a savory roast beef melt or a creamy deviled egg salad sandwich, its uses extend far beyond. You can transform stale slices into aromatic apple sausage stuffing for holiday meals or create your own superior homemade bread crumbs for coating cutlets or topping casseroles. Don’t forget it’s wonderful toasted with avocado, topped with your favorite jam, or simply enjoyed with a drizzle of olive oil.
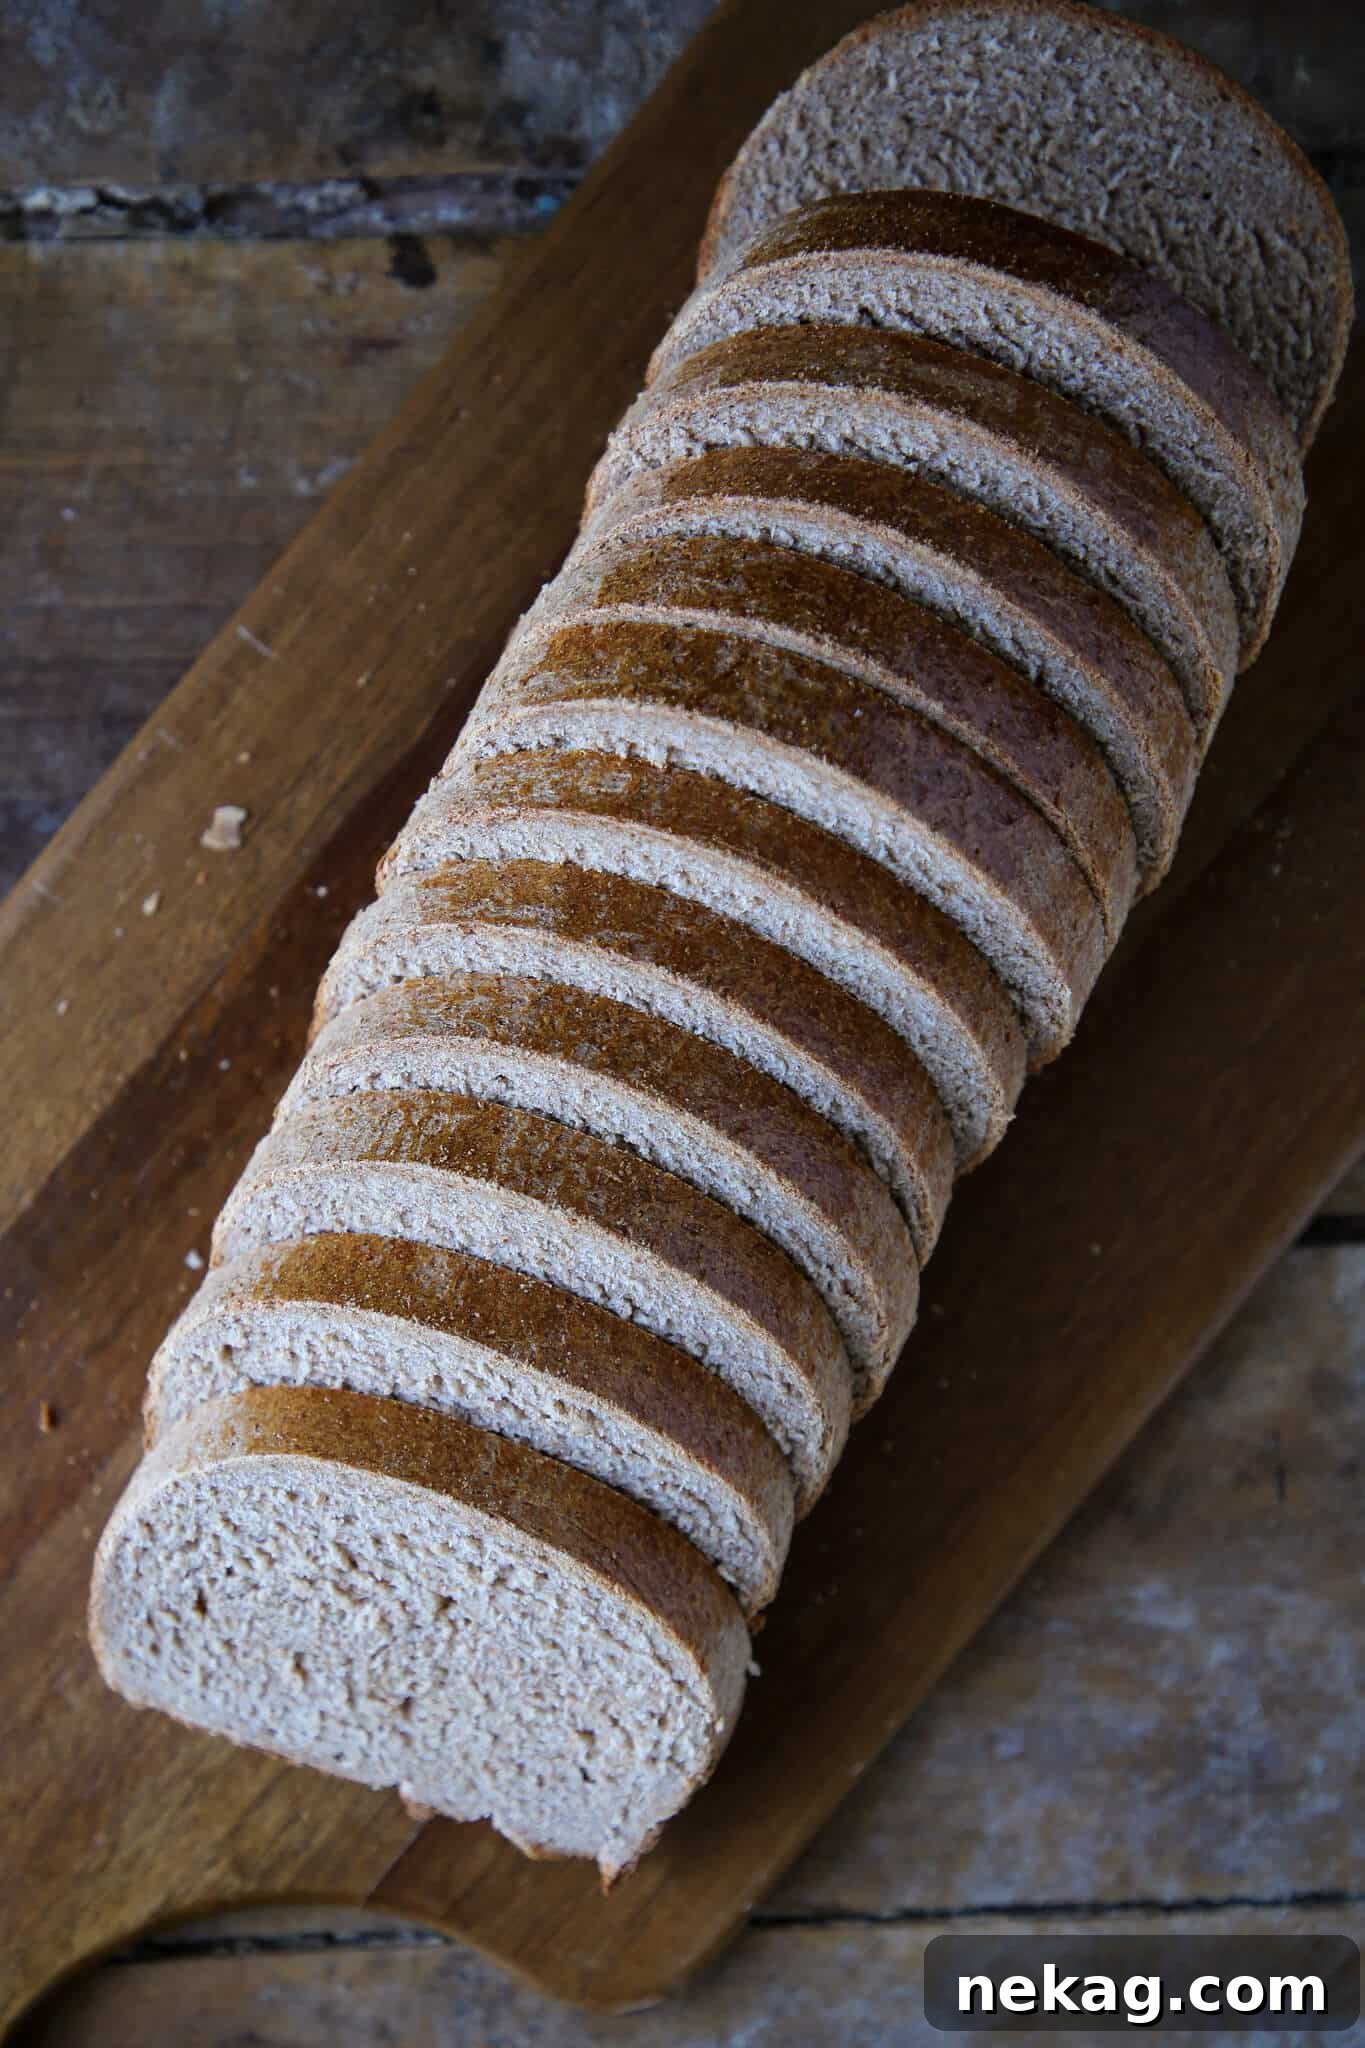
Serving Your Delicious Whole Wheat Bread
Once your magnificent loaves have cooled, the possibilities for enjoyment are endless. This 100% whole wheat bread is truly a blank canvas for culinary creativity. Its robust flavor and satisfying texture make it an excellent choice for a variety of meals and snacks.
Slice it thick for hearty toast, perfect with a smear of homemade apple butter, cream cheese, or a simple pat of butter. It forms the ideal foundation for any sandwich, from classic deli meats and cheeses to gourmet vegetable and hummus fillings. The sturdiness of the loaf holds up beautifully, preventing soggy situations. Consider toasting thin slices and serving them alongside a charcuterie board, or use them to sop up flavorful soups and stews. It’s also fantastic for open-faced sandwiches or for making croutons for salads. No matter how you choose to serve it, this homemade whole wheat bread is guaranteed to impress.
Explore More Wholesome & Delicious Bread Recipes
If you’ve enjoyed the process and delicious results of baking this 100% Whole Wheat Bread, you’ll love exploring other recipes from our collection. Expand your baking repertoire with these delightful bread creations, perfect for any occasion.
Yeasted Bread Recipes
Whole Wheat Sandwich Bread Recipe
Yeasted Bread Recipes
Brioche Bread Recipe
Homemade Bread Recipes
Potato Bread
Sourdough Bread Recipes
Cherry Sourdough Bread
If you tried this recipe and loved it, please leave a 🌟 star rating and share your experience in the comments section below. We cherish your feedback!
Rating: 4.67 out of 5 stars (from 3 ratings)
100% Whole Wheat Bread
by Chef Lindsey
This old-fashioned 100% Whole Wheat Bread is wonderfully hearty, subtly sweet, and features a perfectly chewy interior. An ideal, easy recipe for anyone starting their homemade bread baking journey!
Prep Time: 30 minutes
Cook Time: 1 hour
Proof Time: 2 hours
Total Time: 3 hours 30 minutes
Servings: 24 slices
Comment
Print Recipe
Ingredients
- 2 cups milk 2%, (scaled)
- 4 tablespoons sugar
- 2 tablespoons shortening
- 1 ½ teaspoons salt
- 1¼ teaspoons active dry yeast (aka 1 yeast cake)
- ½ cup warm water (for yeast)
- 5 cups whole-wheat flour
Instructions
Mix the dough:
- Boil the milk and water together in a saucepan and pour into your mixer bowl.
- Add the shortening and sugar to the hot liquid and let the mixture cool until it is lukewarm (100°F – 110°F).
- If using active dry yeast, add ¼ cup of warm water (100°F – 110°F) to the yeast and stir to mix. Then add 1 teaspoon of sugar to proof the yeast. Wait 10 minutes; if the mixture has tripled and is foamy, it is ready to use.
- Add the yeast and whole wheat flour to your mixer bowl. Fitted with the dough hook attachment, mix at speed 2 until the dough clings to the hook and cleans the sides of the bowl for about two minutes. Then continue to knead on speed 2 for an additional two minutes.
Bulk Proof:
- Grease a large bowl with vegetable oil. Spread the oil over the insides of the bowl with your hands.
- Place the dough in the lightly greased bowl and turn it over to coat all sides with the oil.
- Cover with a damp towel and place in a warm place (80°F – 85°F) for an hour, or until the dough has tripled in size.
- Perform one set of folds on the bread, or punch down the bread and then shape it back into a round.
- (Optional) Second proof: Let the bread rise for one more hour in a warm spot until it has doubled in size.
Shape the loaves:
- Turn the bread out onto a lightly oiled work surface, divide it into two halves. Then, preshape it into two rounds, and let it rest for 10 minutes on the bench. Use a kitchen scale for most even loaves.
- Final shape into a loaf by pulling it into a rectangular shape. Fold the top half of the dough down toward the center, rotate 180°, then fold the other side down, pressing. Perform 2 thumb folds by rolling the dough around the thumb of your left hand and then sealing the dough with the heel of the right hand. Start on the right side of the log and move across to the left.
Final rise and bake:
- Place the shaped dough into a well-greased loaf pan, seam-side down. Cover with plastic wrap or a towel, and let rise until doubled in volume. Preheat the oven to 400°F (200°C).
- Cook the loaves at 400°F (200°C) for 15 minutes and then decrease the temperature to 350°F (175°C) for the remaining 45 minutes. (Mini loaves might be done after an additional 15 minutes at 350°F).
- The loaves are done when the sides pull away from the pan, the crust is a rich, golden brown, and the loaves sound hollow when you firmly tap the top. Immediately remove the loaves from the pans to cool completely on a wire rack.
Recipe Notes
- Yield: This recipe typically yields 2 standard loaves.
- Technique: For home mixers, two loaves usually mix better. I often make two at a time and freeze one. You can halve this recipe for a single loaf, but it might be challenging to develop gluten sufficiently in some stand mixers, so hand-kneading is recommended for single batches.
- Variations: Get creative! Make mini loaves by dividing the dough into 4 to 6 smaller portions, perfect for crackers when sliced thin and toasted. Serve with a charcuterie board or dip into apple butter. You can also add various seeds, nuts, or dried fruits (see the “Variations” section above for more ideas).
- Storage: Always cool loaves completely before wrapping. Store at room temperature for up to 3 days, refrigerated for a week, or freeze for up to 2 months. Uncut loaves, tightly wrapped, will maintain freshness best in the freezer.
Nutrition Information (Per 1 Slice)
- Calories: 115kcal
- Carbohydrates: 21g
- Protein: 4g
- Fat: 2g
- Saturated Fat: 1g
- Polyunsaturated Fat: 1g
- Monounsaturated Fat: 1g
- Trans Fat: 0.1g
- Cholesterol: 2mg
- Sodium: 9mg
- Potassium: 123mg
- Fiber: 3g
- Sugar: 3g
- Vitamin A: 35IU
- Calcium: 34mg
- Iron: 1mg
Recipe Details
- Course: Bread, Breakfast, Side Dish
- Cuisine: American
- Calories: 115
Loved this recipe? Share your thoughts and leave a comment below!