
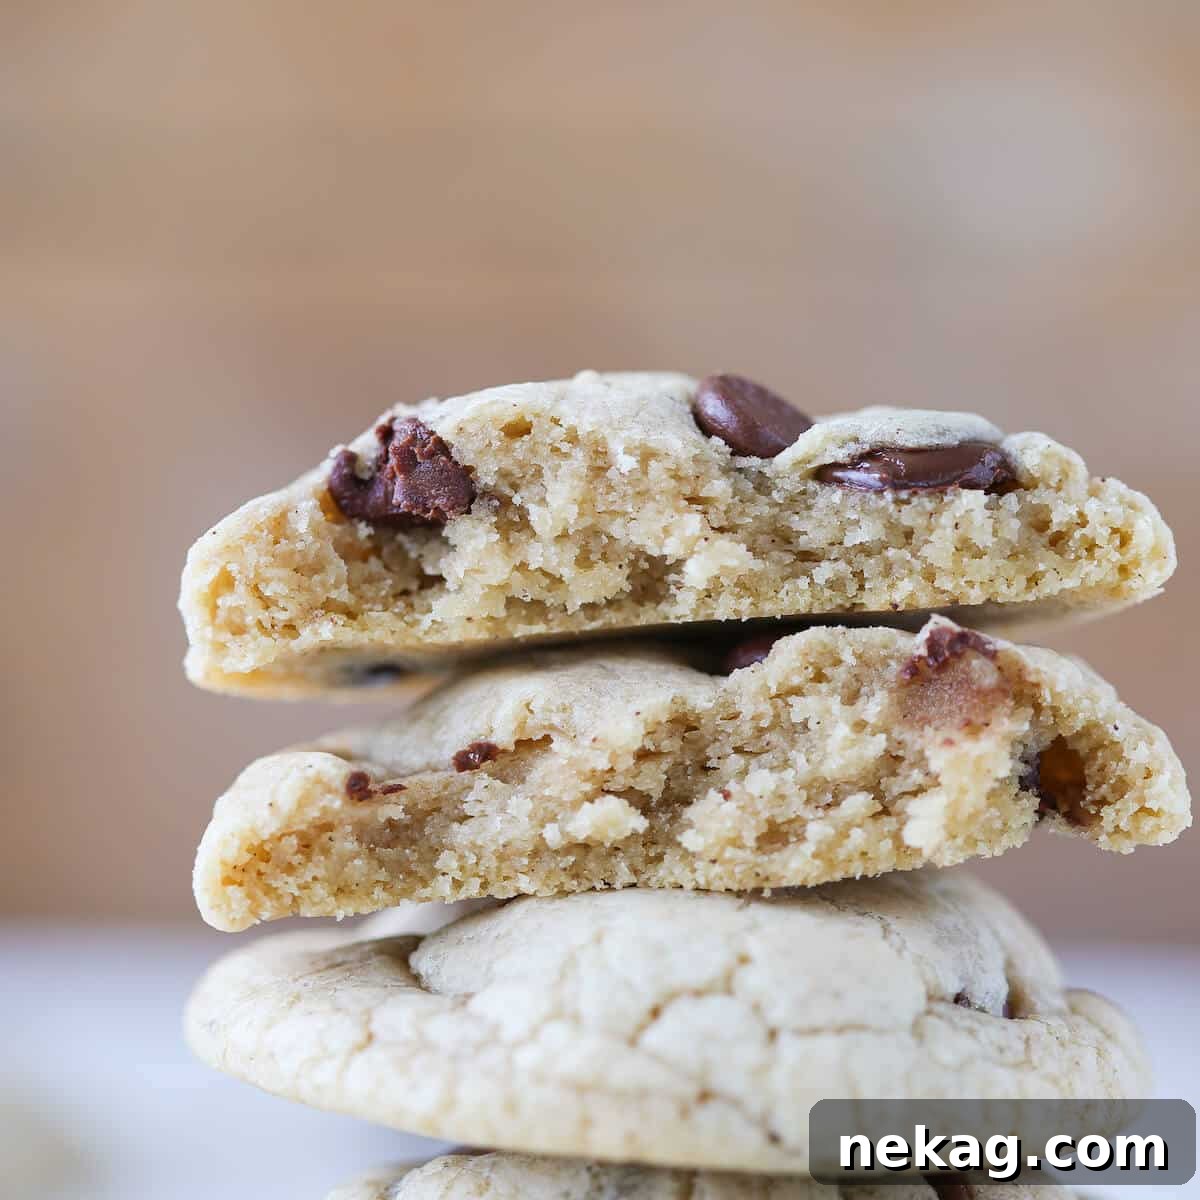
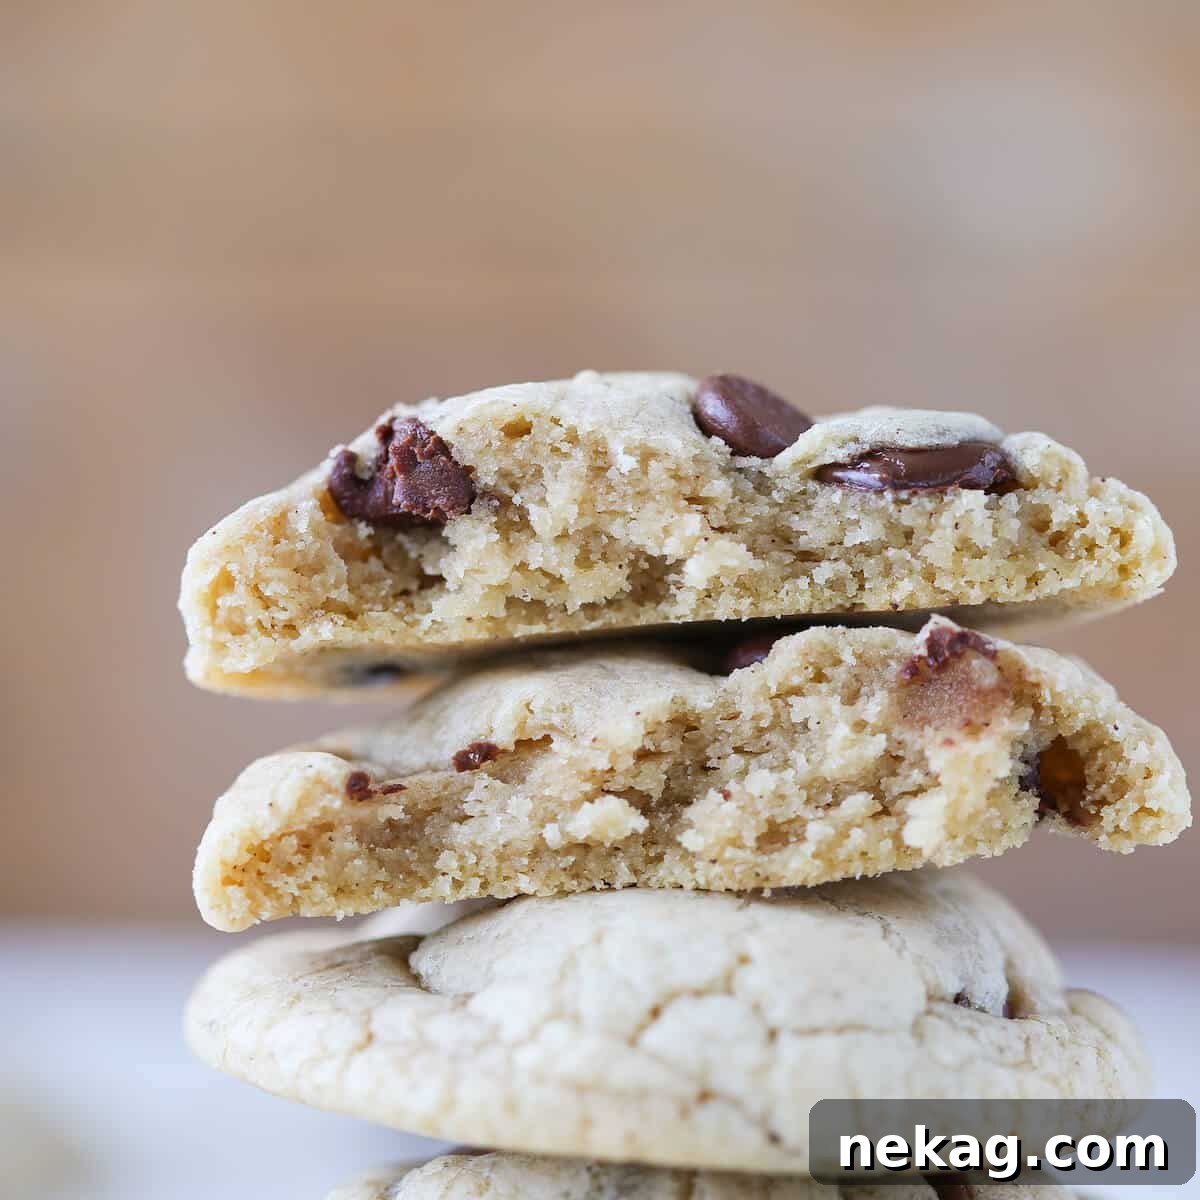
Prepare to bake the most irresistible Brown Butter Chocolate Chip Cookies you’ve ever tasted! These cookies aren’t just soft and chewy; they boast a remarkable depth of flavor thanks to perfectly browned butter and a secret ingredient – cream cheese. Each bite delivers a subtle nutty aroma, a delightful tang, and a generous meld of two types of chocolate chips, creating a truly unforgettable experience.
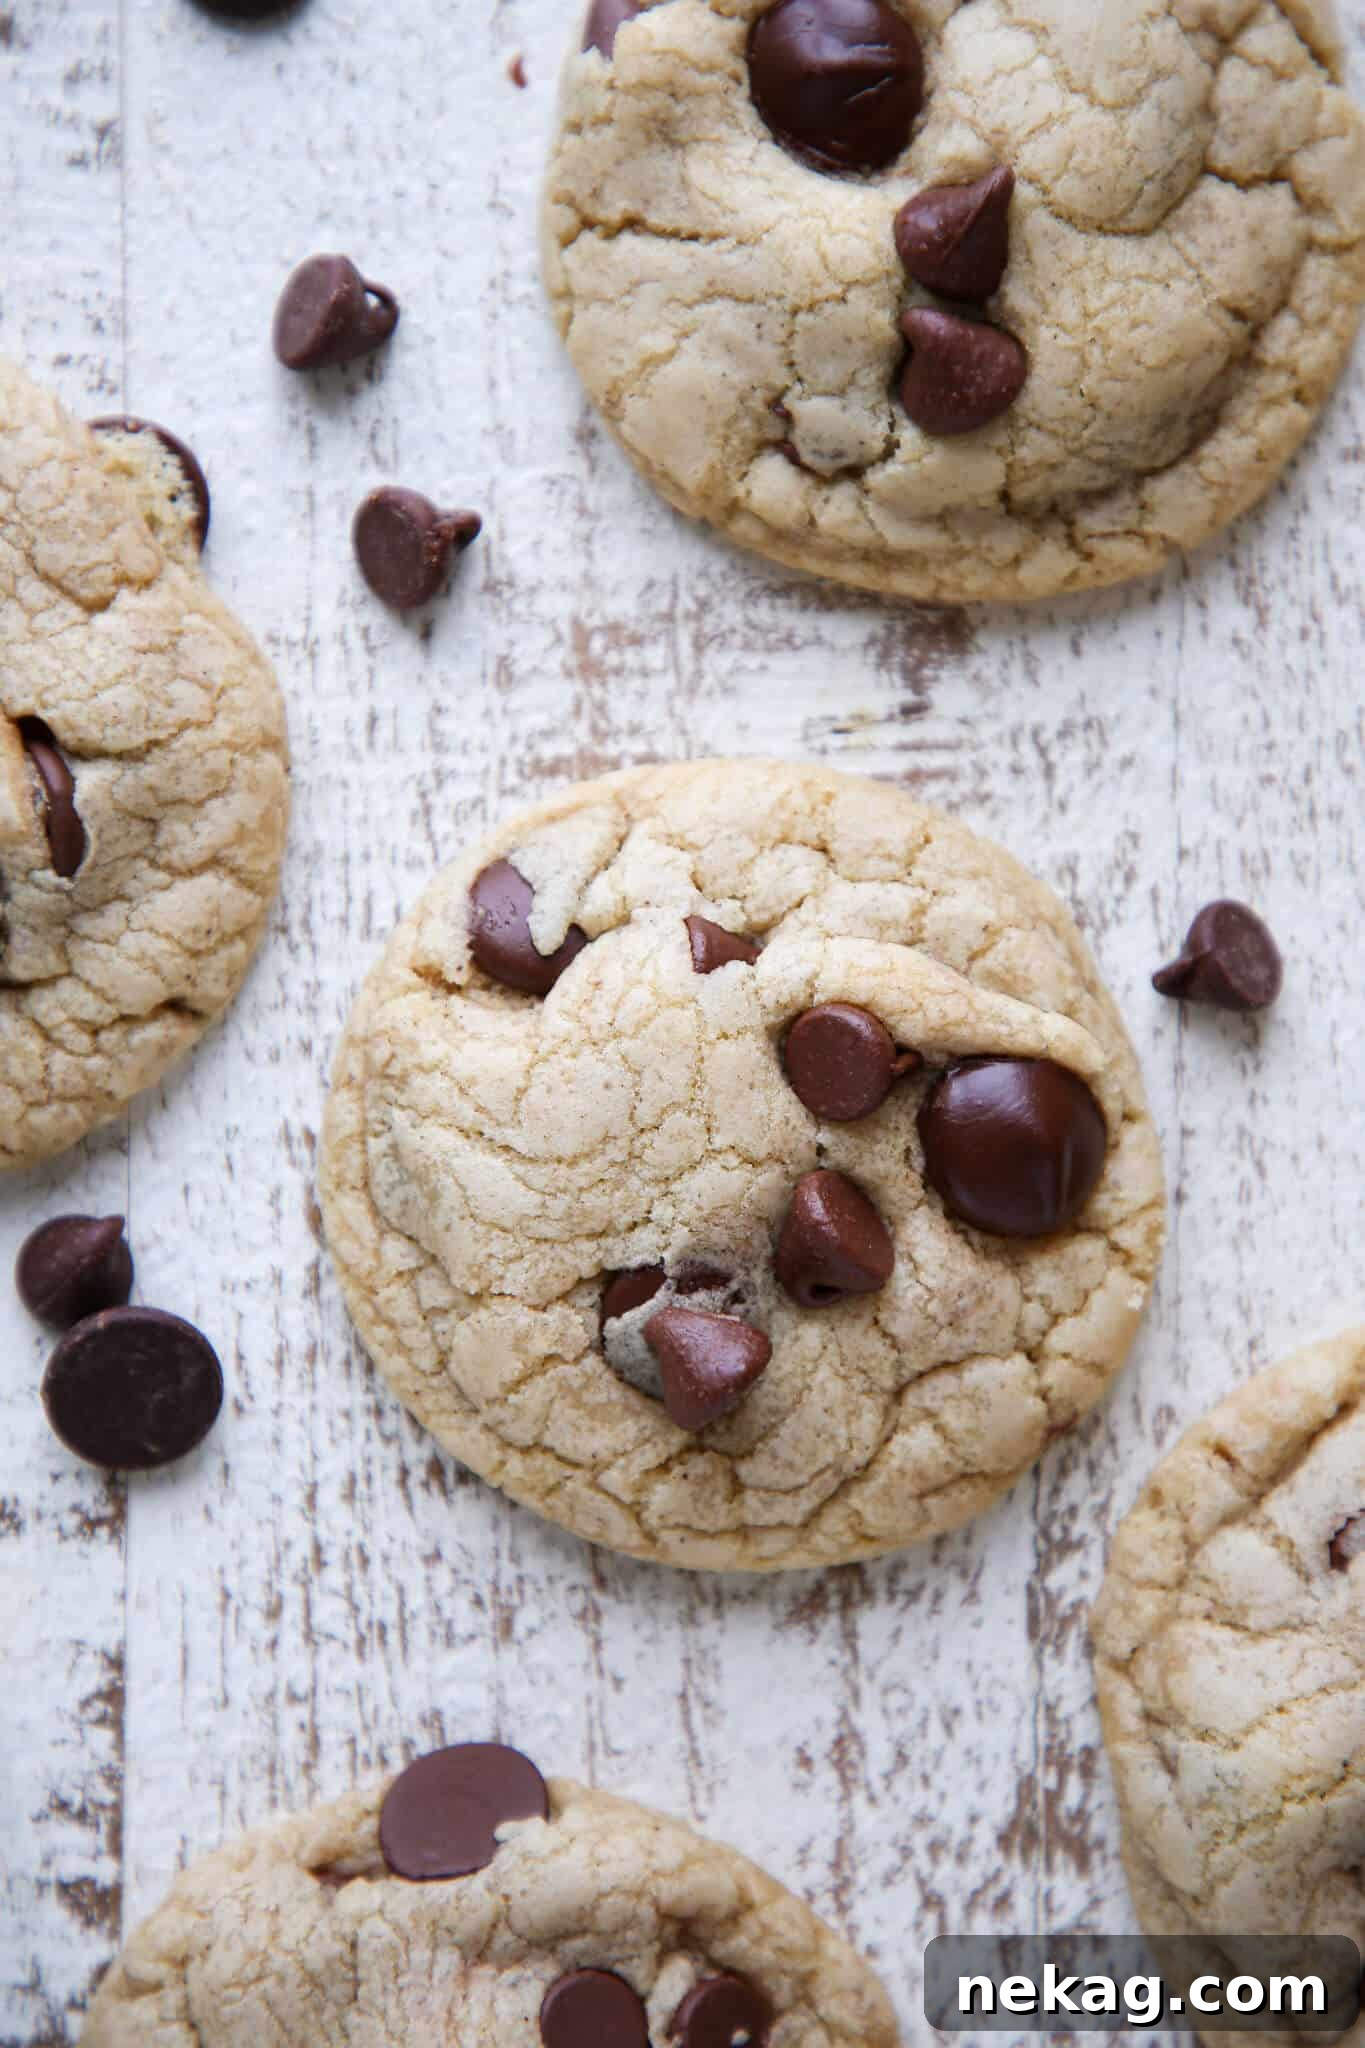
As a chef who has baked countless batches of cookies, I rarely play favorites. However, these brown butter cream cheese chocolate chip cookies have earned a permanent spot in my top three, right alongside my thick chocolate chip cookies and my sensational cream cheese chocolate chip cookies. What makes them so special? It’s the unique combination of ingredients and techniques that results in a cookie that is perfectly soft, unbelievably chewy, and loaded with so much chocolate that the dough can barely contain it.
The magic begins with perfectly browned butter, allowed to cool and re-solidify. This process creates a pillowy soft cookie with a distinct hint of toasted hazelnut flavor. In French, this culinary marvel is known as beurre noisette, meaning “hazelnut butter,” a term that perfectly encapsulates its rich, nutty aroma and taste. But these cookies don’t stop there. The addition of cream cheese elevates the chewiness to new heights and introduces a delightful subtle tang that expertly balances the sweetness, making these cookies truly extraordinary.
Table of Contents
- Why These Are The Best Brown Butter Chocolate Chip Cookies
- The Magic of Brown Butter: Beurre Noisette Explained
- The Secret to Superior Chewiness: Cream Cheese in Cookies
- Essential Ingredients for Exceptional Cookies
- Creative Variations & Smart Substitutions
- Crafting Your Perfect Brown Butter: Expert Tips
- How Long Do I Brown Butter for Cookies?
- How to Make Brown Butter Cream Cheese Chocolate Chip Cookies
- Chef Lindsey’s Expert Baking Tip
- Frequently Asked Questions
- Brown Butter Cream Cheese Chocolate Chip Cookies Recipe Card
- Before You Go
Why These Are The Best Brown Butter Chocolate Chip Cookies
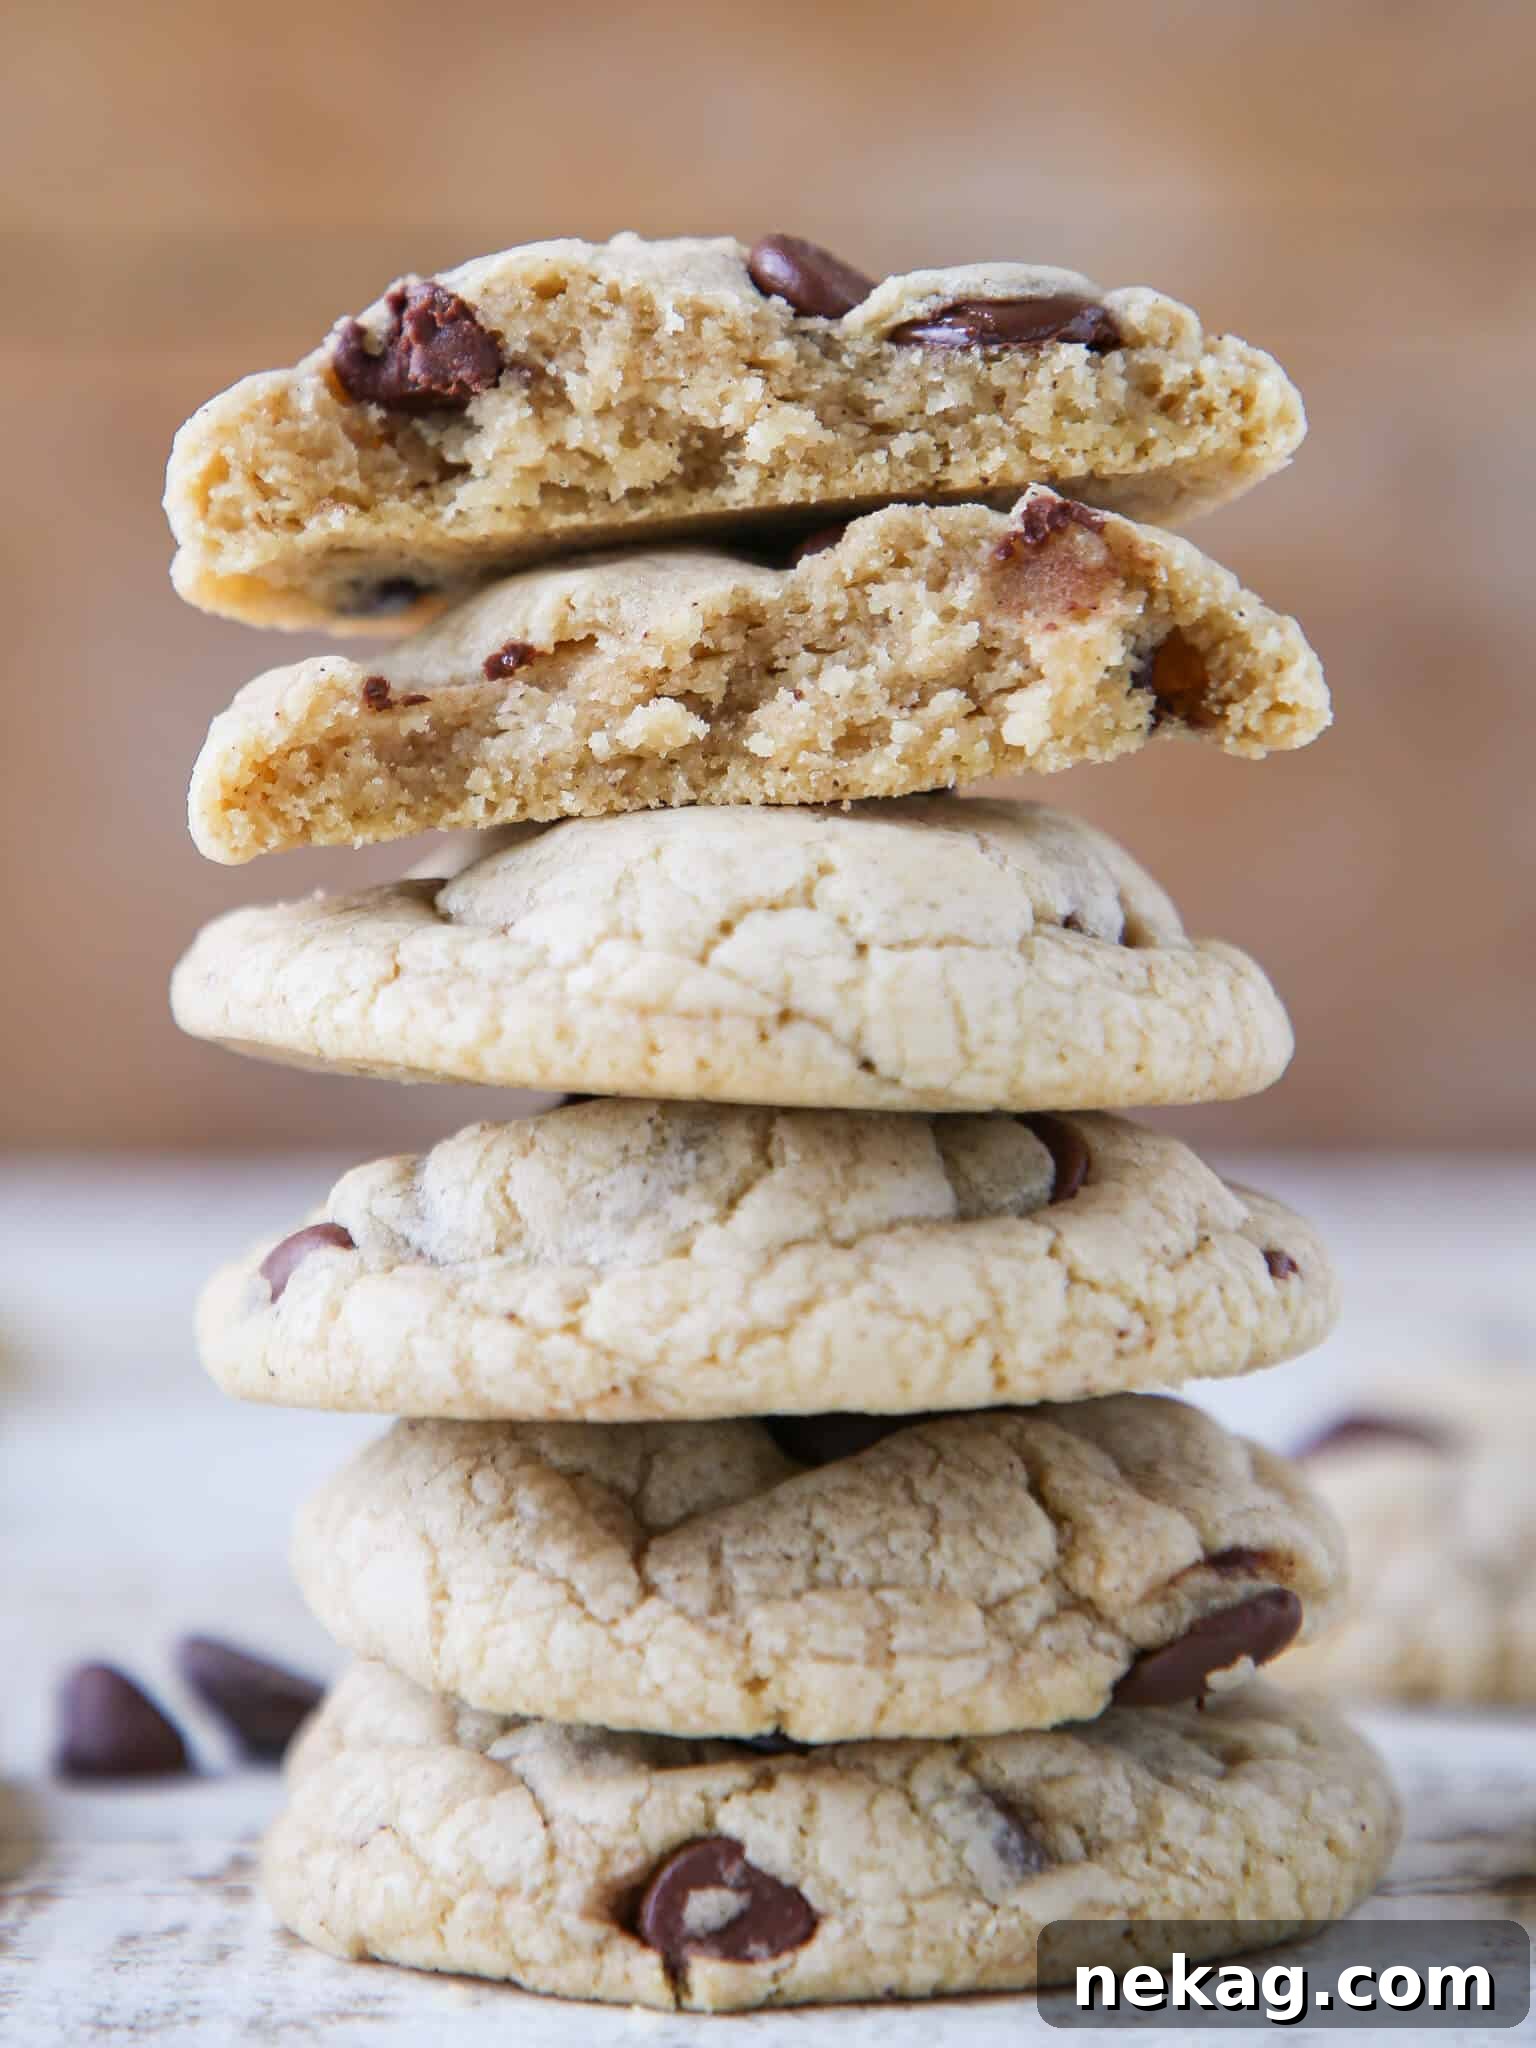
These aren’t just any chocolate chip cookies. They represent a harmonious blend of carefully selected ingredients and refined techniques that yield extraordinary results:
- Unrivaled Depth of Flavor: The browning process of the butter brings out complex, nutty notes that are simply unmatched by regular melted or softened butter. This, combined with the subtle tang of cream cheese, the richness of two chocolate varieties, and the warmth of vanilla and brown sugar, creates an incredibly dynamic and satisfying flavor profile that keeps you coming back for more.
- Irresistibly Chewy Texture: The combination of re-solidified brown butter and the unique properties of cream cheese is key to achieving that perfect soft, chewy interior. Unlike many recipes that rely on underbaking for chewiness, these cookies achieve it perfectly without being doughy, ensuring a delightful bite every time.
- Simplicity Meets Sophistication: While delivering a gourmet experience, this recipe is designed with the home baker in mind. My professional measurements and straightforward instructions eliminate common baking frustrations, making the process enjoyable and the outcome consistently excellent. You won’t find overcomplicated steps here; just clear, concise guidance for success.
- A Perfect Blend of Classics: These cookies are a masterful fusion of the beloved brown butter trend and the classic cream cheese cookie, resulting in a unique confection that stands out from the crowd. They embody the best qualities of both, offering a truly exceptional twist on a timeless favorite.
The Magic of Brown Butter: Beurre Noisette Explained
Brown butter, or beurre noisette as it’s known in French, is a culinary game-changer. It’s not just melted butter; it’s butter that has been gently cooked until its milk solids caramelize and toast, turning a beautiful golden-brown and releasing an intoxicating nutty aroma, reminiscent of hazelnuts. This transformation adds an incredible layer of complexity and warmth to baked goods that simply cannot be achieved with plain butter.
The key to successful brown butter lies in patience and observation. As the butter melts and cooks, it goes through several stages: first, it will foam, then the foam will subside, and the milk solids at the bottom of the pan will begin to toast. It’s crucial to keep an eye on it during this stage, as it can go from perfectly browned to burnt in a matter of seconds. The resulting brown butter, when re-solidified and incorporated into cookie dough, lends an unparalleled depth and richness that truly elevates the entire cookie experience.
The Secret to Superior Chewiness: Cream Cheese in Cookies
Beyond the nutty allure of brown butter, the addition of cream cheese is the unsung hero behind the incredibly soft and chewy texture of these cookies. Cream cheese, especially full-fat, block cream cheese, introduces moisture and a specific fat content that interacts uniquely with the flour and sugars in the dough. This results in a cookie that stays softer for longer and boasts a tender, almost cake-like chew that is simply irresistible.
Furthermore, cream cheese adds a subtle tanginess that beautifully rounds out the sweetness of the sugars and chocolates. This nuanced flavor contribution prevents the cookies from being overly sweet and adds another layer of sophistication to their overall profile. It’s a small addition that makes a huge impact on both texture and taste, proving that professional baking often involves these clever ingredient pairings.
Essential Ingredients for Exceptional Cookies
Every ingredient in this recipe plays a vital role in creating the ultimate brown butter cream cheese chocolate chip cookies. Using high-quality ingredients and understanding their function will guarantee the best results:
- All-Purpose Flour: The primary structural component, providing the necessary body and foundation for the cookies.
- Cake Flour: This special flour, with its lower protein content and addition of cornstarch, is crucial for creating an extra soft, tender crumb. It helps prevent the cookies from becoming tough and contributes to their delightful chewiness.
- Baking Soda & Baking Powder: These leavening agents work in harmony to give the cookies lift and a perfect spread, preventing them from being too dense or flat.
- Kosher Salt: A fundamental flavor enhancer, salt balances the sweetness of the cookies and brings out the deeper notes of the brown butter and chocolate.
- Cornstarch: Beyond its presence in cake flour, adding a little extra cornstarch directly to the dough is a fantastic trick for boosting chewiness and ensuring the cookies remain wonderfully thick rather than spreading excessively.
- Unsalted Butter: The star of the show for browning! Using unsalted butter allows you complete control over the saltiness of your cookies. Crucially, we measure the butter before browning to simplify the process and ensure accuracy.
- Cream Cheese: Our secret weapon for incredible texture! Full-fat, block cream cheese (never whipped) contributes significantly to the cookies’ soft, chewy interior and adds a pleasant, subtle tang that complements the sweetness beautifully.
- Light Brown Sugar: This provides both sweetness and essential moisture to the dough, ensuring the cookies stay soft and adding a rich, deep molasses flavor. Dark brown sugar can be substituted for an even more intense molasses note.
- White Granulated Sugar: Essential for sweetness and contributing to the slight crispness of the cookie edges. However, maintaining the correct ratio of granulated sugar to butter and flour is key to preventing excessive spreading and keeping the cookies thick and chewy.
- Whole Eggs: Eggs are multifunctional, providing fat for richness, moisture for tenderness, and acting as a binder and leavening agent. The fat in the yolks contributes to the chewiness, while whipping the eggs just enough helps emulsify the batter for a perfect texture.
- Vanilla Extract: A classic flavor enhancer that deepens and rounds out all the other flavors in the cookie, particularly the chocolate and brown butter.
- Semi-Sweet Chocolate Chips: These offer a balanced sweetness and melt beautifully, providing that quintessential chocolate chip cookie experience.
- Bittersweet Chocolate Chips (60% cocoa): I adore bittersweet chocolate chips because their intensity provides a wonderful counterpoint to the sweetness of the dough. They also melt into luxurious pockets of chocolate, creating that desirable “chocolate pull” when you break a warm cookie.
For precise quantities and a complete guide, please refer to the recipe card below.
Creative Variations & Smart Substitutions
While this recipe is perfect as written, don’t hesitate to personalize your brown butter cream cheese chocolate chip cookies with these delicious ideas:
- Change the Chips: Get creative with your chocolate! Use all bittersweet chips for a more intense chocolate flavor, opt for milk chocolate chips for extra sweetness (like in these pumpkin chocolate chip cookies), or chop up your favorite chocolate bar for rustic chunks. M&Ms or other candy pieces can also add a fun pop of color and flavor.
- Add Nuts: To truly lean into the nutty notes of the brown butter, stir in a cup of chopped walnuts, pecans, or toasted hazelnuts. Toasting the nuts beforehand will enhance their flavor even further.
- Introduce Spices: A pinch of cinnamon, nutmeg, or even a tiny amount of cayenne pepper can add a surprising warmth and complexity to the cookies, especially during colder months.
- Different Extracts: While vanilla is king, a touch of almond extract, coffee extract, or even a hint of peppermint extract (especially with dark chocolate) can create an exciting new flavor profile.
- Cream Cheese Substitution: If you find yourself without cream cheese, it’s best to adapt your approach. While you can omit it, the cookies won’t have the same signature chewiness. Instead, I recommend making a different recipe altogether, perhaps browning the butter for my bakery-style chocolate chip cookies, which are similar but rely on more common pantry staples.
- Cake Flour Substitute: No cake flour on hand? You can make a quick substitute! For every cup of cake flour needed, measure out 1 cup of all-purpose flour, remove 2 tablespoons, and replace them with 2 tablespoons of cornstarch. Whisk it well before using.
Crafting Your Perfect Brown Butter: Expert Tips
Achieving perfectly browned butter is the cornerstone of this recipe. Follow these professional tips to unlock its full flavor potential:
- Cook Over Medium-Low Heat: Resist the urge to rush the browning process. High heat can cause the milk solids to burn before the rest of the butter develops that desired nutty flavor. A slower, gentler heat ensures even browning and maximum flavor development.
- Stir Constantly: As the butter cooks, milk solids will settle and stick to the bottom of the pan. Stirring frequently with a silicone spatula helps scrape up these solids, allowing them to brown evenly without burning. This also promotes more consistent moisture evaporation, contributing to a richer flavor.
- Observe Color and Aroma: Brown butter is as much about smell as it is about sight. Look for a rich, amber or golden-brown color, and listen for the sizzling to subside. Most importantly, trust your nose – it should smell distinctly nutty, like toasted hazelnuts. If it just smells like melted butter, it needs more time.
- Transfer Immediately: Once the butter reaches its ideal color and aroma, immediately pour it, including all the delicious browned bits, into a clear or white heatproof bowl. This stops the cooking process and allows you to clearly see the color against a neutral background. The browned bits are pure flavor, so don’t leave them behind!
- Cool and Re-solidify: This is a crucial step for these cookies. Allow the brown butter to cool completely until it re-solidifies to a soft, spreadable consistency, similar to room temperature butter. This can take a couple of hours at room temperature, or you can speed it up in the refrigerator, stirring occasionally. Re-solidified brown butter behaves differently than melted butter in the creaming process, contributing significantly to the cookie’s final texture.
How Long Do I Brown Butter for Cookies?
The time it takes to brown butter can vary depending on your stovetop, pan, and the amount of butter. For this recipe, I always measure the butter before browning. There’s no need for the extra step of measuring after browning and worrying about evaporation. Instead, focus on visual and aromatic cues.
Brown your butter over medium-low heat until it transforms into a rich golden-brown hue and emits a wonderfully nutty fragrance. You’ll notice small, browned flecks in the butter – these are the toasted milk solids, and they are packed with the flavor we’re after! Don’t get caught up in the clock; rather, observe the butter closely. Swirl it occasionally, and once you believe it’s ready, pour it into a clear or white bowl for a final color check. If it still looks too light and lacks that deep nutty aroma, return it to the saucepan and continue cooking for a minute or two more.
How to Make Brown Butter Cream Cheese Chocolate Chip Cookies
Follow these detailed steps to bake your own batch of wonderfully chewy brown butter cream cheese chocolate chip cookies. Full details and exact measurements are available in the recipe card below.
Step-by-Step Instructions:
- Brown the Butter: In a light-colored saucepan, melt the unsalted butter over medium-low heat. Continue to cook, gently swirling and stirring occasionally with a silicone spatula. The butter will foam, then the foam will subside, and milk solids at the bottom will begin to turn golden, then a rich brown. Once the butter is a deep golden-brown and smells delightfully nutty (like toasted hazelnuts), immediately transfer it, including all the browned bits, to a heatproof bowl to cool.
Chef’s Insight: Stirring the milk solids on the bottom of the pan is crucial. This prevents them from burning prematurely and allows for more even browning, yielding the most flavorful brown butter possible. It also ensures more moisture evaporates, intensifying the nutty taste.
- Combine Dry Ingredients: In a large bowl, whisk together the all-purpose flour, cake flour, baking soda, baking powder, cornstarch, and kosher salt until thoroughly combined. Set this mixture aside.
- Cream Wet Ingredients: Once your browned butter has cooled completely and re-solidified to a soft, opaque consistency (it should resemble room temperature butter), transfer it to the bowl of a stand mixer fitted with the paddle attachment. Add the softened cream cheese and both types of sugar (light brown and granulated). Beat on medium-high speed for 3-4 minutes until the mixture is light, creamy, and fluffy.
Remember to Scrape: Periodically stop the mixer and scrape down the sides and bottom of the bowl with your spatula to ensure all ingredients are evenly incorporated.
- Add Eggs and Vanilla: Reduce the mixer speed to low. Add the eggs one at a time, beating well after each addition until just combined. With the second egg, add the vanilla extract. Continue to scrape the bowl as needed to ensure a smooth, emulsified batter.
- Gradually Add Flour Mixture: With the mixer still on low speed, gradually add the dry flour mixture to the wet ingredients in 4-5 additions. Mix until just combined after each addition, stopping to scrape down the bowl as necessary. Be careful not to overmix the dough, as this can lead to tough cookies.
- Fold in Chocolate Chips: Finally, add both the semi-sweet and bittersweet chocolate chips to the dough. You can either mix them in on the lowest speed of your stand mixer or, for better control and to avoid overmixing, fold them in gently with a wooden spoon or silicone spatula until evenly distributed.
Crucial Chilling Step: For the best texture – thick, chewy, and rich – these cookies are best if refrigerated overnight (at least 8 hours, up to 24 hours). Even re-solidified brown butter doesn’t behave exactly like plain room-temperature butter, and this chilling time allows the fats to fully firm up and the flavors to meld, preventing excessive spreading and ensuring a superior cookie.
- Prepare for Baking: When ready to bake, preheat your oven to 350°F (175°C). Line several baking sheets with parchment paper or silicone baking mats (Silpat) to prevent sticking and ensure even baking.
- Scoop and Bake: Roll or scoop cookie dough balls, aiming for approximately the size of a golf ball (about 2 tablespoons each). Place the dough balls on the prepared baking sheets, ensuring they are spaced about 2 inches apart to allow for proper spreading. Bake for 10-12 minutes, or until the edges are lightly golden brown and set, but the centers still appear soft and slightly matte. They will continue to set as they cool.
- Cool Completely: Remove the baking sheets from the oven and allow the cookies to cool on the sheet for at least 5 minutes. This allows them to firm up without breaking. Then, carefully transfer them to a wire rack to cool completely. If you can’t resist eating one warm (and who can blame you?), just be aware that it might seem a little underdone, but that’s how some of us prefer them!
Chef Lindsey’s Expert Baking Tip
This cookie dough is an absolute dream for freezing! Once you’ve mixed the dough, roll it into individual golf-ball-sized portions and freeze them on a baking sheet until solid. Then, transfer the frozen dough balls to an airtight freezer-safe bag or container. You can store them for up to 3 months, ready to bake on demand! When a craving strikes, simply bake from frozen, adding an additional 3-7 minutes to the baking time, depending on the size of your cookies. The same visual cues for doneness apply – golden edges, soft centers. Freshly baked cookies anytime, with minimal effort!
Frequently Asked Questions
Once baked and completely cooled, store your brown butter chocolate chip cookies in an airtight container at room temperature for up to 3 days. For extended freshness, they can be refrigerated for up to 10 days or frozen for up to 1 month. For the absolute freshest cookies and convenience, I highly recommend storing the unbaked, rolled cookie dough balls in the freezer for up to 3 months, then baking directly from frozen as needed.
Absolutely! Baking from frozen is a fantastic way to enjoy freshly baked cookies anytime. Simply place the frozen dough balls on a prepared baking sheet and bake for an additional 3-7 minutes beyond the regular baking time, depending on their size. Look for the edges to be lightly browned and set, while the centers still appear soft and matte. No need to thaw beforehand!
Browned butter transforms cookies by infusing them with a rich, complex, nutty flavor, often described as toasted hazelnut. Texturally, when properly re-solidified and creamed, it contributes to a wonderfully chewy interior. If used melted (but cooled), it can produce cookies that are chewy but generally thinner than those made with creamed solid butter, as the fat structure behaves differently.
Brown butter cookies can sometimes turn out greasy if the browned butter wasn’t cooled sufficiently before being incorporated into the dough. It’s crucial for the browned butter to cool and re-solidify to a room-temperature, opaque, and slightly firm consistency. This allows it to properly cream with the sugars and cream cheese, creating an emulsified batter. Using hot or very warm melted butter can disrupt this emulsion, leading to a greasy texture. Even if used melted, ensuring it’s completely cooled (but not re-solidified) is key to avoiding greasiness.
Flat cookies are a common issue. In this recipe, the most common culprits for excessive spreading are insufficient chilling time for the dough, especially with the brown butter. The chilling process allows the fats to firm up and prevents the cookies from spreading too quickly in the oven. Additionally, using butter that is too warm, overmixing the dough (which develops too much gluten), or incorrect measurements of flour or leavening agents can all contribute to flat cookies. Ensuring your oven temperature is accurate also plays a role.
While unsalted butter is preferred for precise salt control, you can use salted butter. If you do, reduce the amount of added kosher salt in the recipe by about ¼ to ½ teaspoon, depending on your preference and the saltiness of your butter. Taste the dough if you’re unsure, though do so at your own risk with raw egg!
If you tried this recipe and loved it, please leave a 🌟 star rating and let me know how it goes in the comments below. I love hearing from you; your comments make my day!
Brown Butter Cream Cheese Chocolate Chip Cookies
Comment
Print Recipe
Ingredients
- 3 cups all-purpose flour
- 1 cup cake flour
- 1 teaspoon baking soda
- 1 teaspoon baking powder
- 2 teaspoons cornstarch
- ¾ teaspoon kosher salt
- 1 ¼ cups unsalted butter
- ¼ cup cream cheese (not whipped, preferably full-fat)
- 1 ½ cups light brown sugar (packed)
- 1 cup granulated sugar
- 2 large eggs
- 1 tablespoon vanilla extract
- 1 cup semi-sweet chocolate chips (Ghirardelli recommended)
- ½ cup bittersweet chocolate chips (60% cocoa, Ghirardelli recommended)
Instructions
- Brown your Butter: In a saucepan, melt the butter over medium-low heat. Continue to cook and swirl, stirring occasionally, until the butter turns a rich light brown, brown bits stick to the bottom of the pan, and it smells delightfully nutty. Transfer the browned butter (ensure all yummy brown bits are included!) to a bowl to cool completely until it re-solidifies to an opaque, room-temperature consistency.
- In a large bowl, combine the all-purpose flour, cake flour, baking soda, baking powder, cornstarch, and salt. Whisk these dry ingredients together thoroughly and set aside.
- Once the browned butter has cooled and re-solidified, combine it with the softened cream cheese and both sugars (light brown and granulated) in the bowl of a stand mixer fitted with the paddle attachment. Beat on medium-high speed until the mixture is creamy, lightened in color, and fluffy, typically 3-4 minutes. Scrape down the sides of the bowl as necessary.
- Reduce the mixer speed to low. Add the eggs one at a time, beating just until each egg is incorporated before adding the next. Add the vanilla extract with the second egg. Continue to scrape down the sides of the bowl to ensure a smooth batter.
- With the mixer still on low speed, gradually add the whisked flour mixture in 4-5 additions. Mix only until the flour is mostly incorporated after each addition. Be careful not to overmix the dough.
- Add both types of chocolate chips to the dough. Mix them in on the lowest speed of the mixer or fold them in gently by hand with a wooden spoon until evenly distributed.
- Refrigerate overnight: This step is critical for developing flavor and achieving the perfect thick, chewy texture, especially with the brown butter. If time is short, refrigerate for at least 2 hours, but overnight (8-24 hours) is highly recommended.
- When ready to bake, preheat your oven to 350°F (175°C). Line several baking sheets with parchment paper or silicone baking mats.
- Roll the chilled cookie dough into balls, approximately the size of a golf ball (about 2 tablespoons each). Place them on the prepared baking sheets, leaving about 2 inches between each cookie. Bake for 10-12 minutes, or until the sides are lightly golden brown and set, but the centers still look soft and slightly matte.
- Allow the cookies to cool on the baking sheet for 5 minutes before carefully transferring them to a wire rack to cool completely. If you can’t resist a warm cookie, be aware that it might seem very soft, almost underdone, but this is often how they are enjoyed by many, including me!
Notes
Variations – Enhance the nutty flavor by adding toasted hazelnuts or other chopped nuts. Experiment with different types of chocolate or even a sprinkle of sea salt on top before baking.
Storage – Baked cookies store in an airtight container for 3 days at room temperature, up to 10 days refrigerated, or up to 1 month frozen. For the freshest cookies, store rolled unbaked cookie dough in the freezer for up to 3 months and bake directly from frozen.
Nutrition
Before You Go
I genuinely hope you enjoyed this professionally developed and chef-tested recipe for Brown Butter Cream Cheese Chocolate Chip Cookies. It’s a true labor of love designed to bring gourmet baking into your home kitchen. For more delicious and expertly crafted treats, be sure to explore our extensive collection of pastry chef-created cookie recipes. Or, if you’re looking for another indulgent classic, why not head over to my famous Red Velvet Cookies with Cream Cheese Frosting next?
Happy Baking, and enjoy every flavorful bite!