
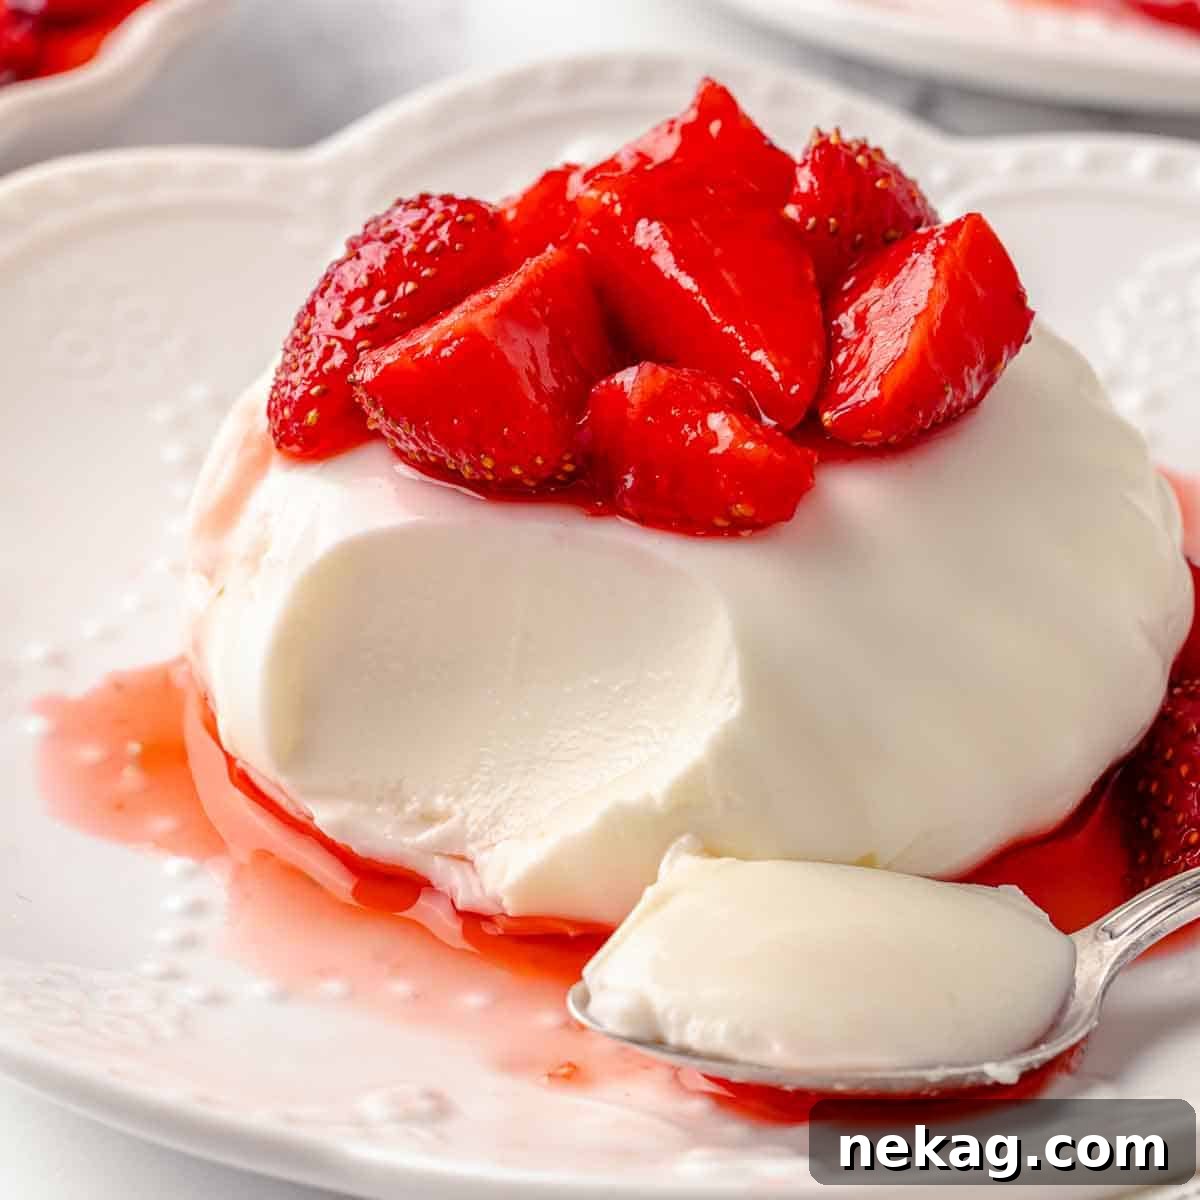
The Ultimate Buttermilk Panna Cotta: A Chef’s Guide to Silky Perfection
Prepare to experience the finest buttermilk panna cotta you’ve ever tasted! This exquisite Italian dessert boasts an incredibly smooth, luxuriously creamy texture, achieving that elusive perfect set thanks to a precisely measured amount of gelatin. This easy panna cotta recipe harmonizes classic vanilla notes with a delightful tangy zest from buttermilk, all beautifully mellowed by a hint of brown sugar. It’s a sophisticated yet approachable dessert that promises to impress.
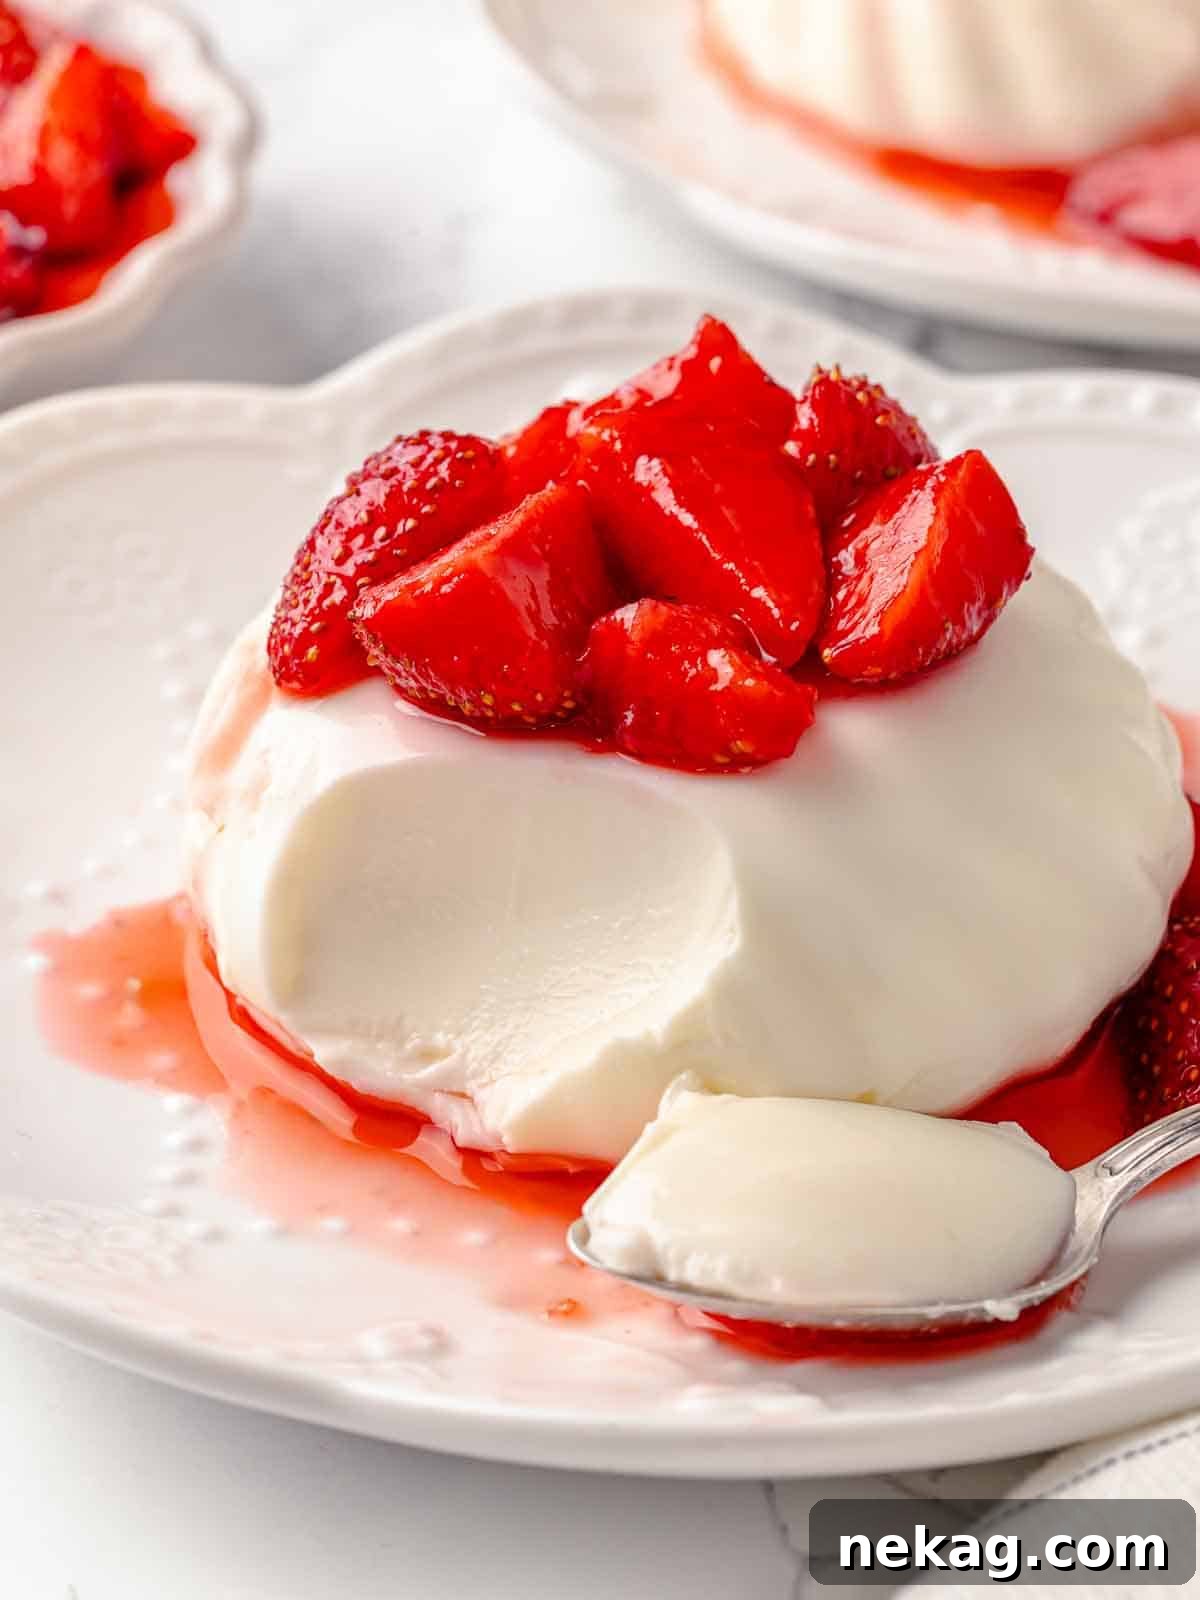
Crafting a buttermilk panna cotta recipe that truly shines is more nuanced than it appears. The secret lies in a delicate balance: just enough gelatin to ensure the dairy sets beautifully and unmolds with ease, without imparting an undesirable flavor or rubbery mouthfeel. Achieving the perfect equilibrium of sugar is crucial, as it enhances the subtle vanilla while taming the distinctive tanginess of the buttermilk. Furthermore, the precise ratio of cream ensures a rich, indulgent, and sumptuously creamy texture that melts in your mouth.
Throughout my career as a pastry chef in esteemed Italian restaurants across Manhattan, I dedicated myself to perfecting numerous variations of classic Italian desserts. This buttermilk panna cotta stands alongside other beloved creations like a vibrant lemon olive oil cake, the intensely chocolatey torta caprese, the versatile frangipane, and the delightful budino – a luxurious vanilla pudding elevated to gourmet status.
Table of Contents
- Why This Buttermilk Panna Cotta is Unforgettable
- Professional Tips for Panna Cotta Perfection
- Ingredients & Smart Substitutions
- Creative Ways to Serve Buttermilk Panna Cotta
- Step-by-Step Guide: Crafting Your Buttermilk Vanilla Panna Cotta
- Chef Lindsey’s Expert Recipe Tip
- Frequently Asked Questions About Panna Cotta
- Complete Buttermilk Panna Cotta Recipe Card
- Before You Go: Explore More Delicious Desserts
Why This Buttermilk Panna Cotta is Unforgettable
- A Classic Recipe, Elevated and Perfected: My journey to perfecting this panna cotta involved rigorous testing, not just for the ideal gelatin ratio but also for the precise proportions of milk, heavy cream, and buttermilk. Many panna cottas suffer from an excessive fat content, which can leave an unappealing residue on the palate and overpower the dessert’s delicate flavors. Others are often cloyingly sweet, relying on sugar to mask a lack of true flavor complexity. This recipe avoids these common pitfalls, resulting in a perfectly balanced and delightful dessert.
- The Magic of Brown Sugar Balancing Buttermilk: During extensive recipe development, I discovered that the subtle molasses notes in light brown sugar are key to harmonizing the distinctive tang of buttermilk. While you absolutely want to taste the characteristic zest and creaminess of buttermilk, the goal is not for the panna cotta to taste like a solidified glass of buttermilk. Brown sugar adds depth and a gentle sweetness that beautifully complements the acidity, creating a more refined and appealing flavor profile.
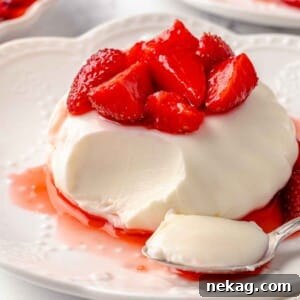
- Exquisite Macerated Berries for a Flavorful Contrast: While the recipe below features succulent macerated strawberries, this panna cotta is incredibly versatile and pairs beautifully with a variety of fresh seasonal fruits. Imagine it with vibrant fresh berries, sweet cherries, or a simple yet elegant easy blueberry sauce! The gentle sweetness and slight acidity of a fruit topping provide a wonderful contrast to the tangy, creamy panna cotta, elevating the entire dessert experience. The maceration process draws out the fruit’s natural juices, creating a delicious, vibrant sauce.
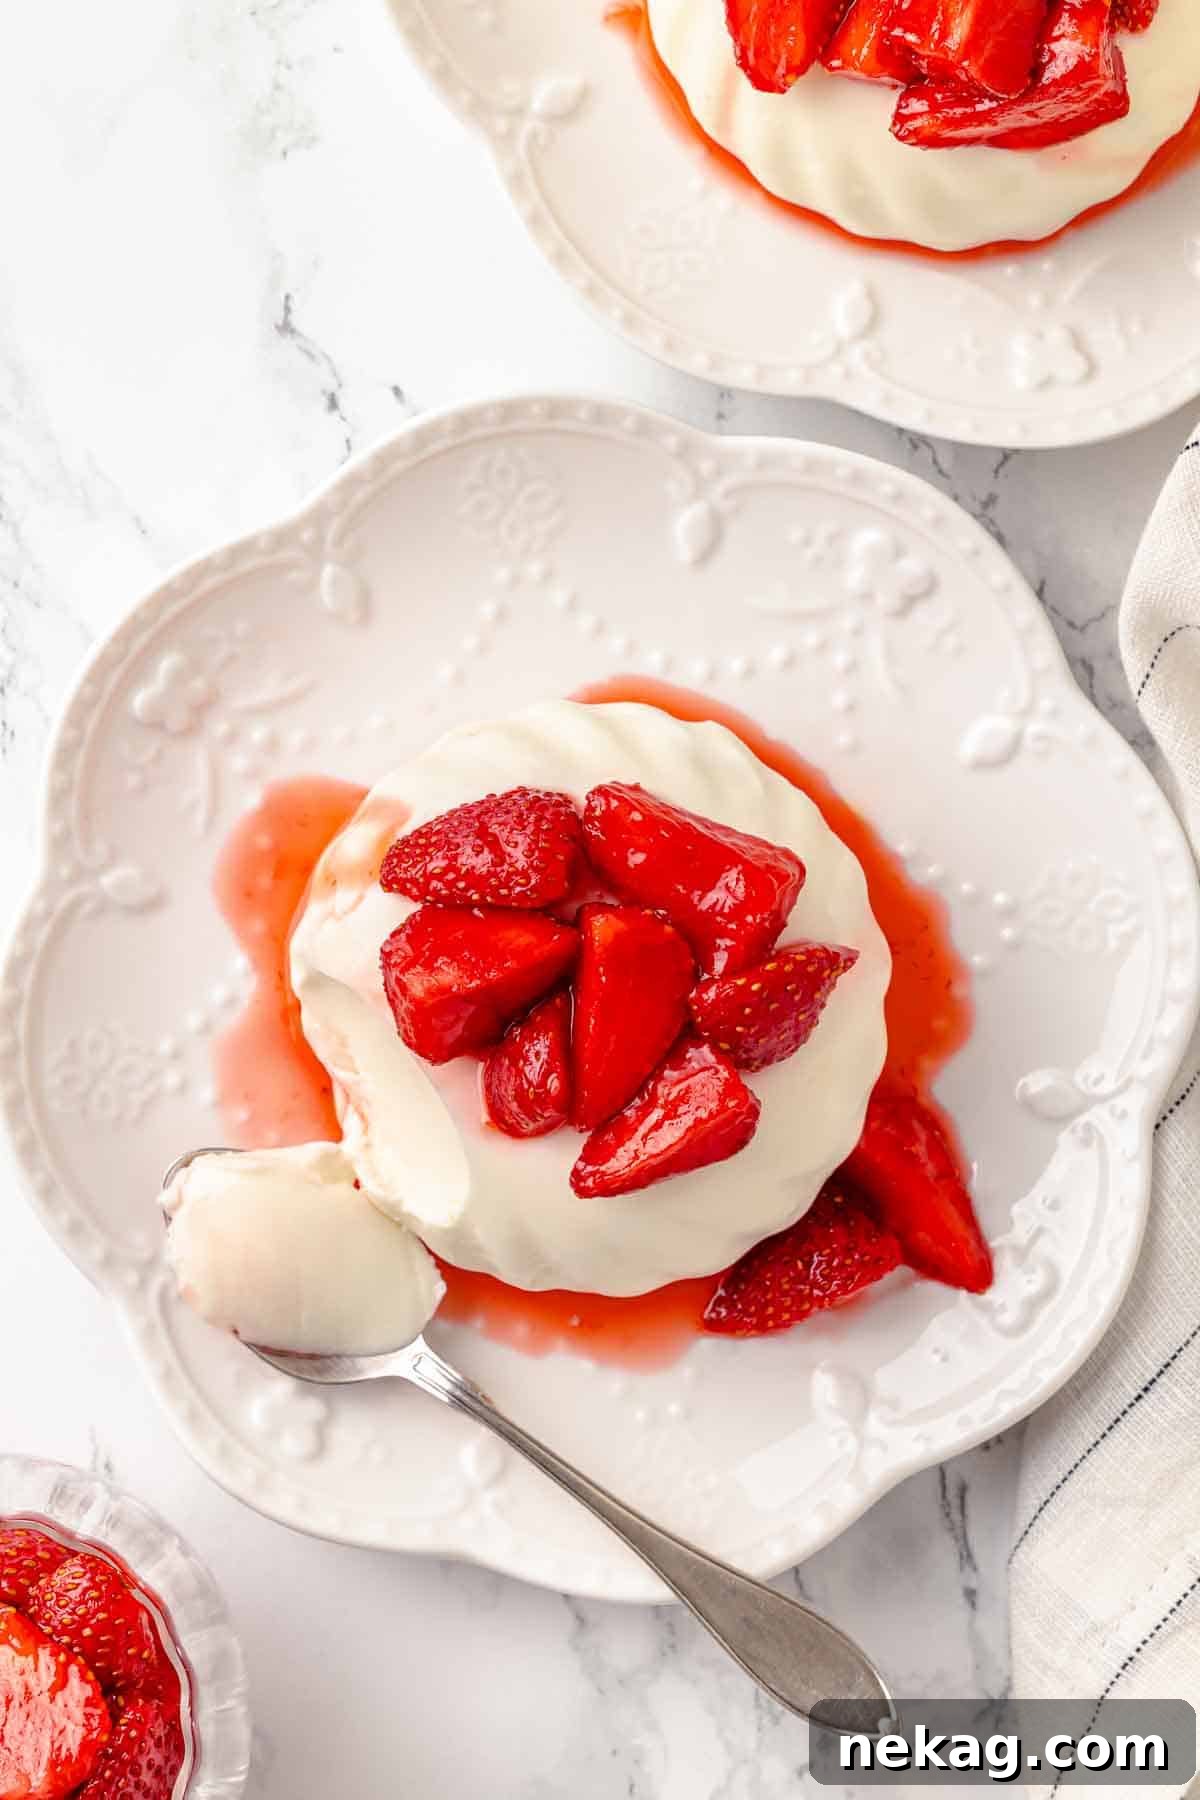
Professional Tips for Panna Cotta Perfection
- Optimal Flavor and Texture: Divide Heavy Cream & Avoid Heating Buttermilk: A crucial professional secret for the best flavor and texture is to avoid excessively heating all of the dairy. The delicate flavors and creamy textures of heavy cream and especially buttermilk can be compromised when subjected to prolonged heat. Instead, I incorporate most of the cold cream and all of the buttermilk at the very end of the process, after the milk and gelatin mixture has been gently heated. This method preserves the fresh, vibrant taste and smooth consistency of these key ingredients.
- Always Shake Your Buttermilk: Buttermilk naturally separates into thinner and thicker components over time. Before measuring, it’s absolutely essential to give the closed container a thorough shake to ensure a consistent, homogenous mixture. For this recipe, I strongly advise against attempting to “make your own” buttermilk using lemon juice and milk, as the resulting consistency and tang may not yield the desired professional-grade texture and flavor.
- Freezing in Silicone Molds for Effortless Unmolding and Storage: While I offer detailed unmolding techniques below, freezing your panna cotta in silicone molds provides two significant advantages: extended storage capabilities and vastly simplified unmolding. For longer preservation, panna cotta can be frozen for up to two months. When ready to serve this convenient make-ahead dessert, simply allow approximately 2 hours for them to thaw completely in the refrigerator, ensuring they regain their perfect silky consistency.
- Unmold Just Before Serving for Impeccable Presentation: To maintain the ideal shape and delicate texture, it’s best to unmold your panna cotta no more than 30 minutes before serving. Because this recipe employs just enough gelatin for a luscious, melt-in-your-mouth experience (rather than a firm, jello-like set), they will gradually lose their pristine shape if left at room temperature or out of their molds for too long. Always store them in the refrigerator until the last possible moment before plating.
Ingredients & Smart Substitutions for Your Buttermilk Panna Cotta
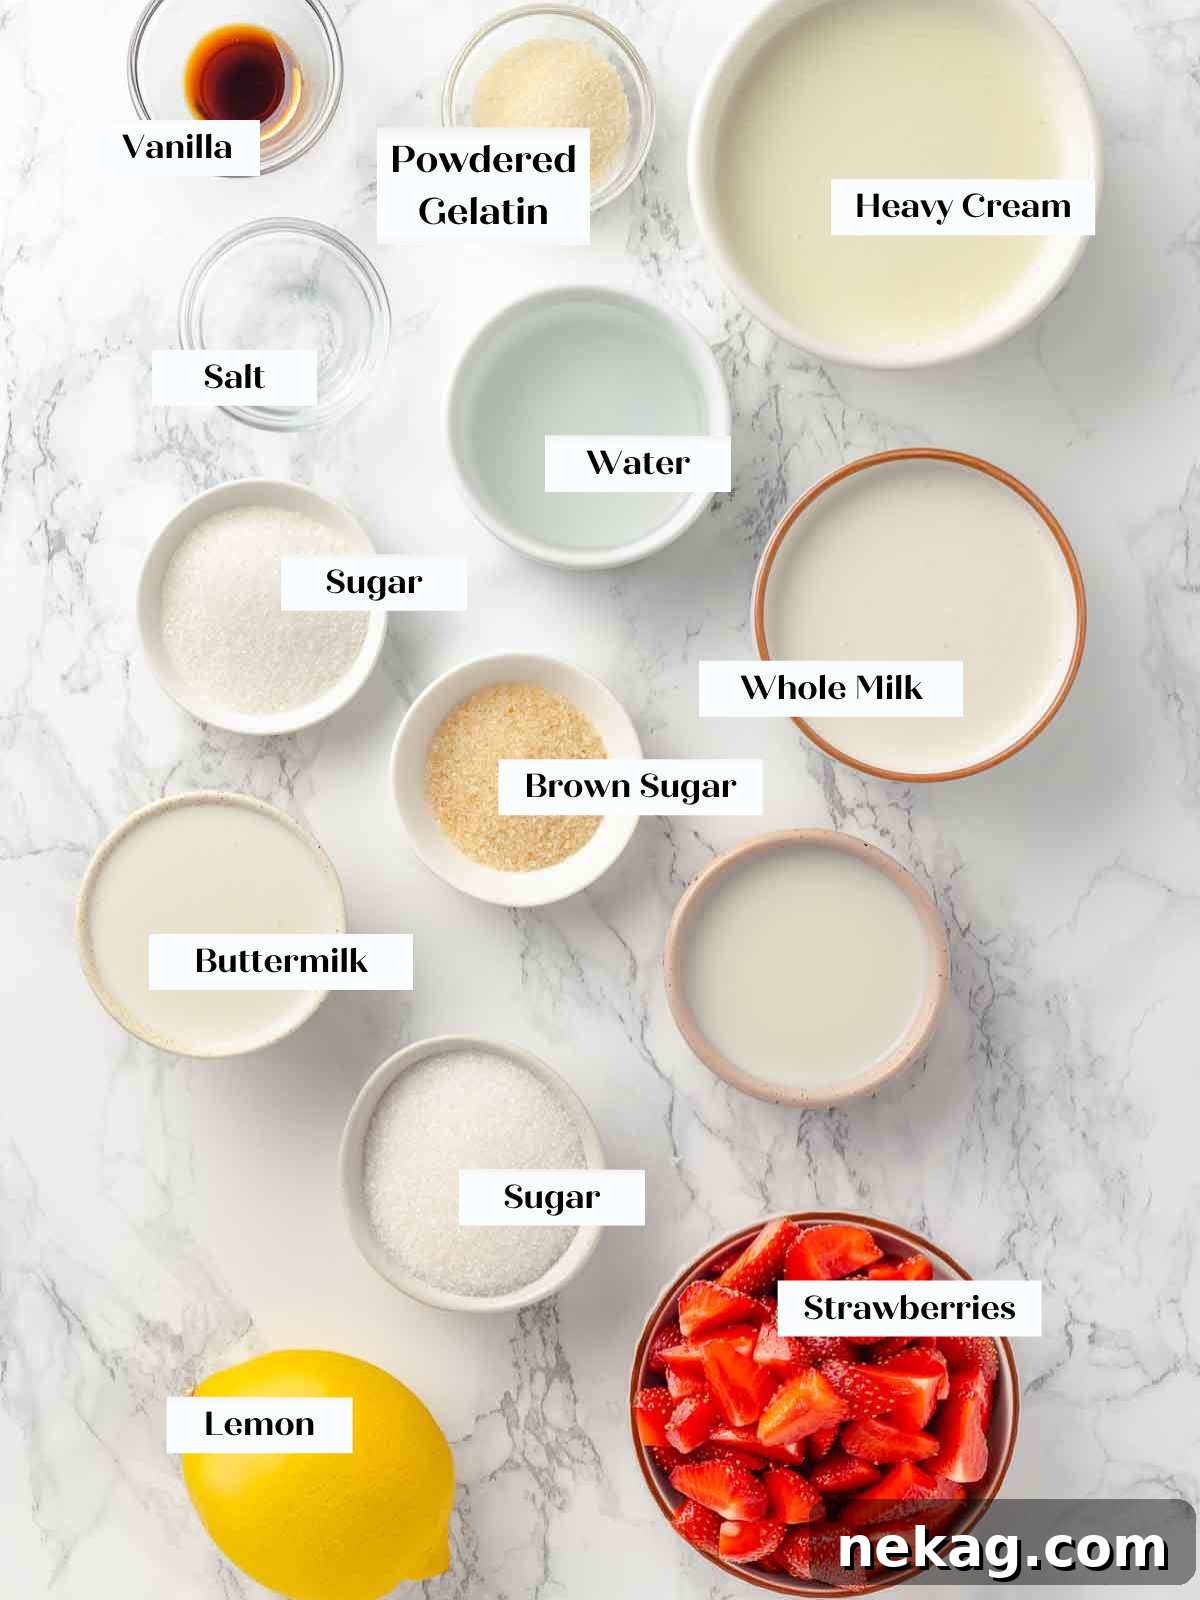
- Powdered Unflavored Gelatin: This recipe is written primarily for powdered unflavored gelatin, which is readily available to most home cooks. However, as a professional, I originally developed this buttermilk panna cotta using Silver sheet gelatin for its refined setting qualities. Should you wish to try the sheet gelatin method, the equivalent measurement is also provided, ensuring you can achieve consistent results with either form.
- Cold Water: This is exclusively required if you opt for powdered gelatin. Sheet gelatin, on the other hand, is bloomed in ice water and then gently squeezed to remove any excess liquid before being incorporated into the recipe.
- Whole Milk: My testing was conducted with whole milk, which contributes to the panna cotta’s rich body. While you can experiment with low-fat milk or dairy alternatives, be aware that the gelatin quantity might need slight adjustment to achieve a firm enough set due to the reduced fat content. Approach such substitutions with an open mind and be prepared to test for desired consistency.
- Heavy Cream: An essential component that delivers the signature richness and velvety texture central to a truly luxurious panna cotta.
- Low-Fat Buttermilk: I specifically used low-fat buttermilk for this recipe, striking a perfect balance between tang and creaminess without being overly dense. Full-fat buttermilk is thicker and could potentially alter the final texture, making the panna cotta heavier. If buttermilk is not to your preference, consider exploring a classic vanilla panna cotta recipe as an alternative.
- Kosher Salt: A small pinch of salt is vital; it doesn’t make the dessert salty but rather enhances and brightens all the other flavors, particularly the sweetness and the vanilla.
- Light Brown Sugar: The unique flavor profile of light brown sugar, with its subtle notes of molasses, plays a critical role in balancing the inherent tanginess of the buttermilk. You can certainly use dark brown sugar for a deeper molasses flavor, or 100% granulated sugar for a cleaner sweetness. If you’re experimenting with a brown sugar substitute like Truvia, remember that it’s often sweeter than traditional sugar, so taste and adjust the overall sugar content carefully.
- Granulated Sugar: This provides a clean, pure sweetness. Feel free to use all brown sugar or any alternative sweetener you prefer. Unlike in baked goods such as vanilla cupcakes or angel food cake, where sugar plays a crucial structural role, here its primary function is flavor, offering more flexibility for adjustment.
- Pure Vanilla Extract: As vanilla is a cornerstone flavor in this dessert, investing in a high-quality pure vanilla extract is highly recommended. For an even more pronounced vanilla presence and beautiful specks, you could incorporate some vanilla bean paste in conjunction with half the amount of extract.
- Fresh Strawberries: Washed, dried, and sliced, fresh strawberries are the perfect seasonal accompaniment. When strawberries are out of season, consider using thawed frozen blueberries, making a quick easy strawberry jam, or thinning mixed berry jam with a touch of lemon juice for a simple, vibrant berry sauce.
- Fresh Lemon: A squeeze of fresh lemon juice is indispensable for macerating the strawberries. It not only balances the fruit’s sweetness but also intensifies its natural flavor. This technique is also a highlight in my individual strawberry shortcake recipe! Additionally, the lemon-infused juices naturally create a beautiful, elegant plating sauce (pun absolutely intended!).
For precise measurements and comprehensive details on all ingredients, please refer to the complete recipe card provided below.
Creative Ways to Serve Buttermilk Panna Cotta
While vanilla panna cotta possesses a delightful, mild flavor that is delicious on its own, its versatility truly shines when paired with complementary toppings. To truly elevate the experience and round out the dish, I highly recommend serving this buttermilk panna cotta with one or a combination of the following ideas:
- Embrace Fresh or Macerated Fruit: The beauty of panna cotta lies in its adaptability with fruit. You can effortlessly substitute almost any seasonal fruit for the strawberries in the recipe. Imagine succulent macerated plums, vibrant raspberries, sweet blueberries, juicy blackberries, tender peaches, or rich cherries. During the colder months, elegant citrus slices offer a wonderful, refreshing pairing. Try supremes of oranges, blood oranges, grapefruits, or a vibrant medley of all three!
- Indulge with a Cooked Fruit Topping: For a different textural and flavor dimension, consider serving this panna cotta with a chilled, cooked fruit topping. My best apple butter, a comforting easy apple compote, or a luscious easy blueberry sauce are all fantastic choices. Gently roasted and chilled peaches or nectarines could also add a delightful, caramelized sweetness.
- Add a Delightful Crunchy Component: Introduce an exciting textural contrast by garnishing your panna cotta with something crunchy. A sprinkle of homemade brown sugar streusel topping, shards of pumpkin seed brittle, candied pecans, toasted walnuts, or vibrant pistachios would be superb. For a breakfast-for-dessert vibe, top it with honey granola, or for a touch of autumnal warmth, try this pumpkin spice granola.
- Enhance with a Drizzle of Sauce: A well-chosen sauce, either dolloped on top or artfully swirled underneath, can truly elevate your panna cotta. A spoonful of bright easy lemon curd, a simple drizzle of honey, or a rich salted caramel sauce goes a long way. The key is to enhance the panna cotta’s flavor without overwhelming its delicate character. For chocolate lovers, a decadent chocolate fudge sauce or a glossy chocolate ganache can be a lovely addition. Thinned fruit preserves like easy strawberry jam, mixed berry jam, or peach preserves, loosened with a little lemon juice, also make excellent spontaneous sauces.
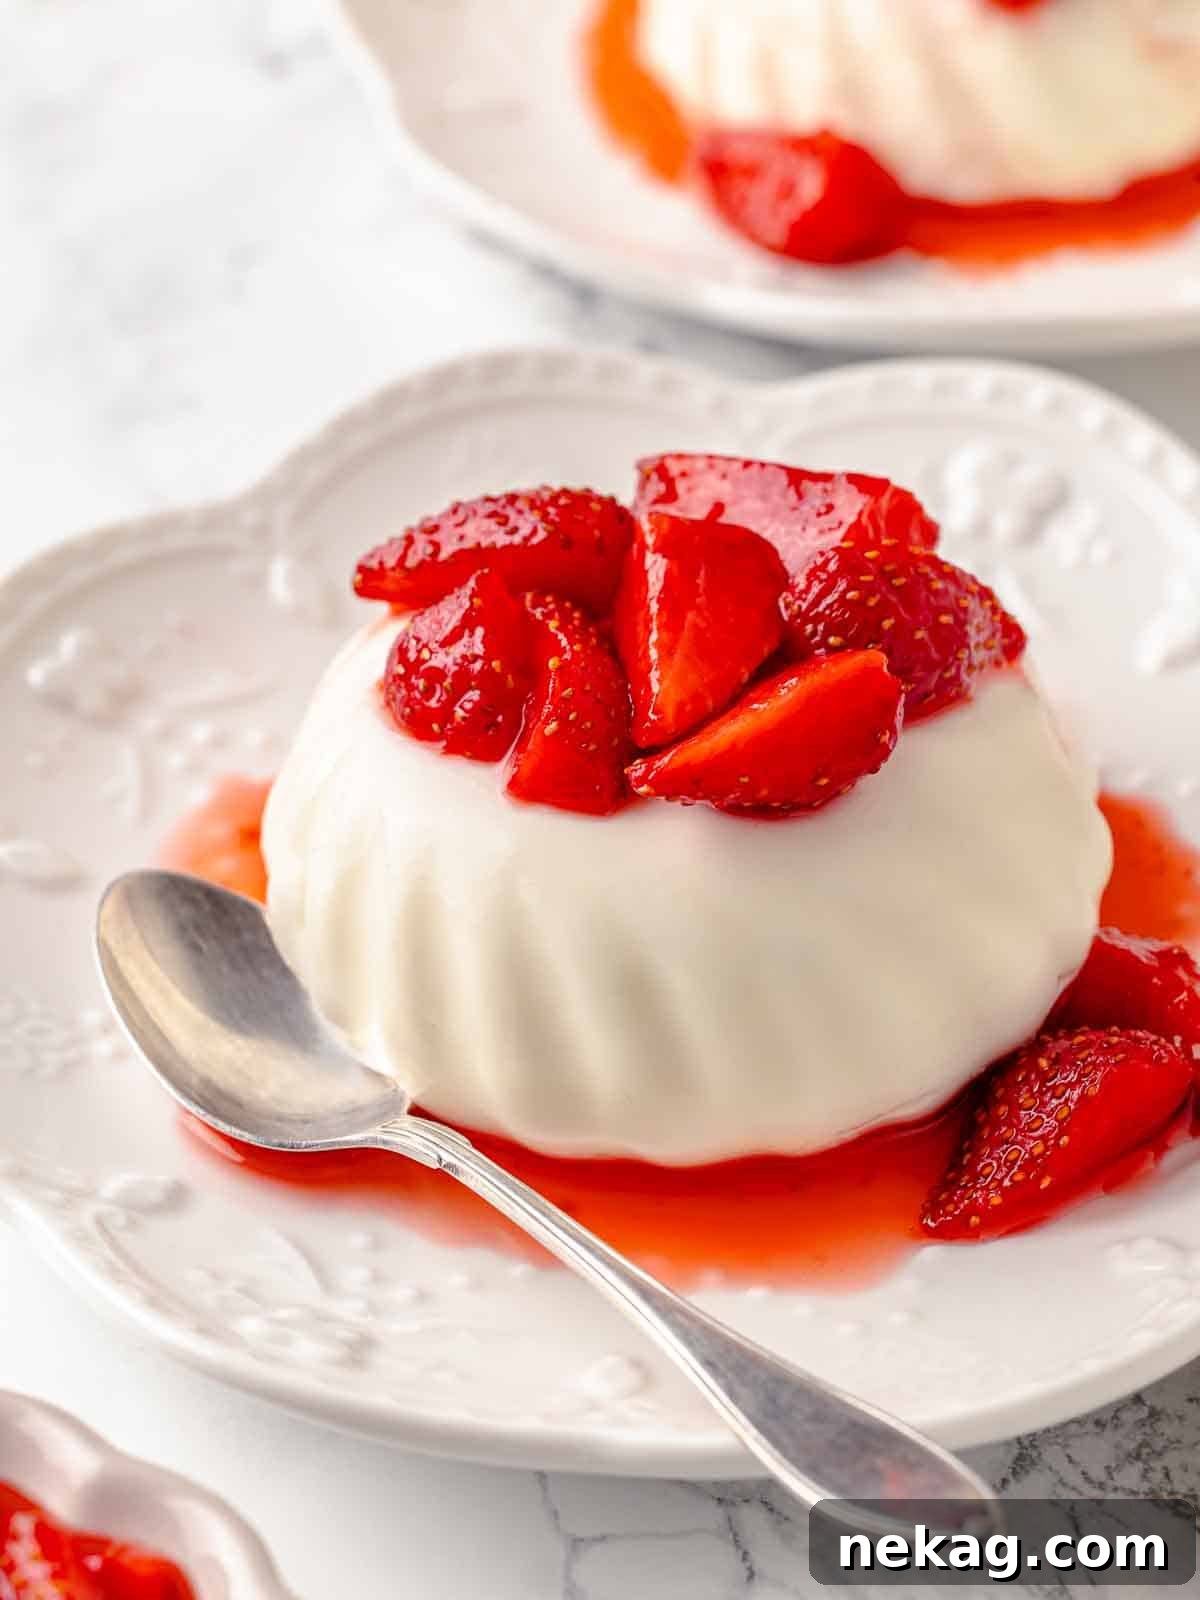
Step-by-Step Guide: Crafting Your Buttermilk Vanilla Panna Cotta
Follow these precise instructions to create this effortlessly elegant Italian dessert. Buttermilk panna cotta is an ideal make-ahead treat, perfect for dinner parties, romantic Valentine’s Day celebrations, or any special birthday gathering. You’ll find further detailed measurements and specific quantities within the recipe card conveniently located below.
Making the Panna Cotta Base:
Step 1: Prepare Your Molds. Arrange 6 individual molds or ramekins on a rimmed baking sheet. Lightly spray the insides of each mold with a nonstick cooking spray. This crucial step will aid significantly in the unmolding process later.
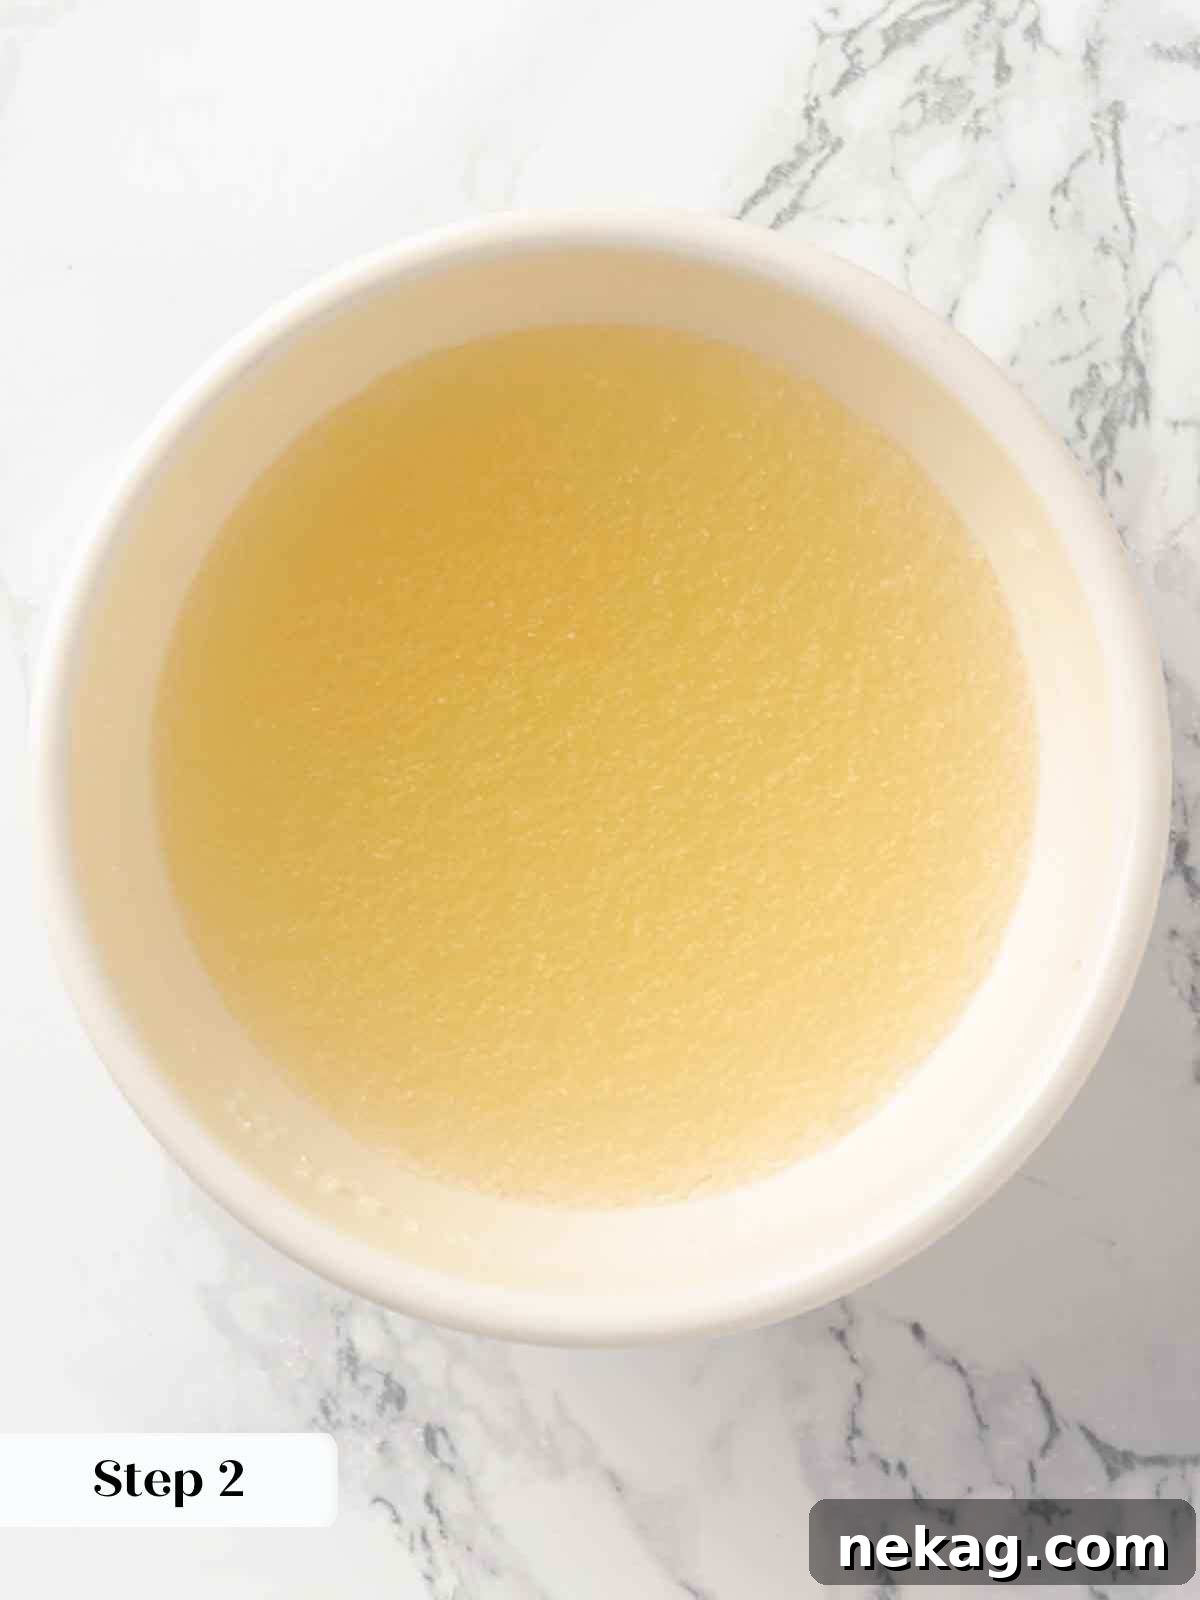
Step 2: Bloom the Gelatin. Blooming is essential for proper hydration and ensures the gelatin dissolves smoothly.
- If using sheet gelatin: Carefully place individual gelatin sheets into a bowl filled with ice water. Allow them to soften for approximately 5 minutes. Once pliable, remove the sheets and gently squeeze out any excess water. Place the bloomed gelatin aside in a small dish until you are ready to use it, but try not to let them sit for more than 10 minutes, as they can start to dry out. If preparing further in advance, keep them submerged in the ice water.
- If using powdered gelatin: In a small, separate bowl, vigorously whisk together the powdered gelatin and the cold water. Allow this mixture to sit undisturbed for about 5 minutes. During this time, the gelatin granules will absorb the water and swell, forming a soft, gel-like mass.
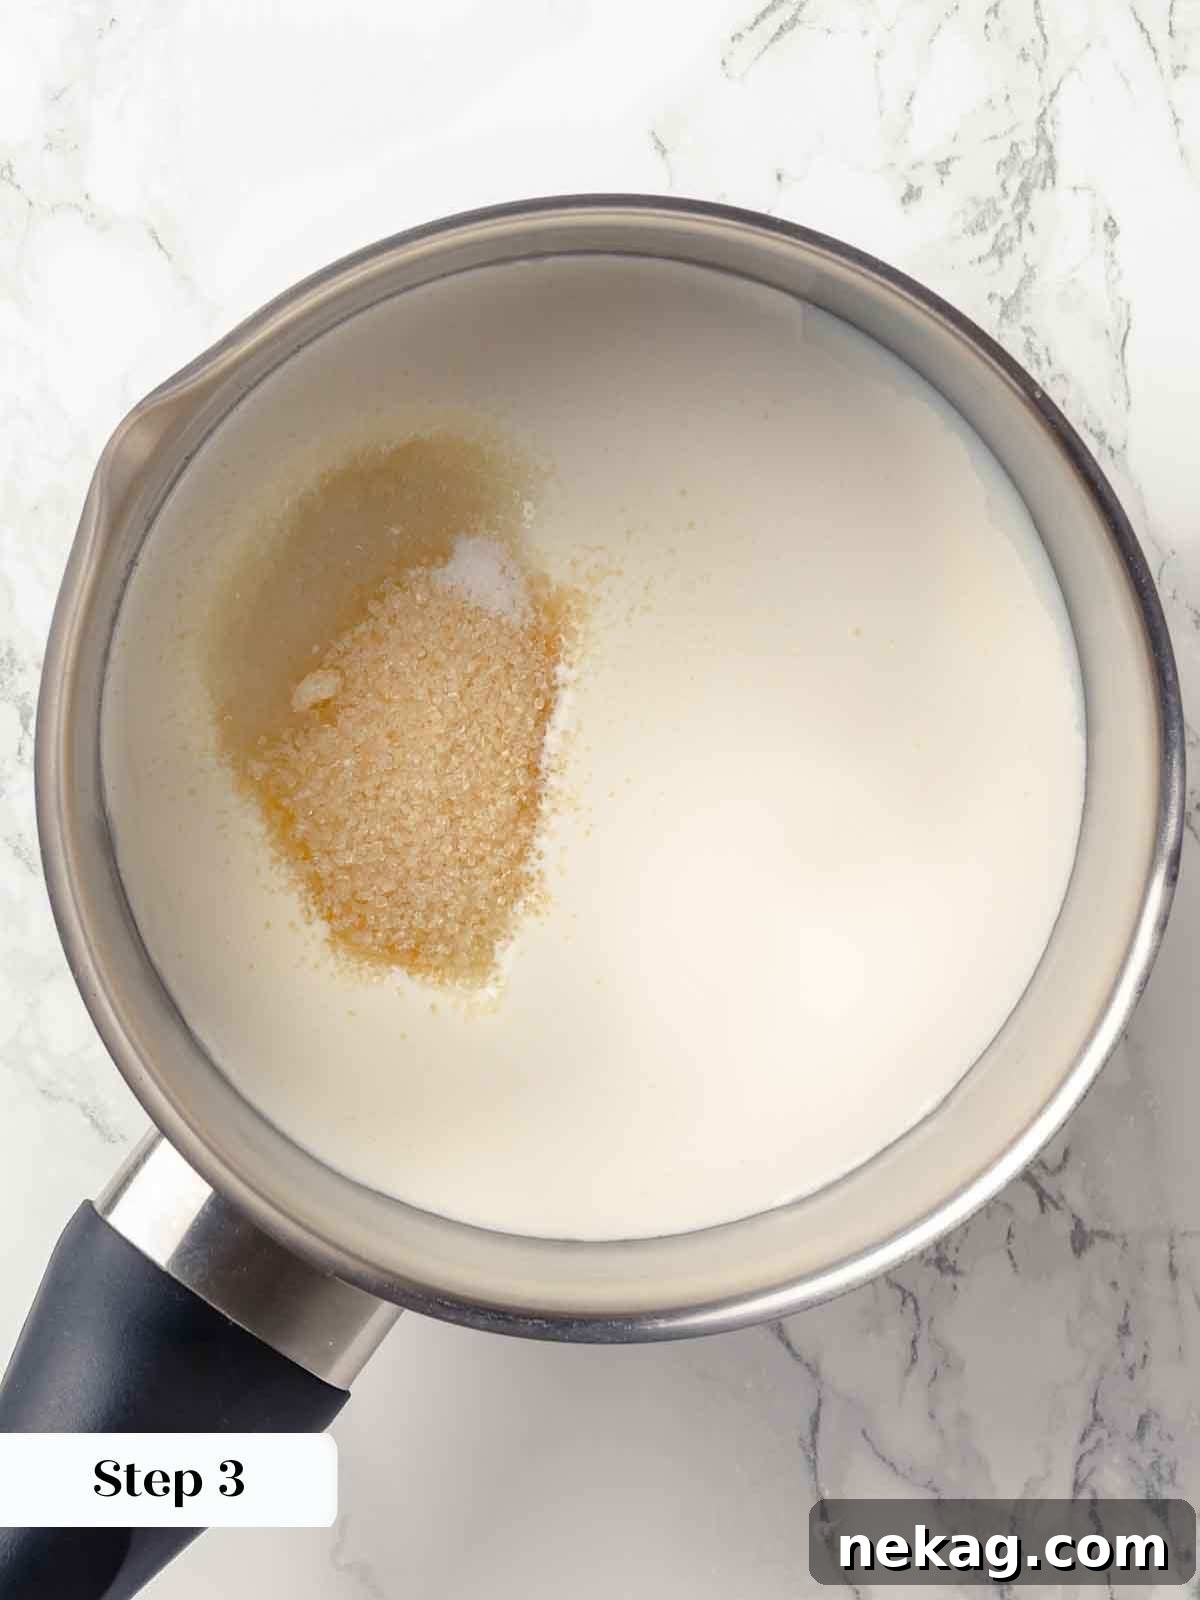
Step 3: Heat the Cream Mixture. In a small saucepan, combine ½ cup of heavy cream, the whole milk, a pinch of kosher salt, and both the granulated sugar and light brown sugar. Place the saucepan over medium heat, bringing the mixture just to a gentle boil. Stir frequently throughout this process to ensure both types of sugar fully dissolve into the liquid. Avoid vigorous boiling, which can alter the delicate dairy proteins.
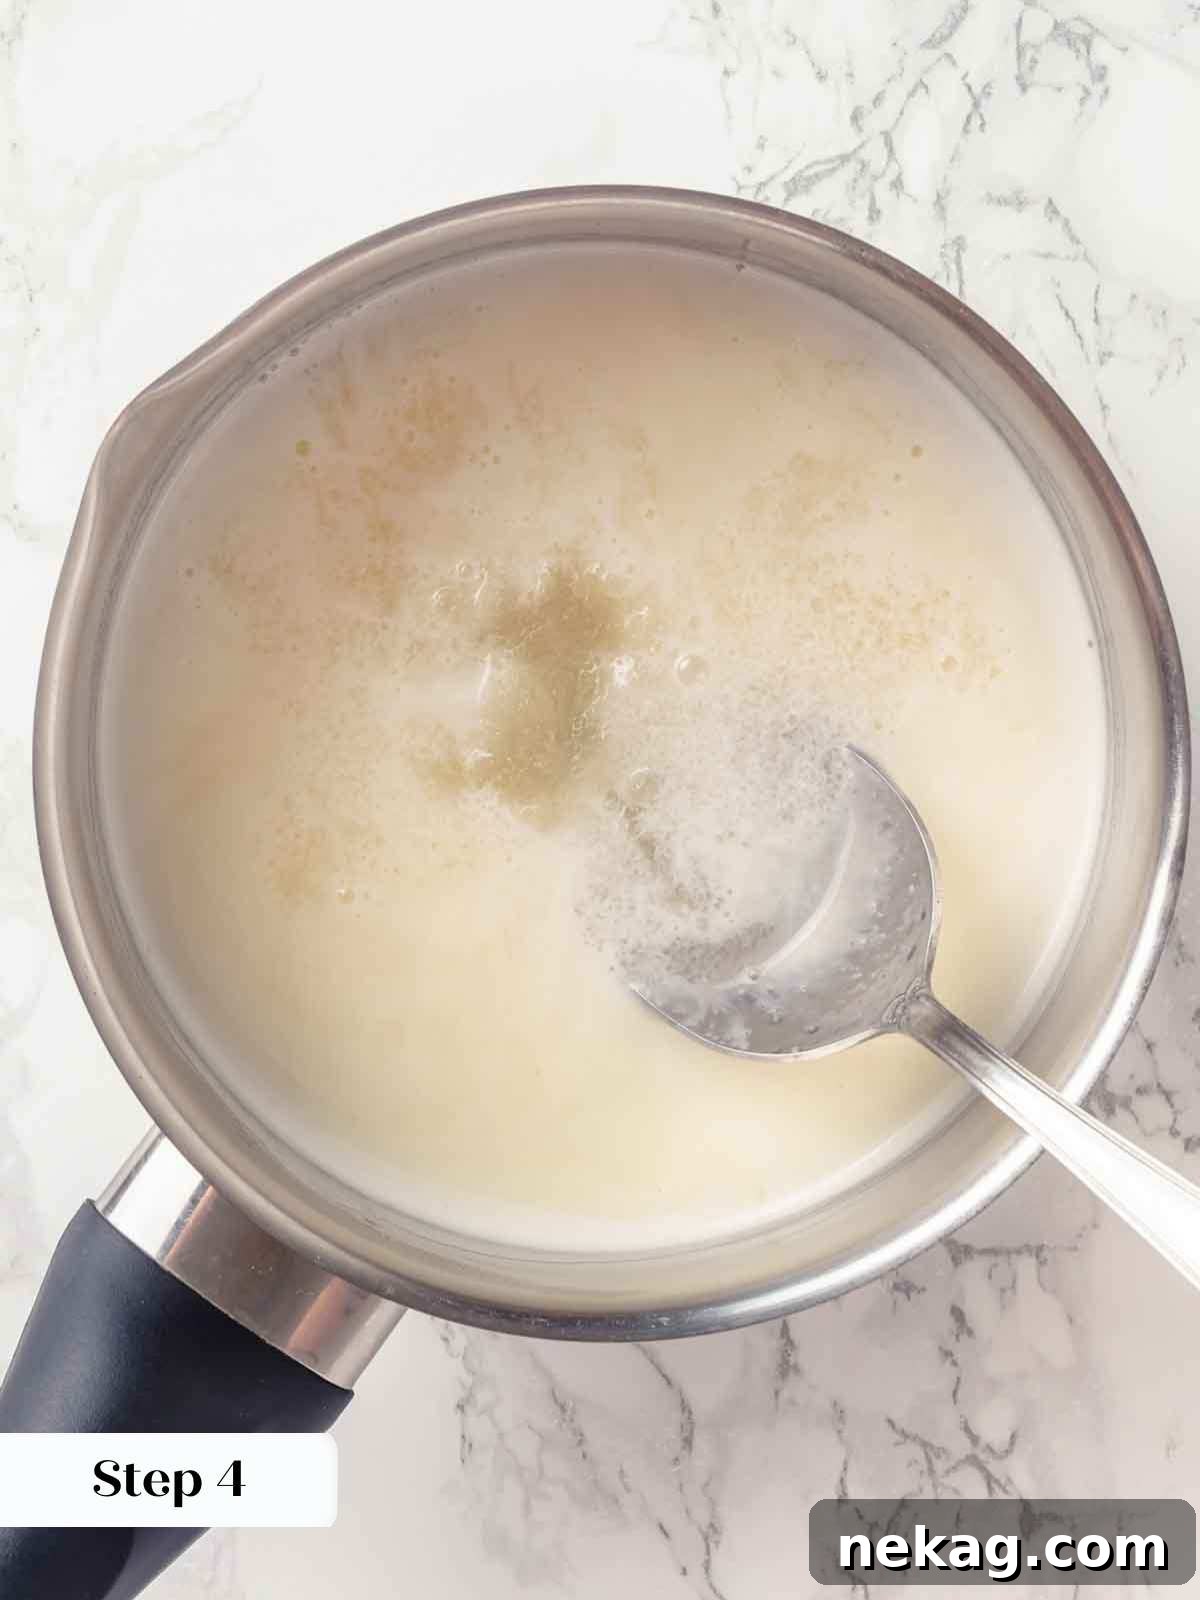
Step 4: Dissolve the Gelatin. Immediately remove the pot containing the hot cream mixture from the heat. Add the bloomed gelatin (either the squeezed sheets or the hydrated powdered mixture) directly into the warm liquid. Stir continuously until the gelatin is completely dissolved and no lumps remain. The residual heat from the cream mixture will be sufficient to melt the gelatin effectively.
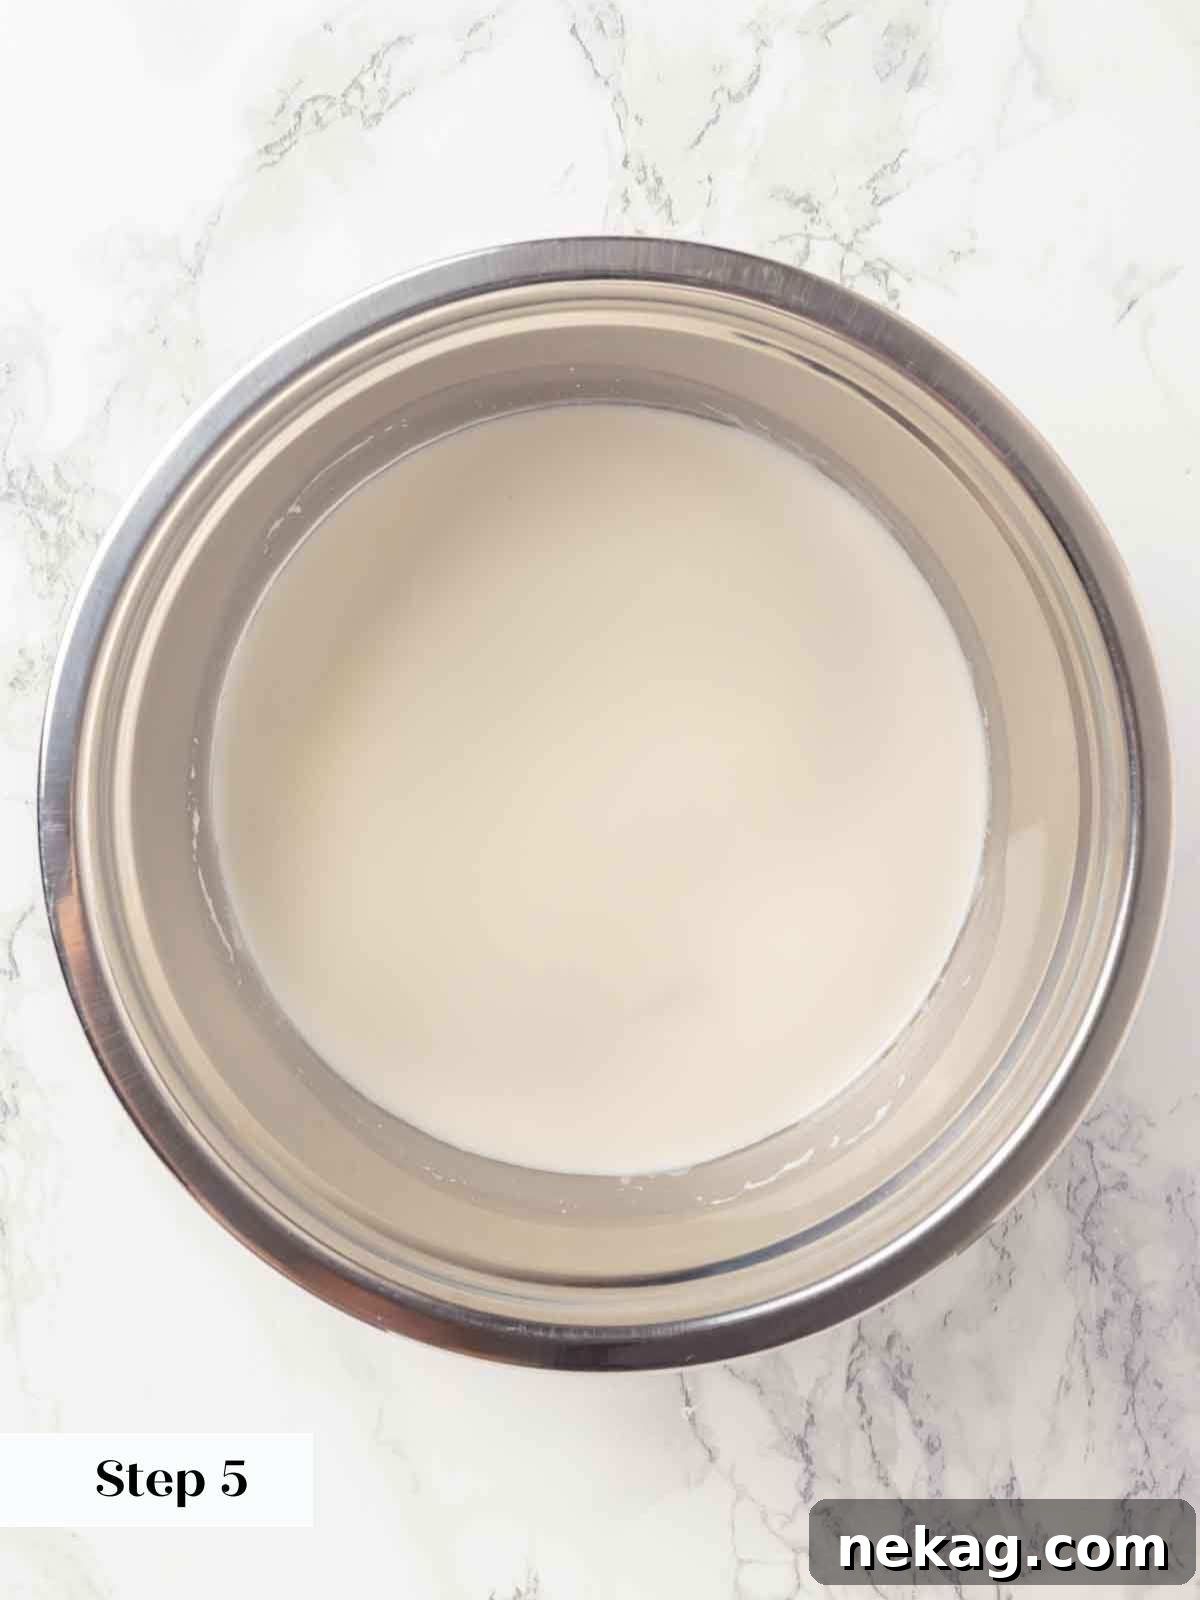
Step 5: Combine and Blend. In a separate, clean bowl or a blender, combine the remaining cold heavy cream, the low-fat buttermilk (which should have been shaken thoroughly), and the vanilla extract. Carefully pour the warm gelatin mixture into these cold ingredients. For the smoothest possible texture, either blend briefly in a blender or use a hand immersion blender to fully incorporate all components. While a whisk can be used, particularly with powdered gelatin, a blender generally yields the most homogenous and silkiest final texture.
Chef’s Insight: Keep it Cold! It is absolutely essential that the additional cream, buttermilk, and vanilla extract are very cold when combined with the warm gelatin mixture. This rapid cooling helps to quickly lower the overall temperature of the panna cotta base, which is crucial for achieving the best possible texture and preserving the fresh, vibrant taste. More importantly, it significantly minimizes the risk of the buttermilk curdling, ensuring a flawlessly smooth dessert.
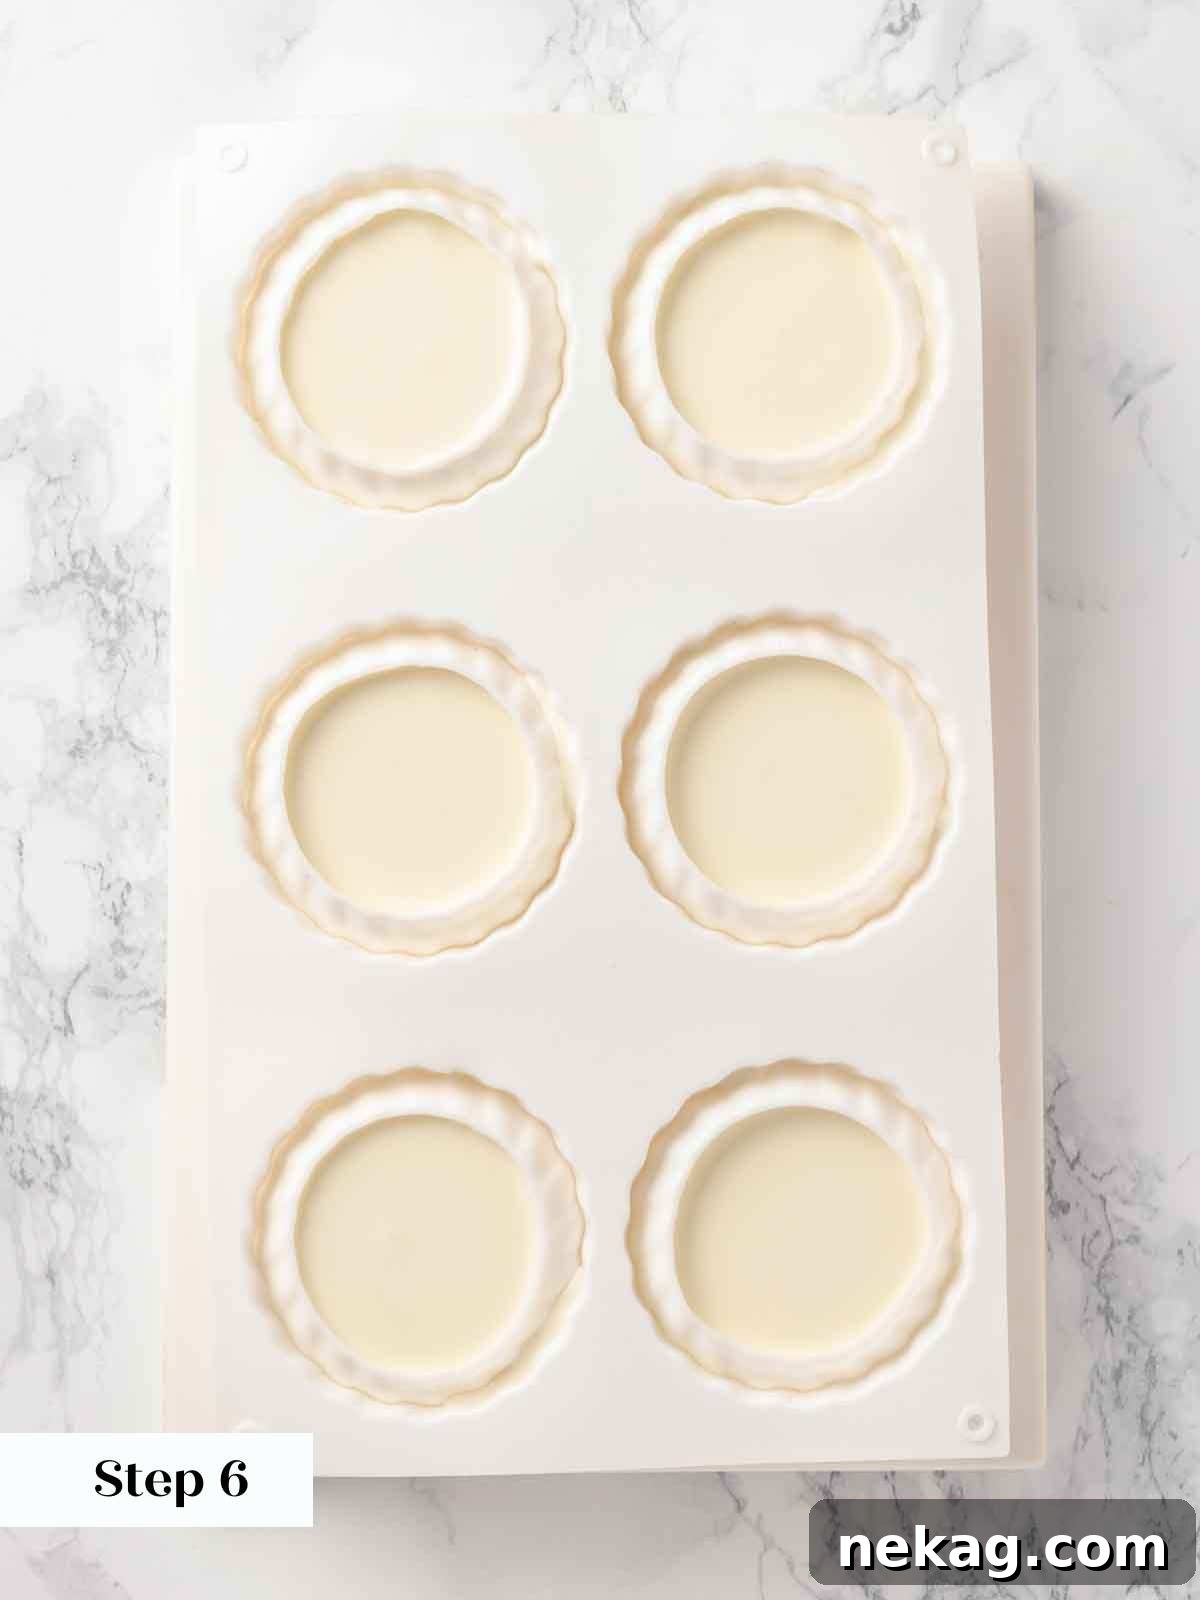
Step 6: Portion and Chill. Divide the panna cotta mixture evenly among the lightly sprayed molds. There is generally no need to strain the mixture unless you observe any undissolved lumps. Cover each mold meticulously with plastic wrap to prevent a skin from forming and to absorb any refrigerator odors. Chill completely in the refrigerator. While 2 hours is the absolute minimum setting time, for a truly reliable unmolding and the perfect melt-in-your-mouth texture (I prefer a panna cotta that is delicate and melts rather than feeling like firm Jell-O), I strongly recommend chilling overnight, or for a minimum of 12 hours.
Step 7: Unmolding for Presentation. To unmold, take a desired serving plate or bowl and invert it upside down over the panna cotta mold. Firmly hold the mold and plate together, then quickly invert them. Give a gentle shake to encourage the panna cotta to release from the mold and fall onto the plate. This method often works seamlessly.
Professional Unmolding Technique: In the Italian restaurant where I regularly served various panna cotta creations, we refined a slightly more advanced unmolding technique. We would briefly run the outside of the mold under hot tap water (or quickly dip the bottom of the mold into a bowl of hot water) for just a few seconds. This creates a thin, melted layer around the edges. Then, we would invert the mold, gently shake it into our hand, and delicately place the perfectly formed panna cotta onto the serving plate or bowl. While fluted metal molds offer a beautiful presentation, simple ramekins also yield excellent results.
Preparing Macerated Strawberries:
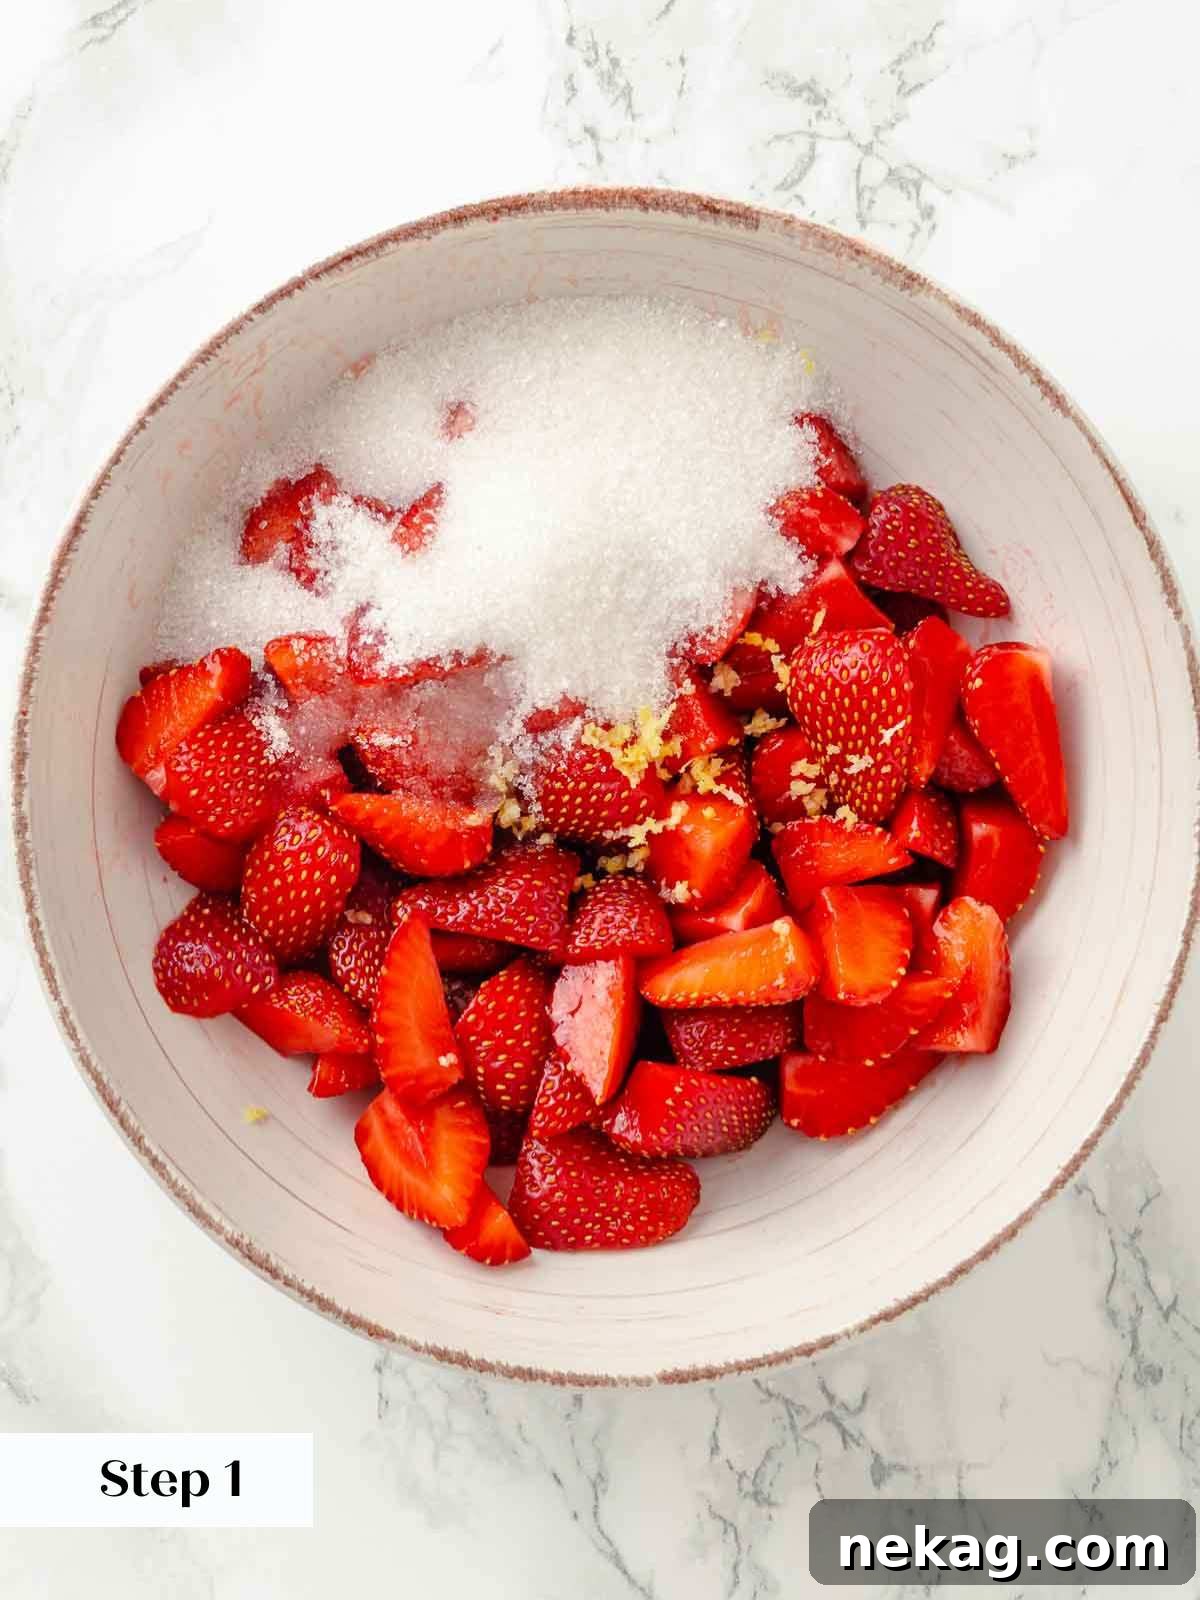
Step 1: Combine Ingredients. Approximately one hour before you plan to serve, combine the sliced strawberries, granulated sugar, fresh lemon zest, and lemon juice in a medium bowl. Gently stir all the ingredients together to ensure the sugar is evenly distributed over the strawberries. Taste the mixture and adjust the sweetness or lemon juice to your preference – some strawberries are sweeter or tartier than others.
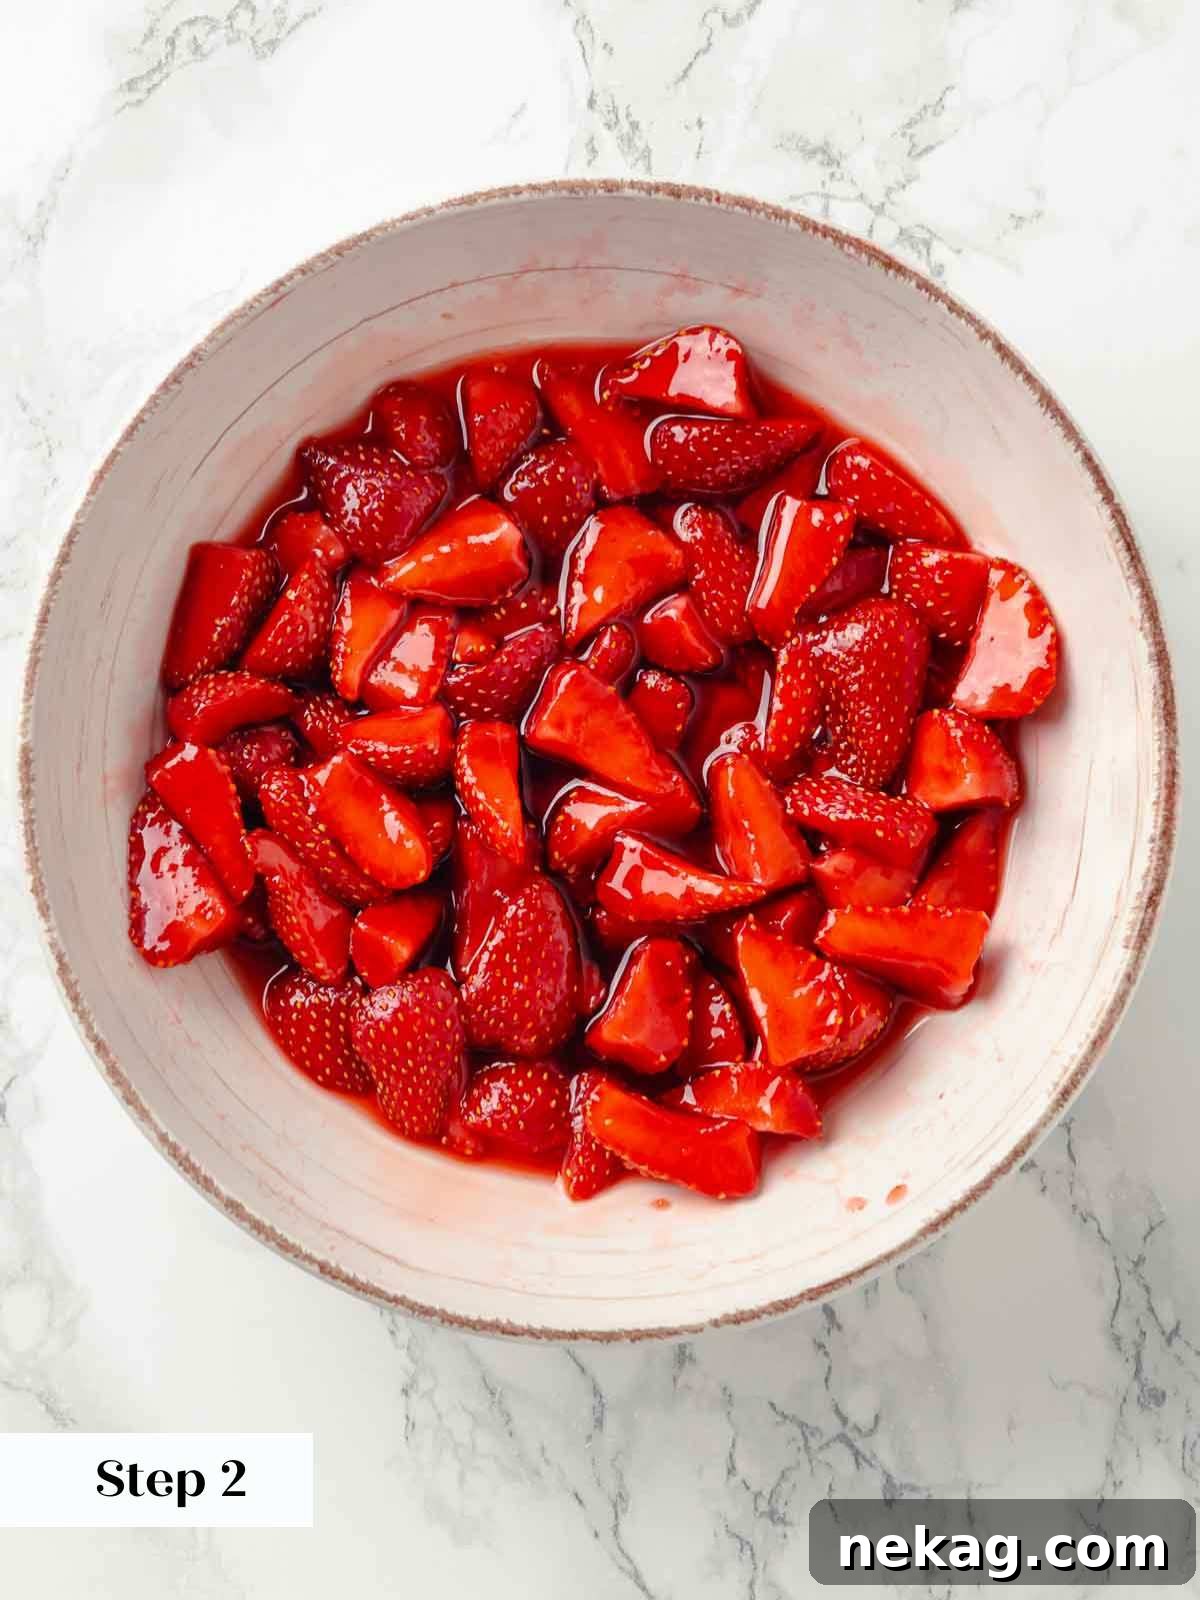
Step 2: Macerate and Chill. Cover the bowl with plastic wrap and refrigerate for at least one hour. This allows the sugar to draw out the natural juices from the strawberries, creating a vibrant, flavorful sauce. While you can prepare these the day before, be aware that over time the strawberries will soften and may lose some of their visual appeal. They will, however, remain wonderfully delicious.
Pro Tip for Leftover Macerated Strawberries: Don’t let any of those delicious leftover macerated strawberries go to waste! You can easily transform them into a quick and delightful easy strawberry jam. This was a common practice in the restaurants where I served as pastry chef – a testament to my great-grandmother’s timeless wisdom: “Waste not, want not.” It’s a fantastic way to maximize flavor and minimize food waste!
Chef Lindsey’s Expert Recipe Tip: Make-Ahead Versatility
One of the fantastic advantages of this panna cotta recipe is its incredible flexibility for advance preparation. You can effortlessly prepare the panna cotta mixture ahead of time and portion it later. If you need to fill molds at a later stage, simply gently melt the pre-made panna cotta base. This can be achieved by placing it in a heatproof bowl set over a pot of simmering water (a bain-marie or double boiler). Once melted, portion it into your desired molds, and then allow at least 2 hours to set in the refrigerator, with chilling time adjusted depending on the initial temperature of the mixture. This method is ideal for entertaining, allowing you to focus on other aspects of your meal.
Frequently Asked Questions About Panna Cotta
For optimal freshness and texture, store your buttermilk panna cotta covered with plastic wrap in the refrigerator for up to 3 days. It is highly recommended to keep them in their molds until just before serving to maintain their perfect shape. If you wish to extend their shelf life, panna cottas can be frozen for up to 2 months. Note that in my professional experience, buttermilk panna cottas tend to have a slightly shorter refrigerator life compared to those made solely with milk and cream, due to the acidity of the buttermilk.
Yes, panna cotta freezes exceptionally well, and surprisingly, frozen panna cottas are often a breeze to unmold. To ensure the best results, make sure your panna cotta is thoroughly refrigerated and completely chilled before transferring it to the freezer. Wrap individual panna cottas tightly in plastic wrap or place them in an airtight container to prevent freezer burn, and freeze for up to 2 months. To thaw, simply remove the frozen panna cotta from its mold, place it on its serving plate, and let it thaw in the refrigerator. This process typically takes about 2 hours.
Absolutely! Panna cotta can be gently remelted, making it convenient for pouring into different cups or even for adjusting the gelatin content if needed. To remelt, place the set panna cotta in a large, heatproof bowl and set this bowl over a pot of simmering water (creating a double boiler). Ensure the bottom of the bowl does not directly touch the surface of the water. Stir the panna cotta frequently as it melts over the gentle heat until it is almost fully liquid. Remove the bowl from the water bath and allow the residual heat to melt any remaining solid bits, ensuring a smooth consistency. Once melted, you can then re-portion and chill the mixture again. If you discover your panna cotta isn’t firm enough and you need to add more gelatin, simply bloom additional gelatin, dissolve it in a small amount of hot water or alcohol (if using sheet gelatin), and then whisk it thoroughly into the melted panna cotta mixture before re-chilling.
Vanilla pudding is a type of stirred custard, traditionally thickened with eggs (or egg yolks) and often cornstarch, giving it a rich, creamy consistency that is usually served in a bowl. Panna cotta, on the other hand, is not technically a custard because it does not contain eggs. Instead, it is a dairy-based dessert thickened and set exclusively with gelatin, which gives it its characteristic jiggle and allows it to be molded and unmolded. Despite the structural differences, both offer a wonderfully smooth and satisfying dessert experience.
If you tried this recipe and loved it, please leave a 🌟 star rating and let me know how it goes in the comments below. I love hearing from you; your comments make my day!
Buttermilk Panna Cotta
Pin Recipe
Comment
Print Recipe
Ingredients
For the panna cotta:
- 4 teaspoons powdered unflavored gelatin or 2 ¾ silver gelatin sheets
- 6 tablespoons cold water only if using powdered gelatin
- 1/3 cup whole milk 86g
- ½ cup heavy cream 130g
- pinch kosher salt
- 2 tablespoons granulated sugar
- 1 tablespoon light brown sugar packed
- ½ teaspoon vanilla extract
- ¾ cup low fat buttermilk 195
- 2/3 cup heavy cream 173g
For the macerated strawberries
- 2 cups strawberries hulled, quartered
- ¼ cup granulated sugar
- 1 lemon zested
- 1-2 tablespoons lemon juice to taste
Instructions
Prepare the panna cottas:
-
Place 6 molds or ramekins on a rimmed baking sheet. Spray lightly with nonstick cooking spray.
-
Bloom the gelatin: If using sheet gelatin, place individual sheets into ice water and allow to soften. This will take 5 minutes. Remove gelatin sheets and squeeze out excess water. Place in a dish to the side until ready to use, but don’t do this step more than 10 minutes in advance or the sheets will begin drying out. Rather, store them in the ice water.
-
If using powdered gelatin: In a small bowl whisk together the gelatin and cold water. Allow to sit undisturbed for 5 minutes.
-
In a small pot bring ½ cup heavy cream, milk, salt and sugars just to a boil, stirring frequently to dissolve the sugars.
-
Remove the pot with the boiling cream mixture from the heat, and add the bloomed gelatin. Stir to dissolve the gelatin.
-
In a separate bowl or blender, combine the remaining cold cream, buttermilk and vanilla. Pour the gelatin mixture into the cold ingredients and either briefly blend in blender or use a hand blender to incorporate. You can also use a whisk rather than a blender, but a blender will give the best final texture.
-
Divide between lightly sprayed molds. Cover with plastic wrap and chill completely. 2 hours is the minimum but sometimes they still will not unmold. I like to ride the line between using just enough and not enough gelatin. This produces a panna cotta with perfect mouth feel. It should melt in the mouth rather than feel like Jello. To that effect, I chill overnight always.
-
To unmold, place desired serving plate or bowl upside down over the mold. Shake to loosen the panna cotta from the mold and it should fall on the plate. In the Italian restaurant where I served this (and a bunch of other varieties), we briefly ran the outside of the mold under hot water (or dip in a bowl of hot water), over turn and shake it into your hand, then gently place on the plate or bowl for serving. I prefer the look of fluted metal molds but ramekins also work.
Macerated strawberries:
-
About an hour or so before serving, combine strawberries, sugar, zest and lemon juice in a bowl. Stir to distribute the sugar. Taste and adjust sweetness or lemon juice as needed.
-
Cover and refrigerate at least an hour. This can be done the day before but eventually the strawberries will soften and be less pretty. Still tasty but not cute.
-
Pile a few strawberries on top and allow some to fall to the side and add some of the strawberry juices to the plate.
Notes
Presentation – Serve with baked streusel, toasted or candied nuts or granola for a crunchy component and then the macerated strawberries or any other fresh fruit or berries.
Flavor Tips – Be sure the buttermilk and additional cream are cold, so that the mixture cools quickly and the buttermilk doesn’t curdle.
Storage – Store buttermilk panna cotta in the refrigerator for up to 3 days or frozen for 2 months. I do recommend storing them covered and unmolding immediately before serving. If frozen, allow 2 hours to thaw in the fridge after unmolding.
Nutrition
Before You Go: Explore More Delicious Desserts!
I genuinely hope you enjoyed perfecting and savoring this professional chef-curated buttermilk panna cotta recipe. While panna cotta, by definition, does not contain eggs and thus isn’t technically a custard, its sublime texture mirrors that of a beautifully silky, set custard such as a classic vanilla crème brûlée. If you have a passion for creamy, comforting desserts, I invite you to explore all of our custard recipes, each designed to bring a touch of gourmet delight to your home kitchen. Or, for an intriguing twist, venture beyond custards and try our effortlessly elegant lemon posset, a simple yet sophisticated dessert, perhaps perfectly paired with a vibrant cherry sauce. Happy cooking and enjoy your sweet creations!