
The Ultimate Homemade Marshmallow Fluff Recipe: Light, Stable, and Irresistible
Prepare to elevate your dessert game with this incredibly easy homemade Marshmallow Fluff Recipe. Forget bland, overly sweet store-bought versions; our recipe delivers a light, airy, and brilliantly satiny fluff that’s robust enough to pipe and hold its shape. Requiring just 5 essential ingredients and less than 17 minutes of active preparation, this stable Italian meringue is your new secret weapon for transforming cakes, cupcakes, brownies, blondies, and countless other treats into culinary masterpieces.
Crafting your own marshmallow fluff is surprisingly simple and immensely rewarding. Unlike its commercial counterpart, which often lacks structural integrity and relies on artificial vanilla flavors, this homemade version can be whipped to stiff peaks, making it ideal for elegant piping or a decadent spread. In just about 15 minutes, you can create a superior fluff that will swirl beautifully into cookies, brownies, or cakes. Mound it generously on top of rich instant pot chocolate cheesecake, zesty lemon bars, fudgy brownies, or any of our delightful cupcake recipes. Its versatility and exquisite taste make it an indispensable addition to your baking repertoire.
While similar to a classic marshmallow frosting, this particular fluff stands out due to its Italian meringue base, offering enhanced stability compared to a Swiss meringue frosting. Both yield a light, airy, and glossy finish, but for applications demanding greater structural integrity—like towering piped decorations or fillings that need to hold form—this Italian meringue fluff is undeniably the superior choice. If you’re seeking a slightly lighter, almost cloud-like texture for a simple spread, our marshmallow frosting recipe might be preferred, but for robust and stable results, this fluff reigns supreme.
Table of Contents
- What is Marshmallow Fluff?
- Why Choose Homemade Marshmallow Fluff?
- Expert Tips for Perfect Marshmallow Fluff
- Essential Ingredients
- Step-by-Step Guide to Homemade Marshmallow Fluff
- Chef Lindsey’s Insight
- Storing Your Homemade Fluff
- Creative Uses for Marshmallow Fluff
- Frequently Asked Questions
- Marshmallow Fluff Recipe Card
What is Marshmallow Fluff? Understanding the Italian Meringue
At its core, marshmallow fluff, also known as marshmallow creme, is a stable Italian meringue. Imagine the soft, pillowy essence of vanilla marshmallows before they fully set—that’s precisely the delightful taste and texture you achieve with this recipe. It shares a close kinship with my Italian meringue buttercream and even homemade marshmallows, but with key distinctions. This fluff is butter-free, corn syrup-free, and gelatin-free, making it a purer, lighter alternative. While many store-bought fluffs contain corn syrup for stability, our method achieves exceptional stability naturally, using a precise sugar syrup technique that results in a superior product.
Italian meringue is created by slowly streaming hot sugar syrup (heated to the soft ball stage) into whipping egg whites. This cooking process both pasteurizes the egg whites and creates a incredibly stable, glossy, and volumized meringue. The high temperature of the sugar syrup cooks the egg whites, eliminating the need for gelatin and ensuring a food-safe product without any raw egg concerns. The resulting fluff is less sweet than many traditional marshmallow frostings and possesses an unparalleled smooth, silky finish.
Why You Will Love This Homemade Marshmallow Fluff
- Unrivaled Light & Airy Texture with a Satin Finish: This fluff is truly ethereal, melting in your mouth like the inside of a perfectly toasted marshmallow. Its glossy sheen adds an irresistible visual appeal to any dessert.
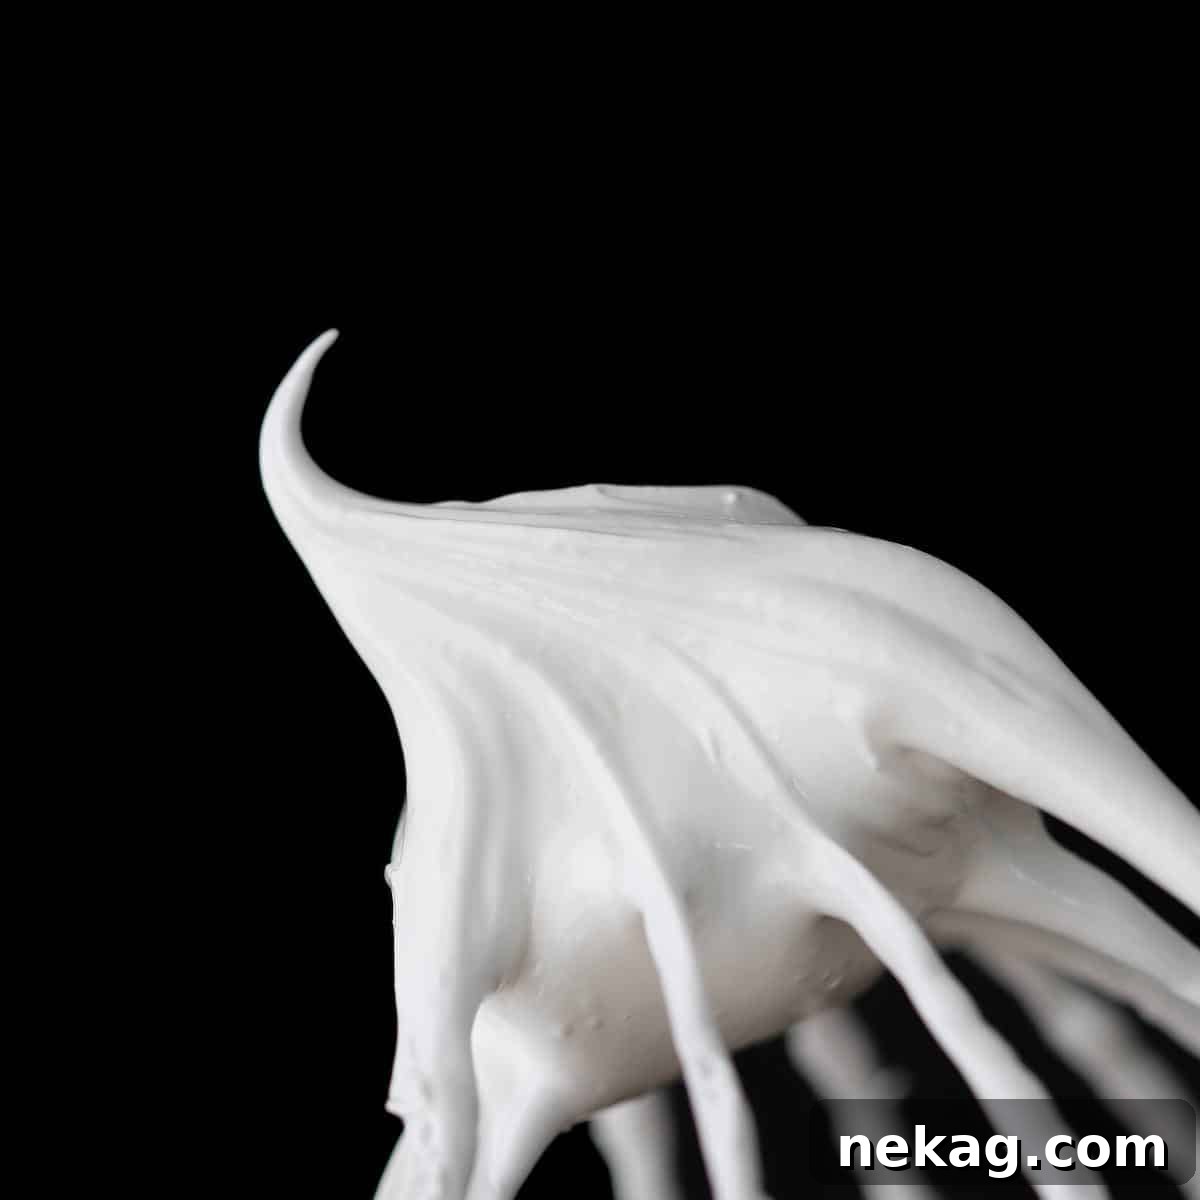
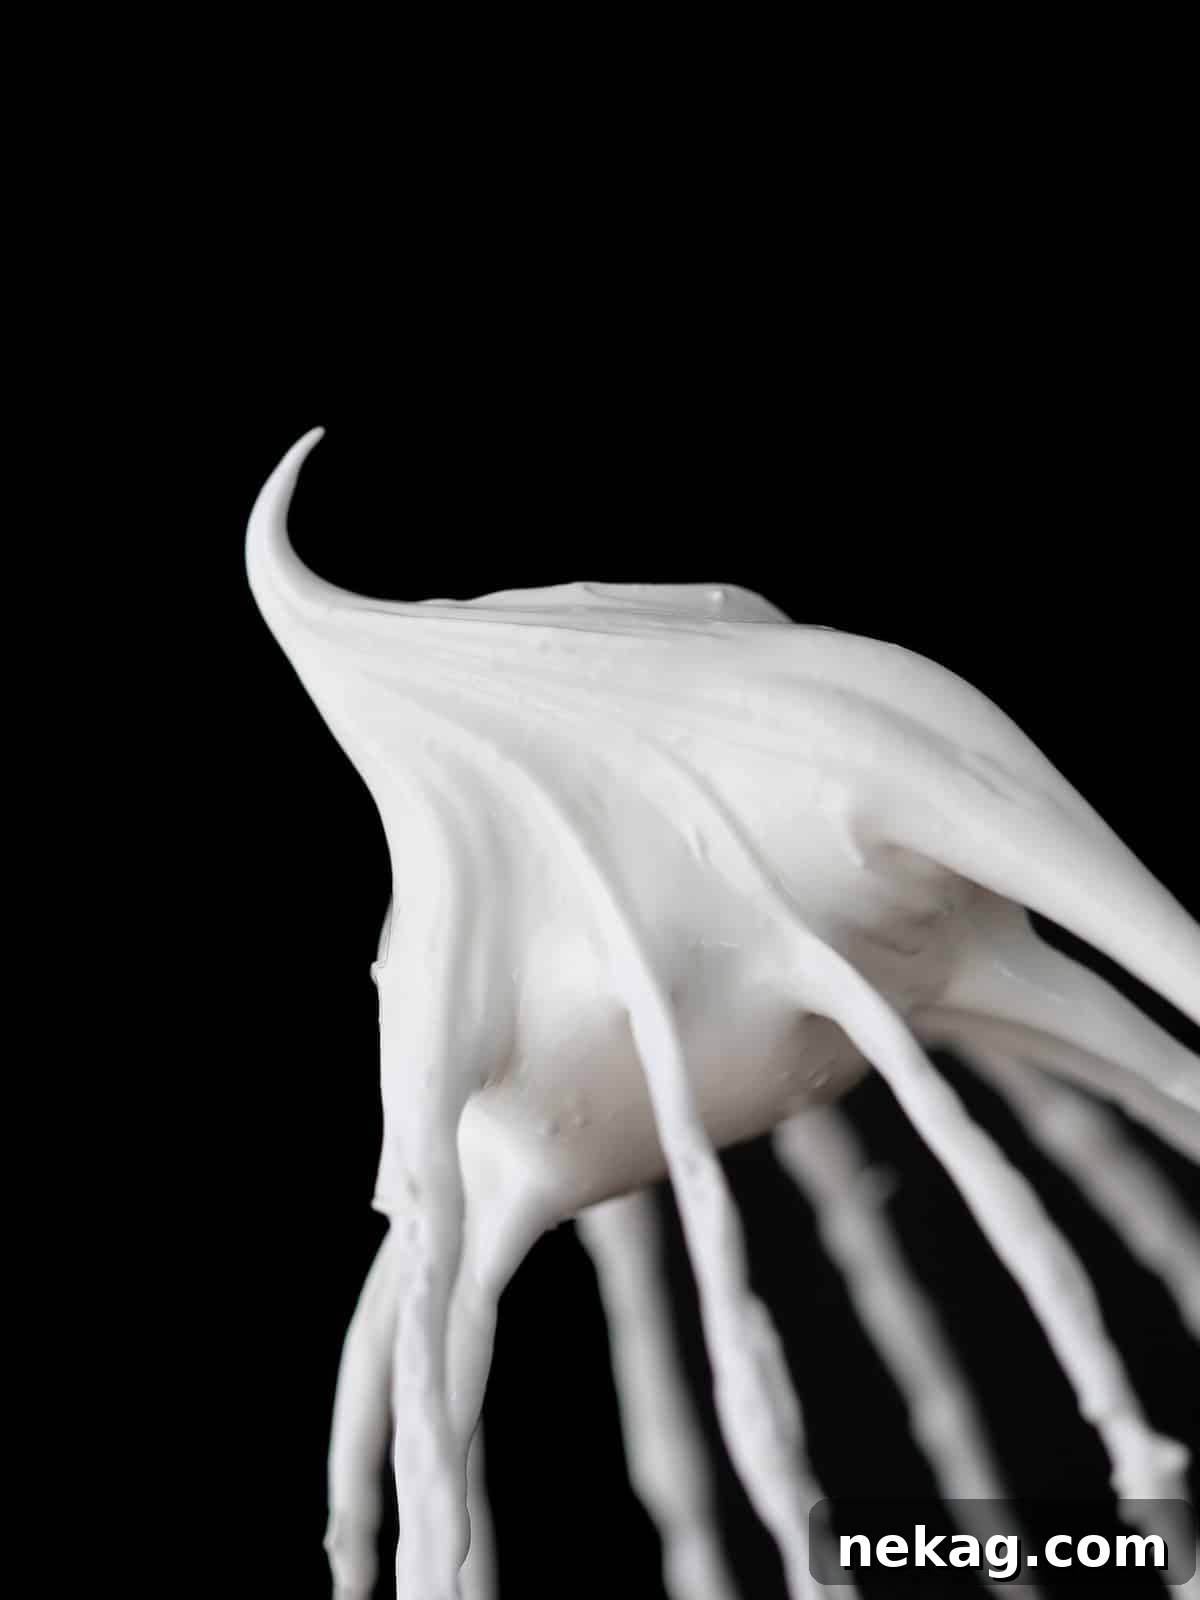
- Stiff Enough to Pipe and Spread Beautifully: Unlike the often-runny store-bought variety, homemade marshmallow fluff can be whipped to firm, stiff peaks. This makes it an ideal frosting or topping that holds its shape whether piped into intricate designs or spread smoothly across a surface. It offers a more stable alternative to a traditional marshmallow frosting. For a looser, more spoonable consistency akin to commercial fluff, simply whip to soft peaks.
- Incredibly Versatile for Endless Culinary Creations: The applications for this fluff are limited only by your imagination. Whipped to stiff peaks, it serves as an exquisite frosting or filling. It can also be gently swirled into baked goods, incorporated into ice cream bases, or used as a decadent topping for hot beverages.
- Easier Than You Imagine – Master Italian Meringue: Don’t be intimidated by the term “Italian meringue.” With a little precision in timing and attention to detail, this recipe is entirely achievable for home bakers of all skill levels. I’m here to guide you through each step, ensuring a successful and delicious outcome. You’ve got this!
- Exceptional Stability & Long Shelf Life: The Italian meringue technique grants this fluff remarkable stability. When properly stored in the refrigerator, it can last up to a month without separating, a significant improvement over less stable meringues or frostings that might weep within days. It even freezes beautifully for extended storage.
Expert Tips for Making Perfect Marshmallow Fluff
- Precision in Timing is Paramount: Just like with Italian meringue buttercream, mastering this recipe is a delicate balancing act between the heating sugar syrup and the whipping egg whites. Don’t hesitate to adjust your stove’s heat or your mixer’s speed as needed. If your meringue reaches stiff peaks before your syrup is ready, simply reduce the mixer speed to low to maintain its volume without over-whipping. Conversely, if your syrup is ready too soon, you can briefly lower the heat on the stove. This flexibility is key to synchronization.
- Remove Sugar Syrup Just Before Soft Ball Stage: To ensure safety and prevent overcooking, I recommend taking your sugar syrup off the heat once it reaches approximately 238°F. This allows for what’s known as “carry-over cooking”—the syrup will continue to heat slightly as you carefully transport it to your stand mixer. This small buffer prevents the syrup from reaching a scorching, unsafe temperature and gives you ample time to slowly and steadily pour it into the whipping egg whites. Sugar burns are incredibly serious, so caution is essential.
- Utilize Freshly Separated Egg Whites for Best Results: While pasteurized egg whites from a carton can be used in a pinch, freshly separated egg whites will consistently yield a superior meringue. Fresh whites produce a silkier, shinier, and significantly more stable fluff. Using carton whites increases the probability of the meringue breaking or becoming less voluminous, even if all other steps are followed perfectly. This is a lesson I learned through extensive testing, sometimes resulting in wasted large batches of egg whites—a costly mistake to avoid!
- Ensure Your Equipment is Impeccably Clean: Any trace of fat or grease in your mixing bowl or on your whisk attachment can prevent egg whites from whipping properly. Before starting, thoroughly wash and dry your bowl and whisk. Wiping them down with a little lemon juice or white vinegar can help ensure they are perfectly free of any residual oils.
- Pour Syrup Slowly and Steadily: When adding the hot sugar syrup to the egg whites, maintain a slow, thin stream, aiming for the side of the bowl, not directly onto the whisk. This allows the syrup to be gradually incorporated and tempered by the egg whites, preventing the whites from cooking too quickly or collapsing. A fast pour can shock the egg whites and compromise the meringue’s structure.
Essential Ingredients for Homemade Marshmallow Fluff
Crafting this delightful marshmallow fluff requires only a handful of simple ingredients. Each plays a crucial role in achieving that perfect light, airy, and stable texture:
- Egg Whites: As highlighted, freshly separated egg whites are paramount for the best texture, sheen, and stability. They provide the protein structure that forms the voluminous meringue. While carton whites are an option, expect a slightly less stable and silky result, with a higher risk of the meringue breaking during syrup incorporation.
- Granulated Sugar: Sugar is not just for sweetness; it’s critical for stability. When heated with water, it forms the hot syrup that cooks and stabilizes the egg whites, creating the signature glossy meringue.
- Water: Used to dissolve the sugar and create the syrup. The amount of water is key to reaching the correct soft ball stage consistency.
- Cream of Tartar: This acidic ingredient acts as a stabilizer for the egg whites, helping them whip up faster, achieve greater volume, and hold their peaks more firmly. It’s an inexpensive insurance policy for a successful meringue, though it can be omitted if absolutely necessary (but highly recommended!).
- Kosher Salt: Often overlooked in sweet recipes, kosher salt is vital here for two main reasons: it masterfully enhances the overall flavor profile, dampening the intense sweetness, and crucially, it contributes to the meringue’s stability.
- Vanilla Extract: For the most vibrant flavor, add vanilla extract (or your chosen flavoring) after the meringue has reached stiff peaks and cooled. Adding it too early can dissipate the delicate flavor during the whipping process and may hinder the egg whites from achieving their full potential volume.
- For precise quantities and a complete list, please refer to the detailed recipe card below.
How to Make Homemade Marshmallow Fluff: A Detailed Guide
Follow these precise instructions to create delectable homemade marshmallow fluff without corn syrup. Full measurements and additional notes can be found in the recipe card at the end of this article.
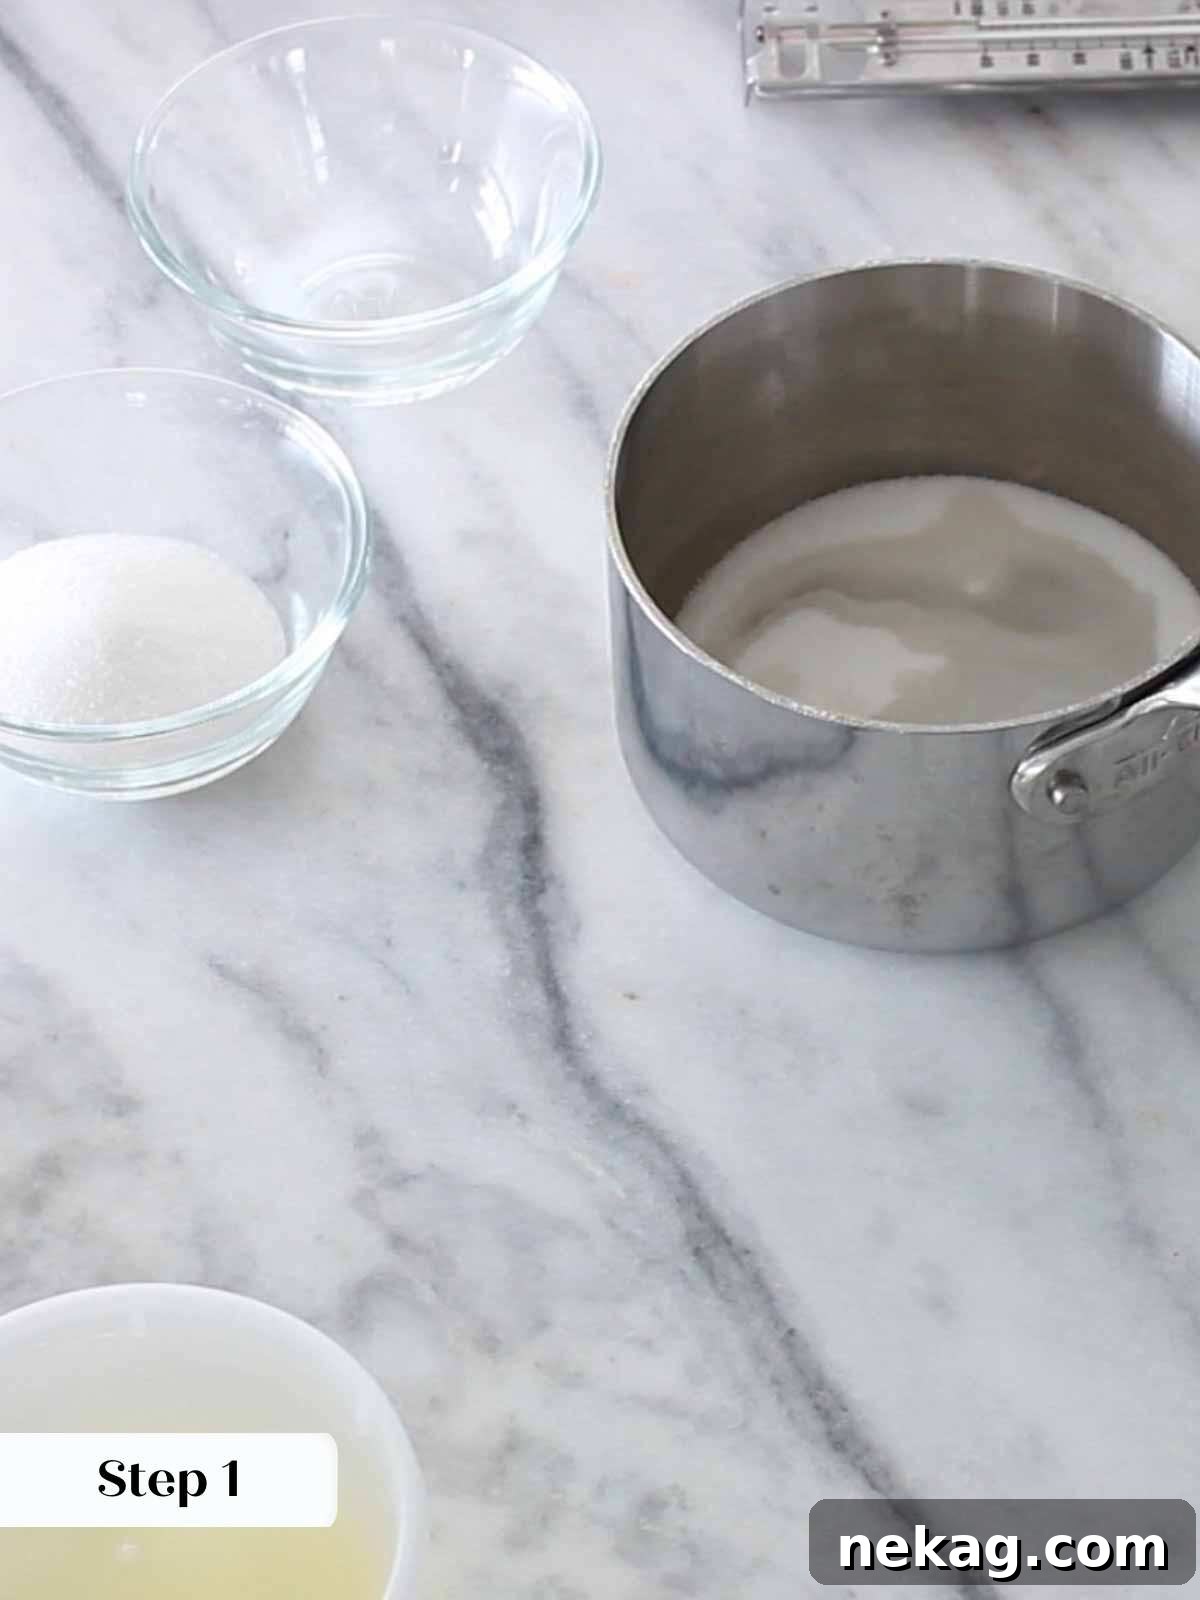
Step 1: Prepare the Sugar Syrup. In a small, heavy-bottomed saucepan, combine the granulated sugar and water. Stir gently to moisten all the sugar. Place the pot over high heat and bring the mixture to a rolling boil. As the syrup heats, use a clean pastry brush dipped in water to brush down any sugar crystals that cling to the sides of the pot. Alternatively, a folded, damp paper towel can be used. This step is crucial for preventing crystallization. Once boiling, clip a candy thermometer to the side of the pot, ensuring its tip is fully immersed in the syrup but not touching the bottom.
Step 2: Begin Whipping Egg Whites. While your sugar syrup is heating and coming to a boil, prepare your egg whites. In the bowl of a stand mixer fitted with the whisk attachment, combine the egg whites, cream of tartar, and kosher salt. Begin beating on medium-high speed until the egg whites reach firm, stiff peaks. It’s generally best to start whipping the egg whites once the sugar syrup has reached a vigorous boil, allowing you to better synchronize the two components.
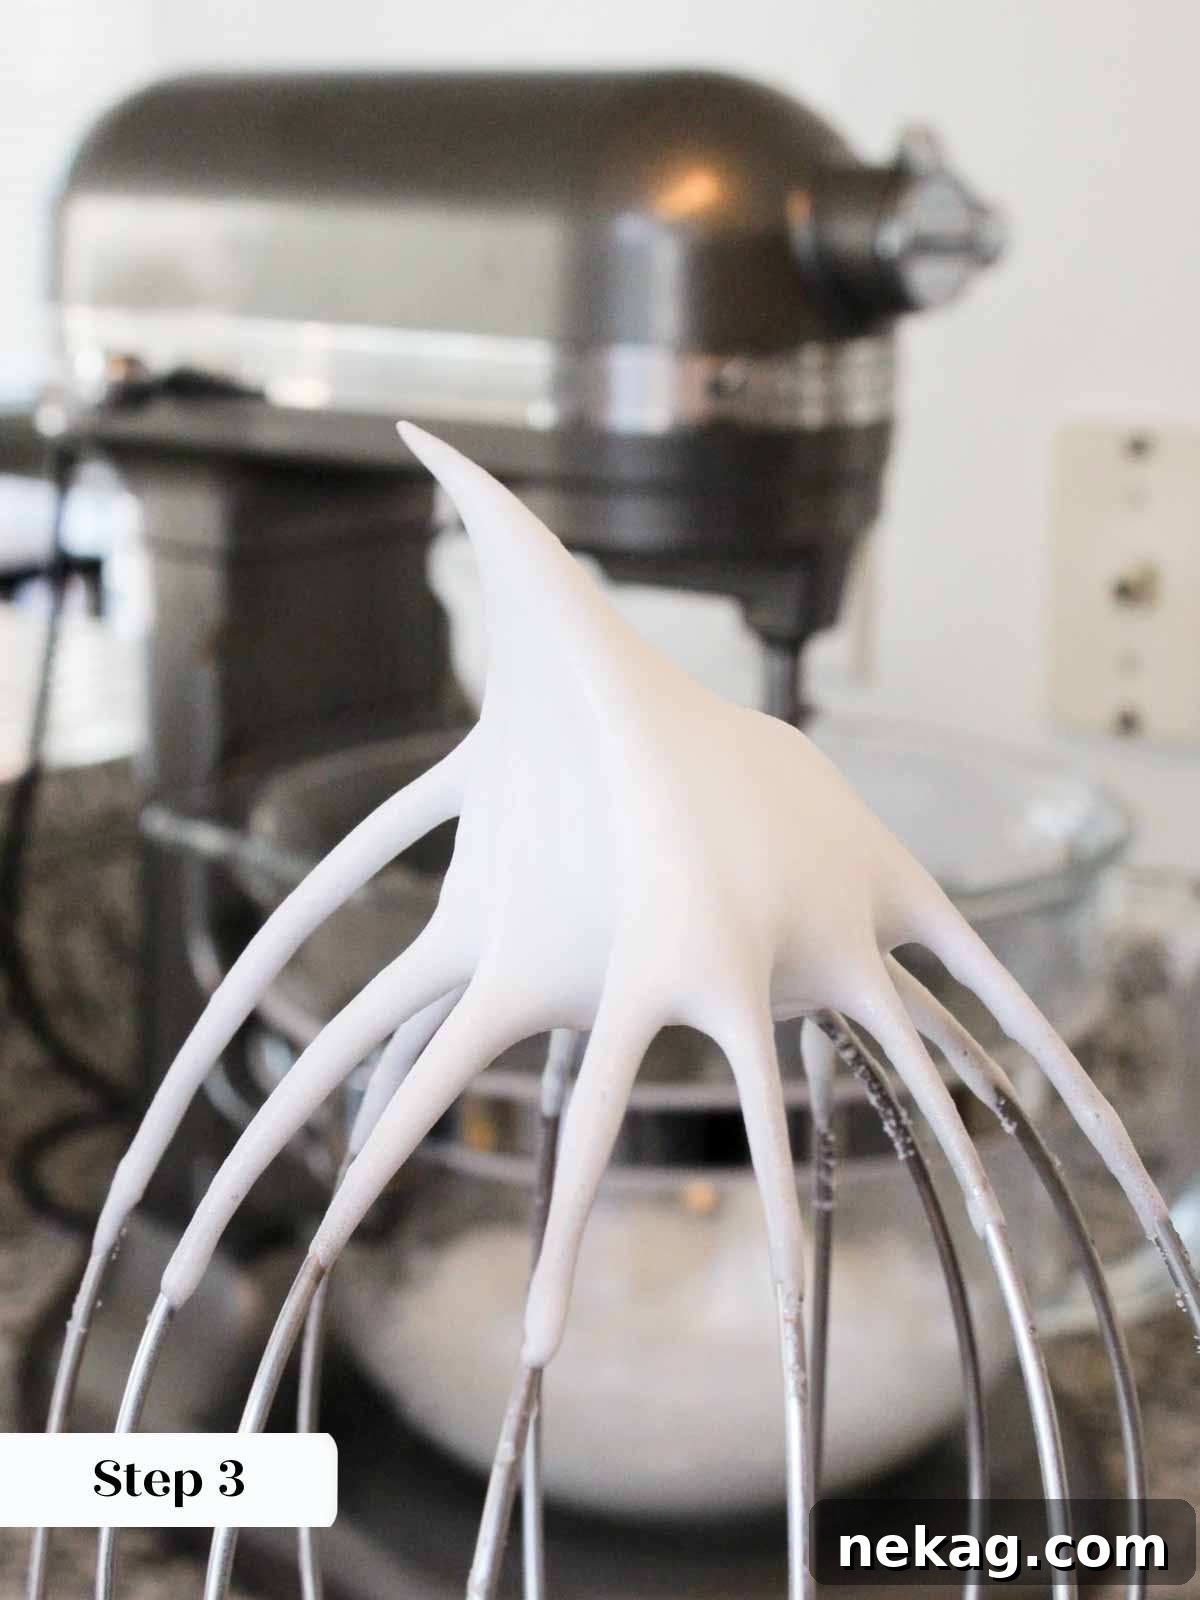
A key principle in making perfect marshmallow fluff is recognizing that you are the orchestrator of the process! You have complete control over your mixer’s speed and the stove’s temperature for the sugar syrup. Feel empowered to adjust either as needed to ensure both components reach their ideal stages simultaneously. This flexibility is your greatest tool for success.
Step 3: Synchronize Syrup and Whites. Your goal is to have the egg whites reach stiff peaks just as your sugar syrup hits the soft ball stage (approximately 238-240°F). If your egg whites are ready first, simply reduce your mixer’s speed to low to maintain their volume while waiting for the syrup to catch up. Don’t be afraid to modulate!
For those who prefer traditional methods, you can also test the sugar syrup for the soft ball stage without a thermometer. Simply drop a small amount of the hot syrup into a bowl of ice water. If it forms a soft, pliable ball that can be flattened between your fingers, it’s ready!
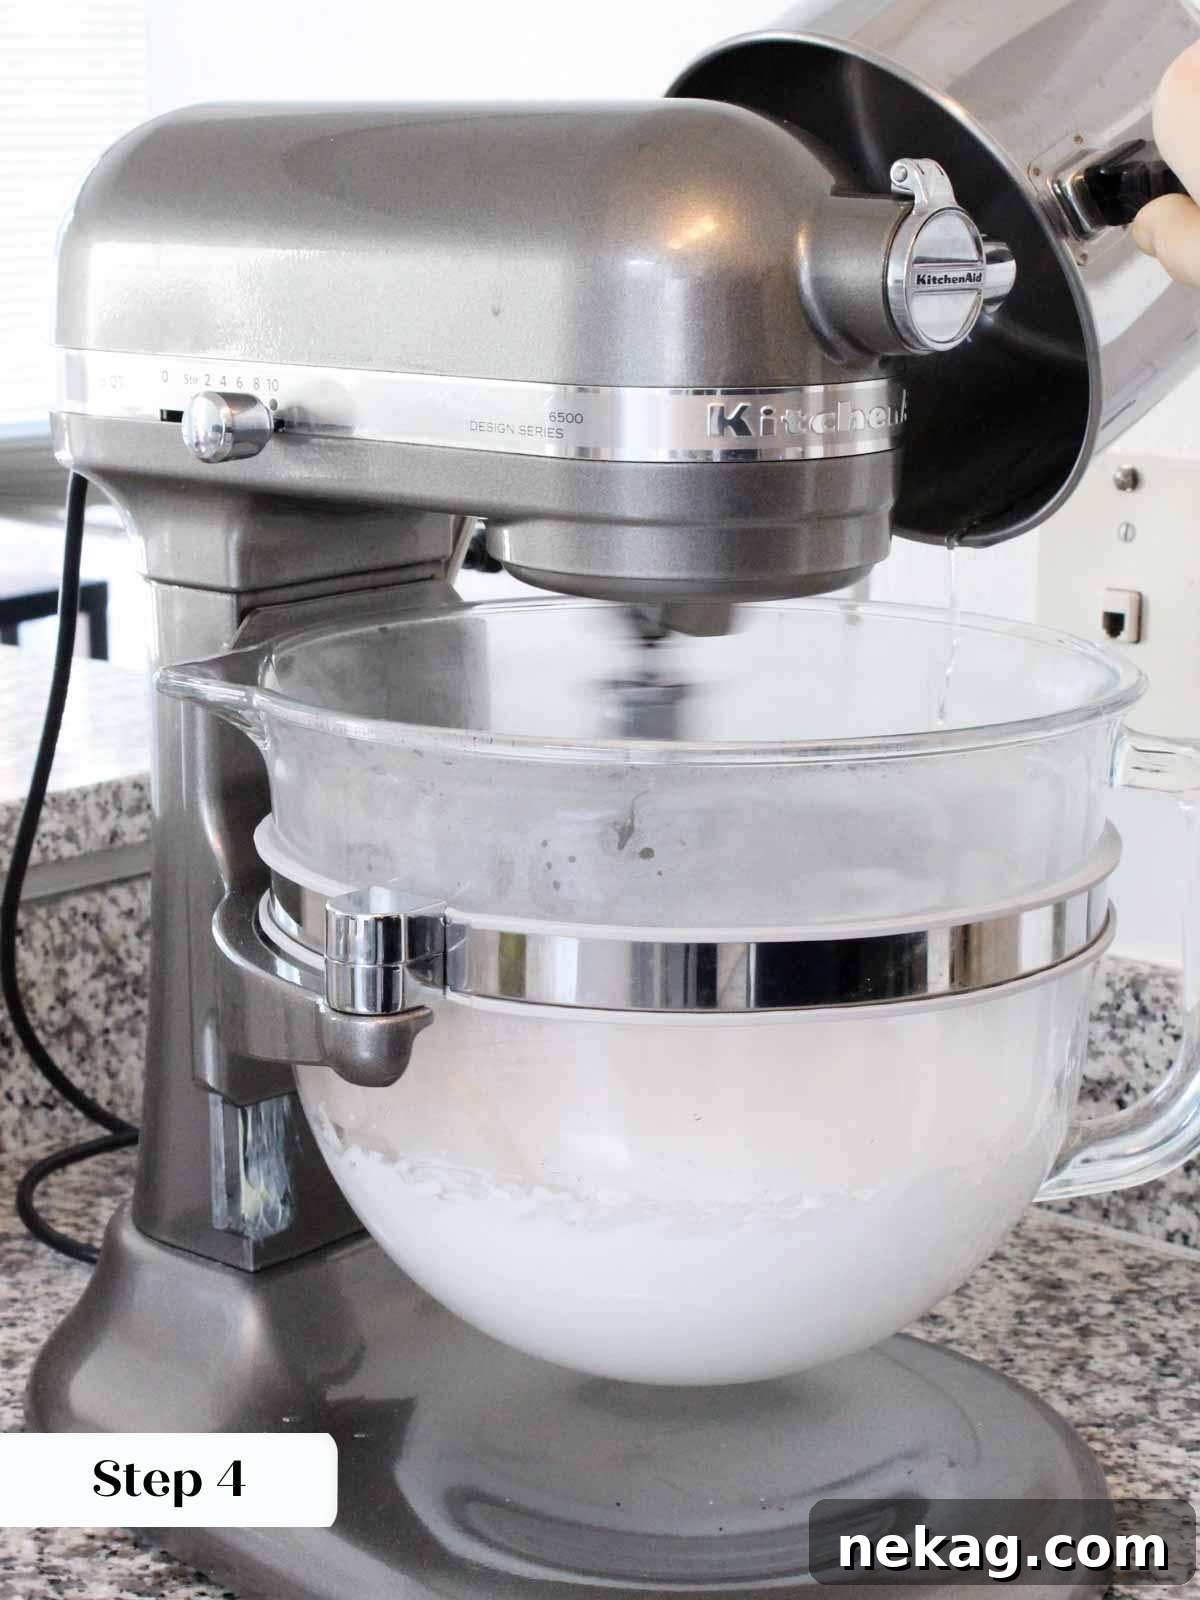
Step 4: Incorporate the Hot Sugar Syrup. Once the sugar syrup reaches the soft ball stage, immediately turn off the heat. Carefully (and safely!) transfer the hot pot to your stand mixer. With the mixer running on high speed, slowly and steadily pour the hot syrup into the whipping egg whites. Aim the stream down the side of the bowl, allowing it to incorporate gradually, and make every effort to avoid pouring directly onto the whisk, as this can cause hot sugar syrup to splatter. Safety is paramount!
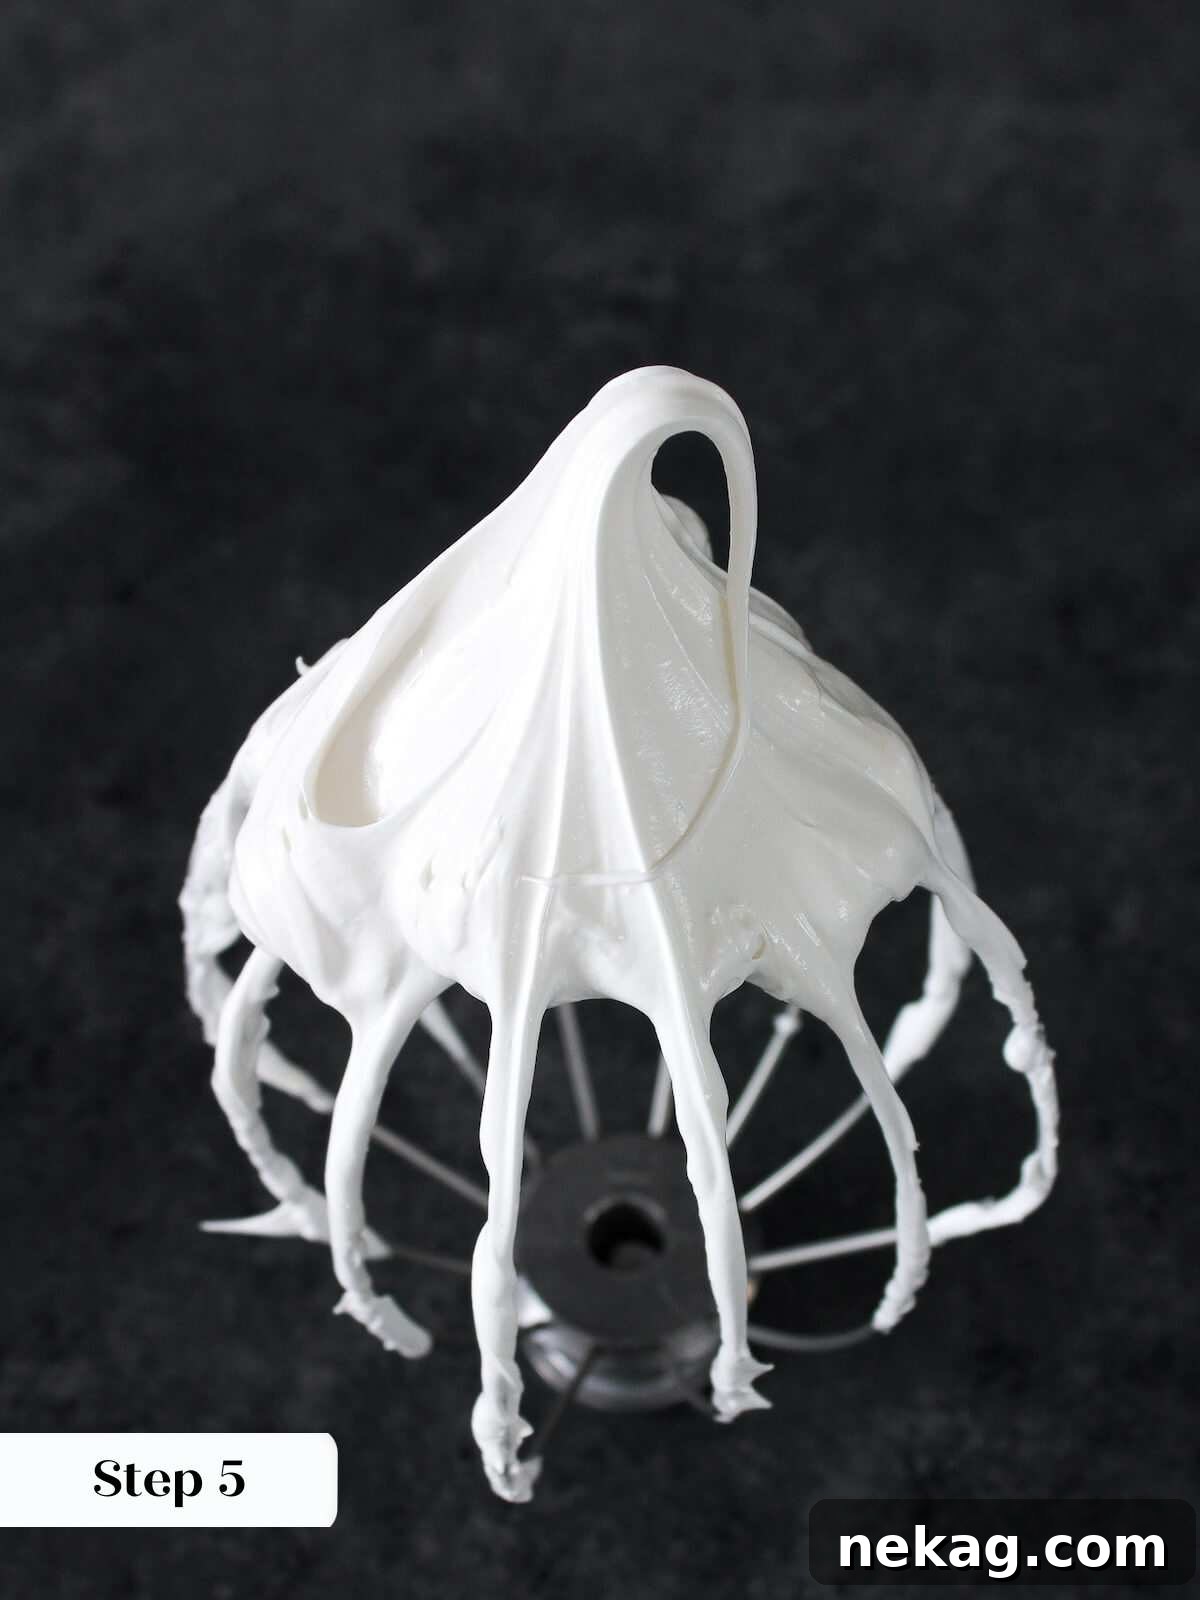
Step 5: Whip Until Cool and Stiff. Continue beating the meringue on high speed for approximately 7 minutes, or until the meringue is incredibly stiff, beautifully shiny, and has cooled down significantly. The bowl should feel cool to the touch. This extended whipping ensures maximum volume, stability, and that perfect glossy texture.
Chef Lindsey’s Recipe Insight
Historically, this type of frosting was often referred to as “Seven Minute Frosting.” This name originated from the approximate time it took to cook the sugar syrup and then beat the meringue to perfection using a hand mixer. While it’s possible to rely on timing, particularly for smaller, consistent batches, this method introduces an element of risk, especially when scaling the recipe up or down. For consistent, reliable, and professional-level results, I strongly advocate for the use of a candy thermometer, much like the precision employed when making classic Italian Meringue Buttercream. This ensures your sugar syrup reaches the exact soft ball stage every time, guaranteeing the perfect texture and stability for your marshmallow fluff.
How to Store Homemade Marshmallow Fluff for Maximum Freshness
Proper storage is key to enjoying your homemade marshmallow fluff for as long as possible. Its inherent stability makes it quite resilient, but a few guidelines will ensure optimal freshness and texture:
- Room Temperature: For immediate serving, avoid leaving fluff-topped desserts at room temperature for longer than 2 hours. For the cleanest slices and best presentation of cakes or pies adorned with fluff, it’s best to cut them straight from the refrigerator.
- Refrigerated Storage: Un-toasted homemade marshmallow fluff can be stored in an airtight container in the refrigerator for up to a month before it typically begins to “weep” (separate) slightly. If you toast the meringue, it creates a protective barrier that significantly extends its shelf life and delays weeping, as it shields the delicate meringue from air exposure. However, remember that while the fluff may last, the underlying dessert might not taste its best after a month in the fridge!
- Freezer Storage: Marshmallow fluff freezes exceptionally well, whether toasted or un-toasted. Store it in an airtight, freezer-safe container for up to 2 months. In my experience, even after two months, a coconut cupcake frosted with this fluff, stored in an airtight container, showed no signs of weeping. While the cupcake itself might lose some freshness after such a long time, the fluff will remain perfectly intact.
Creative and Delicious Ways to Use Marshmallow Fluff
Once you’ve mastered this homemade marshmallow fluff, a world of culinary possibilities opens up! Its light texture and stable consistency make it incredibly versatile. Here are some inspiring ideas to put your delicious fluff to good use:
- As a Superior Frosting or Filling: This homemade fluff functions beautifully as any conventional frosting. Pipe it elegantly onto individual cupcakes, frost an entire moist chocolate mayonnaise cake, or create luxurious mounds on various cheesecakes like a vibrant lemon meringue cheesecake, miniature s’mores cheesecakes, or a classic chocolate chip cheesecake. It holds its shape remarkably well.
- Unexpected Dessert Enhancements: Go beyond traditional frosting applications. Crown a rich s’mores pie or a tangy key lime pie with a thick layer of fluff. Use it as a delightful filling for a carrot cake roll, rich chocolate cupcakes, or decadent s’mores whoopie pies. It can even add a light, airy layer to trifles. Spoon or pipe it artfully onto rich chocolate pudding, perhaps crumbled with a no-bake graham cracker crust for an easy dessert.
- The Classic Fluffernutter Sandwich: For those in the know, the combination of peanut butter and marshmallow fluff is pure magic. Elevate this nostalgic treat by using your superior homemade fluff. Or explore variations like fluffernutter cookie cups or a creamy fluffernutter dip.
- Decadent Dips: Homemade marshmallow fluff is an excellent base for a variety of sweet dips. Try it in a vibrant marshmallow cream cheese fruit dip, a cozy s’mores dip, or a fun butterfinger dip for your next gathering.
- Ultimate Hot Chocolate Topping: Move beyond standard marshmallows! A generous dollop of homemade marshmallow fluff, especially lightly toasted, atop a rich hot chocolate is a truly life-changing experience. Try it with a sophisticated French hot chocolate or any cocoa made from your homemade hot chocolate mix.
- A Savory Twist: Why limit the fun to dessert? Marshmallow fluff can add an unexpected and delightful sweet-savory contrast. Use it to top a comforting sweet potato casserole or creamy maple mashed sweet potatoes, creating a sophisticated and memorable side dish.
Frequently Asked Questions About Homemade Marshmallow Fluff
If you don’t have a kitchen torch, you can easily toast marshmallow fluff using your oven’s broiler. First, remove any oven racks from the top half of your oven and preheat the broiler to its high setting. This method is particularly effective with a gas broiler but works well with electric broilers too. Carefully place the baked goods topped with fluff into the oven. Hold the baking sheet or dish firmly and gently move it around under the broiler, watching constantly, until the fluff achieves your desired level of golden-brown toasty perfection. Maintain a safe distance from the hot oven. Once toasted, remove from the oven and turn off the broiler immediately.
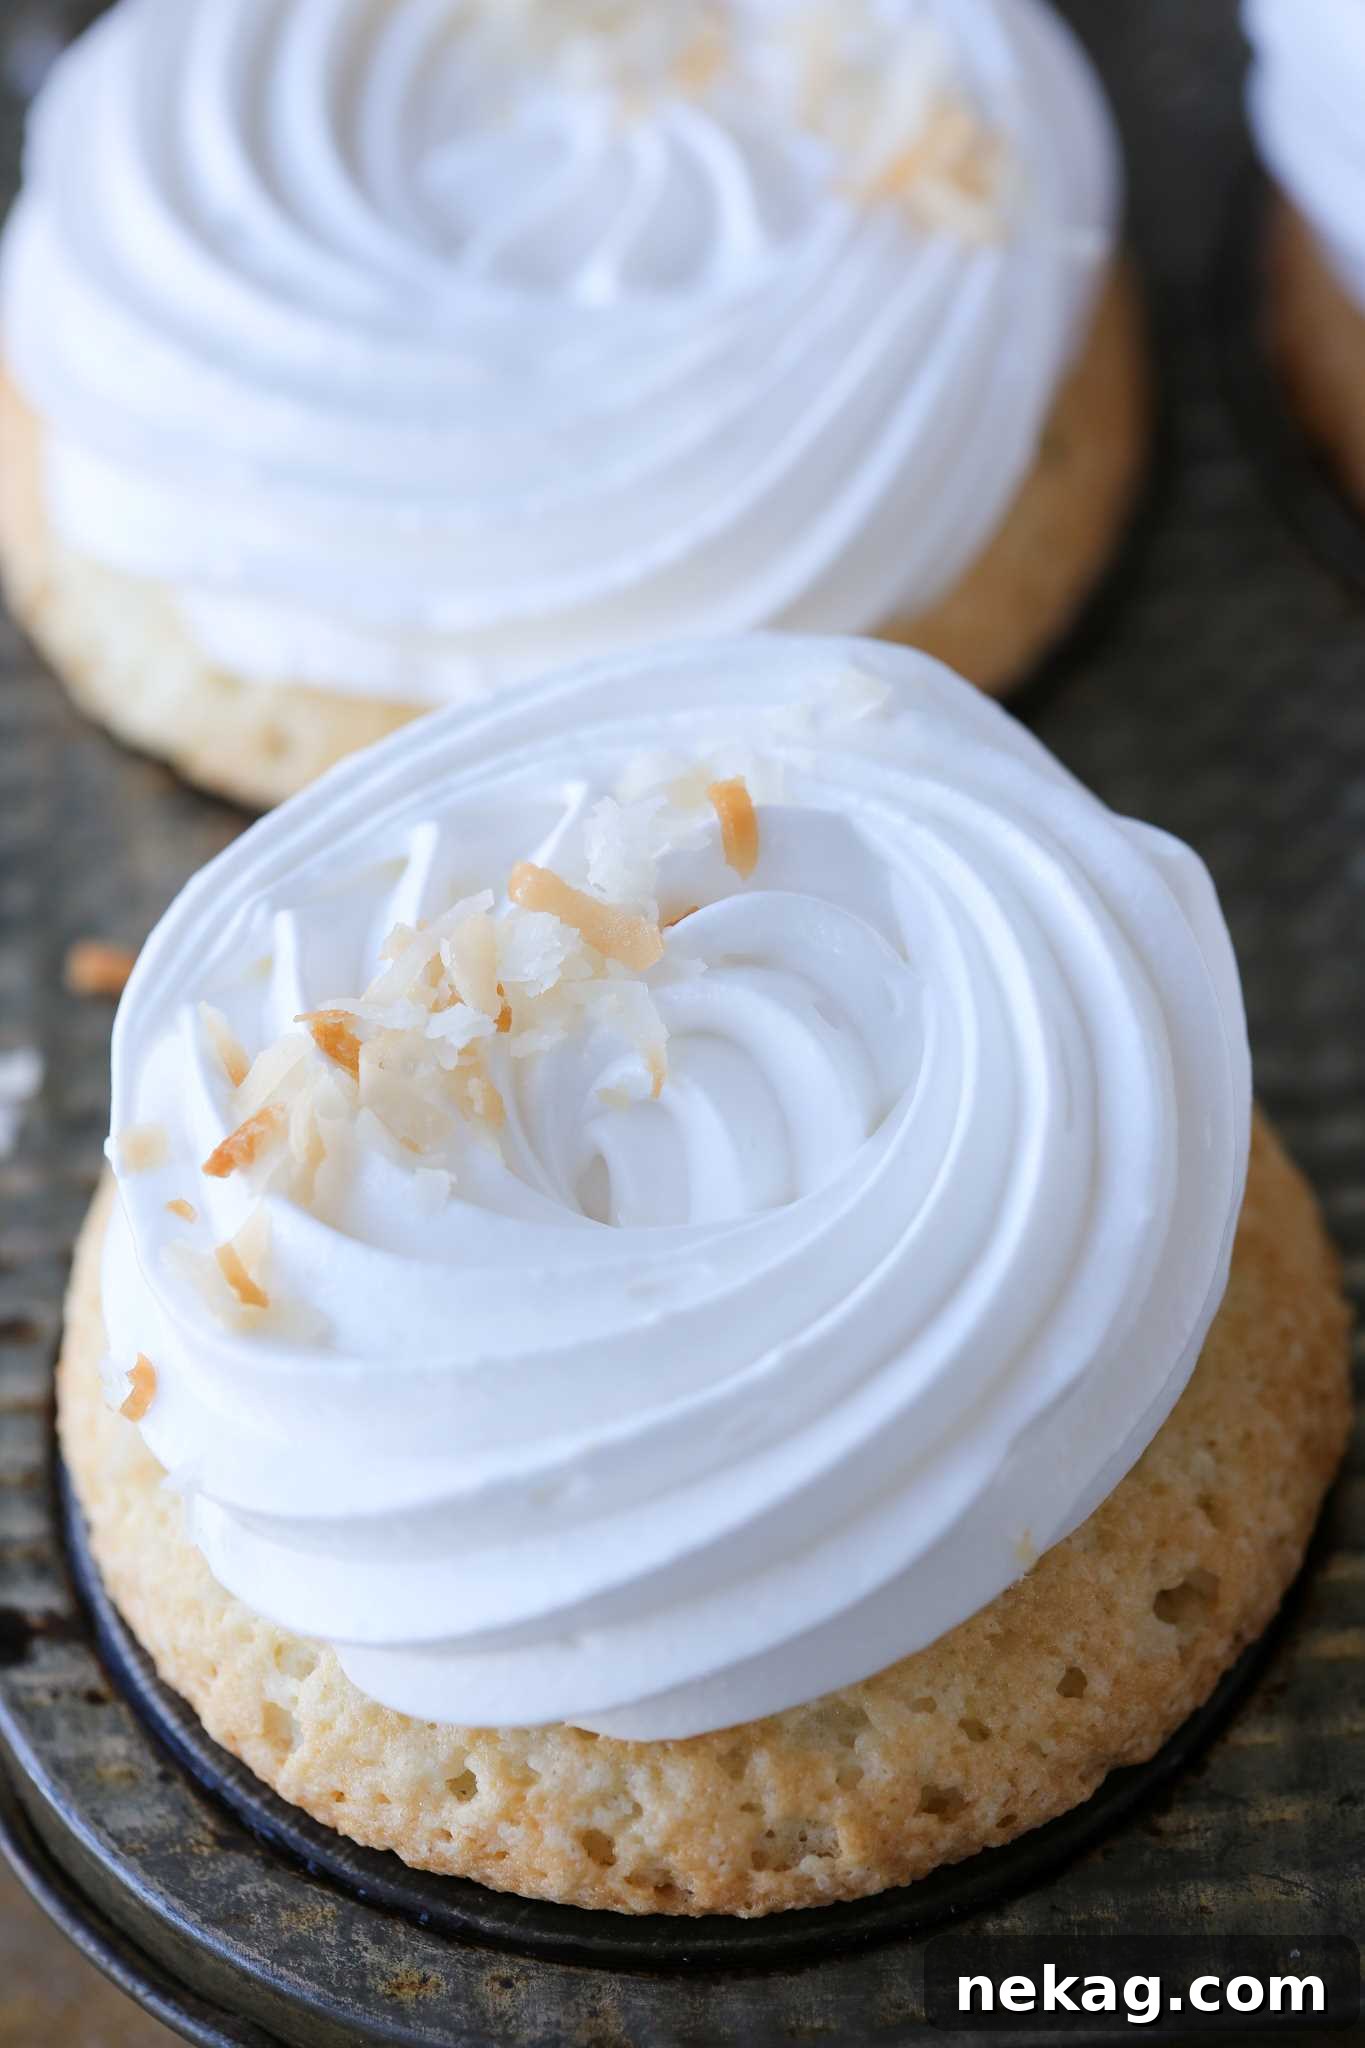
Absolutely! Unlike many store-bought varieties that are too loose to maintain their shape, this homemade marshmallow fluff recipe is specifically designed to be whipped to stiff peaks. This robust consistency makes it perfect for piping. You can use various star tips or any other piping nozzle to create beautiful, well-defined shapes that will hold their form. For an extra touch of elegance and flavor, lightly toasting the piped frosting adds a gorgeous texture and visual dimension.
While you technically can use pasteurized egg whites from a carton for this recipe, it’s important to understand that the final results will differ. Meringue made with carton egg whites tends to be less stable and will not achieve the same silky-smooth texture or brilliant sheen as that made with freshly separated egg whites. Furthermore, there’s a higher probability that the meringue may “break” or deflate when the hot sugar syrup is added, even if all other steps are performed correctly. For the best possible marshmallow fluff, fresh egg whites are always recommended.
While this recipe is designed to be corn syrup-free, if you desire additional insurance against sugar crystallization or prefer an even greater level of stability, you may add up to 2 tablespoons of light corn syrup. If incorporating corn syrup, it’s best to add it to the sugar and water mixture after it has already come to a boil. This ensures it fully integrates with the sugar syrup before being combined with the egg whites.
If you tried this recipe and absolutely loved it, please take a moment to leave a 🌟 star rating and share your experience in the comments section below. Your feedback truly brightens my day!
5 from 52 ratings
Homemade Marshmallow Fluff
Comment
Print Recipe
Ingredients
- 1 cup granulated sugar
- ½ cup water
- 3 egg whites (preferably freshly separated)
- ⅛ teaspoon cream of tartar
- ⅛ teaspoon kosher salt
- 1 teaspoon vanilla extract
Instructions
- In a small sauce pot, combine sugar and water. Stir to dissolve sugar. Bring to a boil over high heat, brushing down the sides of the pot with a clean pastry brush dipped in water (or a damp paper towel) to prevent sugar crystallization. Clip a candy thermometer to the side of the pot, ensuring it is immersed in the syrup.
- Meanwhile, in the bowl of a stand mixer fitted with the whisk attachment, beat the egg whites, cream of tartar, and kosher salt until they reach stiff peaks. Aim to have the egg whites reach stiff peaks just as the sugar syrup reaches the soft ball stage (238-240°F). You can reduce mixer speed to low if whites are ready too soon.
- When the sugar syrup reaches the soft ball stage (238-240°F), immediately remove it from the heat. Carefully transfer the pot to your stand mixer. With the mixer running on high speed, slowly pour the hot syrup in a thin stream down the side of the bowl into the whipping egg whites, avoiding contact with the whisk.
- Continue to beat the meringue on high speed for about 7 minutes, or until the meringue is very stiff, shiny, and the bowl feels cool to the touch. Stir in the vanilla extract until just combined.
Video
Notes
Yield: Approximately 3 ½ cups of marshmallow fluff.
Presentation: The fluff is delicious both untoasted and lightly toasted. Toasted fluff adds a beautiful caramelized flavor and visual appeal.
Storage: Store at room temperature for no more than 2 hours. Refrigerate in an airtight container for up to 2 weeks. For longer storage, freeze in an airtight container for up to 2 months.
Nutrition
Calories: 39kcal | Carbohydrates: 10g | Protein: 1g | Fat: 1g | Sodium: 8mg | Potassium: 10mg | Sugar: 10g | Calcium: 1mg | Iron: 1mg