
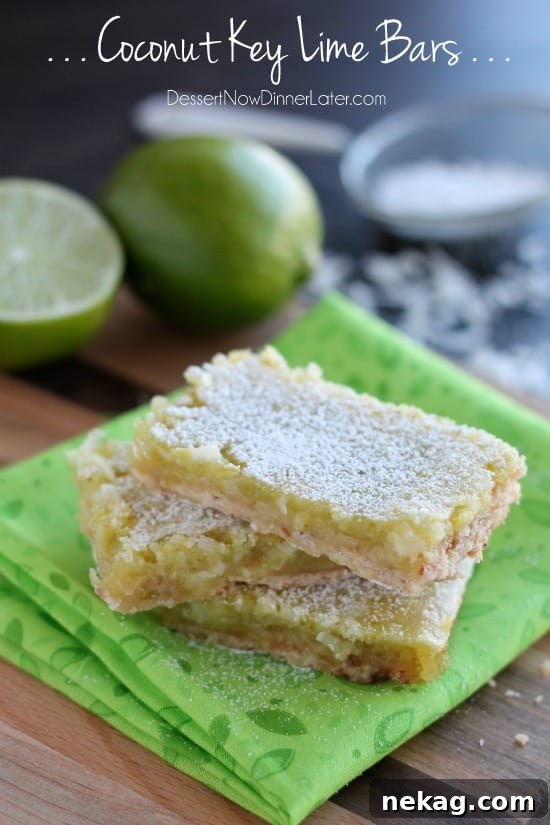
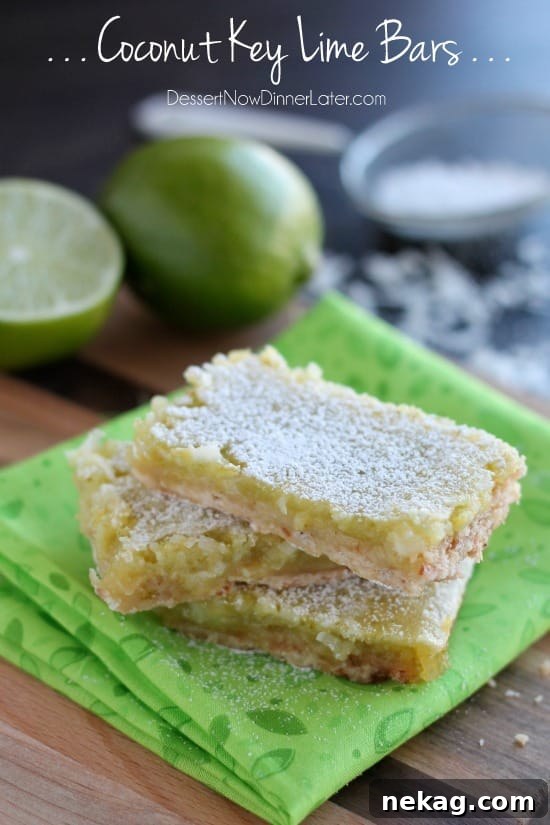
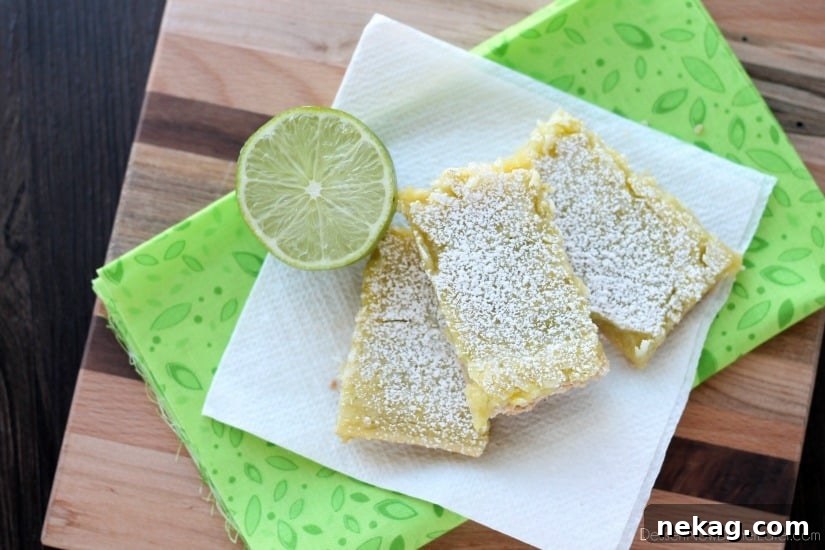
Just when you thought my lime dessert saga had reached its grand finale, think again! My unapologetic obsession with the vibrant, zesty flavor of lime continues, and honestly, who can blame me? While this might be the last lime-infused treat I share this month, rest assured, it’s a showstopper. You’ve enjoyed an array of top-notch citrus delights from my kitchen, but these **Coconut Key Lime Bars** are truly in a league of their own. They bring together the best of both worlds: a wonderfully crunchy crust infused with toasted coconut and a silky-smooth, tangy lime curd generously studded with flakes of regular coconut. It’s a match made in dessert heaven that promises to captivate your taste buds.
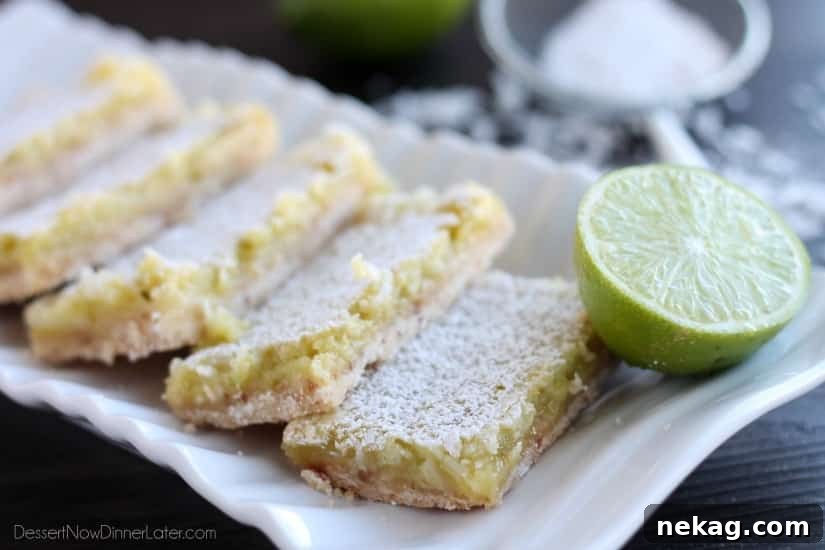
The Ultimate Coconut-Lime Fusion: A Tropical Escape
Did I mention my deep affection for the coconut-lime combination? Oh, I did? Perhaps just last Tuesday when I raved about my Coconut Key Lime Macaroons? My apologies for the slight repetition, but some flavors are simply too good not to celebrate from the rooftops! The marriage of creamy coconut and bright, citrusy lime creates a symphony of taste that instantly transports you to a sun-drenched beach, regardless of the actual weather outside. Aren’t all these delightful citrus posts stirring up a powerful yearning for summer to arrive, right now?
Here in Utah, we’ve been experiencing an unseasonably warm spell. Typically, the snow clings to the mountains until April or even May, and it’s not until then that we finally shed our winter coats for pleasant 50-60 degree Fahrenheit weather. But this year, Mother Nature has offered a delightful surprise, hinting at an early spring that has everyone buzzing with anticipation.
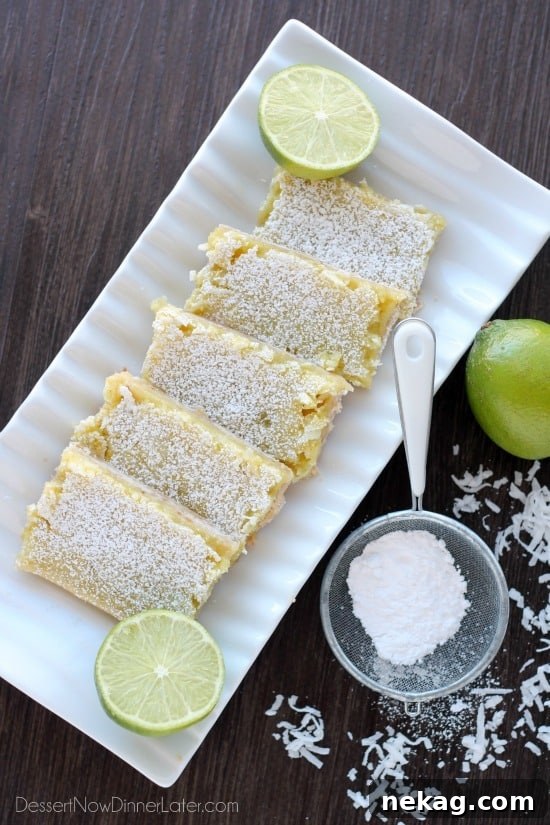
Embracing the Early Glimmers of Spring
It’s only March, yet all the snow graciously melted before the end of February, and we’ve been basking in multiple 60-degree days over the past few weeks. While our water supplies for the summer might be a concern given the rapid melt, I cannot deny the sheer joy that comes with abundant Vitamin D from the sun. The moment the weather turns fair, my kids and I are out at the park, soaking up the fresh air and sunshine. It’s incredible how a bit of outdoor time instantly elevates our spirits and brings a vibrant cheerfulness to our days. I truly cherish these moments! I’m perfectly content with a little rain, but please, no more snow! The tulip and daffodil bulbs I carefully planted last fall have already burst forth from the ground, growing taller each day, filling me with immense happiness at these unmistakable signs of spring. I sincerely hope this beautiful weather trend continues!
This early burst of warmth has even led us to fire up our grill a couple of times already. These casual outdoor dinners are among my absolute favorites, primarily because my husband takes charge of the cooking. He’s truly the grill master of our household, conjuring up delicious meals with ease. These **Coconut Key Lime Bars** fit perfectly into this emerging spring mood, offering a temporary, delicious escape to warmer days with just one delightful bite.
Why You Need These Coconut Key Lime Bars in Your Life
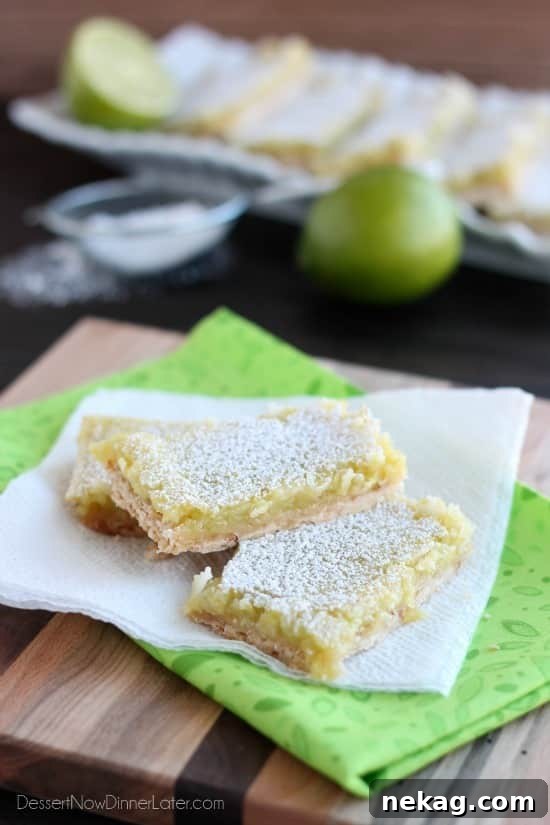
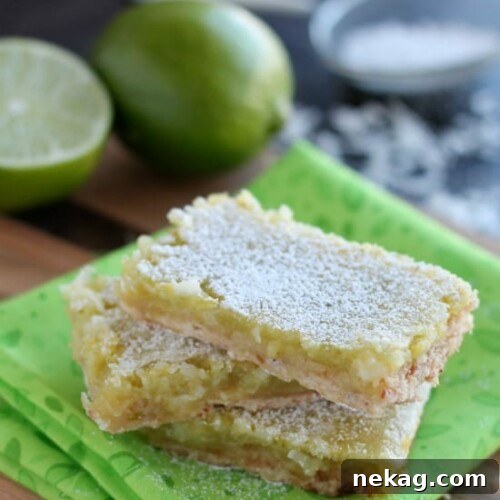
If you’re searching for a dessert that’s both refreshingly tangy and delightfully sweet, these Coconut Key Lime Bars are your answer. They combine the best elements of a classic Key Lime Pie with the irresistible tropical notes of coconut, all in a convenient, handheld bar format. Perfect for potlucks, parties, or simply a sweet treat to brighten your day, these bars offer a taste of sunshine no matter the season. The contrast between the crunchy, buttery crust and the smooth, creamy filling is simply divine, making each bite an unforgettable experience.
Coconut Key Lime Bars
Amber Brady
Pin
Rate
Save
Saved!
12
Servings
Ingredients
For the Toasted Coconut Crust:
-
1 cup
(120 g)
all-purpose flour, (stir, spoon & level for accurate measurement) -
½ cup
(60 g)
sweetened toasted coconut flakes -
¼ cup
(30 g)
powdered sugar -
¼ tsp
salt -
1 tsp
vanilla extract -
½ cup
(113 g)
unsalted butter, (1 stick, softened)
For the Key Lime Filling:
-
1 ¼ cup
(250 g)
granulated sugar -
¼ cup
(30 g)
all-purpose flour, (stir, spoon & level) -
½ cup
(60 g)
sweetened coconut flakes, (untoasted, for the filling) -
4
large eggs -
2-3 tsp
fresh lime zest, (from 1 large key lime or regular lime) -
⅔ cup
(159 ml)
key lime juice, (bottled options like Nellie & Joe’s work wonderfully) -
Wilton Leaf Green Food Coloring Paste, (optional, for desired color intensity)
Instructions
-
Prepare for Baking: Preheat your oven to 350˚F (175˚C). While you don’t need to grease the pan for the crust, it’s always a good idea to have your baking dish ready. An 11×7-inch pan is ideal for these bars, yielding perfectly sized portions.
-
Toast the Coconut: Place ½ cup of sweetened coconut flakes in a dry sauté pan over medium heat. Stir frequently to ensure even toasting. Keep a close eye on the coconut; it can go from perfectly golden to burnt in a matter of seconds. Once it starts to brown, the process accelerates rapidly. Remove from heat immediately when it reaches a light golden-brown color and transfer to a plate to cool. This step enhances the coconut flavor, adding depth and a delightful crunch to the crust.
-
Craft the Crust: In a food processor, combine the all-purpose flour, toasted coconut, powdered sugar, salt, vanilla extract, and softened butter. Pulse the machine until the mixture comes together and forms a crumbly, cohesive ball. This indicates the ingredients are well incorporated. Evenly press this mixture into the bottom of your ungreased 11×7-inch baking pan. Ensure it’s pressed firmly to create a solid base. Bake for 18-20 minutes, or until the edges turn a beautiful golden hue. This pre-baking step ensures a sturdy and flavorful foundation for your bars.
-
Whip Up the Filling: While the crust is baking, prepare the luscious key lime filling. In a medium bowl, whisk together the granulated sugar, all-purpose flour, and the remaining ½ cup of *untoasted* sweetened coconut flakes. This untasted coconut provides a softer texture within the creamy filling. Add the large eggs, one at a time, whisking thoroughly after each addition until fully combined. Next, incorporate the fragrant lime zest and the key lime juice. Now, for the optional, yet fun, part: add a tiny amount of Wilton Leaf Green Food Coloring Paste. Remember, a little goes a very long way! Dip a toothpick into the paste and add a tiny dot to your mixture. Mix until you achieve your desired pale green shade. Stir until the filling is perfectly smooth and all ingredients are well combined, creating a vibrant and uniform consistency.
-
Bake to Perfection: Carefully pour the prepared key lime filling over the hot, pre-baked crust in the pan. Return the pan to the oven and bake for an additional 18-20 minutes. The bars are ready when the filling is set and no longer jiggles in the center when gently shaken. Be careful not to overbake, as this can lead to a less creamy texture. Once baked, remove the pan from the oven and let the bars cool completely at room temperature before attempting to slice them. For the absolute best results, refrigerate the bars for at least 2-3 hours (or overnight) and serve them chilled. A light dusting of powdered sugar before serving adds a beautiful finish.
Notes
For an extra burst of fresh flavor, consider adding a sprinkle of fresh lime zest over the top of the cooled bars just before serving.
If you prefer a less sweet bar, you can slightly reduce the granulated sugar in the filling, but remember that key lime juice is quite tart, so balance is key!
Using good quality key lime juice, such as Nellie & Joe’s, makes a noticeable difference in the authentic flavor of these bars. Freshly squeezed key lime juice, if available, is also fantastic but can be more time-consuming to prepare.
Ensure the butter for the crust is at room temperature to incorporate easily into the flour mixture, creating a tender, crumbly crust.
Tips for Perfect Coconut Key Lime Bars Every Time
Achieving bakery-quality Coconut Key Lime Bars is simpler than you might think with a few key considerations. Firstly, always measure your flour correctly by stirring it, spooning it into a measuring cup, and then leveling it off with a straight edge. This prevents adding too much flour, which can lead to a dry crust.
The Art of Toasting Coconut
Toasting coconut might seem like a small step, but it delivers a huge flavor payoff. The heat caramelizes the sugars in the coconut, intensifying its nutty flavor and creating a more complex aroma. When toasting, use a dry skillet over medium-low heat and stir constantly. It’s crucial not to walk away, as coconut can burn very quickly once it starts to brown. Aim for a light golden color; any darker and it can become bitter. Let it cool completely before incorporating it into the crust mixture.
Choosing the Right Key Lime Juice
While fresh key limes are fantastic, they can be small and difficult to juice. High-quality bottled key lime juice, like Nellie & Joe’s, is a perfect substitute and widely available. Its distinct tartness and aromatic flavor are essential for an authentic key lime experience. If you use regular lime juice, the flavor will be slightly different but still delicious; just note that regular limes are less tart than key limes, so adjust sugar if needed.
Achieving the Perfect Filling Consistency
Whisking the eggs one at a time into the sugar and flour mixture helps create a smooth, homogenous filling without lumps. Don’t overmix once the lime juice and zest are added; just enough to combine everything thoroughly. The subtle hint of green food coloring is purely for aesthetics, giving the bars that classic Key Lime Pie look. Add it in tiny increments, stirring to check the color after each addition, until you reach your desired shade.
Patience is a Virtue: Cooling and Chilling
The most important tip for beautifully sliced bars is patience. Allow the bars to cool completely at room temperature, then transfer them to the refrigerator to chill for several hours, ideally overnight. This chilling period allows the filling to firm up properly, making for clean cuts and a delightful texture. Cold bars also taste incredibly refreshing!
Serving Suggestions and Storage
These Coconut Key Lime Bars are exquisite on their own, but a light dusting of powdered sugar adds an elegant touch and a touch more sweetness. For an extra decadent treat, consider serving them with a dollop of freshly whipped cream or a scattering of additional toasted coconut flakes. They make a fantastic addition to any dessert table, backyard barbecue, or as a refreshing after-dinner treat.
To store, keep the bars tightly covered in an airtight container in the refrigerator for up to 3-4 days. While they are best enjoyed fresh, their flavors meld beautifully over a day or two, becoming even more pronounced. They are not recommended for freezing, as the texture of the filling can change upon thawing.
Nutrition
Serving:
1
bar
|
Calories:
266
kcal
|
Carbohydrates:
38
g
|
Protein:
4
g
|
Fat:
11
g
|
Saturated Fat:
7
g
|
Polyunsaturated Fat:
3
g
|
Cholesterol:
82
mg
|
Sodium:
154
mg
|
Fiber:
1
g
|
Sugar:
26
g
Disclaimer: Nutritional values were calculated using a third-party tool and are provided as an estimation only. Individual results may vary based on ingredient brands and preparation methods.
Sharing this recipe with a link is both encouraged and appreciated. Copying/pasting and/or screenshots of full recipes to any social media is strictly prohibited. Content and photographs are copyright protected.
Did you make this delightful recipe?
We’d love to hear about your experience! Don’t forget to leave a rating and comment below. For more delicious dessert and dinner ideas, be sure to follow us on Pinterest and Instagram! Your feedback helps us grow and inspires other home cooks.