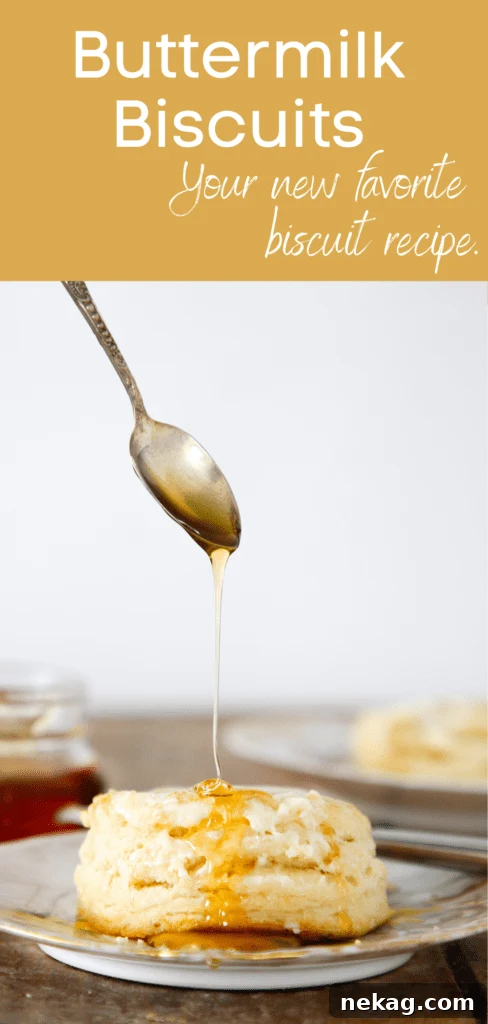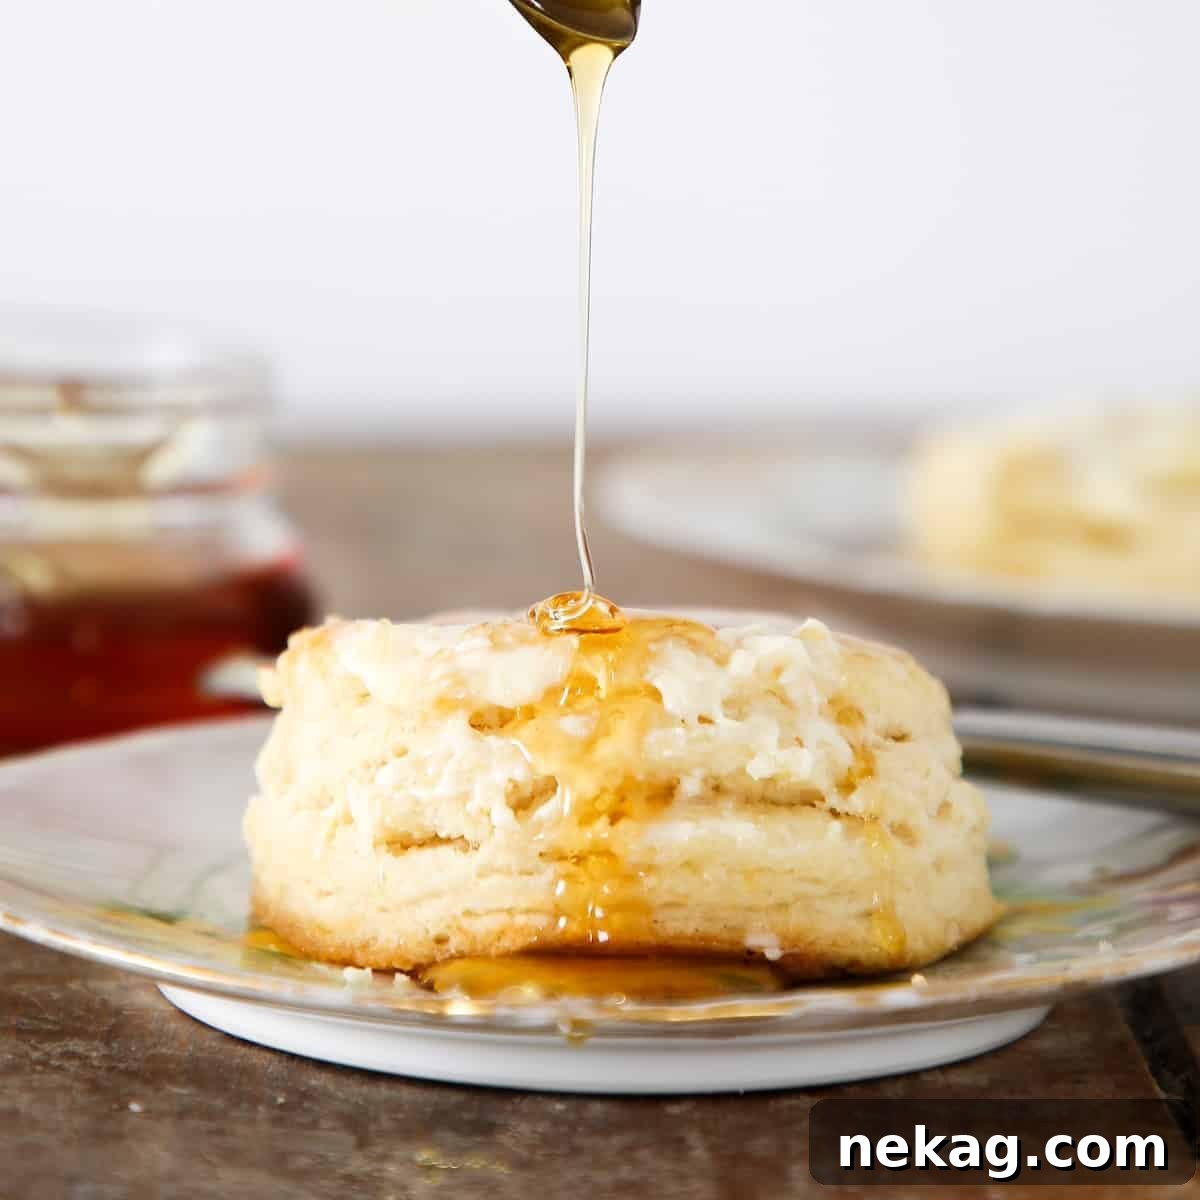
Unlock the secret to the most irresistible buttermilk biscuits you’ll ever bake: soft, wonderfully flaky, and incredibly tender. If you’ve been searching for that quintessential Southern biscuit recipe that delivers every time, your quest ends here. Prepare to experience a truly transcendent baking moment.
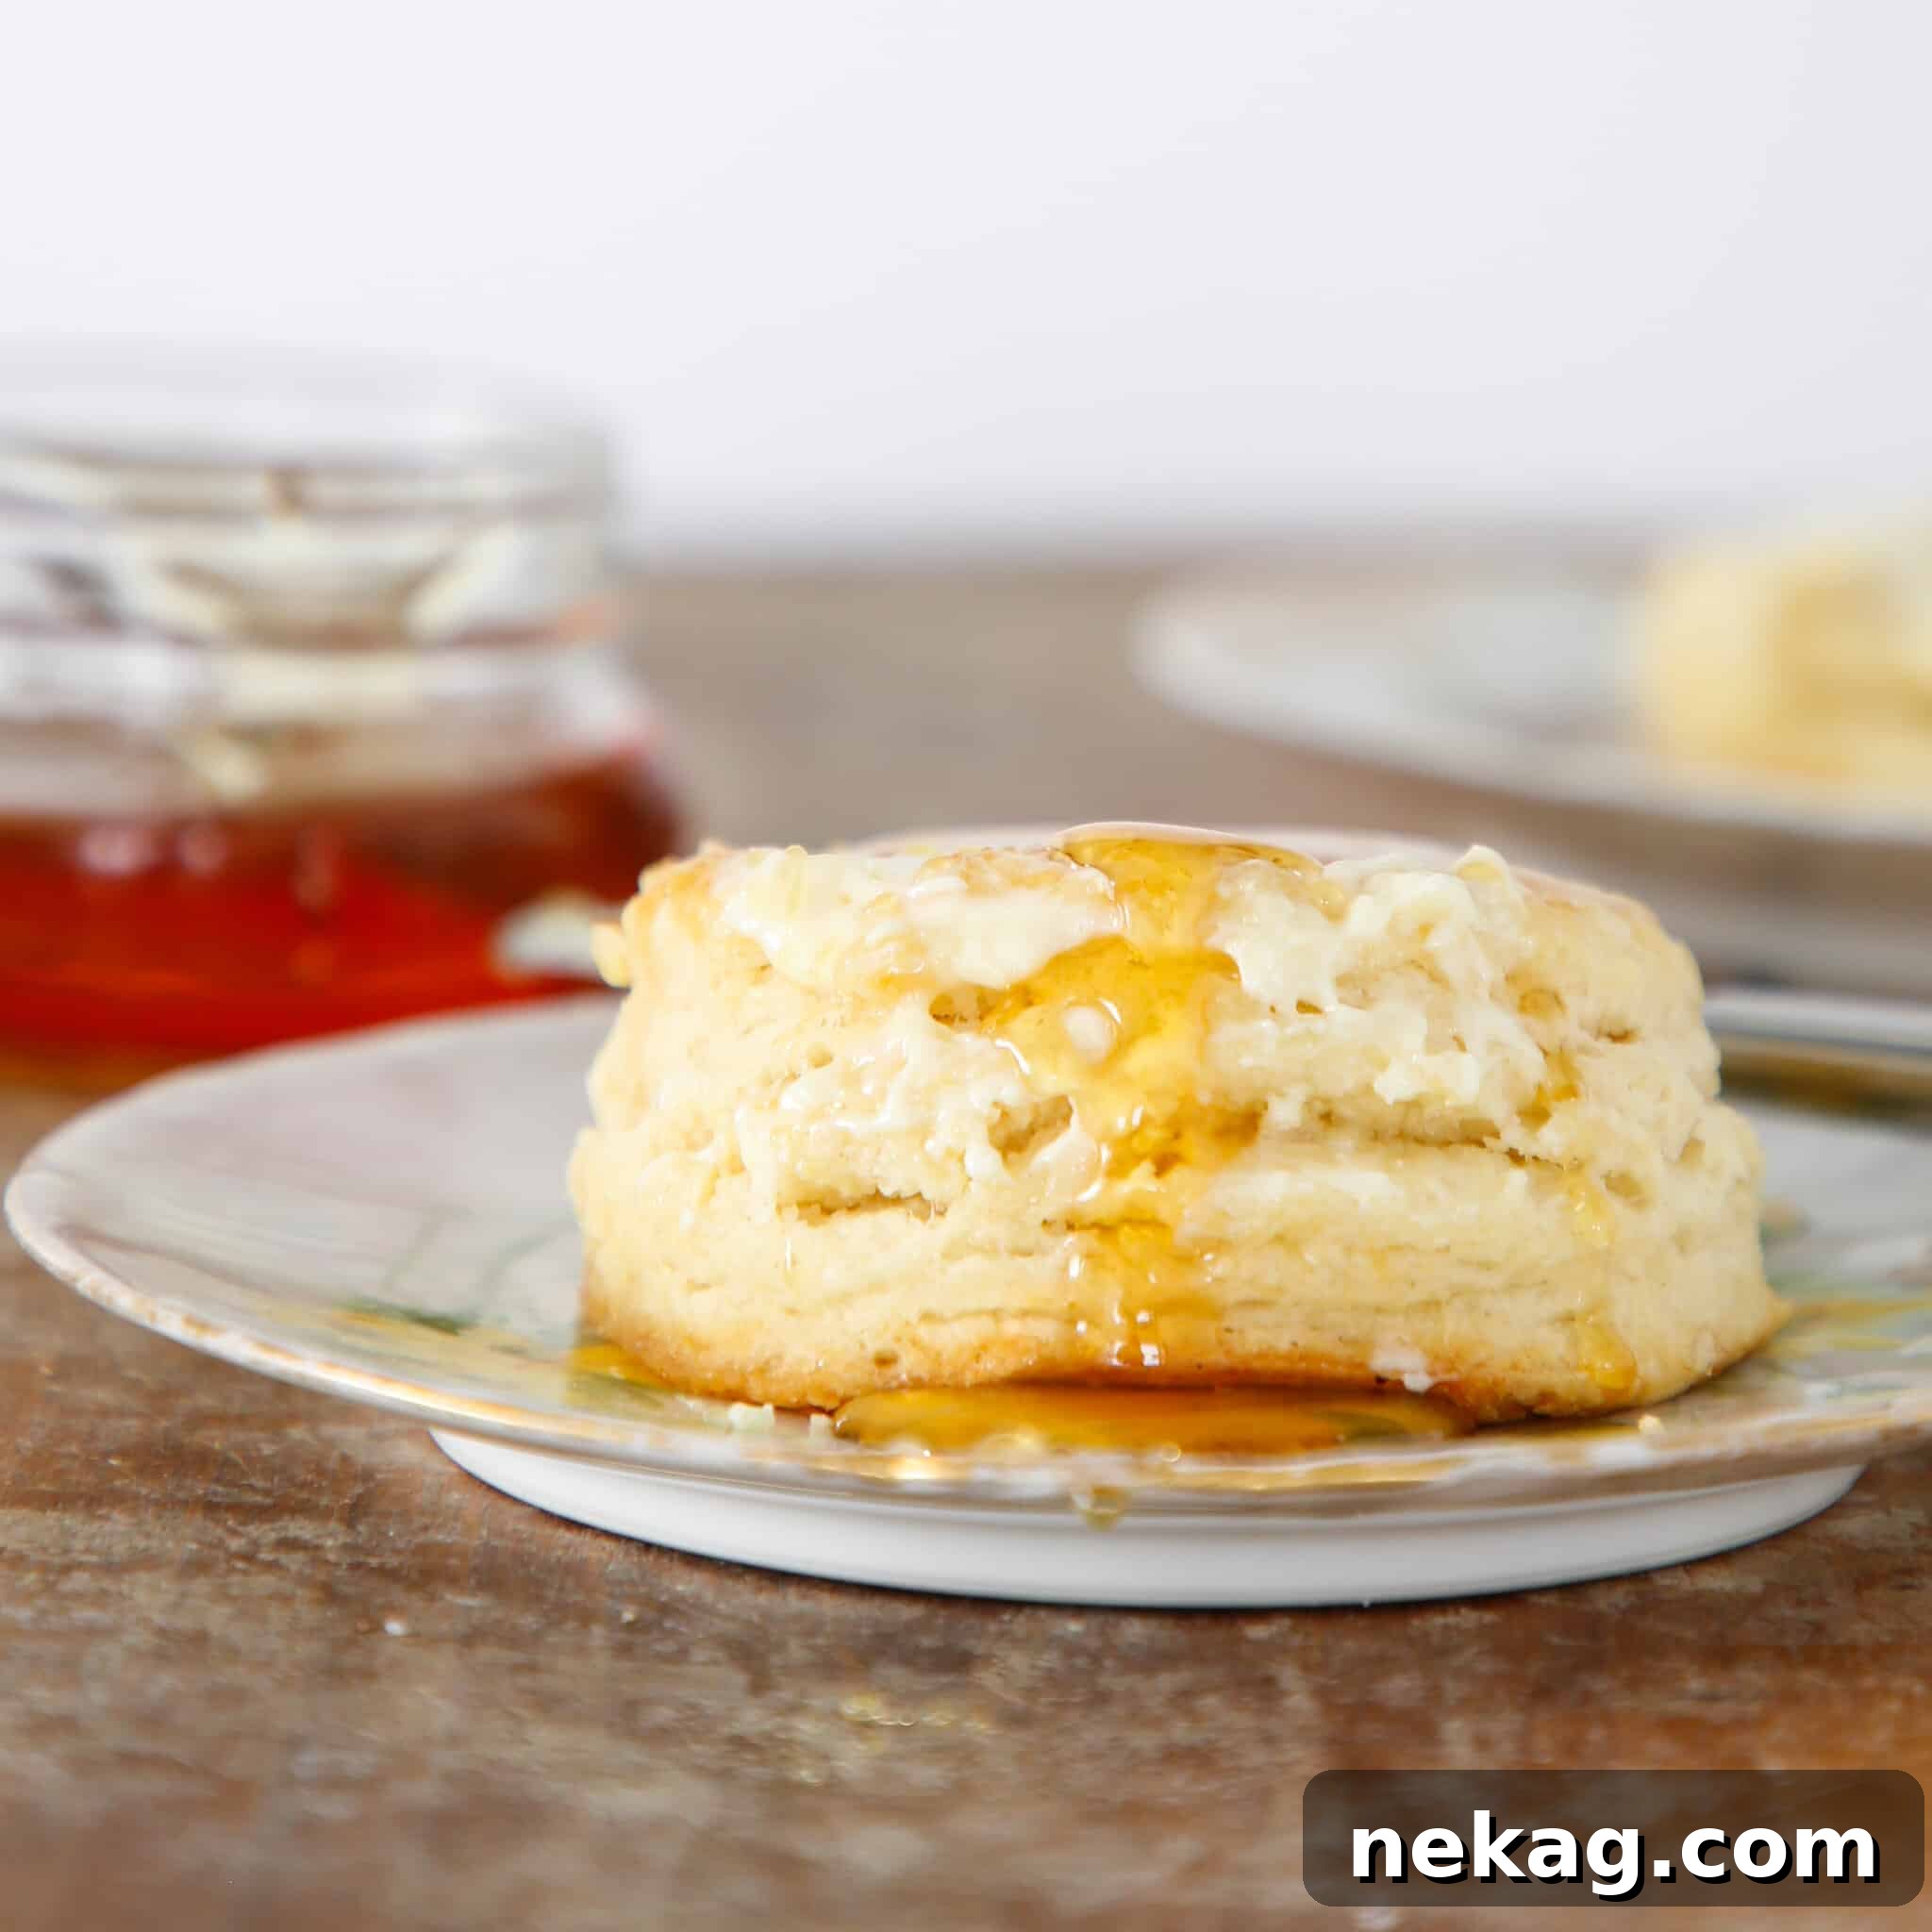
While my background might suggest a “Midwestern farmer’s daughter vibe,” a significant chapter of my life—over 13 years—was spent steeped in the rich culinary traditions of the American South. During that time, flaky, melt-in-your-mouth Southern biscuits became intrinsically linked with cherished memories. From vibrant college tailgates fueled by legendary Bojangles biscuits to leisurely brunches enjoyed in the bustling heart of Atlanta, these humble baked goods marked special occasions and everyday comforts alike.
It’s impossible to talk about Southern biscuits without giving a proper nod to an iconic establishment: The Flying Biscuit Cafe in Atlanta. Unlike cities where queuing for hours for a culinary delight is practically a sport—I’m looking at you, cronut enthusiasts in NYC!—Atlanta has its own, more discerning set of rules. If you spot a line snaking out the door of an Atlanta restaurant, take heed. It’s a sure sign that something extraordinary awaits. The Flying Biscuit Cafe is a shining example of this phenomenon. This unpretentious, beloved cafe completely reshaped my understanding of what a biscuit—and indeed, what brunch itself—should truly be.
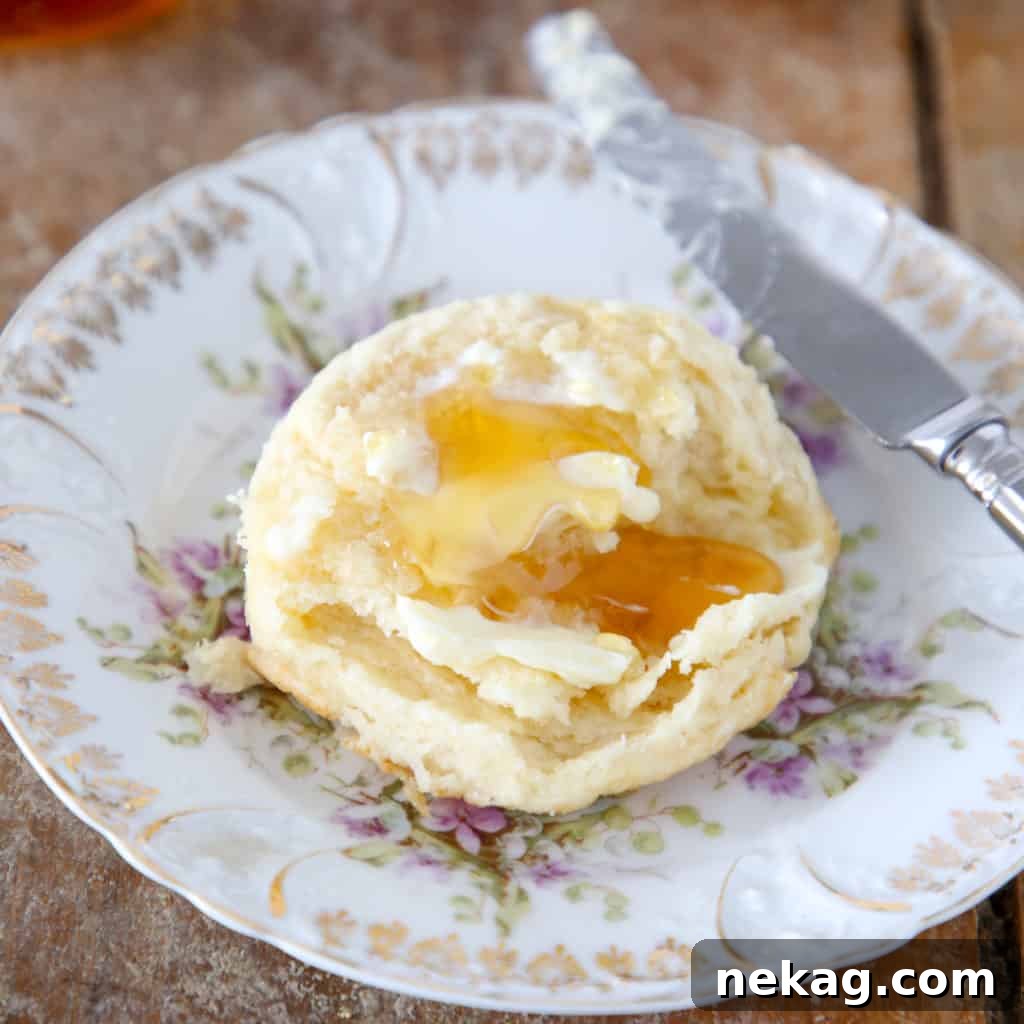
Firstly, it became clear that no brunch is complete without a generous serving of biscuits (and, let’s be honest, a sparkling mimosa or two!). Secondly, genuine happiness can unequivocally be found sharing a plate of TFB’s legendary Southern Scramble, accompanied by an essential side of those glorious biscuits, with good friends.
For those who follow my culinary adventures on Instagram, you’ll know that this particular biscuit recipe has been a long-awaited labor of love. I dedicated weeks to rigorous testing and retesting, meticulously refining every detail. In fact, this recipe underwent three distinct iterations solely to pinpoint the precise, perfect ratio of butter. What I discovered was surprising: more butter doesn’t always translate to a better biscuit, a notion that challenged my initial assumptions.
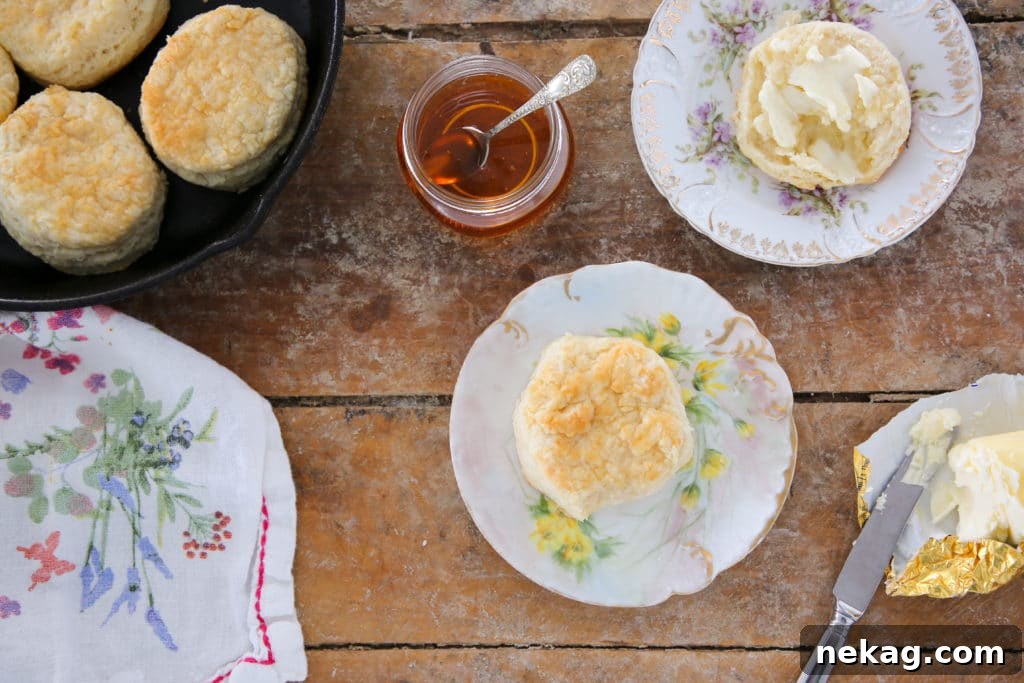
What Makes These the Best Buttermilk Biscuits? Unpacking the Science of Flaky Perfection
Ah, I’m so glad you asked! My inner pastry nerd has been eagerly awaiting this moment to share all the delicious details. Crafting the perfect buttermilk biscuit is a delicate art, a symphony of technique and ingredients that culminates in that coveted soft, flaky, and tender texture. Here’s a deep dive into the elements that elevate this recipe above the rest:
- The Art of Lamination for Unparalleled Flakiness: This is arguably the most critical factor, setting these biscuits several steps above even the finest “drop biscuits.” If you dream of biscuits that you can effortlessly pull apart into distinct, buttery layers, much like a Pillsbury Grands, then lamination is your secret weapon. The principle is similar to classic puff pastry, but it’s significantly simpler and less intimidating. The process involves cutting cold butter into your dry ingredients, then, after incorporating the buttermilk, performing a series of strategic folds. These folds don’t just mix the dough; they create natural sheets of butter and dough, which, when baked, produce steam from the butter’s moisture, forcing the layers apart and resulting in that ethereal flakiness. Each fold is a promise of another tender layer.
- Precision in Cutting the Butter: The Tender-Flaky Balance: The way you incorporate butter into the flour is paramount to achieving the perfect texture. The goal is to cut the butter into the dry ingredients just enough. When butter is cut into flour, it shortens (or ‘cuts’) the gluten strands that would otherwise develop, leading to a wonderfully tender and soft biscuit. If you don’t cut the butter sufficiently, you risk a less tender biscuit and will likely need more buttermilk to bring the dough together. Excessive moisture encourages more gluten development, which can lead to tough, chewy biscuits – precisely what we want to avoid! Conversely, if you cut the butter in too finely, you might lose some of that desirable flakiness. However, don’t despair if you over-process slightly; simply adjust by adding a little less buttermilk, and your biscuits will still be delightful. The ideal consistency for the butter pieces after cutting is roughly the size of small peas or even smaller crumbs, with some larger, flattened pieces for extra flakiness.
- The Crucial Butter-to-Dry Ingredient Ratio: My extensive testing revolved around a core hypothesis: how much butter could be incorporated while still preserving the biscuit’s light texture and delicate crumb? The answer, as I discovered, was less than one might assume. While intuition might suggest that more butter equals richer, better biscuits, excessive butter actually yielded dense, heavy results. Even a generous amount of additional baking powder couldn’t coax those “hockey pucks” into puffing up! Finding this precise balance ensures the biscuits are rich and flavorful without being overly greasy or dense.
- Embrace the Baking Powder: Don’t be shy with the baking powder – use the recommended amount! The rich combination of butter and buttermilk creates a relatively heavy dough. Baking powder acts as a crucial leavening agent, reacting with the buttermilk’s acidity to produce carbon dioxide gas, which then creates air pockets within the dough. This internal lift is what gives the biscuits their airy, fluffy texture and helps them rise beautifully in the oven. It’s the essential element that transforms a dense dough into a cloud-like confection.
- The Subtle Power of Salt and Sugar: A small but perfectly measured amount of salt and sugar makes a significant difference. Over the years, I’ve experimented with varying sugar levels and, similar to butter, found that more isn’t always better. Too much sugar can alter the biscuit’s texture, making them less fluffy and soft. Salt enhances the overall flavor profile, balancing the richness of the butter and buttermilk, while sugar contributes to a beautiful golden-brown crust and a hint of sweetness without overpowering the classic biscuit taste. They are flavor enhancers, not primary flavor components in this context.
- The Golden Rule: Do Not Overbake: This is a common pitfall that can sabotage even the most perfectly prepared biscuit dough. Even an otherwise amazing biscuit will turn dry and crumbly if left in the oven for too long. This is especially true if you’re baking in a cast iron pan, which is my preferred method for even heat distribution and a crisp bottom. Cast iron retains heat exceptionally well and will continue to cook the biscuits even after they’ve been removed from the oven. Keep a close eye on them; look for a golden-brown hue on the edges and a slight give in the center when gently pressed. Pull them out just before you think they’re fully done, as carryover cooking will do the rest.
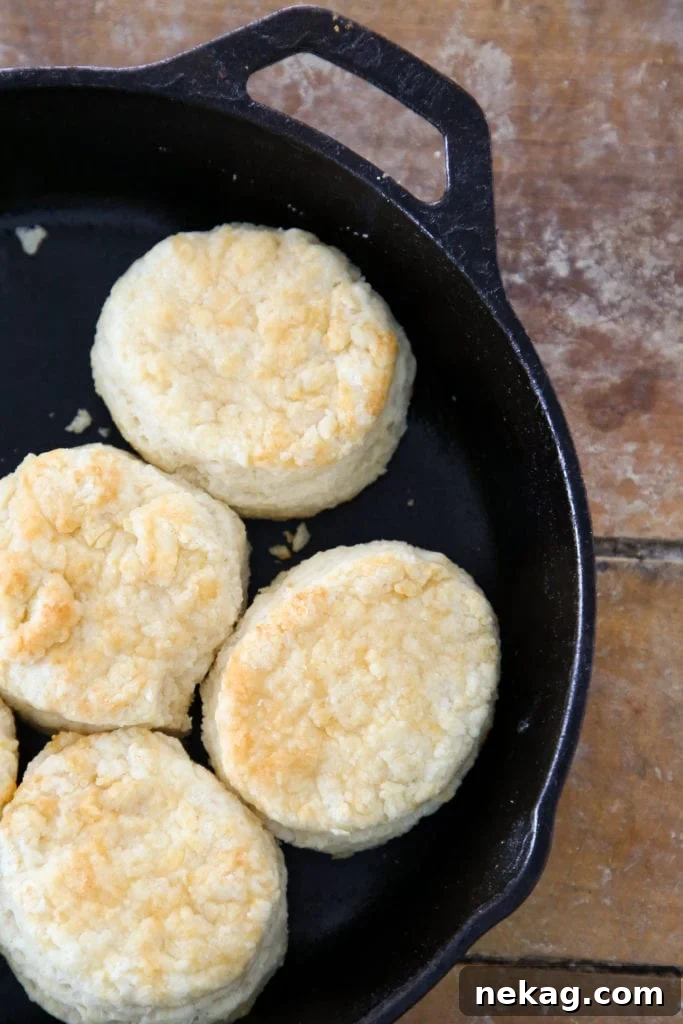
Mastering the Methods for the Best Buttermilk Biscuits: A Step-by-Step Guide
Achieving the perfect buttermilk biscuit is as much about technique as it is about ingredients. Here are the detailed methods that ensure every batch is a success, focusing on gentle handling and smart execution:
- Cutting in the Butter: Achieving the Right Consistency: For efficiency and consistency, I often begin by cutting the butter into the dry ingredients using a food processor, then finish by hand to ensure the perfect texture. Alternatively, you can achieve excellent results with a stand mixer fitted with a paddle attachment, a pastry blender, or even two knives for a truly artisanal touch (though this takes a bit more time!). Regardless of your chosen tool, the key with a food processor is to use short, controlled pulses and to stop frequently to check the butter’s size. It’s incredibly easy to over-process the butter into a paste, which will hinder flakiness. Aim for butter pieces ranging from small pea-sized to coarse meal, ensuring some larger, flattened shards remain to create those beautiful layers. This usually takes less than a minute of pulsing.
- Adding the Buttermilk: Gentle Hydration is Key: I strongly prefer to incorporate the buttermilk by hand to avoid overmixing. I typically turn my butter-studded flour mixture out onto a clean countertop, creating a mound. Then, I drizzle the cold buttermilk over the top, using my left hand to gently toss and incorporate the liquid, ensuring the flour is evenly coated. The goal is to achieve a “shaggy mass” – a collection of moist crumbs and dry patches that just begins to cling together. Resist the urge to knead or vigorously mix at this stage; gentle handling preserves the tender texture.
- The Lamination Process: Building Layers of Flakiness: Once you have your shaggy mass, gently gather it and press it into a rough rectangle on your work surface. Roll this rectangle out to about ¼-inch thickness. Now, perform an “envelope fold”: fold one end towards the center third, then fold the other end over the first, as if you’re folding a letter to fit into an envelope. At this initial stage, the dough will likely feel dry and look somewhat fragmented, not fully cohesive. Trust the process! Gently pat it together if needed. Rotate the dough 90 degrees and repeat the rolling and folding two more times. This series of folds is what creates the distinct, buttery layers that make these biscuits so wonderfully flaky.
- Chillax: Resting for Superior Results: After the lamination process, wrap your dough tightly in plastic wrap and let it chill in the refrigerator for at least one hour, or even overnight. This chilling period is crucial for several reasons: it allows the gluten to relax, preventing tough biscuits, and gives the buttermilk ample time to fully hydrate the flour. It also firms up the butter, which is essential for crisp, defined layers during baking. For ultimate convenience, you can prepare the dough the night before or even wrap it well and freeze it for up to a month. There are mornings when only a homemade biscuit will do, and having pre-made dough ready to go is a game-changer!
- Roll & Cut: Shaping Your Biscuits: Once the dough is properly chilled, unwrap it and roll it out to a thickness of just over ½-inch. I personally love a thicker, “fat” biscuit, but you can adjust to your preference. Using a sharp biscuit cutter, press straight down firmly without twisting. Twisting the cutter seals the edges, inhibiting the biscuits from rising to their full potential. For a perfect yield and minimal scraps, you can also cut the dough into neat squares using a bench scraper. Gather any scraps, gently press them together (don’t knead!), and cut additional biscuits, though these might be slightly less flaky.
- The Honey Topper: A Sweet Southern Touch: This step is entirely optional but highly recommended for an extra layer of flavor and a beautiful golden sheen, inspired by the excellence of The Flying Biscuit Cafe. About two minutes before your biscuits are fully baked, carefully remove them from the oven. Drizzle a small amount of honey over the top of each biscuit. For bonus points, gently warm your honey first and brush it on with a pastry brush for an even coating. Your clean fingers work just fine in a pinch! Return the biscuits to the oven to finish baking, allowing the honey to lightly caramelize. These honey-kissed biscuits are fantastic served with homemade mixed berry jam, easy strawberry jam, or creamy apple butter.
If you’ve read through all these detailed instructions, give yourself a pat on the back! My inner pastry enthusiast is absolutely thrilled to have shared so much. As a bonus, consider using any extra buttermilk you might have to make a delectable old-fashioned buttermilk pie. And why not keep that skillet handy for a mouth-watering pizookie for dessert tonight? With these tips and tricks, you’re now fully equipped to bake the best buttermilk biscuits imaginable. Without further ado, let’s get baking!
The Best Buttermilk Biscuits
Chef Lindsey
20
14
1
8
people
Comment
Print Recipe
Ingredients
- 255 g All Purpose Flour
- 6 g Kosher Salt
- 18 g Sugar
- 21 g Baking powder
- 100 g Butter (7 T)
- 192 g Buttermilk
- 1 T Honey
Instructions
-
In a food processor, combine flour, salt, sugar, and baking powder. Pulse a few times to evenly distribute the dry ingredients. Add the cold butter and pulse until the butter is cut into pea-sized pieces, with some smaller crumbs. Be careful not to over-process.
-
Turn the butter-flour mixture out onto a clean work surface. Drizzle the cold buttermilk over the mound of dry ingredients. Using one hand, gently toss the mixture to coat the flour with the buttermilk. Continue until you have a “shaggy mass” – a collection of moist crumbs that just begins to cling together. Avoid kneading.
-
Gather the shaggy dough and press it together to form a rough rectangle. Roll it out to about ½-inch thick. Perform an envelope fold: fold one-third of the dough towards the center, then fold the other third over the top. Rotate the dough 90 degrees and repeat the rolling and folding process two more times. The dough will become more cohesive with each fold. Wrap the laminated dough tightly in plastic wrap and chill in the refrigerator for at least 1 hour, or preferably overnight.
-
Preheat your oven to 350°F (175°C).
-
Unwrap the chilled dough and roll it out to about ¾-inch thick. Using a biscuit cutter or a ring cutter, cut out circles, pressing straight down without twisting. Alternatively, use a bench scraper to cut the dough into squares for perfect yield.
-
Place the cut biscuits into a baking dish or a cast iron pan, spacing them slightly apart for crispier edges, or closer together for softer sides. Bake in the preheated oven at 350°F (175°C) until the edges are golden brown, approximately 12-14 minutes. Around 2 minutes before they are done, remove the pan from the oven and brush the tops of the biscuits generously with honey. Return to the oven and continue baking until golden brown and the centers have a slight resistance to the touch, approximately 16-18 minutes total.
-
Serve immediately while warm, or rewarm in the oven before serving.
Video
Notes
Nutrition
Calories:
239
kcal
|
Carbohydrates:
31
g
|
Protein:
4
g
|
Fat:
11
g
|
Saturated Fat:
7
g
|
Polyunsaturated Fat:
1
g
|
Monounsaturated Fat:
3
g
|
Trans Fat:
1
g
|
Cholesterol:
30
mg
|
Sodium:
675
mg
|
Potassium:
72
mg
|
Fiber:
1
g
|
Sugar:
6
g
|
Vitamin A:
352
IU
|
Vitamin C:
1
mg
|
Calcium:
190
mg
|
Iron:
2
mg
Breakfast
American
239
Like this? Leave a comment below!