
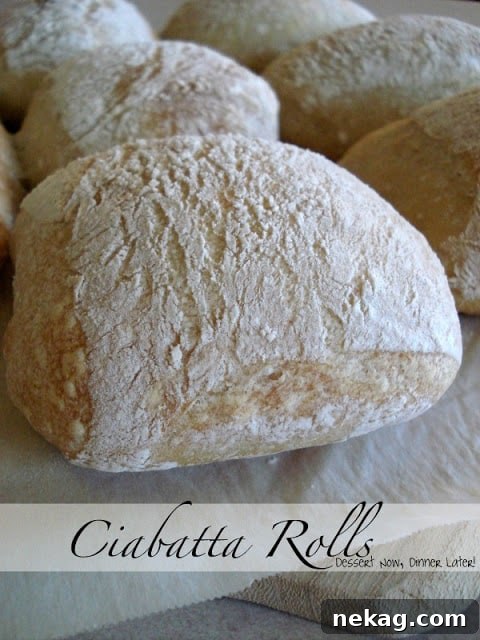
I’m totally in love with ciabatta. It’s the ideal roll for hearty sandwiches. Until now I’d always bought ciabatta from the store—making it at home is a bit time-consuming, but also enjoyable. While the loaves baked I kept peering through the oven window like a kid in a candy shop. I couldn’t wait and ate one warm with butter and jam straight from the oven.
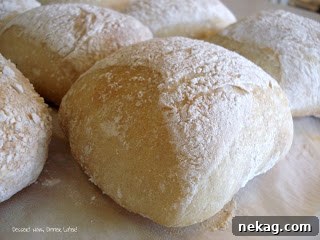
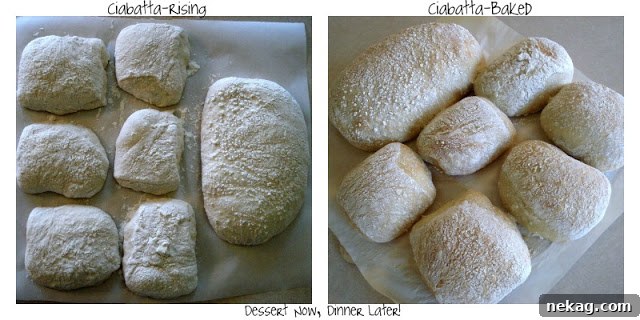
The process may look long or intimidating, but it’s straightforward. This is a two-day recipe—perfect for a weekend—and yields a lot. I made one loaf and six generous sandwich-sized rolls.
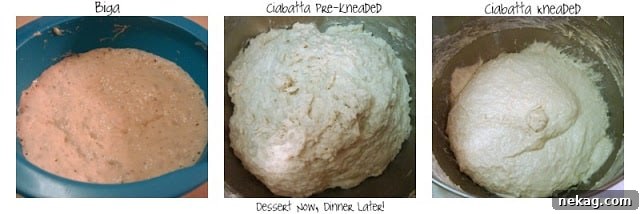
A few personal notes: I followed the recommendation to weigh ingredients and still didn’t get my dough to slap the mixer as the original instructions describe. I may try measuring by volume next time to compare. I may also have slightly deflated the dough when transferring it to the floured surface, which reduced some of the larger air pockets I like in ciabatta. Still, the crust and crumb were delicious and I’ll make this again. I used a pizza stone this time and barely fit all the pieces; next time I might bake on the back of a sheet pan instead.
P.S. This recipe is the first of three related recipes this week—stay tuned for the rest.
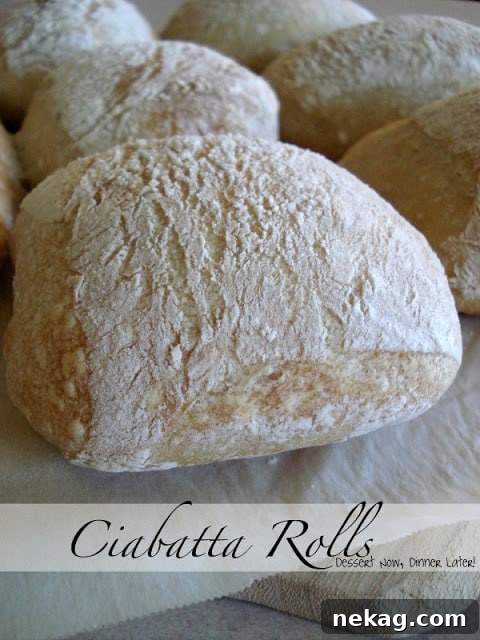
Ciabatta Rolls
Pin
Rate
SaveSaved!
Ingredients
Biga
- 4 ounces (118 ml) water, (½ cup)
- ½ teaspoon active-dry yeast
- 5 ounces (120 g) all-purpose flour, (1 cup)
Ciabatta
- 17 ounces (207 ml) water, (2 cups + 2 Tablespoons)
- 1 teaspoon active-dry yeast
- Biga
- 20 ounces (480 g) all-purpose flour, (4 cups)
- 2 teaspoons kosher salt
Instructions
-
FOR THE BIGA: Dissolve the yeast in the water. Add the flour and stir until you have a thick, gloppy paste. Stir briskly—about fifty stirs—to help develop gluten. Cover and let sit at room temperature for eight hours or overnight.
-
By the next day the biga should be loose and bubbly across the surface.
-
FOR THE CIABATTA: Dissolve the yeast in the water in the bowl of a stand mixer. Add the biga, breaking it up with a spatula or your hands into stringy pieces—you don’t need to dissolve it completely, just loosen it.
-
Add all the flour and the salt. Stir until a very wet, sticky dough forms. Let the mixture rest 10–20 minutes so the flour can absorb the water.
-
Attach a dough hook and knead on medium speed for 15–18 minutes (about level 5–6 on a KitchenAid). The mixer may move—watch it closely.
-
The dough will start sticky; around seven minutes it should begin to pull away from the bowl and collect around the hook, occasionally slapping the bowl. If that doesn’t happen, increase the speed slightly. If the dough climbs the hook, stop and scrape it down. When finished the dough should be smooth, glossy, and slightly pudding-like—this is normal.
-
Cover the bowl and let the dough rise at about 70–75°F for 2–3 hours, until roughly tripled in volume.
-
Heavily flour your work surface and set out two sheets of parchment. Gently scrape the dough onto the floured surface, trying not to deflate it. Dust the top with more flour. Cut into two pieces for loaves or into 16 pieces for rolls using a pastry scraper or pizza wheel.
-
Flour your hands and, working gently and quickly, transfer each piece to the parchment. Press your fingertips halfway into each piece to dimple and slightly flatten them. Let rise, uncovered, for 30–40 minutes; they should look pillowy with bubbles beneath the surface.
-
Preheat the oven to 475°F while the loaves rise. If using a baking stone, place it in the oven now.
-
When ready, slide the loaves on their parchment onto a pizza peel or baking sheet and transfer to the oven—either onto the stone or directly on the sheet. Bake 20–30 minutes until puffed and golden. Remove the parchment once cooled and cool completely before slicing.
Notes
- YIELD: 2 loaves or 12–16 rolls.
- To refresh ciabatta: wrap a roll in a damp paper towel and microwave for 15 seconds.
- When slicing for sandwiches, use a serrated knife and start at a corner. A cutting board is recommended for safety.
Sharing this recipe with a link is encouraged and appreciated. Copying or posting full recipes and photos without permission is prohibited. Content and photographs are copyright protected.
Did you make this?
Don’t forget to leave a rating below and follow on Pinterest and Instagram for more!