
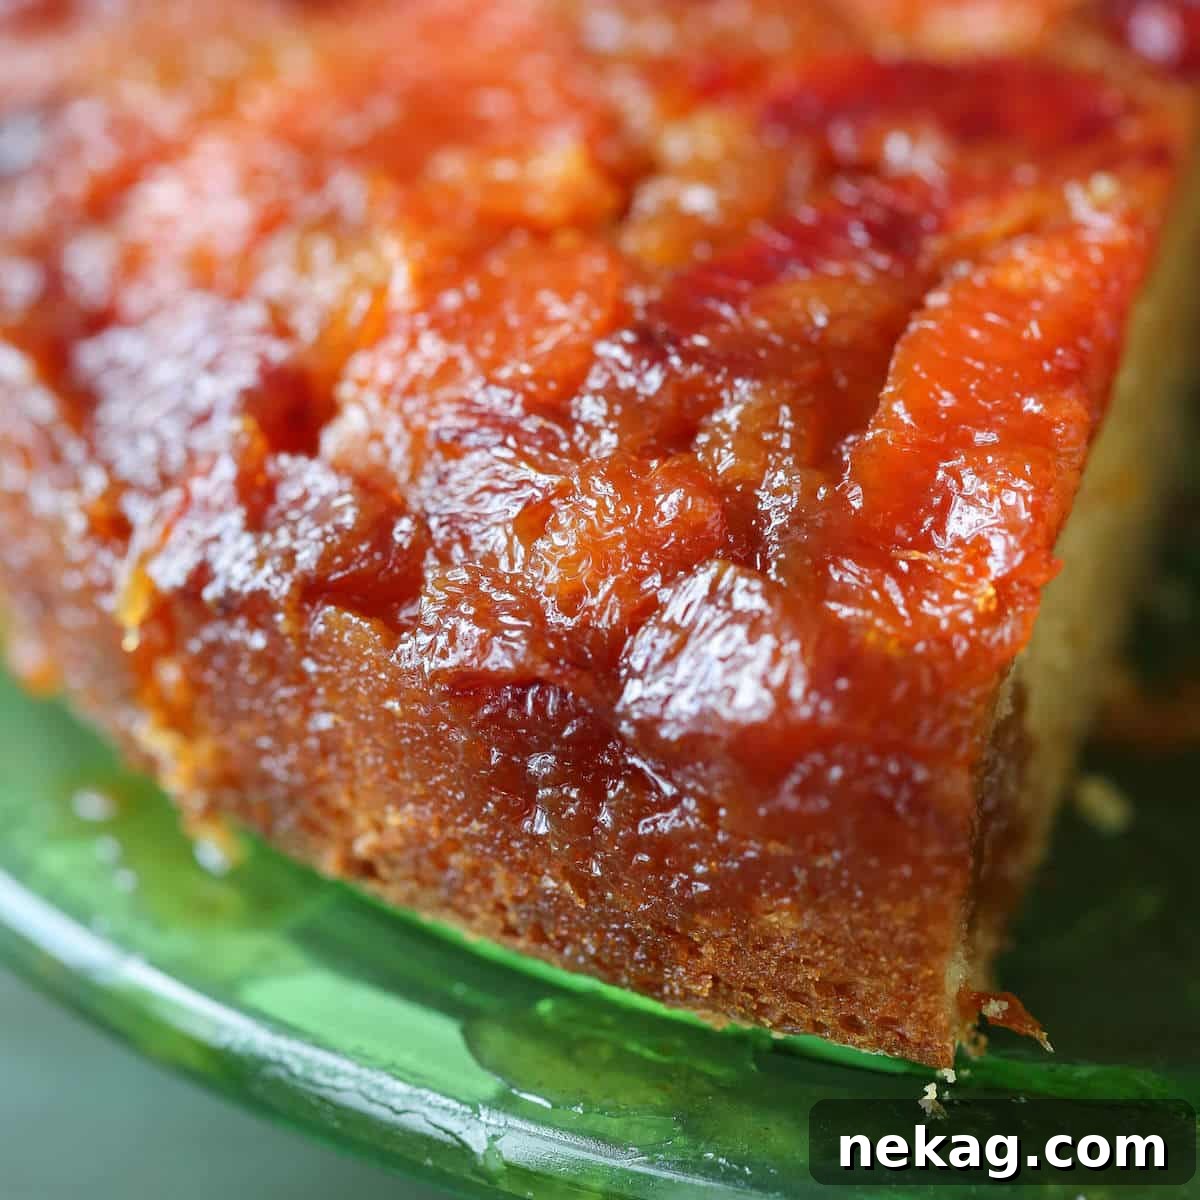
Prepare to be enchanted by this show-stopping Orange Upside Down Cake, a dessert that masterfully blends vibrant citrus with rich, buttery caramel. Beneath a beautifully arranged layer of glistening oranges lies an incredibly tender and moist cake, making every slice a delightful experience. This recipe isn’t just about baking a cake; it’s about creating a memorable culinary masterpiece that’s as gorgeous as it is delicious, perfect for any celebration or a special treat.
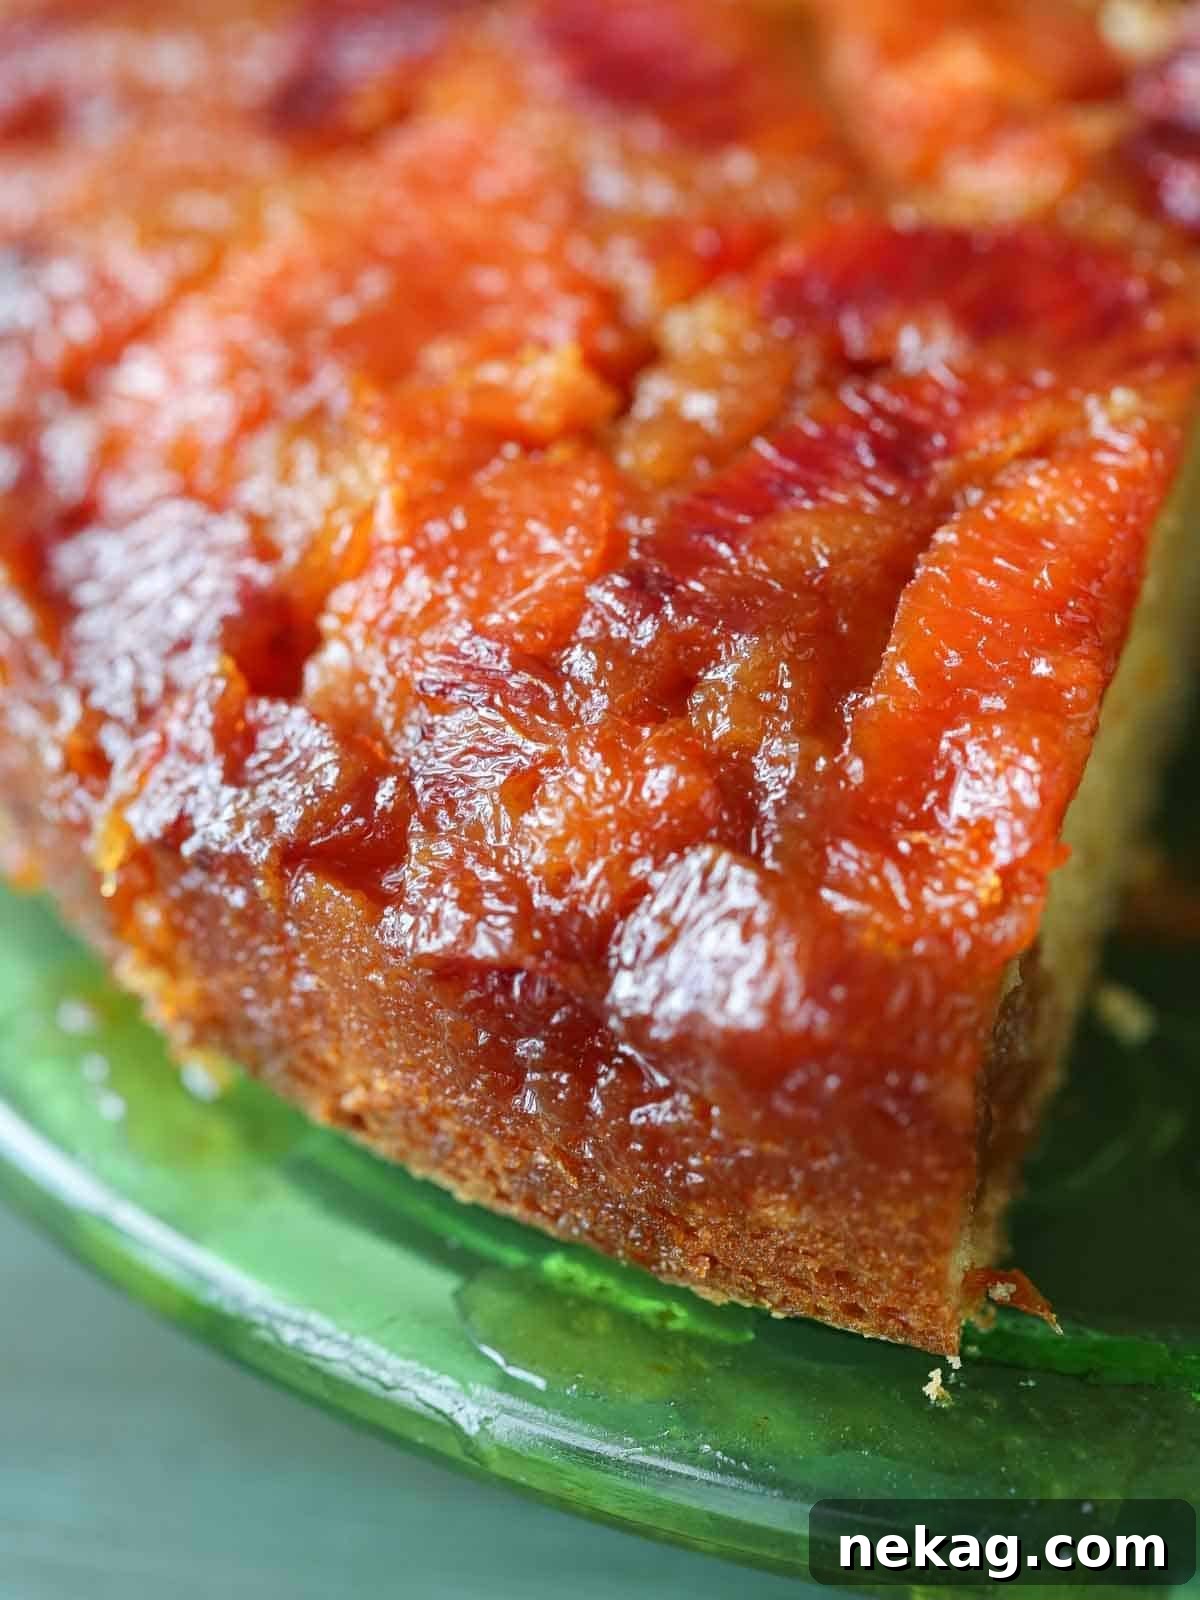
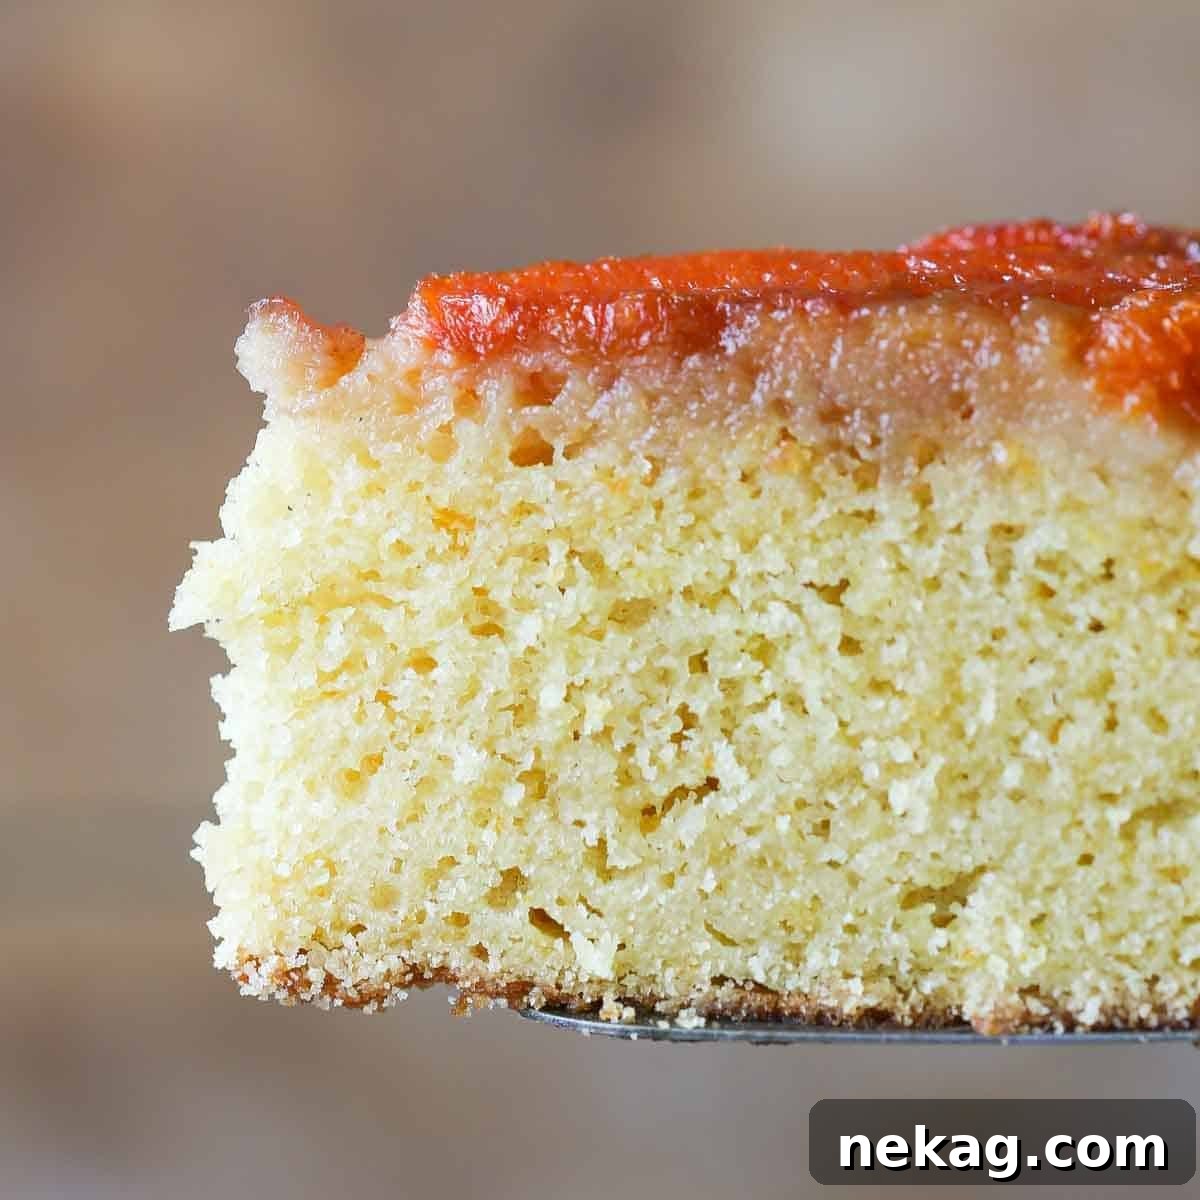
While the visually stunning caramelized orange top certainly captures attention, the true magic of this cake lies in its wonderfully moist brown sugar orange cake base. Crafted with a thoughtful combination of tangy buttermilk and rich brown sugar, the cake achieves an extra moist texture with a remarkably fluffy and tender crumb that practically melts in your mouth. You’ll adore the harmonious balance of zesty citrus, sweet caramel, and the comforting tenderness of the orange-infused cake. An upside down cake, like this one, offers an effortless elegance that few desserts can rival, much like its delightful cousin, the pear upside down cake, or the rustic charm of a classic apple tarte tatin. For those seeking a smaller, citrus-infused treat, don’t miss these delicate orange financiers!
Table of Contents
- Why You Will Love This Orange Upside Down Cake
- What is an Upside Down Cake?
- Key Ingredients for a Perfect Orange Cake
- Variations & Substitutions to Customize Your Cake
- Professional Baking Tips for a Flawless Orange Upside Down Cake
- How to Make the Best Orange Upside Down Cake: Step by Step
- Recipe FAQs: Your Orange Upside Down Cake Questions Answered
- Recommended Fruity Dessert Recipes
- Orange Upside Down Cake Full Recipe
- Before You Bake
Why You Will Love This Orange Upside Down Cake
- A Stunning Mix of Oranges for a Captivating Top: This recipe encourages using a delightful blend of oranges, such as the vibrant blood oranges and the sweet cara cara or classic navel oranges. This not only creates a visually breathtaking topping with varying hues and textures but also adds layers of complex citrus flavor that elevate the entire dessert. Each slice reveals a unique, edible mosaic.
- Delicate and Flavorful Orange Cake Base: An upside down cake is truly defined by the quality of its cake base, and this recipe delivers. Featuring an easy-to-make buttermilk cake infused with aromatic orange zest and the rich sweetness of brown sugar, it bakes up incredibly light, fluffy, and moist. The delicate orange essence permeates every bite, creating a balanced flavor profile that perfectly complements the caramelized fruit.
- Customizable Elegance – Simple or Elaborate: Whether you prefer a minimalist design or an intricate pattern, this cake offers full creative freedom. While I love arranging a variety of orange “suprêmes” for a truly gourmet presentation, you can easily opt for simple orange rings or even a single, elegant layer of slices. The beauty of an upside down cake lies in its versatility, allowing you to tailor the visual appeal to your preference without compromising on taste.
What is an Upside Down Cake?
An upside down cake is a beloved classic in the world of baking, known for its unique preparation method and stunning presentation. The concept is wonderfully simple yet produces an incredibly impressive result: a cake batter is poured over a thin layer of rich, buttery caramel and fresh, sliced fruit that has been carefully arranged at the bottom of the baking pan. As the cake bakes, the fruit caramelizes in the sweet syrup, infusing the cake with its juices and flavor. Once baked, the cake is ingeniously inverted onto a serving platter, revealing the beautifully baked, caramelized fruit topping on what was originally the bottom of the pan. The fruit can be arranged in an artful, intricate pattern for a show-stopping effect, or simply spread in an even layer for rustic charm. This method ensures that the fruit remains moist and glistening, acting as a natural glaze and a decorative crown for the tender cake beneath. It’s a timeless dessert that never fails to impress with its elegant simplicity and irresistible flavor.
Key Ingredients for a Perfect Orange Cake
Crafting the perfect Orange Upside Down Cake relies on a thoughtful selection of fresh, high-quality ingredients. Each component plays a vital role in achieving the desired flavor, texture, and visual appeal:
- Oranges: The star of the show! For a truly diverse and beautiful appearance, I recommend using a mix of cara cara oranges and blood oranges. Their distinct colors and slightly varied flavors will add depth. However, any fresh, juicy oranges you have on hand will be absolutely delightful. Ensure they are ripe and firm.
- Granulated Sugar: Essential for both the rich caramel topping and the cake batter. It provides sweetness and structure, creating that perfect golden crust on the fruit.
- Kosher Salt: A crucial flavor enhancer. Just a pinch in the caramel and a teaspoon in the cake batter works wonders by heightening the natural citrus flavors and balancing the sweetness, preventing the cake from being overly cloying.
- Butter: Unsalted butter is used for its pure, creamy richness in both the caramel and the cake. In the caramel, it creates a smooth, luxurious base. When creamed with sugar for the batter, it incorporates air for lightness and provides essential fat for a tender, moist texture.
- Baking Powder & Baking Soda: These leavening agents are carefully balanced to give the cake its ideal height and fluffy texture. Baking soda reacts with the acidity of buttermilk to create a powerful lift, while baking powder ensures a more even rise and a delicate, uniform crumb throughout the cake.
- Cake Flour: While I don’t always call for cake flour, it is absolutely essential for this recipe, similar to how it’s crucial for an angel food cake. Its lower protein content and finer texture minimize gluten development, resulting in an exceptionally light, airy, and melt-in-your-mouth tender cake that cannot be achieved with all-purpose flour.
- Light Brown Sugar: Incorporating light brown sugar into the cake batter not only adds sweetness but also a touch of moisture, keeping the cake wonderfully soft. Its subtle molasses notes contribute a rich, complex flavor that complements the orange beautifully.
- Orange Zest: Zesting oranges directly into the sugar for the cake batter is a key technique. This process releases the essential oils, infusing the cake with a delicate, bright, and intensely floral orange aroma and flavor that’s far superior to extract alone.
- Whole Eggs: Eggs provide structure, richness, and moisture to the cake. They also help bind the ingredients together, contributing to a stable and cohesive crumb.
- Vanilla Extract: A versatile flavor enhancer, vanilla extract adds warmth and depth to the cake, harmonizing with the citrus and caramel without overpowering them.
- Buttermilk: I typically opt for low-fat buttermilk in my baking, as it provides just the right amount of fat for a moist cake while its acidity actively works with baking soda to create a wonderfully tall and tender crumb.
For precise measurements and detailed instructions, please refer to the full recipe card below.
Variations & Substitutions to Customize Your Cake
This Orange Upside Down Cake recipe is wonderfully versatile, allowing for creative adaptations to suit your taste or what you have on hand. Don’t hesitate to experiment!
- Buttermilk Alternatives: If you don’t have buttermilk, avoid homemade versions using milk and lemon juice, as they don’t provide the same chemical reaction or richness. A better substitute is to mix ½ cup sour cream with 2 tablespoons of water. This will yield a slightly denser, but still delicious, cake. Plain yogurt or kefir can also work in a pinch, though adjust consistency with a little milk if too thick.
- Change the Cake Flavor Profile: The beauty of this base cake is its adaptability.
- Other Citrus: Swap orange zest for lemon, lime, or grapefruit zest to create a different citrus profile.
- Vanilla Boost: If omitting citrus zest, simply double the amount of vanilla extract for a classic, comforting flavor.
- Spiced Delights: Introduce warm spices for a cozy twist. I used cardamom in my pear upside down cake, and it was exceptional. Consider adding 1-2 teaspoons of apple pie spice, pumpkin spice, or even a light hand with speculoos spice mix to the dry ingredients for a fragrant cake.
- Nutty Notes: For a deeper flavor, you could lightly toast and fold in finely chopped pecans or walnuts into the batter.
- Explore Different Fruit Toppings: This dessert was a favorite for creativity in my restaurant days! The key is to use fruits that hold their shape well during baking and release some juices to meld with the caramel.
- Stone Fruits: Sliced peaches, plums, or apricots make fantastic upside down cakes when in season.
- Apples & Pears: Thinly sliced apples or pears (like in the pear upside down cake) are traditional and delicious choices.
- Pineapple: The classic pineapple upside down cake uses rings for a beautiful, tropical design.
- Berries: While softer, whole berries (like raspberries or blueberries) can be nestled between larger fruit slices or lightly scattered over the caramel for bursts of flavor, though they may break down more. Avoid overly soft fruits like mango or very ripe bananas, as they tend to become too mushy.
Professional Baking Tips for a Flawless Orange Upside Down Cake
Achieving a perfectly baked and beautifully presented Orange Upside Down Cake is easier with a few professional insights:
- The Importance of Cake Flour and Sifting: I rarely insist on using cake flour or sifting dry ingredients, but for this recipe, it’s non-negotiable. Cake flour’s lower protein content creates a truly tender and delicate crumb that will literally melt in your mouth. Sifting ensures that the leavening agents are evenly distributed and that there are no lumps, resulting in a smooth, uniform batter and an airy cake texture. Don’t skip these steps for the best possible result!
- Always Line Your Cake Pan with Parchment Paper: This simple step is your insurance policy against a dessert disaster. Caramel, once cooled, becomes very sticky. Skipping parchment can lead to a heartbreaking situation where your beautiful orange topping remains stubbornly stuck to the bottom of the pan. A circle of parchment paper ensures a clean release and a perfectly intact, stunning cake top.
- Turn the Cake Out While Still Warm (But Not Immediately): The timing for flipping an upside down cake is crucial. The caramel needs to be warm enough to be fluid and release from the pan easily, but not so hot that it’s a completely runny liquid that will make a mess and not adhere to the fruit. I recommend running a butter knife or offset spatula around the edges of the cake immediately after removing it from the oven to loosen it. Then, wait approximately 15 minutes before boldly inverting the cake onto your serving plate or cooling rack. This brief cooling period allows the caramel to set just enough to cling to the fruit and cake.
- Meticulously Prepare Your Oranges (Remove Peel and Bitter Pith): This is an extra step, but one that is absolutely worth the effort for a superior flavor profile. The white pith directly beneath the orange peel contains bitter compounds that can detract from the delicate flavors of your cake and caramel. By carefully slicing off both the outer rind and the inner white pith, you ensure that only the sweet, juicy, and floral segments of the orange are used. This prevents any unwanted bitterness from overwhelming the palate, allowing the vibrant orange and rich caramel notes to truly shine.
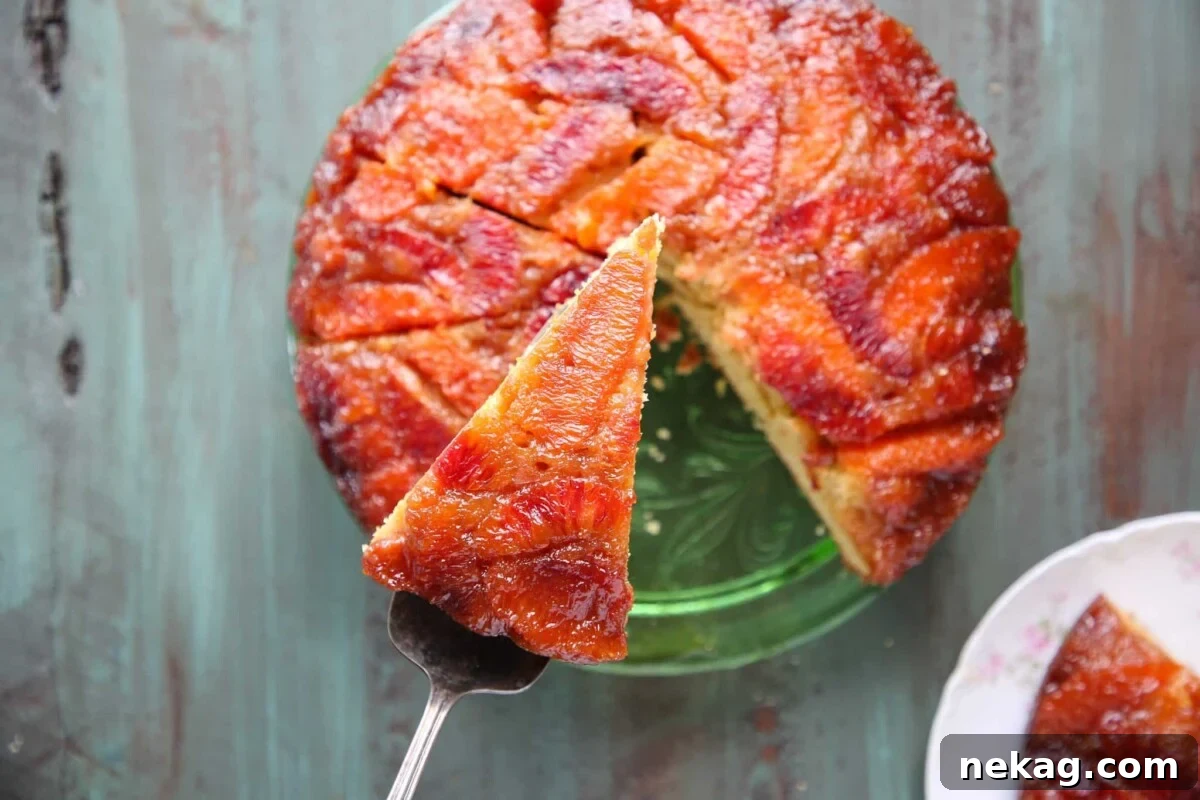
- Slice with a Serrated Knife: This practical tip comes from years of serving various versions of this cake in Manhattan restaurants. Once inverted, the orange pieces can be irregular and somewhat slippery. A sharp serrated knife will cut cleanly through both the tender cake and the soft, yet sometimes yielding, orange segments without squishing or tearing, ensuring elegant, neat slices every time.
How to Make the Best Orange Upside Down Cake: Step by Step
Follow these detailed instructions to create a perfect Orange Upside Down Cake every time. Refer to the full recipe card below for precise measurements and ingredient quantities.
Preparing the Oranges (Supreming or Slicing)
This crucial first step ensures a beautiful and flavorful topping.
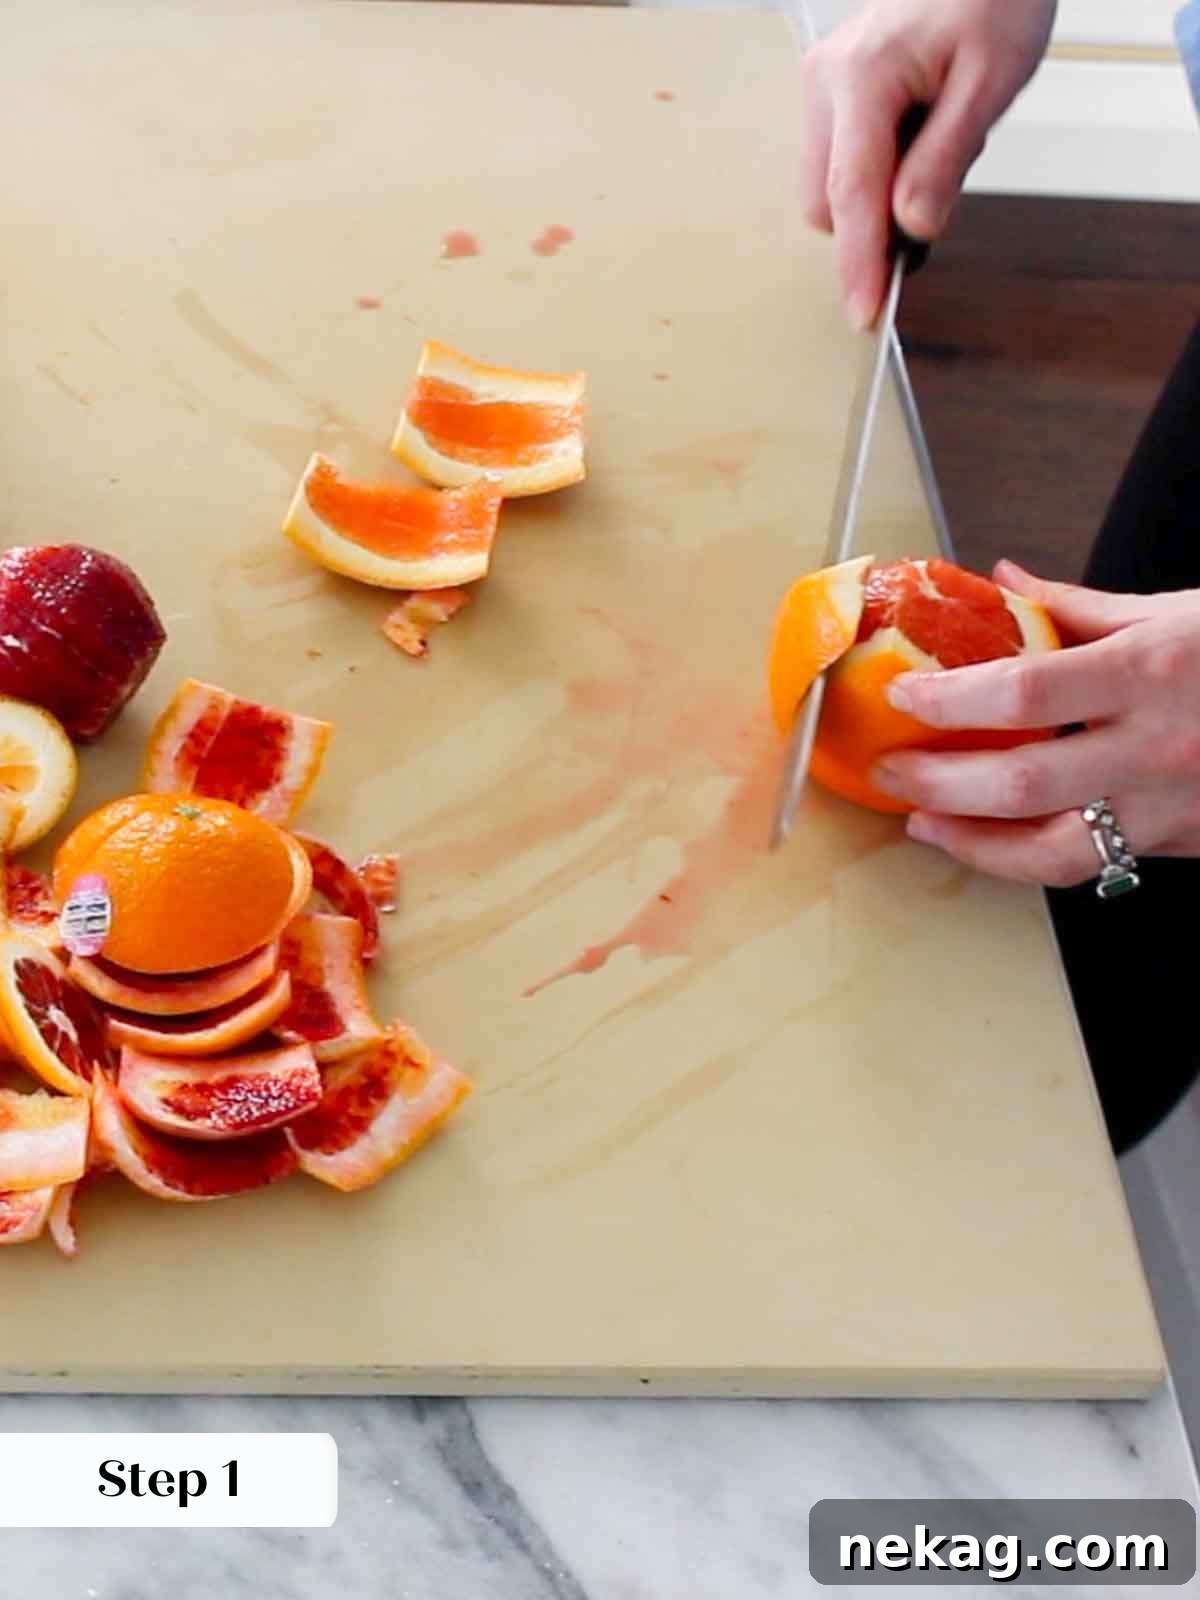
Step 1: Begin by carefully cutting off both ends of each orange, creating flat surfaces. Stand an orange on one of these flat ends. Using a sharp serrated knife, slice downwards, following the curve of the fruit, to remove the rind and the thin white pith, exposing the vibrant orange pulp. Continue around the entire orange until all the peel and pith are removed.
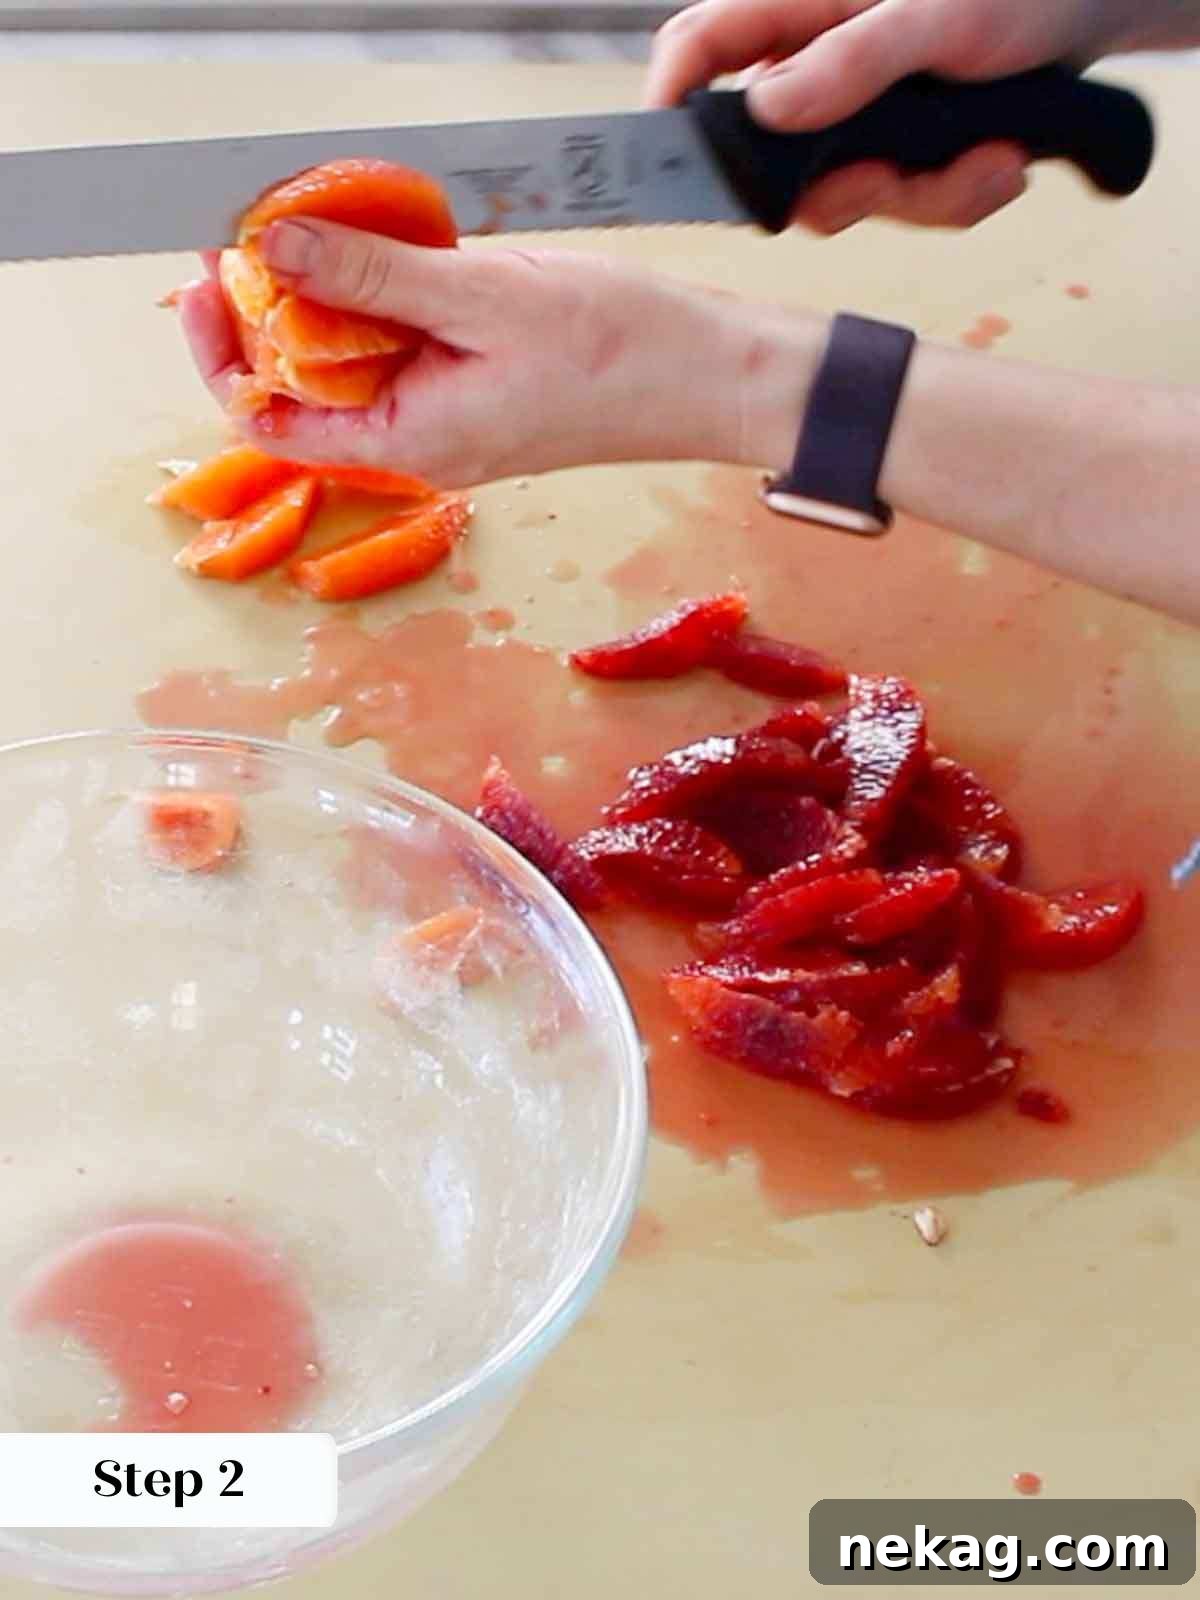
Step 2: Once peeled, you have two options for preparing your orange segments:
- Supremes (Elegant Wedges): For a professional, refined look, carefully slice out the individual pulp segments from between the white membranes (pith). This method yields beautiful, delicate wedges.
- Rounds (Simple & Fast): For a quicker approach that still looks fantastic, simply slice the peeled orange into even rounds. This uses fewer oranges and is much faster, which I sometimes regret not doing in videos when time is a factor!
Crafting the Buttery Caramel Layer
This layer is the foundation of your upside down cake, providing both flavor and the stunning presentation.
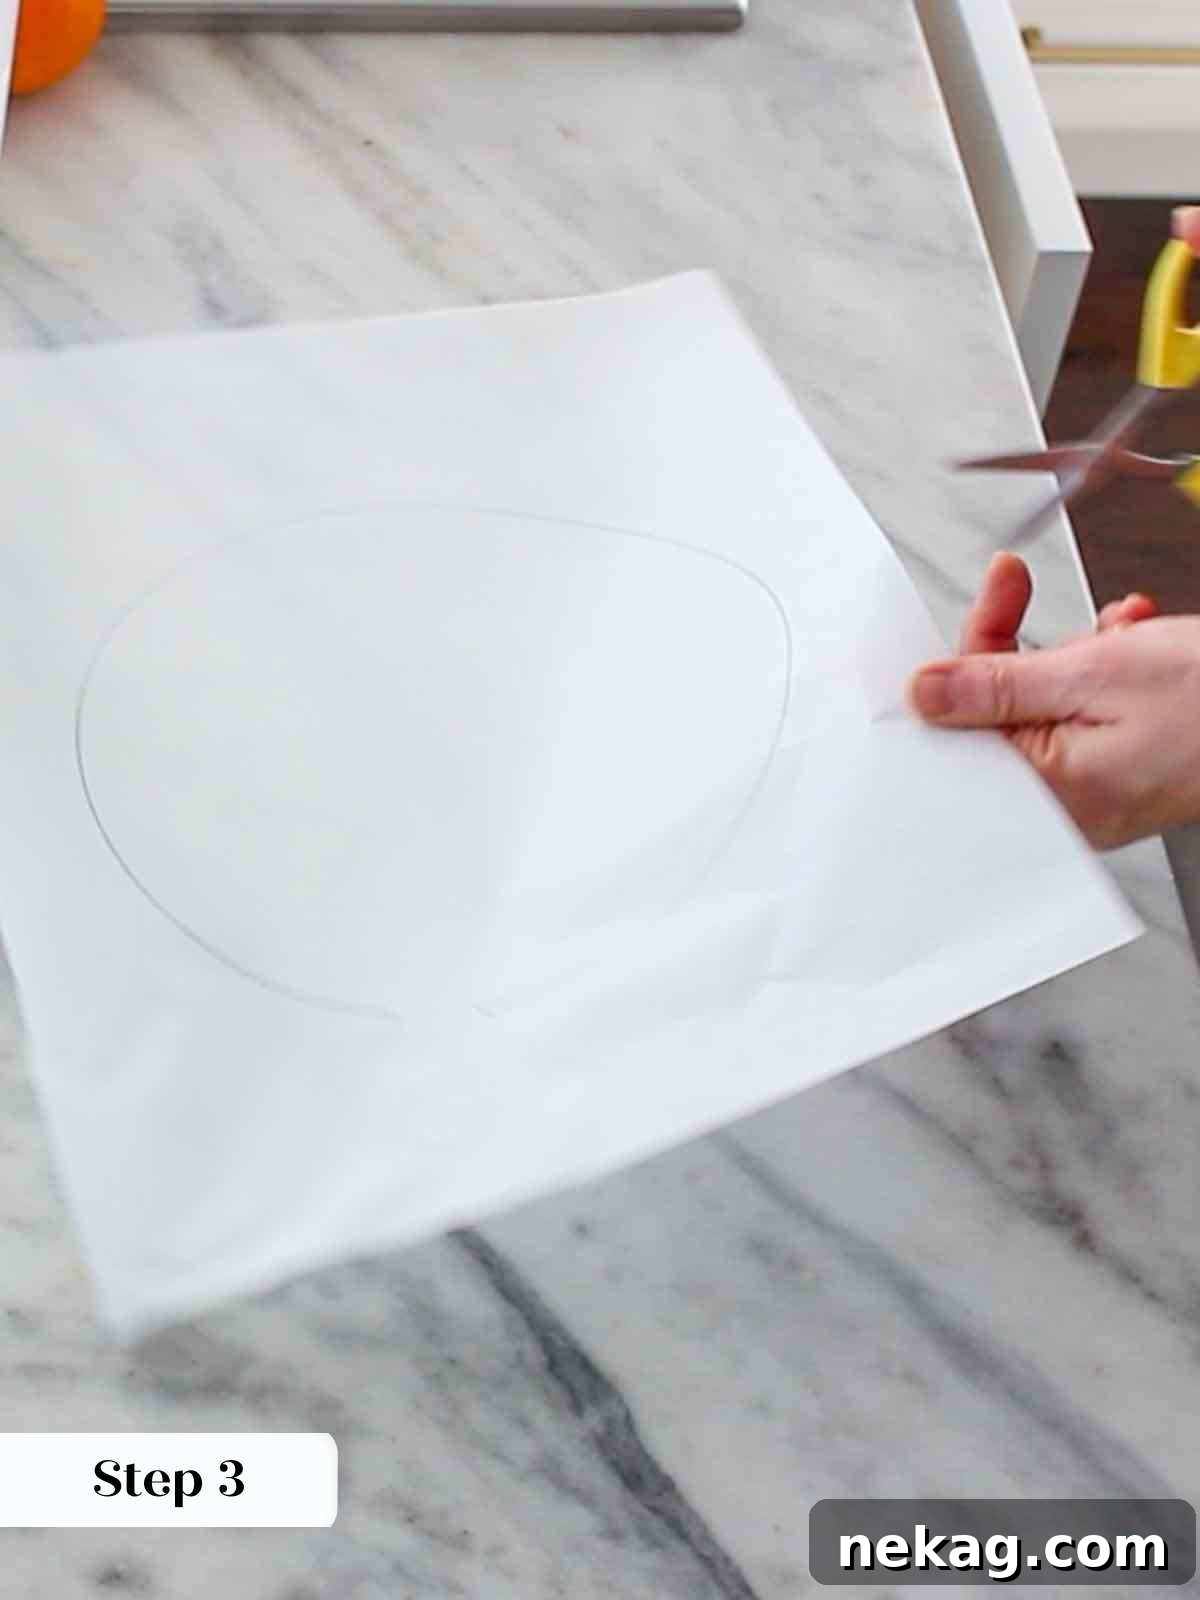
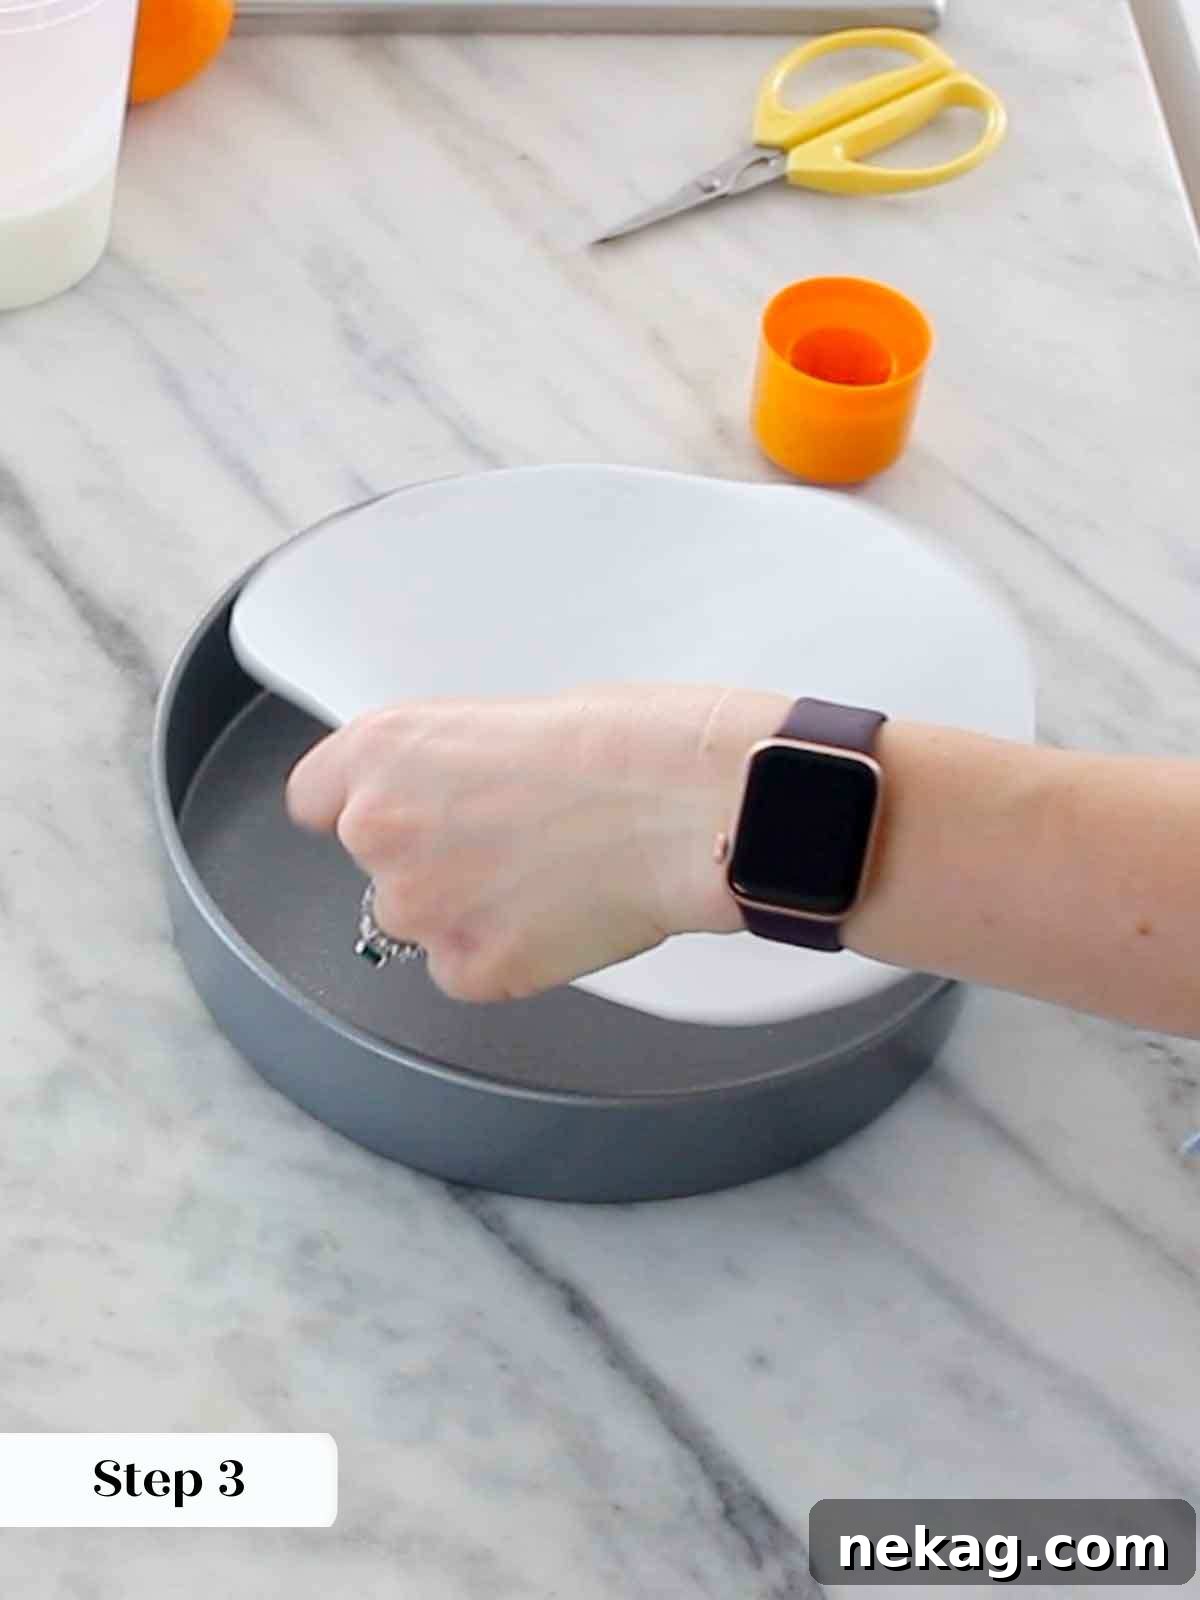
Step 3: Prepare your baking pan. Lightly spray a 9-inch round cake pan with cooking spray, then line the bottom with a circle of parchment paper. This parchment paper is essential for easy release later! Set the prepared pan aside. Preheat your oven to 325°F (160°C) on convection setting (with a fan) or 350°F (175°C) on conventional setting (no fan).
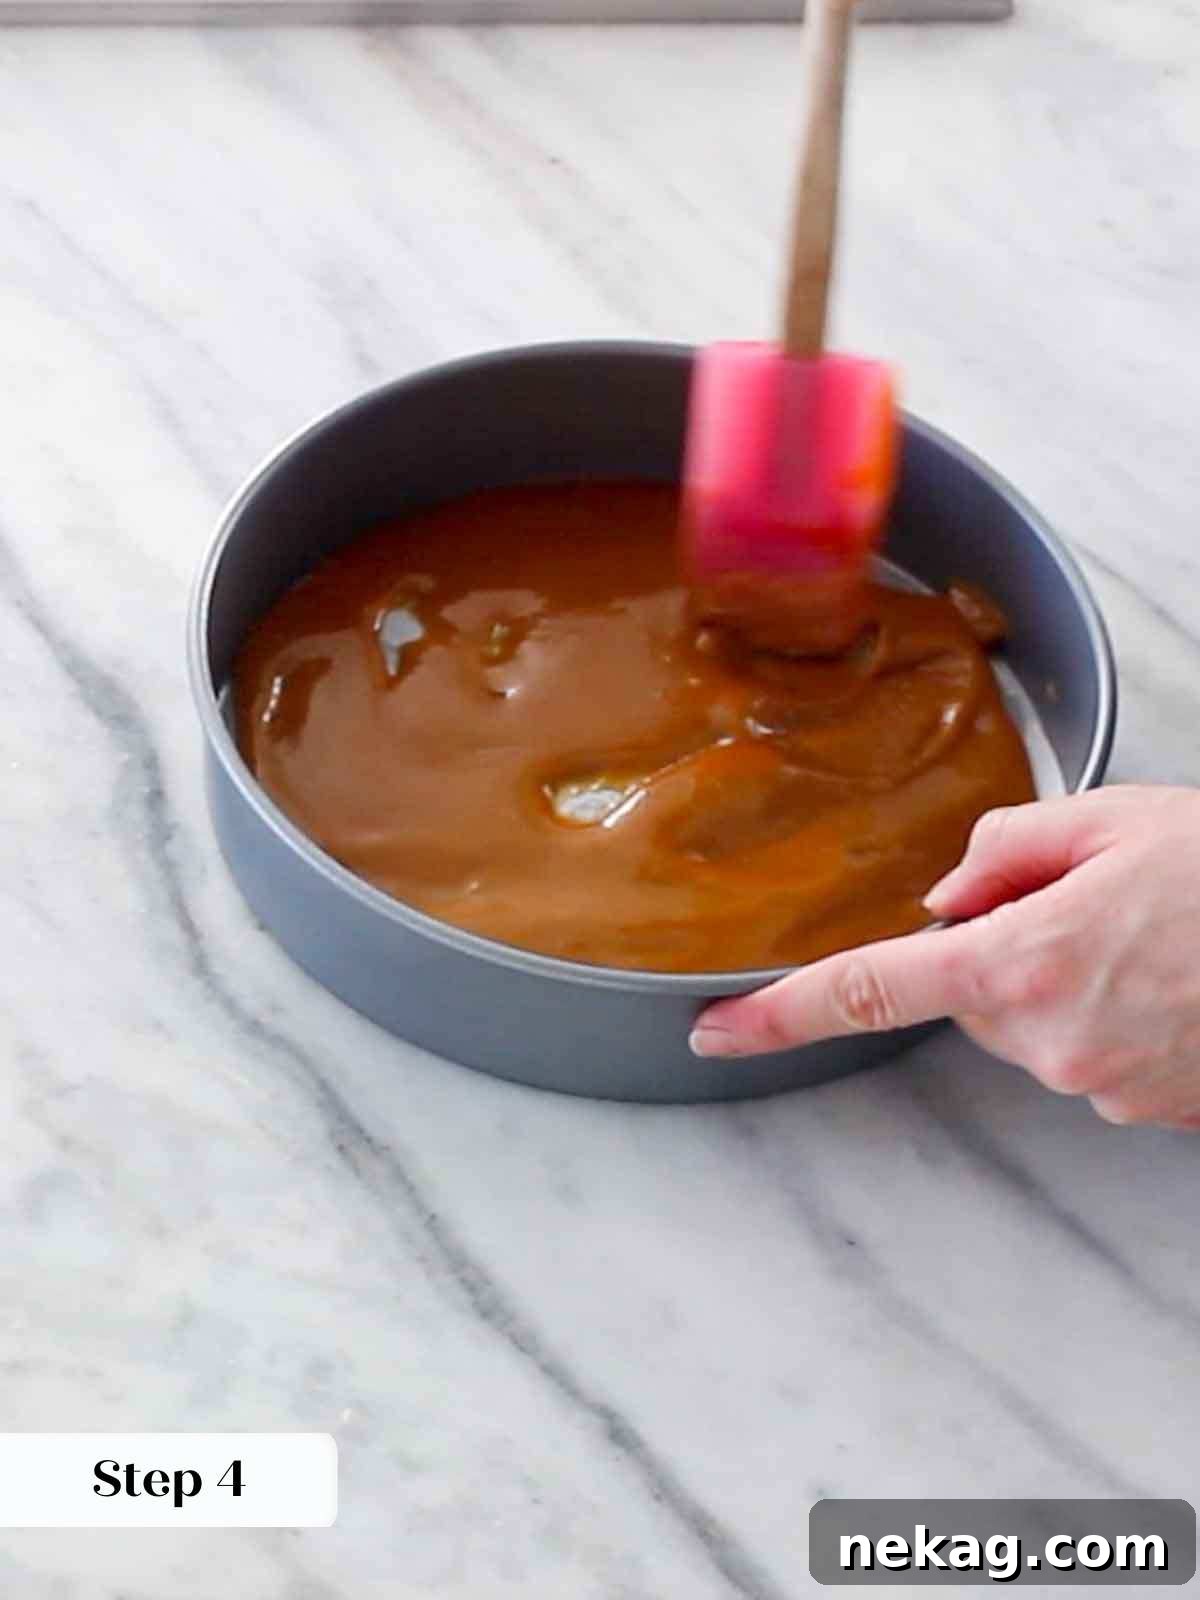
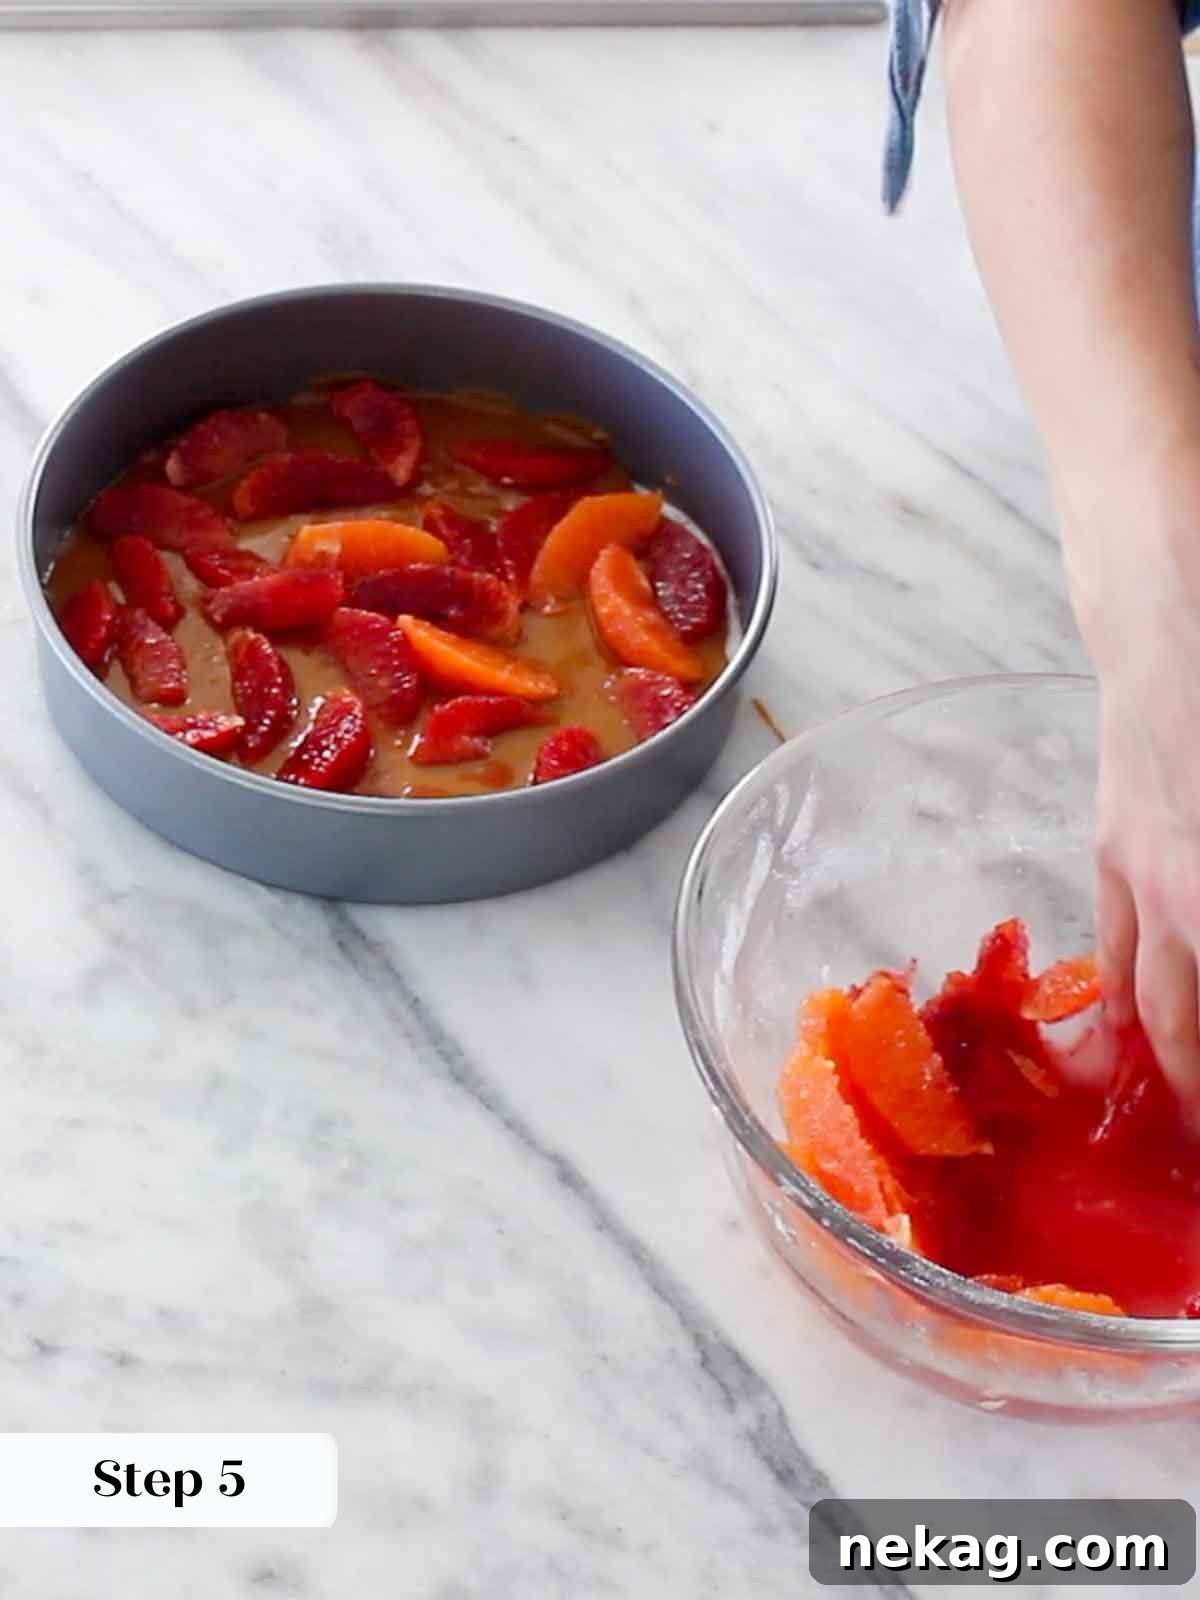
Step 4: In a small saucepan, melt the unsalted butter over medium heat. Once melted, add the granulated sugar, kosher salt, and lemon juice to the pot. Stir gently until the sugar begins to dissolve. Bring the mixture to a boil, then reduce the heat slightly and continue to cook, stirring as little as possible, until the sugar has fully dissolved and the mixture transforms into a beautiful medium amber caramel. Think of the rich, warm color of autumn leaves. Carefully pour this hot caramel into your prepared cake pan and spread it evenly across the bottom. Allow it to cool slightly while you arrange the oranges.
Step 5: Arrange your prepared orange slices or suprêmes artfully over the warm caramel layer in the pan. You can create concentric circles, a floral pattern, or a random mosaic – whatever speaks to your aesthetic. Ensure the pieces are fairly close together for a full, even topping.
Pro Tip for Caramel: While making the caramel, try to stir it as little as possible. This method, while simple, can sometimes lead to crystallization. If the sugar crystals start to form on the sides of the pan, don’t worry! Just keep going. It won’t materially impact the final taste or texture of your delicious cake.
Mixing and Baking the Tender Orange Cake Batter
Now for the delicious cake that will form the perfect complement to your caramelized oranges.
Step 6: In a medium bowl, sift together the cake flour, baking powder, baking soda, and kosher salt. Sifting is crucial here to ensure a light, airy crumb and even distribution of leavening. Set this dry mixture aside.
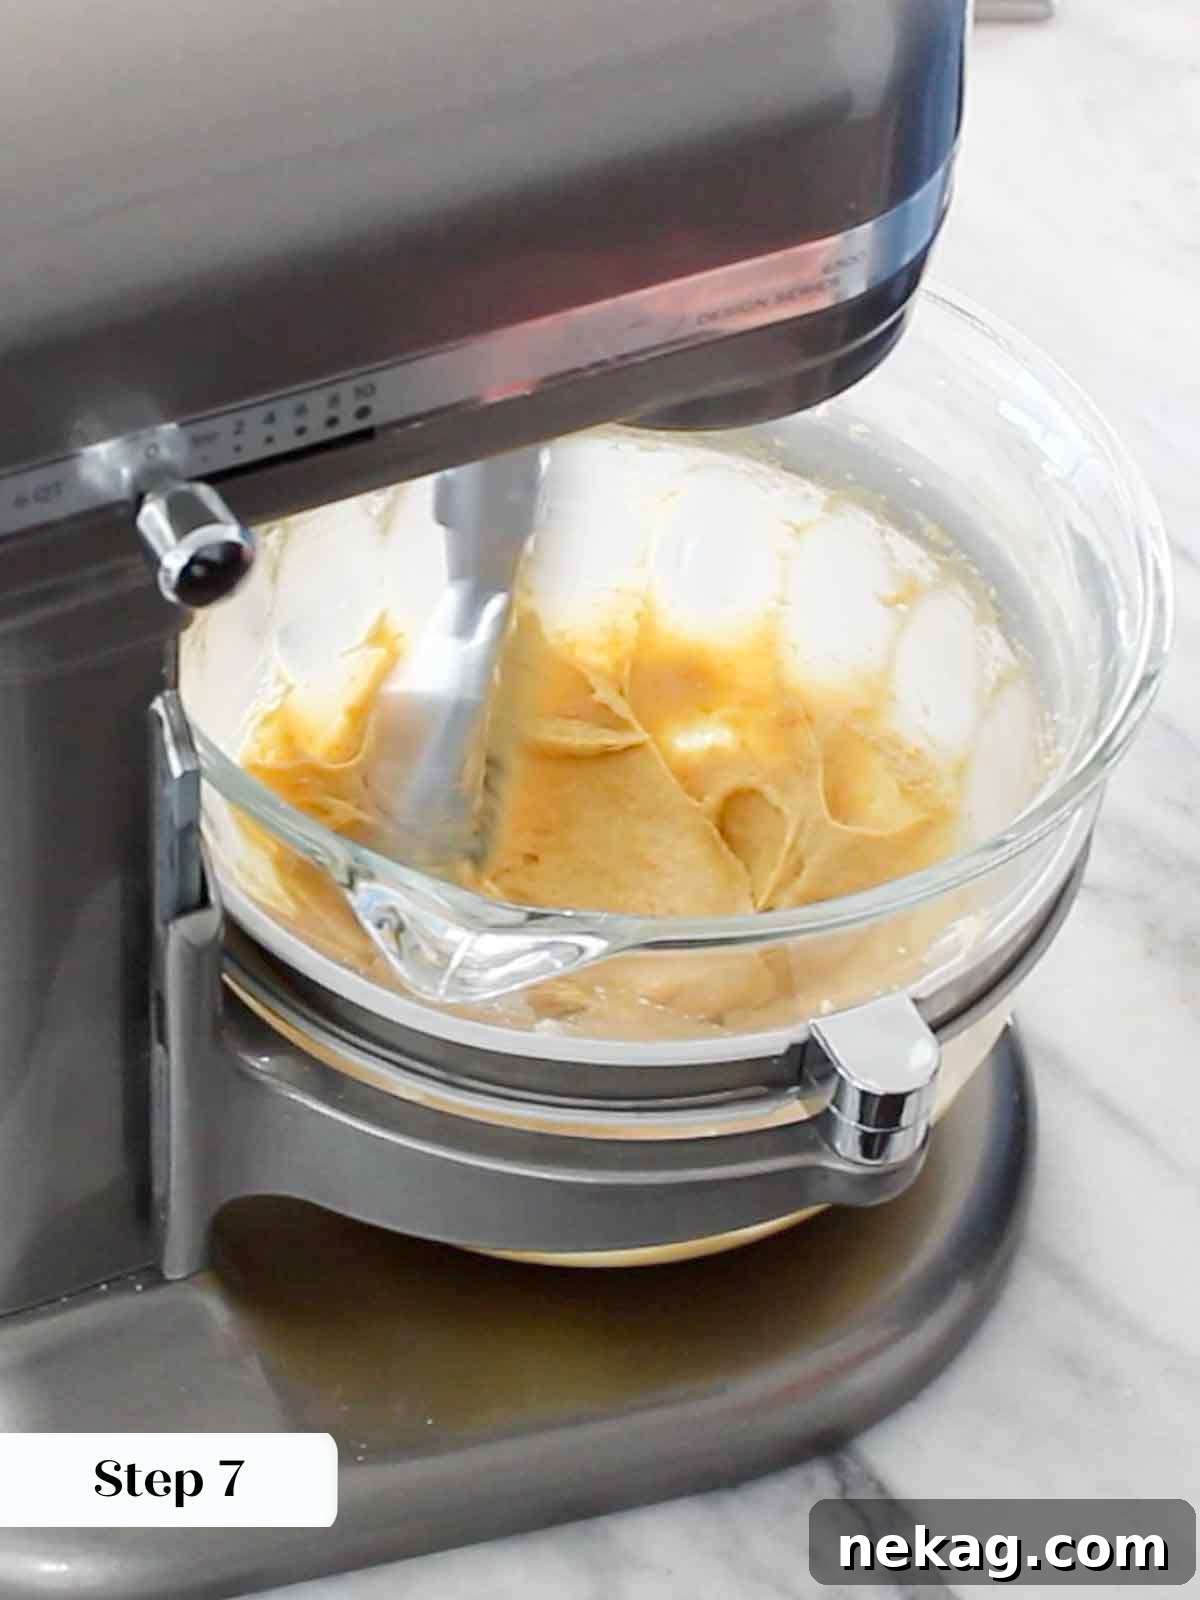
Step 7: In the bowl of a stand mixer fitted with the paddle attachment, cream together the room-temperature unsalted butter, light brown sugar, and orange zest. Beat on medium-high speed until the mixture is light, fluffy, and pale in color, typically 3-5 minutes. This creaming process incorporates air, essential for the cake’s texture. Beat in the eggs one at a time, making sure each egg is fully incorporated before adding the next. Stop to scrape down the sides of the bowl between each addition to ensure everything is well combined. Add the vanilla extract with the final egg.
Step 8: Reduce the mixer speed to low. Alternately add the sifted flour mixture and the buttermilk to the wet ingredients, beginning and ending with the flour mixture. Mix only until just combined. Overmixing at this stage can develop too much gluten, leading to a tough cake.
Chef’s Secret: For the last few additions, I often prefer to remove the bowl from the mixer and gently fold in the remaining flour and buttermilk by hand with a spatula. This provides precise control and absolutely ensures you don’t overmix the delicate batter, preserving that tender crumb.
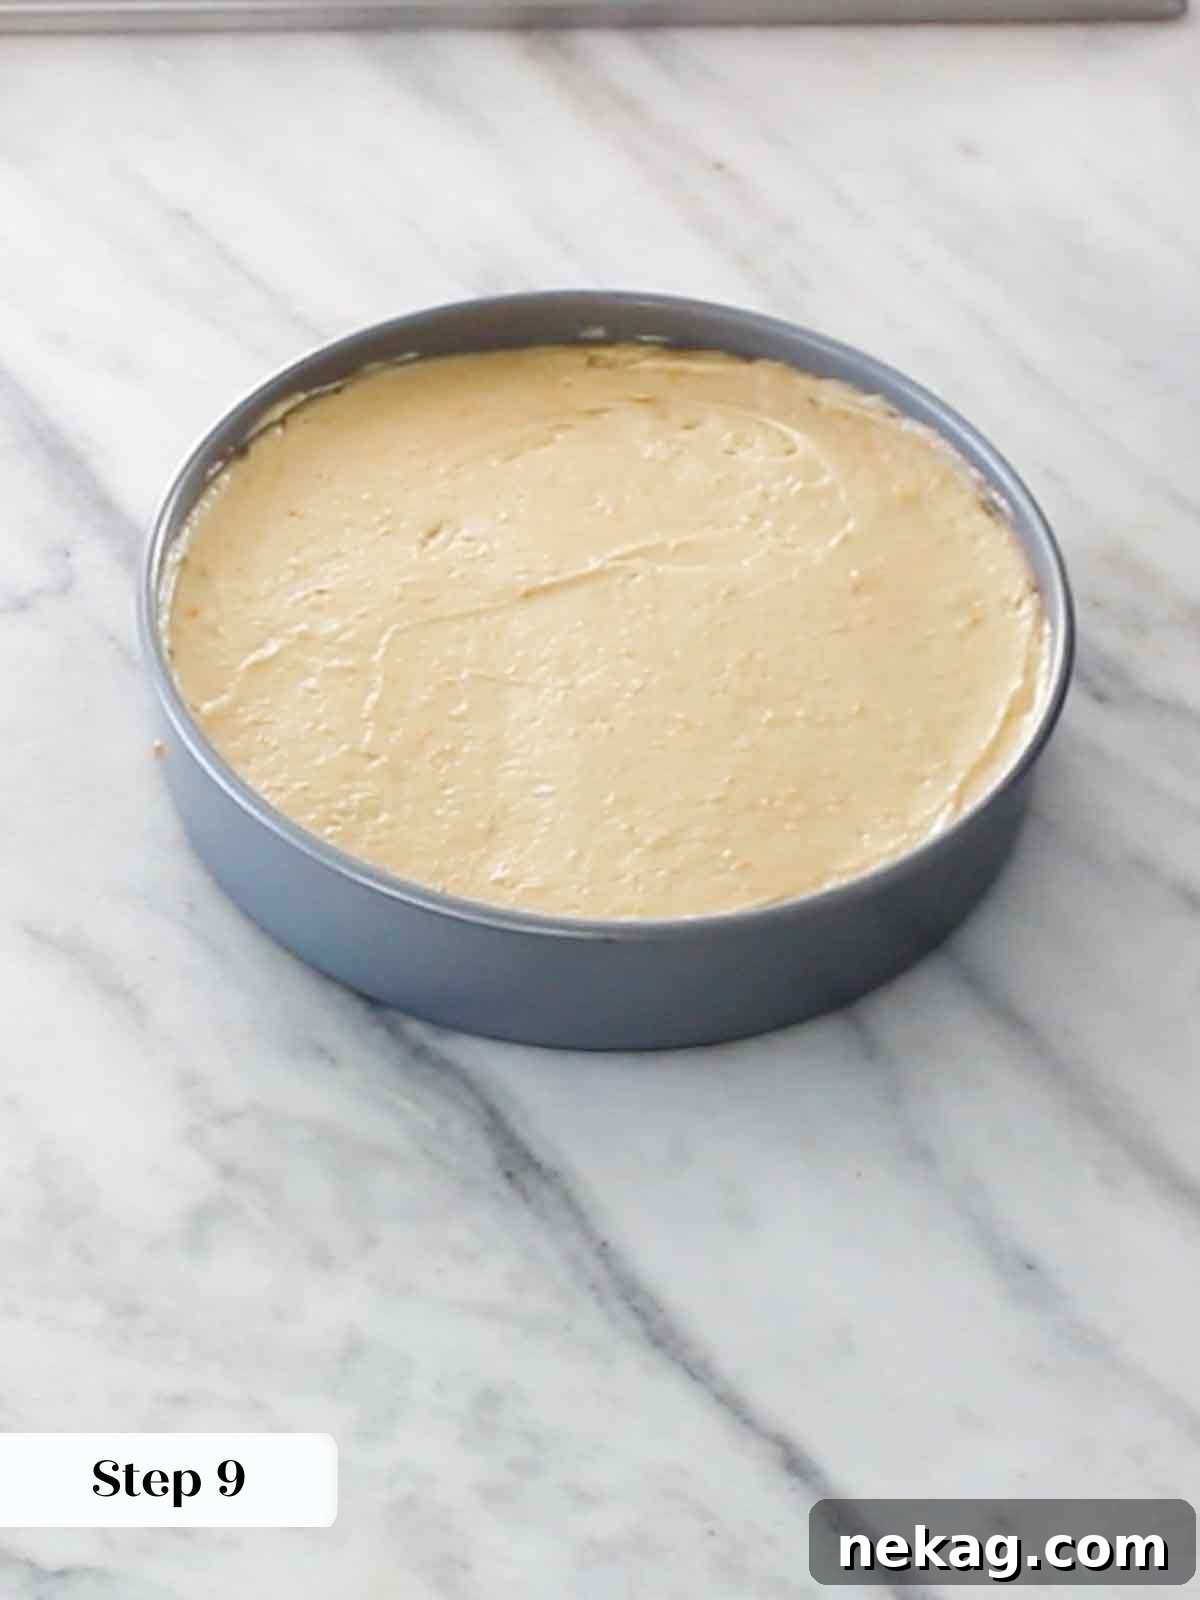
Step 9: Gently pour the prepared cake batter into the pan, carefully spreading it over the arranged citrus slices and caramel. Use an offset spatula to smooth the top evenly, making sure not to disturb the orange arrangement underneath.
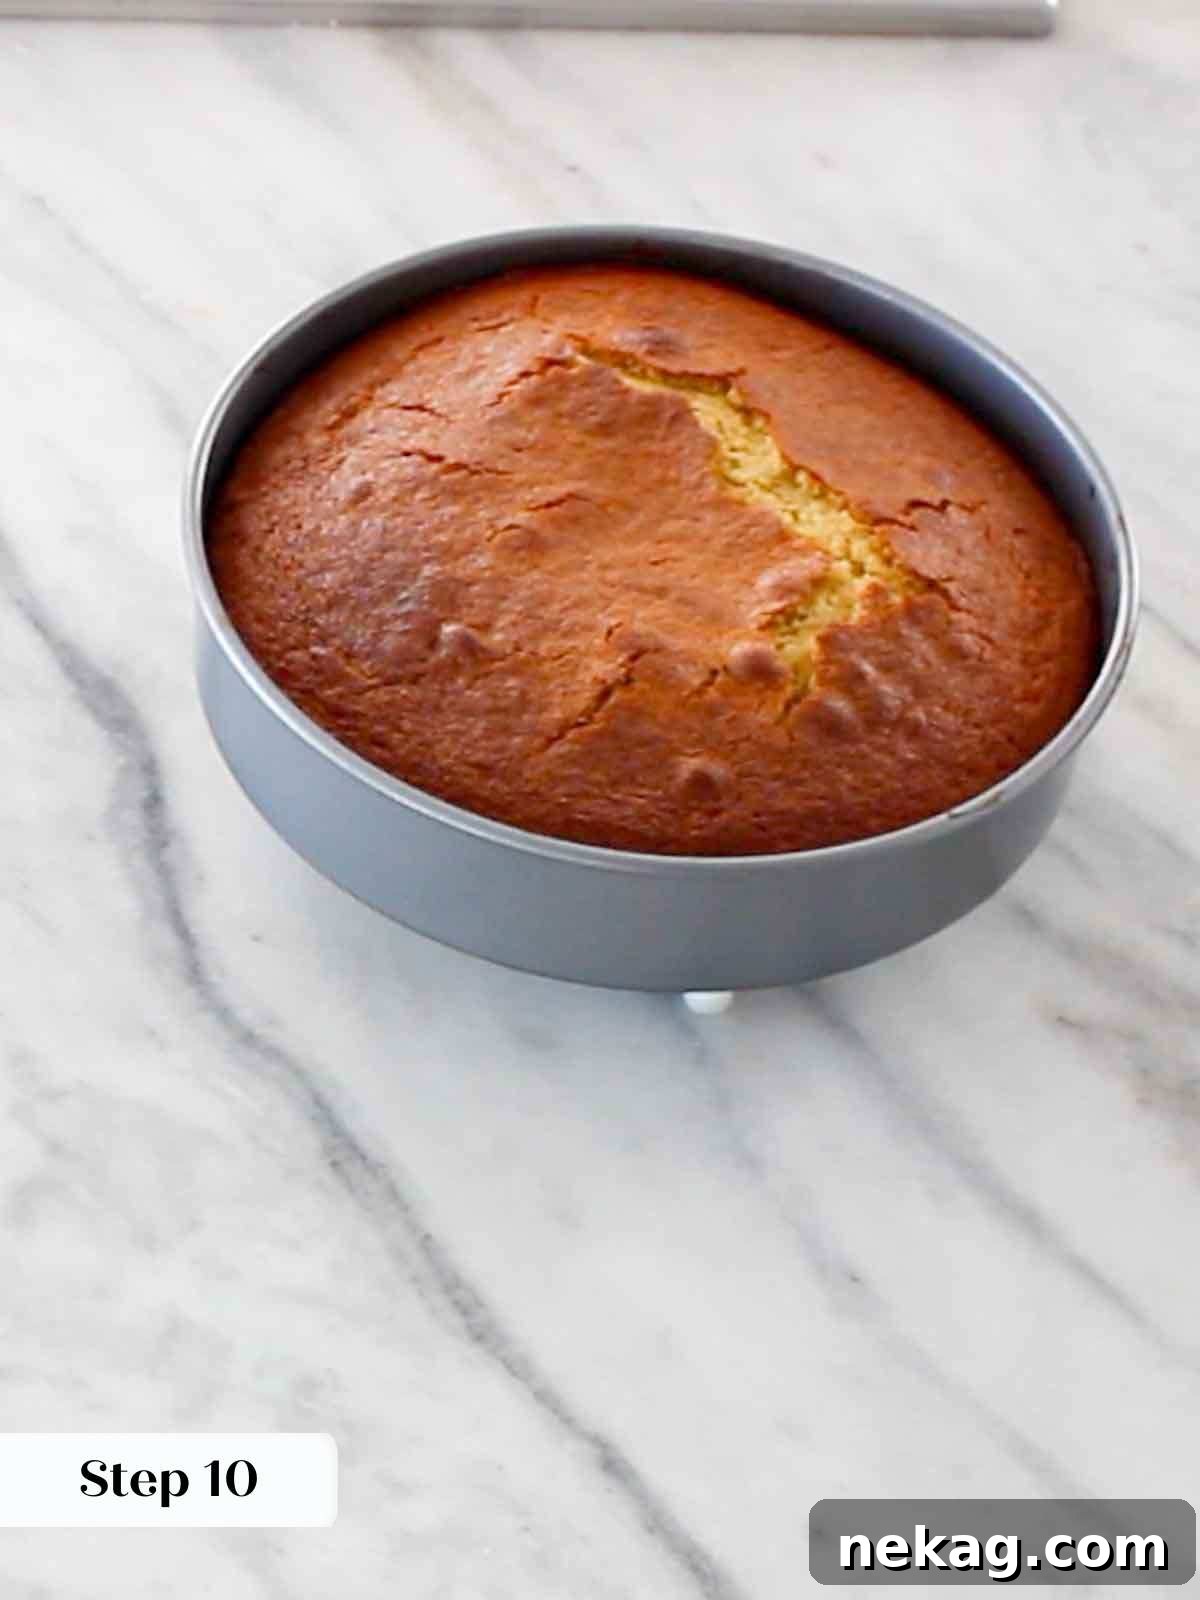
Step 10: Bake the cake in your preheated oven for 35-40 minutes. The cake is done when it’s beautifully puffed, golden brown on top, and a cake tester (or toothpick) inserted into the center comes out with only a few moist crumbs clinging to it.
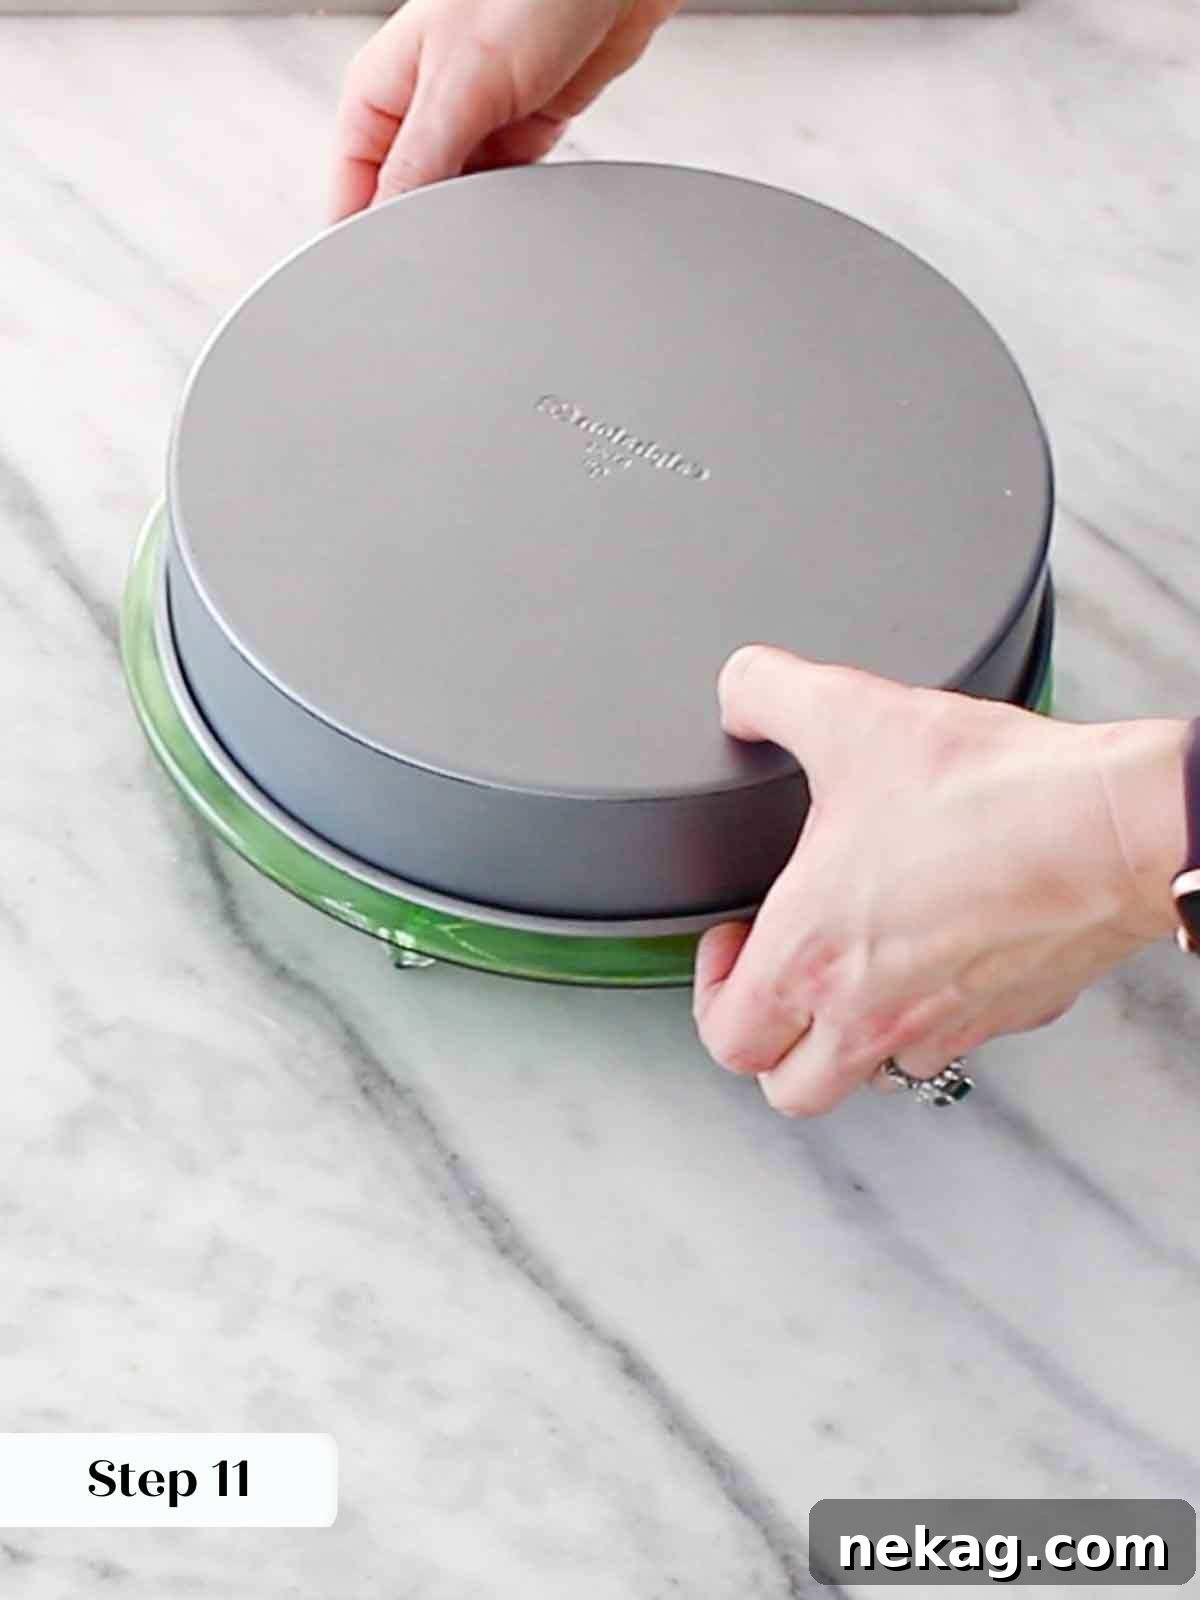
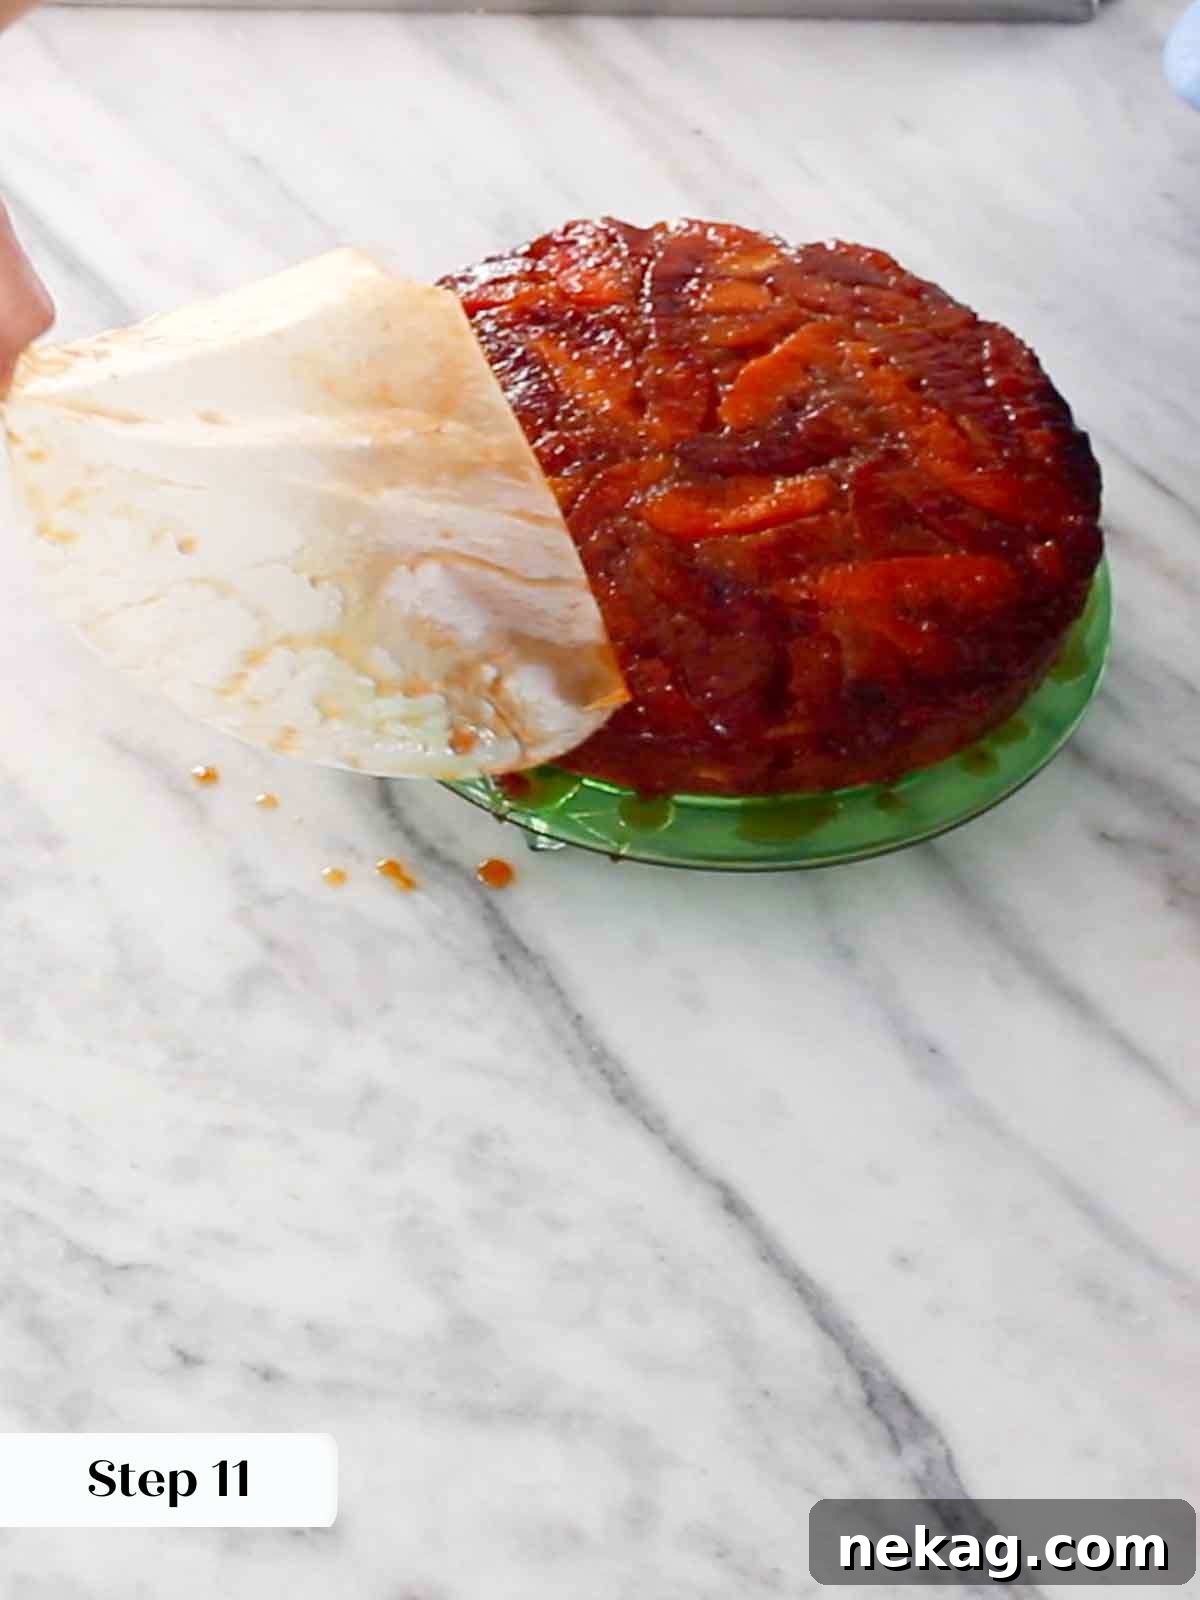
Step 11: Once removed from the oven, immediately run a butter knife or an offset spatula around the edges of the cake to loosen it from the pan. This is crucial before the caramel has a chance to cool and stick. After 15 minutes of cooling in the pan (no less, no more!), carefully place a serving plate or a rimmed baking sheet over the cake pan and, with a swift and confident motion, flip the cake out onto the plate. The caramel will be warm and might still drip, so a rimmed surface is ideal for catching any delicious overflow. Gently peel off the parchment paper to reveal your stunning caramelized orange topping.
Perfect Flip Timing: The timing for flipping is critical. If you wait too long, the caramel will cool and harden, making it impossible to release from the pan without tearing. If you flip too soon, the caramel will be too runny and create a sticky mess, possibly pooling on your counter rather than adhering to the cake. The 15-minute window allows for that perfect balance. Should any caramel run off, simply collect it in a small jar and drizzle it back over the cake when serving. Voilà! Problem solved, and extra caramel sauce to boot!
Chef Lindsey’s Recipe Tip for Optimal Flavor
For the absolute best overall flavor and texture in your Orange Upside Down Cake, I strongly recommend taking the extra step to remove both the outer skin and the bitter white pith from your oranges before baking. While it requires a little more time and care, this meticulous preparation ensures that only the sweet, juicy, and fragrant orange flesh contributes to the cake’s delicate flavors. Skipping this step can introduce a slight bitterness that detracts from the otherwise perfect harmony of orange and caramel. Trust me, it’s a worthwhile effort for a truly superior dessert!
Recipe FAQs: Your Orange Upside Down Cake Questions Answered
Due to the amount of baking soda in this recipe, I highly recommend baking the cake immediately after mixing the batter for optimal results. Once baked, allow the cake to cool completely before wrapping it tightly. Store at room temperature for up to 3 days. For longer freshness, refrigerate for up to a week. This cake also freezes beautifully for several months; simply wrap individual slices or the whole cake in plastic wrap and then foil. It’s also worth noting that once cut, the oranges will naturally begin to release more juice, which can slightly alter the cake’s texture over time.
The ideal time to flip an upside down cake is approximately 15 minutes after it comes out of the oven. This cooling period is crucial: it allows the hot caramel to set just enough to adhere to the fruit and the cake, preventing it from running off. For the best possible outcome, ensure your cake pan was lined with parchment paper. Before flipping, run a knife or offset spatula around the edges of the cake to gently release it from the pan. Once inverted, allow the cake to cool completely on a wire rack. If any fruit pieces have shifted during the flip, you can gently rearrange them. Any excess caramel that drips can be poured over the top of the cooled cake – it acts as a wonderful, natural cake soak, adding even more moisture and flavor.
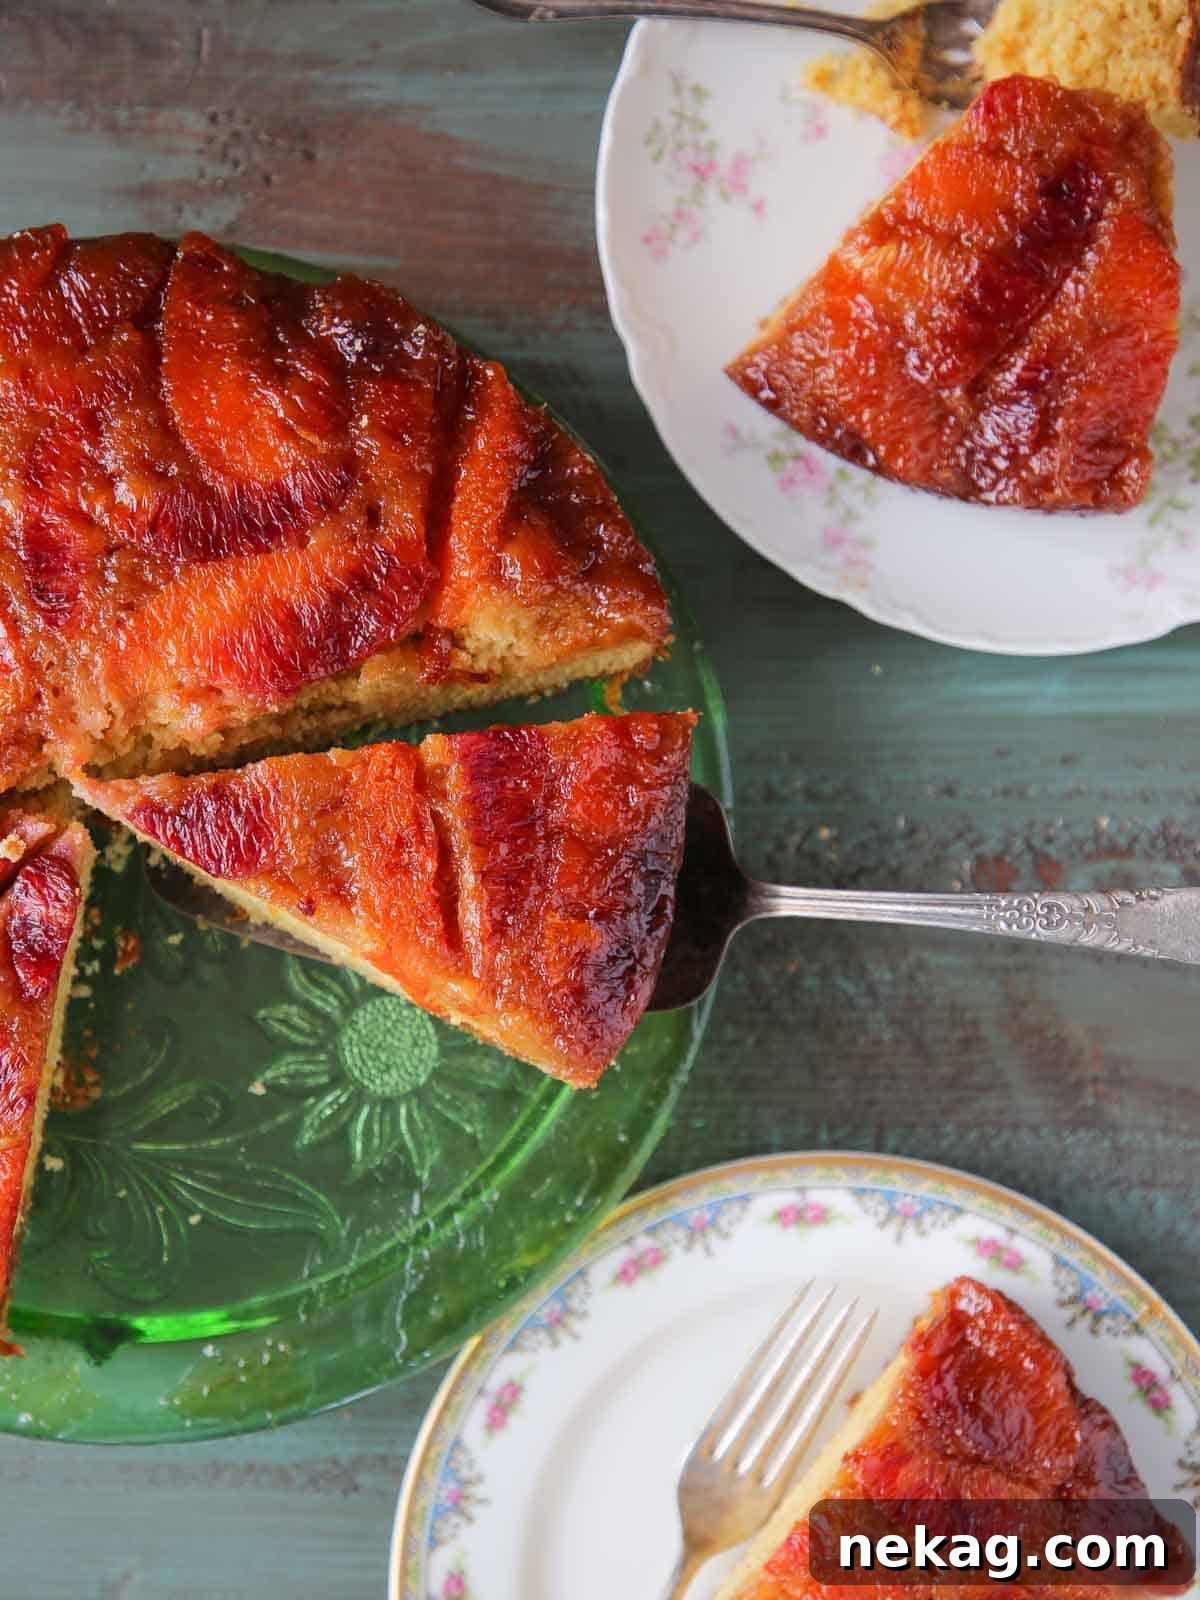
This Orange Upside Down Cake is truly versatile in how it can be served. It’s utterly delicious at room temperature, allowing its complex flavors to shine. For an even more comforting experience, warm it slightly before serving. I particularly love to pair it with a luscious salted caramel sauce or a rich butterscotch sauce, alongside a scoop of creamy vanilla bean ice cream. For a touch of French elegance, a simple spoonful of smooth crème anglaise is an exceptional accompaniment that elevates the dessert to gourmet status.
Recommended Fruity Dessert Recipes
Cake Recipes
Pear Upside Down Cake
Christmas Cookie Recipes
Orange Financiers
Cake Recipes
Fruit Cake
Cake Recipes
Hummingbird Cake
If you tried this recipe and absolutely loved it, please take a moment to leave a 🌟 star rating and share your thoughts in the comments below. Your feedback truly makes my day!

Orange Upside Down Cake
Chef Lindsey
This orange upside-down cake features a variety of oranges baked in a buttery caramel under a tender, moist citrus cake. It is then flipped over for a delicious and gorgeous dessert that’s perfect for any occasion!
1 hr
30 mins
1 hr 45 mins
12 people
Comment
Print Recipe
Ingredients
- 4 oranges (mix of blood orange and cara cara or navel)
For Caramel:
- ¾ cup granulated sugar
- pinch kosher salt
- 3 tablespoons unsalted butter (cubed)
- 1 tablespoon lemon juice (half a lemon)
For the Batter:
- 2 cups cake flour
- 2 teaspoons baking powder
- ½ teaspoon baking soda
- 1 teaspoon kosher salt
- 9 ½ tablespoons unsalted butter (room temperature)
- 1 cup light brown sugar (or dark)
- 2 blood oranges (zested, or 1 regular orange)
- 2 whole eggs
- 1 ½ teaspoons vanilla extract
- 1 cup low fat buttermilk
Instructions
-
Cut the oranges so that you slice off the rind and the thin skin exposing the pulp. Cut out suprêmes (slice out the pulp from the pith in wedges) or slice them into rounds. The second method uses fewer oranges and is much faster!
-
Spray a 9-inch round pan with cooking spray and then line with parchment paper. Set aside, and preheat oven to 325°F convection (with the fan) or 350°F conventional (no fan).
-
Make the caramel, which will be your first layer in the pan. To do this, melt butter in a pot. Add remaining ingredients and cook until boiling and sugar has dissolved and caramelized to a medium amber color. Pour into the prepared pan and spread out. Arrange orange slices on top artfully.
-
Sift together cake flour, baking powder, baking soda, and salt. Set aside.
-
In the bowl of a stand mixer, cream butter, sugar, and zest until light and fluffy.
-
Beat in the eggs one at a time, scraping down between each addition. Add the vanilla with the last egg.
-
Reduce the mixer speed to low and alternately add the flour mixture with the buttermilk. I like to do the last few folds with a spatula to make sure I don’t overmix the batter.
-
Pour into the prepared pan on top of the citrus and then spread out with an offset spatula.
-
Bake in the preheated oven for 35-40 minutes or until puffed, golden brown, and a cake tester comes out with a few clinging crumbs in the center.
-
Release the cake from the sides of the pan while still warm by running a butter knife or offset spatula around the edges.
-
After 15 minutes, flip the cake out onto a rimmed baking sheet or cooling rack. The caramel will continue to drip, so make sure you have something to catch it! If you wait too long to flip, the caramel will begin to cool and set, and it won’t want to release from the pan. If you flip too soon, the caramel will be too runny and you will end up with a pool of sauce on the counter and not in your cake! Fortunately, if this happens, just pour it into a jar or other vessel and pour it over the top when you serve it. Voilà! Problem solved.
Video
Notes
Yield: 1, 9” Cake
Substitutions – For buttermilk, I recommend substituting ½ cup sour cream mixed with 2 tablespoons water, as homemade milk and lemon juice buttermilk is not the same.
Variations – Customize your cake by changing the citrus zest, adding aromatic spices to the dry ingredients, or even folding in other compatible fruits into the batter for a unique twist.
Storage – Bake the cake immediately after mixing due to the baking soda content. Once cooled, wrap tightly and store at room temperature for up to 3 days, refrigerated for up to a week, or frozen for several months.
Nutrition
|
Carbohydrates: 52g
|
Protein: 5g
|
Fat: 13g
|
Saturated Fat: 8g
|
Polyunsaturated Fat: 1g
|
Monounsaturated Fat: 3g
|
Trans Fat: 0.5g
|
Cholesterol: 59mg
|
Sodium: 357mg
|
Potassium: 171mg
|
Fiber: 2g
|
Sugar: 35g
|
Vitamin A: 512IU
|
Vitamin C: 24mg
|
Calcium: 106mg
|
Iron: 1mg
Dessert
American
339
Before You Go
I hope you thoroughly enjoyed this professional chef-tested recipe for Orange Upside Down Cake. It’s a truly special dessert that combines elegance with irresistible flavor. Don’t forget to explore our other delicious, chef-developed cake recipes, such as my personal favorite devil’s food cake. And for the perfect accompaniment, browse our collection of amazing ice cream recipes to serve alongside your beautiful creation!