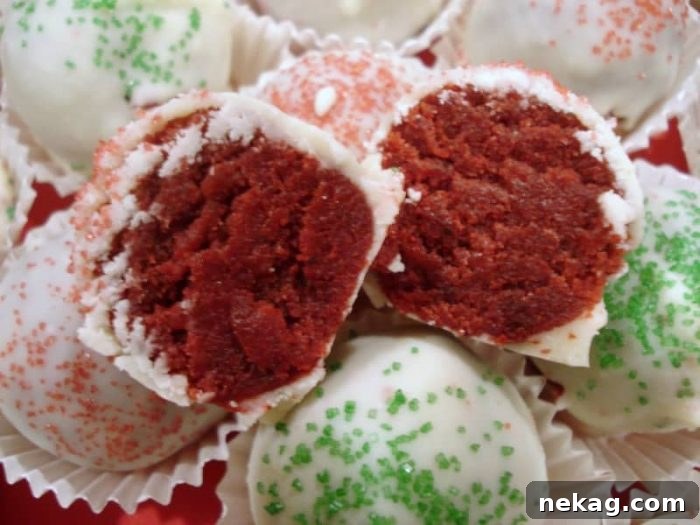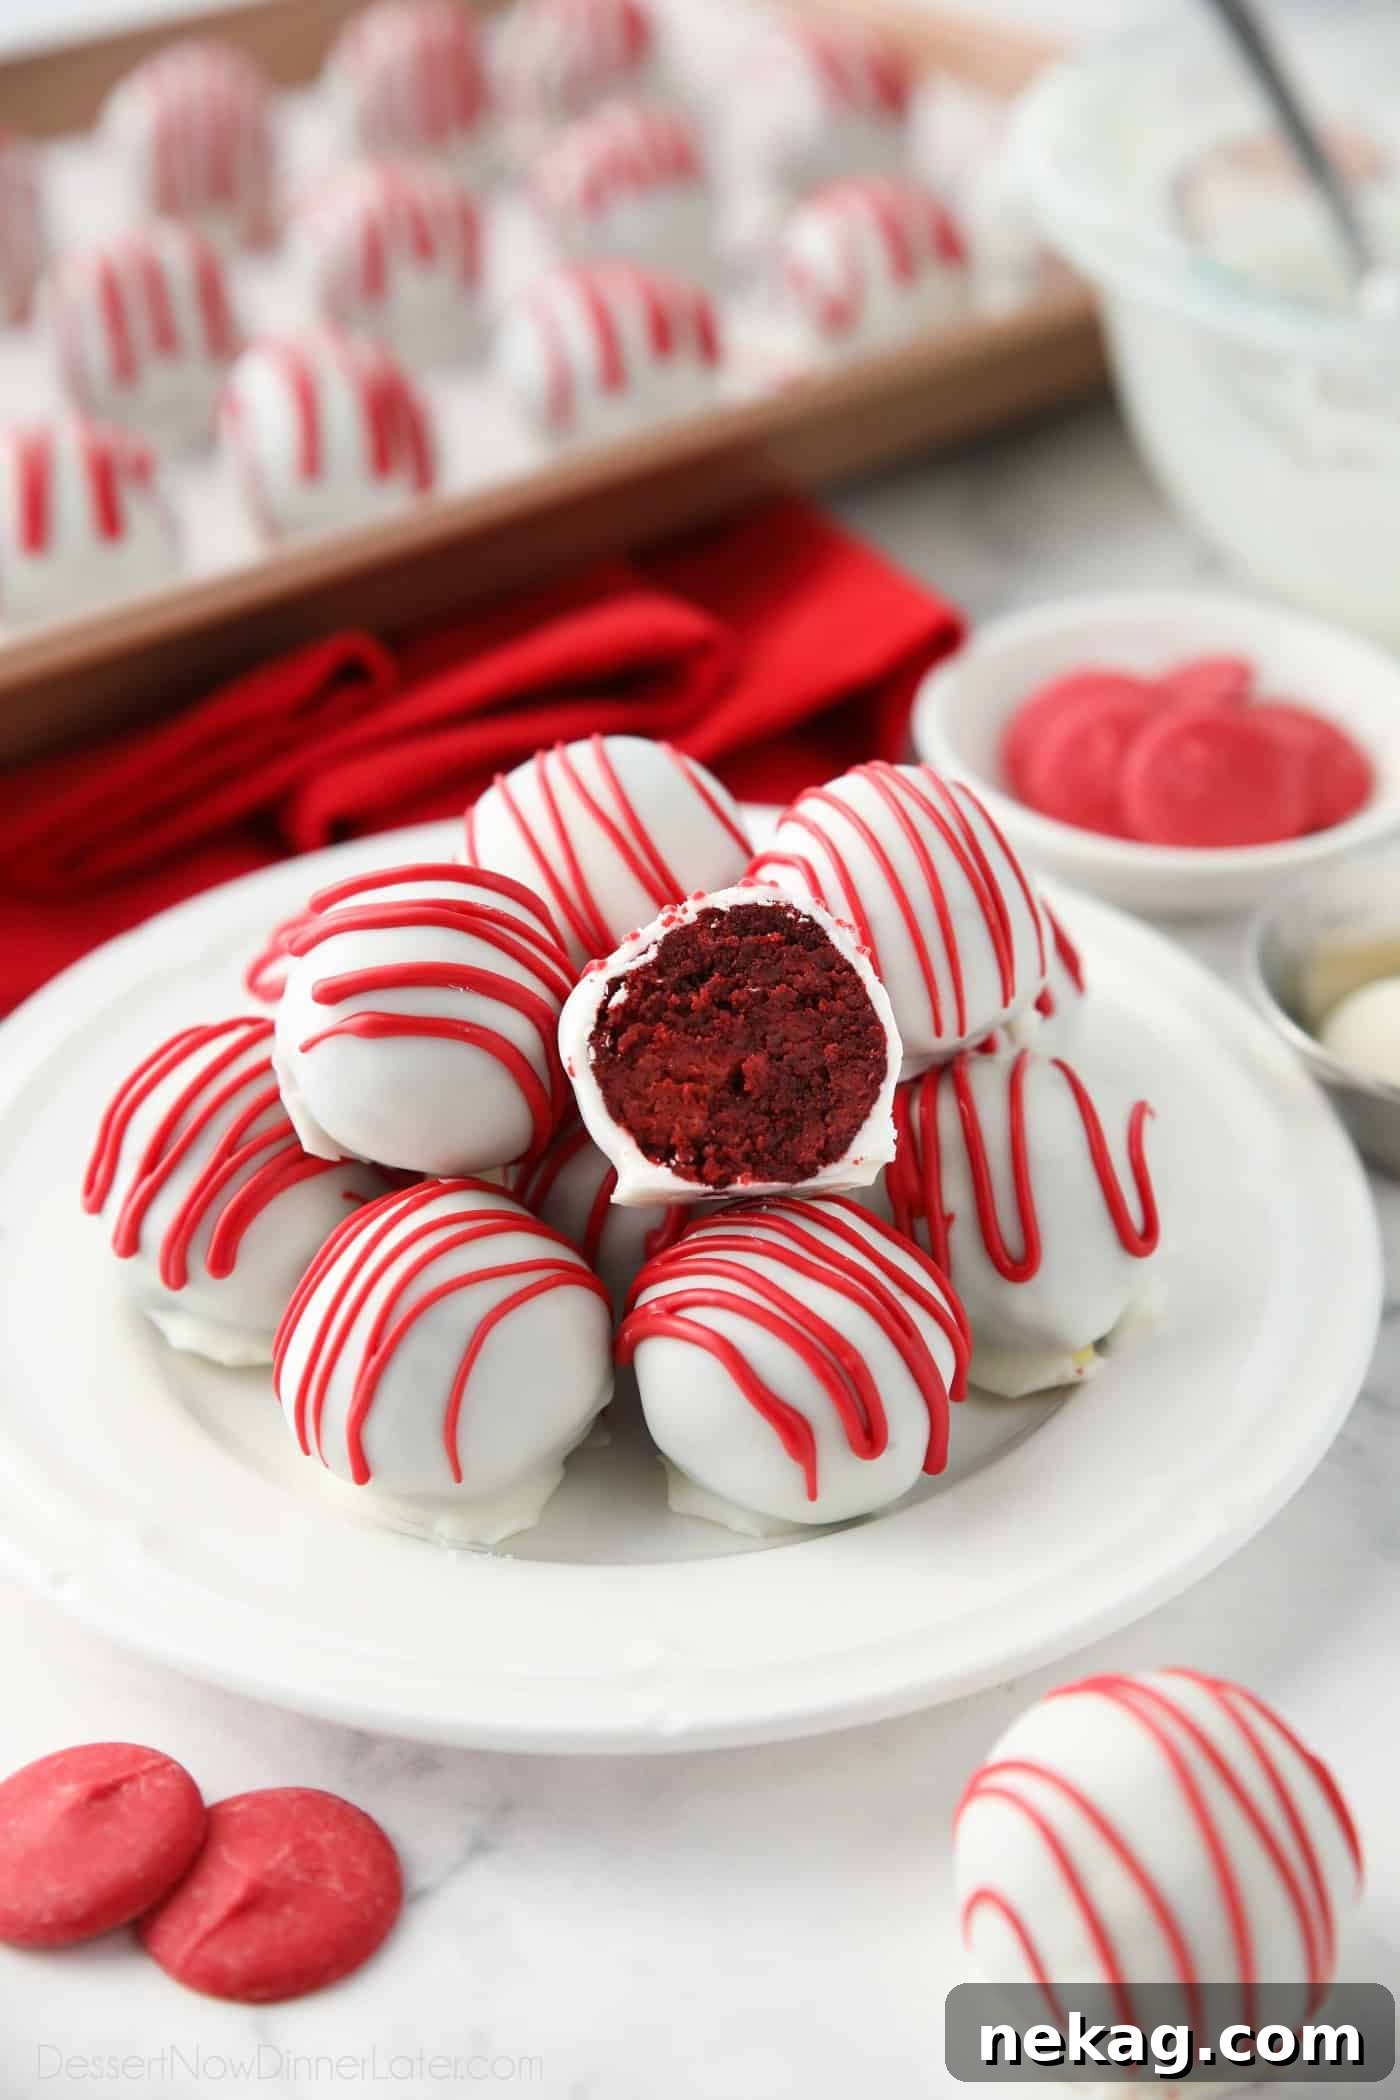
Whether you’re a confident baker looking for a quick project or a kitchen beginner aiming to impress, these Red Velvet Truffles made from cake mix deliver an easy, delicious treat. With just cake mix, cream cheese, and melting wafers you can create elegant bite-sized truffles that are ideal for holidays, parties, or a special dessert.
Craving more red velvet ideas? Try a Red Velvet Cake Roll, Red Velvet Cheesecake Brownies, classic Red Velvet Cupcakes, Red Velvet Blossoms, or a shareable Red Velvet Pizookie for a crowd-pleasing dessert.
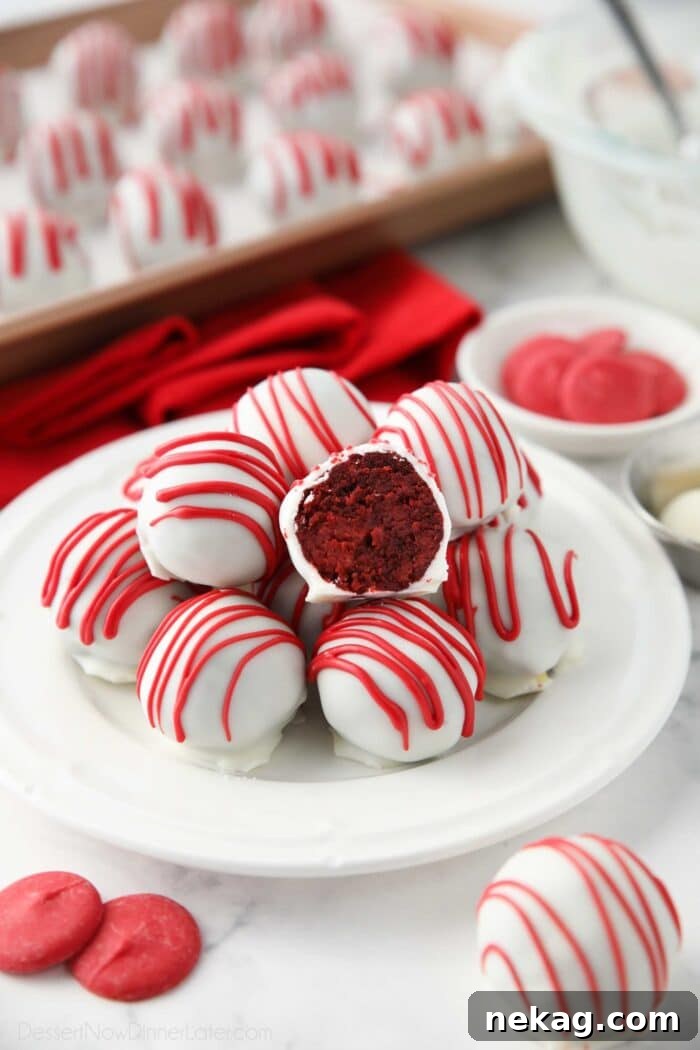
Why You’ll Love these Easy Cake Truffles
- Easy and convenient: Cake mix contains the dry ingredients in the right ratios, so you save time and skip measuring multiple items.
- Reliable flavor: Boxed red velvet mix gives the classic taste you expect from red velvet desserts.
- Simple finishing: Melting wafers create a smooth, glossy coating without the need to temper chocolate, and they work for both the white shell and colored drizzle.
These truffles are essentially cake pops without the stick — perfect for Christmas cookie exchanges, neighbor gifts, or a romantic dessert for Valentine’s Day. Follow the step-by-step photos to make near-perfect truffles that will impress family and friends.
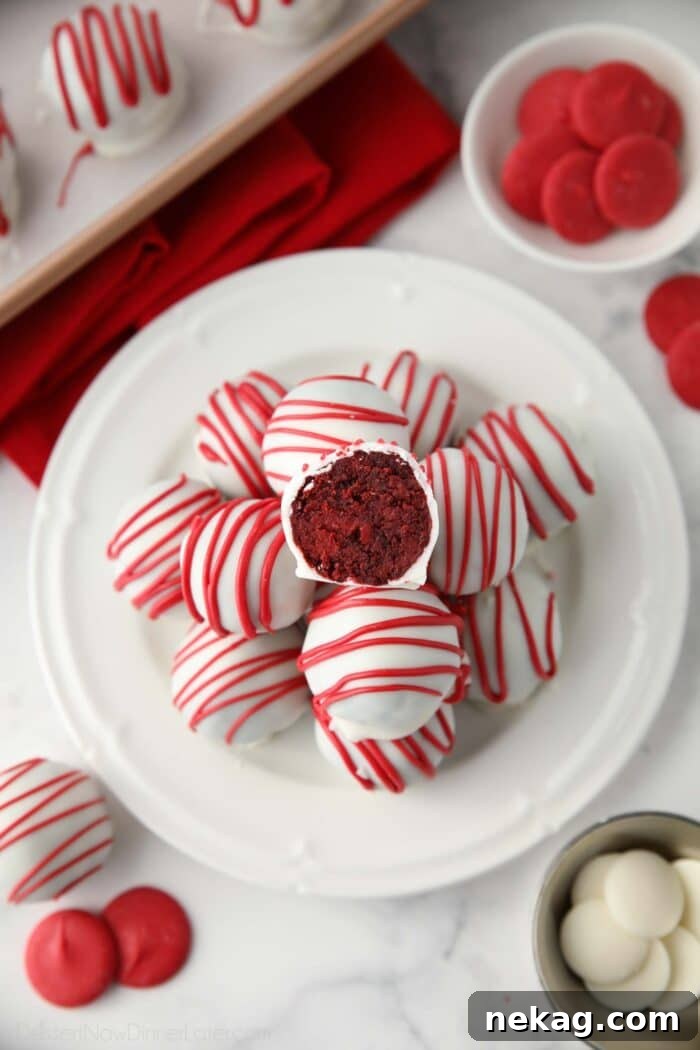
Make the Red Velvet Cake Mix
Prepare the red velvet cake according to the package instructions and bake it in a greased 9×13-inch pan. Allow the cake to cool completely before proceeding.
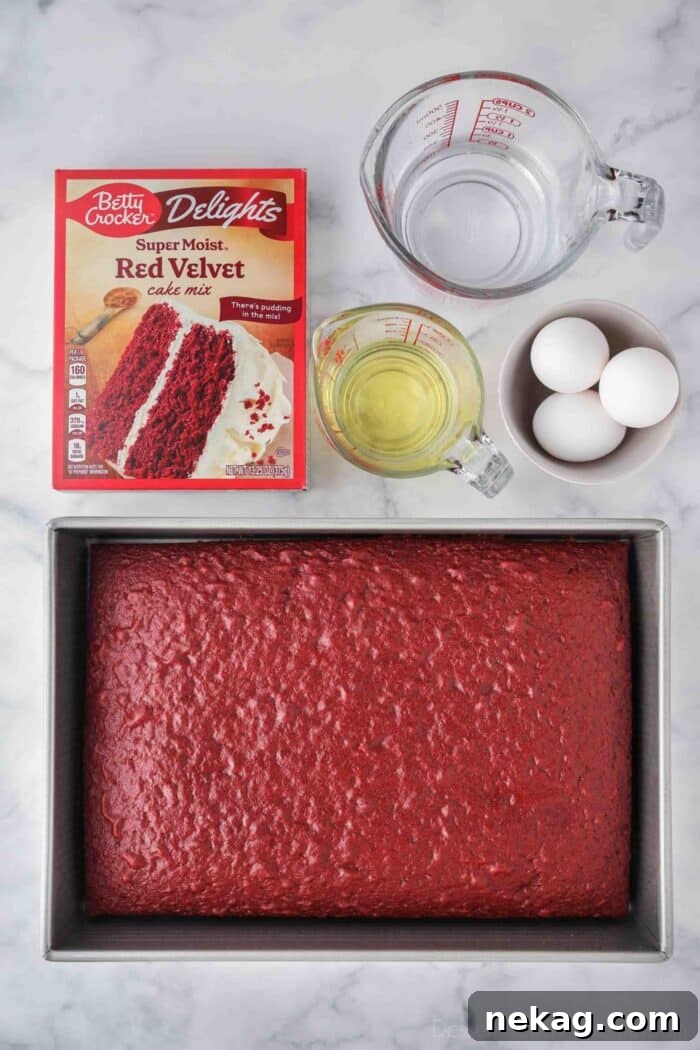
Note: Different cake mix brands call for slightly different amounts of water, oil, and eggs. Use the quantities listed on your box.
Mix and Shape the Red Velvet Truffles
- Break the cooled cake into fine crumbs using your hands.
- Add softened block-style cream cheese and mix with your hands or a spatula until fully incorporated. The mixture will begin to clump when it’s well combined.
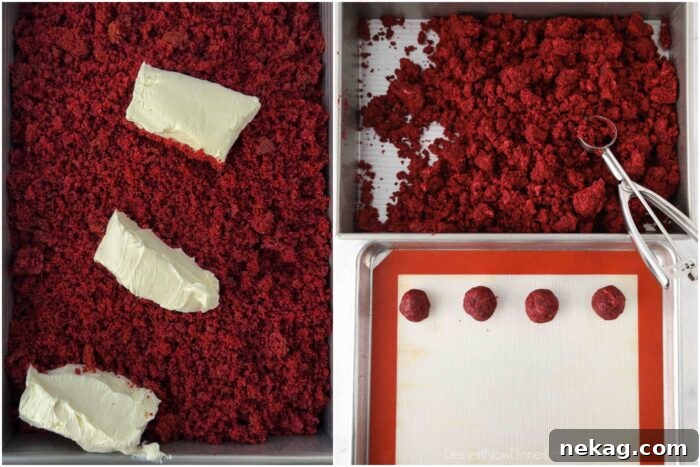
- Portion the mixture into 1.5-inch balls using a heaping tablespoon or a small cookie scoop (#50). Squeeze the mixture together and roll into smooth, round balls. Place them on a parchment- or silicone-lined baking sheet. You should get about 48 truffles.
- Chill the shaped truffles in the refrigerator for 30 minutes or in the freezer for 15 minutes. Avoid chilling longer than recommended to reduce the chance the coating will crack.
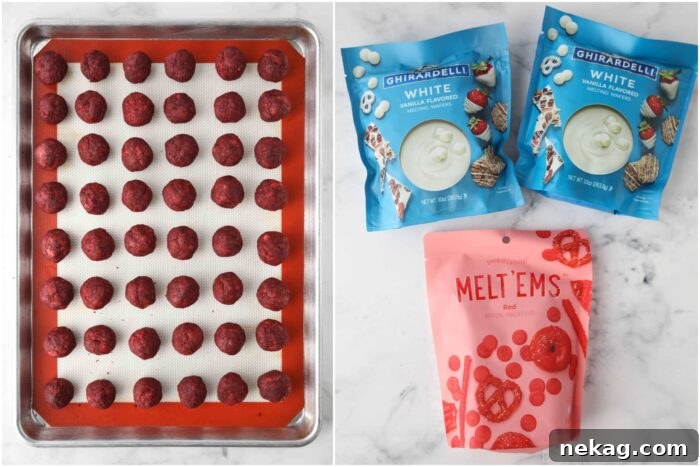
While the truffles chill, melt the white vanilla-flavored melting wafers according to package instructions. Melt one bag at a time so the coating remains fluid for dipping.
Tip: I use Ghirardelli white vanilla melting wafers and the microwave method.
Coating the Red Velvet Cake Truffles
To minimize stray crumbs in the coating, dip each truffle using a fork and spoon rather than dropping it into the coating:
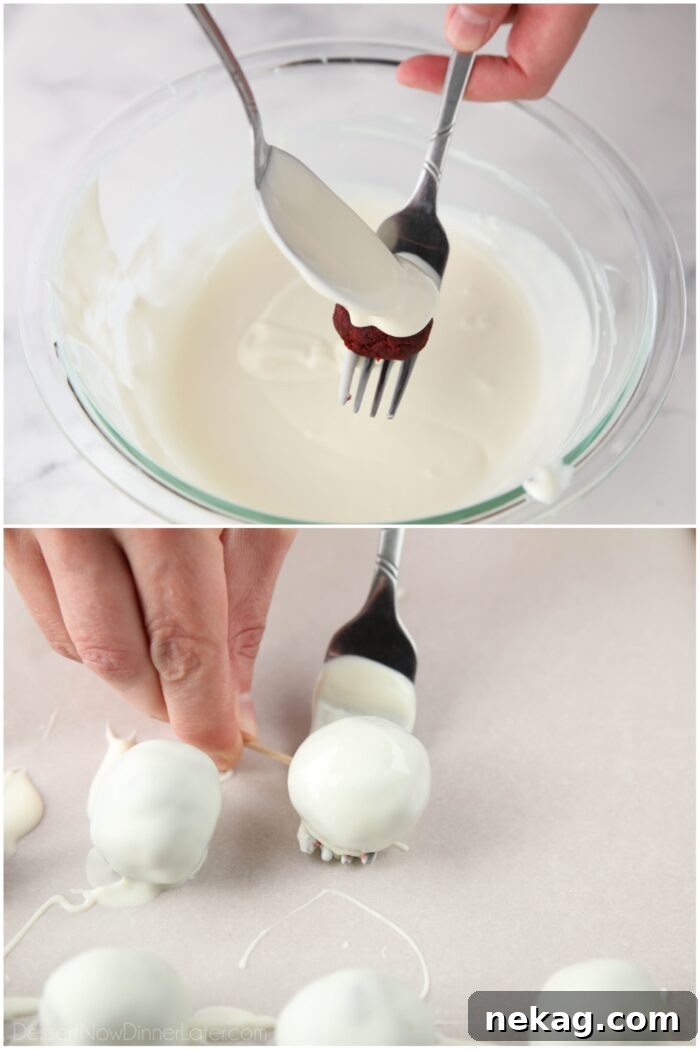
- Skewer a truffle on the tines of a large fork. Use a large spoon to pour melted wafers over the top, repeating if needed to ensure full coverage. Gently tap the fork to remove excess coating.
- Slide the coated truffle off the fork onto the lined baking sheet using a toothpick. Let the vanilla coating set completely before decorating.
Decorating the Red Velvet Cake Balls
If you plan to add sprinkles, apply them immediately after dipping while the coating is still wet. For a red drizzle:

- Melt about 1/3 to 1/2 cup of red candy melts following package directions.
- Transfer the melted candy into a zip-top sandwich bag and snip a tiny corner from the bag.
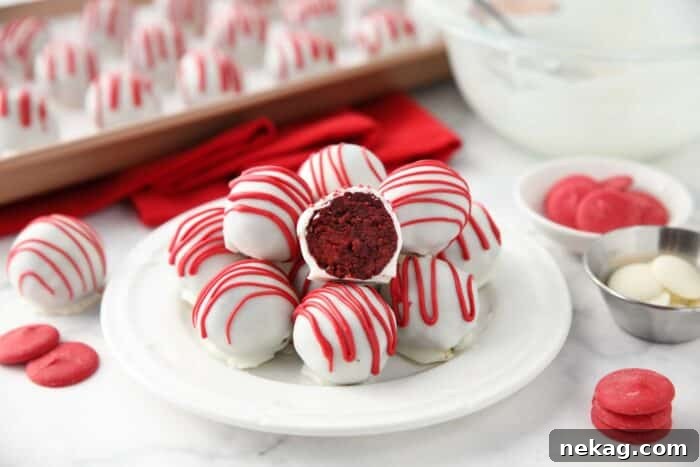
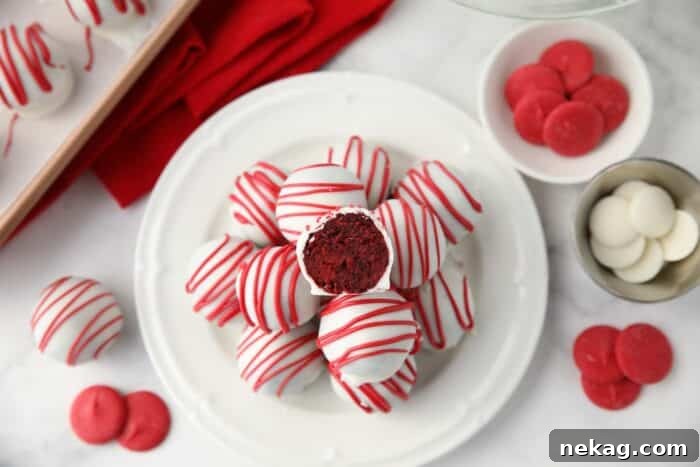
- Drizzle the red candy back and forth over the set truffles, then chill until firm.
Storing and Freezing
Store: Keep truffles in an airtight container with parchment paper between layers for up to 2 weeks.
Freeze: Once the coating is set, place truffles in a freezer-safe container in a single layer or with parchment paper between layers. Freeze for up to 3 months and thaw overnight in the refrigerator.
Tips for Success
- Slightly underbake the cake: Remove the cake when a toothpick shows a few moist crumbs—this extra moisture helps the mixture form truffles easily.
- Use soft cream cheese: Softened cream cheese blends smoothly into the crumbs. It should give when pressed with your finger.
- Stand mixer option: A stand mixer can quickly break up the cake and incorporate the cream cheese if you prefer not to use your hands.
- Chill only briefly: Don’t over-chill the shaped balls; they only need to be firm enough to prevent crumbs from falling into the coating.
More Bite-Sized Treats
- Easy Peanut Butter Balls
- Pretzel Hugs
- Oreo Balls
- Cookie Dough Pretzel Bites
- Peanut Butter Pretzel Bites
- Chocolate Truffles
- Rolo Pretzel Turtles
- Dark Chocolate Trail Mix Bites
Red Velvet Truffles
Ingredients
- 13.25 oz (378 g) box red velvet cake mix, dry/unprepared
- Water, oil, and eggs as required on the cake mix box (example: 1 cup water, ½ cup oil, 3 large eggs)
- 8 oz (226 g) block-style cream cheese, softened
- 20 oz (568 g) white (vanilla flavored) melting wafers (about two 10 oz bags)
- ⅓ cup (≈58 g) red candy melts for drizzle
Instructions
- Preheat the oven to 350°F. Grease a 9×13-inch pan. Line a half sheet pan with parchment or a silicone mat.
- Mix the cake mix, water, oil, and eggs according to package directions. Pour into the prepared pan and bake as instructed. Remove when a toothpick shows a few moist crumbs and let cool completely.
- Crumble the cooled cake into fine crumbs. Add softened cream cheese and mix until the mixture clumps together and is fully combined.
- Form 1.5-inch balls (about 48) and place on the lined baking sheet. Chill 30 minutes in the fridge or 15 minutes in the freezer.
- Melt the white melting wafers according to package directions. Dip each chilled truffle using a fork and spoon to coat, then set on the lined sheet to harden.
- Melt ⅓–½ cup red candy melts, transfer to a small bag, snip a corner, and drizzle over the set truffles. Chill until firm.
Notes
- Store truffles in an airtight container with parchment between layers for up to 2 weeks.
- To freeze, layer truffles with parchment in a freezer-safe container for up to 3 months. Thaw in the fridge overnight.
- Do not leave truffles at room temperature for more than 2 hours.
Nutrition
Disclaimer: Nutritional values are estimates calculated with a third-party tool.
*Originally published 12/7/2011. Post updated November 2023.