
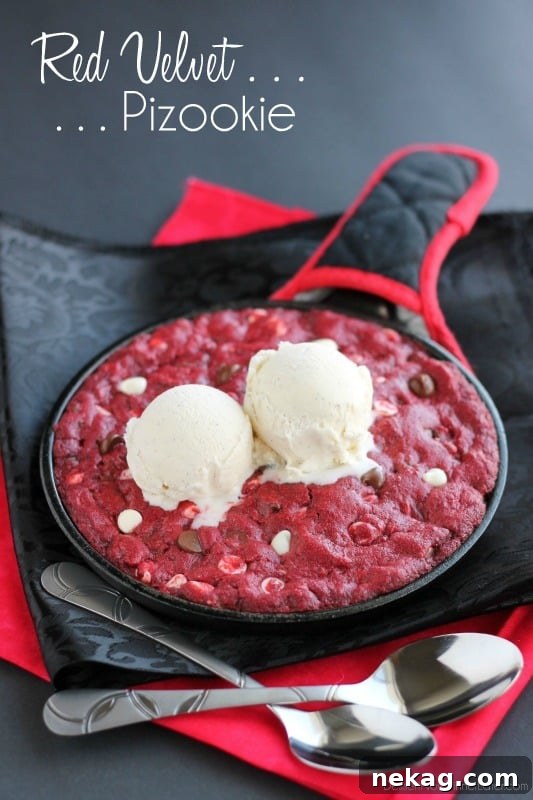
Indulge in Love with the Easiest Red Velvet Pizookie: Your Perfect Last-Minute Valentine’s Day Dessert!
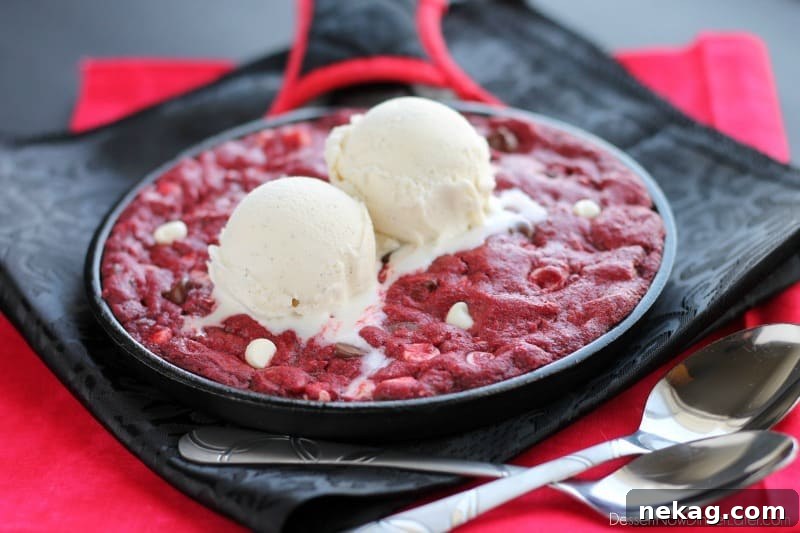
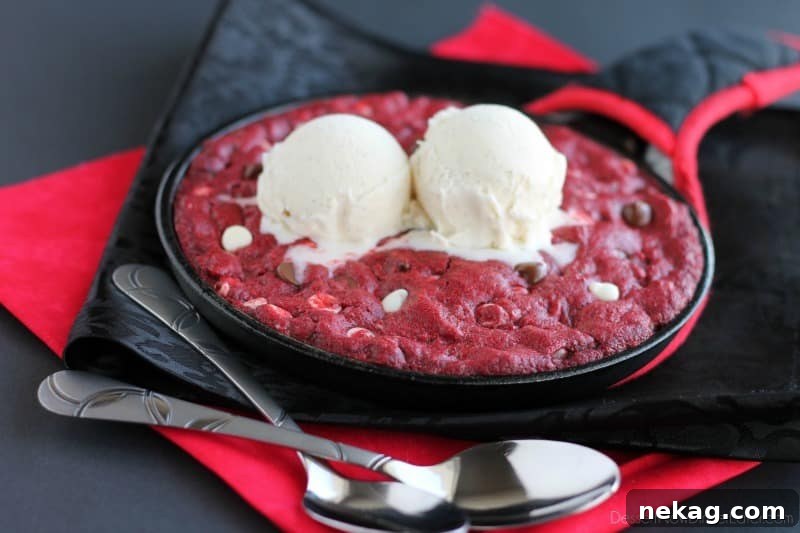
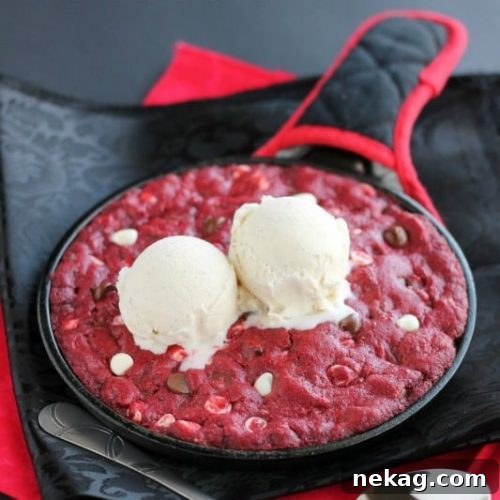
Valentine’s Day is a time for heartfelt gestures, romantic dinners, and, of course, decadent desserts. If you’re looking for a sweet treat that’s both impressive and incredibly simple to prepare, look no further than this Red Velvet Pizookie. This isn’t just any dessert; it’s a warm, gooey, chocolatey masterpiece designed for sharing, making it the quintessential romantic indulgence for two. Imagine a giant, warm red velvet cookie, studded with rich chocolate chips, served straight from the oven and crowned with melting vanilla bean ice cream. It’s an experience that’s truly unforgettable and surprisingly effortless to create, even if Valentine’s Day is just around the corner!
Life can be hectic, and sometimes, even the best intentions for planning a special evening fall by the wayside. But a last-minute plan doesn’t mean compromising on deliciousness or romance. This Red Velvet Pizookie recipe is your secret weapon for creating a memorable dessert with minimal effort. Thanks to a brilliant shortcut – using a boxed cake mix – you can whip up this delightful treat in mere minutes, making it perfect for those spontaneous cravings or unexpected romantic evenings. Forget complicated recipes and lengthy prep times; get ready to enjoy a deeply satisfying dessert that tastes like it took hours, but only requires a few simple ingredients and a dash of love.
Why This Red Velvet Pizookie is Your Ultimate Dessert Go-To
The allure of a pizookie lies in its warm, fresh-from-the-oven charm. Unlike a regular cookie that cools quickly, a pizookie retains its warmth and gooey center, creating an irresistible contrast with cold ice cream. This Red Velvet Pizookie elevates that experience with its signature color and delicate cocoa flavor. Here’s why it’s a must-try:
- Unbeatable Speed: The Cake Mix Hack: The secret to its effortless preparation is a standard box of red velvet cake mix. This simple ingredient takes care of most of the dry components, significantly cutting down on measuring and mixing time. You’ll be amazed at how quickly you can go from craving to devouring!
- Decadent Flavor Profile: Red velvet is celebrated for its subtle cocoa notes and vibrant hue. When transformed into a warm pizookie, these flavors meld beautifully with the melty chocolate chips, creating a rich yet balanced sweetness.
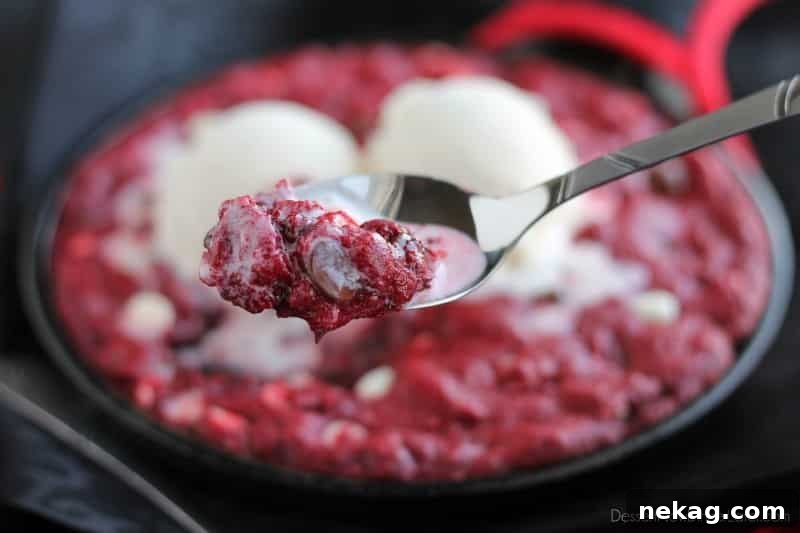
- Irresistible Texture: What could be better than a warm, soft, and slightly crispy-edged cookie with a gloriously gooey center? The pizookie delivers just that, especially when it’s just baked and ready to be dug into.
- Perfect for Sharing (or Not!): Designed for sharing, this dessert fosters connection, making it ideal for romantic evenings, cozy family nights, or even a fun dessert with friends. However, we won’t tell if you decide to enjoy it all by yourself!
- Minimal Fuss, Maximum Impact: You don’t need to be a seasoned baker to master this recipe. Its straightforward steps and common ingredients make it accessible for everyone, promising a dessert that looks and tastes incredibly impressive with minimal effort.
Understanding the Pizookie Phenomenon: Pizza Meets Cookie
For those unfamiliar, a “pizookie” is a delightful portmanteau of “pizza” and “cookie.” It refers to a large cookie baked in a skillet or round pan, typically served warm, straight from the oven, and often topped with ice cream. The beauty of the pizookie is in its communal nature and its ability to deliver that fresh-baked warmth and gooey texture that a single cookie often loses too quickly. It’s essentially a giant cookie designed for scooping and sharing, embodying comfort and indulgence in every bite. This Red Velvet version brings an extra layer of elegance and flavor to the beloved dessert trend.
Crafting Your Red Velvet Masterpiece: Simple Ingredients & Steps
Creating this Red Velvet Pizookie is an absolute breeze. With just a few staple ingredients and straightforward instructions, you’ll be enjoying a homemade dessert that tastes gourmet. The beauty of using a cake mix is that it already contains most of the foundational dry ingredients, simplifying the process immensely. You’ll primarily be adding wet ingredients and, of course, those glorious chocolate chips!
Essential Ingredients for Your Red Velvet Pizookie
Gathering your ingredients is the first step to dessert bliss. You’ll need:
- Unsalted Butter (2 sticks/1 cup): Room temperature butter creams beautifully, creating a light and fluffy base for your cookie dough.
- Large Eggs (2): Eggs bind the ingredients together and add richness and moisture.
- Red Velvet Cake Mix (15.25 oz/432g box): The star of the show! This shortcut is what makes the recipe so quick and easy, providing that signature red velvet flavor and color.
- All-Purpose Flour (1 cup): A small amount of additional flour helps to achieve the perfect cookie consistency, preventing the pizookie from being too cakey. Remember to stir, spoon, and level the flour for accuracy.
- White Chocolate Chips (1 cup): These add a delightful sweetness and a beautiful visual contrast against the red velvet.
- Semi-Sweet Chocolate Chips (1 cup): For classic chocolate flavor and gooey pockets of melted chocolate. You can also mix in milk chocolate or dark chocolate chips based on your preference.
- Vanilla Bean Ice Cream: The ultimate topping! Its creamy, cool contrast to the warm pizookie is simply divine.
Simple Steps to Pizookie Perfection
Follow these easy steps, and you’ll have a warm, delicious Red Velvet Pizookie ready in no time:
- Preheat Your Oven: Get your oven ready by preheating it to 350°F (175°C). This ensures even baking from the moment your skillet goes in.
- Cream the Butter and Eggs: In the bowl of a stand mixer fitted with the paddle attachment (or using a hand mixer), cream the softened butter until it’s light and fluffy. This usually takes 2-3 minutes. Add the eggs one at a time, blending well after each addition. Scrape down the sides of the bowl to ensure everything is incorporated.
- Add Dry Ingredients: Gradually add the red velvet cake mix and the all-purpose flour to the butter and egg mixture. Mix slowly until just combined. Be careful not to overmix; overmixing can lead to a tougher cookie.
- Fold in Chocolate Chips: Gently fold in both the white and semi-sweet chocolate chips by hand. Distribute them evenly throughout the dough.
- Prepare and Bake: Lightly grease a cast iron skillet (an 8-inch round cake pan also works perfectly). Press the cookie dough evenly onto the bottom of the pan.
- Bake to Perfection: Bake for 9-10 minutes. The key here is to bake until it’s just set around the edges but still wonderfully soft and gooey in the center. Remember, a pizookie is meant to be a bit underbaked for that ultimate gooey texture.
- Serve and Enjoy: Remove from the oven and immediately top generously with scoops of vanilla bean ice cream. The ice cream will begin to melt into the warm cookie, creating an incredible dessert experience.
Essential Tips for the Ultimate Gooey Pizookie
- Don’t Overbake! This is the golden rule for any pizookie. You want a molten, gooey center. The edges should be set, but the middle should still look slightly soft when you pull it out of the oven. It will continue to cook slightly from the residual heat of the skillet.
- Grease Your Pan Well: Whether using a cast iron skillet or a cake pan, a good coating of butter or non-stick spray ensures your pizookie won’t stick and makes serving easier.
- Serving Temperature is Key: Serve your pizookie immediately after it comes out of the oven. The contrast between the warm cookie and cold ice cream is what makes this dessert so special.
- Customize Your Toppings: While vanilla bean ice cream is classic, feel free to experiment with other toppings like whipped cream, chocolate syrup, caramel sauce, sprinkles, or even a different flavor of ice cream (strawberry or cream cheese ice cream would be fantastic with red velvet!).
Beyond Valentine’s Day: Versatility and Leftover Love
While this Red Velvet Pizookie is absolutely perfect for Valentine’s Day, its ease and deliciousness make it a fantastic treat for any occasion. Think cozy movie nights, impromptu gatherings with friends, or simply satisfying a sweet tooth after a long week. The best part? This recipe yields enough dough for multiple pizookies, or you can get creative with any leftover dough!
Creative Ways to Use Leftover Red Velvet Cookie Dough
If you’re not making all the pizookies at once, or if you simply have dough remaining, don’t let it go to waste! The extra cookie dough can be a delightful bonus:
- Store for Later Pizookies: Place the unused cookie dough in an airtight container and store it in the refrigerator for up to 7 to 10 days. This means you can enjoy fresh, warm pizookies throughout the week whenever a craving strikes! Just scoop into a greased skillet and bake as usual.
- Individual Cookies for Everyone: Transform the remaining dough into delicious individual cookies. Simply scoop balls of cookie dough onto a greased baking sheet. Bake for approximately 9-10 minutes, or until the edges are golden and the centers are still soft. These are perfect for lunchboxes, after-school snacks, or for when everyone wants their own warm cookie with a scoop of ice cream. Kids especially love having their own special treat!
- Experiment with Mix-ins: If you’re using leftover dough for individual cookies, consider adding different mix-ins to each batch. Think chopped nuts, sprinkles, mini marshmallows, or even a swirl of cream cheese frosting before baking for an extra red velvet kick.
This recipe is incredibly adaptable. You can easily swap out the chocolate chips for other add-ins like white chocolate chunks, M&M’s, peanut butter chips, or even dried cranberries for a festive twist. The red velvet base is a wonderful canvas for your culinary imagination!
More Pizookie Adventures to Explore
If red velvet isn’t quite your preference, or if you simply want to expand your pizookie repertoire, there are countless other delicious variations to try. Explore these classic options for more warm, gooey goodness:
- Classic Chocolate Chip Pizookie: The original and a timeless favorite, perfect for any cookie lover.
- Double Chocolate Pizookie: For the ultimate chocolate enthusiast, this version doubles down on cocoa flavor and chocolate chips.
Red Velvet Pizookie
Amber Brady
Pin
Rate
Save
3 to 4
pizookies
Ingredients
- 1 cup (226 g) butter, (2 sticks, softened)
- 2 large eggs
- 15.25 oz (432 g) box Red Velvet Cake Mix
- 1 cup (120 g) all-purpose flour, (stir, spoon & level)
- 1 cup (170 g) white chocolate chips
- 1 cup (170 g) semi-sweet chocolate chips
- Vanilla Bean Ice Cream, (for serving)
Instructions
-
Preheat oven to 350˚F (175°C).
-
In the bowl of a stand mixer, cream butter until light & fluffy. Add eggs & blend thoroughly. Scrape down the sides of the bowl.
-
Add the Red Velvet Cake Mix & flour, mixing slowly until just incorporated. Gently fold in the white and semi-sweet chocolate chips.
-
Press the dough evenly onto the bottom of a greased cast iron skillet or an 8″ round cake pan. Bake for 9-10 minutes until the edges are set but the center is still soft and gooey.
-
Serve immediately, topped generously with scoops of vanilla bean ice cream.
Notes
For best results, do not overbake! The key to a perfect pizookie is a warm, gooey center. The dough can be stored in an airtight container in the refrigerator for up to 7-10 days. Alternatively, roll the remaining dough into individual cookies and bake for 9-10 minutes.
Disclaimer: Nutritional values were calculated using a third-party tool and are provided as an estimation only.
Sharing this recipe with a link is both encouraged and appreciated. Copying/pasting and/or screenshots of full recipes to any social media is strictly prohibited. Content and photographs are copyright protected.
Did you make this?
Don’t forget to leave a rating below and make sure to follow on Pinterest and Instagram for more!
Frequently Asked Questions About Red Velvet Pizookie
To help you perfect your Red Velvet Pizookie, here are answers to some common questions:
Can I use a different flavor of cake mix?
Absolutely! The beauty of this “cake mix hack” recipe is its versatility. While red velvet offers a unique flavor and color, you can easily substitute it with other cake mix flavors like chocolate fudge, vanilla, strawberry, or even lemon for a completely different pizookie experience. Adjust chocolate chip types to complement your chosen cake mix.
What if I don’t have a cast iron skillet?
No problem at all! An 8-inch or 9-inch round cake pan works perfectly as a substitute. Just make sure to grease it well to prevent sticking. The key is to use an oven-safe round dish that can hold the cookie dough and withstand the oven’s heat.
How long does the cookie dough last in the fridge?
The prepared cookie dough can be stored in an airtight container in the refrigerator for up to 7 to 10 days. This makes it a fantastic make-ahead option for spontaneous dessert cravings throughout the week. When ready to bake, simply scoop the desired amount into your greased pan and bake as directed.
Can I make this Red Velvet Pizookie ahead of time?
While the dough can be made ahead and stored, the pizookie itself is best served immediately after baking for that signature warm, gooey texture. Baking it ahead of time and reheating might dry it out. The quick prep and bake time mean it’s easy to make fresh when you’re ready to enjoy.
How do I prevent the pizookie from sticking to the pan?
Thoroughly greasing your cast iron skillet or cake pan is crucial. You can use butter, shortening, or a good quality non-stick cooking spray. For extra assurance, you can also line the bottom of your pan with a circle of parchment paper, though this is usually less necessary with a well-greased surface.
Conclusion: Your Perfect Red Velvet Pizookie Awaits!
Whether it’s Valentine’s Day, a cozy night in, or just a Tuesday, this Red Velvet Pizookie promises to deliver pure dessert bliss. Its effortless preparation, thanks to the cake mix shortcut, combined with its rich flavor and irresistible gooey texture, makes it a true crowd-pleaser. So, don’t wait for a special occasion – grab your ingredients, preheat your oven, and treat yourself and your loved ones to this warm, chocolatey delight topped with melting vanilla bean ice cream. It’s more than just a dessert; it’s an experience waiting to be shared and savored. We encourage you to try it, share your creations, and let us know what you think!