
Effortless Sourdough Pizza Dough: Your Ultimate Guide to a Perfect Crust
Craving restaurant-quality pizza from the comfort of your kitchen? This sourdough pizza dough recipe is your answer! It’s incredibly easy, remarkably fast, and streamlines the entire process by utilizing your food processor. Prepare to be amazed by a pizza crust that’s bursting with flavor, wonderfully chewy, and perfectly crispy – and the best part? It’s an excellent way to use up your sourdough starter discard!
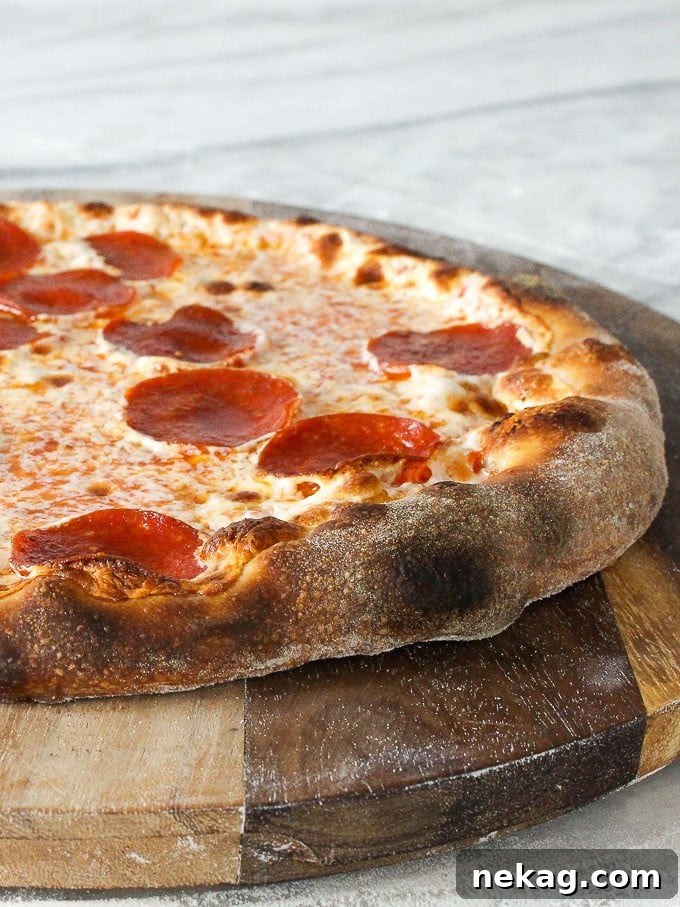
While culinary trends like sourdough bread might ebb and flow in popularity, one thing remains constant: pizza is a timeless classic that will always have a place at our tables! We’re thrilled to present what we believe is the easiest and fastest sourdough pizza dough recipe you’ll ever encounter. Forget the arduous task of kneading; this entire dough comes together effortlessly in your food processor. Imagine a pizza crust that transcends a mere vehicle for cheese and toppings, offering an exciting, complex sourdough tang and an unbeatable texture. This isn’t just pizza; it’s an experience.
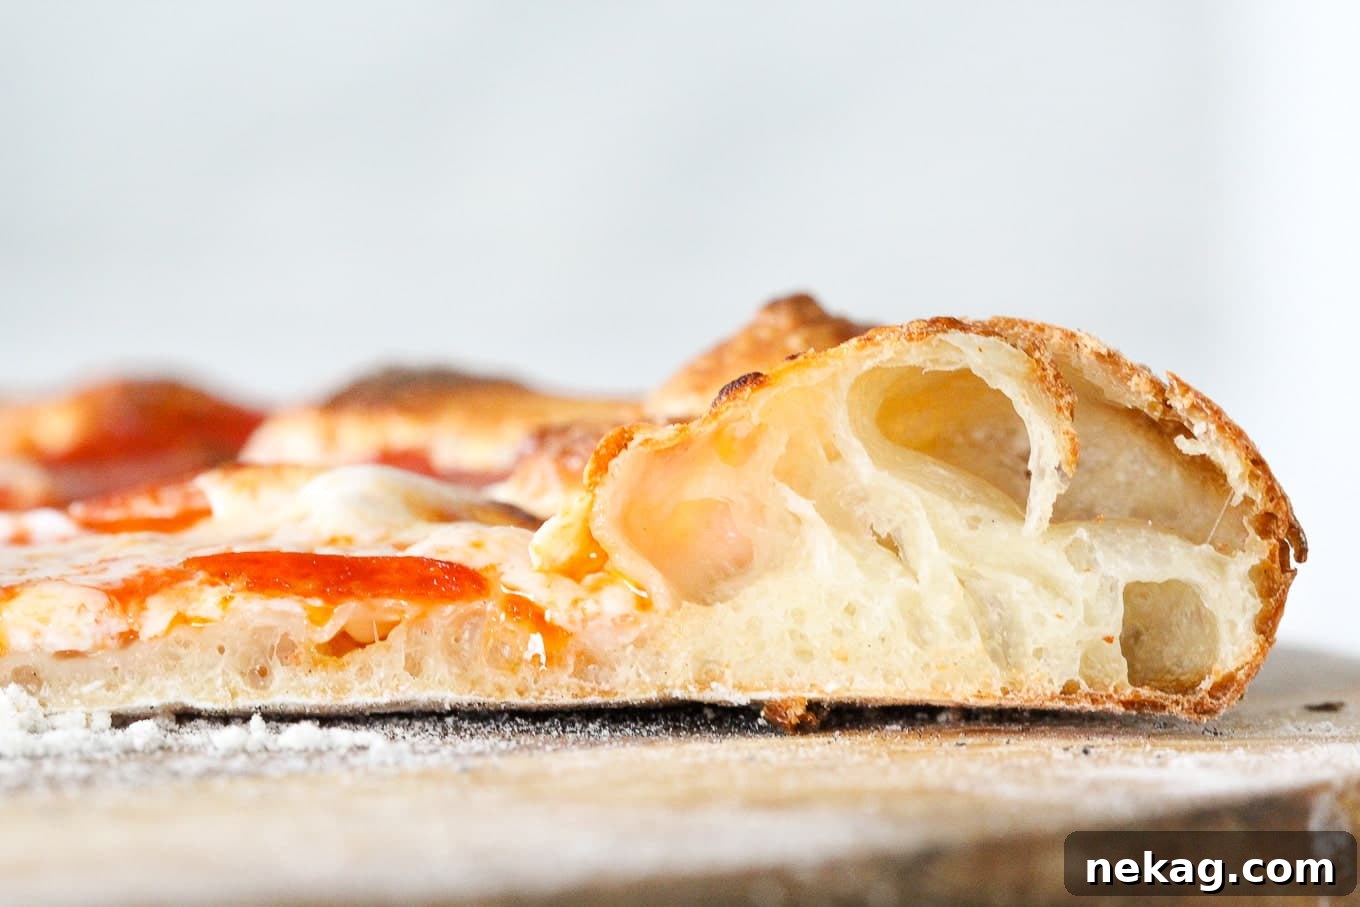
This exceptional crust is guaranteed to transform your entire homemade pizza experience. It strikes the perfect balance, delivering a satisfying chewiness complemented by an irresistible crispness in every bite. Don’t just take our word for it; give it a try and discover the magic yourself! Once you’ve mastered this dough, you’ll be eager to explore more homemade pizza adventures. Pair it with the best pizza sauce recipe or this versatile homemade tomato sauce. Then, choose your topping adventure, whether it’s a classic pepperoni pizza or a savory pizza rustica.
Table of Contents
- Why This Sourdough Pizza Crust is a Game-Changer
- Expert Tips for Pizza Perfection
- Key Ingredients Explained
- Creative Variations for Your Dough
- Step-by-Step Guide to Making Sourdough Pizza Dough
- Chef Lindsey’s Pro Baking Tip
- Frequently Asked Questions
- Sourdough Pizza Dough Recipe Card
- Continue Your Baking Journey
Why This Sourdough Pizza Crust is a Game-Changer
This sourdough pizza dough isn’t just another recipe; it’s a culinary hack that delivers incredible results with minimal effort. Here’s why you’ll absolutely adore it:
- Effortless and Speedy: A Dream for Sourdough Discard! Say goodbye to complex sourdough schedules and endless kneading. This recipe is designed for maximum convenience, allowing you to create spectacular pizza dough with virtually no fancy folds or lengthy bulk fermentations. Just a simple divide, shape, and proof, and you’re well on your way to pizza bliss. It’s truly one of the most satisfying and efficient ways to utilize your sourdough starter discard, preventing waste and enhancing flavor.
- Unparalleled Flavor Development, Zero Kneading Required: The secret to this dough’s incredible depth of flavor lies in its prolonged, cold fermentation in the refrigerator. This hands-off process allows the sourdough culture to work its magic slowly, developing complex aromas and a delightful tang without you having to spend extra time kneading or constantly monitoring the dough. It’s the ultimate set-it-and-forget-it method for gourmet flavor.
- The Ultimate Make-Ahead Pizza Dough: Flexibility is key for busy home cooks, and this recipe delivers. Once the dough is prepared and nestled in the fridge, it patiently awaits your command. It’s ready when you are, making meal planning a breeze. While it does require a little foresight, the convenience is unbeatable. Consider making a double batch; two tightly wrapped dough balls can be stored in the freezer, ready to transform into spontaneous pizza nights whenever the craving strikes!
Expert Tips for Pizza Perfection
Achieving that perfect pizzeria-style crust at home requires a few crucial techniques. Heed these professional insights to ensure your sourdough pizza is a resounding success:
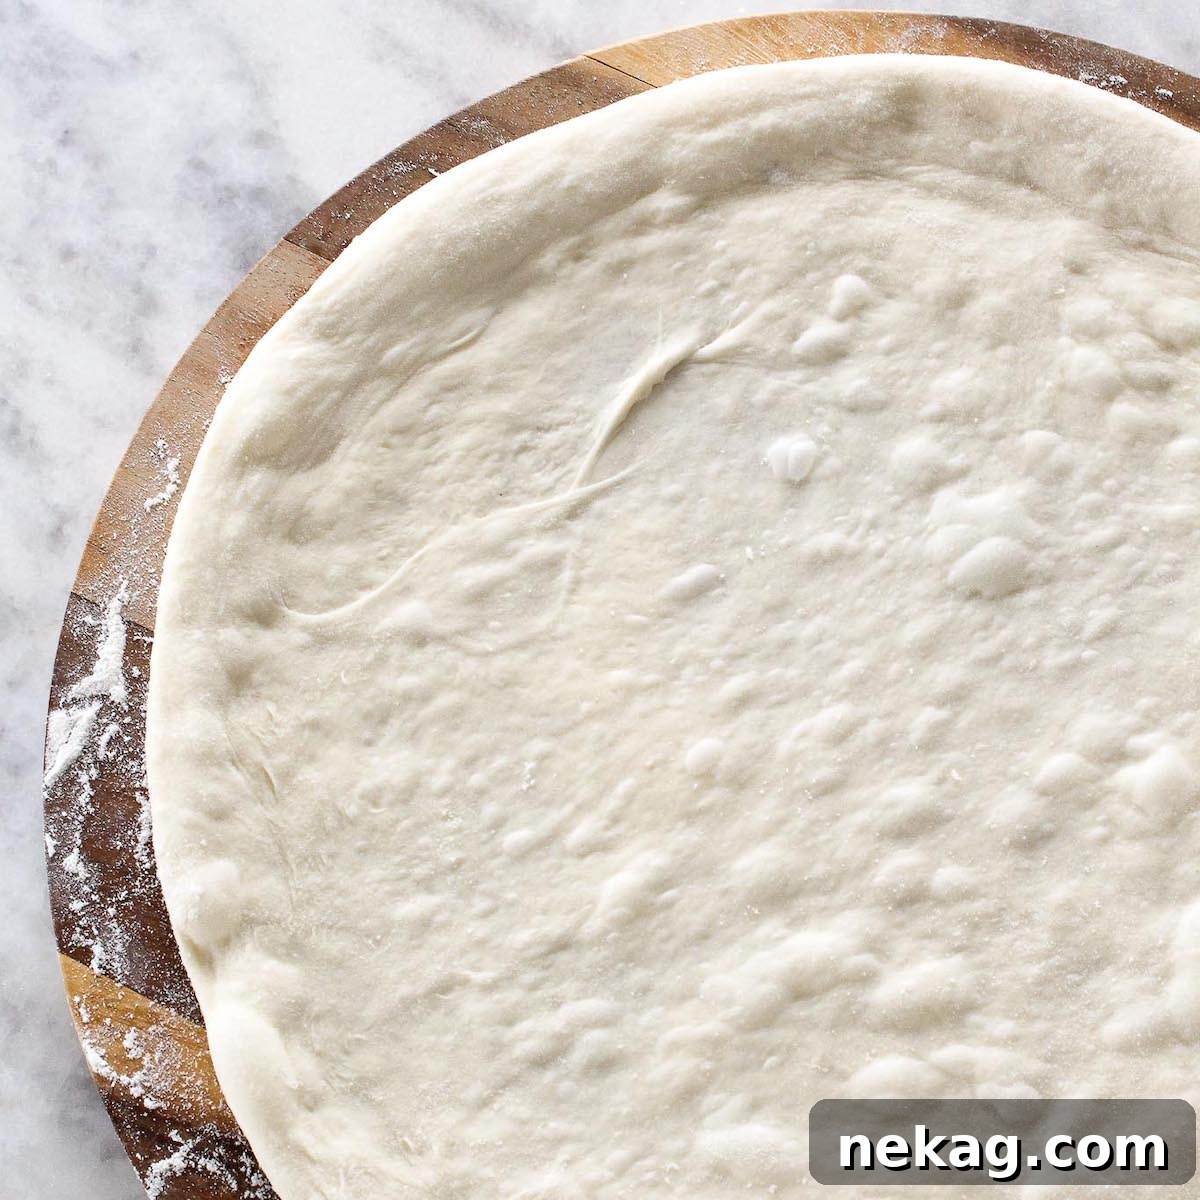
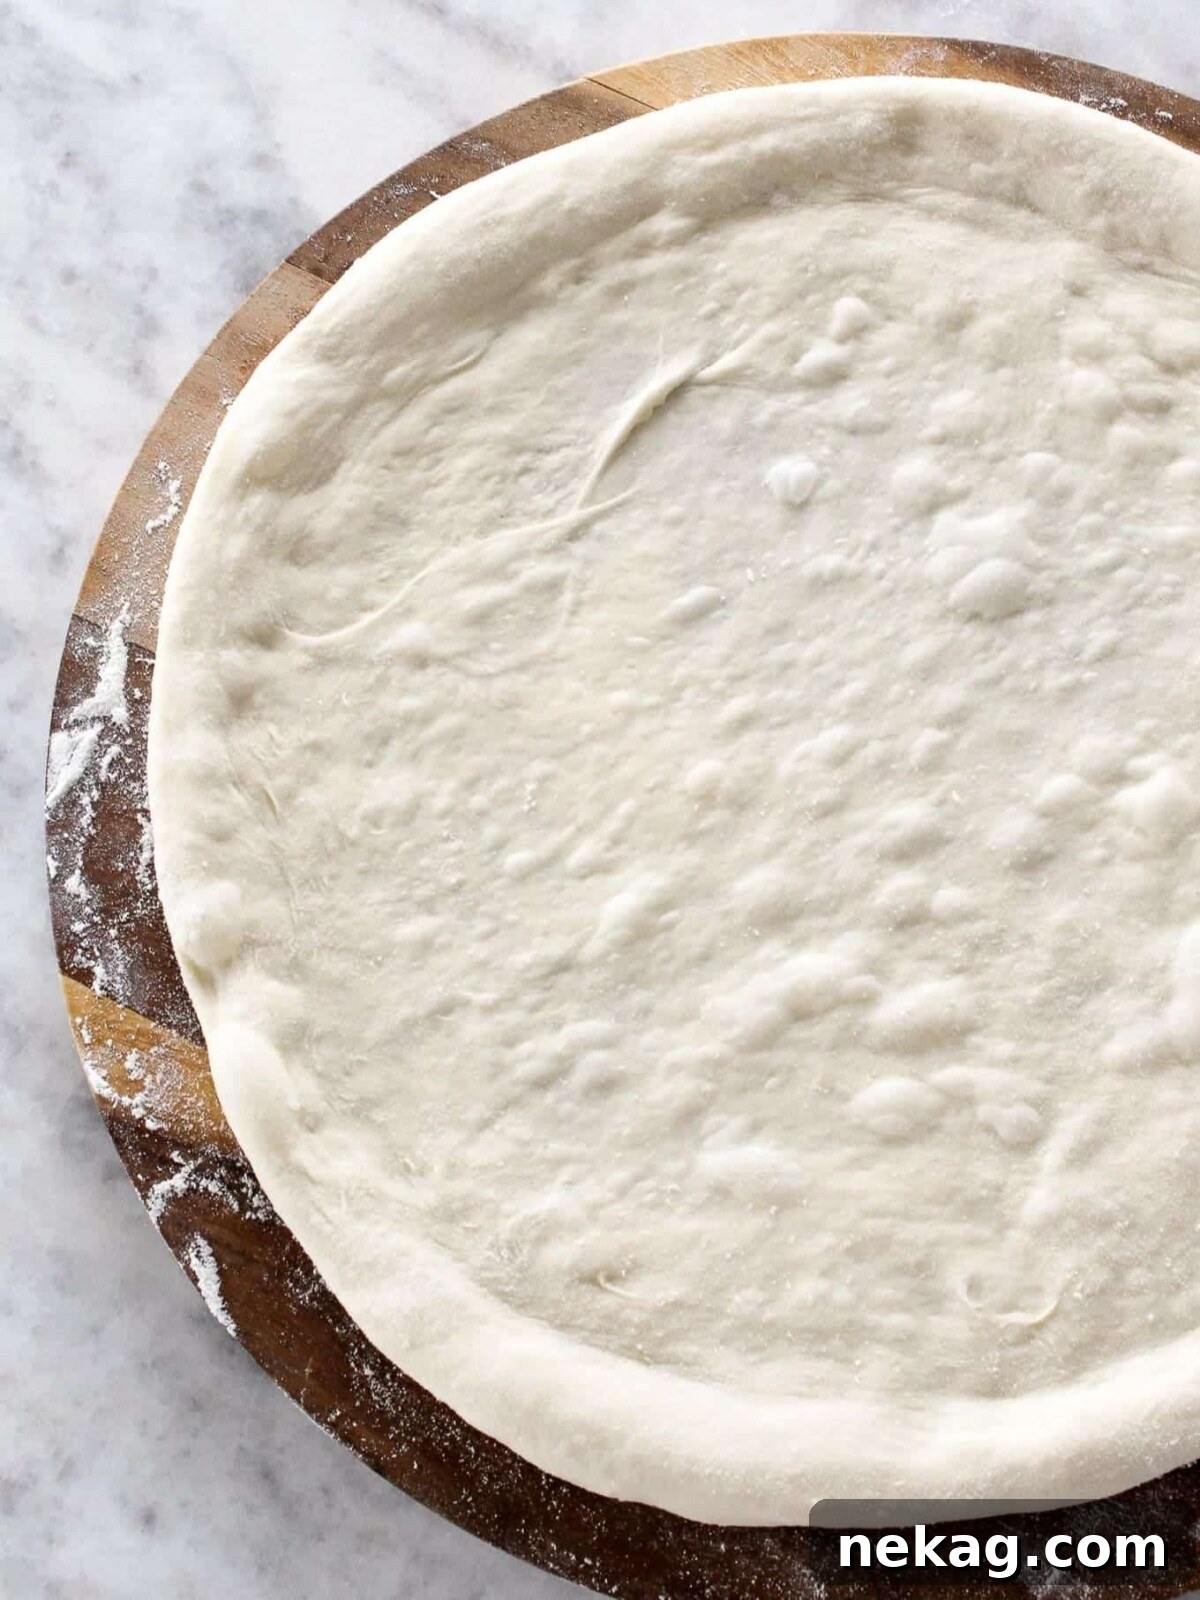
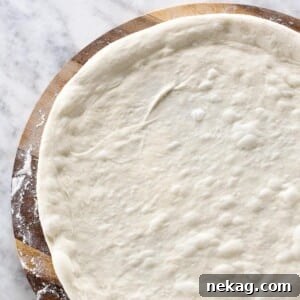
- Mastering Dough Shaping: Ditch the Rolling Pin! The most delicate part of the process is often shaping the dough. For a truly authentic, airy crust reminiscent of a classic New York slice, resist the urge to use a rolling pin. Rolling pins deflate the precious air bubbles that have developed during fermentation, leading to a denser crust. Instead, gently stretch the dough by hand, working from the center outwards, using the weight of the dough and gravity to your advantage.
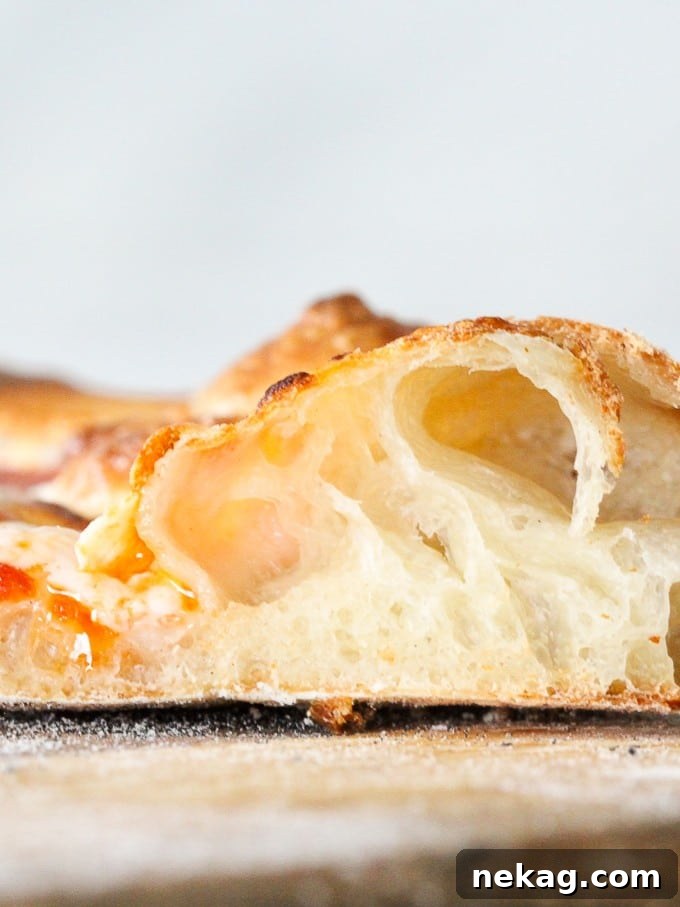
- Gentle Stretching for Glorious Bubbles: Those beautiful, airy pockets within your crust are what give pizza its delightful texture and chew. When shaping your dough, be incredibly gentle. Avoid tearing or aggressively pressing the dough, as this will pop the bubbles. Think of it as coaxing the dough into shape rather than forcing it. A light touch preserves the delicate structure that leads to that coveted open crumb.
- Crucial Final Proofing Before Baking: After refrigeration and before baking, allow your dough to come to room temperature and proof for 1–2 hours. This step is non-negotiable! A dough that has sufficiently warmed up and relaxed will be incredibly soft, pliable, and much easier to stretch without resistance. If you watch my pizza dough tutorial, you’ll see how a dough that has rested at room temperature for two hours becomes perfectly cooperative for shaping and baking, contributing significantly to a superior crust.
- Preheat Your Oven Thoroughly: For maximum crispiness and a quick, even bake, ensure your oven (and pizza stone/steel, if using) is fully preheated to its highest temperature, typically 500-550°F (260-290°C), for at least an hour. This intense heat creates oven spring, causing the dough to rapidly puff up and crisp, replicating a professional pizza oven environment.
Key Ingredients Explained
Each ingredient in this recipe plays a vital role in achieving the perfect sourdough pizza dough. Understanding their functions will help you make informed choices and ensure a delicious outcome:
- 00 Flour: Also known as Caputo flour, 00 flour is finely milled Italian wheat flour with a moderate protein content. Its fine texture creates a very smooth, extensible dough, resulting in an incredibly tender and slightly crispy crust characteristic of authentic Neapolitan-style pizza. It’s not strictly necessary, but it certainly elevates the texture.
- Bread Flour: With a higher protein content than all-purpose flour, bread flour contributes significantly to the dough’s structure and chewiness. It develops strong gluten networks, which are essential for trapping gases produced during fermentation, leading to those desirable airy bubbles in the crust.
- Kosher Salt: More than just a seasoning, kosher salt is crucial for controlling fermentation, strengthening the gluten, and enhancing the overall flavor of the dough. It slows down yeast activity and tightens the gluten structure, contributing to a better texture.
- Sugar: A small amount of sugar in pizza dough serves as food for the yeast, helping to activate it and encourage a quicker rise. It also aids in browning the crust during baking, contributing to that attractive golden finish.
- Dry Active Yeast: While sourdough starter provides primary leavening and flavor, a touch of dry active yeast ensures a reliable and quicker rise, especially when using sourdough discard. It acts as a booster, ensuring your dough achieves adequate volume and aeration.
- Water: The quality of your water can significantly impact your sourdough. In places like New York City, tap water is often ideal for feeding sourdough starter. However, if you live in an area with hard water (high mineral content), or water treated with chlorine, it can inhibit fermentation and tighten the gluten structure, leading to a less airy dough. To mitigate this, consider using distilled, bottled, or filtered water. Alternatively, you can boil and cool tap water to room temperature, or let tap water sit in an open container for 24 hours to allow chlorine to dissipate naturally.
- Extra Virgin Olive Oil: Extra virgin olive oil adds richness, flavor, and tenderness to the dough. It also contributes to a slightly crisper crust and helps the dough become more pliable and easier to handle.
- Sourdough Starter (Fed or Unfed/Discard): This recipe is uniquely designed to use either an active, fed starter or your unfed sourdough discard. If you’re new to sourdough, begin with my comprehensive sourdough starter recipe. Having an active starter that reliably doubles in 12-14 hours is ideal. If you’re looking for more ways to use your starter, try these delightful sourdough rolls next!
For precise measurements and detailed quantities, please refer to the recipe card below.
Creative Variations for Your Dough
This sourdough pizza dough recipe is wonderfully versatile, allowing you to customize it to your preferences and available ingredients. Explore these variations to make it truly your own:
- Pure Sourdough Power: Omitting Commercial Yeast: If you prefer to rely solely on your sourdough starter for leavening, you can absolutely omit the dry active yeast. Be aware that this approach will extend the fermentation time significantly. Expect the dough to require approximately 48 hours (or even longer, up to 72 hours) in the refrigerator to develop sufficient rise and flavor. This method results in an even deeper sourdough tang.
- All Bread Flour Option: Don’t have 00 flour on hand? No problem! You can substitute the 00 flour with an equal amount of bread flour. While the crust’s texture might be slightly less tender and a bit chewier without the 00 flour, it will still yield an excellent pizza. If possible, always opt for bread flour over all-purpose flour for superior gluten development and crust structure.
- Understanding Starter Ratios: The specific ratio at which you feed your sourdough starter is often a personal preference, influencing its activity and flavor profile. The crucial takeaway is that any active starter, regardless of its feeding ratio, can be used to create a vibrant levain for baking. For more insights, I touch upon this in my sourdough focaccia recipe, and you can find a comprehensive guide on how to feed sourdough starter in my video tutorial. Experiment to find what works best for your starter and your baking schedule!
- Herb Infused Dough: Add 1-2 teaspoons of dried Italian herbs, oregano, or a mix of your favorite dried herbs to the dry ingredients in the food processor for an extra layer of flavor in your crust.
- Whole Wheat Inclusion: For a nuttier flavor and added fiber, substitute up to 25% of the bread flour with whole wheat flour. This will result in a slightly denser dough, but the earthy notes are delicious.
Step-by-Step Guide to Making Sourdough Pizza Dough
Making this incredible sourdough pizza dough in your food processor is remarkably straightforward. Follow these steps for a perfect batch every time. Further details and precise measurements are available in the recipe card below!
- Prepare Your Baking Sheet: Begin by lightly oiling a baking sheet or baking dish with a neutral oil like canola oil. This prevents the dough from sticking during its refrigeration period. Set this aside.
- Combine Dry Ingredients in Food Processor: Ensure your food processor is fitted with its blade (any blade attachment will work, truly!). Add the 00 flour, bread flour, kosher salt, sugar, and dry active yeast to the bowl. Secure the lid and pulse the ingredients a few times to ensure they are well combined and aerated.
- Mix Wet Ingredients and Incorporate: In a separate small bowl, whisk together the water, extra virgin olive oil, and your sourdough starter. With the food processor running continuously, slowly pour this wet mixture through the feed tube. This gradual addition ensures proper hydration and mixing.
- Process Until Dough Forms: Allow the food processor to continue running until a cohesive ball of dough forms. Once a ball has clearly developed, let the processor run for an additional 30 seconds. This extra processing time helps to develop the gluten structure, even without traditional kneading. Stop the food processor.
- Transfer and Divide Dough: Lightly flour your clean work surface. The dough should be relatively non-sticky, so a small amount of flour is sufficient. Using a spatula, carefully scrape all the dough out of the food processor bowl onto the floured counter. With a bench scraper, divide the dough into two equal pieces. If needed, add just a tiny bit of additional bench flour to your lightly floured surface to prevent sticking as you work.
- Shape the Dough Balls: Take one piece of dough and gently form it into a ball. Do this by folding all four sides of the dough towards the center, creating tension on the surface. Flip the dough ball over so the seam side is down. Then, using the palm of your hand or a bench scraper, tighten the dough ball by pulling it towards you in a circular motion, rotating it slightly after each pull. Repeat this motion until you have a smooth, taut round. Repeat with the second dough piece. For a visual guide on shaping, watch my sourdough pizza dough tutorial on YouTube. Remember, you can make your crust as thick or thin as you like, though I personally prefer a thinner crust.
- Prepare for Refrigeration: Place each shaped dough ball onto the previously oiled baking sheet, ensuring they have some space between them. Lightly rub a small amount of oil over the top surface of each dough ball. This critical step prevents a dry skin from forming on the dough during its rest. Wrap each dough ball tightly in plastic wrap, ensuring no air can reach the surface, and place them into the refrigerator.
- Cold Fermentation for Flavor: Refrigerate the dough for a minimum of 24 hours, and up to 72 hours. This extended cold fermentation is crucial for developing the complex flavors and superior texture characteristic of sourdough pizza. The longer the dough rests, the deeper and more nuanced its flavor profile will become.
- Bring to Room Temperature Before Use: Before you plan to use the dough, remove it from the refrigerator and let it sit at room temperature for 2-4 hours. This allows the dough to relax, become pliable, and warm up sufficiently for optimal stretching and baking performance. Once it’s at room temperature, it’s ready for assembly. For easy transfer, assemble your pizza on a piece of parchment paper placed on a cutting board. I always recommend fresh basil, fresh mozzarella cheese, and our homemade pizza sauce for an unbeatable combination!
Chef Lindsey’s Pro Baking Tip
For achieving that truly professional, crispy, and chewy pizza crust, a screaming hot oven is paramount. If you’re using a pizza stone or steel, make sure it’s preheated in your oven for at least an hour at the highest possible temperature (500-550°F or 260-290°C). When it’s time to launch your pizza, flour a pizza peel generously or dust it with cornmeal. If you don’t have a peel or stone, an inverted rimmed baking sheet also works well when preheated. Alternatively, a cast iron skillet can mimic the intense heat of a pizza stone in a pinch. Before adding toppings, give the pizza peel a gentle shake to ensure the dough moves freely. If it sticks even slightly, lift the edge and quickly toss a little more flour or cornmeal underneath. This crucial step prevents sticking in the oven, ensuring a smooth transfer and most importantly, helps you stay safe when handling hot equipment. The high heat is key to achieving that perfect chewy interior and crispy exterior.
Frequently Asked Questions
Can I use sourdough discard for this pizza dough?
Absolutely! This recipe is specifically designed to work beautifully with either a fed, active sourdough starter or your unfed sourdough discard. Using discard is a fantastic way to add complex flavor to your pizza while preventing food waste.
How long can I leave the dough in the refrigerator?
You can safely leave this dough in the refrigerator for up to 72 hours. We find that a fermentation period of 36–48 hours yields the ideal balance of flavor development and dough texture. Beyond 72 hours, the dough may become overproofed, leading to a sour flavor that is too intense and a potentially weaker gluten structure. For longer storage, you can tightly wrap the dough balls in plastic wrap and then aluminum foil, and freeze them for up to two months. Freezing immediately after shaping is recommended for the best results and longest storage life, allowing you to enjoy fresh homemade pizza anytime!
Should I use a pizza stone or baking sheet?
While I demonstrate using a pizza stone in the video, it’s not strictly necessary. A preheated pizza stone or steel will provide the crispiest bottom crust due to its ability to retain and transfer intense heat. However, you can achieve excellent results by preheating a rimmed baking sheet turned upside down. Simply slide your prepared pizza onto this hot surface. Alternatively, you can build your pizza directly on a regular baking sheet (lined with parchment paper for easy cleanup) and bake it all together. While the crust might not achieve the exact same level of crispness as one baked on a stone, it will still be delicious and far superior to many store-bought options!
What are the best toppings for sourdough pizza?
The beauty of homemade pizza is the endless possibility for toppings! For a classic experience, fresh mozzarella, ripe tomato sauce, and fresh basil are unbeatable. Consider gourmet options like caramelized onions and goat cheese, spicy salami and hot honey, or a medley of roasted vegetables. The robust flavor of the sourdough crust stands up wonderfully to both simple and complex topping combinations, so feel free to experiment with your favorites!
If you tried this recipe and loved it, please consider leaving a 🌟 star rating and sharing your experience in the comments below. I truly appreciate hearing from you; your feedback and comments brighten my day!
Sourdough Pizza Dough
Comment
Print Recipe
Ingredients
- 13 ⅓ tablespoons 00 flour (Caputo)
- 20 tablespoons bread flour
- 1 teaspoon kosher salt
- 1 tablespoon sugar
- ⅙ teaspoon dry active yeast
- 9 tablespoons water
- 5 teaspoons extra virgin olive oil
- 10 tablespoons sourdough starter (fed or unfed/discard)
Instructions
- Oil a baking sheet or baking dish with canola oil. Set aside.
- Fit a food processor with a blade. Add 00 flour, bread flour, salt, sugar, and yeast. Secure the lid and pulse to combine the ingredients.
- Combine the water, olive oil, and starter in a small bowl. With the food processor running, pour the wet ingredients through the feed tube.
- Allow the food processor to run until a ball forms, then let it run another 30 seconds. Stop the food processor.
- On a lightly floured work surface, scrape all the dough onto the counter. With a bench scraper, divide it into two equal pieces.
- Form each piece into a ball by folding all four sides into the center. Flip it over seam-side down. Tighten the dough balls by pulling the dough towards you, rotating, and then pulling it towards you again. Shape it into a smooth round.
- Place each ball on the oiled sheet. Rub some oil on the top of the dough. Wrap each tightly in plastic wrap and place in the refrigerator.
- Refrigerate 24-72 hours. The longer it sits, the more the flavor will develop.
- Before you use it, take the dough out of the refrigerator and let it sit at room temperature for 2-4 hours. Further baking instructions can be found in my pepperoni pizza post!
Video Tutorial
Notes
Yield: Makes 2, 14-inch pizzas.
Technique: Shape gently without a rolling pin to keep bubbles for an airy crust. Preserve those beautiful air pockets!
Variations: To make this dough with sourdough starter alone (no commercial yeast), omit the dry active yeast and refrigerate the dough for about 48-72 hours instead of 24-72 hours for a slower, deeper fermentation.
Storage: Refrigerate dough for up to 72 hours. For longer preservation, freeze dough balls for up to one month. Wrap tightly in plastic wrap and then a layer of foil before freezing for optimal freshness.
Nutrition Information (per serving)
Calories: 123kcal | Carbohydrates: 22g | Protein: 3g | Fat: 2g | Saturated Fat: 1g | Polyunsaturated Fat: 1g | Monounsaturated Fat: 2g | Sodium: 234mg | Potassium: 26mg | Fiber: 1g | Sugar: 1g | Vitamin A: 1IU | Vitamin C: 1mg | Calcium: 4mg | Iron: 1mg
Continue Your Baking Journey
We trust you’ve thoroughly enjoyed this chef-tested and approved sourdough pizza dough recipe. It’s designed to bring the joy of artisanal baking into your home with ease and delicious results. Don’t stop here! Explore our other delightful, chef-developed bread recipes, including more of our cherished sourdough creations. From rustic loaves to flavorful rolls, there’s always something new to discover and bake. Happy baking!