
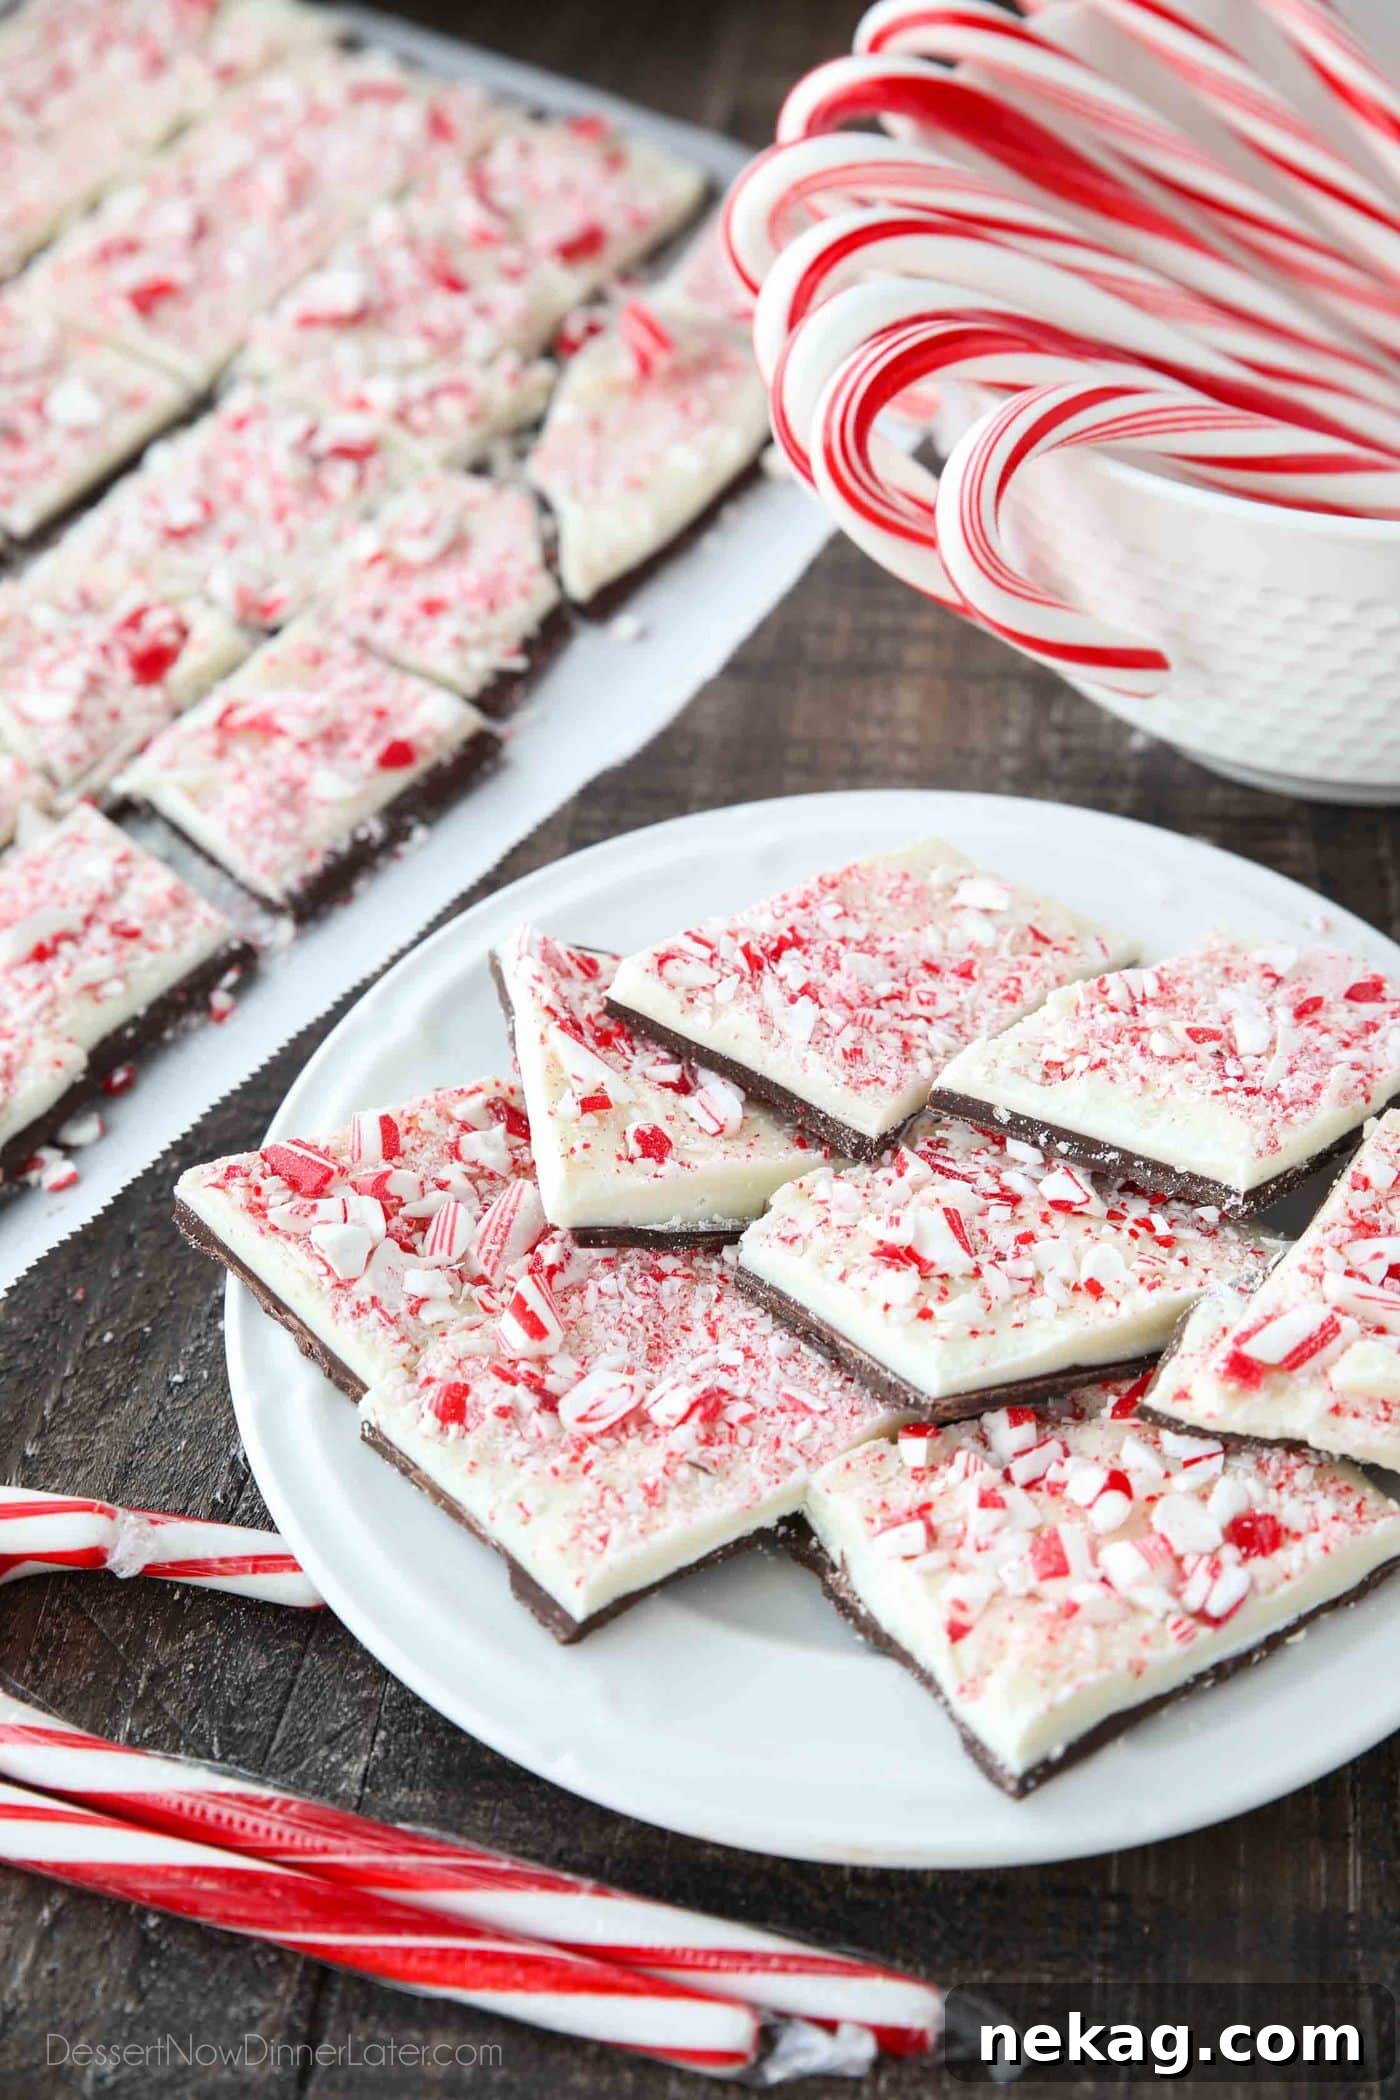
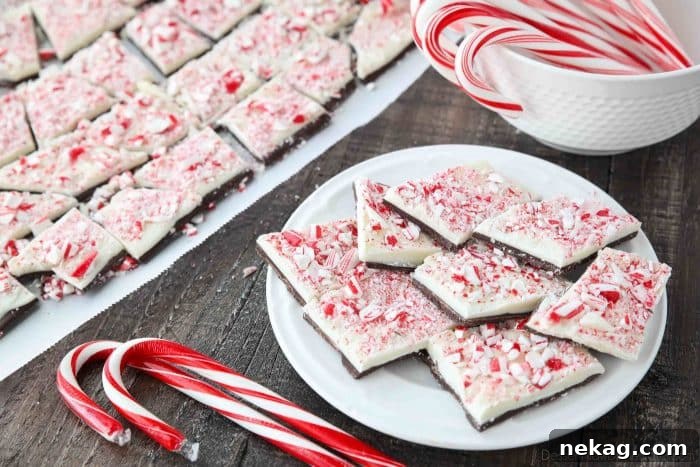
Peppermint Bark is a classic holiday treat that’s simple to make with just four ingredients: semi‑sweet chocolate, white chocolate, peppermint extract, and candy canes.
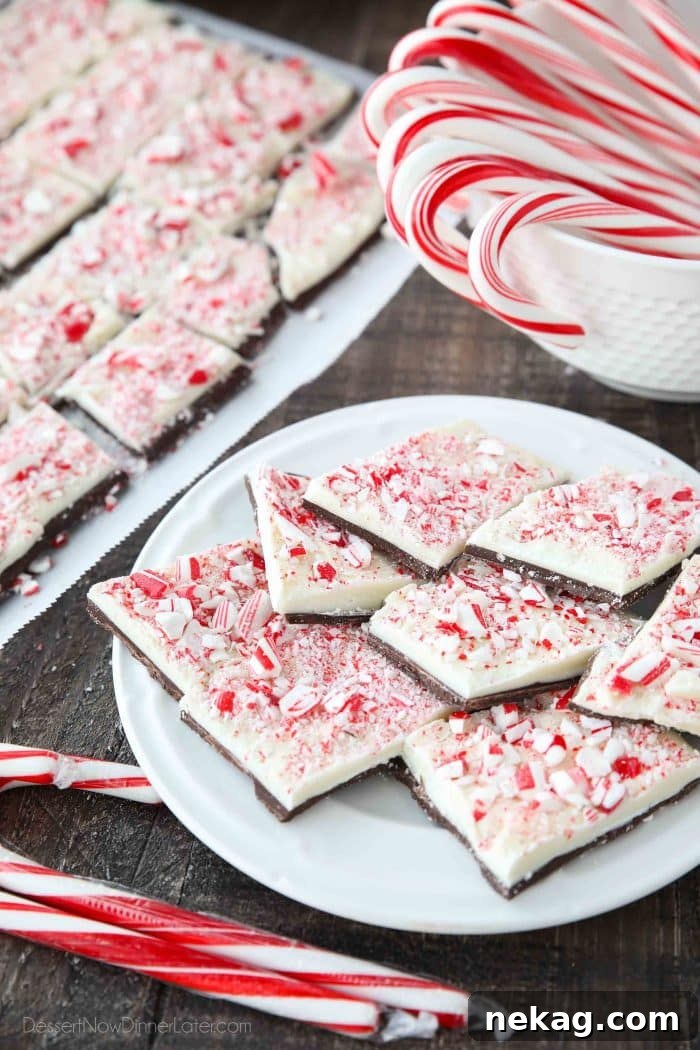
Peppermint and chocolate are a holiday pairing that never disappoints. Whether you prefer white, milk, or dark chocolate, the bright mint of candy canes complements chocolate beautifully. This peppermint bark recipe is quick to prepare, makes a great gift, and is perfect for sharing at parties.
Peppermint Bark Recipe
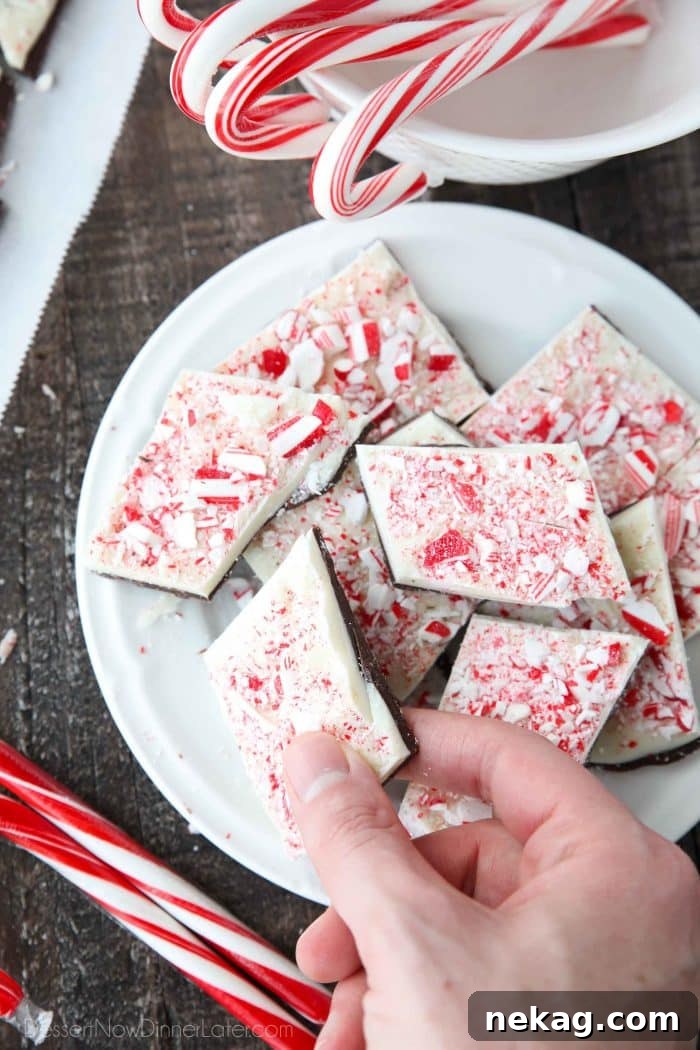
Peppermint bark is a rustic, broken‑piece candy that’s ideal for snacking, packaging in gift bags, or arranging on a holiday dessert table. This version uses high‑quality chocolate for the best flavor and texture.
The ingredient list is short and straightforward: semi‑sweet chocolate chips (or chopped semi‑sweet chocolate), white chocolate chips (or chopped white chocolate), peppermint extract, and crushed candy canes.
How to Make Peppermint Bark
Begin by melting the semi‑sweet chocolate. This can be done in 30‑second intervals in the microwave, stirring between each, or gently over a double boiler. Avoid overheating to keep the chocolate smooth and glossy.
Spread the melted semi‑sweet chocolate into an even, thin layer on a parchment‑lined sheet pan, roughly 9×13 inches. Chill in the refrigerator until the chocolate is set but still cold to the touch.
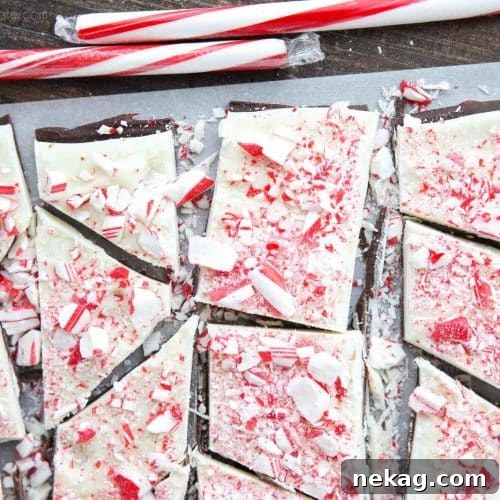
Next, melt the white chocolate the same way and stir in the peppermint extract. Pour and spread the white chocolate over the chilled semi‑sweet layer. Immediately sprinkle the crushed candy canes over the white chocolate, gently pressing the pieces so they adhere. Note that the white chocolate layer can firm up quickly depending on how cold the base layer is.
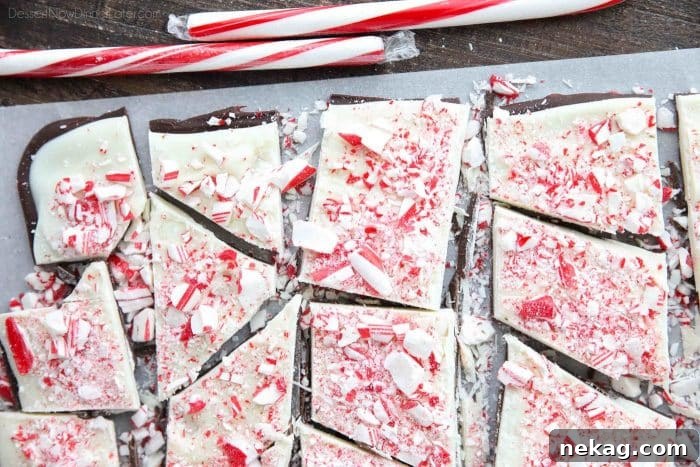
Return the pan to the refrigerator until the bark is fully set. Once firm, break or cut into pieces and serve.
Tips and Helpful Information
- Use high quality chocolate for the best flavor and texture. If high‑quality chips aren’t available, buy equivalent ounces of baking bars and chop them.
- Choose white chocolate made with real cocoa butter rather than vegetable fats. Cocoa butter blends better with other chocolate for a smooth finish.
- An offset spatula helps spread each chocolate layer evenly and cleanly.
- Crush candy canes inside a zip‑top bag using a rolling pin or meat mallet. Pick out larger chunks or use everything, depending on the texture you want.
- Store peppermint bark in an airtight container at room temperature for up to two weeks. Avoid refrigeration once packaged, as condensation can make the candy cane pieces sticky.
Peppermint Bark
Ingredients
- 12 oz (340 g) high quality semi‑sweet chocolate chips, (or chopped semi‑sweet chocolate)
- 16 oz (454 g) high quality white chocolate chips, (or chopped white chocolate)
- ½ tsp peppermint extract
- ⅔ cup (100 g) crushed candy canes, (about 8 regular size candy canes)
Equipment
-
Offset spatula
-
Parchment paper
-
Sheet pan (9×13 or half sheet)
Instructions
-
Line a sheet tray with parchment paper. Unwrap candy canes and crush them inside a zip‑top bag with a rolling pin or meat mallet. Set aside.
-
Place the semi‑sweet chocolate in a medium bowl and melt in the microwave in 30‑second bursts, stirring between each interval until smooth. Do not overheat.
-
Spread the melted semi‑sweet chocolate into a rectangle about 9×13 inches on the prepared sheet. Chill 10–15 minutes until set.
-
Melt the white chocolate in 30‑second bursts, stirring until smooth. Stir in the peppermint extract.
-
Spread the white chocolate over the chilled semi‑sweet layer and immediately sprinkle with crushed candy canes, pressing gently so they stick. Chill another 15–20 minutes until firm.
-
Break or cut into pieces and serve. Store in an airtight container at room temperature for up to 2 weeks.
Notes
Choose reputable chocolate brands for best results; if chips aren’t available, use chopped baking bars.
- If using bars, match the ounce amounts listed for chips.
- Prefer white chocolate made with cocoa butter rather than vegetable fats to ensure the layers bond and set properly.
Nutrition
Disclaimer: Nutritional values were calculated using a third‑party tool and are provided as an estimate only.
Sharing this recipe with a link is appreciated. Copying and pasting full recipes or screenshots to social media is not permitted. Content and photographs are copyright protected.
Did you make this?
Leave a rating below and consider following for more holiday recipes and inspiration.