
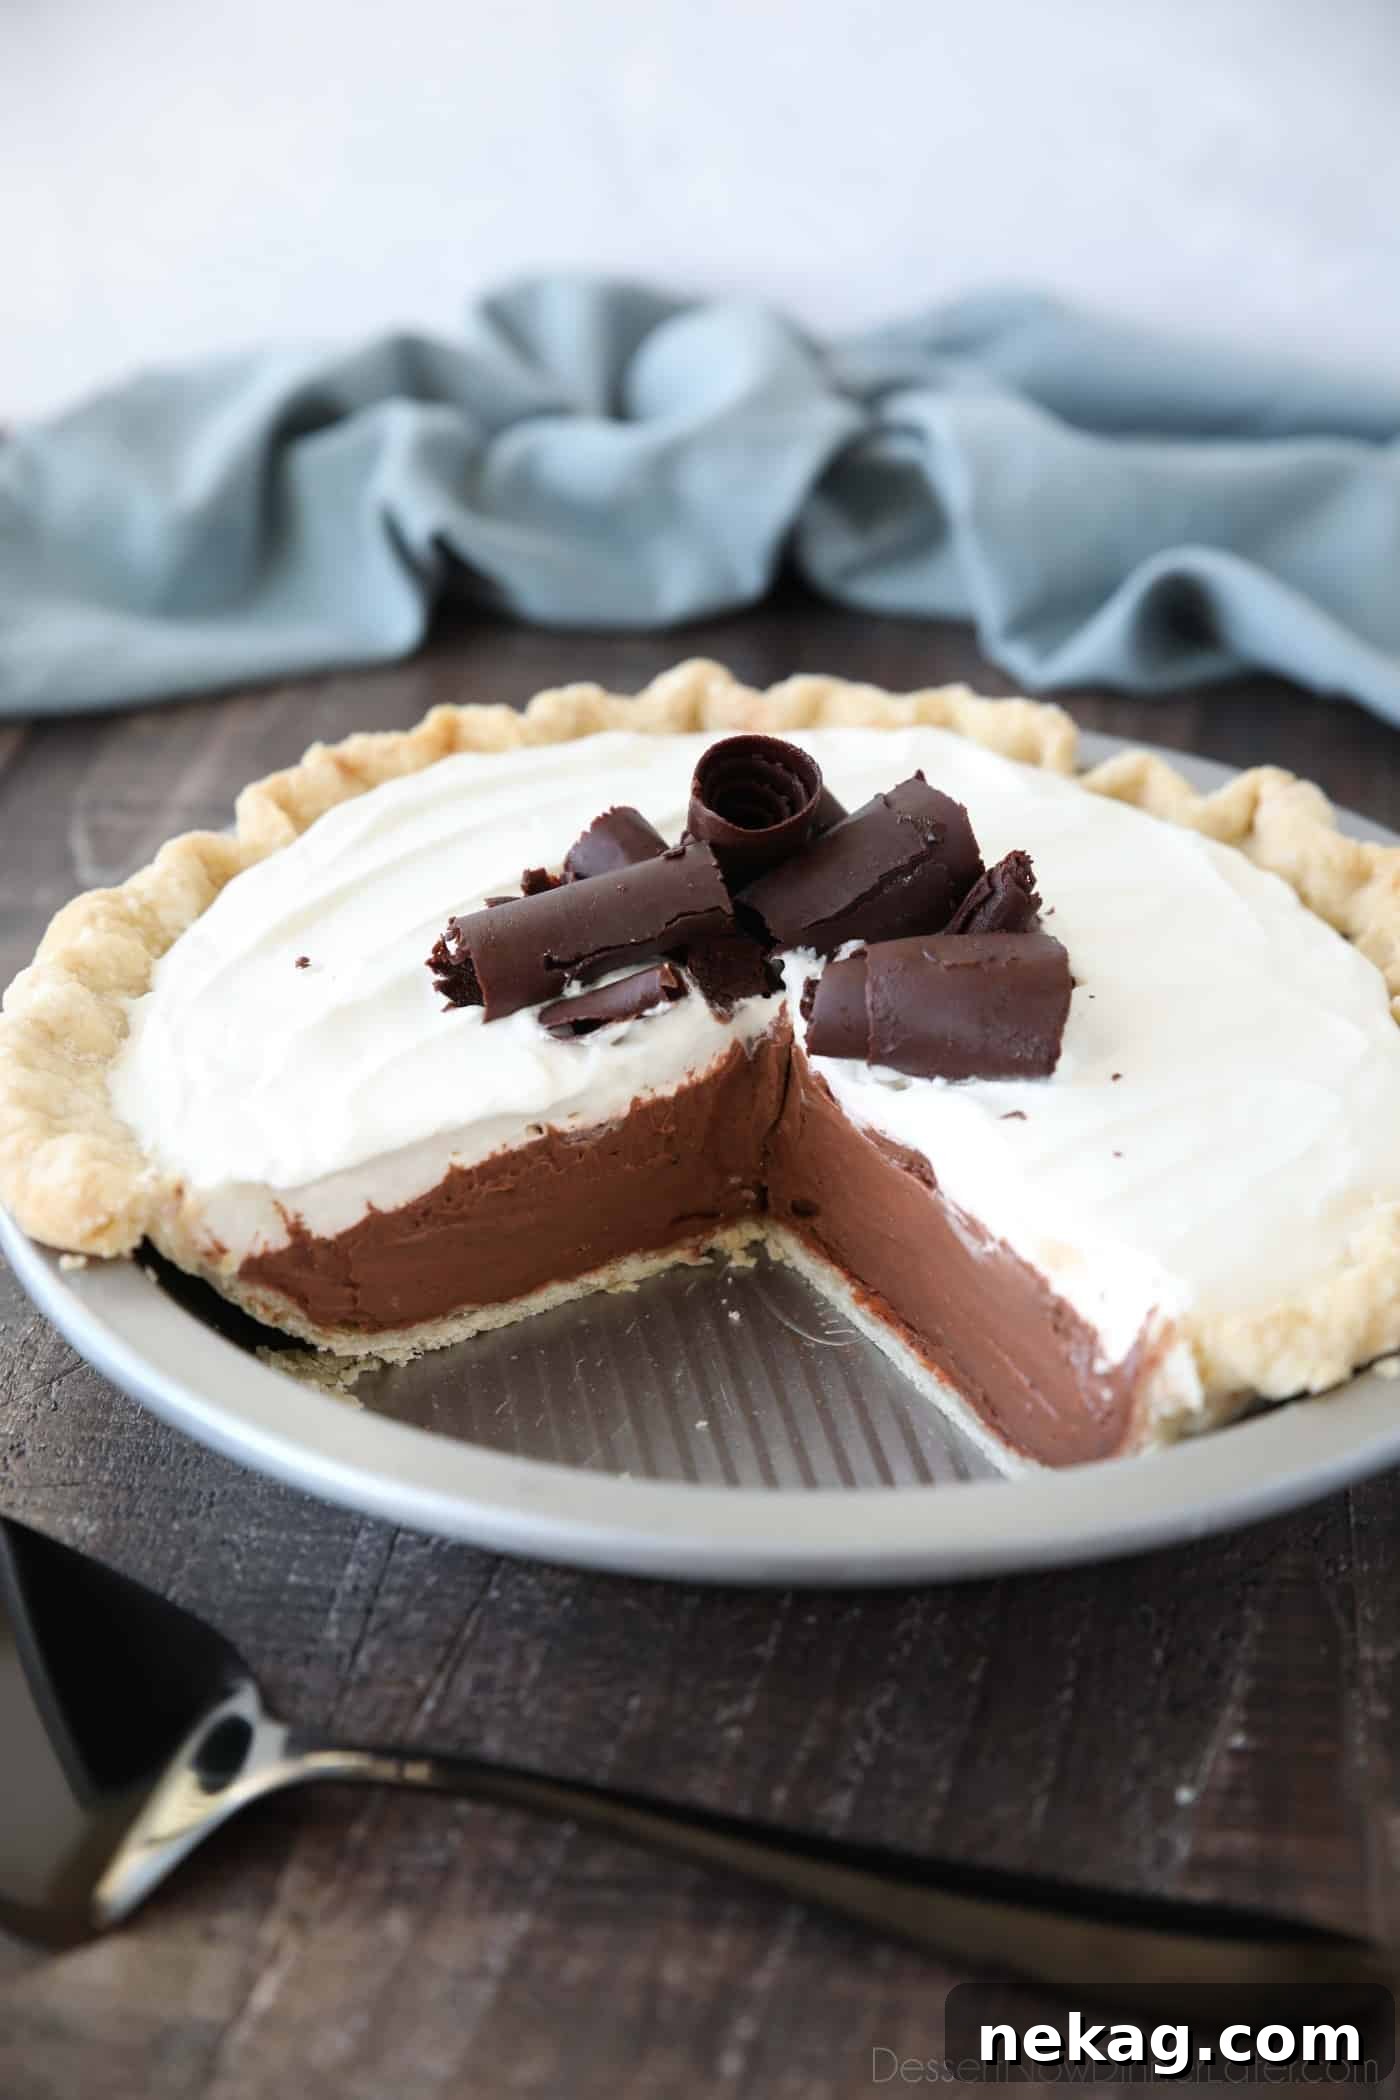
This comprehensive guide will show you how to create the ultimate Chocolate Cream Pie, a truly decadent dessert that’s easier to make than you might imagine. Whether you’re short on time and prefer convenient store-bought ingredients or you love the satisfaction of baking entirely from scratch, we’ve got you covered. Get ready to discover the secrets to a bakery-quality pie featuring a rich, creamy chocolate pudding filling, crowned with luscious sweetened whipped cream, all nestled within a perfectly flaky pastry crust. This recipe offers two distinct paths to chocolate bliss, ensuring everyone can enjoy this timeless treat.
Effortlessly Delicious: The Simplicity of Chocolate Cream Pie
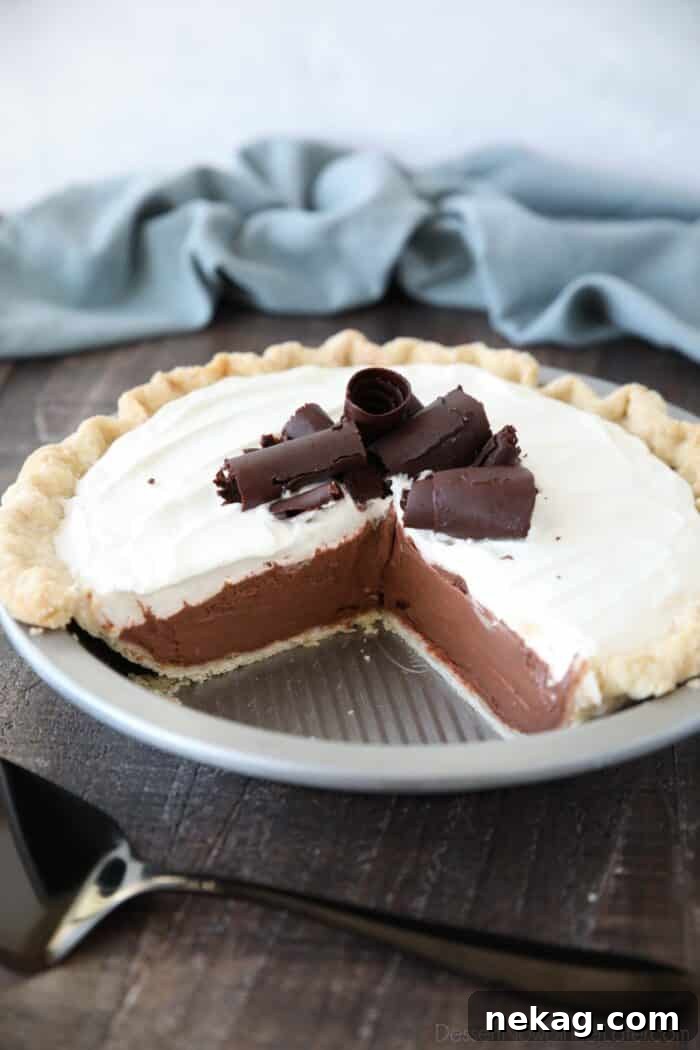
There’s a reason why Chocolate Cream Pie is a perennial favorite in bakeries and homes alike. Its irresistible blend of smooth chocolate and airy cream makes it a guaranteed crowd-pleaser, and the best part? It’s remarkably straightforward to prepare. During my time working in a bakery, these chocolate cream pies were a staple – not just for their incredible taste but also for how quickly they came together. It’s genuinely one of the fastest pies to assemble, especially when you leverage the convenience of readily available pre-made ingredients.
This classic dessert pie isn’t just a chocolate lover’s dream; it’s also an ideal choice for holidays, potlucks, or any gathering where you want a dessert that disappears almost as fast as you can serve it. Its universal appeal ensures it’s always a hit, making it a reliable option when you need something special without spending hours in the kitchen.
Unveiling the Difference: Chocolate Cream Pie vs. Chocolate Pudding Pie
While many might consider Chocolate Cream Pie and Chocolate Pudding Pie to be interchangeable, there’s a nuanced, yet significant, distinction that elevates one above the other. This subtle difference primarily lies within the filling itself, transforming the texture and overall experience.
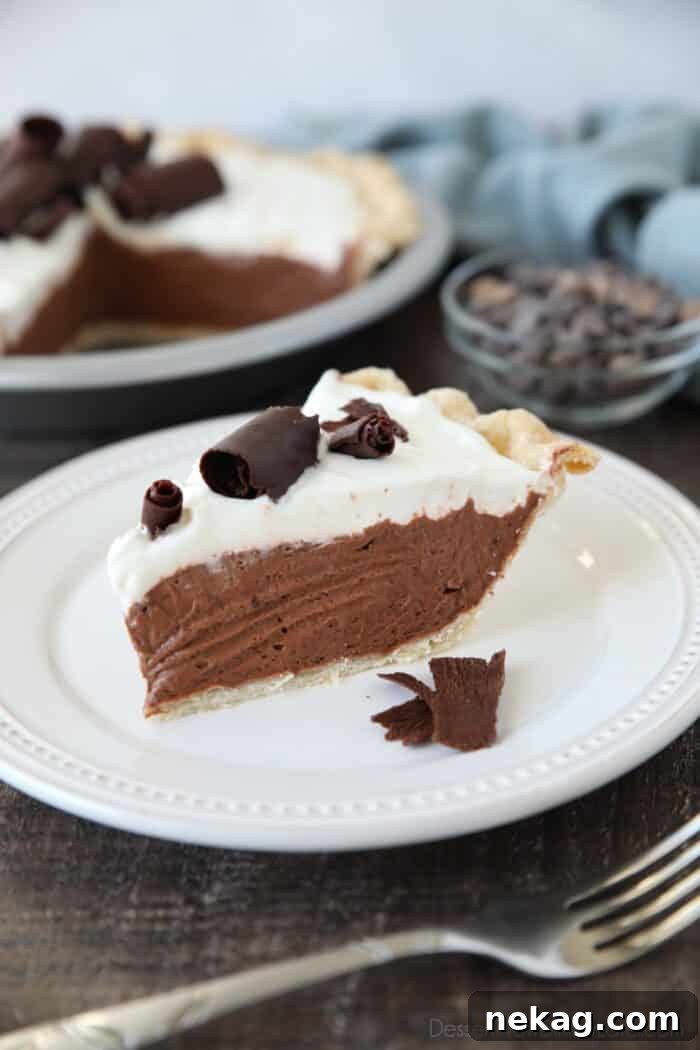
In professional bakeries, and certainly in the method we’re championing here for a truly authentic Chocolate Cream Pie, the secret ingredient is whipped cream integrated directly into the chocolate pudding. After mixing the two, an additional layer of sweetened whipped cream is then generously spread over the top of the pie. This incorporation of whipped cream into the pudding is what creates that distinct, signature texture.
Adding whipped cream to the chocolate pudding profoundly alters its consistency. Instead of a dense, purely pudding-like filling, you achieve a lighter, airier, and significantly creamier texture. This technique results in a chocolate pie that feels more luxurious and melts in your mouth with an unparalleled smoothness.
Conversely, many other recipes simply feature a plain chocolate pudding for the filling, with whipped cream only serving as a topping. While undeniably delicious in its own right, this approach yields a heavier, denser pie. It lacks the delicate, cloud-like quality that defines a genuine Chocolate Cream Pie, making our version a truly superior culinary experience for those seeking that authentic bakery taste.
Crafting Your Chocolate Cream Pie: Two Delicious Approaches
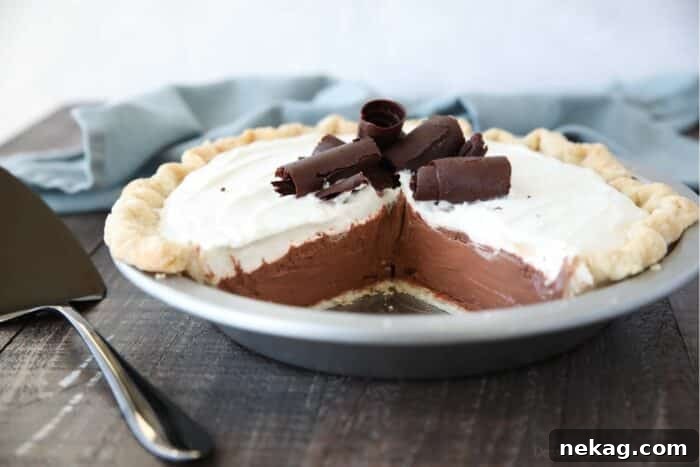
One of the many charms of this Chocolate Cream Pie recipe is its incredible versatility. You can tailor it to fit your schedule, skill level, and ingredient preferences. The ingredients can be entirely convenience-based for maximum speed, completely homemade from scratch for a truly artisanal touch, or a thoughtful combination of the two, as beautifully illustrated in the ingredients photo below. This flexibility ensures that whether you’re a seasoned baker or a beginner, a delectable chocolate cream pie is well within your reach.
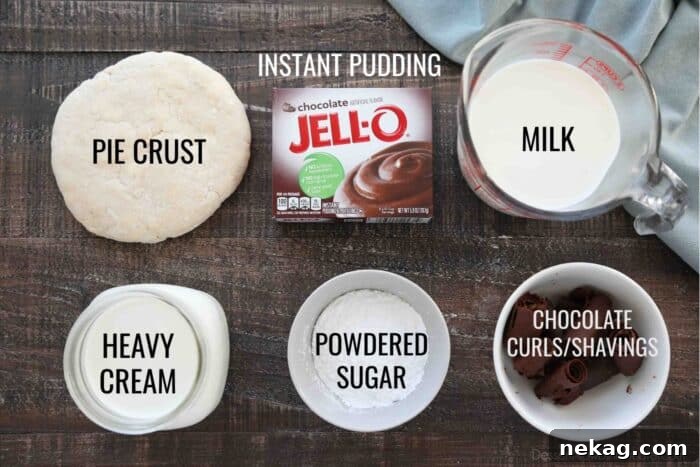
For this delightful recipe, you will need a few key components, each offering choices for convenience or homemade perfection:
- Pie Crust – The foundation of any great pie. You can opt for a homemade, all-butter pie crust for that truly exceptional flaky texture and rich flavor. Alternatively, for ultimate convenience, a store-bought frozen pie crust works wonderfully. If choosing the pre-made route, remember to bake it according to the package instructions. For instance, a common direction for frozen crusts involves thawing for 15 minutes, pricking the crust generously with a fork to prevent bubbling, and baking at 400˚F for 10-12 minutes until golden brown. A properly baked crust is crucial for a cream pie.
- Chocolate Pudding – The heart of your pie. For those who enjoy baking from scratch, I have an excellent, easy recipe for homemade chocolate pudding that uses real chocolate chips, offering a deeper, more robust chocolate flavor. However, for sheer speed and simplicity, nothing beats a box of Jello instant chocolate pudding mix. If you choose the boxed mix, you’ll need milk to prepare it. A key tip: use half the amount of milk specified for standard pudding, or about a cup less than what the pie filling directions on the box might suggest. The goal is a noticeably thicker pudding since you’ll be folding it with whipped cream, and you want it to set firmly in the pie.
- Sweetened Whipped Cream OR Cool Whip – The crowning glory. For the easiest possible preparation, an 8-ounce container of Cool Whip (frozen whipped topping), thawed overnight in the refrigerator, is your quickest option. If you prefer the fresh, delicate taste and texture of homemade sweetened whipped cream, simply beat cold heavy cream with powdered sugar until it forms stiff peaks. Both options are deliciously interchangeable in this recipe, allowing you to choose based on your preference and available time.
- Chocolate Curls/Shavings – An optional but highly recommended garnish that adds both visual appeal and an extra layer of chocolatey goodness. I often aim for elegant chocolate curls, which can be a bit temperamental but create a stunning finish. For an easier alternative, simply use a vegetable peeler on a good quality bar of chocolate to create delicate shavings. Alternatively, mini chocolate chips sprinkled generously over the top provide a charming and effortless decoration.
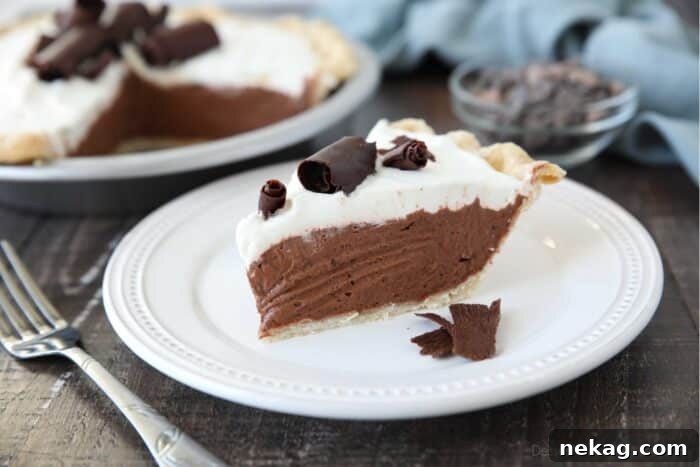
Mastering the Pie Crust: The Foundation of Flavor
For this delightful Chocolate Cream Pie, just like any other cream, lemon, or soft-filling pie, the key to success lies in properly blind baking the crust. This technique involves baking the empty pie shell on its own before adding the filling, which prevents it from becoming soggy and ensures a beautifully crisp and flaky base. If you’re using a store-bought crust, simply follow the specific baking instructions provided on the package for blind baking.
For those who wish to embark on the journey of a homemade, all-butter pastry crust, you’ll need just a few basic ingredients: all-purpose flour, a pinch of salt, cold unsalted butter, and ice-cold water. The full, printable recipe card with precise measurements is available at the bottom of this post, but here’s a breakdown of the process to achieve pie crust perfection:
- Begin by preparing your pie dough, ensuring it’s well mixed but not overworked. Once formed, flatten it into a disc, wrap it tightly in plastic wrap, and chill it in the freezer for about 15 minutes or the refrigerator for at least 30 minutes. This chilling step is vital for a tender, flaky crust.
- After chilling, roll out the dough on a lightly floured surface into a roughly 12-inch circle. Gently transfer the rolled dough into a 9-inch pie dish, carefully fitting it into the contours of the pan. Trim any excess crust around the edges and create a decorative crimped edge – this not only looks beautiful but also helps hold the pie together.
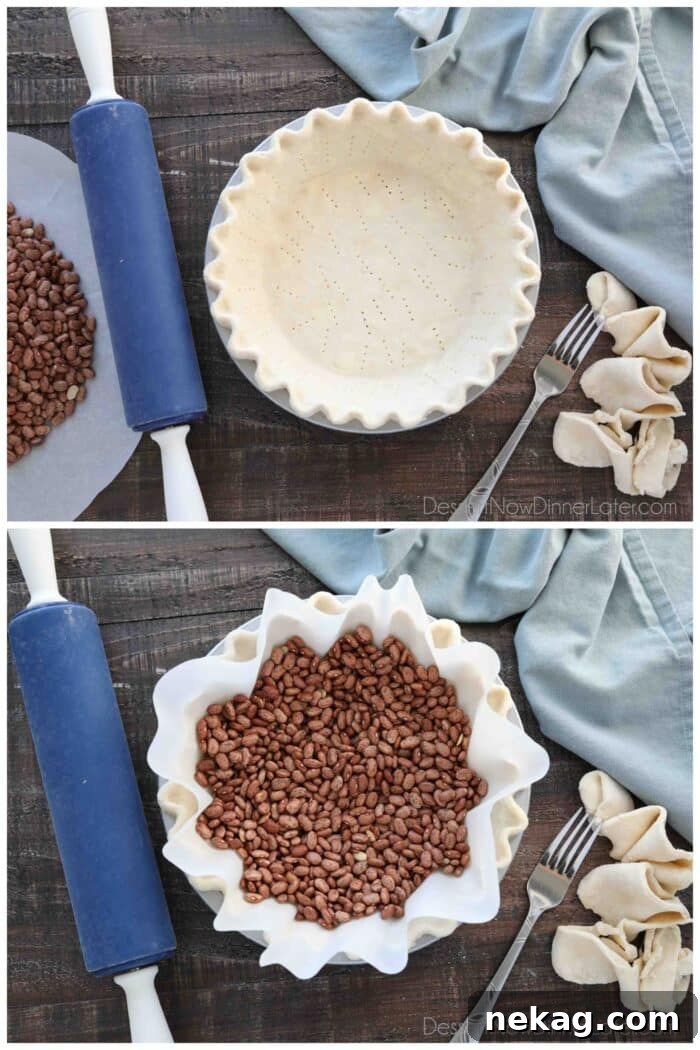
- Crucially, use a fork to thoroughly prick the bottom and sides of the crust. These small holes allow steam to escape during baking, preventing the crust from puffing up or shrinking excessively.
- To prevent the crust from bubbling and maintaining its shape during baking, line the inside of the raw pie shell with a piece of parchment paper. Then, fill it with raw, dry beans or pie weights (about ½ pound). These weights help to keep the crust flat and prevent the sides from collapsing. (Note: The beans used for blind baking should not be cooked and eaten afterward, but they can be saved and reused repeatedly for this specific purpose.)
- Preheat your oven to 350˚F (175˚C). Bake the weighted crust for 20 minutes. After this initial bake, carefully remove the parchment paper and the beans/pie weights. Return the crust to the oven and continue baking for another 12-15 minutes, or until the crust achieves a beautiful golden-brown color. Once baked, allow the pie crust to cool completely on a wire rack before adding any filling. A completely cooled crust is essential to prevent a watery or soggy bottom when you add your creamy chocolate filling.
Preparing the Divine Chocolate Cream Filling
The star of our Chocolate Cream Pie is its luxurious, velvety filling. Achieving the perfect texture is straightforward, whether you choose the homemade route or opt for instant convenience.
If you’re making your chocolate pudding from scratch, it’s best to prepare it well in advance. Allow ample time for it to chill thoroughly in the refrigerator until it is completely cold and firm. This pre-chilling ensures the best texture when combined with the whipped cream.
For the ultimate ease and speed, grab a large box of instant chocolate Jello pudding mix. The key to a thick, luscious filling for this pie is to use less milk than the package usually recommends for pudding. Specifically, mix the pudding powder with approximately half the amount of milk directed on the box for a standard pudding, or about one cup less than the amount specified for a pie filling. You’ll notice it will thicken very quickly to a dense, rich consistency – this is exactly what you want.
Next, prepare your whipped cream. In a clean, chilled bowl, whip heavy cream with powdered sugar until it forms stiff, billowy peaks. The colder your cream and bowl, the faster and more stable your whipped cream will be. Alternatively, for a truly effortless option, use an 8-ounce container of frozen whipped topping (like Cool Whip) that has been thawed in the refrigerator overnight until soft and spoonable. Both options will provide the airy lightness needed for our unique filling.
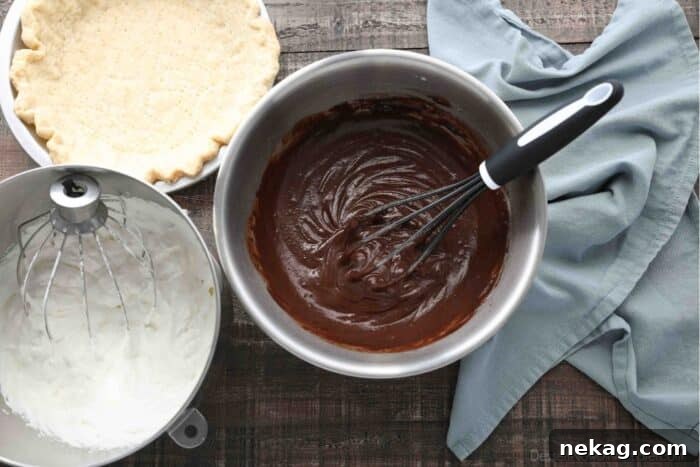
Assembling Your Decadent Chocolate Cream Pie
With your perfectly baked pie crust, rich chocolate pudding, and fluffy whipped cream ready, it’s time for the magic to happen – assembling your Chocolate Cream Pie. This is where the pie truly transforms into a bakery-style masterpiece, marrying flavors and textures in perfect harmony.
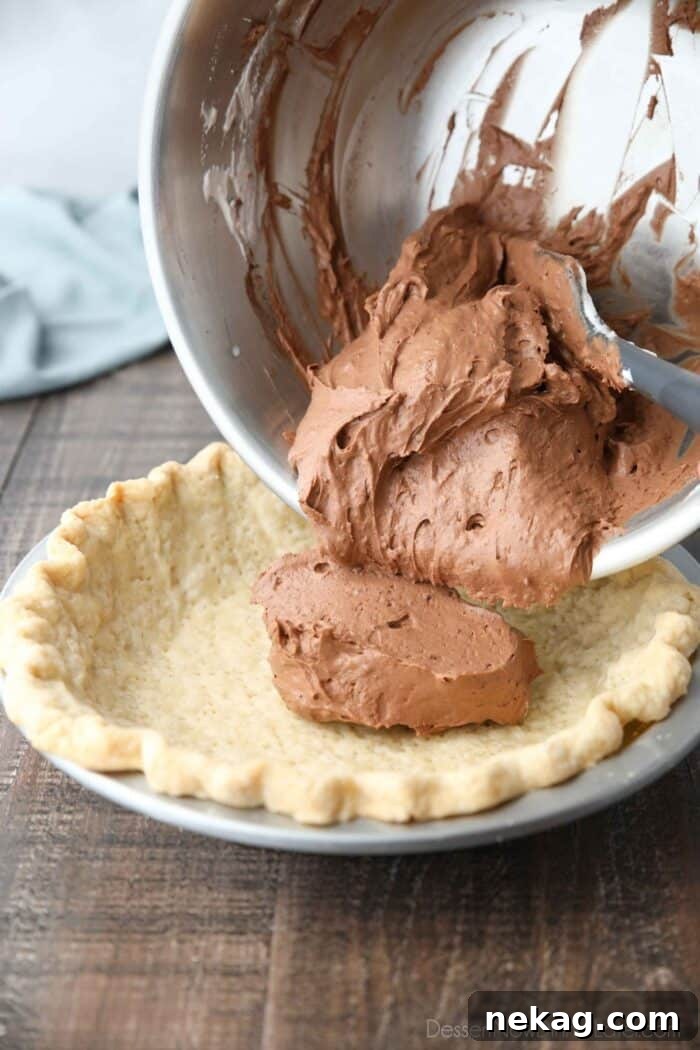
The crucial step to creating that signature “chocolate cream pie” texture is to gently fold half of your prepared whipped cream into the thickened chocolate pudding mixture. Use a spatula to carefully incorporate the whipped cream, ensuring the mixture remains light and airy. This blending creates a truly creamy and less dense filling than pudding alone.
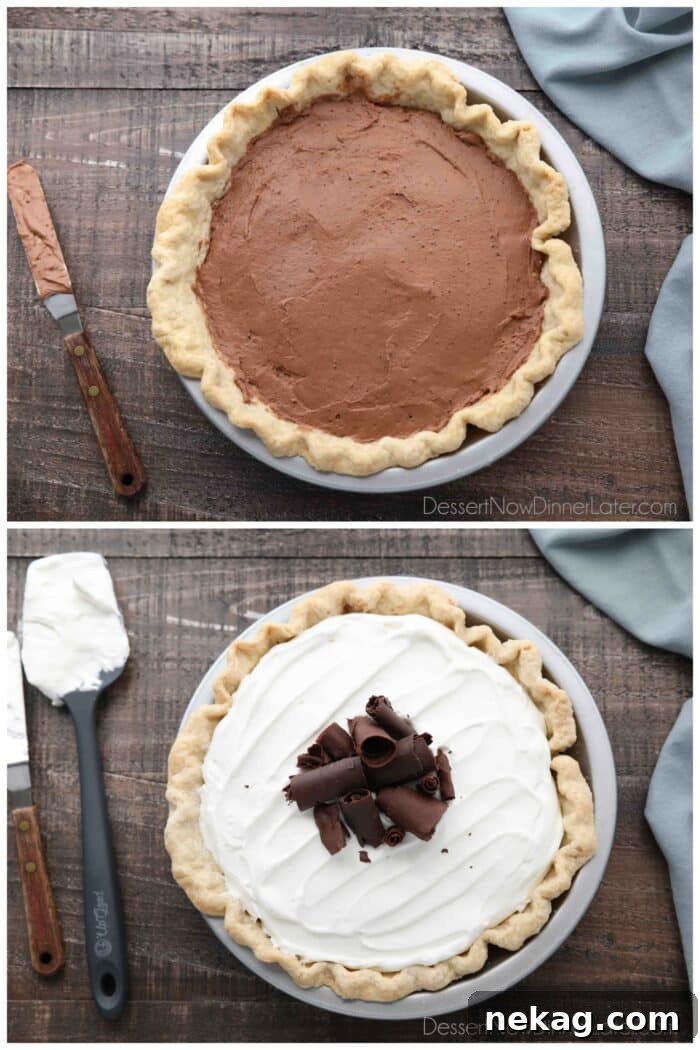
Once your luscious chocolate cream filling is ready, spoon it carefully into your completely cooled, pre-baked pie crust. Use your spatula to spread the filling evenly across the bottom, ensuring it reaches all the edges and forms a smooth, appealing layer.
Finally, take the remaining half of your sweetened whipped cream and spread it gracefully over the chocolate pudding layer. You can create soft swirls or gentle peaks for an elegant presentation. To complete your culinary artwork, generously top the pie with your choice of garnish: delicate chocolate curls, rustic chocolate shavings, or charming mini chocolate chips. Each adds a delightful textural contrast and an extra burst of chocolate flavor, making every bite a delight.
Serving and Storing Your Chocolate Cream Pie Like a Pro
Once assembled, your Chocolate Cream Pie is almost ready to delight! The serving and storage instructions vary slightly depending on whether you chose homemade or instant pudding for the filling.
If you opted for the convenience of instant pudding in your chocolate cream pie, you’ll be pleased to know that it can often be sliced and served almost immediately after filling and topping, if desired. The instant pudding sets up very quickly, providing a firm enough base for slicing.
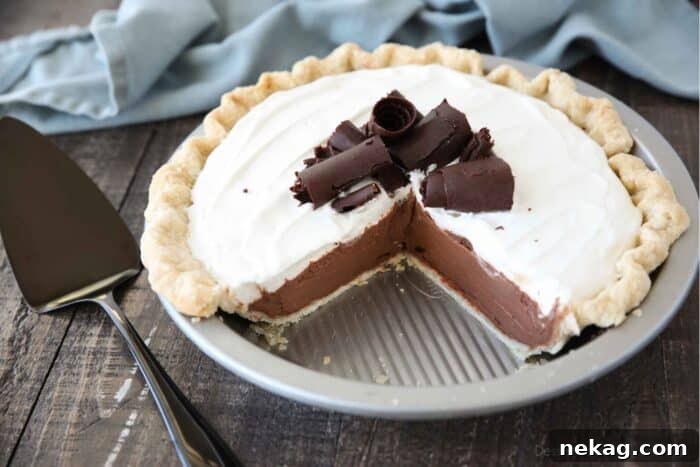
However, if your pie features a rich, homemade chocolate pudding, it’s highly recommended to chill the entire pie in the refrigerator for at least 4 hours, and ideally longer (even overnight), before attempting to slice and serve. This extended chilling period allows the homemade pudding to fully firm up, ensuring clean, beautiful slices and a superior texture.
For storing leftovers or making ahead, cover the pie tightly with plastic wrap and refrigerate it for up to 5 days. For longer preservation, this pie is also suitable for freezing. If freezing, I recommend doing so without the chocolate shavings or curls on top, as they can become soggy. Press plastic wrap directly onto the surface of the whipped cream layer to prevent freezer burn, then add a layer of aluminum foil over the entire pie or place it inside a freezer-safe bag for a second layer of protection. The pie can be frozen for up to 3 months. To enjoy after freezing, simply thaw the pie overnight in the refrigerator.
Frequently Asked Questions (FAQ) About Chocolate Cream Pie
Can I use a graham cracker crust instead of a pastry crust?
Absolutely! A pre-made graham cracker crust is a fantastic, no-bake option that adds a slightly different texture and flavor profile, complementing the chocolate perfectly. Just ensure it’s firm before adding the filling.
What kind of chocolate should I use for homemade pudding?
For homemade pudding, semi-sweet or dark chocolate chips or finely chopped baking chocolate work best. Adjust the sweetness level to your preference by using milk chocolate for a sweeter pie or a higher percentage dark chocolate for a more intense, less sweet flavor.
How can I prevent my pie crust from getting soggy?
Blind baking is the most crucial step! Ensure your crust is baked until golden brown and allowed to cool completely. Also, make sure your pudding and whipped cream are thoroughly chilled before assembly. Some people also brush a thin layer of melted white chocolate on the cooled crust before filling for an extra moisture barrier.
Can I make this pie ahead of time for a party?
Yes, this pie is an excellent make-ahead dessert. You can prepare it up to 24-48 hours in advance and store it covered in the refrigerator. For the best presentation, add the chocolate garnish just before serving.
Are there any dairy-free options for this pie?
Yes, you can substitute dairy milk with almond or soy milk for the pudding (ensure it’s instant pudding, as cooking dairy-free milk for homemade pudding can be tricky). For whipped cream, use a dairy-free whipped topping or whip chilled full-fat coconut cream (from a can, chilled overnight) with powdered sugar.
Explore More Decadent Pies for Every Occasion
- Classic Apple Pie Recipe
- Delightful Cherry Crumb Pie
- Creamy Blueberry Cream Cheese Pie
- Zesty Key Lime Pie Recipe
- Refreshing Frozen Berry Pie
- Easy Jello Coconut Cream Pie Recipe
- Tangy Lemon Cream Cheese Pie
- Vibrant Razzleberry Pie
- Homemade Blueberry Pie with Frozen Blueberries
- Festive Cranberry Apple Pie
- Indulgent Caramel Banana Cream Pie
- Bright Lemon Key Lime Pie
- Sweet Raspberry Pie
Chocolate Cream Pie
Pin
Rate
SaveSaved!
Ingredients
Pie Crust (or use 1 frozen pie crust)
- 1 ¼ cups (150 g) all-purpose flour
- ½ tsp salt
- ½ cup (113 g) unsalted butter, (1 stick)
- ¼ cup (59 ml) + ice cold water
Chocolate Pudding
- 5.85 oz (166 g) large box Instant Chocolate Pudding & Pie Mix
- 1 ½ cups (355 ml) milk, COLD
Whipped Cream (or use one 8oz tub Cool Whip)
- 1 ½ cups (355 ml) heavy cream
- 6 Tbsp powdered sugar
- Chocolate Bar for shavings or Mini Chocolate Chips
Equipment
-
9-Inch Pie Pan USA Pan Bakeware
-
Rolling Pin
-
Silicone Spatula Set
-
6-Quart Steel Mixing Bowl
-
Silicone Whisks
Instructions
Pie Crust:
-
Combine flour and salt in a large bowl. Cut in butter with a fork or pastry blender to small crumbs. Add water. Mix with hands until dough forms a ball, adding extra water 1 Tbsp at a time, if needed. Press dough into a flat disc, cover with plastic wrap and chill in freezer for 15 minutes or the refrigerator for 30 minutes.
-
Flour countertop and rolling pin. Unwrap pie crust. Roll from the center outwards and rotate the dough after a few rolls. Add extra flour underneath as necessary, so it doesn’t stick to the counter. Continue rolling and rotating the crust until the dough is about ¼” thick, and nice and round.
-
Gently fold crust in half and lift into a 9-inch pie dish. Unfold crust and shape to pan. Cut off excess crust and crimp edges. Prick crust on bottom and sides with a fork. Place a round piece of parchment inside the crust and fill with raw, dry beans.
-
Bake crust at 350 degrees Fahrenheit for 20 minutes. Remove parchment paper and beans and bake for 12-15 minutes more or until golden brown. Cool completely.
Chocolate Pudding:
-
In a bowl, combine chocolate pudding mix and milk. Will thicken quickly. Set aside.
Whipped Cream:
-
In the bowl of a stand mixer with the whisk attachment beat the heavy cream and powdered sugar until stiff peaks form.
Assembly:
-
Fold half of the whipped cream into the chocolate pudding mixture. Empty chocolate filling into baked crust and spread evenly with a spatula.
-
Top with remaining whipped cream and decorate with chocolate shavings or mini chocolate chips.
-
You should be able to serve almost immediately. If you want to, you can refrigerate the chocolate cream pie for 30-60 minutes before serving, but the filling should be thick enough that it doesn’t necessarily need that time to set up. Enjoy!
Video
Watch our Chocolate Cream Pie video tutorial here!
Notes
- For frozen pie crust, bake empty shell according to directions on package. Allow to cool completely before filling.
- For homemade chocolate pudding, refrigerate pie for 4+ hours after assembling to ensure it sets properly.
- For delicate chocolate curls, follow this detailed tutorial. Alternatively, use a vegetable peeler on a chocolate bar for easy shavings.
- For using Cool Whip: Ensure the frozen whipped topping is thawed completely in the refrigerator overnight before use.
Nutrition
Disclaimer: Nutritional values were calculated using a third-party tool and are provided as an estimation only.
Sharing this recipe with a link is both encouraged and appreciated. Copying/pasting and/or screenshots of full recipes to any social media is strictly prohibited. Content and photographs are copyright protected.
Did you make this?
Don’t forget to leave a rating below and make sure to follow on Pinterest and Instagram for more delicious inspiration!
*Originally published 9/7/12, this recipe has been updated and expanded for clarity and enhanced instructions.