
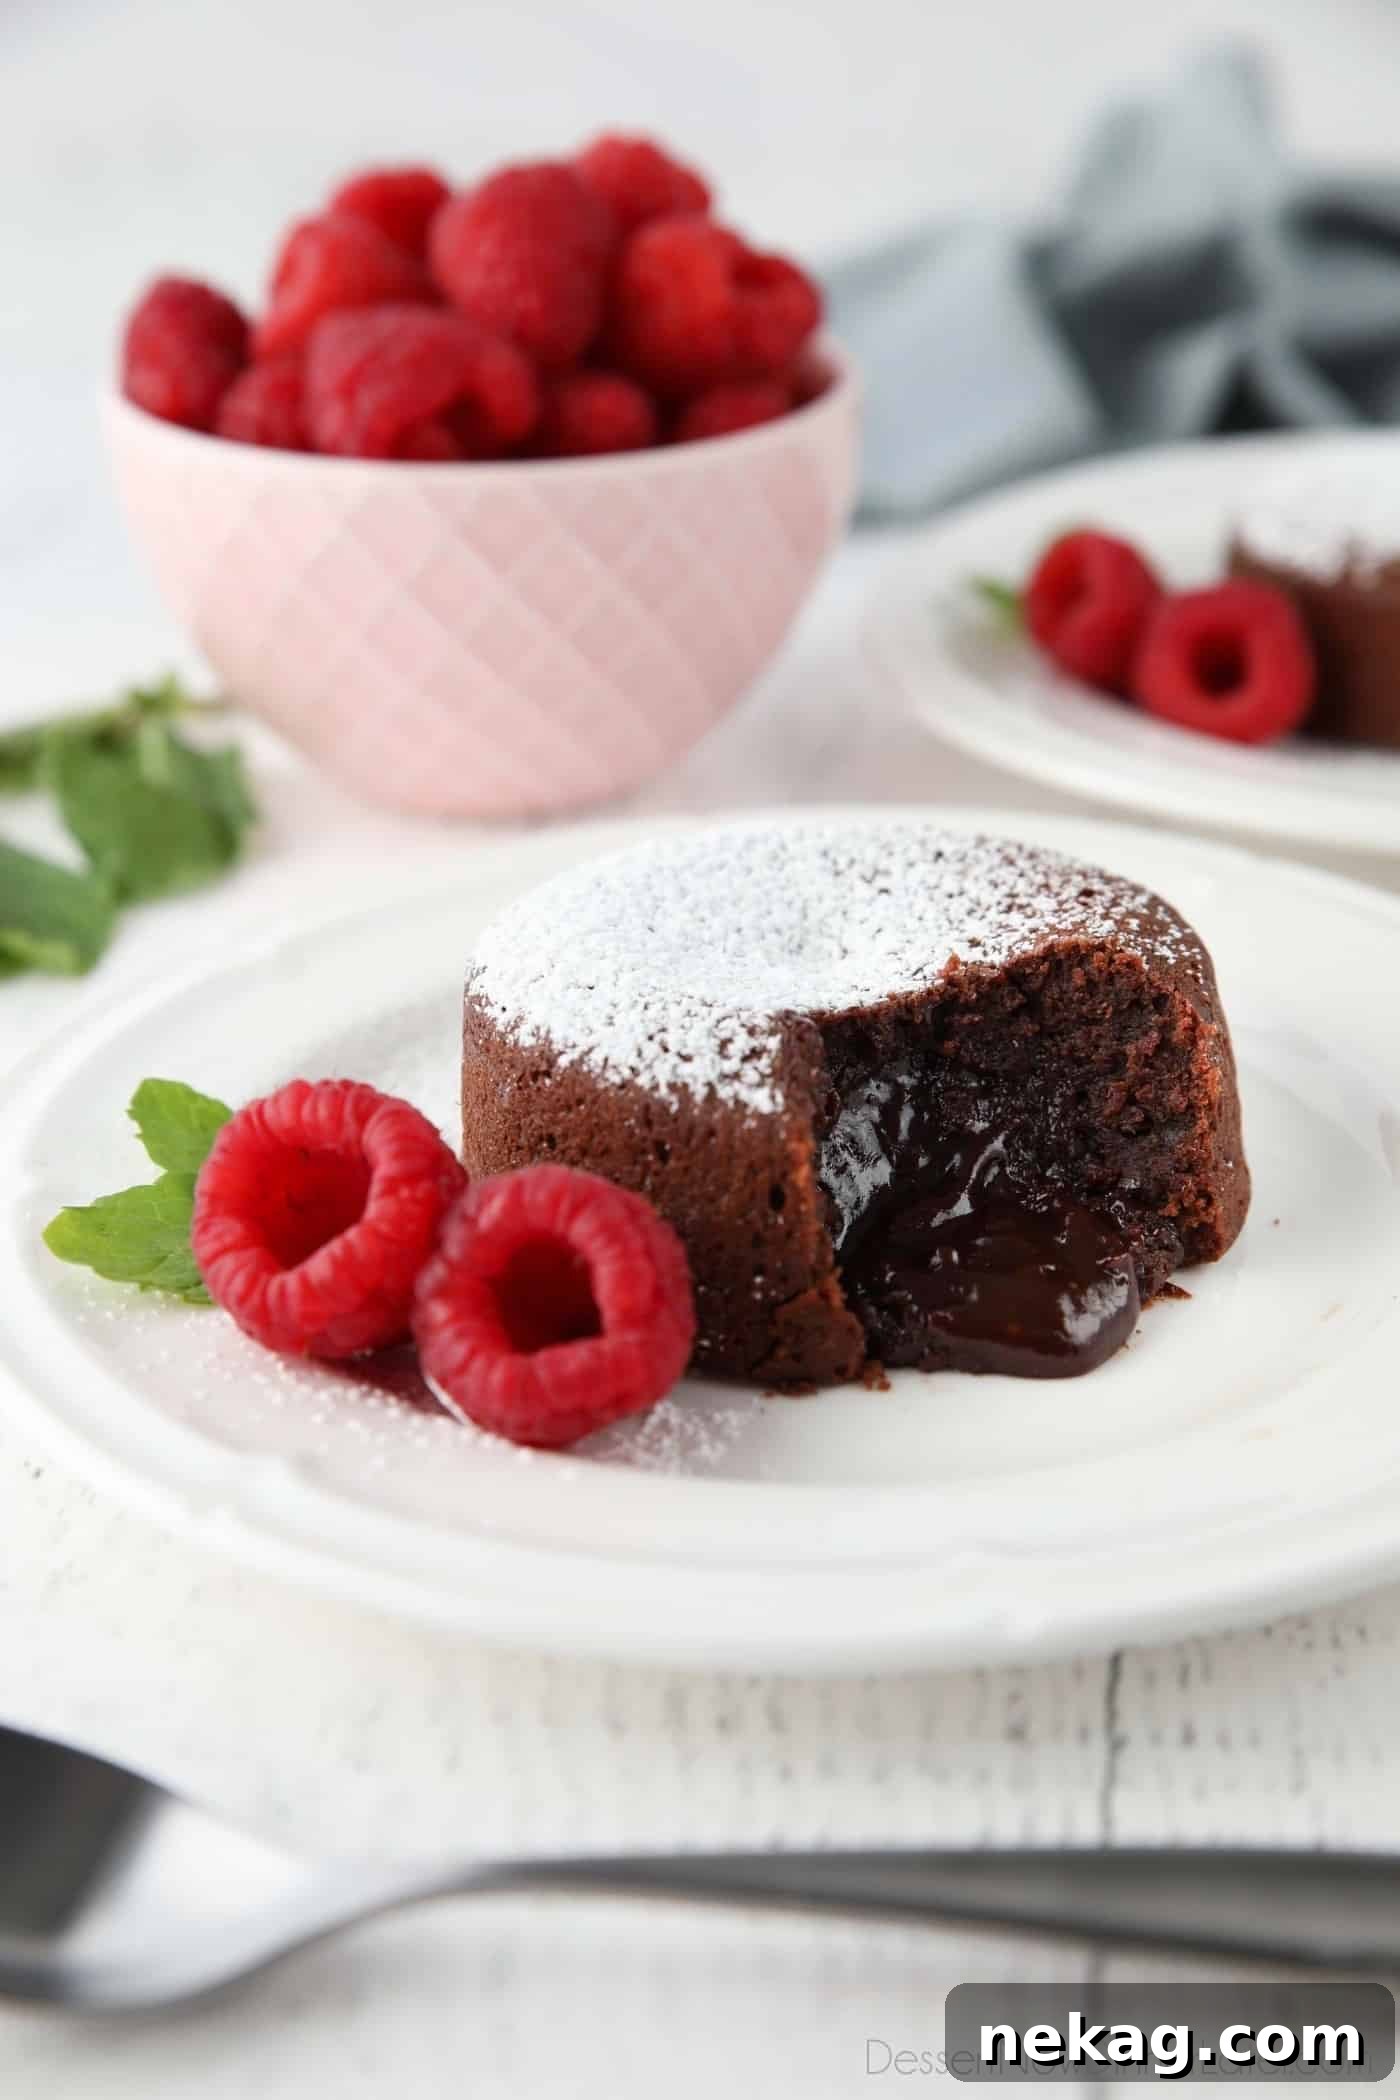
Indulge in the ultimate chocolate fantasy with this incredibly quick and easy Molten Chocolate Lava Cake Recipe. Crafted with readily available semi-sweet chocolate chips and thoughtfully designed with no added granulated sugar, these individual desserts promise a rich, decadent experience. Each mini cake features a perfectly crisp exterior that gives way to a thick, gooey, pudding-like center, making it an irresistible treat that can even be prepared ahead of time for effortless entertaining.
While these individual lava cakes offer a delightful single-serving experience, those seeking a larger, family-sized dessert might enjoy a classic Hot Fudge Pudding Cake, baked in a single pan for a similarly comforting, warm chocolate treat.
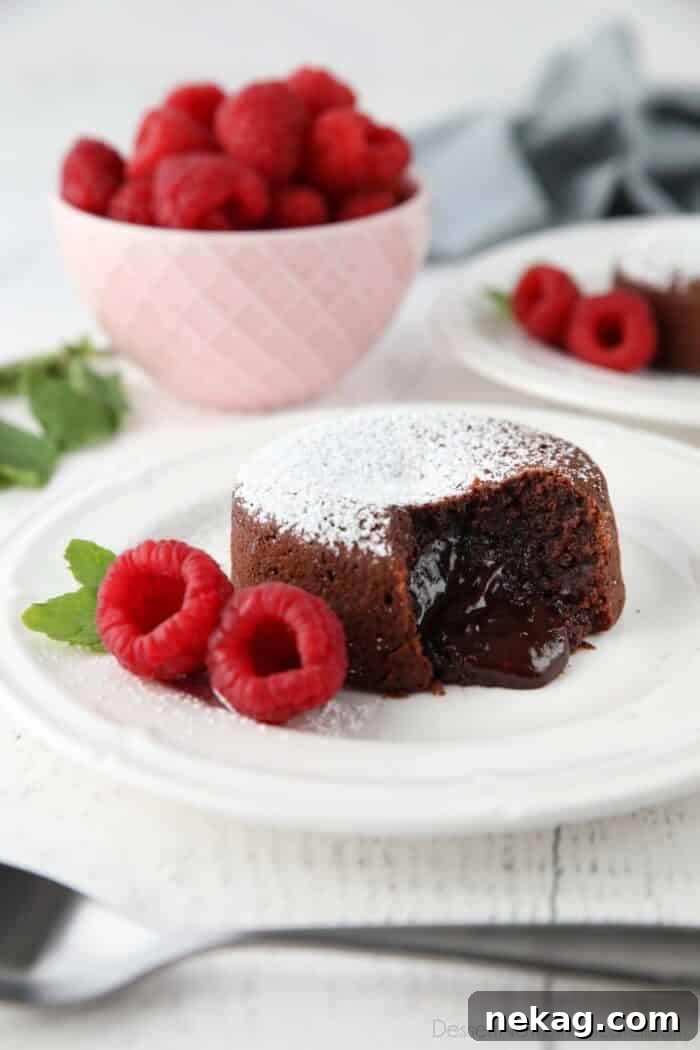
Discover the Best Molten Chocolate Lava Cake Recipe
Boldly declaring this as the BEST molten lava cake recipe might seem audacious, but its exceptional qualities truly set it apart. Here’s why this recipe stands out as a superior choice for both novice and experienced bakers:
- Effortless Preparation with Chocolate Chips: Say goodbye to tedious chocolate chopping! This recipe smartly utilizes semi-sweet chocolate chips, streamlining the melting process and significantly cutting down on preparation time. This small change makes a big difference in ease.
- Naturally Sweetened: Leveraging the inherent sweetness of quality semi-sweet chocolate chips, this recipe requires no additional granulated sugar. The balance is perfectly achieved, resulting in a rich, satisfying chocolate flavor that isn’t overly sweet, allowing the true essence of the chocolate to shine.
- Minimal Ingredients: With a concise list of just 7 common pantry staples, you likely already have everything you need on hand. This simplicity ensures a fuss-free baking experience without the need for special grocery runs.
- Ideal for Make-Ahead Convenience: Planning a dinner party or a romantic evening? This recipe is incredibly versatile as a make-ahead dessert. Prepare the batter in advance, refrigerate it, and bake only when you’re ready to serve, ensuring freshly baked perfection every time. This flexibility makes it a host’s dream!
Understanding Molten Chocolate Cake: A Culinary Delight
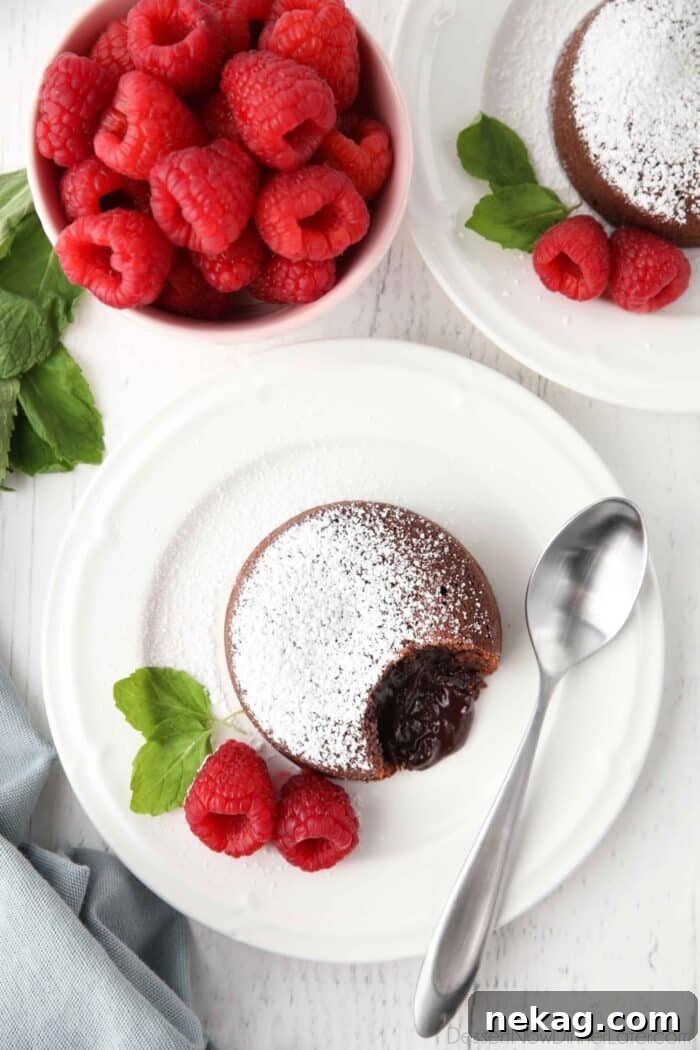
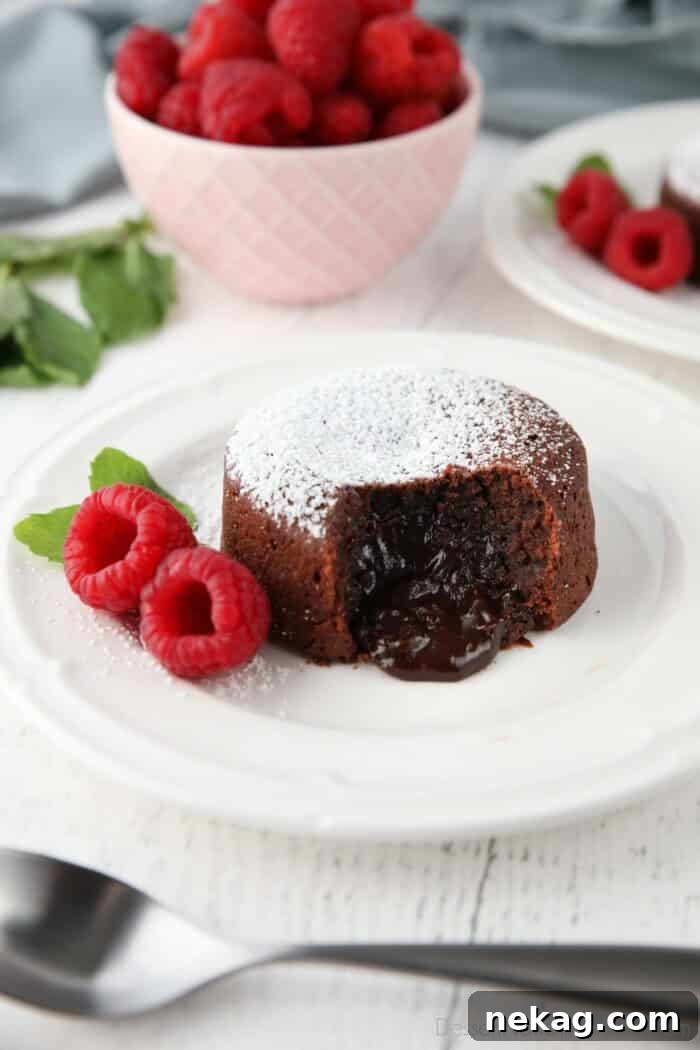
The molten chocolate cake, often simply called lava cake, is a dessert marvel that masterfully blends the rich density of a classic chocolate cake with the delicate, airy quality of a soufflé. Its captivating name derives from its signature feature: a lusciously liquid chocolate center that “erupts” when the cake is cut into. This dramatic presentation, combined with its profound chocolate flavor, has cemented its status as a highly sought-after dessert across the globe.
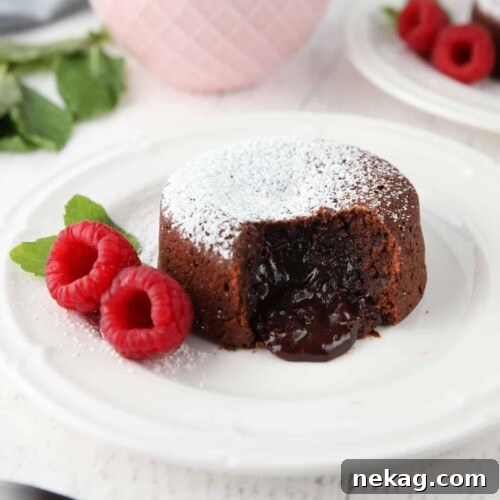
This particular chocolate lava cake recipe excels by delivering chewy, brownie-like edges that provide a delightful textural contrast to its thick, fudgy, and utterly irresistible pudding-like core. It’s a symphony of textures and flavors that truly defines indulgence.
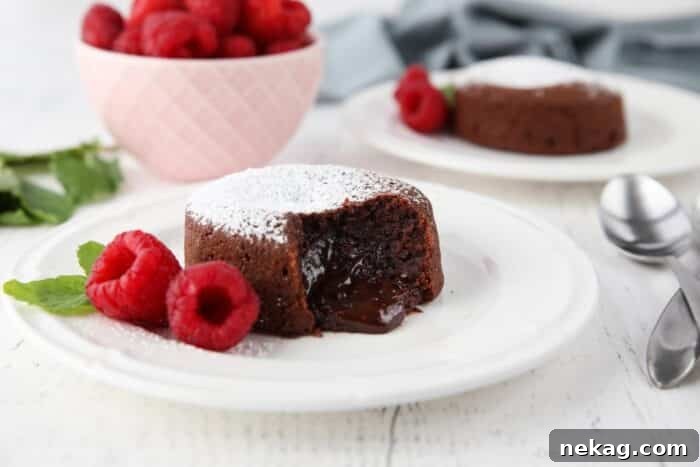
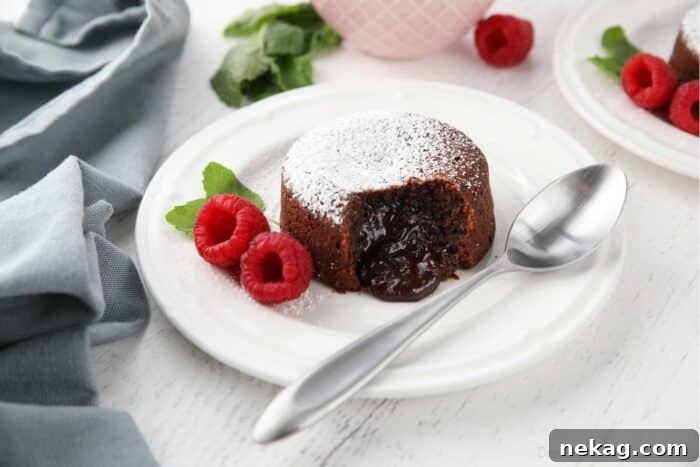
For the ultimate experience, these cakes are best enjoyed warm. A generous scoop of creamy vanilla ice cream melting into the warm chocolate is a classic pairing that enhances the richness. Alternatively, to balance the deep chocolate notes, consider serving it with tart fresh fruits like raspberries. The bright acidity of the berries provides a refreshing counterpoint to the decadent sweetness, creating a more complex and satisfying flavor profile.
Essential Ingredients for Perfect Lava Cakes
This recipe is designed to yield 4 decadent individual chocolate lava cakes, making it perfect for a small gathering or a special treat. If you’re planning a romantic dinner for two, the recipe can be easily halved to create a perfectly portioned dessert. Each ingredient plays a crucial role in achieving the signature texture and flavor:
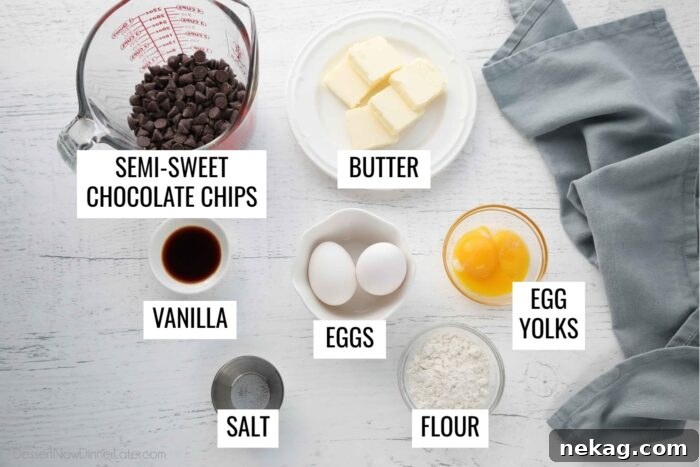
- Semi-Sweet Chocolate Chips: The cornerstone of this dessert. We specifically recommend semi-sweet chocolate chips because they offer a balanced sweetness and deep cocoa flavor without needing any additional sugar in the batter. This also eliminates the need for chopping chocolate bars, saving you time and effort. For the best results, opt for a high-quality brand that lists cocoa butter as an ingredient, as this contributes to a smoother melt and richer taste, superior to those made primarily with palm oil.
- Unsalted Butter: Using unsalted butter allows you to precisely control the overall saltiness of your cake. It adds essential richness and moisture, contributing to the cake’s tender crumb and fudgy center. Cut it into tablespoons for even melting.
- Vanilla Extract: A crucial flavor enhancer, vanilla extract beautifully complements and deepens the chocolate notes, adding a layer of aromatic complexity to the cake.
- Salt: Just a pinch of salt is vital. It doesn’t make the cake salty but rather cuts through the sweetness of the chocolate, enhancing all the other flavors and preventing the dessert from being cloyingly sweet.
- Eggs (Whole Eggs + Yolks): The combination of whole eggs and extra egg yolks is key. The whole eggs provide structural integrity to the cake, helping it hold its shape as it bakes. The additional egg yolks contribute significantly to the cake’s luxurious richness and are instrumental in creating that desired thick, pudding-like, molten center.
- All-Purpose Flour: Only a small amount of all-purpose flour is used. Its primary function is to provide just enough structure to the cake, ensuring it sets around the edges while maintaining its signature gooey interior. Remember to stir, spoon, and level the flour for accurate measurement.
Simple Steps to Make Perfect Chocolate Lava Cake
Creating these divine chocolate lava cakes is surprisingly straightforward. Follow these simple instructions for a dessert that looks and tastes gourmet:
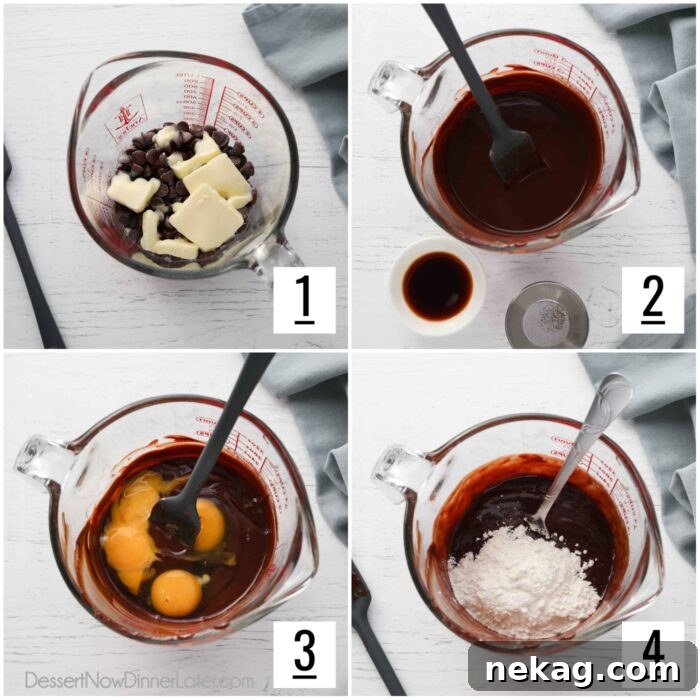
- Melt the Chocolate and Butter: In a large glass measuring cup (ideally one with a spout for easy pouring), combine the semi-sweet chocolate chips and cubed unsalted butter. Microwave in 30-second intervals, stirring well after each, until the mixture is completely melted and smooth. This gentle melting process prevents the chocolate from seizing.
- Incorporate Flavorings: Stir the vanilla extract and salt into the melted chocolate mixture. Ensure they are well combined.
- Add Eggs: Whisk in the whole eggs and egg yolks with a fork until just combined. Be careful not to overmix at this stage; gentle incorporation is key to maintaining a tender cake.
- Fold in Flour: Gently stir in the all-purpose flour until no streaks remain. Again, avoid overmixing to prevent a tough cake texture.
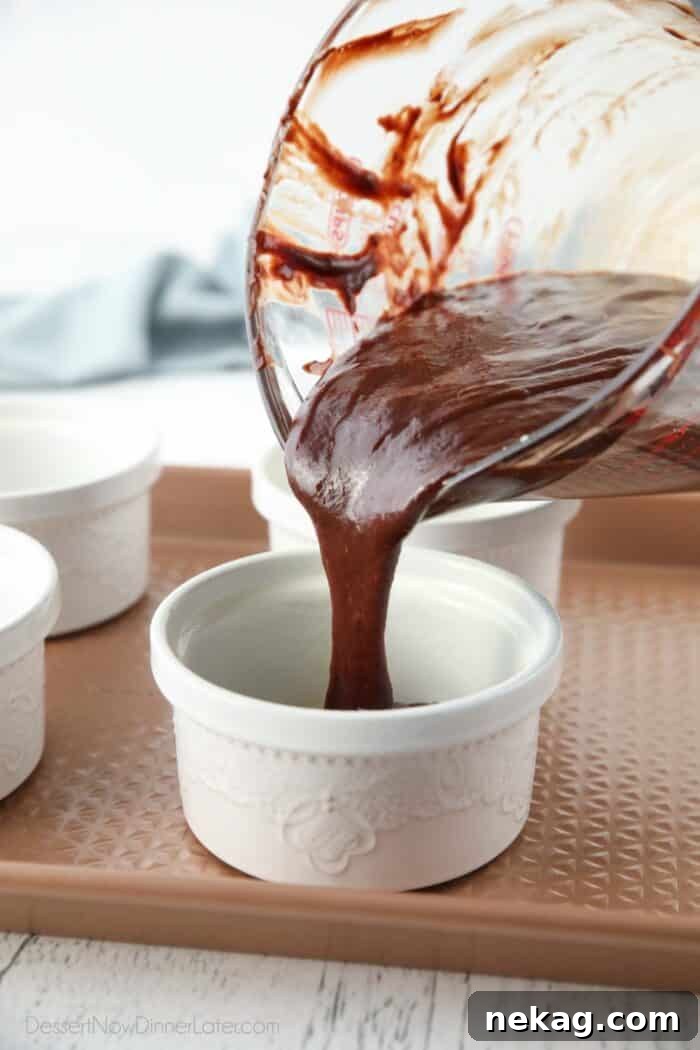
- Prepare for Baking: Pour the luscious batter evenly into your prepared ramekins, filling each about two-thirds full.
- Bake to Perfection: Place the filled ramekins on a baking sheet and bake according to the recipe instructions, keeping a close eye on the cooking time to ensure that signature molten center.
Mastering Ramekin Preparation for Flawless Lava Cakes
Achieving the perfect presentation for your molten lava cakes often hinges on one critical step: properly preparing your ramekins. The goal is to ensure the cakes release cleanly and beautifully in one piece, revealing their stunning form. While baking cakes generally requires greasing and flouring the pan, chocolate cakes benefit from a specific technique to avoid a dull, chalky exterior.
For most cakes, a dusting of flour over the greased surface is sufficient. However, for dark chocolate desserts like lava cakes, using cocoa powder instead of flour is highly recommended. Cocoa powder blends seamlessly with the dark color of the cake, preventing any unsightly white residue and maintaining its rich, appealing appearance. Simply grease your ramekins thoroughly with butter or shortening, then dust with cocoa powder, tapping out any excess.
Cooking Spray vs. Baking Spray: A Practical Comparison
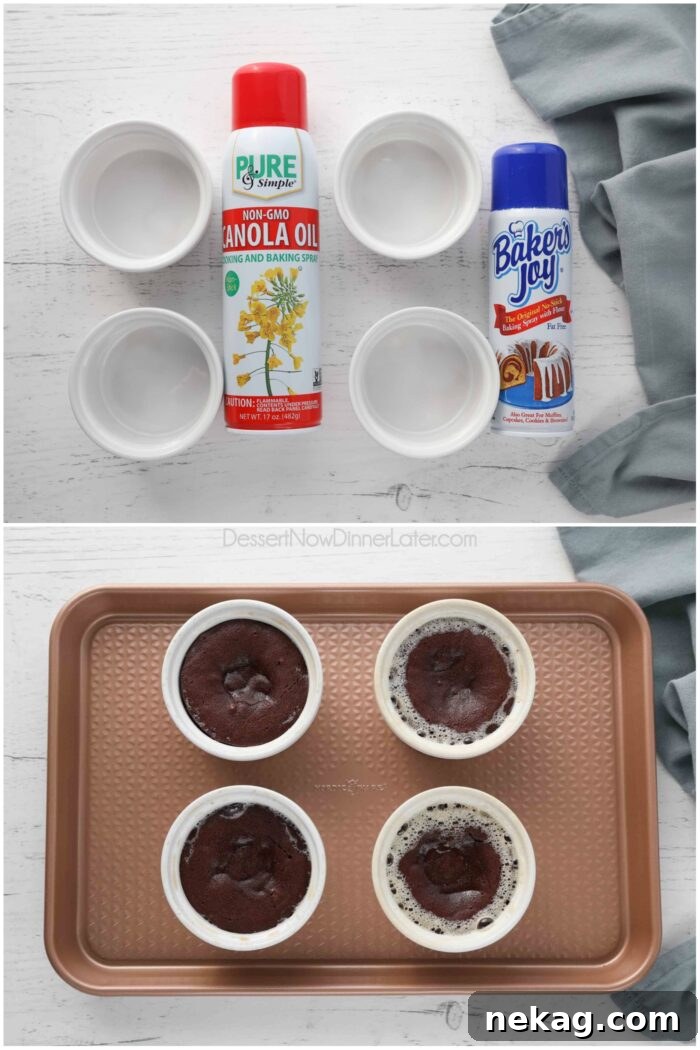
In the quest for simplicity and efficiency in preparing these easy chocolate lava cakes, a direct comparison between regular cooking spray and baking spray (which contains flour) was conducted. The results were quite telling:
Both types of sprays facilitated the cakes’ release from the ramekins equally well, preventing sticking. However, the baking spray, due to its flour content, caused some bubbling during baking and left a slight, noticeable film on the outside of the finished cakes. This detracted slightly from their pristine appearance.
Our definitive recommendation: Opt for regular cooking spray. There’s no need for the extra step of dusting with cocoa powder or flour when using cooking spray, as it provides sufficient non-stick properties without affecting the cake’s aesthetics. This keeps the process quick, clean, and ensures your lava cakes look as good as they taste.
Mastering the Art of Doneness: Achieving the Perfect Lava Cake
The defining characteristic and ultimate allure of a molten lava cake is its liquid center. While the cake might appear under-baked at first glance, it is intentionally so to create that coveted molten core. Rest assured, the internal temperature still reaches a safe 160ºF, making it perfectly safe to eat and enjoy.
Lava cakes are notoriously easy to over-bake, which can quickly turn a glorious molten center into a fully cooked, fudgy cake. To prevent this common pitfall, it is highly advisable to conduct a test batch before baking for guests or a special occasion. This will help you calibrate your oven and baking time to achieve your desired level of gooeyness.
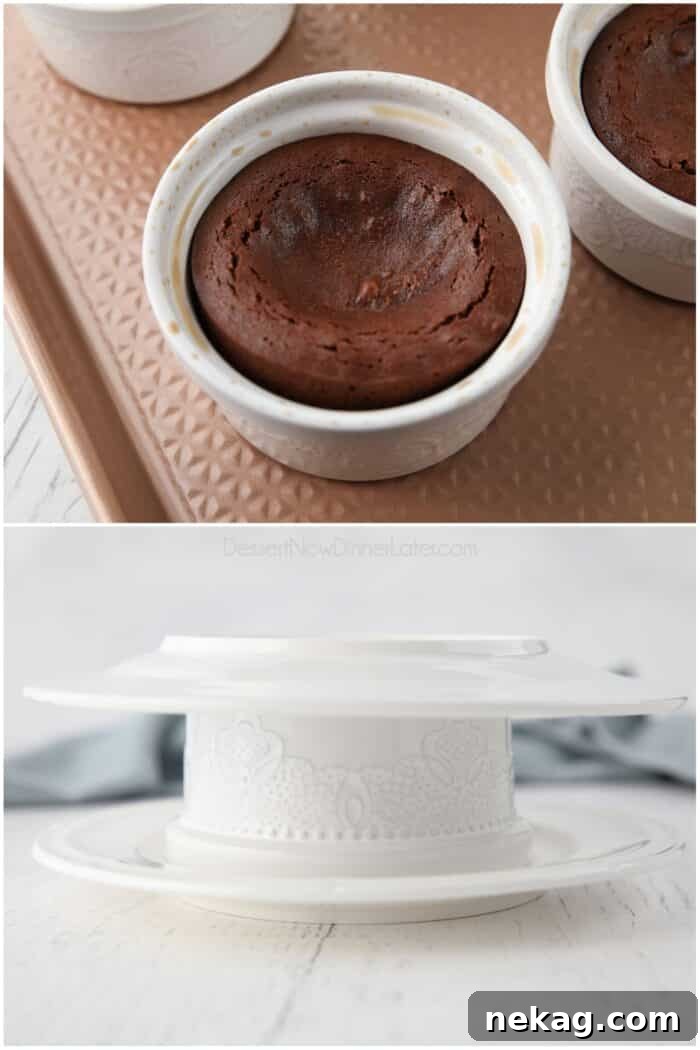
You’ll know your lava cakes are perfectly baked when the edges are visibly set and firm, but the middle still appears slightly sunken and jiggly. This contrast in texture is the tell-tale sign of a molten interior waiting to be discovered.
This chocolate lava cake recipe typically bakes in a swift 8-10 minutes. However, precise baking time can vary based on several factors: the unique calibration of your oven, and the initial temperature of your batter (e.g., whether it’s freshly mixed and at room temperature, or has been refrigerated beforehand). Always keep a close watch during the final minutes of baking.
The Critical Step: Inverting Your Chocolate Lava Cakes
To guarantee that coveted melted center, it’s crucial to invert your chocolate lava cakes almost immediately after they emerge from the oven. This timing is essential to account for “carry-over cooking” – the phenomenon where food continues to cook from its residual heat even after being removed from the heat source. If left in the hot ramekin to cool, the cake will continue to bake, and you risk losing that beautifully soft, molten core.
The easiest and safest way to invert the ramekins without any mishaps is as follows:
- Prepare Your Plates: Have your heat-safe serving plates ready and within reach.
- Position the Ramekin: Place one hot ramekin directly on top of a heat-safe serving plate.
- Secure and Flip: Carefully place another heat-safe plate (or a small cutting board) on top of the ramekin. While firmly squeezing the two plates together to prevent the ramekin from sliding, swiftly flip the entire assembly over.
- Remove the Ramekin: With the cake now inverted on the serving plate, gently lift the empty ramekin off. It should slide off cleanly, leaving your perfectly formed lava cake ready to enjoy. This method minimizes the need for hot pads, making the process smoother and safer.
Expert Tips and Frequently Asked Questions (FAQs)
Mastering molten lava cakes is easier with a few insider tips and answers to common queries:
Can I make molten lava cakes ahead of time? Absolutely! This is one of the recipe’s best features for entertaining. Simply prepare the batter and pour it into your greased ramekins. Cover the filled ramekins tightly with plastic wrap or aluminum foil and refrigerate them for up to one day before baking. This allows you to bake fresh, warm lava cakes on demand.
How long should I bake chocolate lava cakes? Because oven temperatures can vary significantly, the exact baking time is crucial for achieving the perfect molten center. We highly recommend conducting a test batch before serving these to guests. Start by taking one ramekin out of the oven every minute, beginning at 7 minutes (then 8, 9, and 10 minutes). This personal trial will help you pinpoint the ideal bake time for your specific oven and desired gooeyness. Remember, the cakes are done when the edges are set and firm, but the centers are still visibly sunken and soft. Always invert the cakes immediately after baking to prevent them from continuing to cook in the hot ramekins.
What can I use if I don’t have ramekins for lava cakes? No ramekins? No problem! A standard muffin pan is an excellent substitute. Be sure to thoroughly grease each muffin cup to ensure the cakes release easily. Since muffin cups are typically smaller than ramekins, you’ll likely yield 6 lava cakes instead of 4, and the baking time will be slightly shorter. Begin checking for doneness around 6 minutes. Once baked, use a spoon to carefully release the cakes from the muffin pan and place them upside down on individual serving plates.
How do you heat up molten lava cakes? While these cakes are truly at their best served immediately from the oven, you can reheat them for a delicious encore. Place an individual cake in the microwave for 20-30 seconds, depending on your microwave’s power. This will warm it through, though it may not be quite as dramatically gooey in the center as a freshly baked one.
Flavor Variations to Explore
- Espresso Boost: Add ½ teaspoon of instant espresso powder to the chocolate mixture to intensify the chocolate flavor without adding a coffee taste.
- Zesty Orange: Stir in ½ teaspoon of orange zest with the vanilla for a bright, citrusy note that pairs wonderfully with chocolate.
- Spiced Indulgence: A pinch of cayenne pepper (⅛ teaspoon) can add a subtle, warming kick that enhances the depth of the chocolate.
Troubleshooting Common Lava Cake Issues
- Cakes sticking to ramekins: Ensure you’ve thoroughly greased your ramekins, especially the sides, and consider using cooking spray for reliability.
- No molten center: This usually means the cake was overbaked. Test your oven and reduce baking time slightly. Remember, the center should look underdone.
- Cakes don’t rise: Ensure your baking powder/soda (if used in other recipes, though not this one) is fresh, and don’t overmix the batter once flour is added, as this can develop gluten and make cakes dense.
More Delicious Individual Dessert Ideas
If you love the convenience and charm of single-serving desserts, explore these other fantastic options:
- Magic Lemon Pudding Cake
- Microwave Cookie
- Mini Red Velvet Cheesecakes
- Apple Crisp For One
- Skillet Brownies (from box mix)
- Red Velvet Pizookie
Chocolate Lava Cake Recipe
Mini chocolate cakes with a molten chocolate center.
Created by Amber Brady
Prep: 5 mins | Cook: 10 mins | Total: 15 mins
Yields: 4 servings
Pin Recipe
Rate This Recipe
Save Recipe
Ingredients
- 1 cup (170 g) semi-sweet chocolate chips
- 5 Tbsp (71 g) unsalted butter, cut into Tablespoons
- 1 tsp vanilla extract
- ⅛ tsp salt
- 2 large eggs
- 2 egg yolks
- ¼ cup (30 g) all-purpose flour, (stir, spoon & level)
Equipment
- Glass Measuring Cup Set
- 6 oz Porcelain Ramekins
Instructions
- Preheat oven to 450 degrees Fahrenheit. Spray four 6-oz ramekins generously with regular cooking spray. Set aside.
- Melt chocolate chips and butter together inside of a large glass measuring cup with a spout. Microwave in 30-second increments, stirring until completely melted and smooth.
- Add vanilla extract and salt to the chocolate mixture. Stir thoroughly. Mix in the whole eggs and egg yolks with a fork until just combined, being careful not to overmix.
- Gently stir in the all-purpose flour until no dry streaks of flour remain in the batter.
- Pour the prepared batter into the greased ramekins, filling each approximately two-thirds full.
- Place the filled ramekins on a sturdy sheet tray and bake in the preheated oven at 450˚F for 8-10 minutes. Do not exceed this time. The lava cakes are ready when the edges are set and firm, but the middle still appears soft and slightly sunken.
- Carefully invert the hot cakes onto individual serving plates immediately after removing them from the oven. Dust with powdered sugar for an elegant finish and serve without delay. These cakes pair wonderfully with fresh raspberries or a scoop of creamy vanilla ice cream.
Notes
- To make ahead: Prepare the batter and fill the ramekins. Cover them tightly with plastic wrap or foil and refrigerate for up to one day. Bake straight from the fridge, adding a minute or two to the bake time if needed.
- If you don’t have ramekins: A muffin pan can be used. Grease the cups well. You’ll get about 6 smaller cakes, and the bake time will be reduced. Start checking for doneness at 4 minutes. Carefully spoon them out and invert onto plates.
- How to Invert the Cakes: Place a hot ramekin on your serving plate. Place another heat-safe plate on top of the ramekin and quickly flip the entire stack over, holding the plates firmly together. Remove the top plate, then carefully lift the ramekin off the cake using a hot pad.
- To re-heat: For a quick reheat, place the cake in the microwave for 20-30 seconds. While still delicious, the center may be less gooey than when freshly baked.
Nutrition Information
Serving: 1 cake
Calories: 431 kcal
Carbohydrates: 34g
Protein: 7g
Fat: 32g
Saturated Fat: 18g
Polyunsaturated Fat: 12g
Cholesterol: 223mg
Sodium: 116mg
Fiber: 3g
Sugar: 24g
Disclaimer: Nutritional values were calculated using a third-party tool and are provided as an estimation only.
Sharing this recipe with a link is both encouraged and appreciated. Copying/pasting and/or screenshots of full recipes to any social media is strictly prohibited. Content and photographs are copyright protected.
Did you make this?
Don’t forget to leave a rating below and make sure to follow on Pinterest and Instagram for more delicious recipes!