
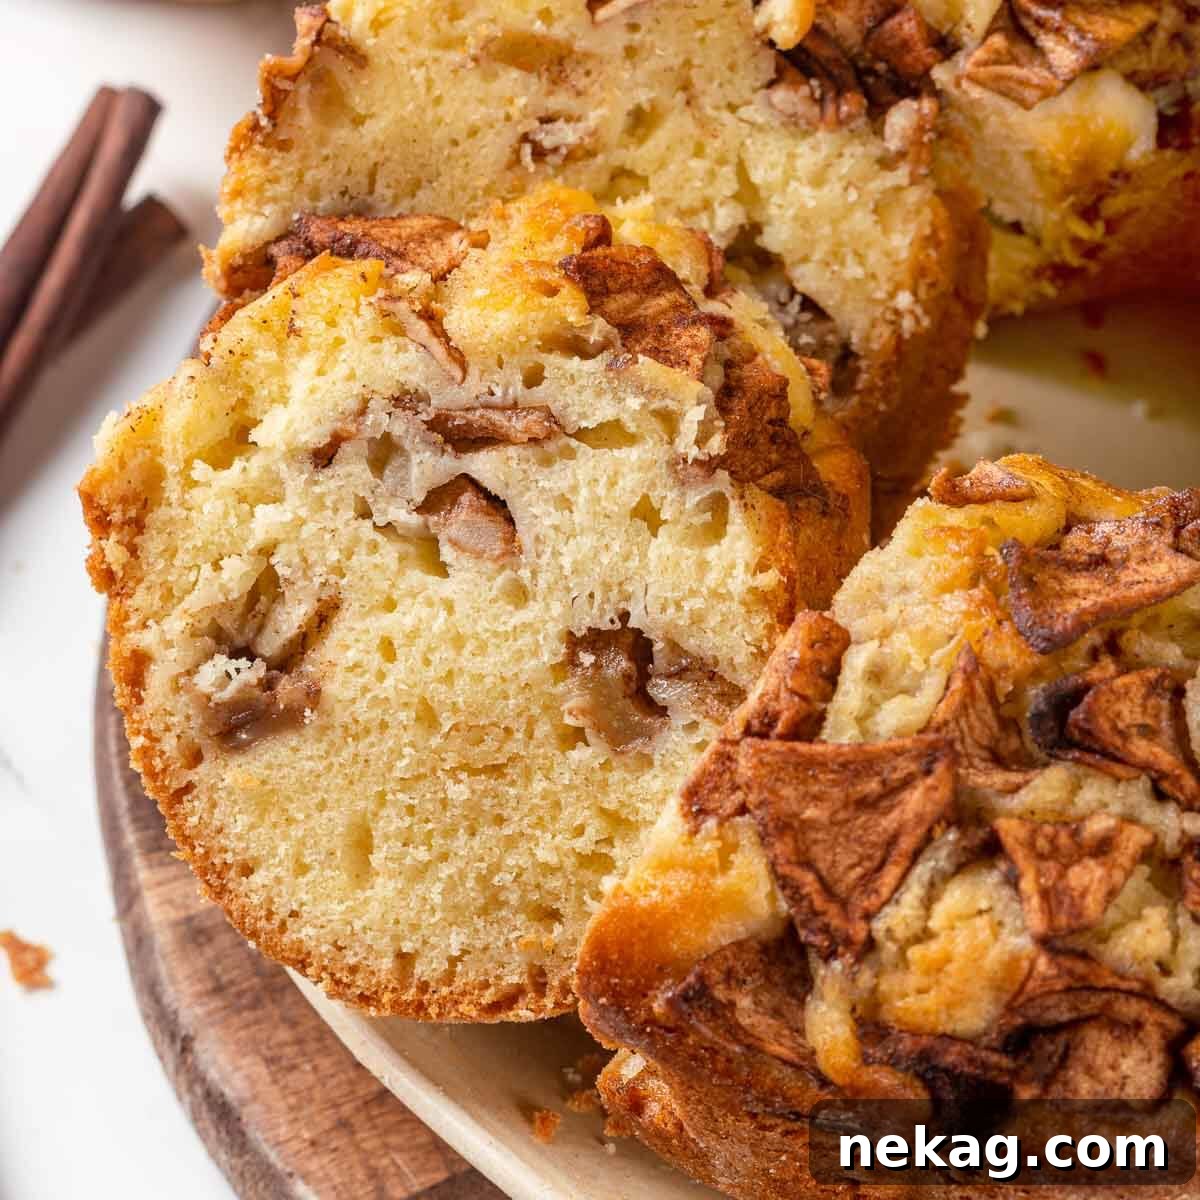
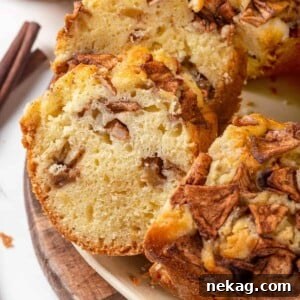
Welcome to a cherished family classic: my grandmother’s recipe for the most incredibly moist and tender Jewish Apple Cake. This delightful dessert features a rich vanilla-orange flavored batter, beautifully contrasted with abundant layers of cinnamon-sugared apples throughout. What makes this recipe truly special isn’t just its unforgettable taste, but also its sheer simplicity – it’s an easy, one-bowl wonder that comes together effortlessly with just a whisk.
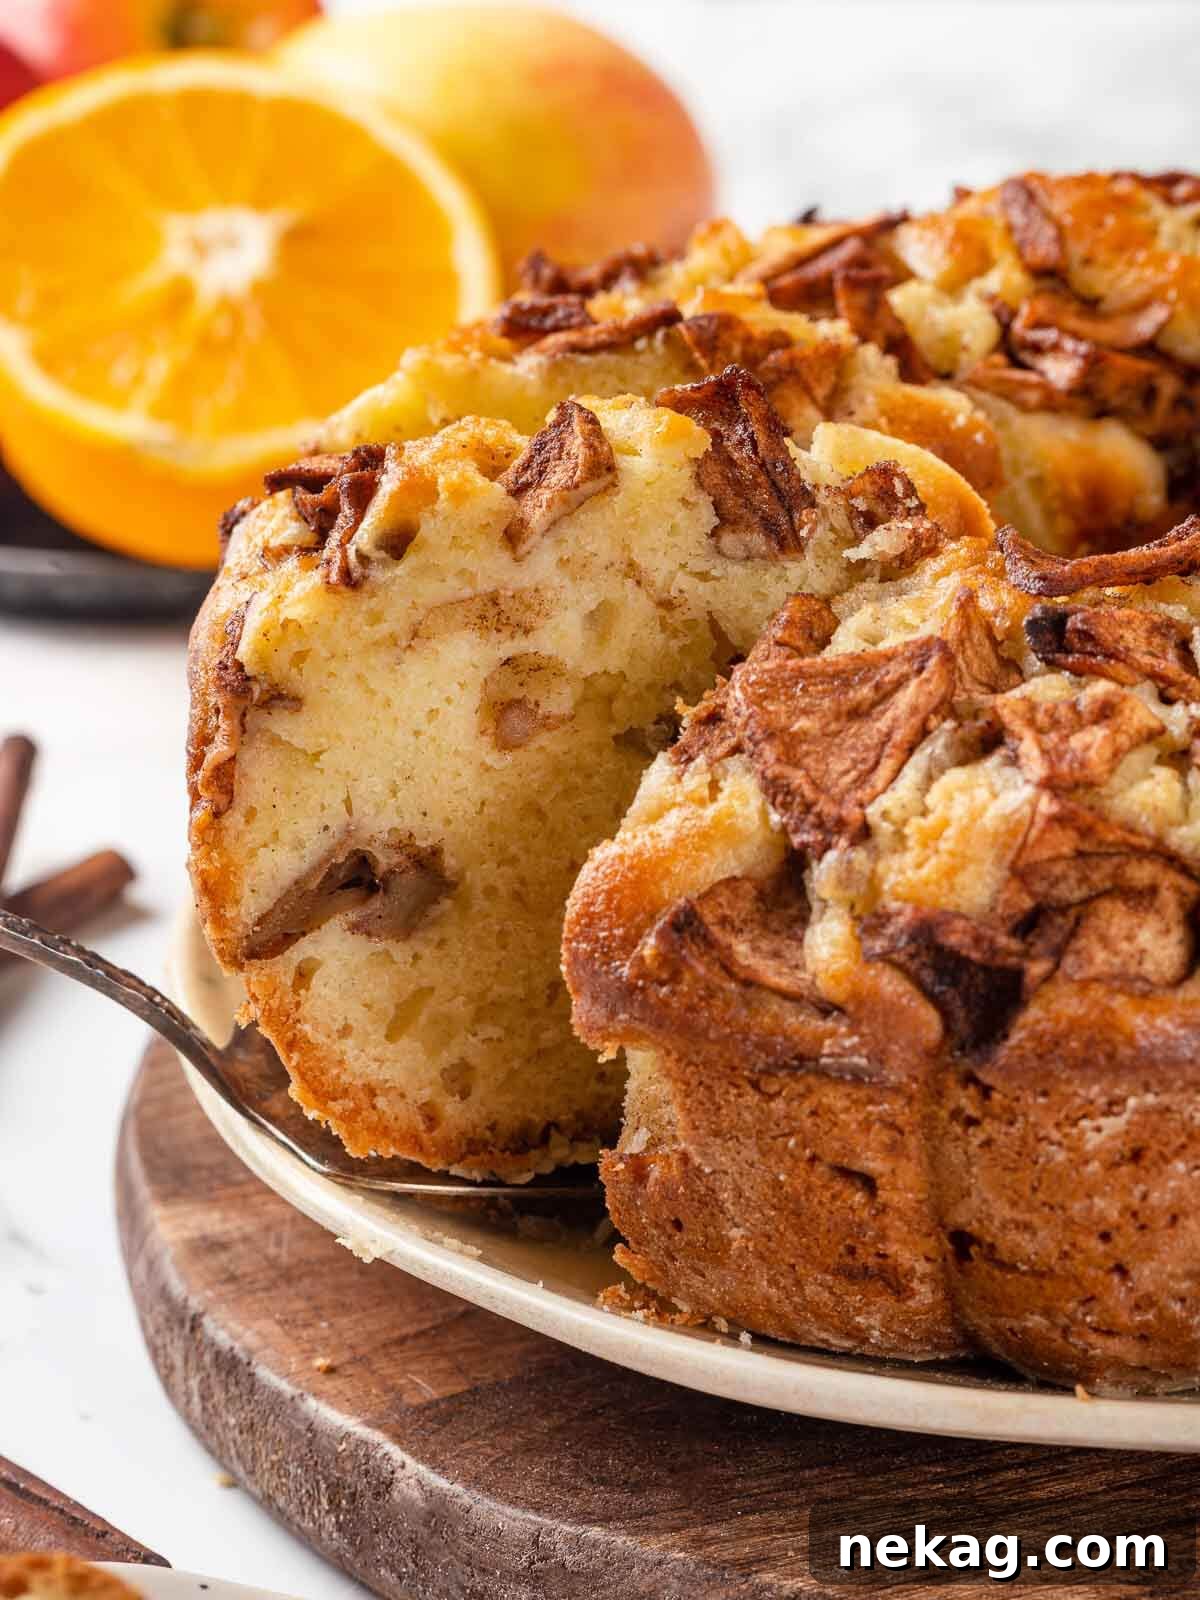
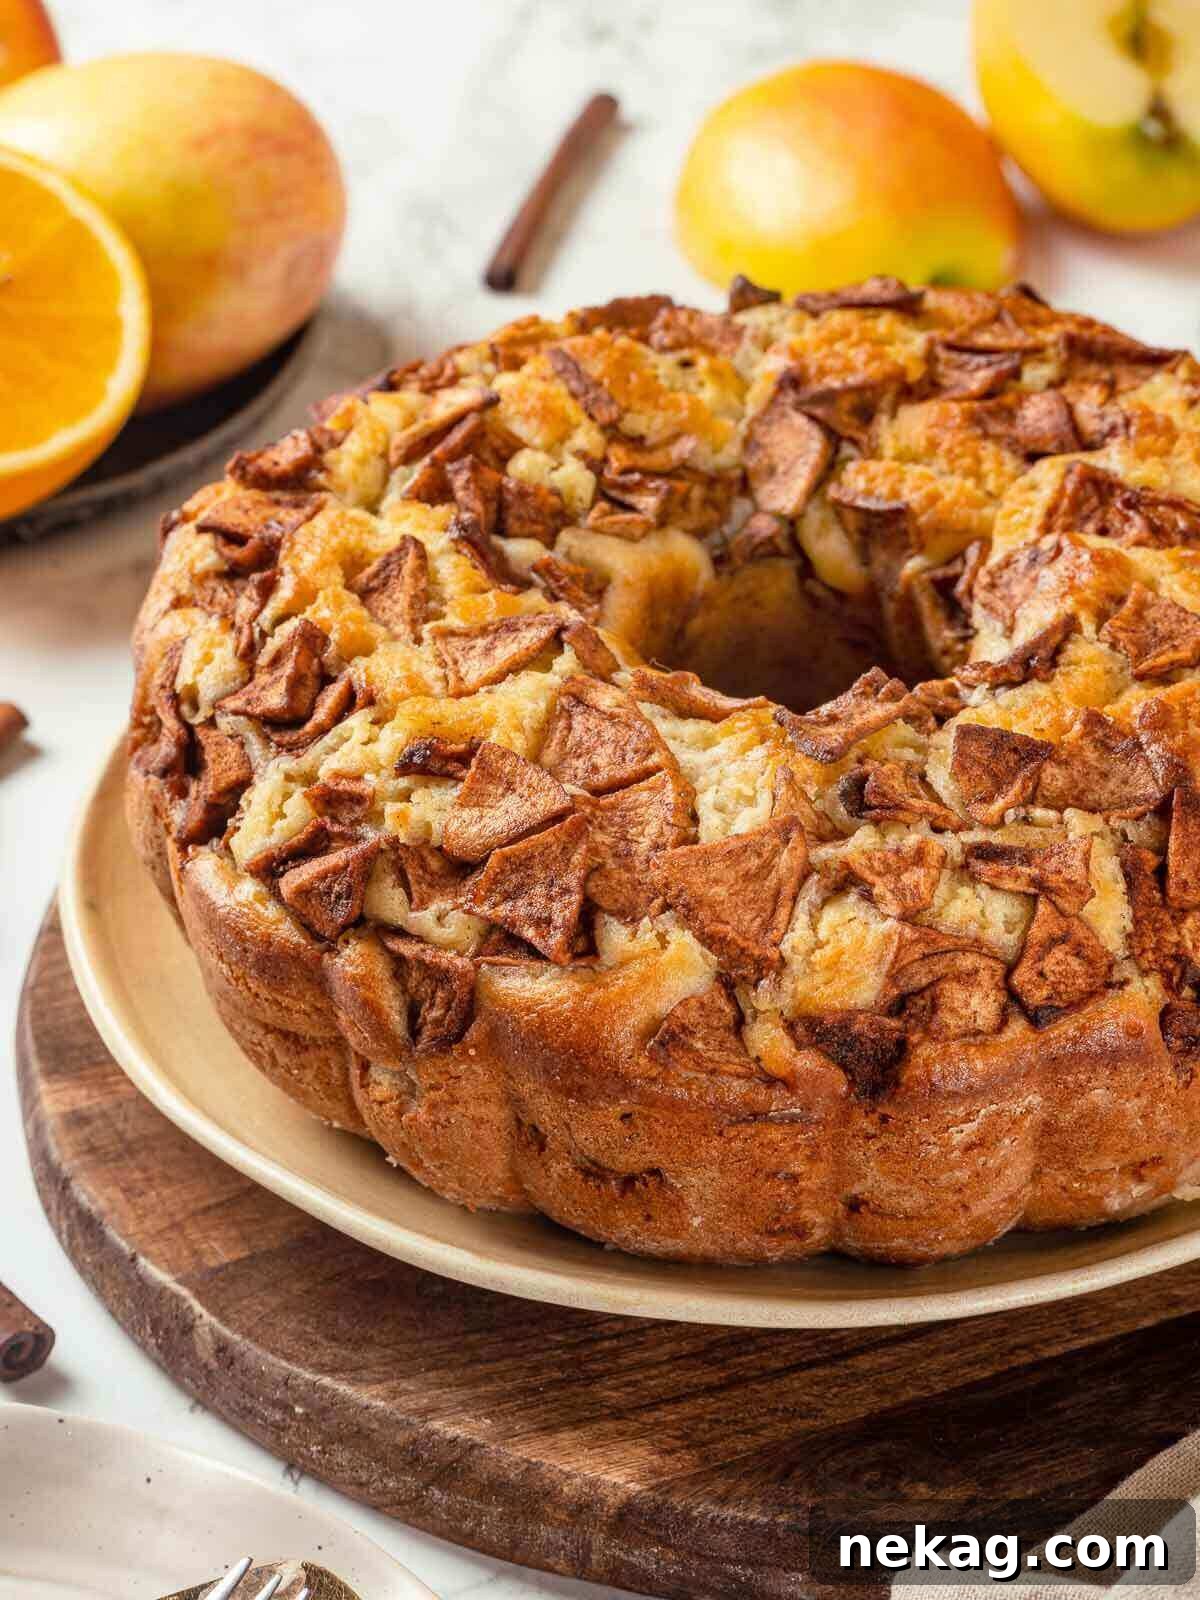
This wonderfully straightforward apple cake recipe is destined to become your new favorite, especially when you crave a comforting treat but find your butter supply low. As a naturally dairy-free cake, it maintains an exquisite moistness and a satisfyingly dense texture, generously studded with tender, spiced apples. Crafted by hand, this Jewish apple cake boasts a delicately crisp exterior that gives way to a soft, succulent interior, infused with bright notes of orange and a subtle hint of lemon. It’s a testament to simple ingredients coming together to create extraordinary flavor.
If you’re fond of vibrant orange flavor combinations, be sure to explore my cherry orange molasses cookies, elegant orange financiers, or my festive cranberry orange shortbread cookies. For more delectable and equally effortless cake recipes, don’t miss my aromatic lemon olive oil cake or the supremely simple one bowl chocolate cake.
Table of Contents
- Why You Will Adore This Jewish Apple Cake
- Expert Tips for Crafting the Perfect Jewish Apple Cake
- Understanding Jewish Apple Cake
- Essential Ingredients & Smart Substitutions
- Creative Variations to Elevate Your Cake
- Step-by-Step Guide: Making This Jewish Apple Cake Recipe
- Chef Lindsey’s Special Recipe Tip
- Frequently Asked Questions
- Jewish Apple Cake Recipe Card
- Before You Go
Why You Will Adore This Jewish Apple Cake
- An Unforgettable Flavor Profile: The harmonious blend of sweet cinnamon sugar, crisp apples, bright orange zest, and warm vanilla creates a truly delightful taste experience that appeals to everyone. Each flavor is carefully chosen to complement the others, culminating in a perfectly balanced and incredibly satisfying cake.
- Remarkably Easy & Hand-Mixed: Forget the stand mixer! This recipe simplifies baking by requiring just one bowl and a whisk. From start to finish, you can have this exquisite cake ready for the oven in under 20 minutes, making it an ideal choice for busy bakers or spontaneous cravings.
- A Naturally Dairy-Free Delight: This recipe is completely free of dairy products, yet it sacrifices none of the moisture or rich flavor. It’s a testament to how oil-based cakes can be just as, if not more, succulent and delicious, ensuring everyone can enjoy a slice without compromise.
Expert Tips for Crafting the Perfect Jewish Apple Cake
- Opt for Fresh Orange Juice & Zest: While bottled orange juice works, freshly squeezed juice elevates this cake to another level. The vibrant, floral notes from fresh orange juice, especially when paired with a little zest, beautifully complement the apples and vanilla, adding an aromatic depth that cannot be replicated.
- Blend Apple Varieties for Best Texture & Flavor: For a truly dynamic apple cake, don’t stick to just one type of apple. Using a mix of two to three different baking apples (like Granny Smith for tartness, Honeycrisp for sweetness and crunch, and Braeburn for its balanced flavor) ensures a complex flavor profile and varied texture as they soften during baking.
- Uniform Apple Slicing is Key: To guarantee that your apples bake evenly and achieve the perfect tender consistency, it’s crucial to chop or slice them to a consistent size, ideally between 1/8 to 1/4 inch thick. Slices that are too thin can turn to mush, while overly thick chunks may remain undercooked and firm.
- Gentle Folding for a Tender Crumb: The secret to an exceptionally tender apple cake without a tough or “tunneled” texture lies in how you incorporate the dry ingredients. Use a rubber or silicone spatula to gently fold the dry mixture into the wet ingredients just until combined. Overmixing develops gluten, which can lead to a chewy, less desirable cake texture.
Understanding Jewish Apple Cake: History and Significance
A Jewish apple cake is traditionally a dairy-free cake, specifically designed and made without butter, milk, or any other dairy products. This makes it a popular choice for observance of Jewish dietary laws (kashrut), which prohibit the mixing of meat and dairy products in the same meal. Such “pareve” desserts can be enjoyed after a meat meal without breaking these religious guidelines.
Beyond its dietary adherence, this cake holds a special place in Jewish culinary traditions, particularly as a beloved dessert for Rosh Hashanah, the Jewish New Year. It is customary to begin the new year by eating apples dipped in honey, symbolizing the wish for a sweet year ahead. The Jewish apple cake beautifully encapsulates this tradition, offering a delicious way to incorporate the symbolic sweetness into festive celebrations. Its rich history and comforting flavors have made it a staple in many households, cherished for generations not just for its taste, but also for its cultural significance.
Essential Ingredients & Smart Substitutions
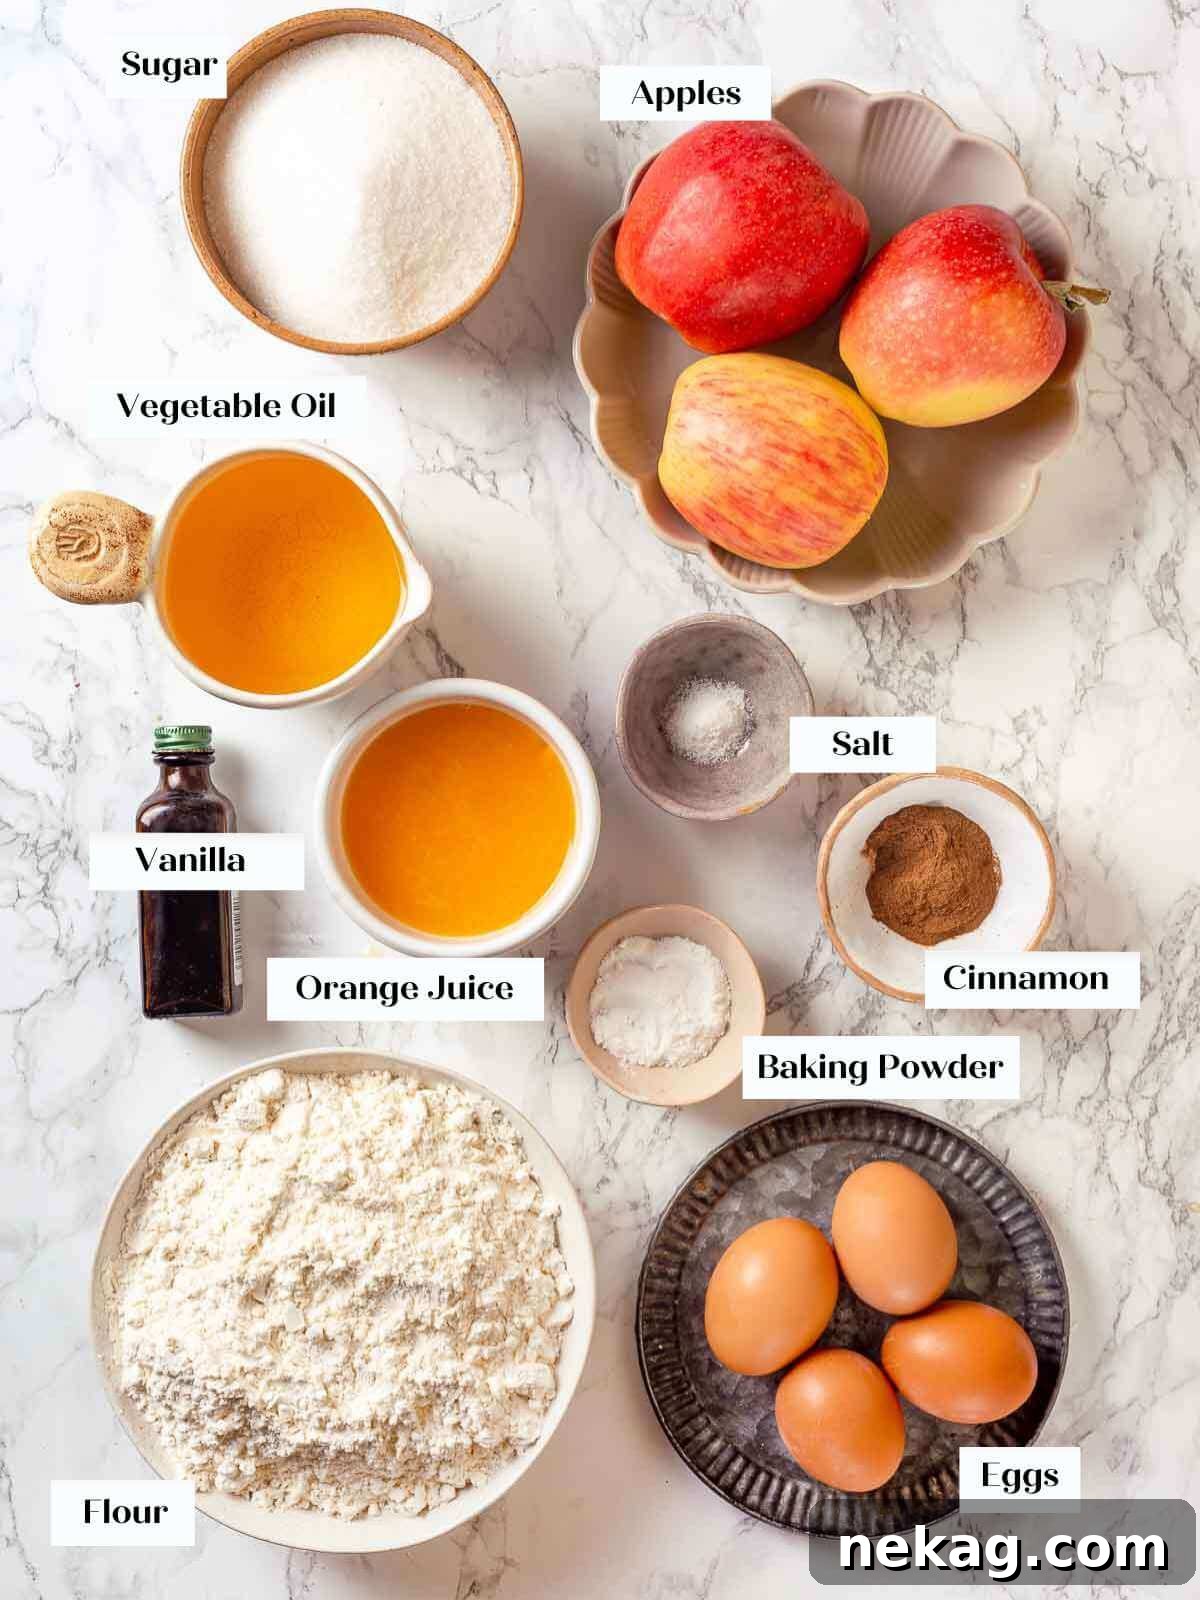
- Apples: The star of the show! Use a combination of crisp baking apples that will retain some texture when baked, preventing them from turning into an applesauce-like mush. Excellent choices include Granny Smith (for tartness), Honeycrisp (for sweetness and firmness), Braeburn, Gala, Fuji, Jonagold, Cortland, or Pink Lady apples. A blend of sweet and tart varieties offers the best flavor balance.
- Granulated Sugar: Provides essential sweetness and helps create that desirable crisp crust. In the batter, it emulsifies with the wet ingredients to form a smooth base.
- Ground Cinnamon: A classic pairing with apples, ground cinnamon infuses the fruit layers with warmth and spice. Coating the apples in cinnamon sugar not only flavors them but also aids in their tenderization during baking.
- All-Purpose Flour: The primary structural component of the cake. Ensure it’s measured correctly (ideally by weight) to avoid a dense or dry cake. While all-purpose is standard, a gluten-free all-purpose blend can often be substituted for a gluten-free version, though results may vary.
- Baking Powder: The key leavening agent that helps the cake rise, creating a light and airy crumb. Ensure your baking powder is fresh for optimal lift.
- Kosher Salt: A pinch of kosher salt is vital for balancing the sweetness and enhancing all the other flavors in the cake.
- Whole Eggs: Whole eggs act as an emulsifier, binding the oil and sugar together to create a cohesive, moist batter. They contribute to the cake’s structure and richness without the need for dairy.
- Vegetable Oil: The secret to this cake’s exceptional moistness and dairy-free nature. Neutral vegetable oil effectively emulsifies with the sugar and eggs, resulting in a cake that is incredibly tender and never greasy. Other neutral oils like canola or sunflower oil work perfectly. Avoid strong-flavored oils like extra virgin olive oil unless you specifically want that flavor profile; for an olive oil cake, try my pumpkin olive oil cake instead!
- Orange Juice: Freshly squeezed orange juice adds a wonderful citrusy brightness and fragrant notes that beautifully complement the vanilla and apples. If using fresh juice, consider adding some of the finely grated zest to the sugar for an even more intense orange flavor. For an alternative, apple cider (not apple cider vinegar) can be used for a deeper apple flavor.
Refer to the recipe card below for precise measurements and comprehensive ingredient information.
Creative Variations to Elevate Your Cake
- Experiment with Spices: While cinnamon is classic, feel free to introduce other warm spices. Instead of just cinnamon, try coating your apples in an apple pie spice mix. Or, add a pinch of cardamom, nutmeg, or a touch of ground cloves to the cake batter itself. Remember, a little goes a long way with potent spices, so start small and adjust to your preference. My applesauce cake offers more spice inspiration!
- Swap Out the Fruit: Don’t limit yourself to apples! This versatile batter works beautifully with other fruits. Imagine a pear and cardamom cake for a sophisticated twist, or a late-summer peach and allspice dessert that captures the essence of the season. Berries or other stone fruits can also be layered in for different flavor profiles.
- Add a Luscious Glaze or Frosting: While delicious on its own, a simple topping can elevate your Jewish apple cake further. For a dairy-free option, prepare a bright orange glaze using powdered sugar and fresh orange juice. A spiced glaze made with a milk substitute (like almond or oat milk) would also be delightful. If you’re not adhering to dairy-free guidelines, a rich cream cheese frosting or a luxurious caramel buttercream would be heavenly. In keeping with the Rosh Hashanah tradition, you could even gently soak the warm cake from the oven with a generous drizzle of warm honey.
Step-by-Step Guide: Making This Jewish Apple Cake Recipe
Follow these detailed instructions to achieve a perfectly moist and flavorful Jewish apple cake every time. More specific measurements can be found in the comprehensive recipe card below.
Step 1: Prepare Your Oven. Preheat your oven to 350°F (175°C) using the conventional setting (no fan). This ensures even baking and prevents the cake from drying out.
Step 2: Prepare Your Pan. Thoroughly grease and flour a large tube pan (such as a Bundt pan or an angel food cake pan). Be meticulous in coating every crevice to ensure easy release. After flouring, tap out any excess flour. This step is crucial for preventing sticking.
Step 3: Prepare the Apples. Carefully peel, core, and slice your chosen apples. Aim for uniform slices, approximately 1/8 to 1/4 inch thick. Consistency in thickness ensures they bake evenly and become perfectly tender.
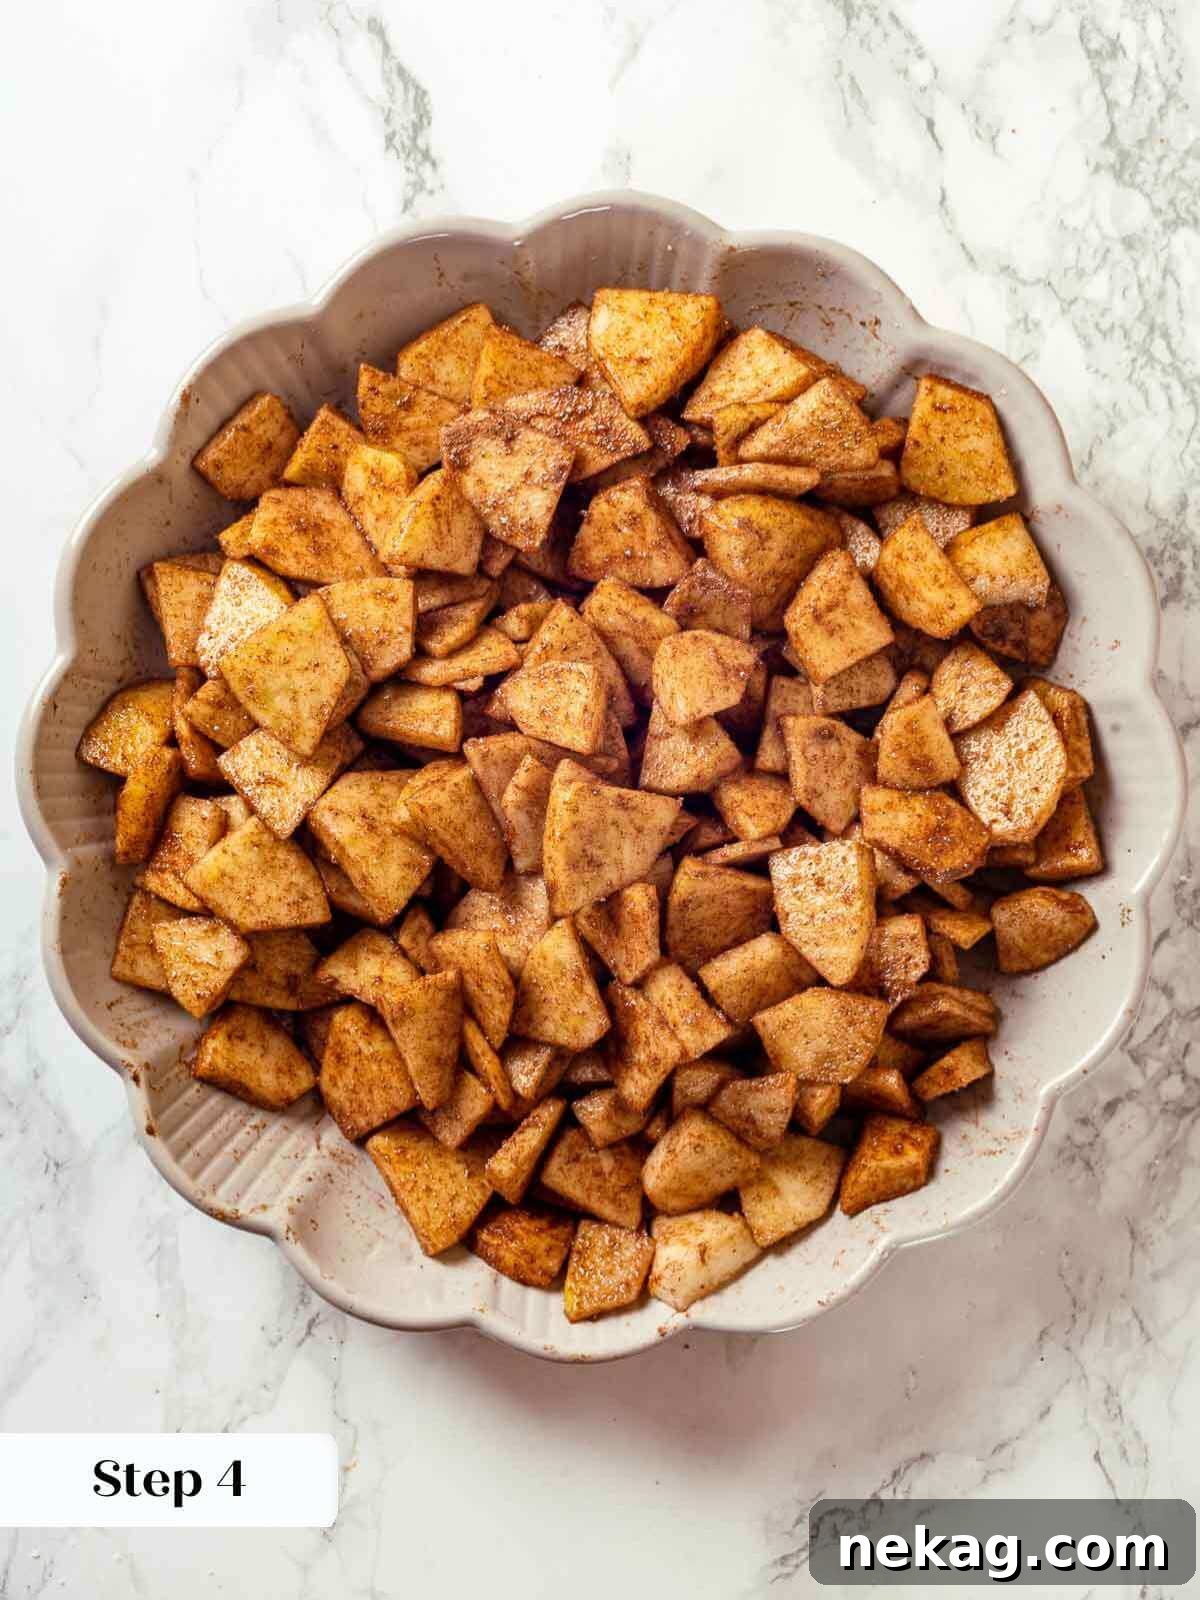
Step 4: Season the Apples. In a large mixing bowl, gently toss the prepared apple slices with 1/4 cup of granulated sugar and the ground cinnamon. Ensure all apple pieces are well coated. Set this bowl aside to allow the apples to macerate slightly, which will enhance their flavor and tenderness.
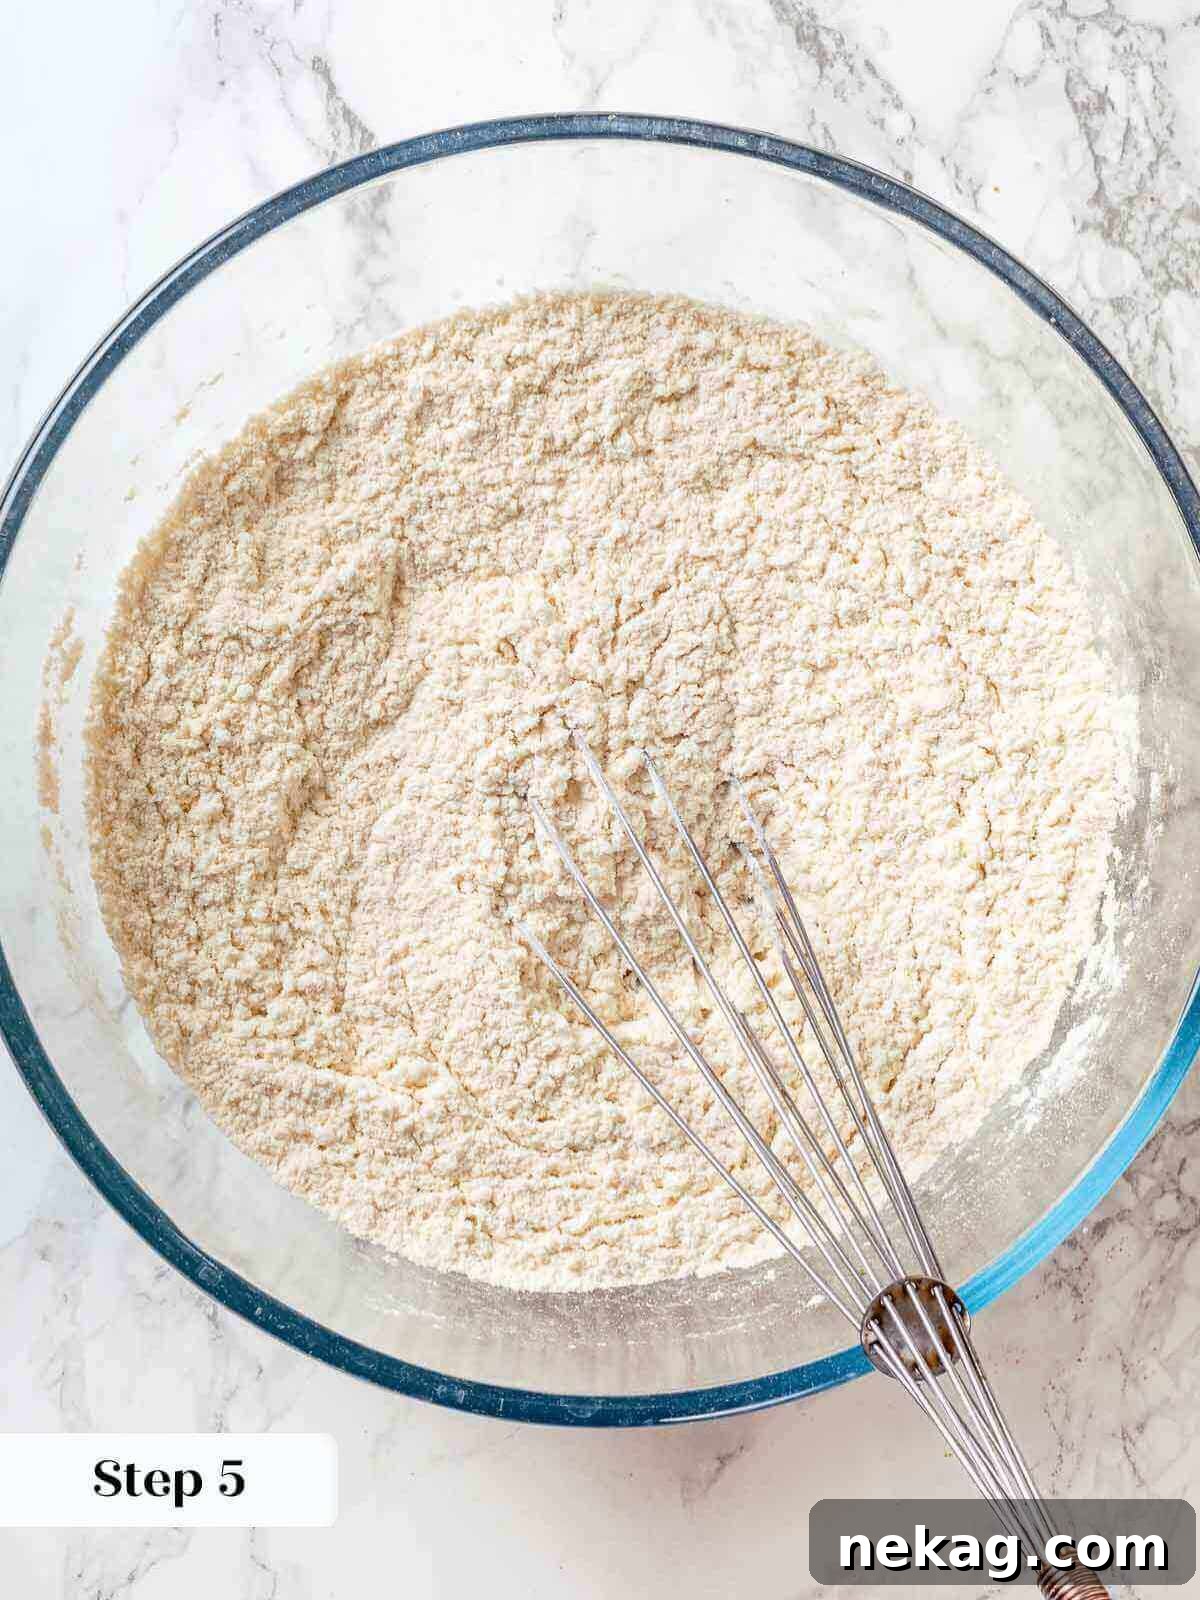
Step 5: Combine Dry Ingredients. In a separate medium bowl, whisk together the all-purpose flour, baking powder, and kosher salt. Whisking ensures these ingredients are evenly distributed throughout the dry mixture.
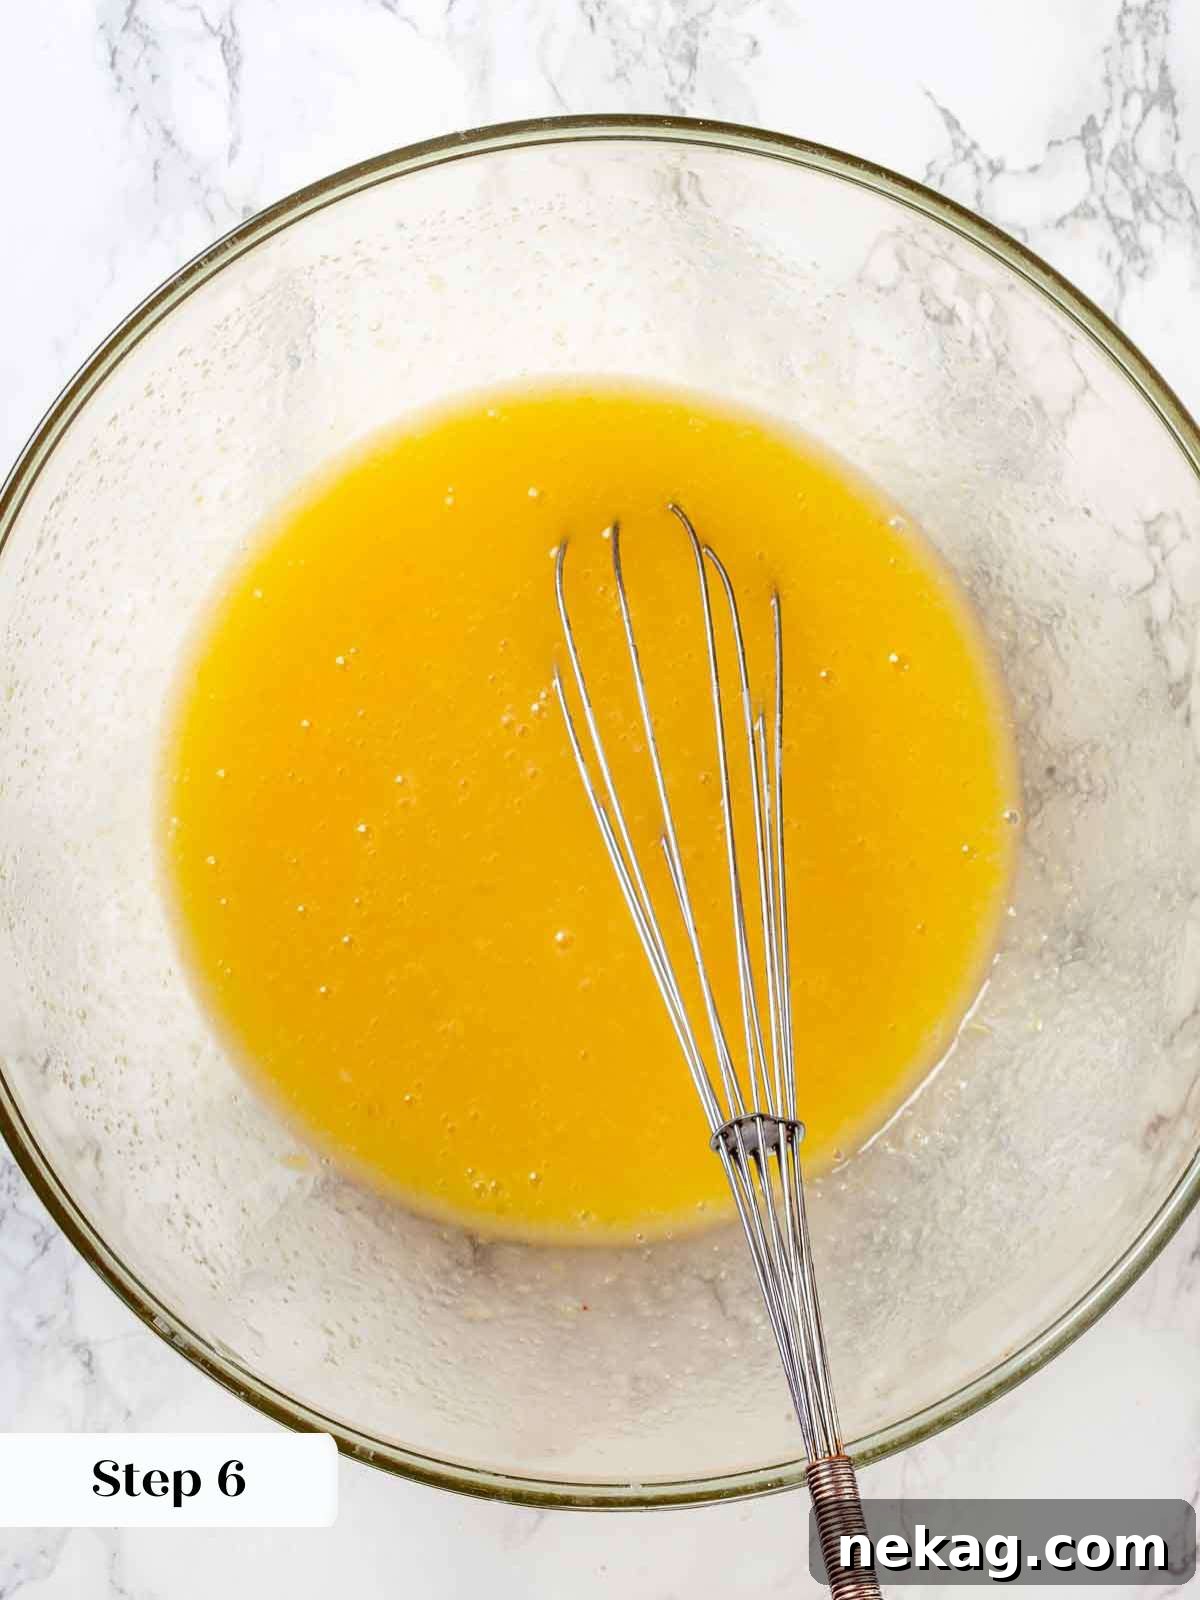
Step 6: Combine Wet Ingredients. In another large mixing bowl, whisk together the eggs, vanilla extract, vegetable oil, the remaining granulated sugar, and orange juice until the mixture is smooth and well combined. Aim for a light and airy consistency.
Chef’s Emulsification Tip: For the best emulsion, begin by whisking the eggs alone for a minute or two until slightly frothy. Then, gradually whisk in the vegetable oil, followed by the granulated sugar, orange juice, and vanilla extract. This method ensures a beautifully smooth and moist batter.
Step 7: Combine Wet and Dry Mixtures. Gradually add the dry ingredients to the wet ingredients. Using a rubber or silicone spatula, gently fold the mixture just until no streaks of flour remain. It’s important not to over-mix, as this can lead to a tough cake.
Preventing Overmixing: To further prevent overmixing, add the dry ingredients in two or three stages. Incorporate the first portion until almost combined before adding the next, stopping as soon as the last of the flour disappears.
Step 8: First Batter Layer. Pour approximately half of the prepared cake batter into your greased and floured tube pan. Spread it evenly across the bottom of the pan.
Precision Layering Tip: For perfectly even layers, you can eyeball half the batter, or for those who prefer precision, weigh half the batter on a kitchen scale before pouring.
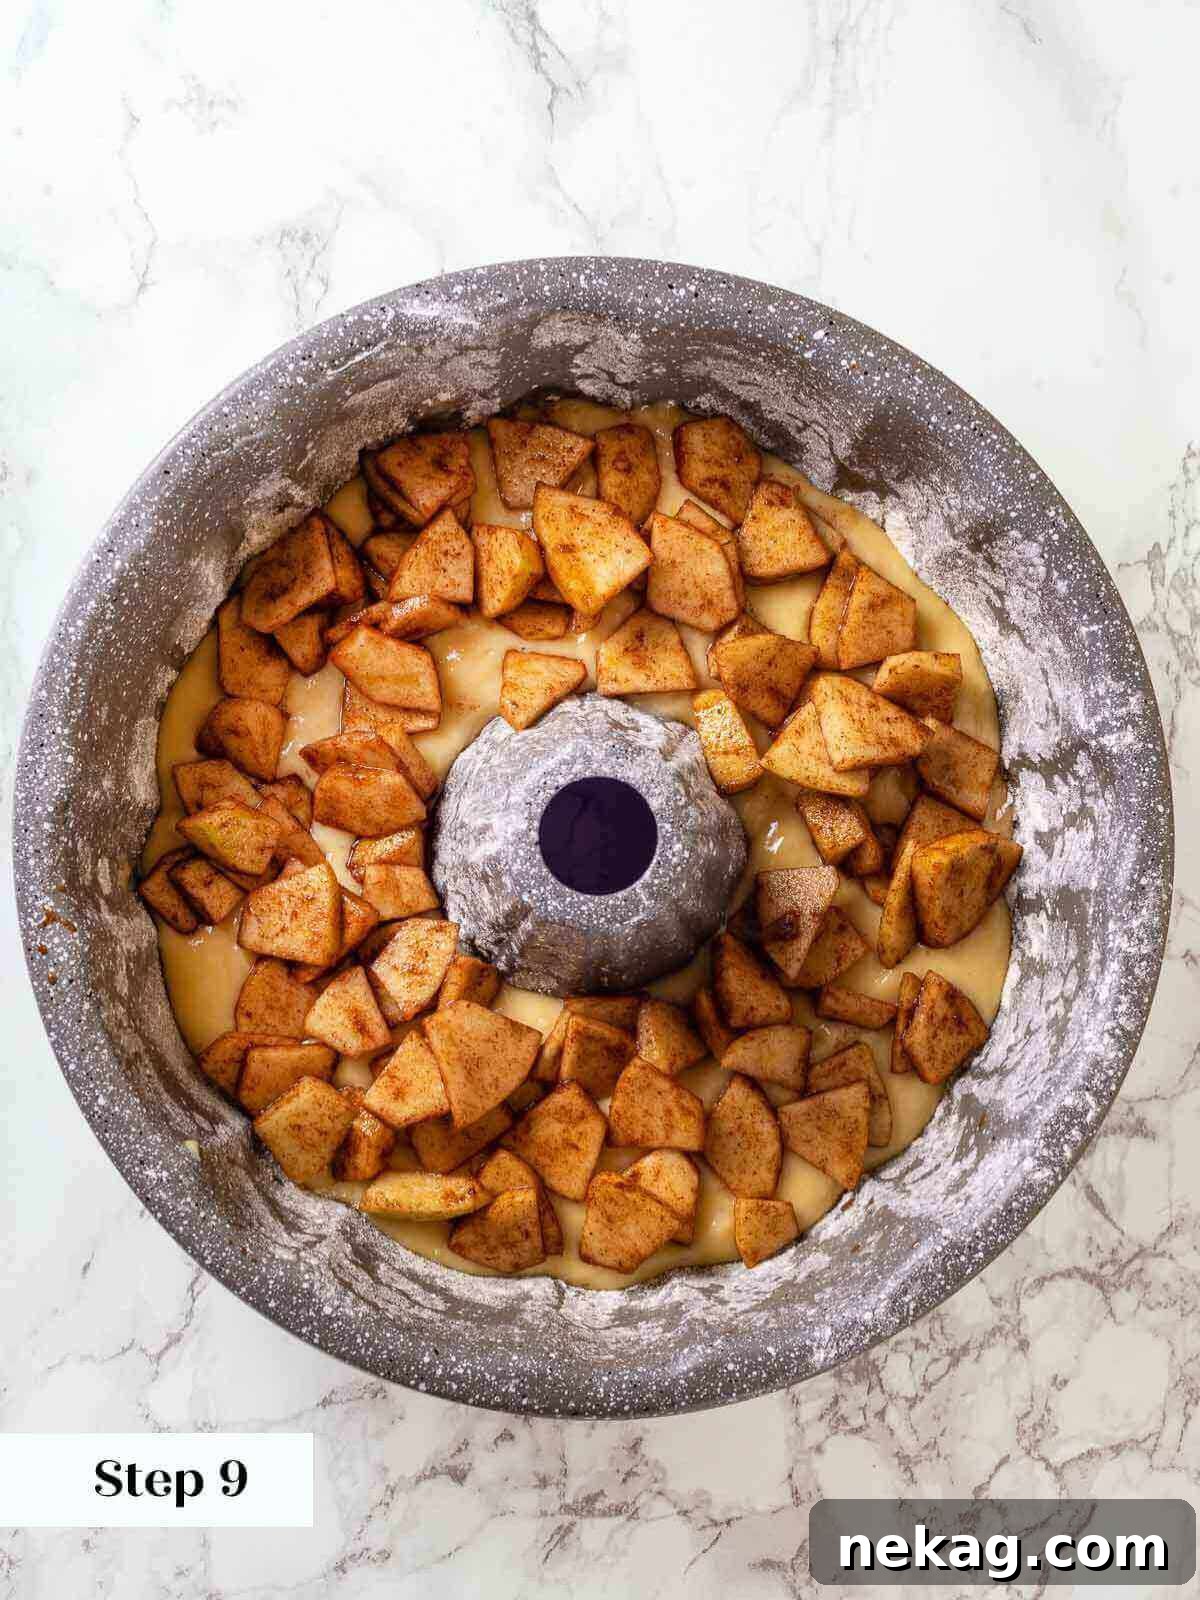
Step 9: First Apple Layer. Give the seasoned apples one more stir to re-coat them in the cinnamon sugar mixture. Then, evenly layer about half of these apples on top of the batter in the pan.
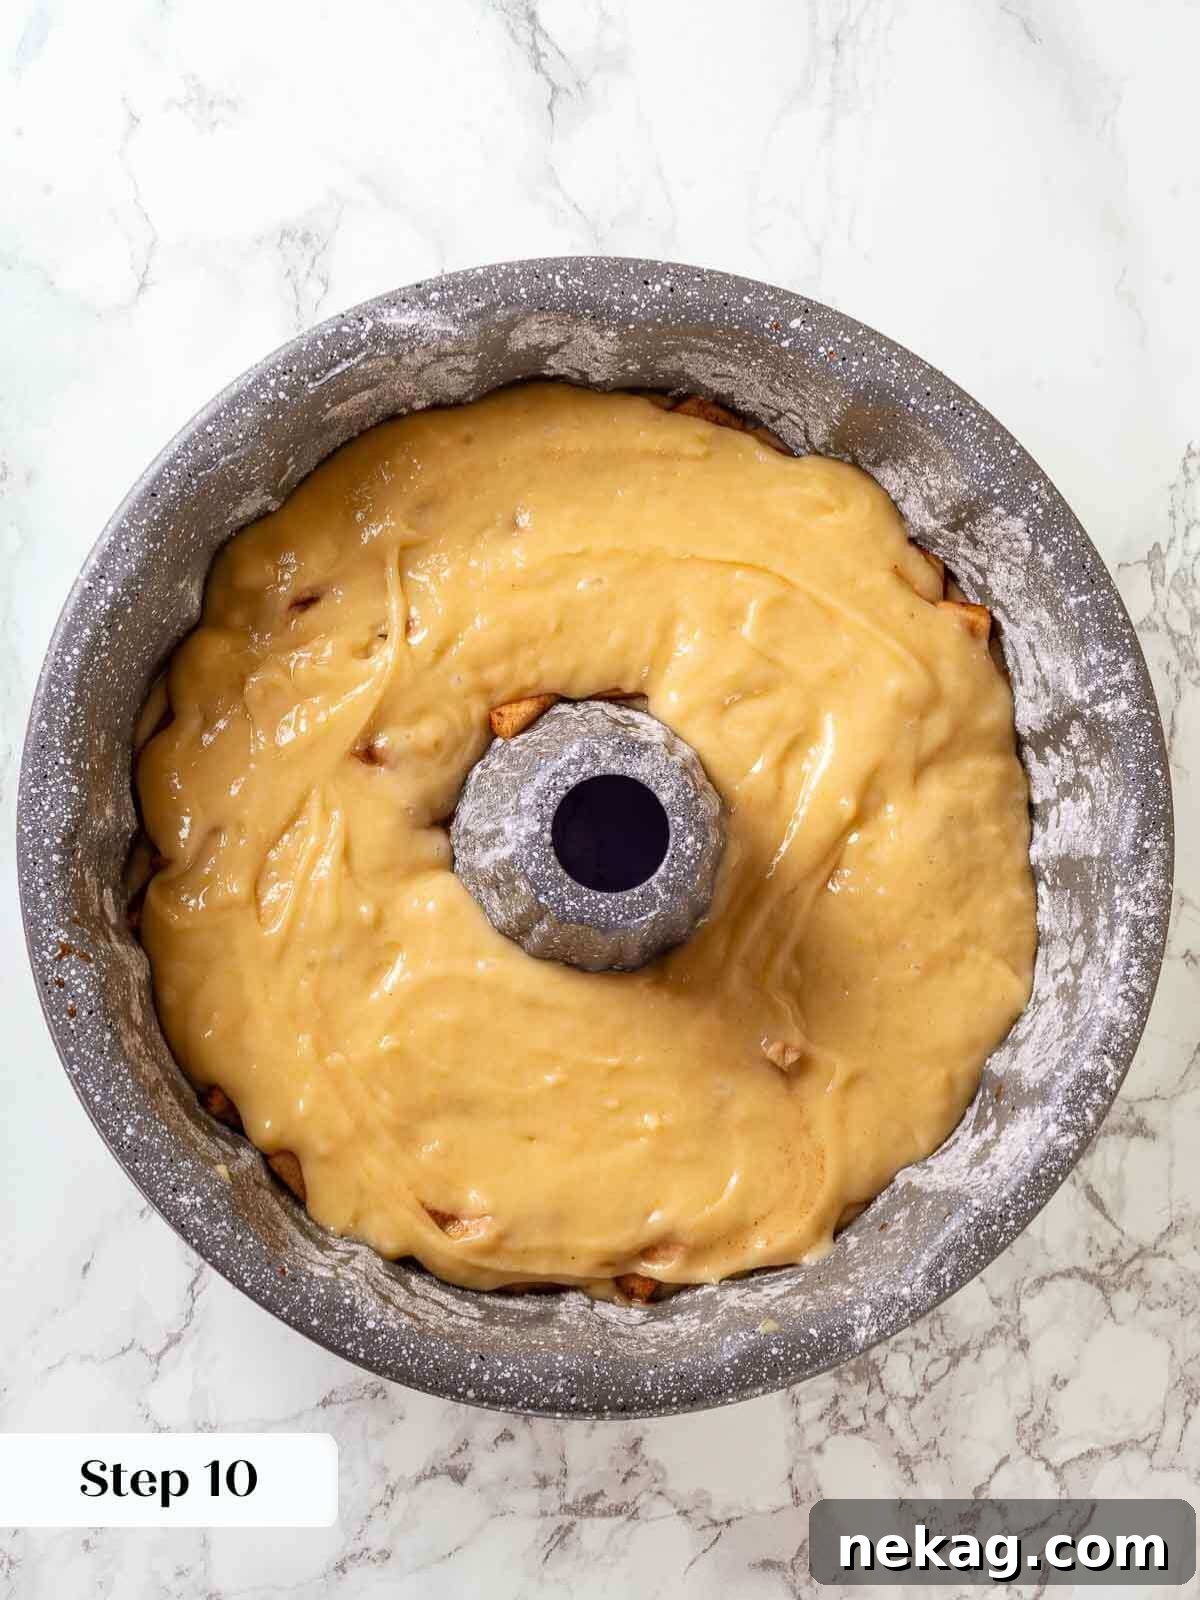
Step 10: Second Batter Layer. Carefully spoon the remaining cake batter over the apple layer. Use the back of a spoon or a small offset spatula to gently spread it out evenly, ensuring it covers the apples.
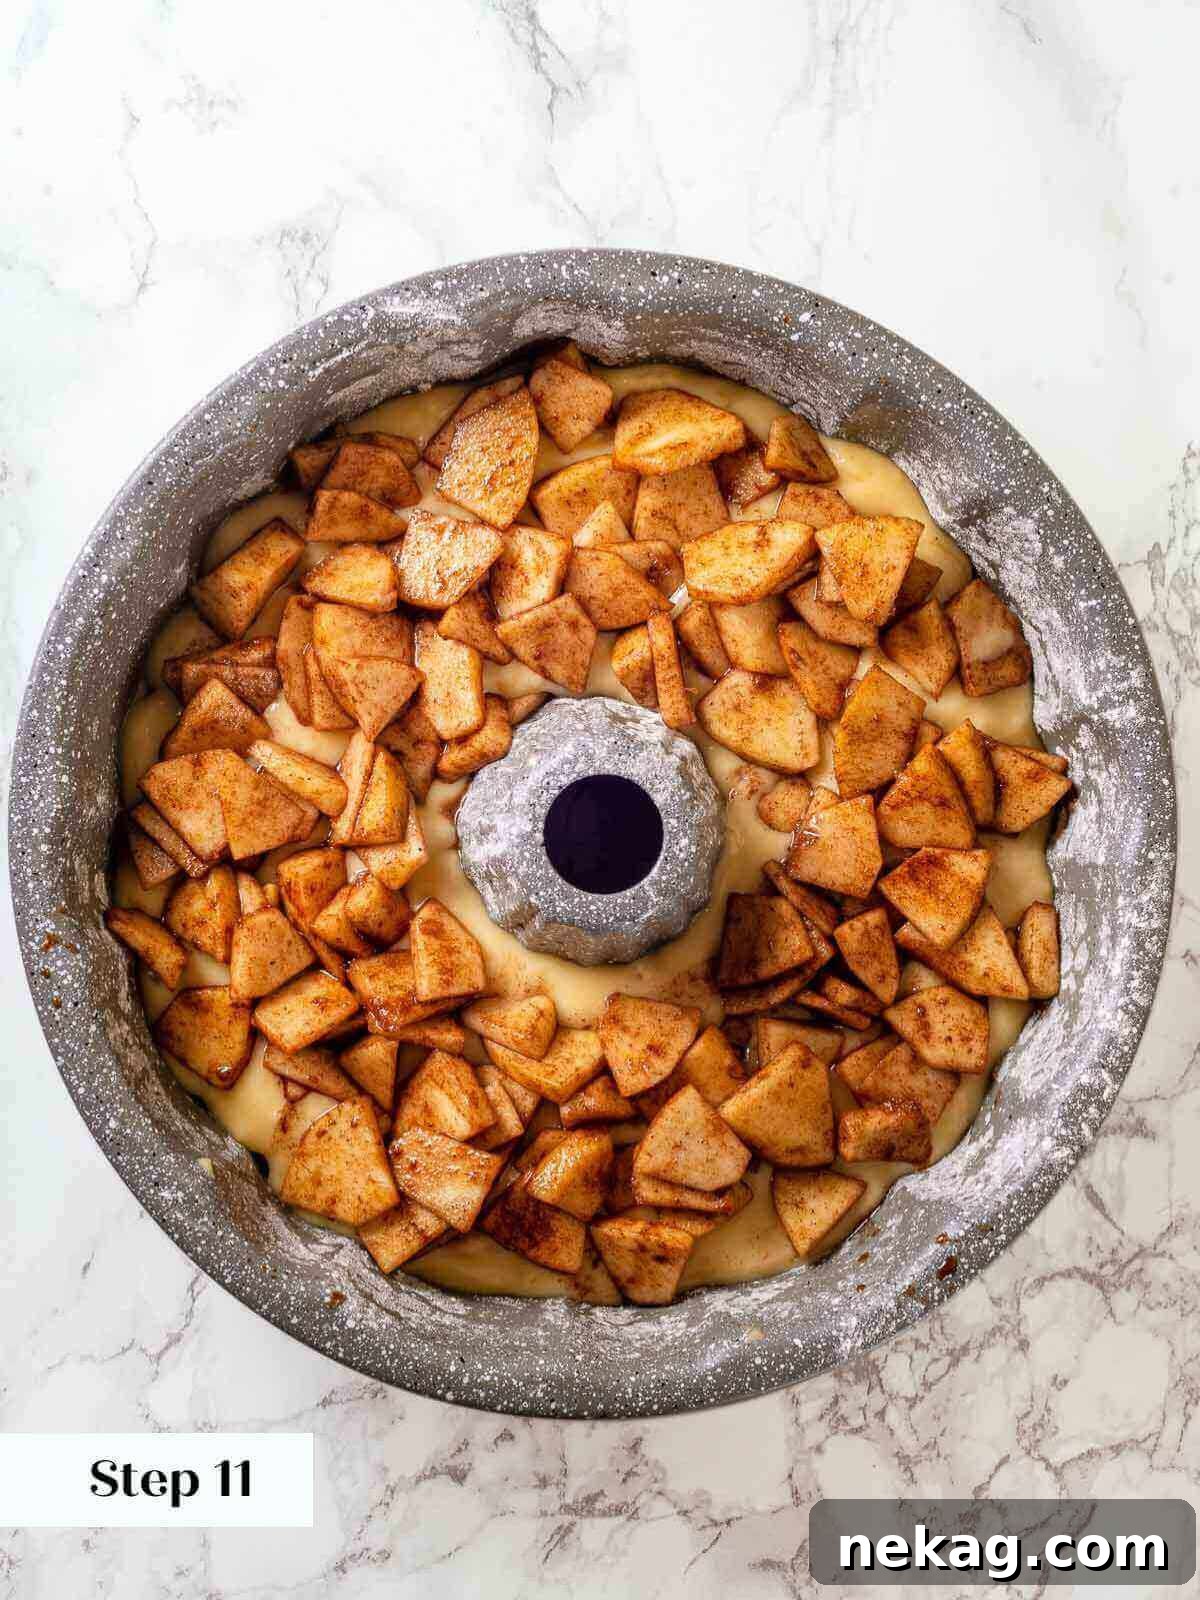
Step 11: Final Apple Layer. Arrange the remaining seasoned apples and any accumulated liquid from the bowl on top of the cake batter. This creates a beautiful, apple-studded crown for your cake.
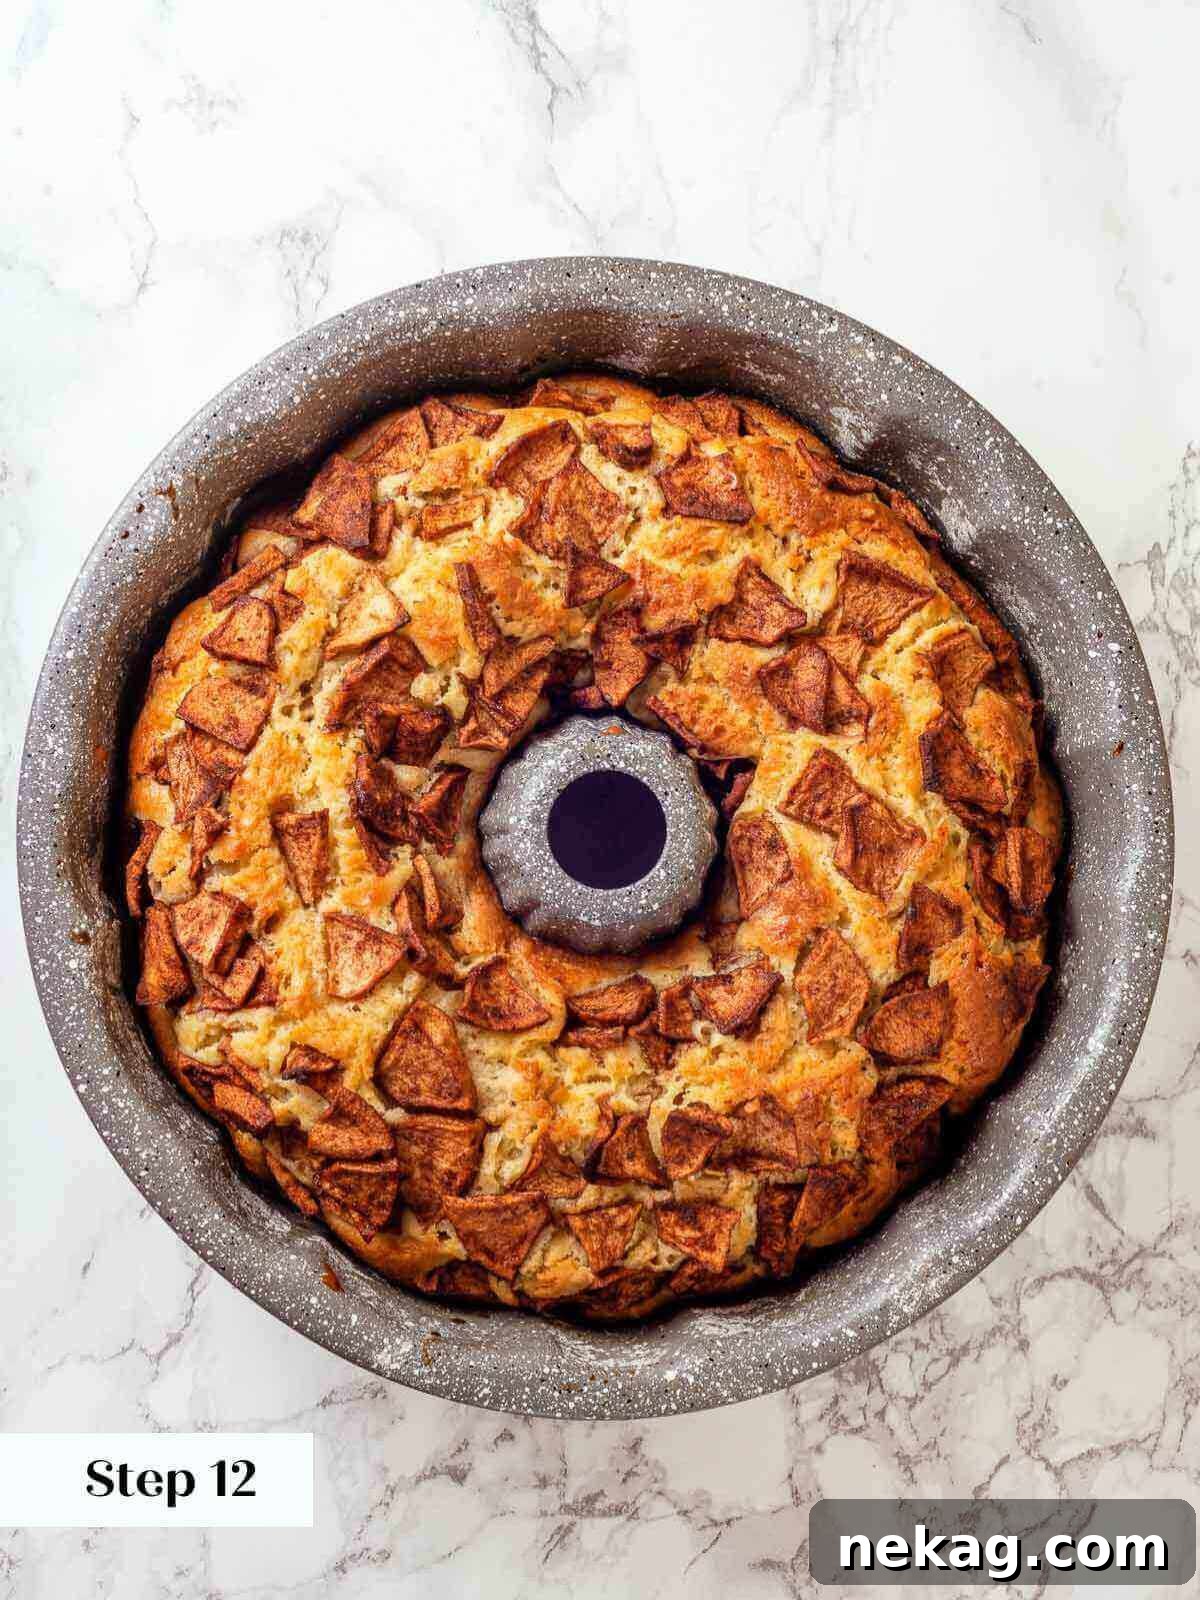
Step 12: Bake to Perfection. Transfer the pan to the preheated oven and bake for approximately 1 to 1 1/2 hours. Baking time can vary depending on your oven, so check for doneness by inserting a wooden skewer or cake tester into the center of the cake (avoiding an apple chunk if possible). It should come out clean, or with just a few moist crumbs clinging to it.
Preventing Over-Browning: If you notice the top of your cake is browning too quickly before the interior is cooked through, lightly tent the pan with a piece of aluminum foil for the remainder of the baking time.
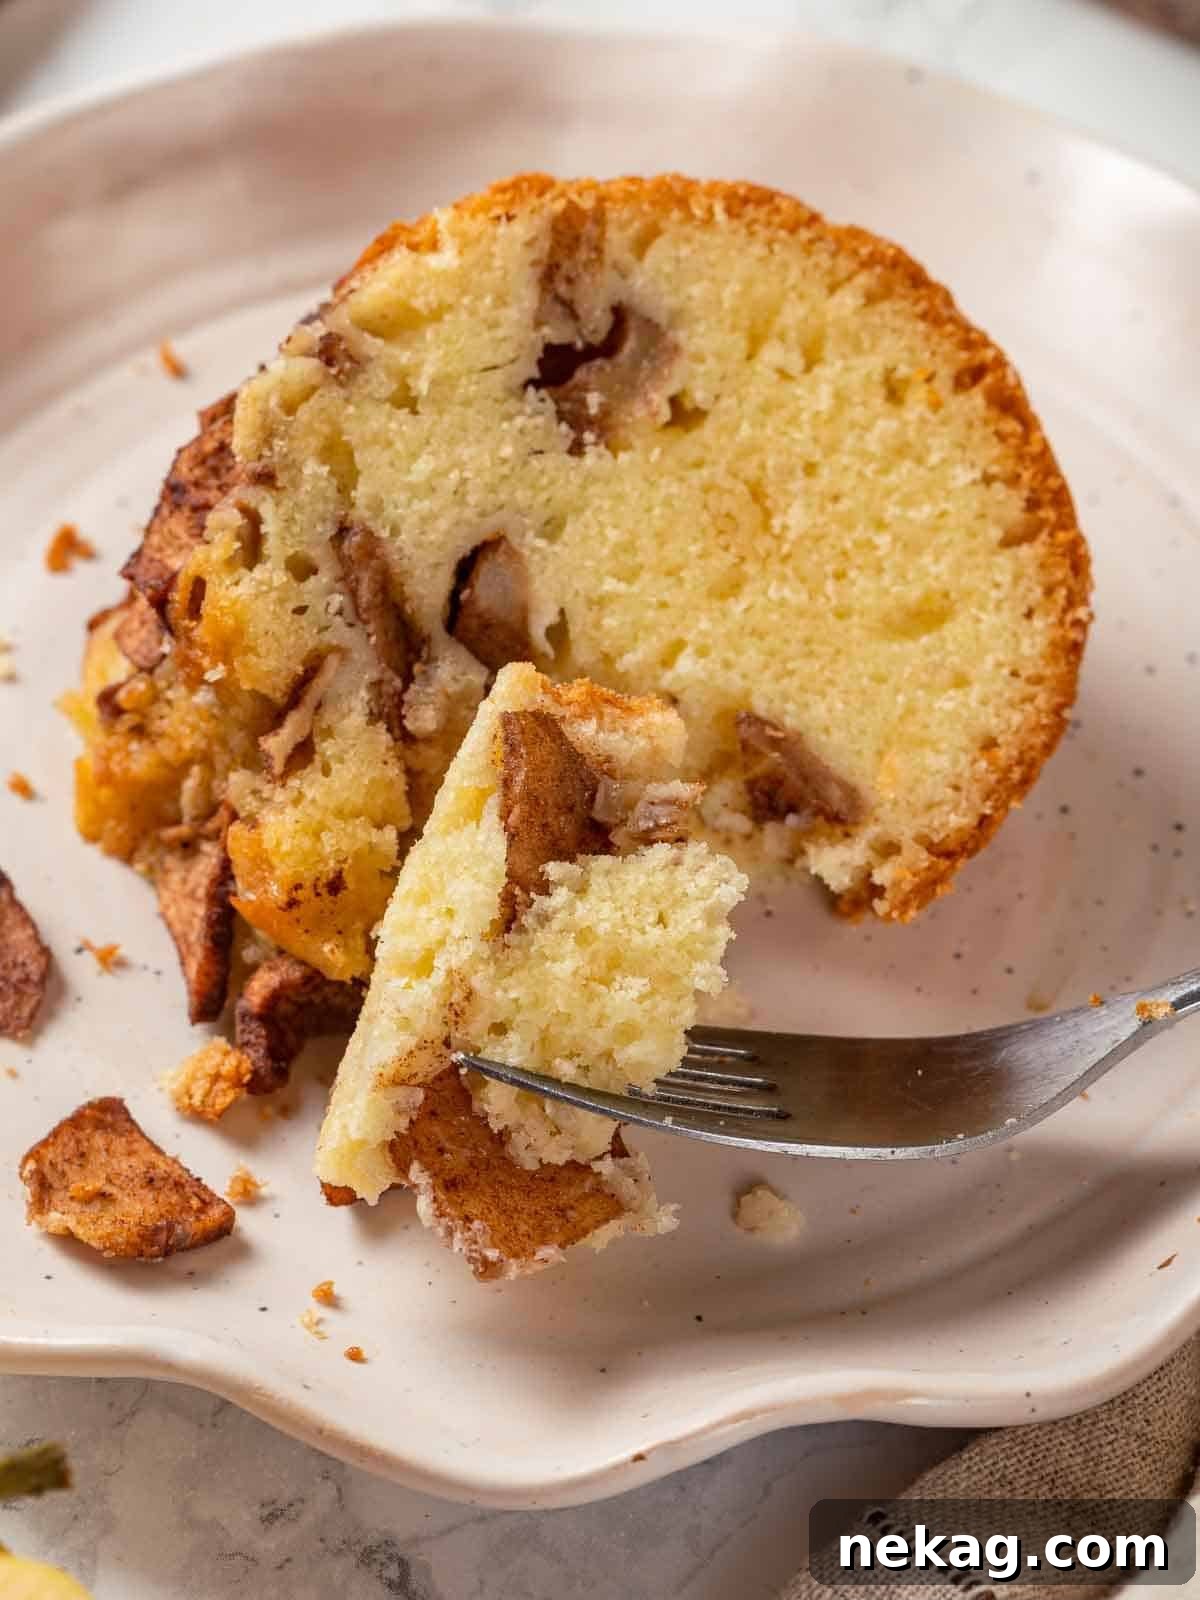
Step 13: Cool and Serve. Allow the cake to cool completely on a wire rack while still in its pan. This is crucial for the cake to set and ensures a clean release. Once fully cooled, carefully invert the cake onto a cake stand or serving plate.
Chef Lindsey’s Special Recipe Tip
As soon as your glorious Jewish Apple Cake emerges from the oven, take a moment to run a thin butter knife or a small offset spatula around the edges of the pan, particularly around the center tube. Do this while the cake is still warm. This simple action prevents any apples or cake batter from cooling and sticking to the pan’s sides, guaranteeing a smooth, clean break from the mold and a beautifully intact cake that will impress every time.
Frequently Asked Questions
Once your Jewish apple cake has completely cooled, it can be stored in several ways to maintain its freshness. For short-term storage, wrap the cake tightly in plastic wrap or place it in an airtight container at room temperature for 3-4 days. If you need to keep it longer, it will last up to a week in the refrigerator. For extended freshness, this cake freezes beautifully: wrap it securely in plastic wrap, then in aluminum foil, and store in the freezer for up to 2 months. Thaw at room temperature before serving.
The key to a successful apple cake is using crisp baking apples that will hold their shape and texture during baking, preventing them from becoming mushy. For a superb balance of sweetness and tartness, I highly recommend a mix of varieties. Top choices include Granny Smith (for its refreshing tartness), Honeycrisp (known for its sweet crunch), Braeburn, Macoun, Cortland, or Pink Lady apples. Using a combination will give your cake a more complex and enjoyable apple flavor profile.
Achieving a clean release from a tube or Bundt pan comes down to diligent preparation. Do not skimp on the greasing and flouring process. Use a solid vegetable shortening or baking spray with flour (like Baker’s Joy) to thoroughly coat every inch of the pan, including the intricate designs and, critically, the center tube. After greasing, lightly flour the pan, rotating and tapping it gently to ensure the flour adheres to all surfaces. Tap out any excess flour before adding the batter.
This Jewish apple cake is wonderfully flavorful on its own, but a simple presentation can enhance its appeal. A light dusting of confectioner’s sugar offers an elegant finish. For added indulgence, it would be absolutely delicious served with a dollop of slightly sweetened whipped cream (or a dairy-free whipped topping), a drizzle of homemade salted caramel sauce, a spoonful of rich pumpkin butter or apple butter, or a delicate vanilla bean crème anglaise. For a classic Rosh Hashanah touch, a side of honey or a light honey glaze would be perfect.
If you’ve tried this delightful recipe and loved it, please take a moment to leave a 🌟 star rating and share your thoughts in the comments below. Your feedback truly makes my day!
Jewish Apple Cake
Chef Lindsey
20 mins
1 hr
12 slices
Comment
Print Recipe
Ingredients
- 3 large apples or 4-5 medium apples (such as Granny Smith, Honeycrisp, Braeburn)
- ¼ cup granulated sugar for apples
- 2 teaspoons ground cinnamon
- 3 cups all-purpose flour
- 3 teaspoons baking powder
- ½ teaspoon kosher salt
- 4 large eggs
- 1 tablespoon vanilla extract
- 1 cup vegetable oil or another neutral oil such as canola or safflower
- 2 cups granulated sugar for batter
- ½ cup orange juice
Instructions
-
Preheat the oven to 350°F (175°C) conventional (no fan).
-
Grease and flour a large tube pan thoroughly. Tap out any excess flour.
-
Peel, core, and slice the apples uniformly to 1/8th-1/4 inch thick.
-
In a large bowl, toss the sliced apples with ¼ cup granulated sugar and ground cinnamon to coat, then set aside.
-
In a medium bowl, whisk together the flour, baking powder, and salt.
-
In a separate large mixing bowl, whisk together the eggs, vanilla extract, oil, the remaining 2 cups sugar, and orange juice until smooth and emulsified.
-
Add the dry ingredients to the wet ingredients. Gently stir just to combine using a rubber or silicone spatula; avoid over-mixing.
-
Pour about half of the cake batter into the prepared tube pan, spreading evenly.
-
Stir the apples once more to ensure a good coating, then layer about half of the apples on top of the batter.
-
Add the remaining cake batter over the apple layer. Gently spread it out with the back of a spoon or small offset spatula.
-
Place the remaining apples and any accumulated liquid on top of the cake.
-
Bake in the preheated oven for approximately 1-1 ½ hours, or until a cake tester inserted into the cake comes out clean or with just a few clinging crumbs. (If the cake browns too quickly, tent with foil.)
-
Cool completely on a wire rack before carefully inverting and turning out the cake onto a cake stand or plate.
Notes
Presentation – Allow the cake to cool fully within the pan before attempting to turn it out. This ensures its structural integrity.
Flavor Tips – For deeper apple flavor penetration, let the sliced apples marinate with the cinnamon and sugar mixture for at least 20 minutes before layering them into the cake.
Storage – Store the completely cooled cake, well-wrapped in plastic, at room temperature for 3-4 days. It can be refrigerated for up to a week or frozen for up to 2 months.
Nutrition
Calories:
472
kcal
|
Carbohydrates:
69
g
|
Protein:
5
g
|
Fat:
20
g
|
Saturated Fat:
3
g
|
Polyunsaturated Fat:
11
g
|
Monounsaturated Fat:
5
g
|
Trans Fat:
0.1
g
|
Cholesterol:
55
mg
|
Sodium:
225
mg
|
Potassium:
127
mg
|
Fiber:
2
g
|
Sugar:
43
g
|
Vitamin A:
125
IU
|
Vitamin C:
7
mg
|
Calcium:
79
mg
|
Iron:
2
mg
Dessert
American, Jewish
472
Like this? Leave a comment below!
Before You Go: Explore More Heirloom & Delicious Recipes
I genuinely hope you savored every bite of this heirloom Jewish Apple Cake recipe, a true taste of tradition and warmth. As you continue your culinary journey, I invite you to discover your next favorite Fall dish within this delightful collection of apple recipes, or perhaps delve into one of Chef’s professional cake recipes for another sweet adventure. If you appreciate recipes with a rich family history, don’t miss my great-grandmother’s delicate pecan tassies, her comforting old-fashioned peanut butter cookies, or her exquisite apricot brandy pound cake. You might also enjoy Nana’s vibrant cranberry chutney, or my Dad’s mom’s chewy molasses sugar cookies and her famously fabulous tuna melt! Happy baking!