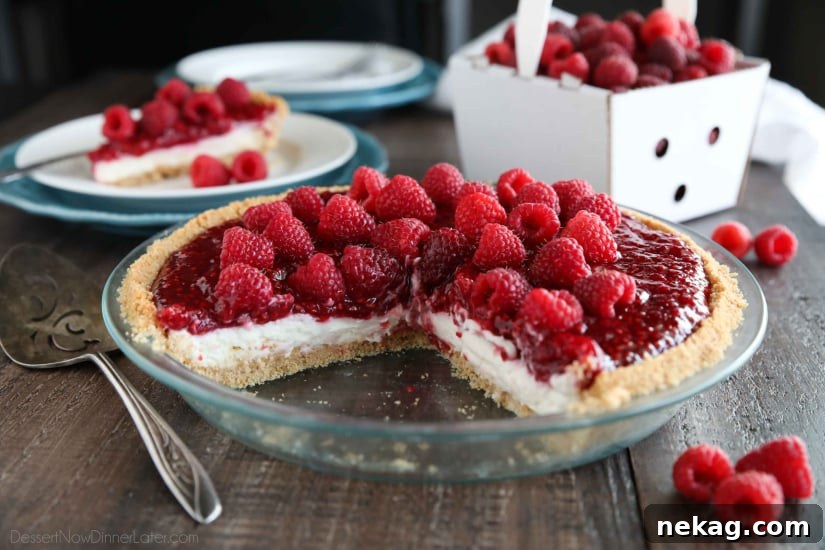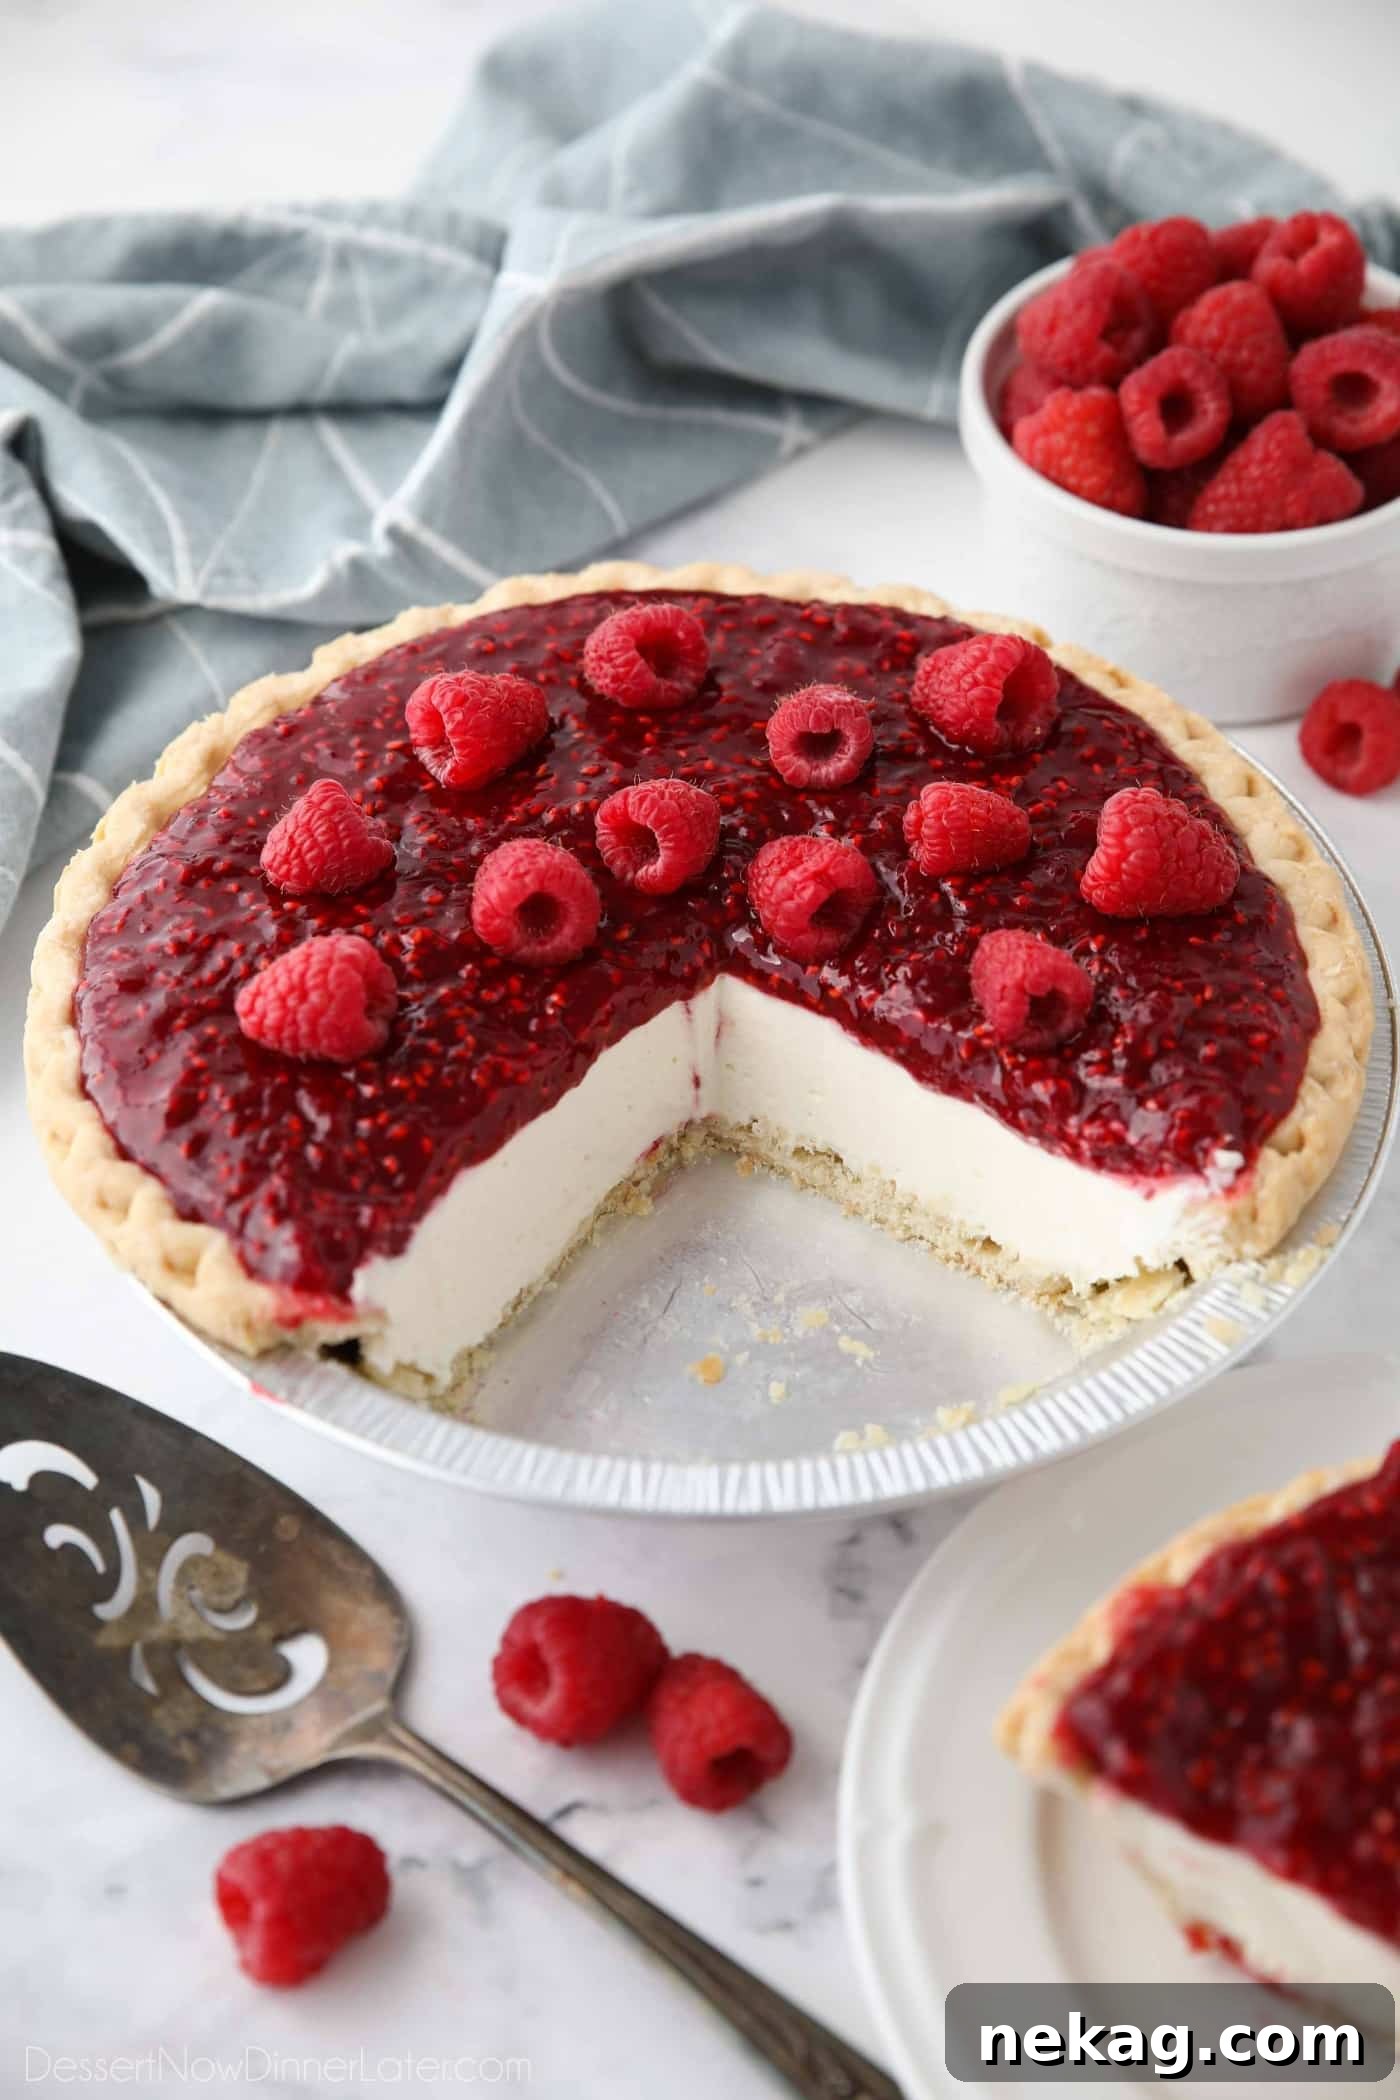
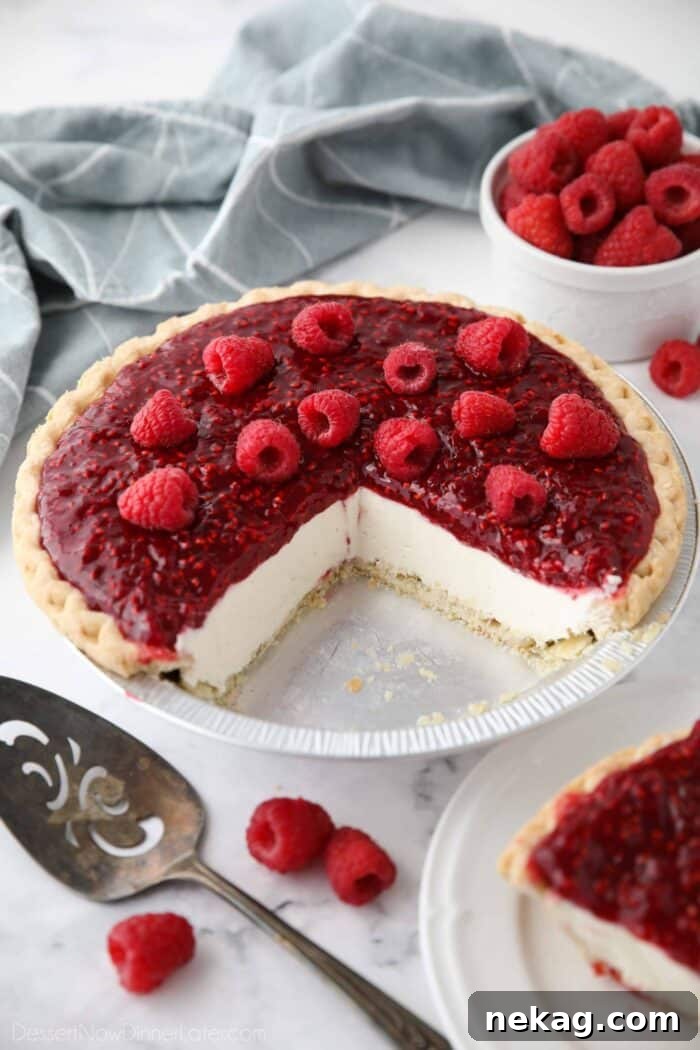
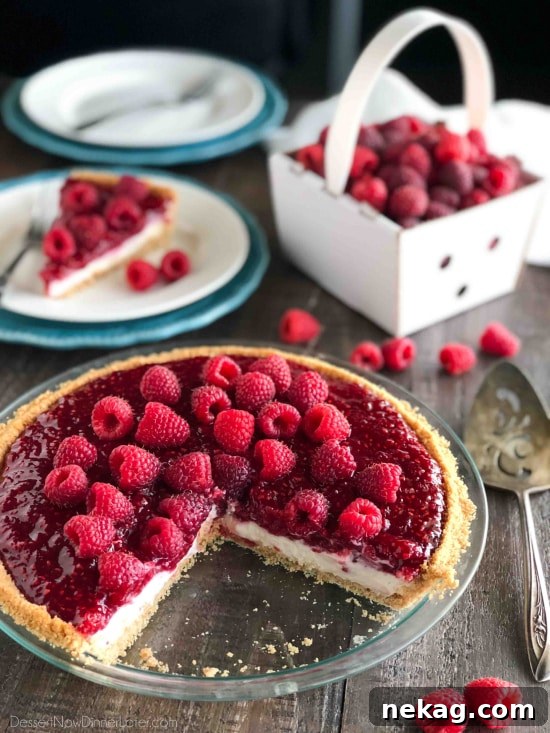
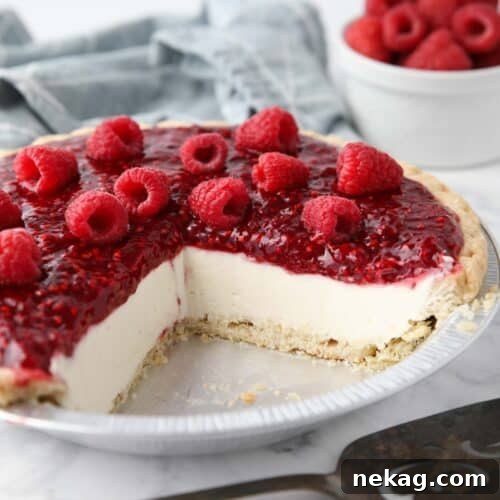
Raspberry Cream Pie features a flaky pastry crust filled with a light whipped cream cheese layer and finished with a jammy raspberry topping. Balanced between sweet and tart, it’s enjoyable year‑round using fresh or frozen raspberries.
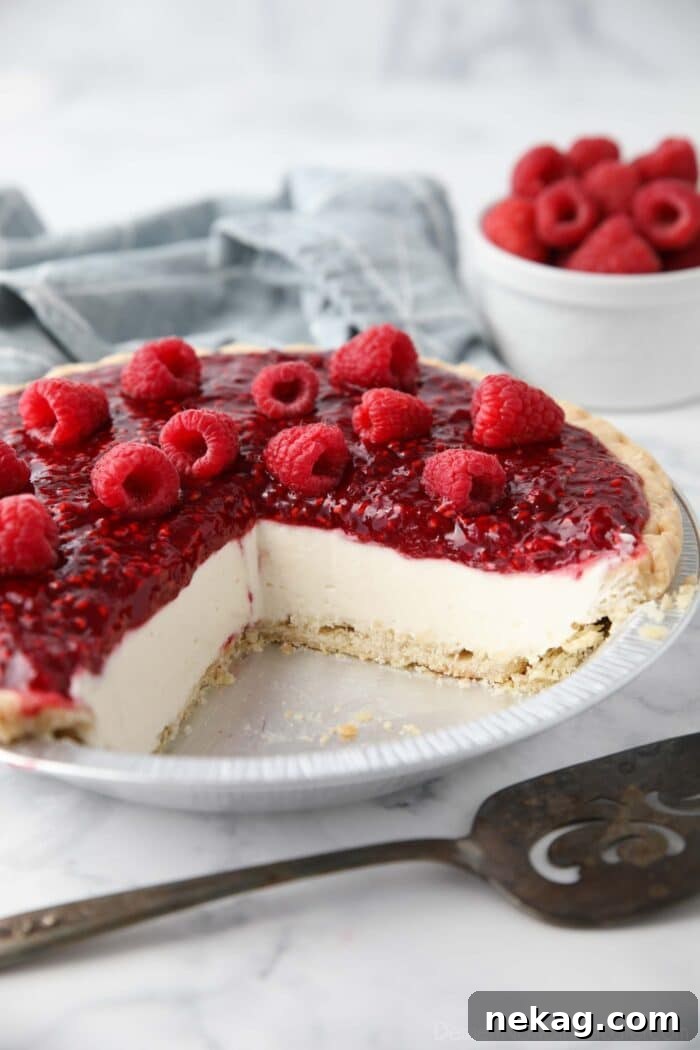
Raspberry Cream Pie
This raspberry cream pie is similar to strawberry cream pie but showcases raspberries for a brighter, slightly tangy finish. It’s modeled after the popular raspberry cream cheese pies you may know, and is built from three simple components:
- Crust – A traditional pastry crust works well. You can use a homemade shortening or all‑butter crust, or a store‑bought frozen or refrigerated crust for convenience.
- Cream Cheese Filling – A no‑bake cheesecake‑style filling made with real whipped cream and cream cheese for a smooth, indulgent layer.
- Fruit Topping – A small amount of cooked raspberry filling creates a jammy topping. Use fresh or frozen raspberries; reserve some fresh berries to garnish if you like.
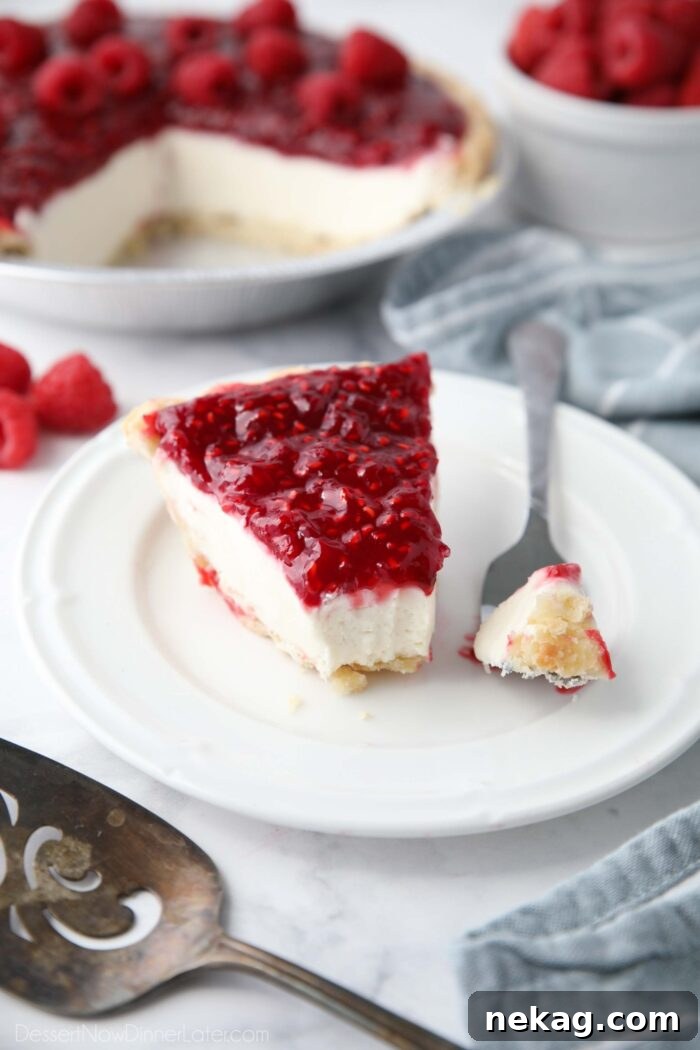
How to Make Raspberry Cream Pie
The steps are straightforward; the longest part is chilling the pie so the layers set properly.
- Blind bake the pie crust and let it cool completely.
- Prepare the whipped cream cheese filling and keep it chilled.
- Cook the raspberry topping and chill it until thick and cool.
- Assemble the pie, then refrigerate for several hours or overnight for best texture.
This pie is light, not overly sweet, and pairs well with any meal—save room for a slice after a big dinner like Thanksgiving.
Stephanie’s Comment
“I used to buy this pie for Thanksgiving, but after making it at home I prefer it. It’s easy, delicious, and was a hit at a baking contest.”
Ingredients You’ll Need
*Full ingredient amounts and instructions are in the printable recipe card below.
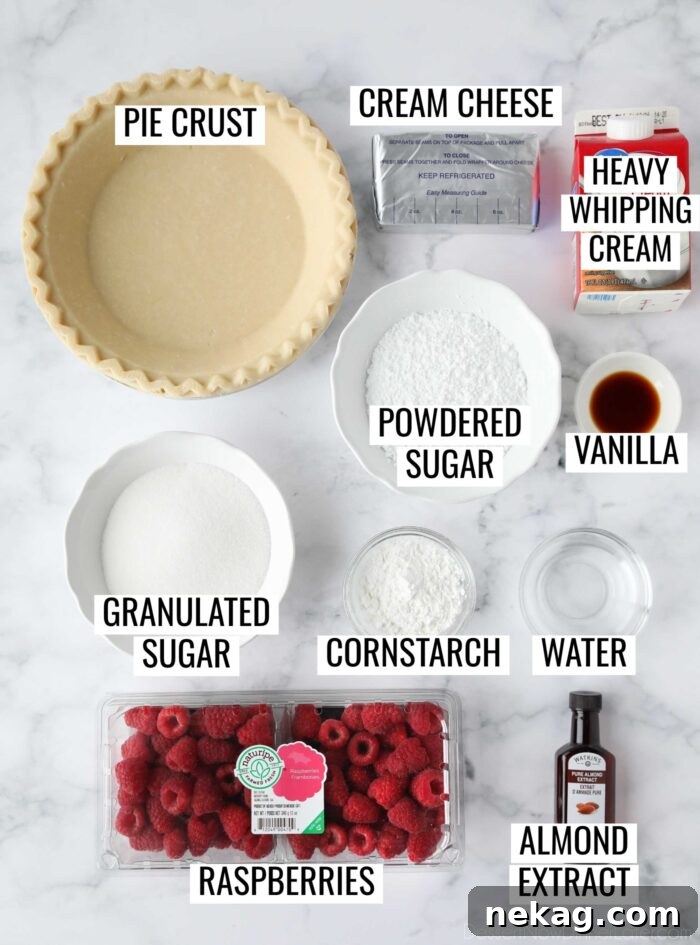
- Pie crust – a 9-inch frozen deep dish crust or homemade crust.
- Cream cheese – full‑fat block style, softened.
- Powdered sugar
- Vanilla extract
- Heavy whipping cream
- Granulated sugar
- Cornstarch
- Water
- Raspberries – fresh or frozen.
- Almond extract – optional, to enhance the raspberry flavor.
Blind Bake the Pie Crust
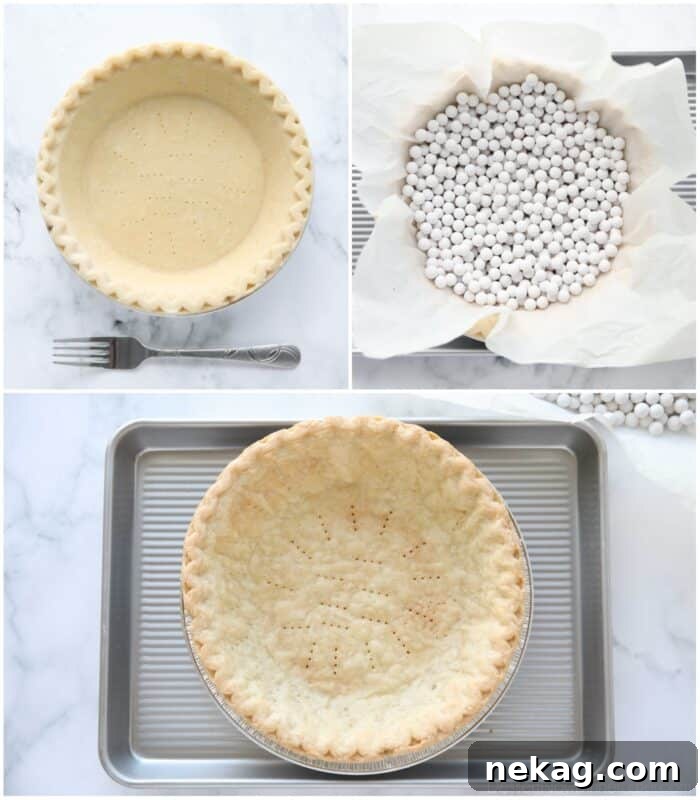
For frozen crusts, allow 20–30 minutes at room temperature to thaw slightly before pricking to prevent cracking. Use a sturdy baking sheet under the foil pan to avoid warping and uneven baking.
- Preheat oven to 350°F (175°C).
- Thaw crust 20–30 minutes, dock (prick) the bottom and sides, and place on a sturdy baking sheet.
- Line with parchment or foil and fill with pie weights, dry beans, or rice.
- Bake 20 minutes, remove weights, return to the oven and bake another 10 minutes or until golden. Cool completely.
Make the Whipped Cream Cheese Filling
This no‑bake cheesecake filling requires two bowls: one for the cream cheese base and one for whipping the cream.
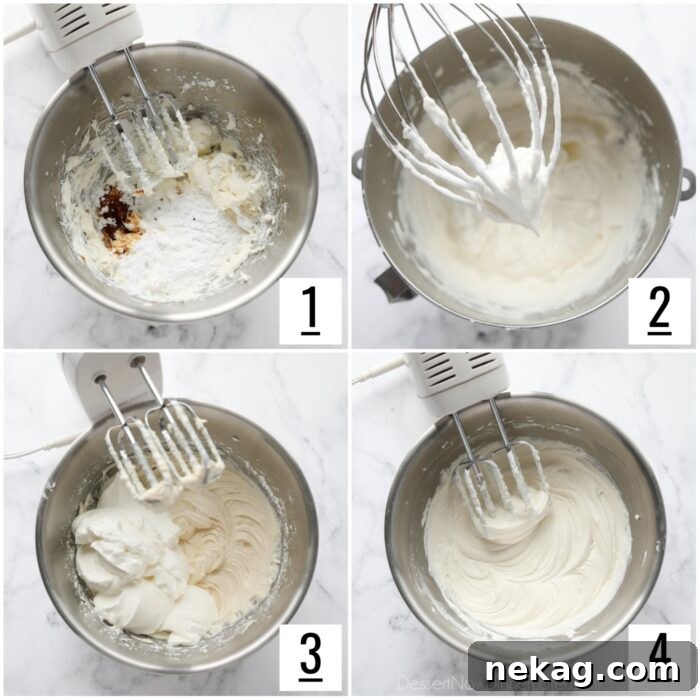
- Beat the cream cheese briefly with an electric mixer until smooth. Add powdered sugar, a pinch of salt, and vanilla; beat until combined.
- Whip the cold heavy cream to stiff peaks in a separate bowl (watch carefully to avoid overwhipping).
- Fold the whipped cream into the cream cheese mixture until smooth. Chill until ready to assemble.
Make the Raspberry Topping
Fresh or frozen raspberries both work. Reserve up to 1 cup of fresh berries for garnish if desired.
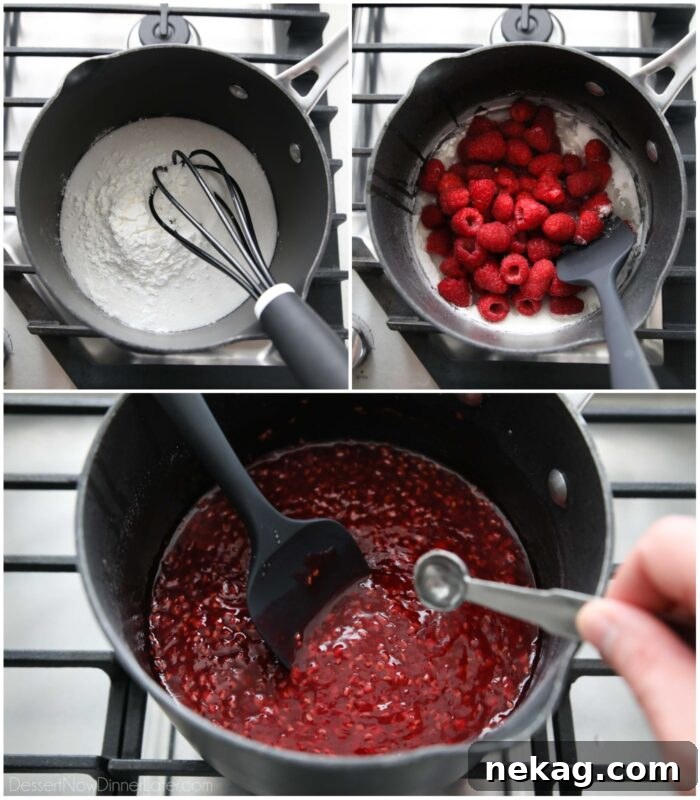
- In a medium saucepan, whisk together granulated sugar and cornstarch.
- Add water and some or all of the raspberries (reserve some for topping if you like).
- Bring to a boil, stirring frequently, until very thick. Frozen berries may take longer. Remove from heat, stir in almond extract if using, and chill.
Assemble the Raspberry Cream Cheese Pie
When the crust, filling, and topping are chilled, assemble the pie.
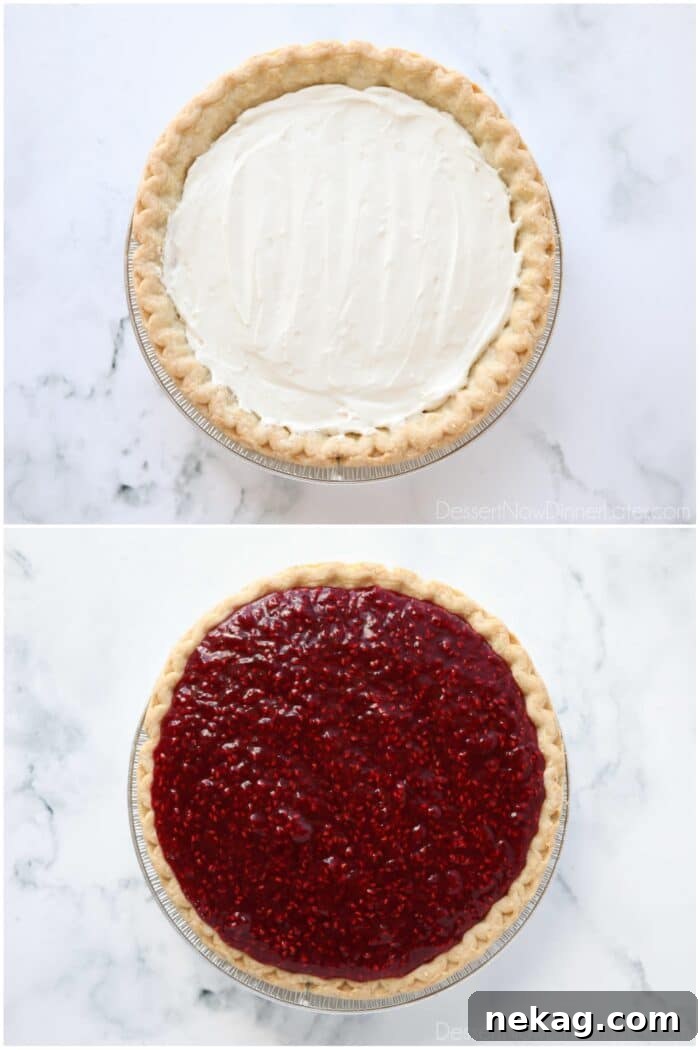
- Spread the chilled cream cheese filling evenly into the cooled crust.
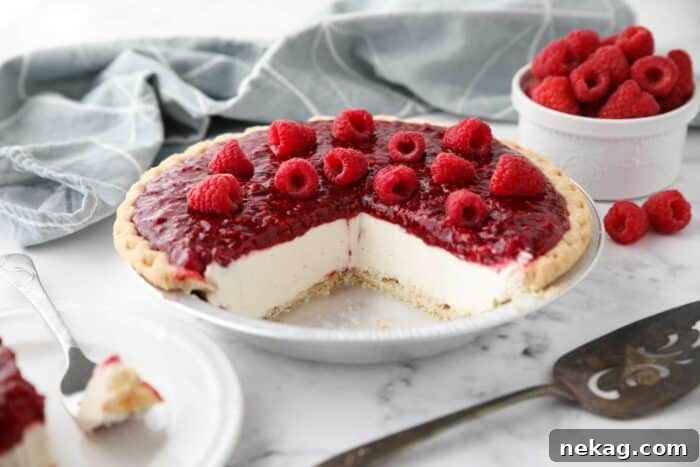
- Top with dollops of the chilled raspberry filling and smooth with a spatula. Add reserved fresh berries if desired.
- Cover lightly and refrigerate 4 hours to overnight for best texture.
Serving and Storing
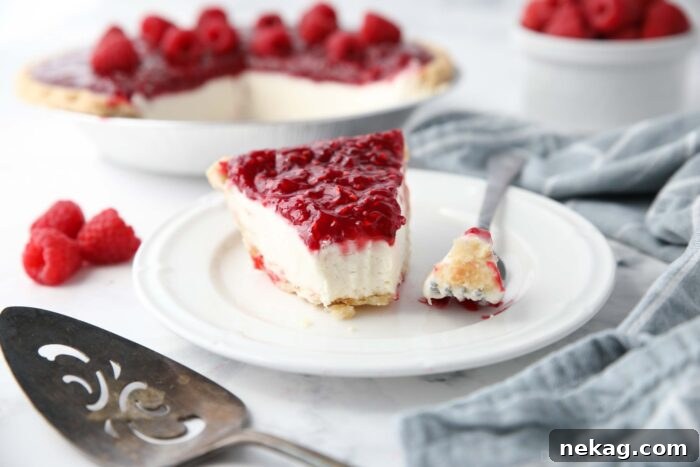
- For clean slices, use a hot, dry knife; rinse and dry between cuts.
- Store covered in the refrigerator for up to 1 week.
Recipe Tips
- Make it faster: Prepare the whipped cream cheese filling last so the crust and topping have time to cool simultaneously.
- Make ahead: The pie can be assembled up to 2 days in advance.
- Raspberry yield: If you use all raspberries in the cooked topping, you may have extra — it’s delicious on yogurt or toast.
Make it No Bake
If you prefer a fully no‑bake version, substitute a cookie crumb crust (graham cracker or vanilla wafer). Press the crumbs into a pan and freeze or briefly chill until firm. A store‑bought graham or shortbread crust also works.
If you make this recipe, please rate and review it in the comments below. Thanks!
Raspberry Cream Pie
Ingredients
Crust:
- 1 (9-inch) frozen deep dish pie crust
Filling:
- 8 oz (226 g) cream cheese, room temperature/softened
- ¾ cup (90 g) powdered sugar
- 1 pinch salt
- 1 tsp vanilla extract
- 1 cup (237 ml) heavy whipping cream, cold
Topping:
- 1 cup (200 g) granulated sugar
- 3 Tbsp cornstarch
- 3 Tbsp water
- 12 oz (340 g) raspberries, fresh or frozen (about 2 1/2 cups), divided*
- 1/4 tsp almond extract, optional
Instructions
-
Preheat oven to 350°F (175°C).
-
CRUST: Thaw frozen pie crust 20–30 minutes. Dock the bottom and sides with a fork. Place on a sturdy baking sheet, line with parchment or foil, and add pie weights or dry beans/rice.
-
Bake at 350°F for 20 minutes. Remove weights and parchment, then bake another 10 minutes until golden. Cool completely.
-
FILLING: Beat cream cheese until smooth, add powdered sugar, salt, and vanilla and combine.
-
Whip cold heavy cream to stiff peaks, fold into the cream cheese mixture, and chill the filling.
-
TOPPING: Whisk sugar and cornstarch in a saucepan, add water and raspberries, and bring to a boil, stirring until very thick. Remove from heat, stir in almond extract if using, and chill.
-
ASSEMBLE: Spread the chilled filling into the cooled crust, top with the chilled raspberry filling, smooth, add extra berries if desired, cover lightly, and refrigerate 4 hours to overnight.
Notes
- Recipe adapted from an earlier contest-winning version.
- Pie crust: Use a homemade shortening or all‑butter crust and blind bake if preferred.
- How to cut: Use a hot, dry knife; rinse and dry between slices for clean edges.
- Storage: Keep covered in the refrigerator up to one week.
- Make ahead: Assemble up to two days before serving.
- Extra raspberries: Leftover cooked raspberries make a nice jam or topping for yogurt.
Nutrition
Disclaimer: Nutritional values were calculated using a third-party tool and are provided as an estimation only.
Sharing this recipe with a link is both encouraged and appreciated. Copying/pasting and/or screenshots of full recipes to any social media is strictly prohibited. Content and photographs are copyright protected.
Did you make this?
Don’t forget to leave a rating below and follow for more recipes and inspiration.
*Originally published 8/19/2018. Post updated April 2024.