
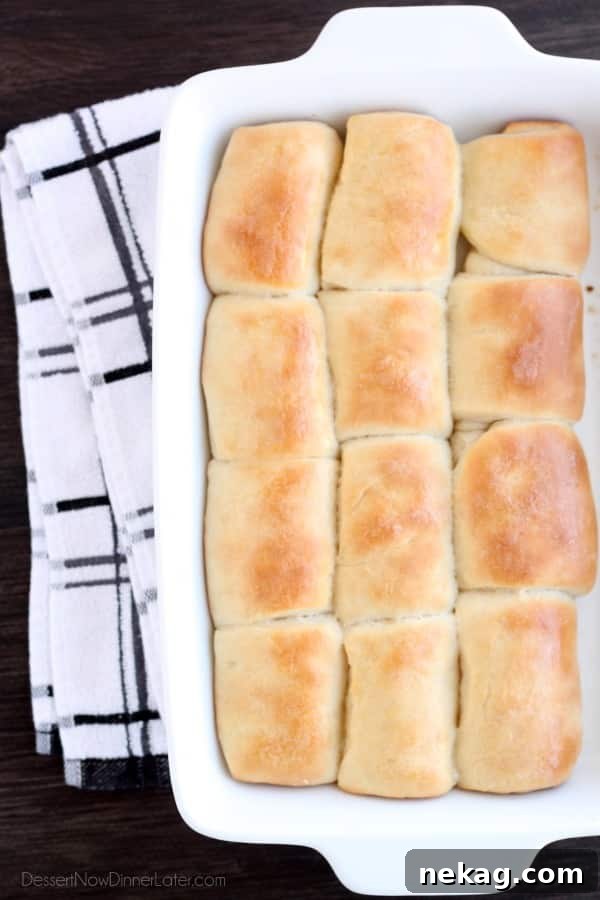
Mastering the Art of Easy Parker House Dinner Rolls: A Beginner’s Guide to Fluffy Perfection
Embark on a delightful culinary journey with these incredibly simple Parker House Dinner Rolls! Designed with beginners in mind, this comprehensive guide, complete with step-by-step instructions and vibrant photos, will demystify yeast baking and empower you to create irresistibly soft, buttery dinner rolls that will impress everyone at your table. Get ready to experience the pure joy of homemade bread!
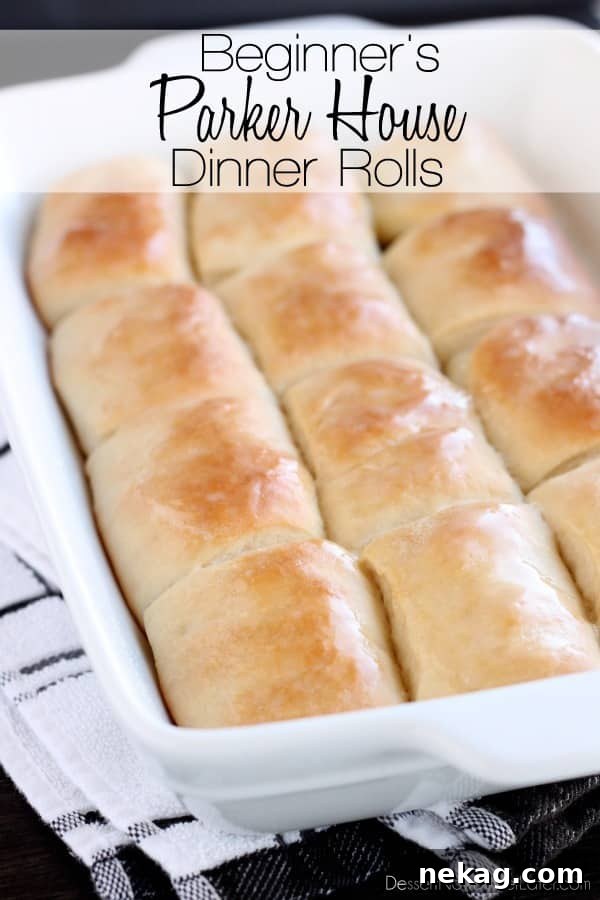
The Irresistible Allure of Homemade Dinner Rolls
Few things compare to the comforting aroma and taste of freshly baked bread, warm from the oven, and generously slathered with softened butter. Among the myriad of bread recipes, Parker House rolls hold a special place in my heart. Their unique characteristic lies in their buttery folds, which create a beautiful, pull-apart texture perfect for spreading even more butter, homemade jam, or dipping into a hearty soup. These versatile, fluffy dinner rolls are not just a side dish; they’re an experience.
My fondness for Parker House rolls stems from my days working in a grocery store bakery, where these tender delights consistently “flew off the shelves.” While the commercial production method was naturally scaled for larger quantities, I’ve adapted that beloved recipe into an accessible at-home version that yields the same incredible results without any intimidation. This recipe truly brings the bakery experience right into your kitchen, making homemade bread a tangible and achievable goal for anyone.
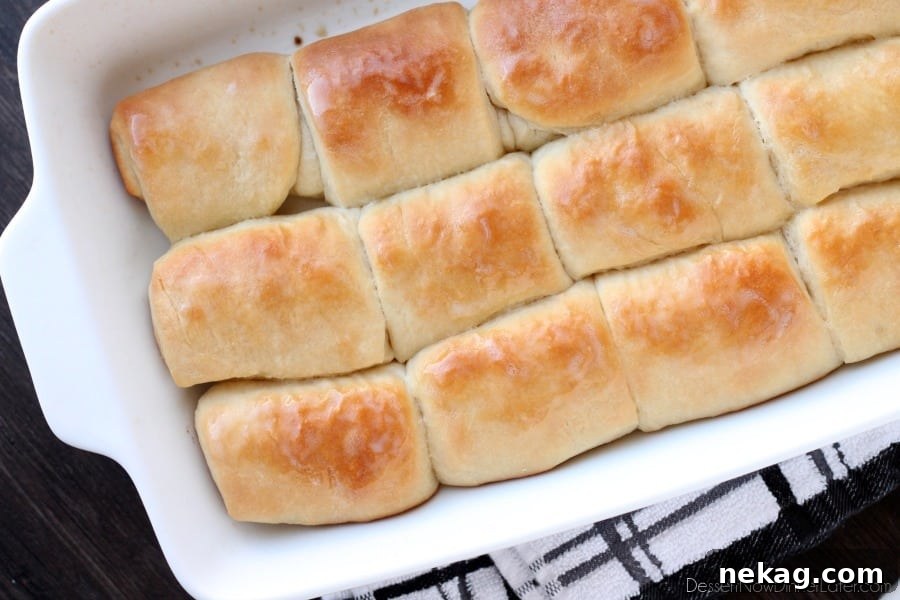
Conquering the Fear of Yeast Baking: Your Path to Fluffy Dinner Rolls
I understand that the thought of baking with yeast can seem daunting to many home cooks. The mystique surrounding yeast activation often deters eager bakers, leading to apprehension about achieving the perfect rise. But let me assure you, there’s absolutely no need to be afraid! Creating homemade yeast bread, especially these easy dinner rolls, is far less complicated than you might imagine. It’s a skill that builds confidence with each successful batch.
Understanding Yeast: The Heart of Your Rolls
The key to successful yeast baking often boils down to one critical factor: temperature. Many beginners worry about “killing” the yeast with liquid that’s too hot or failing to “activate” it with liquid that’s too cold. This is where a simple digital thermometer becomes your best friend and sanity-saver. For Fleischmann’s® RapidRise® Yeast, the ideal liquid temperature is between 120 and 130 degrees Fahrenheit. This warm range perfectly dissolves and activates the yeast, ensuring a vigorous rise and ultimately, amazing, fluffy results.
Should you still feel a touch nervous, remember that resources like the Fleischmann’s® Yeast website are invaluable. They offer a treasure trove of tips, tricks, and educational content to guide you from start to finish, guaranteeing your baking success. Even as a culinary graduate, I’ve gained new insights from their extensive knowledge base. For instance, I always knew sugar fed the yeast and added flavor, but I was fascinated to learn that sugar also plays a crucial role in developing that rich, golden brown crust that makes homemade bread so appealing. Every day is a learning opportunity in the kitchen!
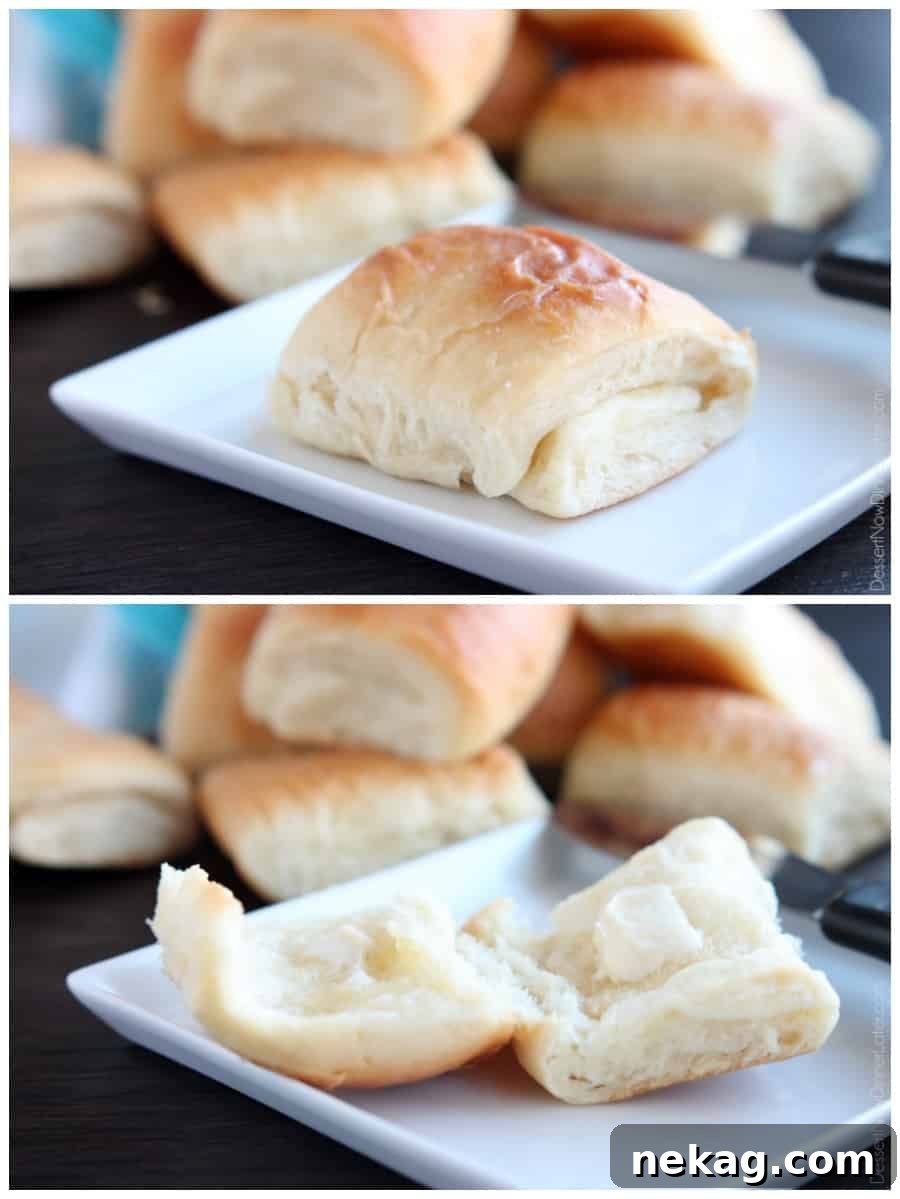
Crafting Your Perfect Parker House Rolls: A Step-by-Step Guide
You are truly going to adore these soft, buttery, and effortlessly split-open Parker House Dinner Rolls. The process is not only straightforward but also incredibly rewarding. Let’s walk through each step together, transforming simple ingredients into a basket of golden, tender rolls.
Gathering Your Ingredients and Essential Tools
Before you begin, ensure all your ingredients are measured and ready. A stand mixer with a dough hook can simplify the mixing and kneading process, but hand-kneading is just as effective and satisfying. Don’t forget that digital thermometer!
Step 1: Activate the Yeast and Prepare the Dry Mixture
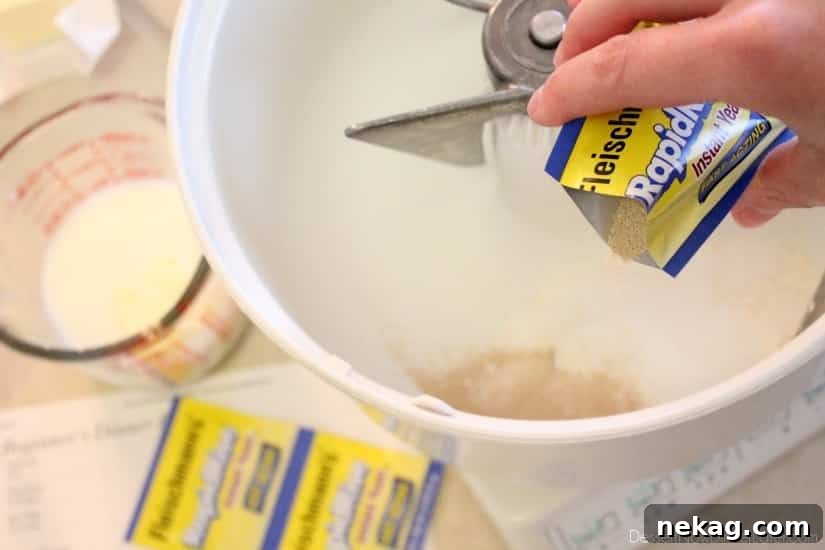
In a large mixing bowl, preferably one compatible with a stand mixer, combine ¾ cup of your all-purpose flour, 2 tablespoons of granulated sugar, one packet of Fleischmann’s® RapidRise® Yeast, and ½ teaspoon of salt. Stir these dry ingredients together thoroughly until they are well blended. This initial mix creates the foundation for your dough and ensures even distribution of the yeast and flavorings.
Step 2: Warm the Liquids to Perfection
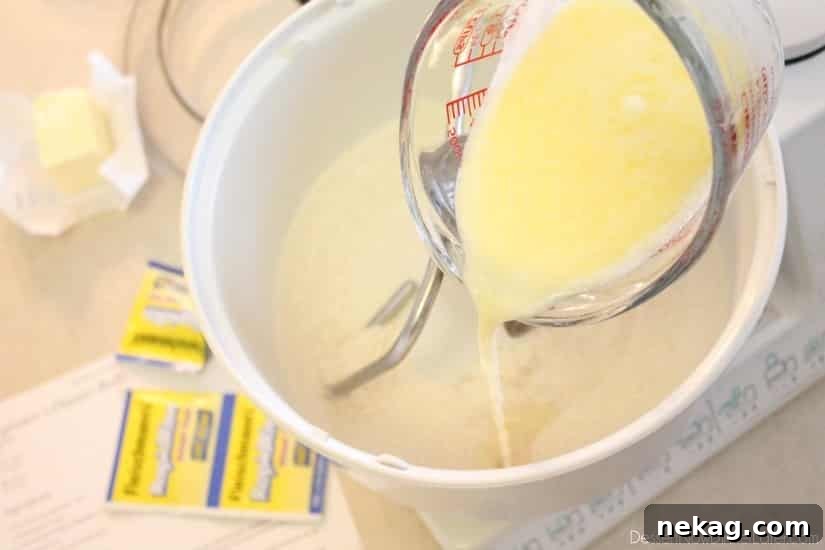
Next, combine ½ cup of milk (any fat content will work), ¼ cup of water, and 2 tablespoons of butter in a microwave-safe bowl or large measuring cup. Heat this mixture on HIGH in 15-second intervals. The goal is for the liquid to be very warm, but not uncomfortably hot to the touch. Use your digital thermometer to ensure the temperature reaches between 120 and 130 degrees Fahrenheit. Don’t worry if the butter hasn’t melted completely; it will continue to melt as you mix. Once the liquids are at the correct temperature, gradually add this warm milk mixture to your dry flour mixture in the mixer bowl.
Step 3: Develop the Dough’s Structure
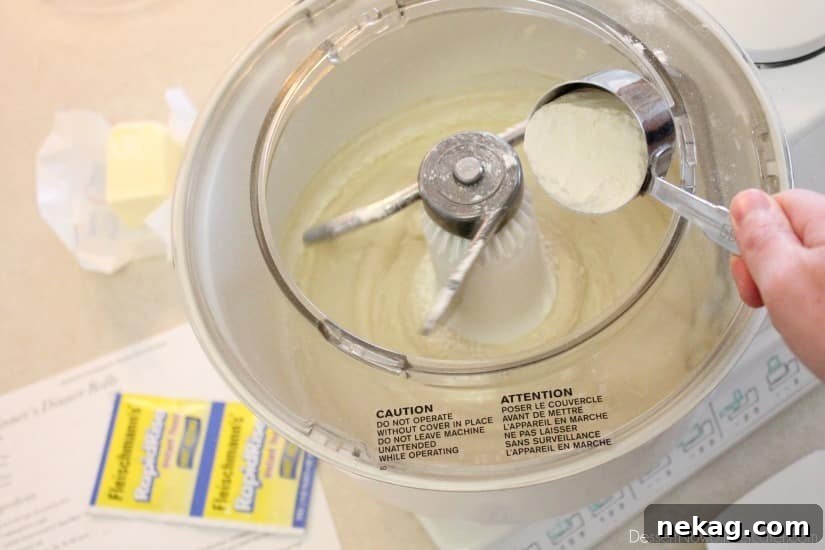
With the initial wet and dry ingredients combined, add an additional ¼ cup of all-purpose flour to the mixture. Beat the dough at high speed for approximately 2 minutes. This vigorous mixing helps develop the gluten structure, which is essential for the rolls’ elasticity and chewiness. Following this, gradually stir in just enough of the remaining flour (you’ll need between 1¾ to 2 cups more) until the dough begins to pull away from the sides of the bowl and forms a cohesive ball. The exact amount of flour can vary depending on humidity and how accurately your flour was measured, so add it incrementally.
Step 4: Knead to Perfection and Allow a Brief Rest
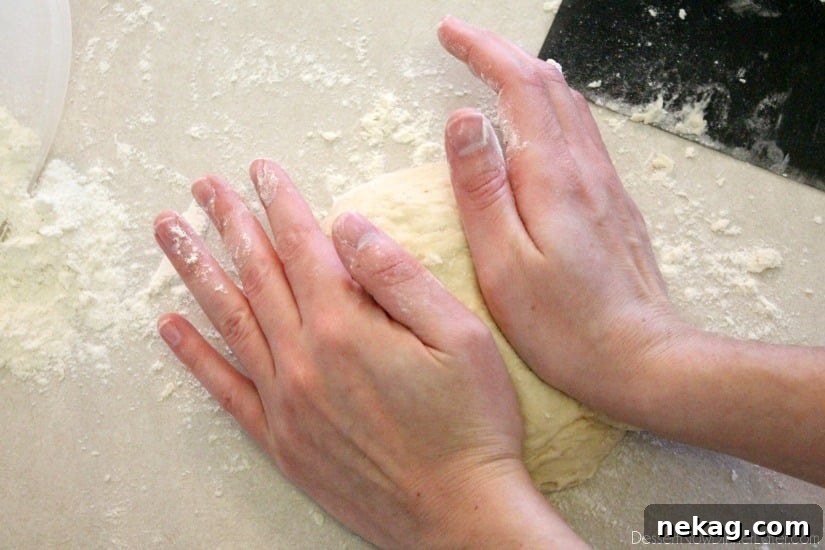
Turn the dough out onto a lightly floured surface. Knead it for about 6 to 8 minutes, or until it becomes smooth, elastic, and springs back gently when lightly pressed with two fingers. Kneading develops the gluten further, giving your rolls their characteristic soft, airy texture. Once kneaded, cover the dough with a clean towel and let it rest for 10 minutes. This short resting period is crucial; it allows the gluten to relax, making the dough much easier to handle and roll out in the next step.
Step 5: The Signature Parker House Shape
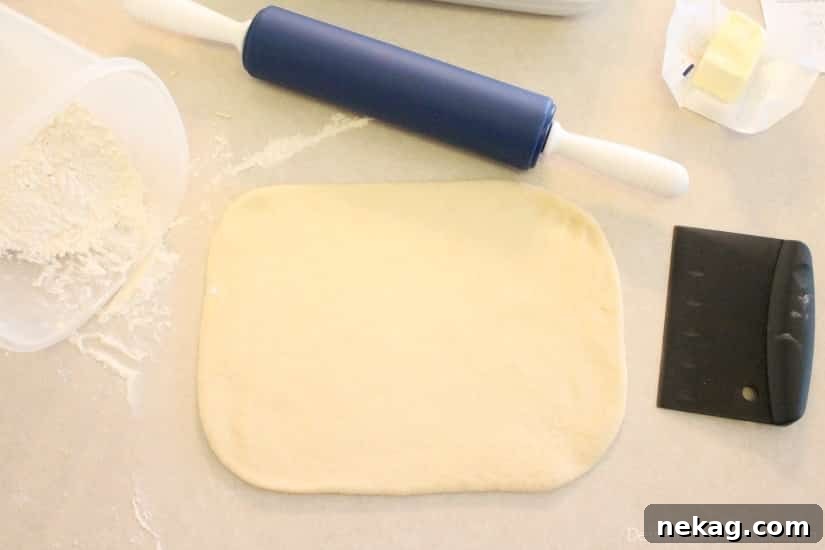
Now comes the fun part: shaping your rolls! On a lightly floured surface, roll the rested dough into a large rectangle, approximately 9×12 inches, aiming for a thickness of about ½ inch. This uniform thickness is important for consistent rolls.
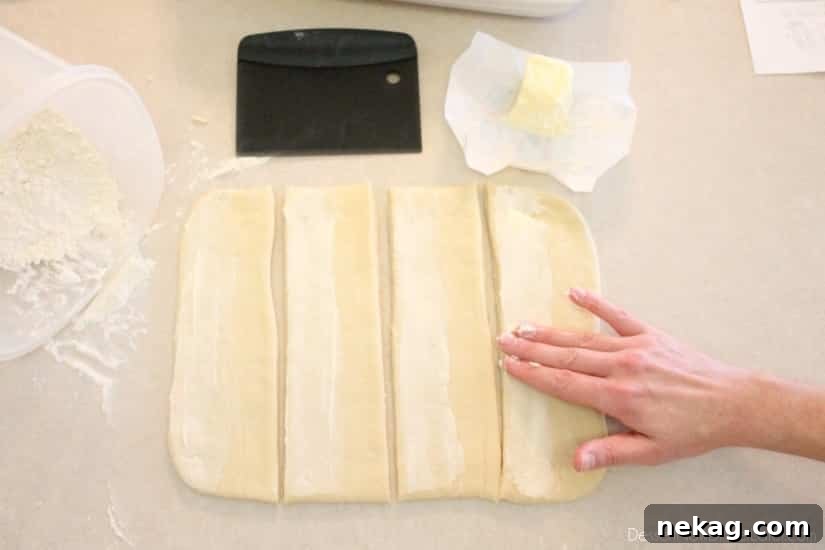
Using a bench scraper or a pizza cutter, slice the large rectangle into 4 vertical strips, each roughly 3 inches wide. Take each strip and gently rub a generous amount of softened butter onto the left half of its surface. This internal layer of butter is what creates the iconic rich flavor and pull-apart texture of Parker House rolls.
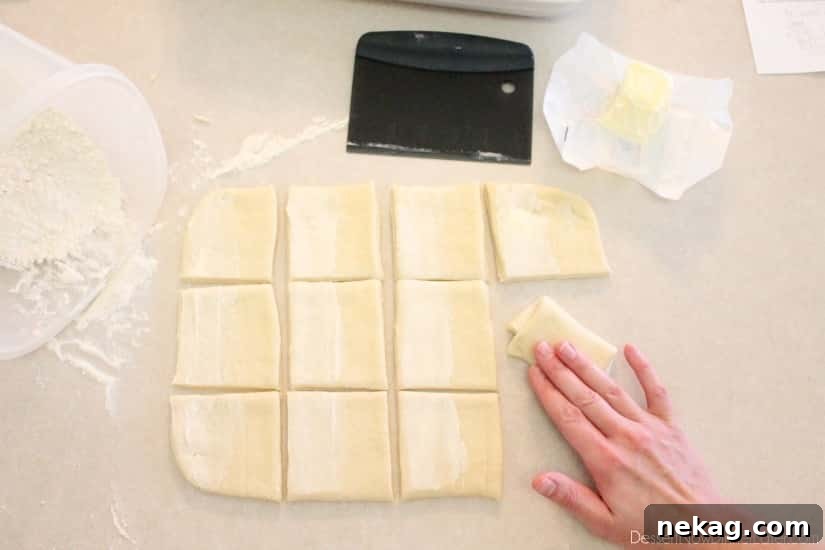
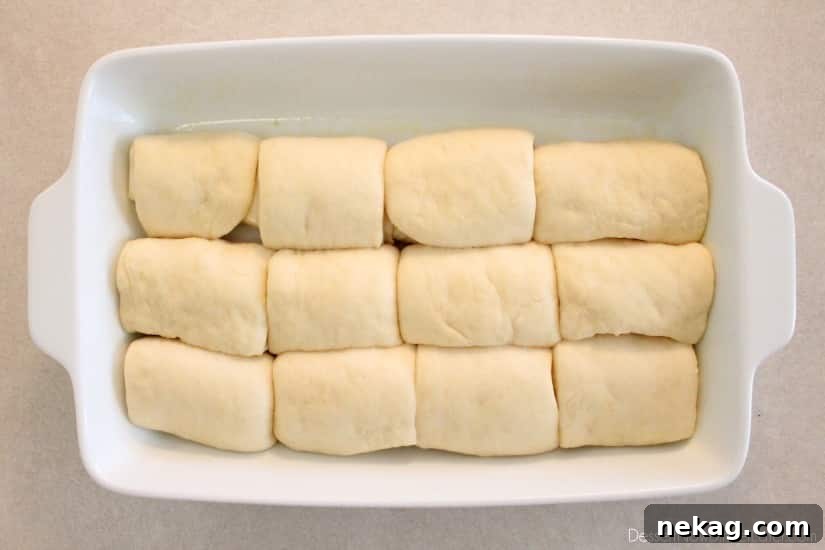
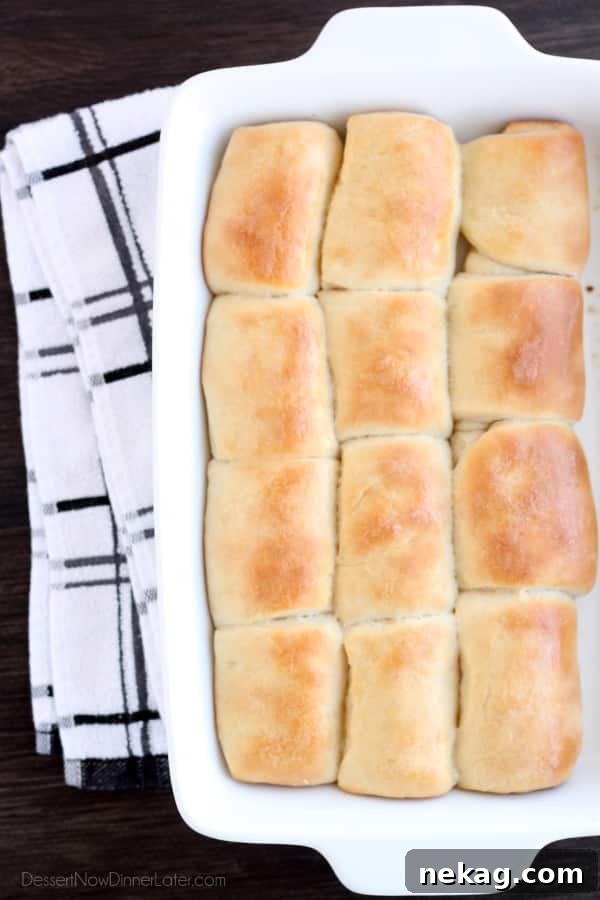
Next, cut each of these buttered strips horizontally into three equal sections, resulting in 12 individual squares. For each square, fold the un-buttered half over, gently overlapping the buttered side. This folding technique is what gives Parker House rolls their distinctive shape and creates those wonderful buttery layers. Arrange these folded rolls snugly in a greased 9×13-inch or square baking dish, making sure they have enough space to rise.
Step 6: The Final Rise (Proofing)
Cover the baking pan with a clean towel and place it in a warm spot in your kitchen. Allow the dough to rise until it has doubled in size. This process typically takes between 30 minutes to an hour, depending on the ambient temperature of your kitchen. A warmer environment will expedite the rise. This final proofing stage is essential for achieving light, airy rolls with a delicate crumb.
Step 7: Bake to Golden Perfection
Preheat your oven to 375 degrees Fahrenheit (190 degrees Celsius). Bake the rolls for 20 to 30 minutes, or until they turn a beautiful golden brown color. Keep a close eye on them during the last few minutes to prevent over-browning. Once baked, if desired, you can brush the warm rolls with a little extra melted butter for an extra touch of richness and shine. Serve these delightful Parker House Dinner Rolls warm and watch them disappear!
Tips for Unforgettable Dinner Rolls Every Time
- Precision is Key for Yeast: Always use a digital thermometer to measure your liquid temperature. This is the single most important step for activating yeast successfully.
- Room Temperature Ingredients: Ensure your milk and butter (especially the butter for filling) are at room temperature. This helps with smoother mixing and even distribution.
- Don’t Over-Flour: Add flour gradually during the mixing and kneading stages. Too much flour can lead to dry, dense rolls. The dough should be soft and slightly tacky, but not sticky.
- Warm Rising Environment: If your kitchen is cool, find a warm spot for rising. You can also turn your oven on for a minute or two, then turn it off and let the dough rise inside (with the oven door ajar) or place the covered bowl near a sunny window.
- Patience with Proofing: Don’t rush the rising process. A properly proofed dough yields the lightest, fluffiest rolls.
- Butter generously: The signature of Parker House rolls is their buttery interior. Don’t be shy with the softened butter when shaping!
- Test for Doneness: Besides visual cues, gently tap the bottom of a roll; if it sounds hollow, it’s likely done.
- Store Properly: Leftover rolls (if there are any!) can be stored in an airtight container at room temperature for a couple of days or frozen for longer storage. Reheat gently in the oven for that “freshly baked” experience.
The Recipe: Beginner’s Parker House Dinner Rolls
There’s an undeniable sense of accomplishment and pride in sharing something you’ve baked from scratch. With the reliability of Fleischmann’s® Yeast, you’ll find the confidence to explore your creativity in the kitchen and perhaps even get your apron a little dirty. Baking with yeast, especially during the holiday season or for any family meal, can be as straightforward and enjoyable as pre-heating your oven.
Beginner’s Parker House Dinner Rolls
Created by: Amber Brady
- Yields: 12 rolls
Ingredients
- 2 to 2 ¼ cups (240-270 g) all-purpose flour (stir, spoon & level)
- 2 Tbsp granulated sugar
- 0.25 oz packet Fleischmann’s RapidRise Yeast
- ½ tsp salt
- ½ cup (118 ml) milk (whole, 2%, 1% OR skim)
- ¼ cup (59 ml) water
- 2 Tbsp (28 g) butter, PLUS 2 to 3 Tbsp more for filling and brushing on top
Instructions
- Combine ¾ cup flour, 2 Tbsp sugar, 1 packet Fleischmann’s RapidRise Yeast, and ½ tsp salt in a large mixer bowl and stir until blended.
- Combine ½ cup milk, ¼ cup water, and 2 Tbsp butter in a microwave-safe bowl or measuring cup. Microwave on HIGH in 15-second increments until very warm, but not hot to touch (120 to 130 degrees Fahrenheit when checked with a digital thermometer). The butter won’t melt completely. Add milk mixture to flour mixture.
- Add ¼ cup flour; beat 2 minutes at high speed. Stir in just enough remaining flour (1¾ to 2 cups more) so that the dough will form into a ball.
- Knead on a lightly floured surface until smooth and elastic and springs back when lightly pressed with two fingers, about 6 to 8 minutes. Cover with a towel; let rest for 10 minutes. (Resting allows the dough to loosen and be manageable.)
- For the Parker House Dinner Rolls: Roll dough into a large 9×12-inch rectangle about ½″ thick.
- Using a bench scrape or pizza cutter, cut 4 strips vertically about 3 inches wide. Rub softened butter on the left half of the strip.
- Cut each strip horizontally 3 times so you have 12 squares. Fold the un-buttered half of each square overlapping the buttered side of each square and place rolls in a greased 9×13-inch or square baking dish.
- Cover the pan with a towel and let dough rise until double in size about 30 minutes to an hour depending on how warm your kitchen is.
- Bake at 375 degrees Fahrenheit for 20 to 30 minutes or until golden brown. Brush with additional butter, if desired. Serve warm.
Notes
This recipe is adapted from the Beginner’s Dinner Rolls by Fleischmann’s Yeast, transformed into the beloved Parker House style rolls.
Disclaimer: Nutritional values were calculated using a third-party tool and are provided as an estimation only.
Sharing this recipe with a link is both encouraged and appreciated. Copying/pasting and/or screenshots of full recipes to any social media is strictly prohibited. Content and photographs are copyright protected.
We hope this detailed guide encourages you to bake these wonderful Parker House Dinner Rolls. Don’t forget to leave a rating below and make sure to follow us on Pinterest and Instagram for more delicious recipes!
This is a sponsored conversation written by me on behalf of ACH. The opinions and text are all mine.